
Part 2: Hyrule Kingdom
Welcome to part 2 of our Breath of the Wild walkthrough. This part will cover the Hyrule Kingdom portion of the game and picks up immediately where part 1 ended. It also includes screenshots all along the way to make sure you do not get lost.
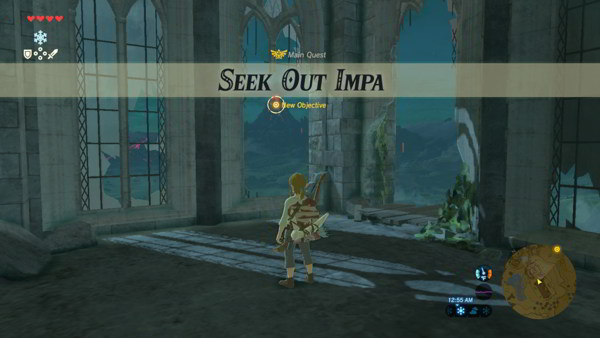
Seek Out Impa
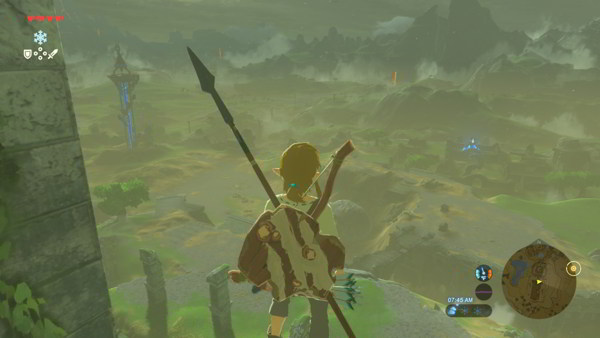
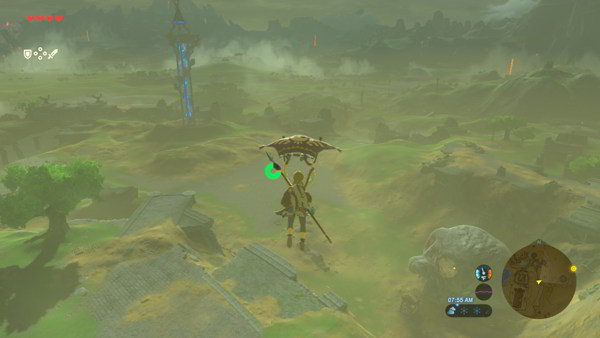
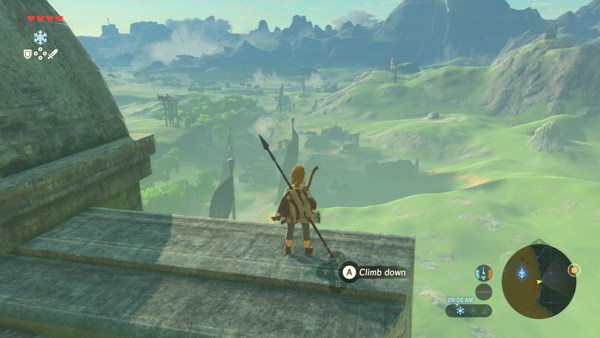
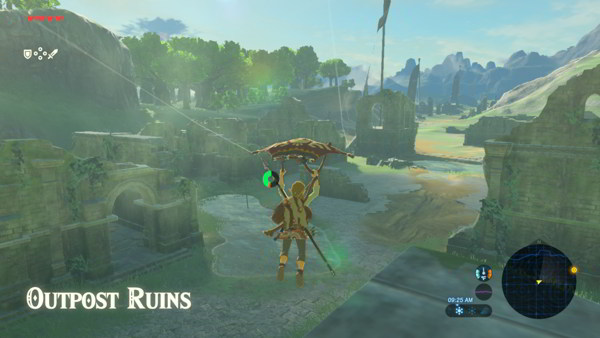
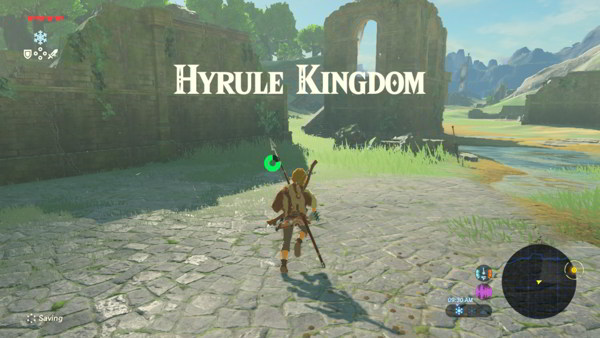
Head northeast towards the marker on the Sheikah Slate. Once you reach the edge of the Great Plateau, jump down and glide until you reach land. You should now be in Hyrule Kingdom. Continue northeast until you either come to the ledge of a mountain before a river or you come to a bridge.
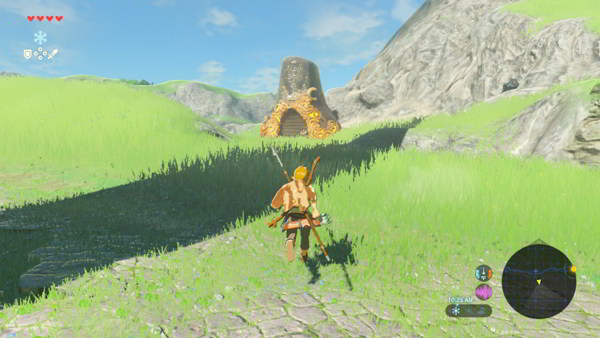
If you are at the mountain, head north to find the bridge. Southwest a short distance from the bridge will be the Bosh Kala Shrine. Enter it to find yourself in The Wind Guides You trial.
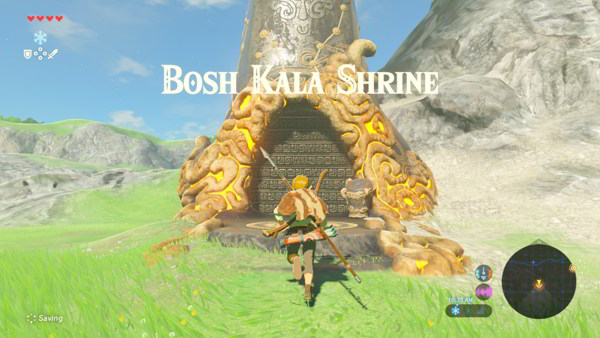
The Wind Guides You – Bosh Kala Shrine
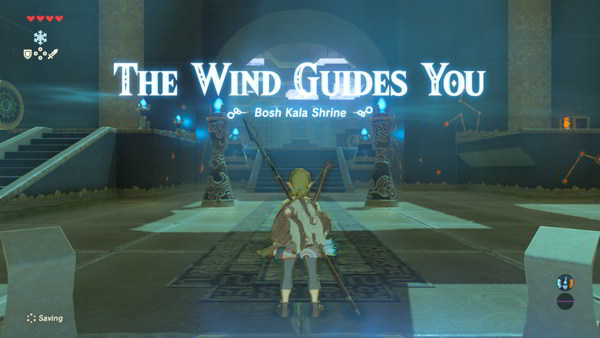
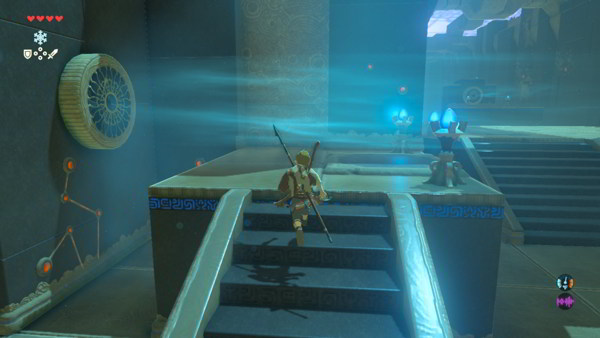
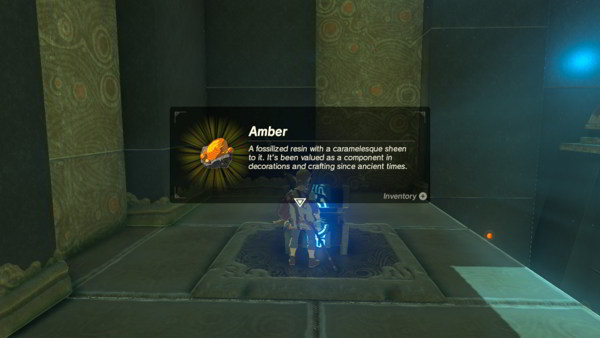
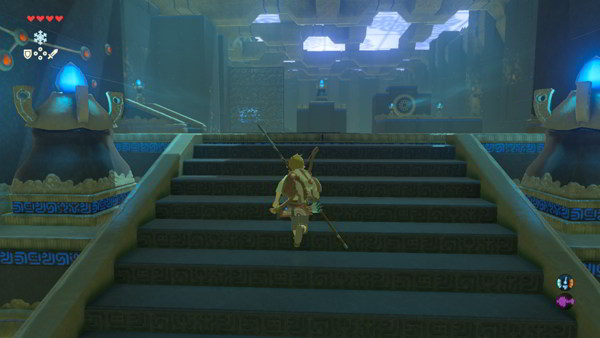
Head up the stairs to the left to find a gust a wind. On the opposite side of the room will be a chest. Dash towards it, jump, and glide using the Paraglider to make it across. The chest contains Amber. Now head towards the center of the room and continue north up the stairs.
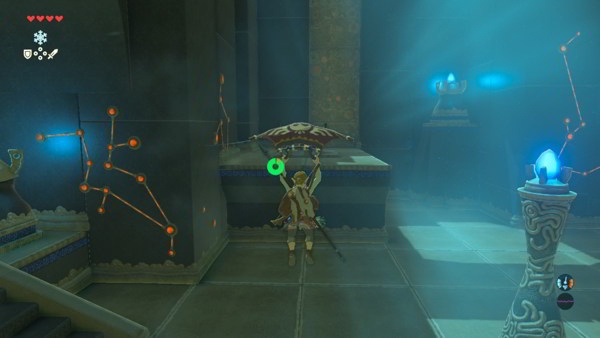

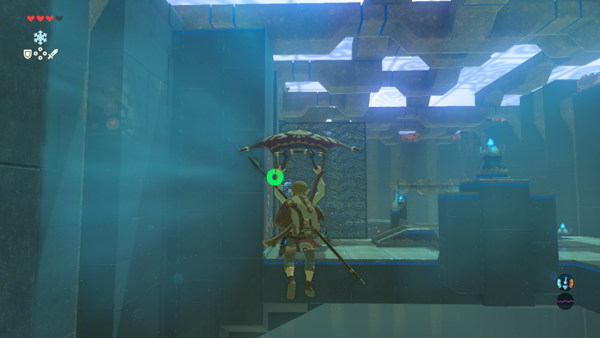
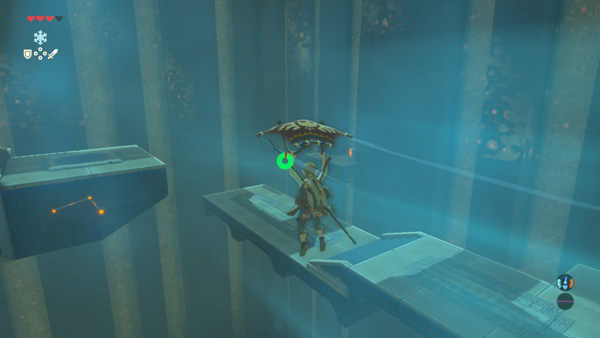
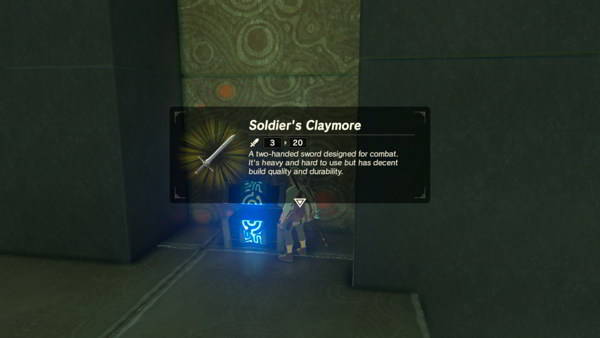
Head to the left up the stairs for another wind gust. Do the same thing as earlier to glide across to the north side of the room. Glide once more to the north side of the room. You can turn toward the right at the end of the flight and glide over to a chest, which contains a Soldier’s Claymore, if you need a new weapon. Otherwise, do not risk it as you may end up falling several times.
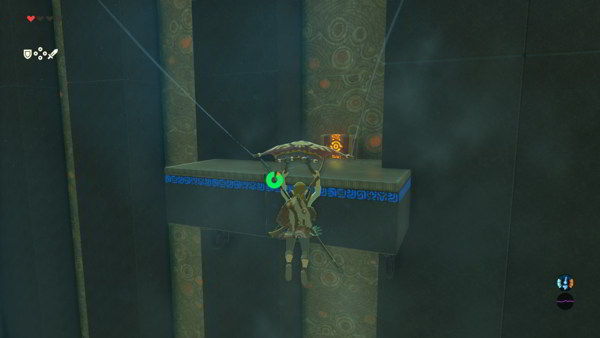
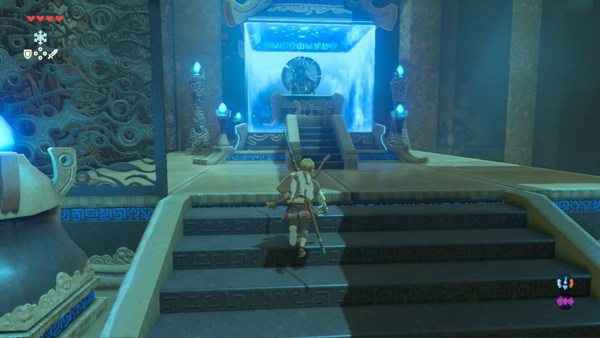
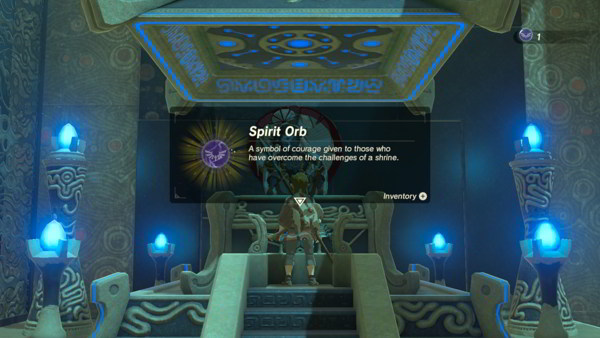
Now that you have made it to the northern most part of the room, head left and go up the stairs until you reach the structure. Examine it to get another Spirit Orb and be transported back outside the shrine. Once outside, head north to find Proxim Bridge.
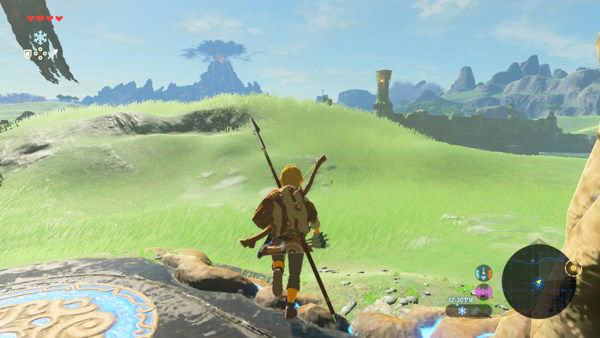
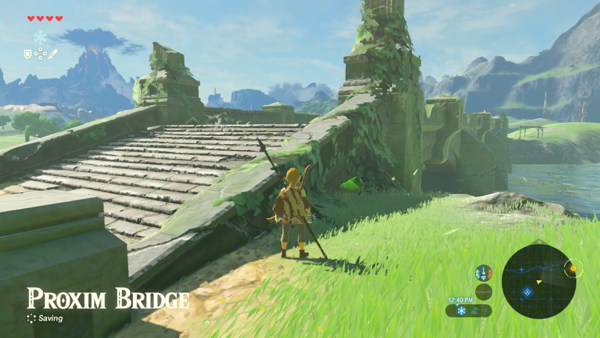
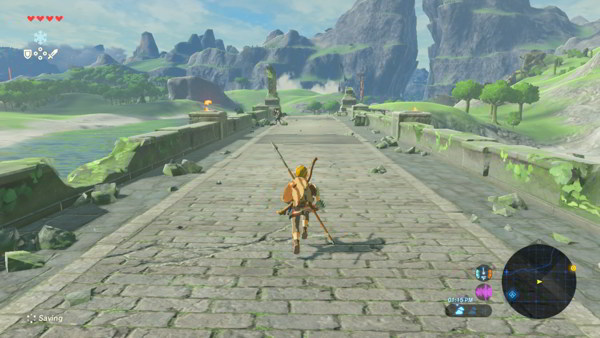
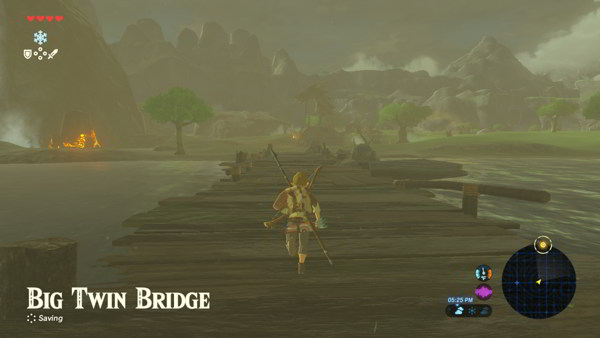
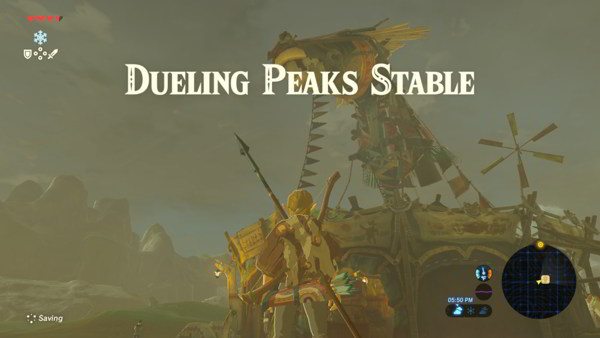
Travel across it to the other side of the river and speak with Brigo along the way. Continue following the path and going west along the river until you reach Big Twin Bridge. Head north across the bridge to get to the other side of the river and continue north until you find the Dueling Peaks Stable.
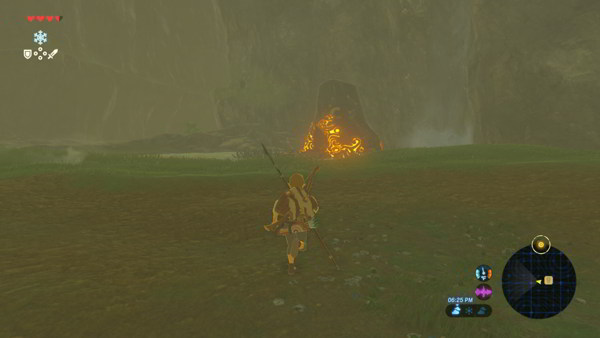
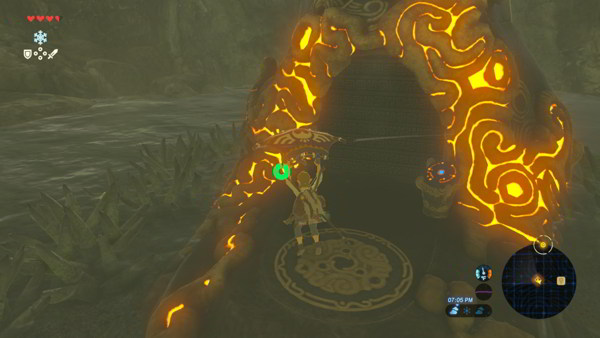
A short distance from the Dueling Peaks Stable will be a shrine. Use the Cryonis Rune to raise an ice pillar in order to jump over the spikes blocking the shrine, which is the Ha Dahamar Shrine. Be sure to activate this shrine as it will come in handy in the future.
Note: Keep in mind you do not have to complete a shrine to be able to travel to it, you just have to activate it using the pedestal.
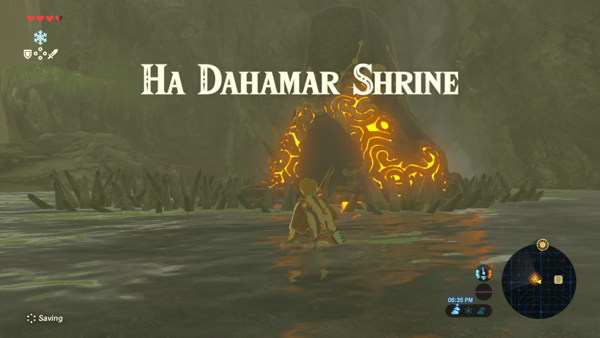
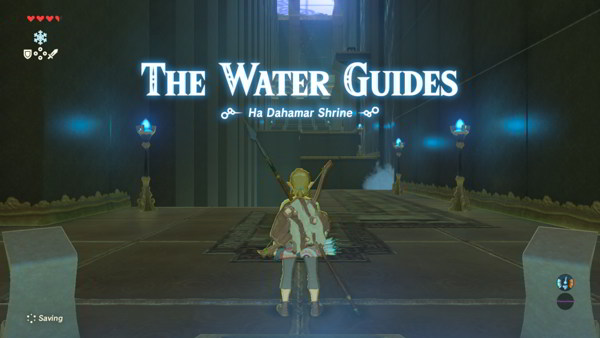
The Water Guides – Ha Dahamar Shrine
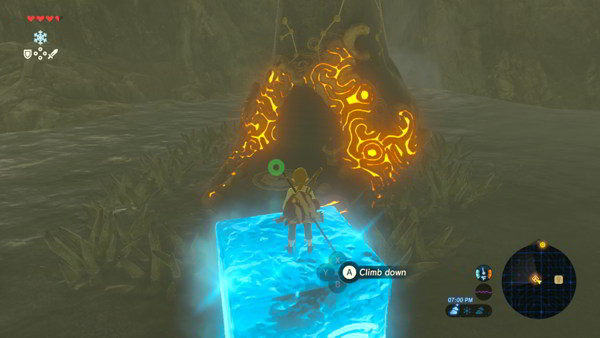
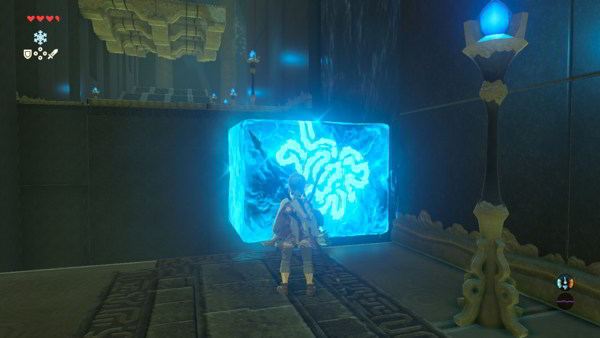
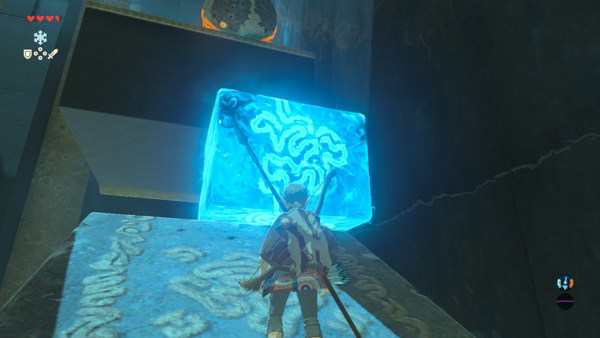
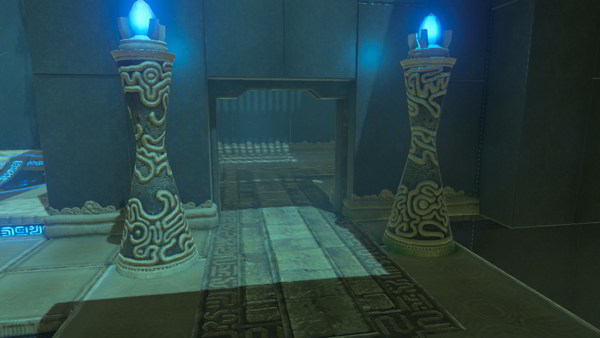
Upon entering the Ha Dahamar Shrine, you will be in The Water Guides trial. Head north to the first patch of water. Use the Cryonis Rune to raise a pillar of ice. Climb on top of it and jump across to the ledge. Continue north to find some more running water.
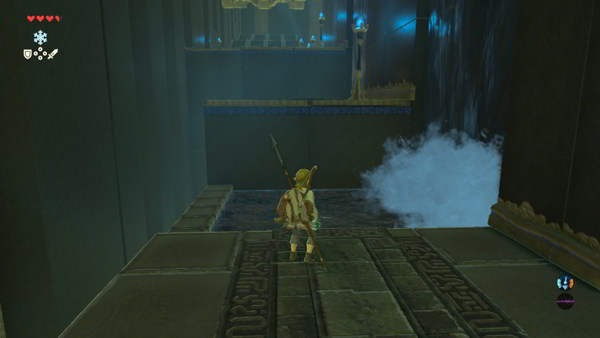
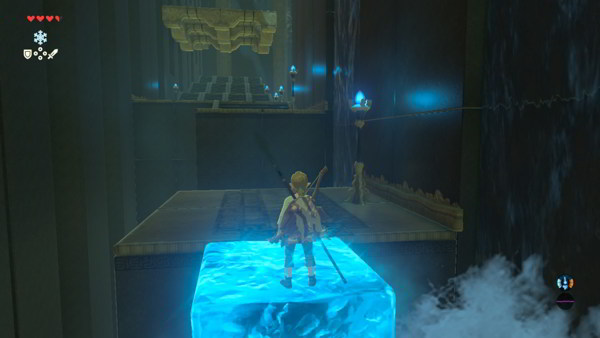

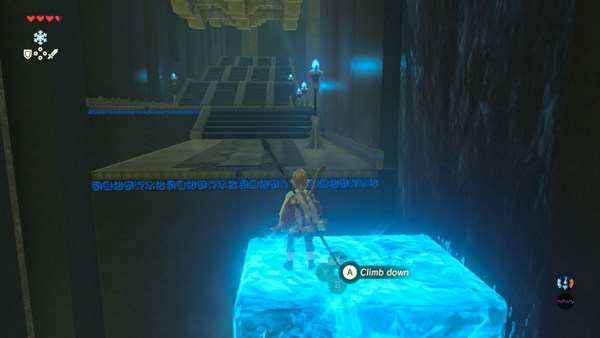
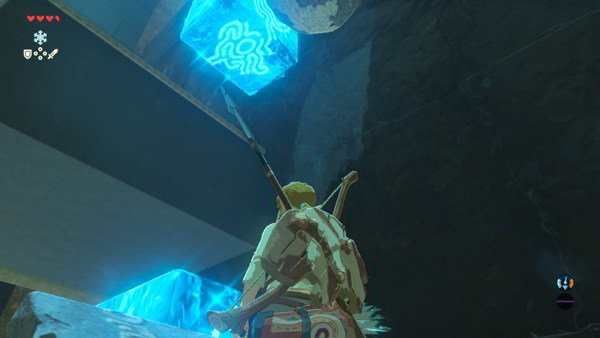
Raise a pillar of ice out of it like before and use it to reach the other side. Continue going north and turn right to find some stairs leading lower. Go down the stairs and into portion with the orange glowing floor. There will be more running water. Create several pillars of ice to reach the platform north.
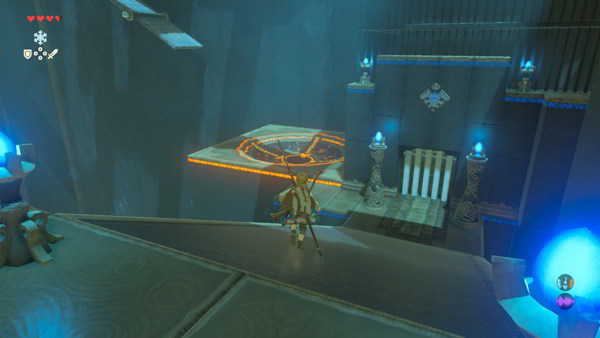
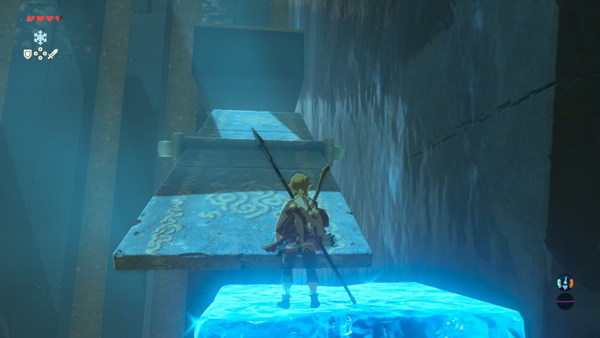
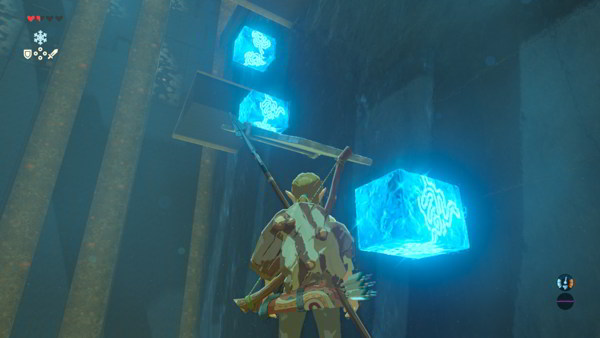
Climb to the top of the platform and create more pillars to reach the next platform. There will be a ball that rolls down the platforms. Create a pillar of ice to block it and make it reverse direction towards the lower platform. Make sure not to block the path of the ball with too many ice pillars. You only need 1.
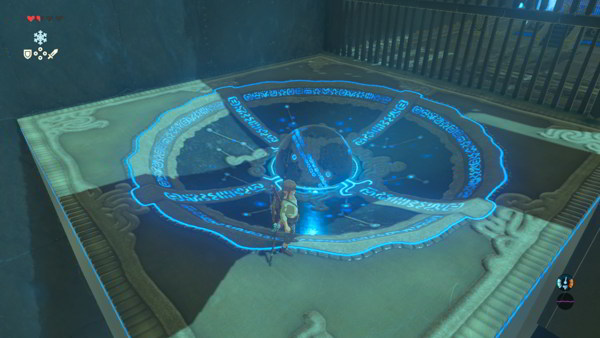
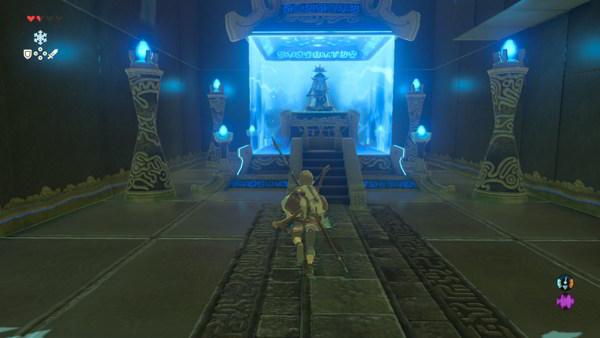
Hop back down to the lower platform and create another pillar of ice towards the bottom to make sure the ball can make it across. You may need to create 2 ice pillars for the ball to travel across. Once the ball reaches the bottom, it will unlock a door nearby. Head inside this door and examine the structure to get another Spirit Orb and transported back outside the shrine.
Reaching Kakariko Village
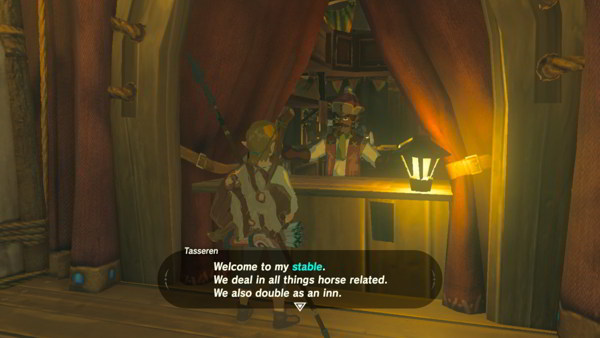
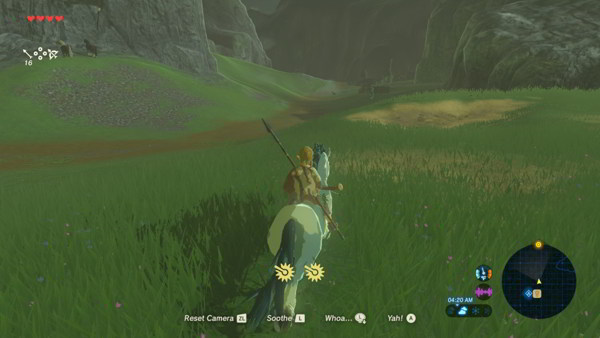
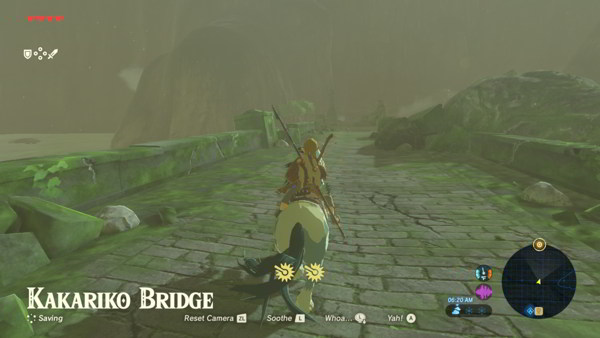
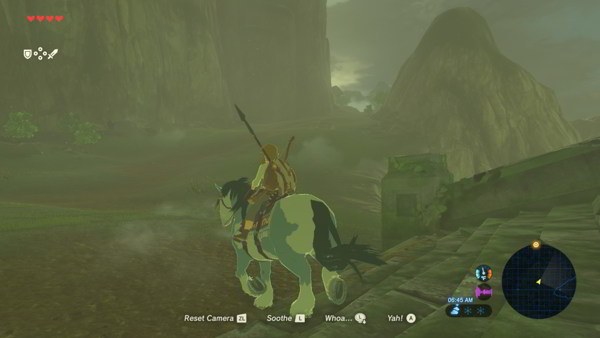
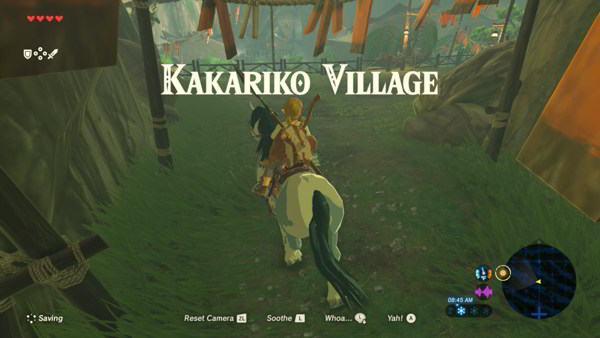
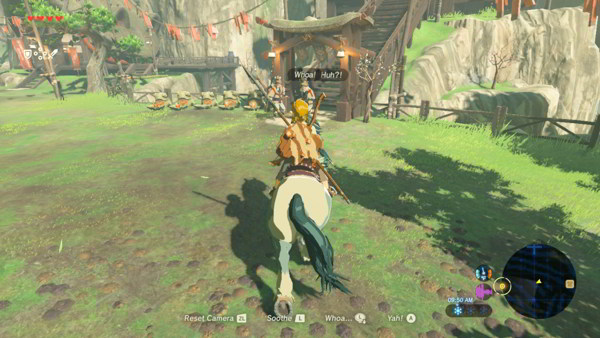
Head to the Dueling Peaks Stable a short distance away. Speak with Tasseren at the front of the tent to learn about the Stable System. Now continue north, try getting a wild horse if possible, until you reach Kakariko Bridge. Go across it and continue along the path. You will eventually reach Kakariko Village at the end of the winding trail.
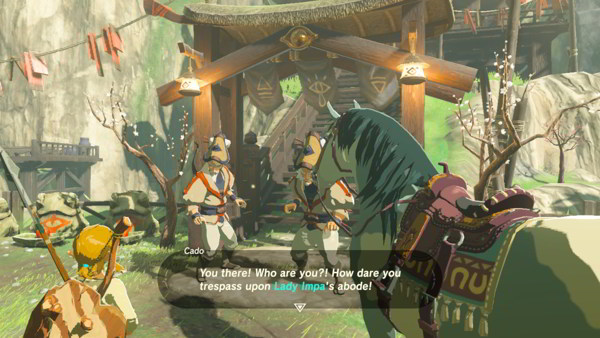
Head to the back of Kakariko Village to find a set of stairs with two guards. A short dialog will happen should you try to go up the stairs. Afterwards, head up the stairs and another dialog will happen. Go inside the house after the dialog for a cutscene. Speak with Impa once more and pick, “I am.” This will start a cutscene and dialog with Impa.
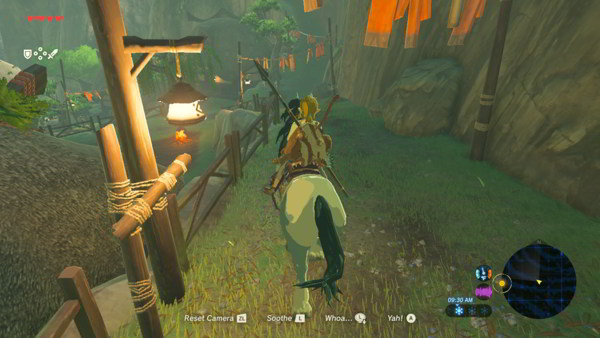
After the cutscene, exit Impa's House and look towards the northeast to see a shrine atop of a hill. Make your way up the trail leading to the shrine, which is the Ta'loh Naeg Shrine. You will want to make sure to activate this shrine before leaving Kakariko Village because it will come in extremely handy in the future.
Back to Part 1: Great Plateau | Continue to Part 3: Hateno Village
