
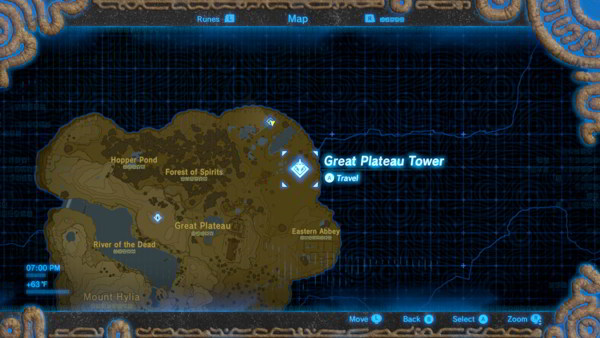
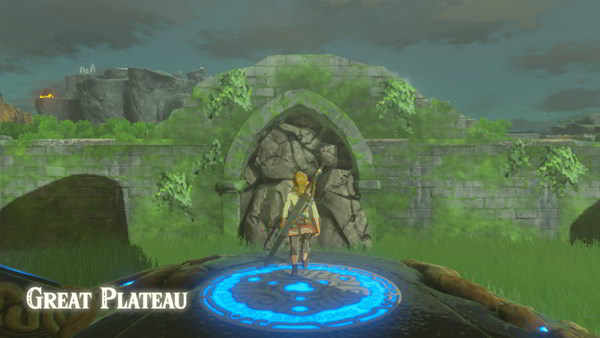
Part 1: Great Plateau
Welcome to part 1 of our Breath of the Wild walkthrough. This part will cover the Great Plateau portion of the game and includes screenshots all along the way to make sure you do not get lost.
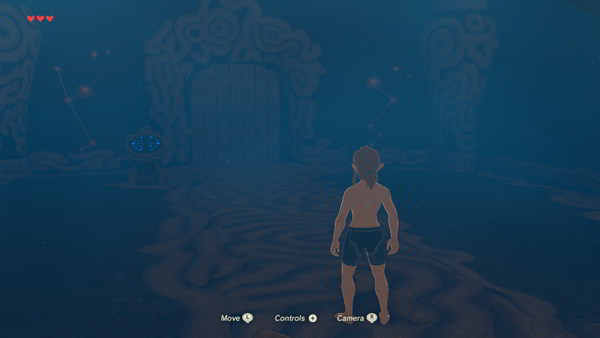
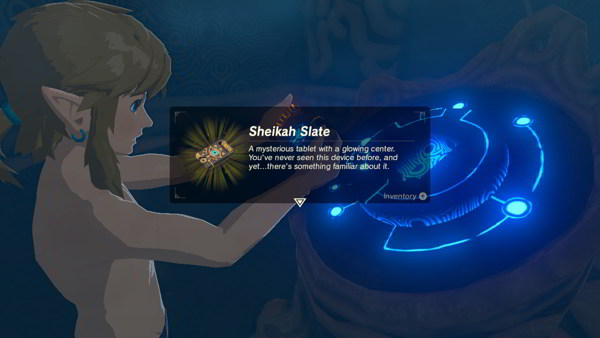
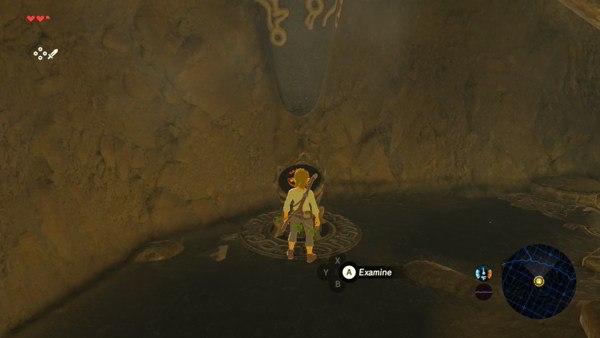
After the initial cutscene, head forward and examine the pedestal to get the Sheikah Slate. Now head through the newly opened door and continue until you find the 2 chests. Open them for the Well-Worn Trousers and the Old Shirt. Equip them and continue down the passage.

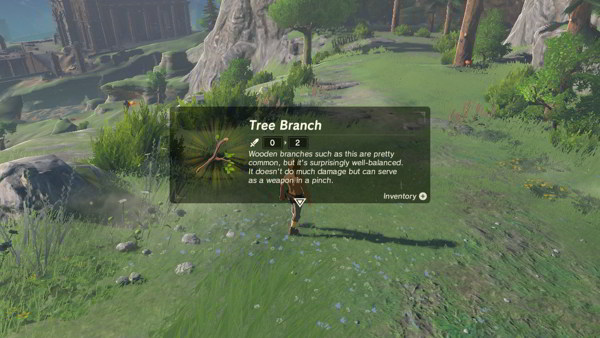
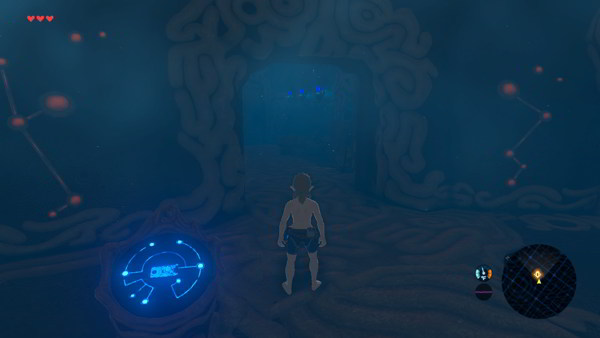
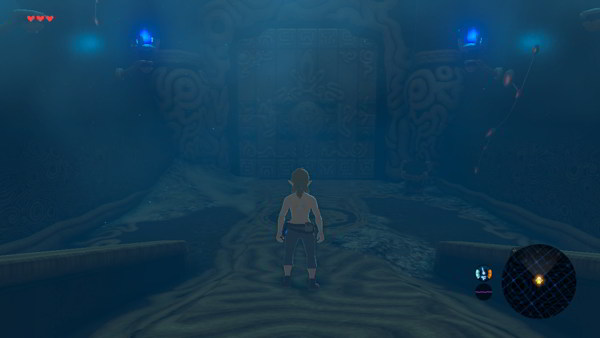
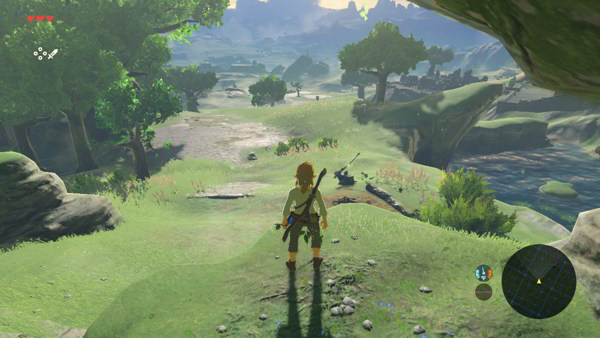
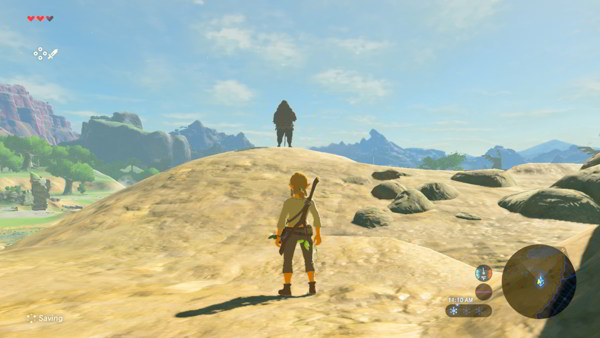
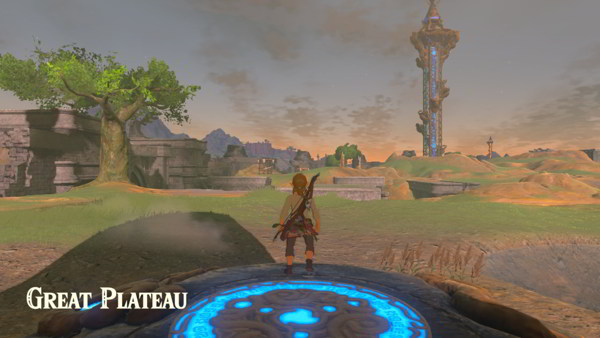
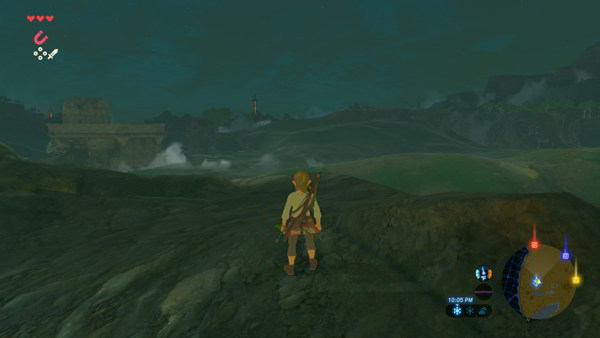
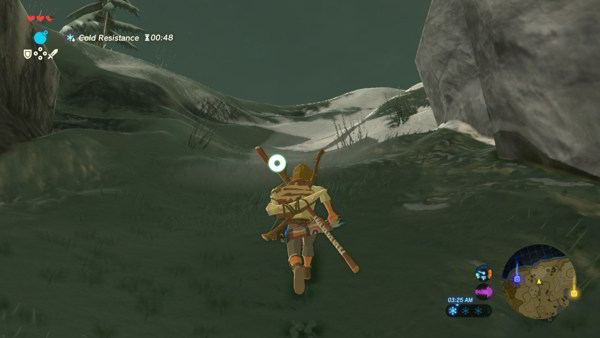
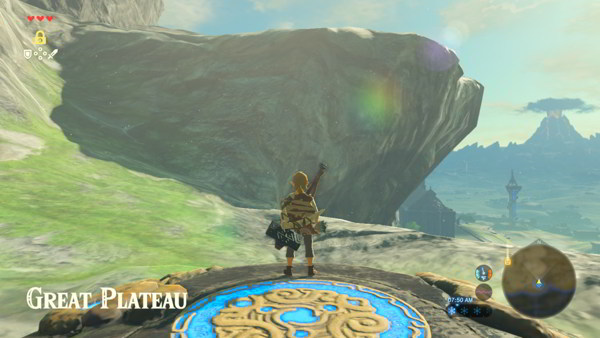
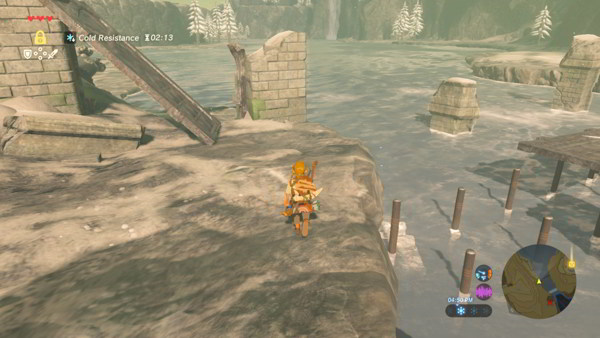
Examine the next pedestal and go through the next door after the short cutscene. Continue through the water and climb up the small ledge. Continue up the stairs and exit into the Great Plateau for another brief cutscene. Now head south – you can easily tell if you fix your mini-map north in the settings – and grab the Tree Branch.
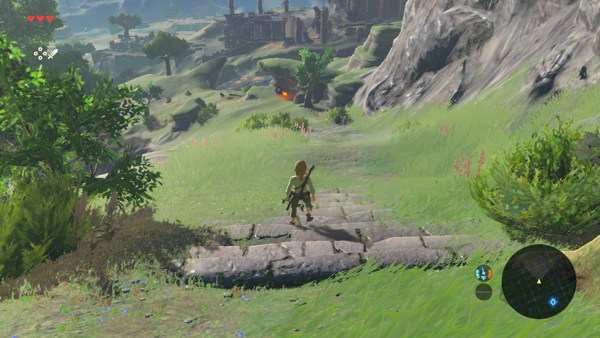
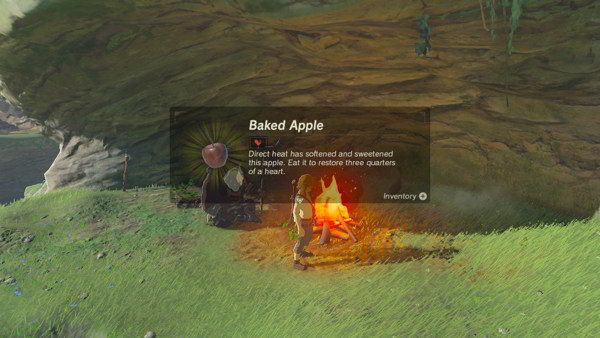
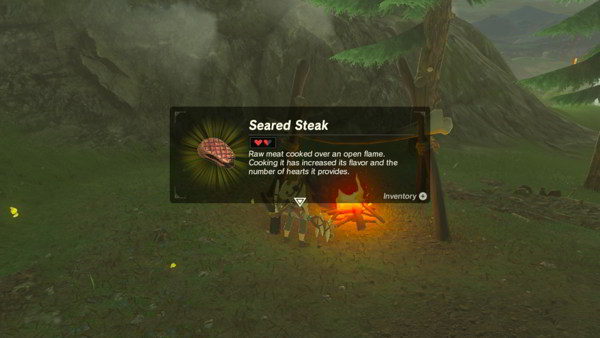
Continue down the hill heading south to southeast. You will find a small campfire along with the Old Man. Speak with him for a short discussion. You can now take the Torch, which will trigger another dialog with the Old Man. There is also a Baked Apple near the campfire.
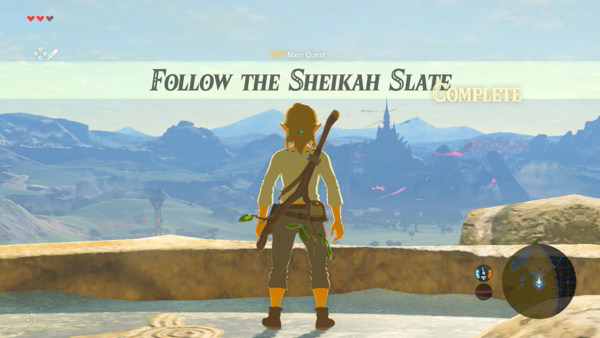
Follow the Sheikah Slate
Picking it up will trigger yet another dialog with the Old Man. Continue heading east and you will find the Woodcutter’s Axe. Take it and another dialog will happen – this time with an unknown voice. Now check for the marker on the Sheikah Slate and head to this point to find a pedestal.
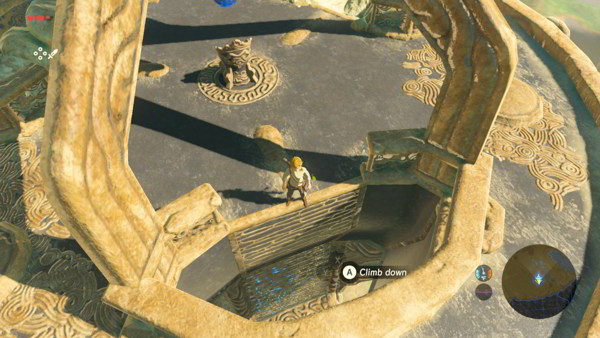
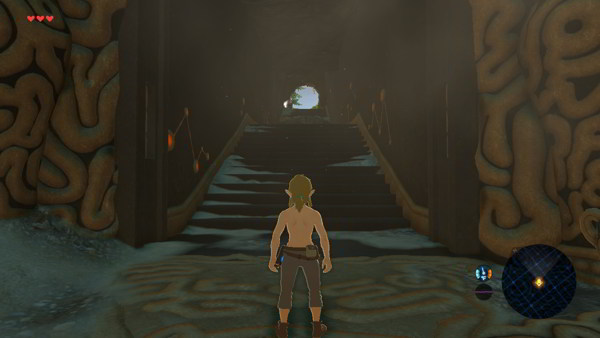
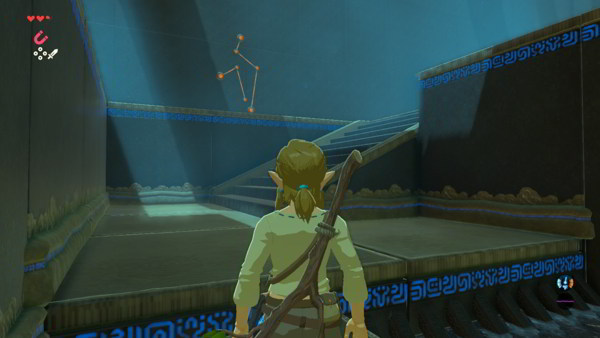
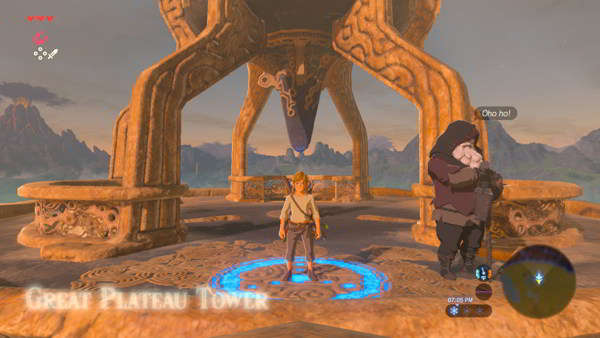
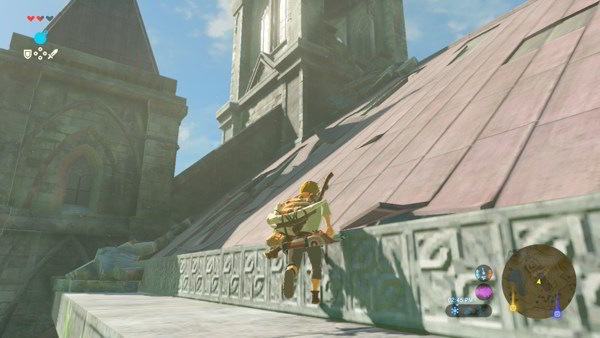
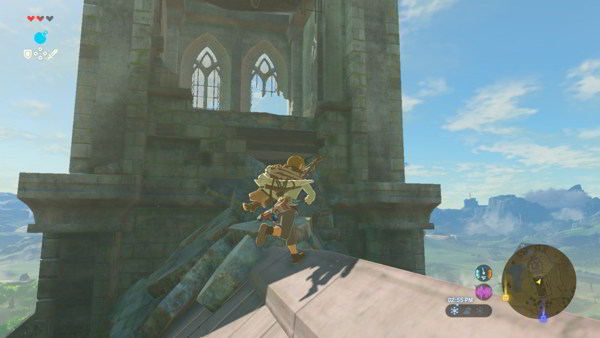
Examine the pedestal and a cutscene will ensue. You will now be on top of the Great Plateau Tower. Climb down the tower and another cutscene will happen when you get to the bottom.

The Isolated Plateau
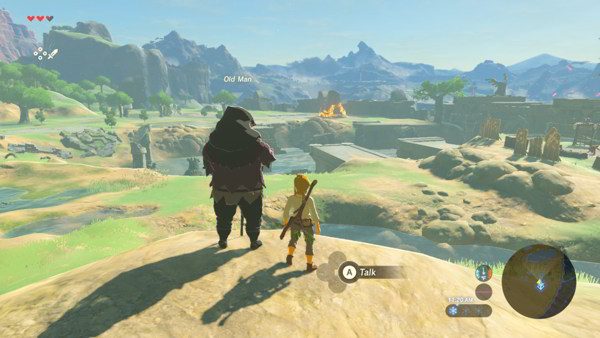
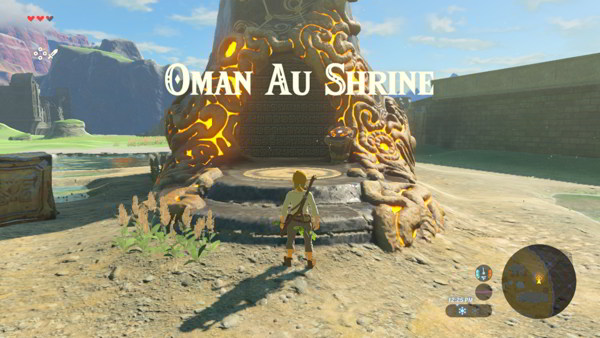
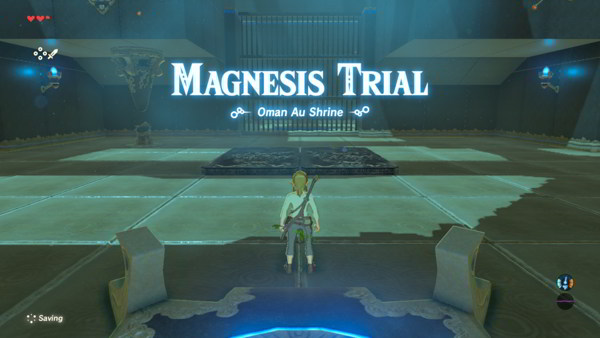
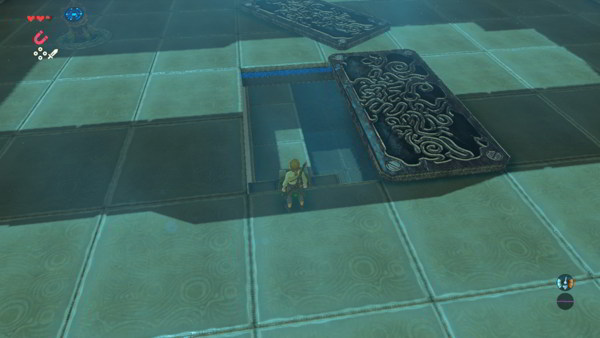
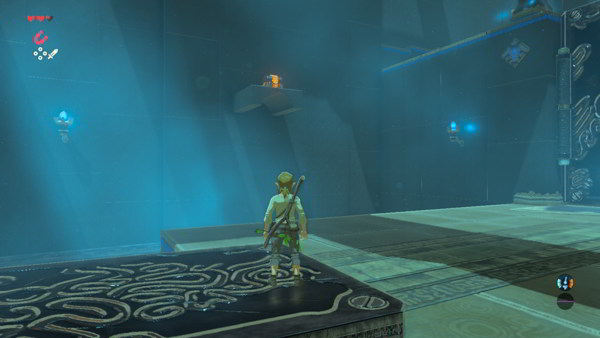
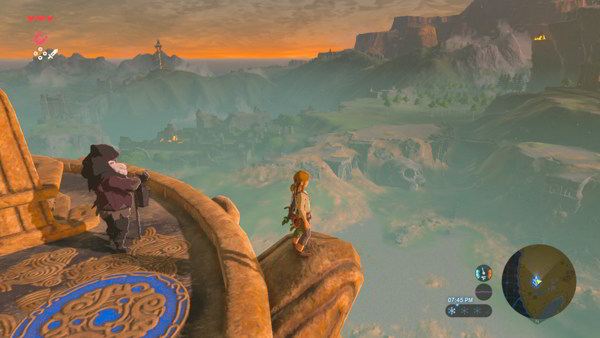
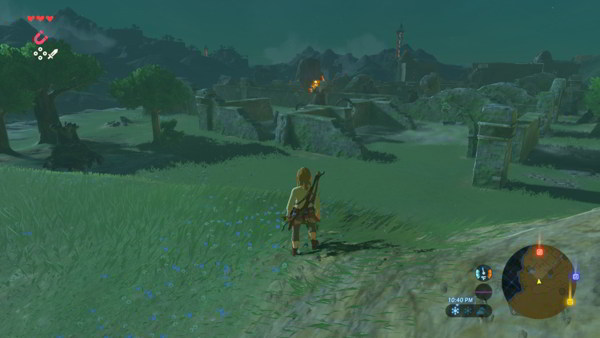
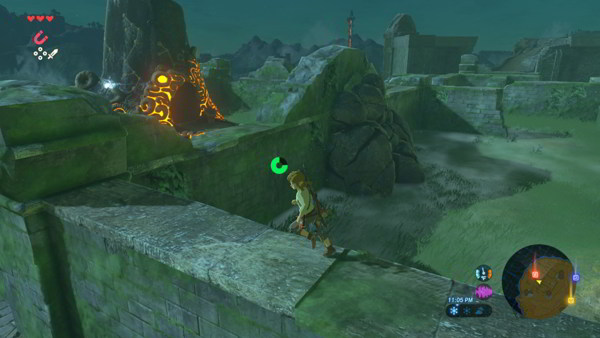
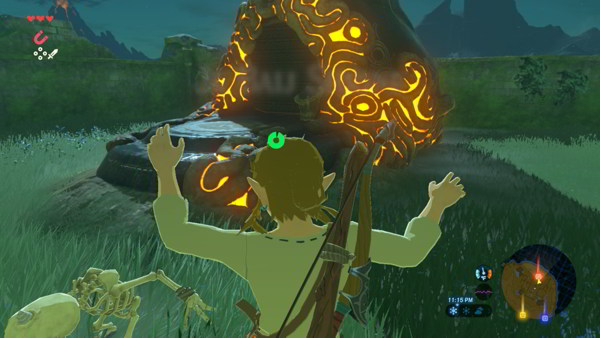
Now follow the Old Man to the top of the hill. Speak with him for a short dialog. Now head northwest to the fiery structure to find the Oman Au Shrine and a pedestal. Examine the pedestal to gain entrance to the Shrine. Head inside and examine the floor to enter into the Shrine.

Magnesis Trial – Oman Au Shrine
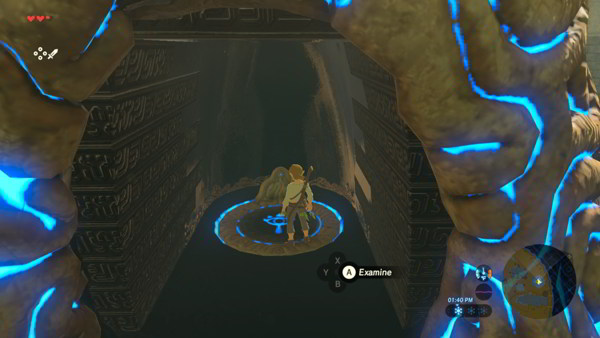
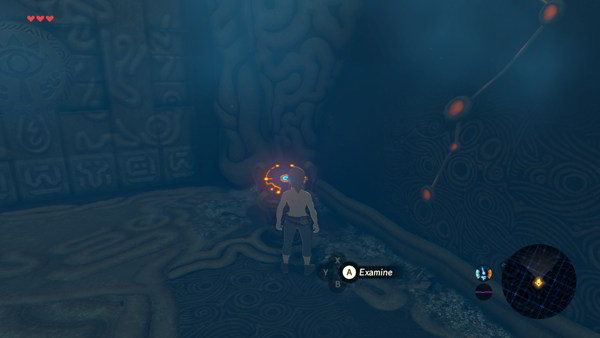
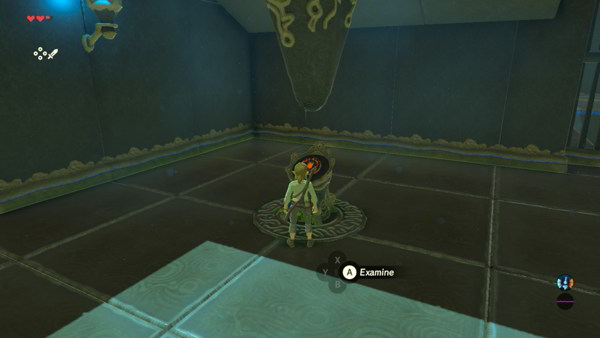
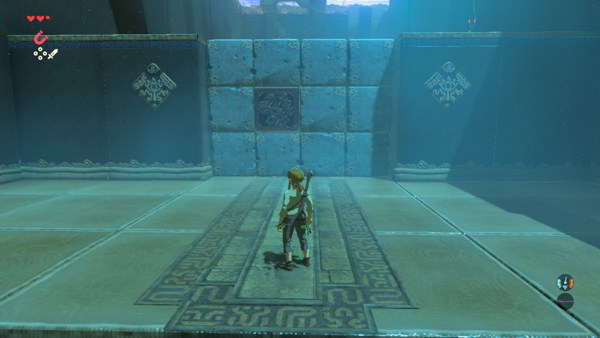
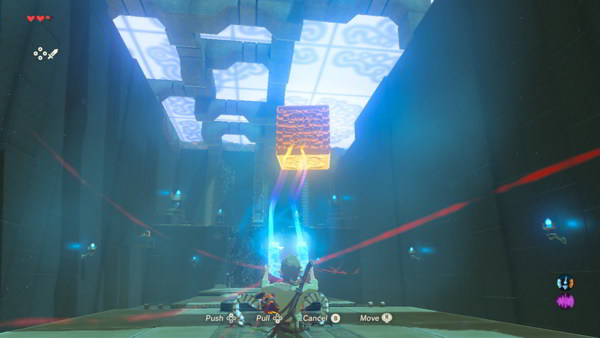
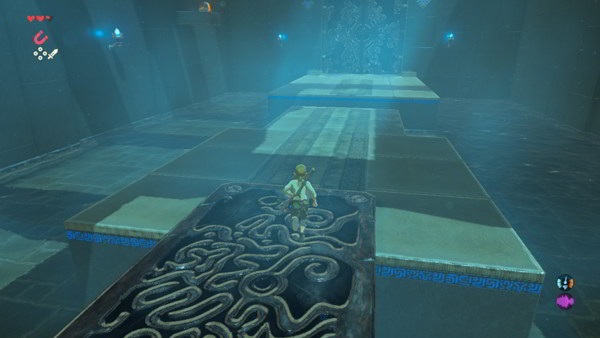
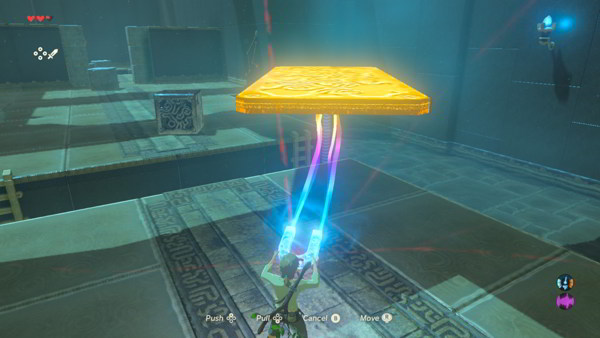
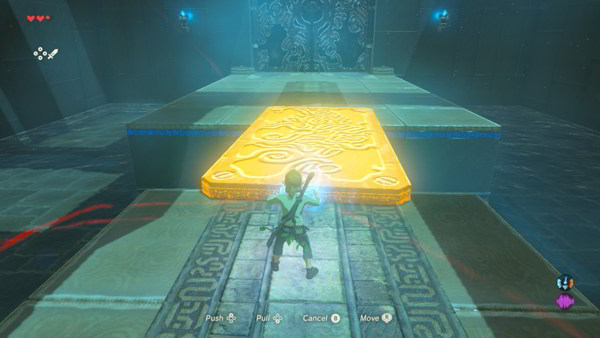
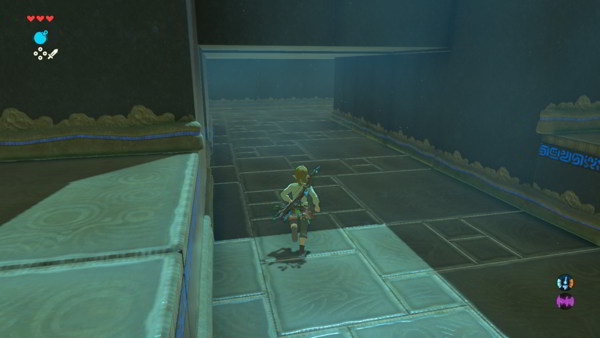
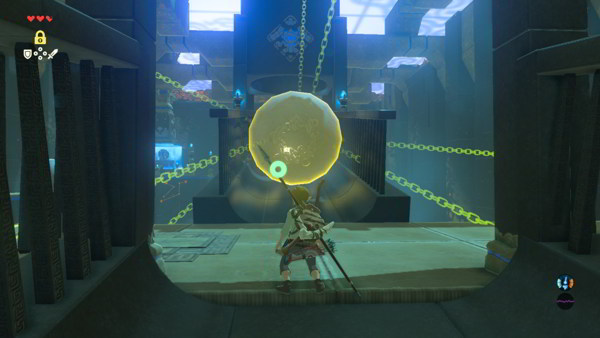
You will now be in the Magnesis Trial. This is one of over 100 Shrines of Trials. Head to the corner of the room and examine the pedestal to activate the rune. You will now have access to the Magnesis Rune. Use the Magnesis Rune to lift the giant stone slates in the middle of the room. This will unlock a path forward.
Continue down the path and go up the stairs to find the next room. There will be a block you can use the Magnesis Rune on located inside the block wall. Pull it out and use it to push down the wall to open a path forward. Now head forward to find an enemy. Pick up the block and drop it on top of it to defeat it.

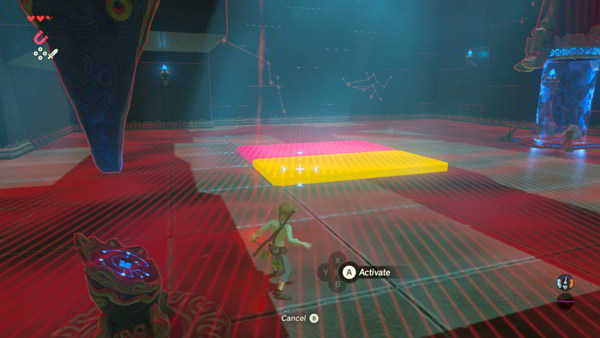
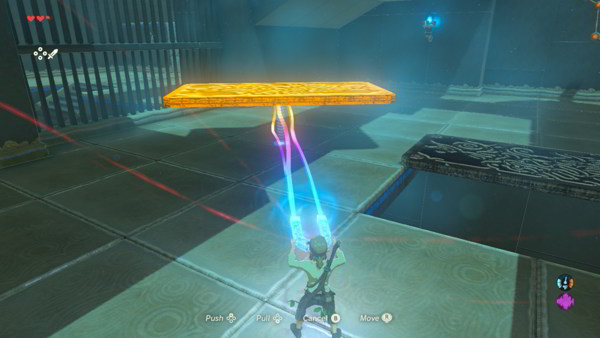
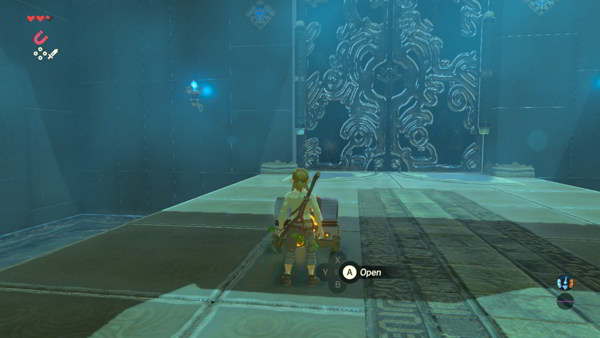
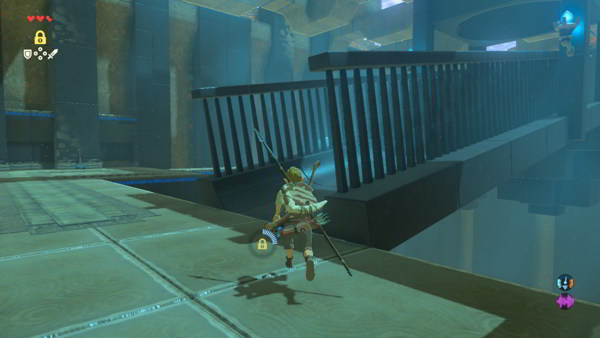
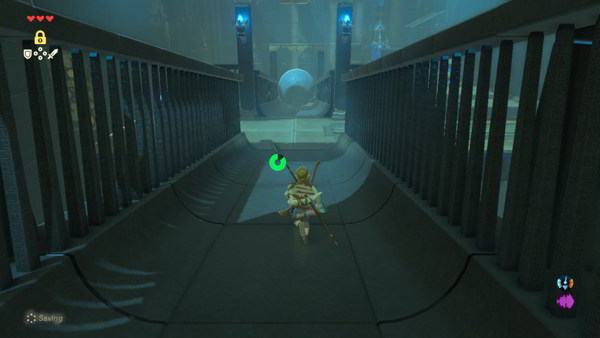
It may drop an item such as the Ancient Screw. Now head down the path across the slate. Use the Magnesis Rune to pick it up and move it to make a bridge across the gap forward. Continue across the slate to find a chest up on the wall to the left.
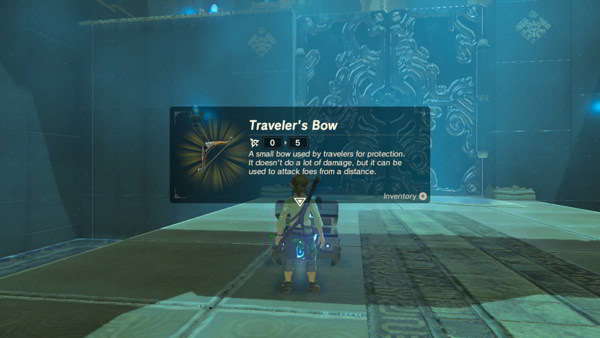
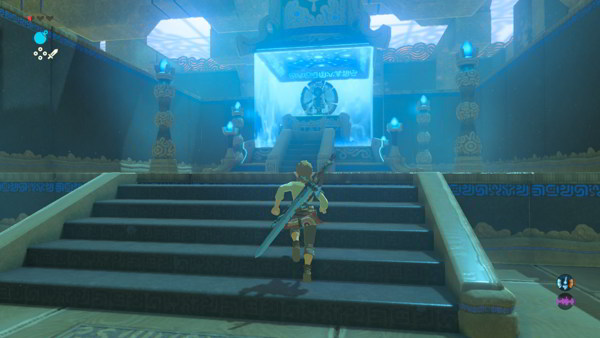
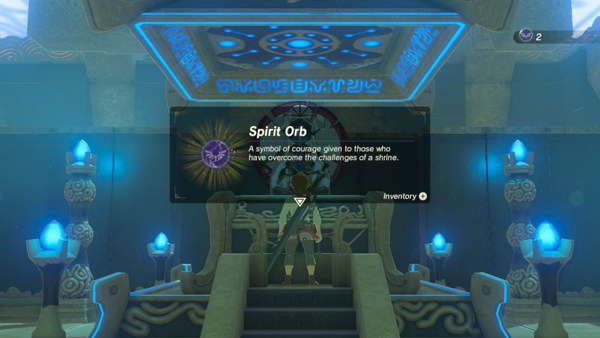
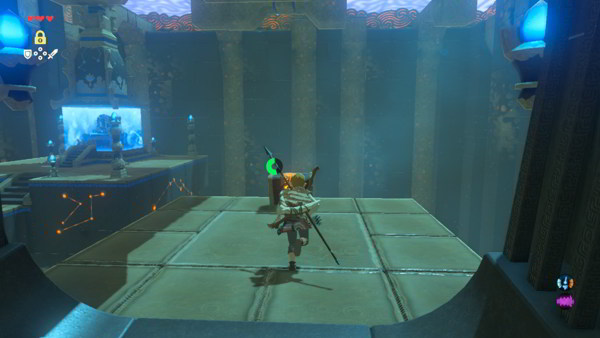
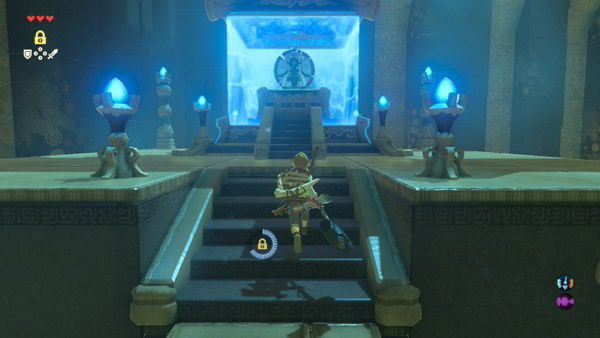
Use the rune to pick it up and move it within walking distance. Open it to find the Traveler’s Bow. Now use the rune to pull open the slate doors. Continue down the path and up the stairs. Examine the structure for a short dialog. You will get the Spirit Orb and be transported back to the Great Plateau.


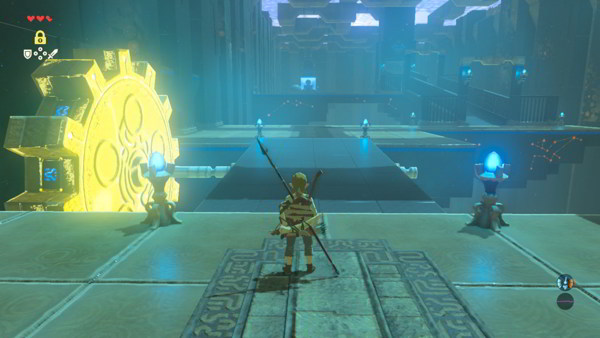
Great Plateau
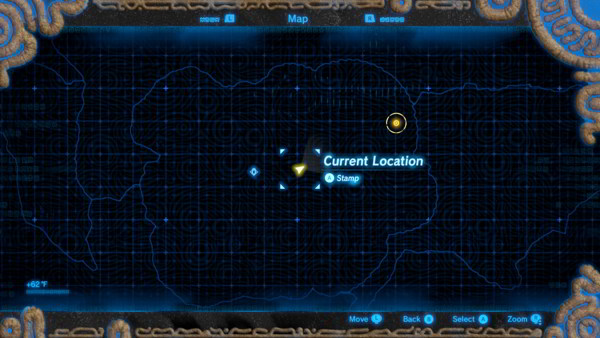
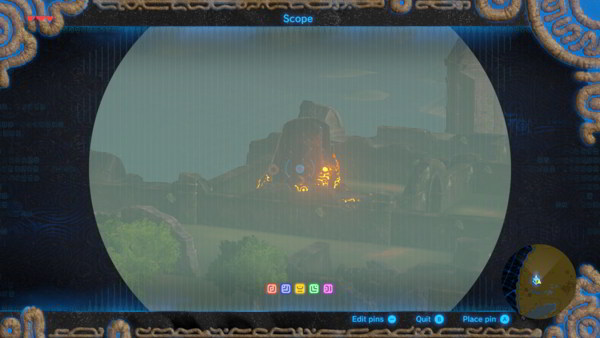
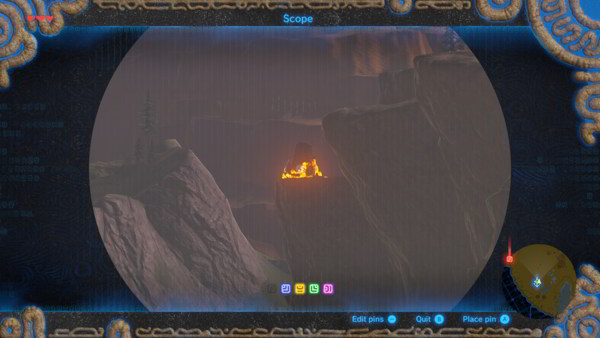
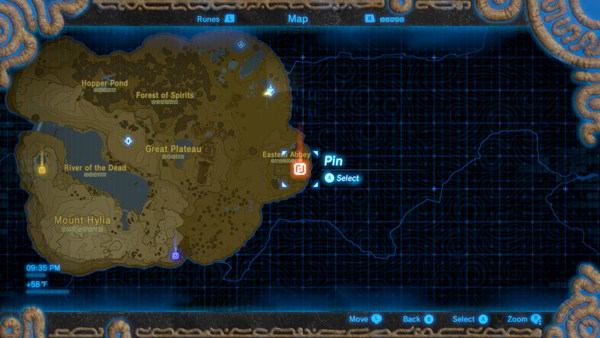
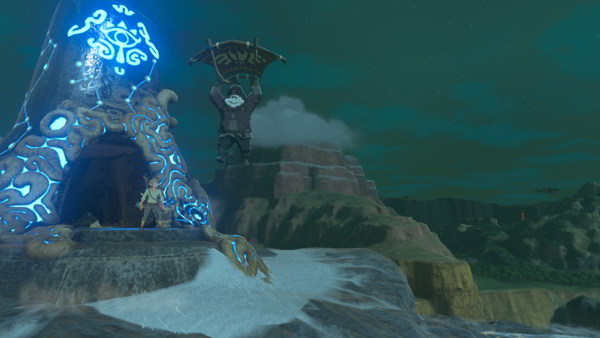
After a brief dialog, head back to the Great Plateau Tower using the Sheikah Slate. Speak with the Old Man. Now use the scope on the Sheikah Tablet to mark the Shrines. They are the fiery structures like the Oman Au Shrine we just finished.
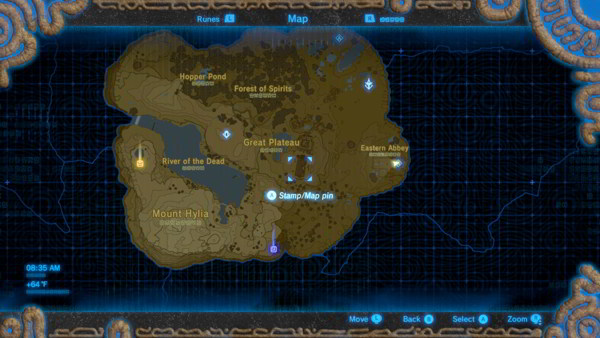
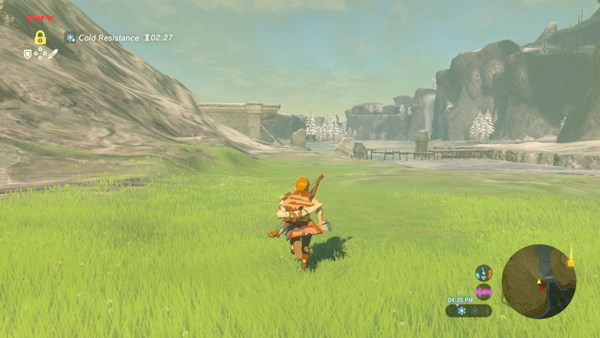
There are several, but a few of interest are to the south, southwest, west, and northwest. You should be able to find at least 5 Shrines. The first one we will tackle is to the south of the Great Plateau Tower located within the Eastern Abbey portion on the map.
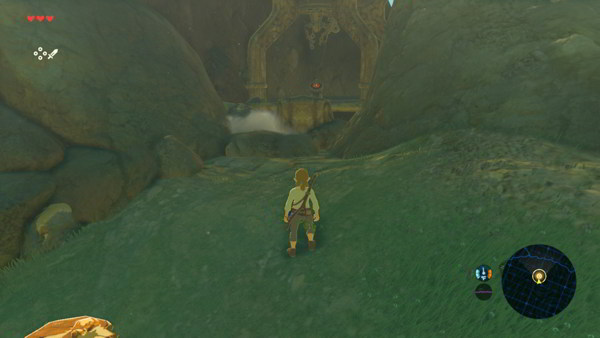
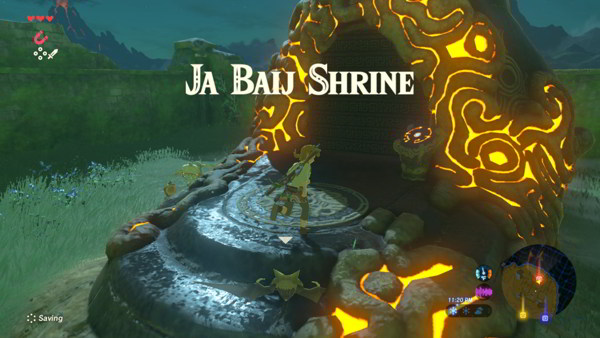
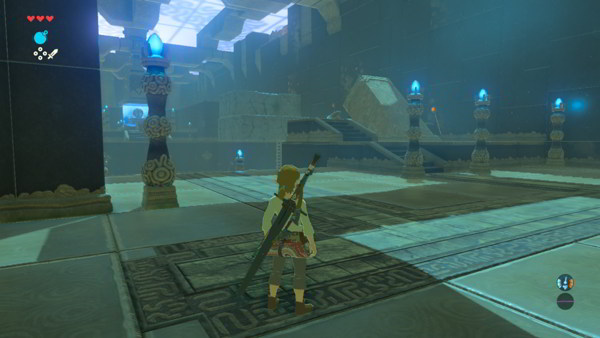
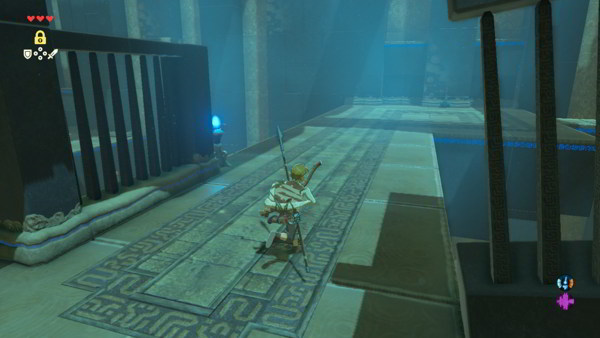
Travel to the general location to find a small maze like area covered in disabled creatures or otherwise known as Guardians. Be careful as they will activate and easily defeat you. Travel through the area or climb on top of the walls until you reach the Ja Baij Shrine and a pedestal.
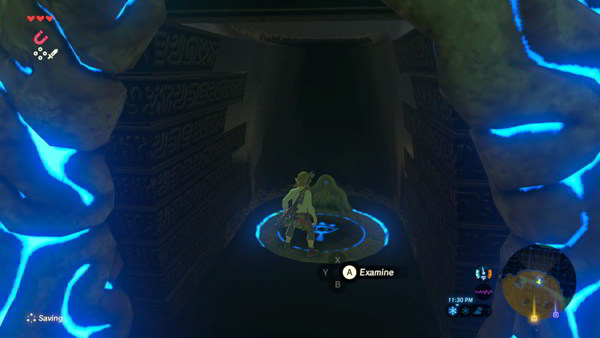
Examine it to gain entrance to the shrine. Now examine the floor inside to be transported within it.
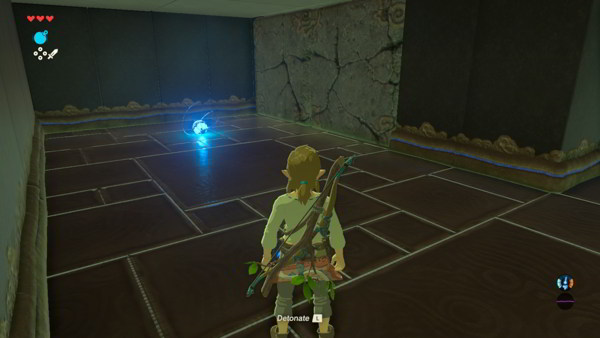
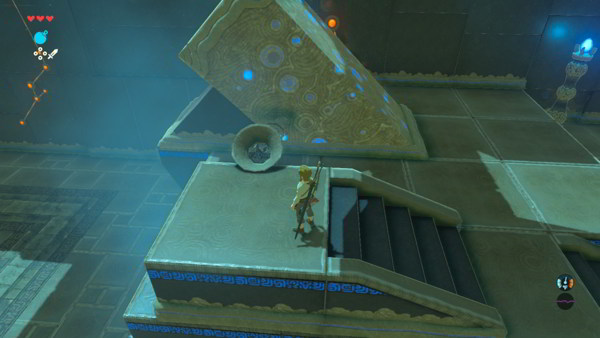
Bomb Trial – Ja Baij Shrine
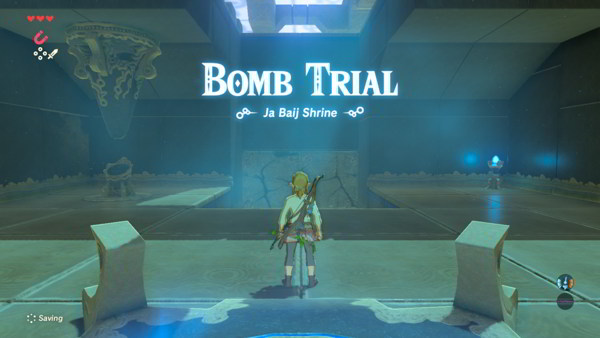
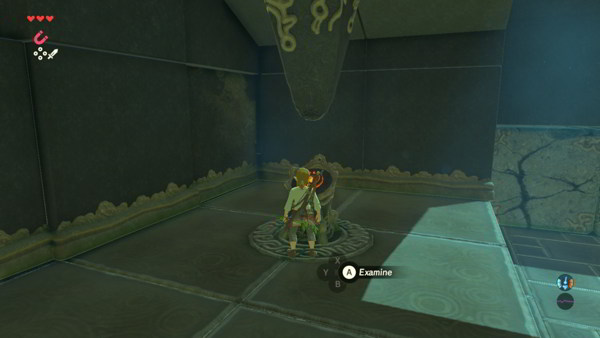
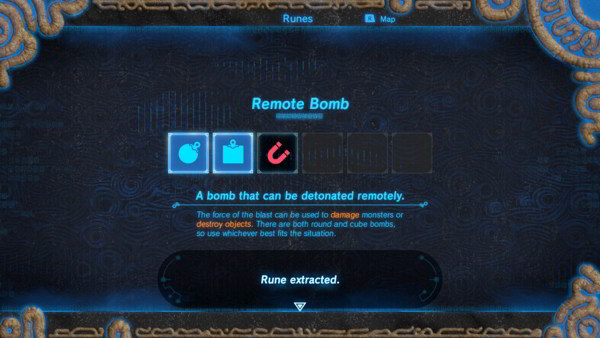
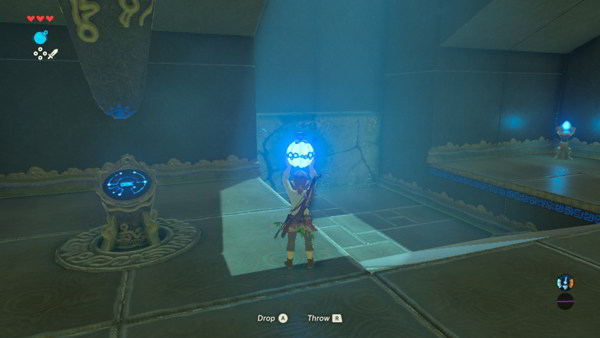
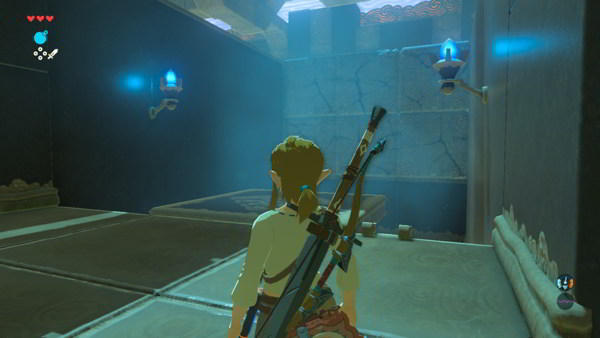
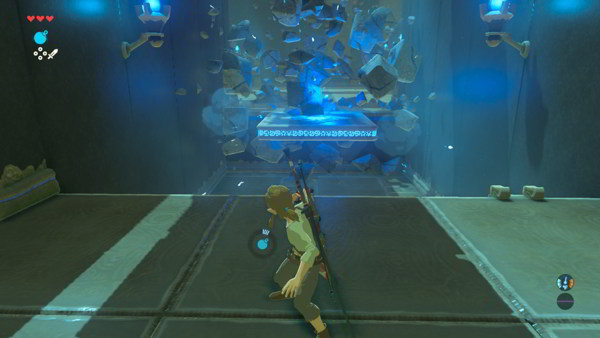
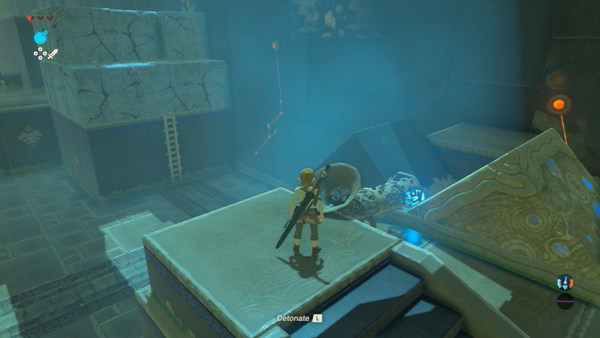
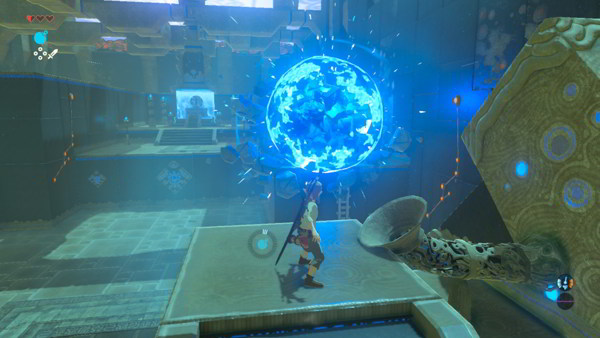
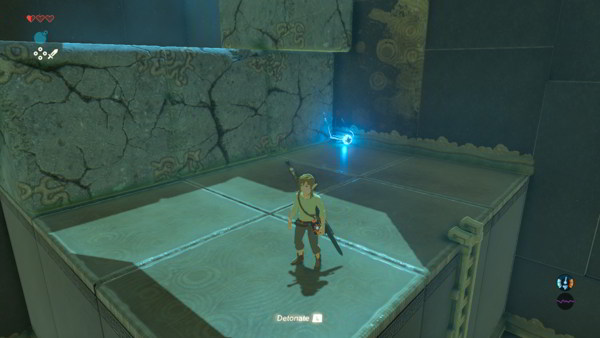
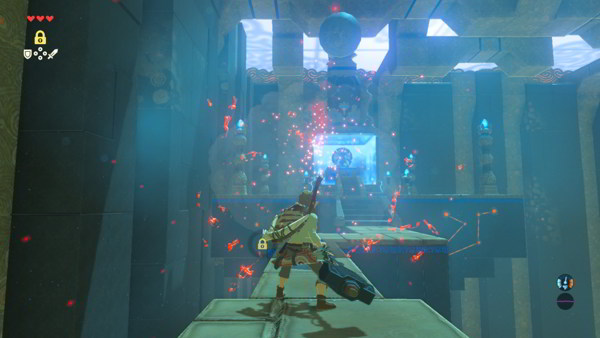
You will now be in the Bomb Trial. Head to the pedestal in the corner of the room and examine it to receive the Remote Bomb Rune. Use it to blow open a path through the light colored blocks blocking the path. You have to toss the bomb and detonate it to make it blow up.
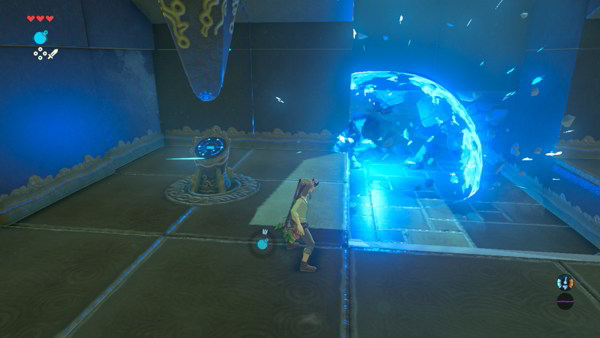
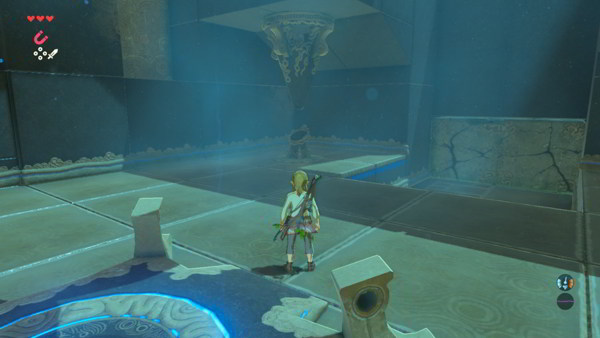
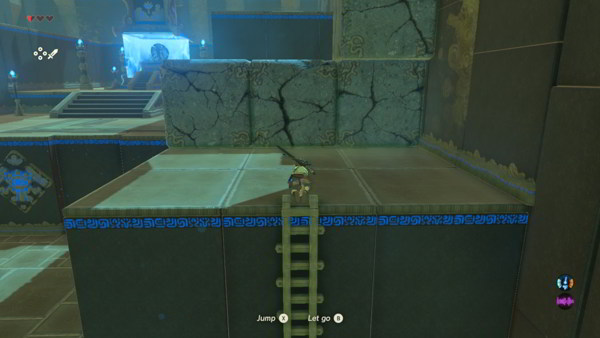
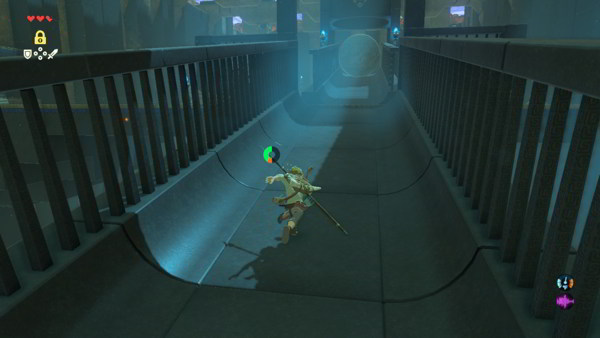
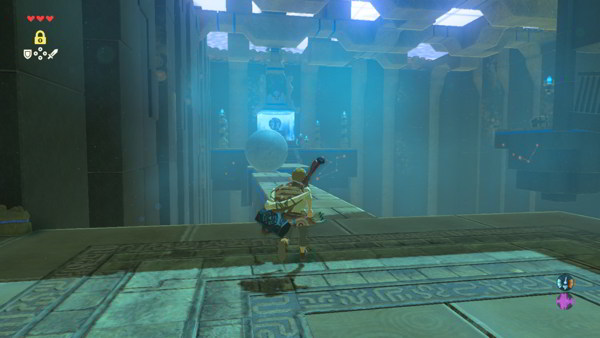
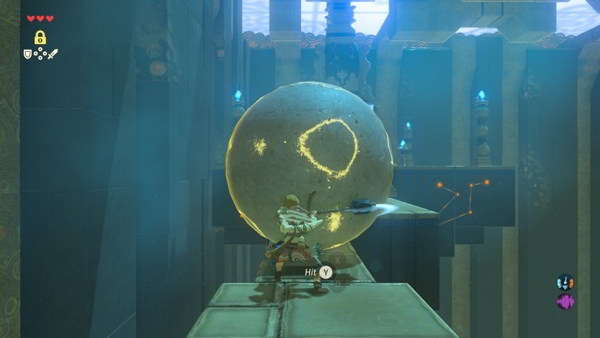
Continue down the path and head right. Blow up the blocks to reveal a chest, which contains the Traveler’s Claymore. Now head back to the left. Blow open the path with the Bomb Rune and continue. Climb up the ladder to find a moving platform and some breakable blocks.
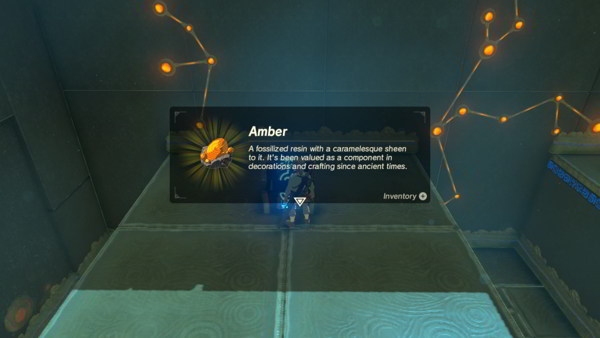
Toss a bomb on the platform and detonate it when it reaches the blocks. Continue across the platform to find a wide open room. On the back wall is a chest. You’ll see three structures with one tossing a ball back and forth. Climb up and stand on the one in front of the chest to be tossed over to it.

Open the chest for some Amber. Now head back across to the start of this room. There will be some blocks in front of one of the moving structures. Drop a bomb down the hole next to it and it will be tossed over to the blocks.
Detonate the bomb to blow up the blocks and head up the small ladder beneath them. Continue until you find the stairs leading up to a platform. Examine this platform like you did in the previous Shrine to receive another Spirit Orb and be transported back outside the shrine.
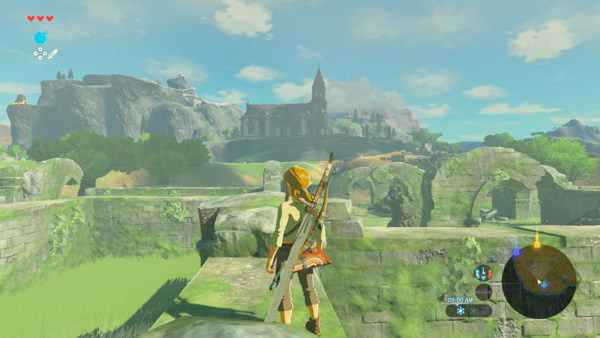
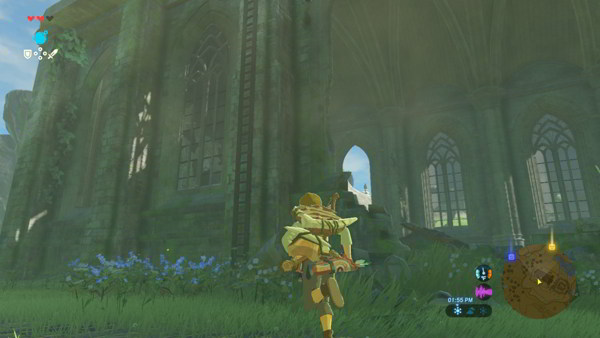
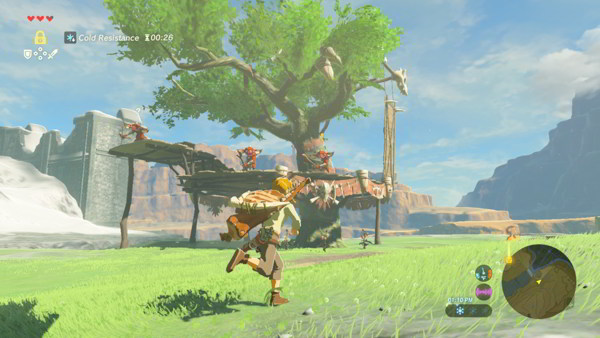
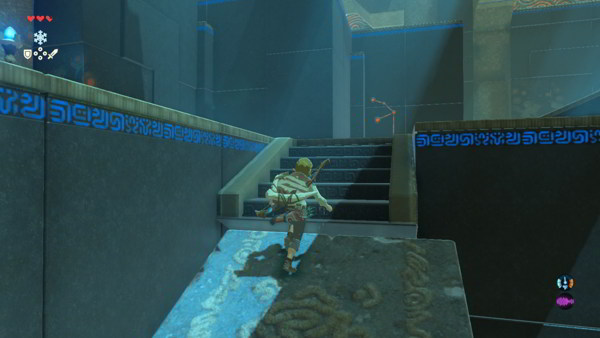
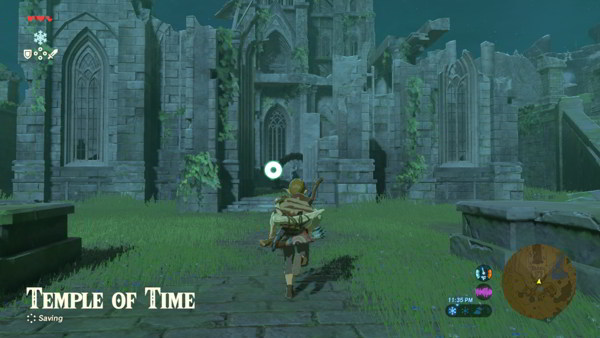
Now head to the northwest of Ja Baij Shrine to find a large skull with some Bokoblins guarding it. Defeat the Bokoblins to activate the chest inside the skull. Open it for the Fire Arrows. Continue on a southwestern path towards the large temple. This is the Temple of Time.
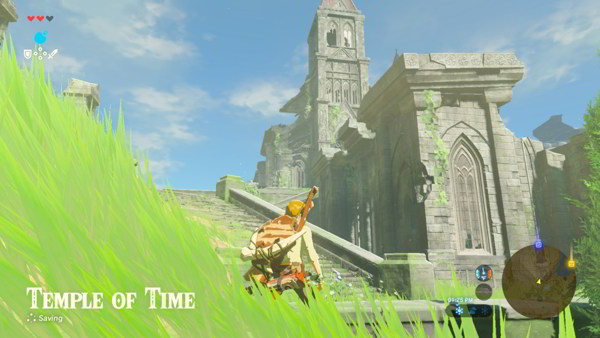
On one side will be a ladder. Use it to climb to the top of the temple. Make your way around to find another way up higher on the temple. Once you make it to the very top, you will find a chest that contains the Soldier’s Bow. Now climb back down the temple and continue on the southern path.

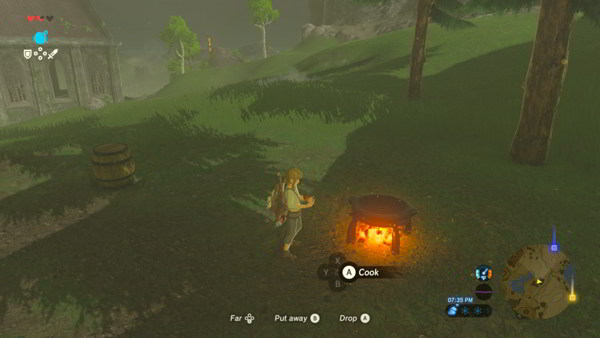
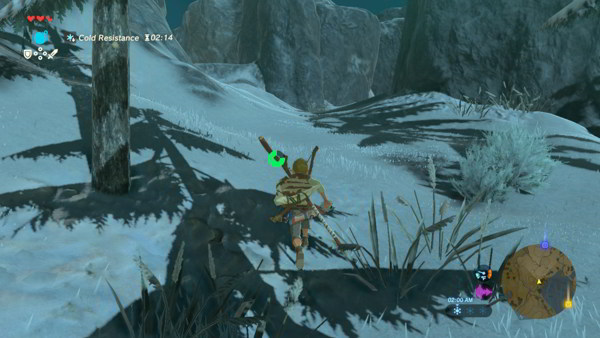
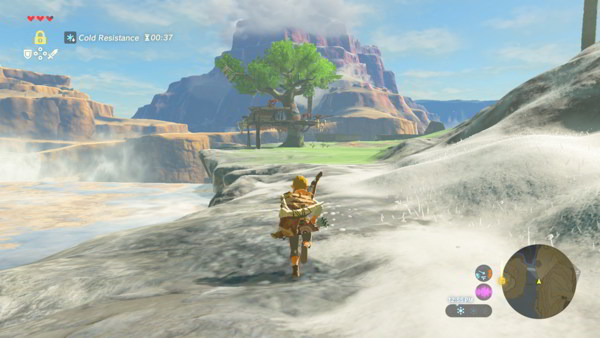
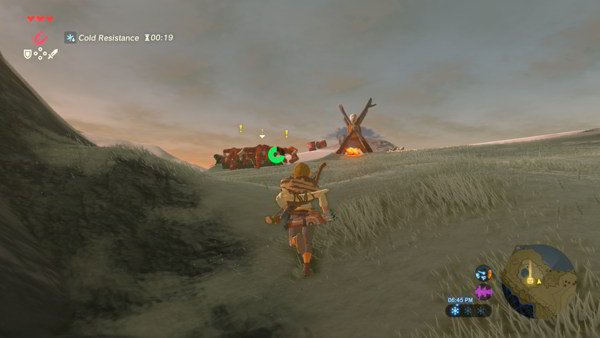
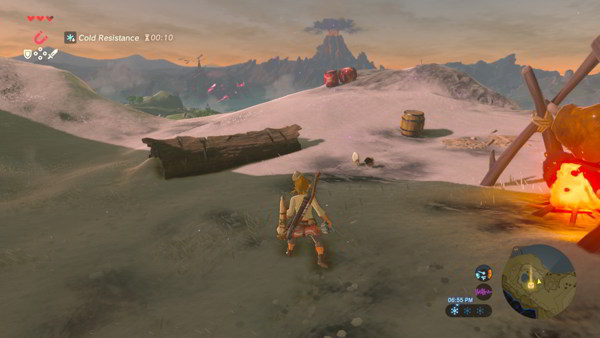
You are heading up the mountain into a snowy area. There is a small campfire a little before where the snow starts. There will be some Spicy Peppers here as well as near the archway before the snow. Be sure to pick them up. Head towards the campfire and defeat the Bokoblins.
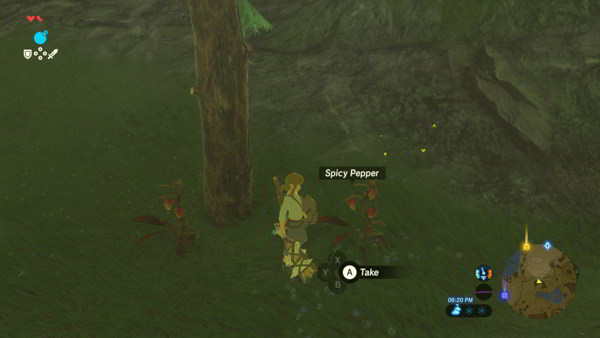
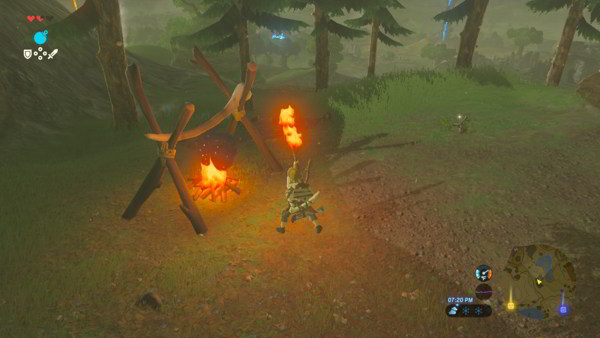
Use a torch or another wooden weapon and light it with the fire. Swing it towards the small wood pile with the large bowl on top to light it. Now hold a Spicy Pepper near it to cook it into a Spicy Sautéed Peppers dish. This will keep you from freezing on the next portion of the journey.
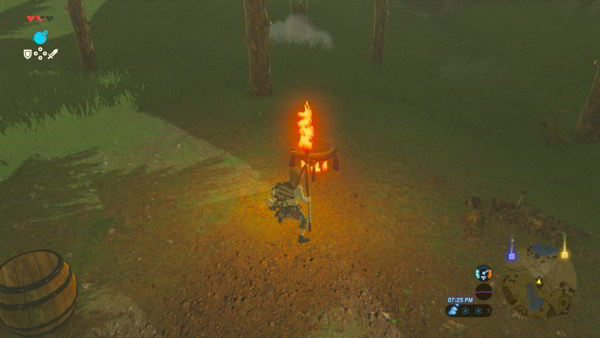
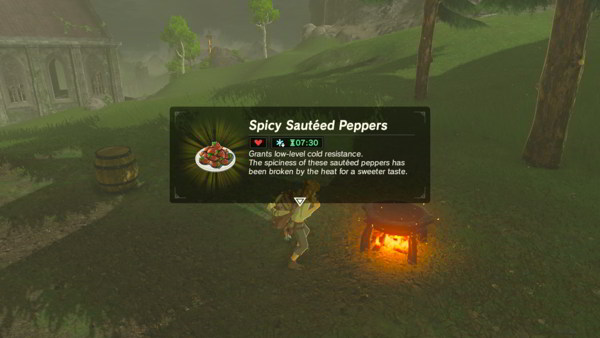
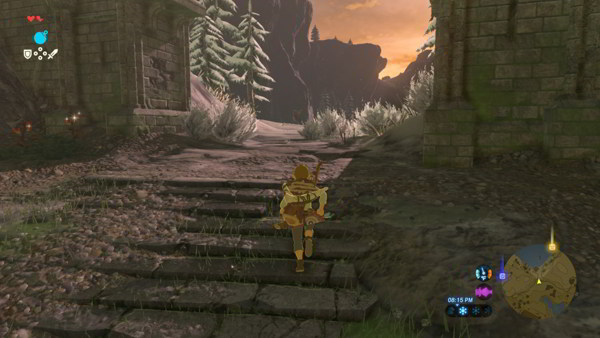
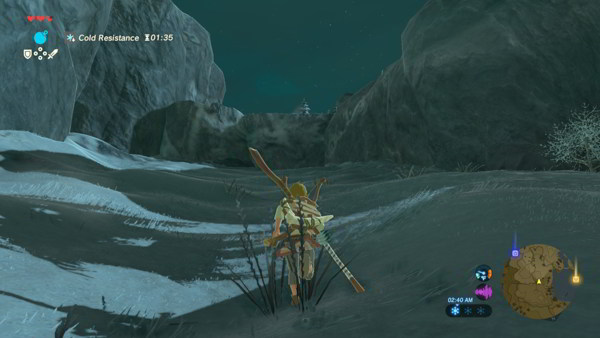
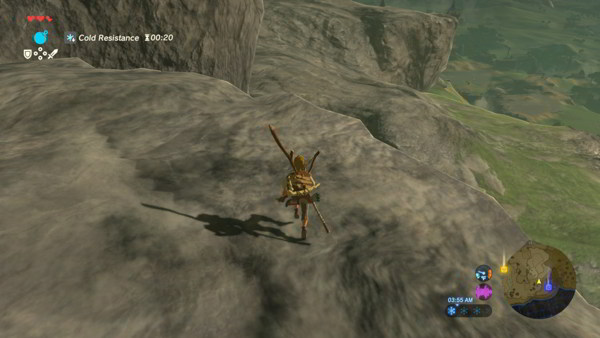
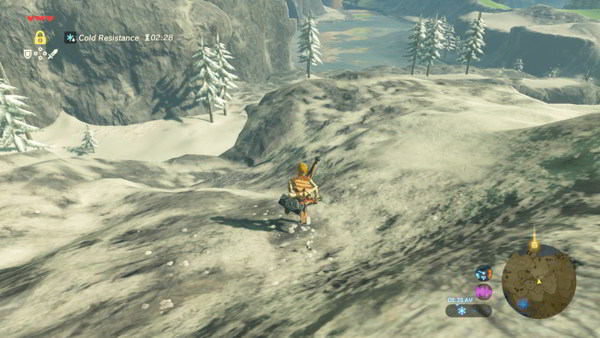
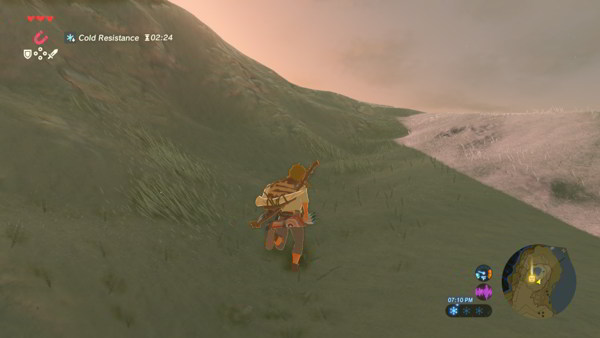
Be sure to eat one of the Spicy Sautéed Peppers and head through the archway nearby. Continue up the mountain making sure to take the left trail. The game will indicate you are entering a cold area and to get warm if you have not used an item already to do so.

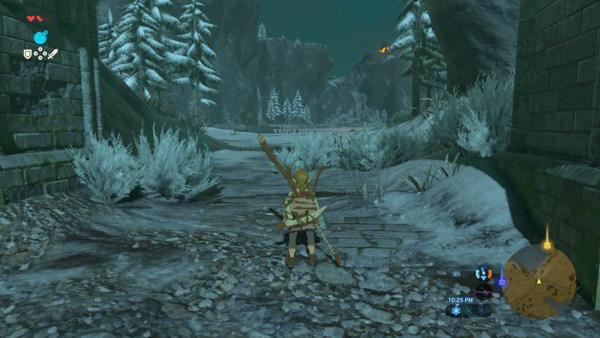
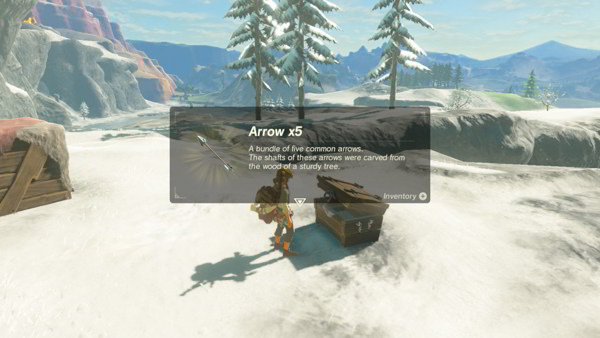
Continue quickly on the path until you find a campfire. Take out the Bokoblins and pick up what they drop. Open the chest for Arrows 5x and continue up the mountain. Be sure to dash when able as Link will continue to take damage while you are in the cold unless you eat one of the Spicy Sautéed Peppers.
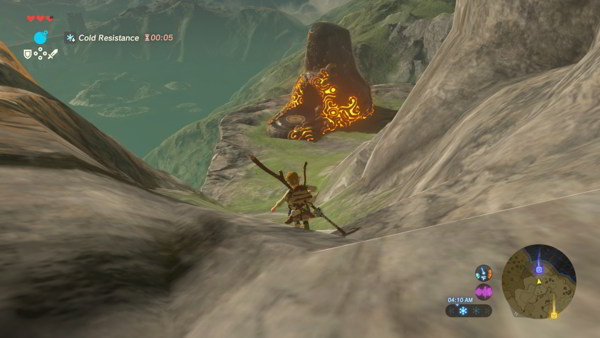
Once at the top, you will be able to see the Shrine below. Travel to the left to find a ledge a little higher up. Climb down to it and head to the Owa Daim Shrine. Examine the pedestal to open the entrance and continue inside. Examine the floor to be transported inside the Shrine and so begins the Stasis Trial.
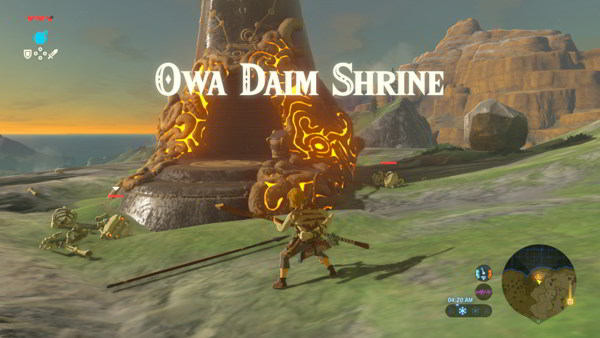
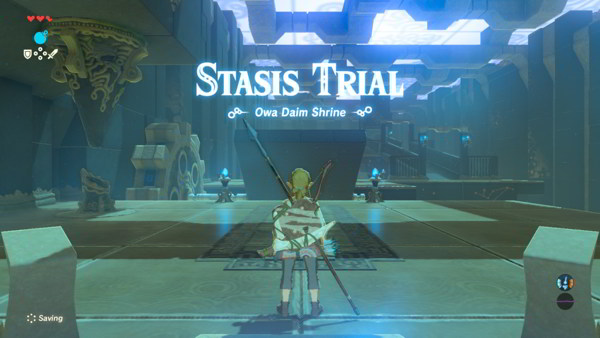
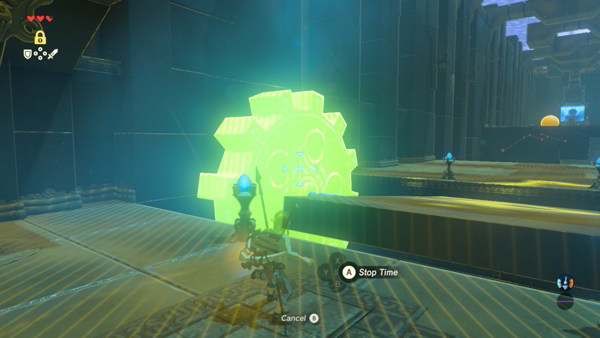
Stasis Trial – Owa Daim Shrine
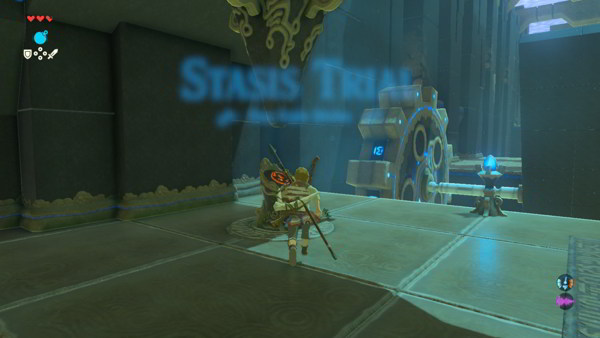
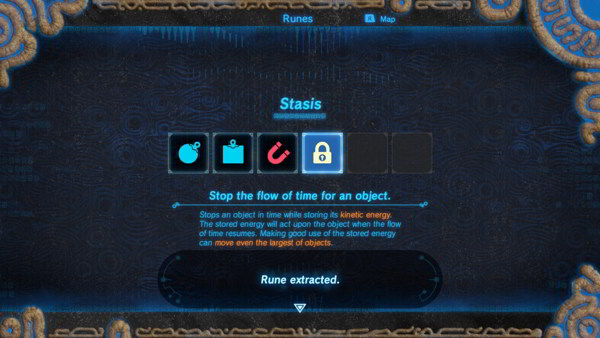
Continue to the pedestal near the large gear. Examine it to get the Stasis Rune. Use the Stasis Rune on the gear when the platform is level. Now hurry on across the platform to the other side. Continue down the path to find boulders that keep rolling down.
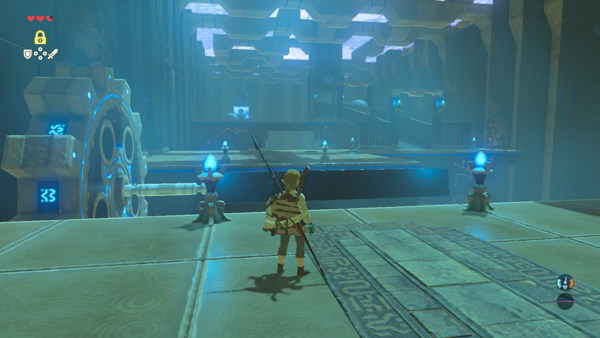
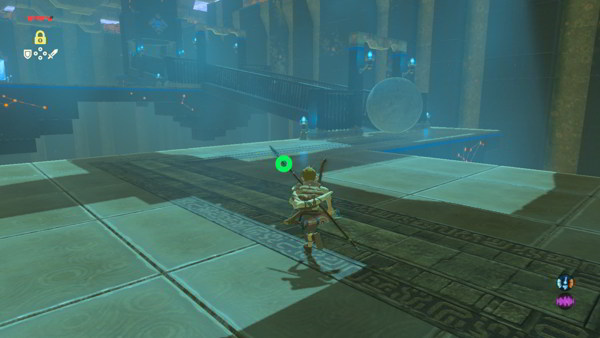
Wait until a boulder falls off and quickly dash up the path, being sure to freeze the next boulder with the Stasis Rune in time to make it to the top. Wait for this boulder to roll down and quickly dash up the boulder’s path once more to find a chest, which contains the Traveler’s Shield.
Head back down the path and continue to the left side of the room. Against the wall will be an Iron Sledgehammer. Pick it up and continue north along the path. You will find a boulder blocking the path. Freeze time on the boulder and hit it several times with the Iron Sledgehammer.
The boulder will fly across the room once it unfreezes. Continue along the path and go all the way up the stairs. Examine the structure to get another Spirit Orb and be transported outside the Shrine. Head northwest back into the snowy terrain. Climb down the ledge and head towards the camp fire.
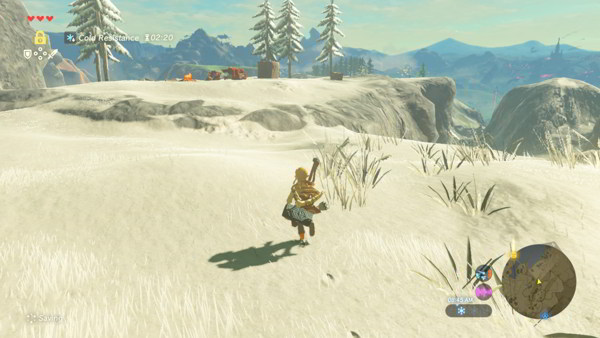
Defeat the Bokoblins and open the chest slightly out of the way for Arrows 5x. This is the campfire near to the water. Now eat something to warm you up or light a torch and continue around the body of water traveling northwest until you reach a warm patch of land with some Bokoblins.

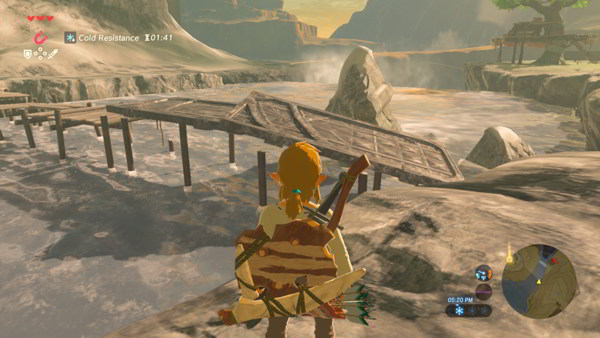
Defeat them and pick all of the Spicy Peppers you see. Cook them in preparation of the next portion of the journey. If you look the way you came from, there will be a small wooden bridge. Eat a Spicy Sautéed Peppers and head here, but do not jump across.

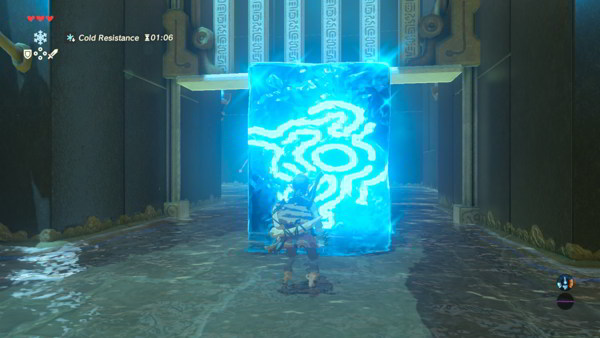
Use the Magnesis Rune to pick up the slate against the ledge and lay it across the gap to complete the bridge. Head across the bridge and go up the small mountain ahead. Continue up the spiraling path and you will eventually come to a small group of Bokoblins and a campfire.

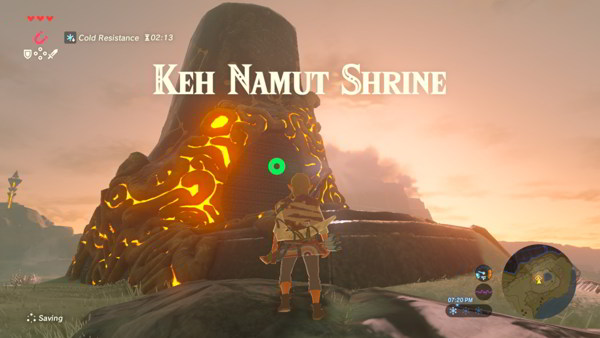
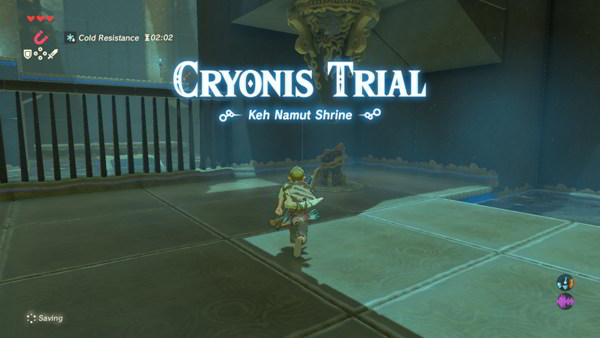
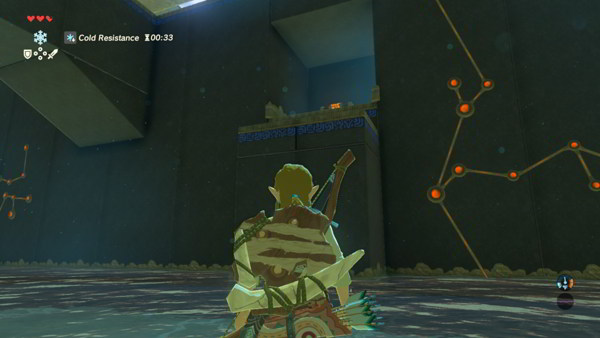
Defeat the Bokoblins and continue up to the top where you will find the Keh Namut Shrine. Examine the pedestal and enter the Shrine. You are now in the Cryonis Trial.
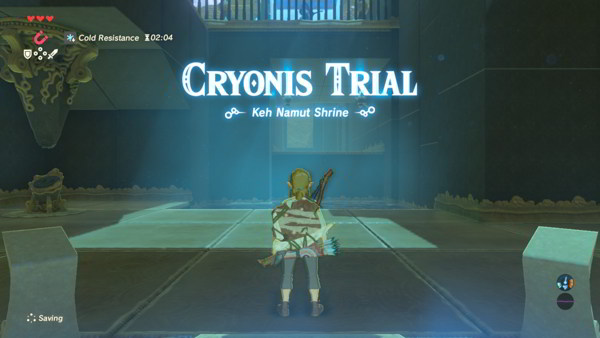
Cryonis Trial – Keh Namut Shrine
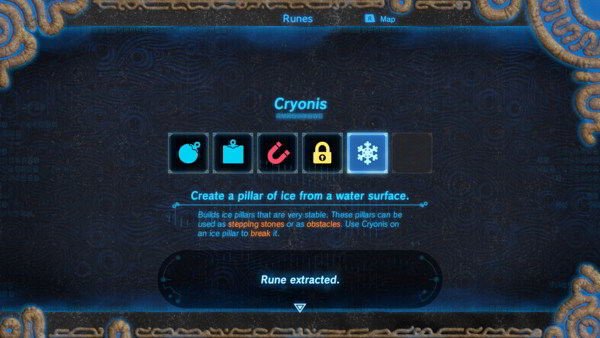
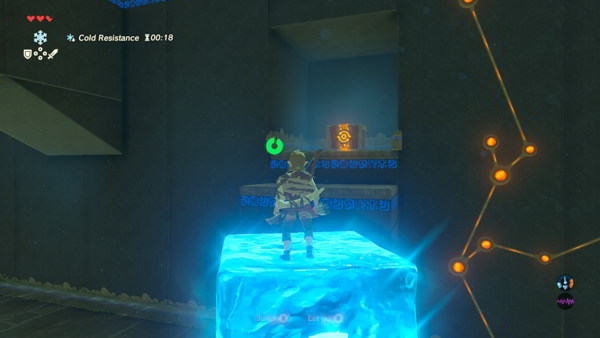
Begin like the other Shrines of Trials by examining the pedestal to activate the rune, which is the Cryonis Rune this time. Head towards the small body of water and use the Cyronis Rune to raise an ice pillar. Climb up and, raise another pillar if needed, jump across to the ledge to the north.
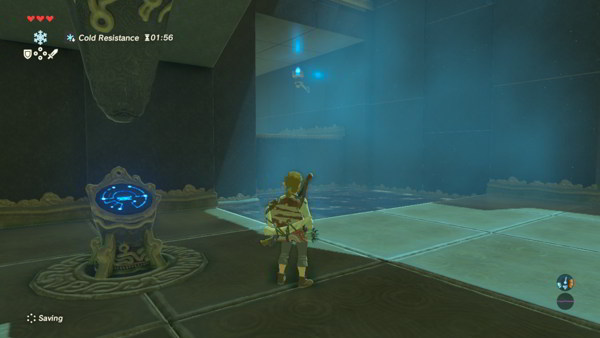
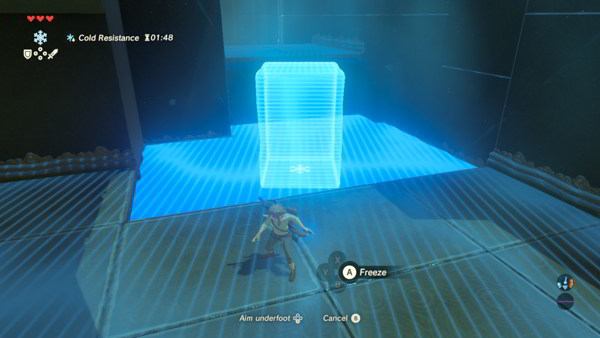

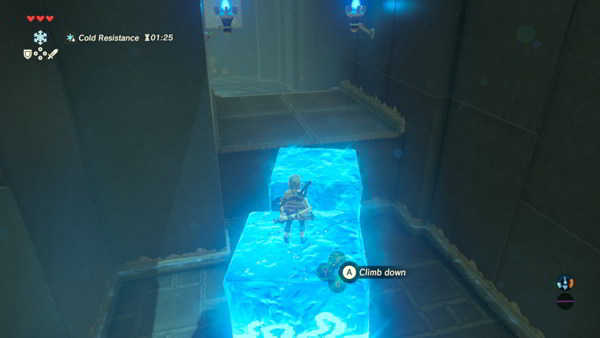
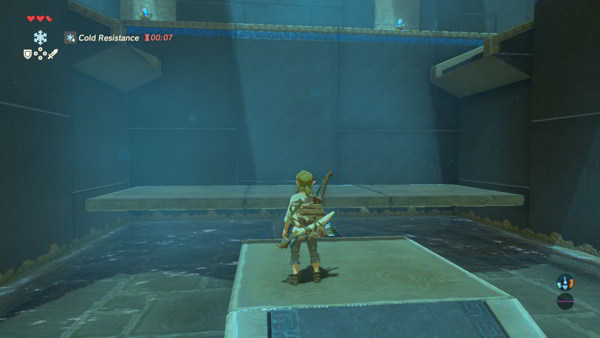
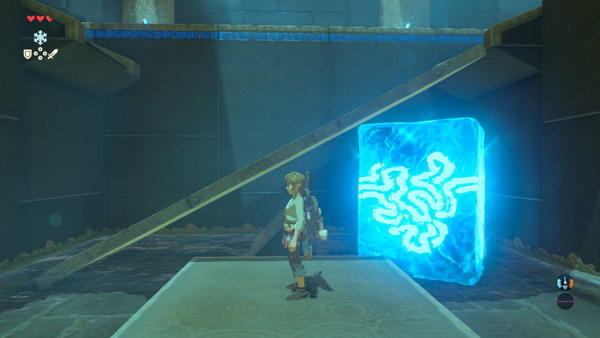
Continue down the stairs and travel to the left to find the pathway blocked. Raise an ice pillar underneath this obstacle to raise it up enough to travel under. Continue along the path and defeat the creature. Slightly towards the end of the path will be a chest a little out of reach.
Raise a pillar of ice to reach it. It contains the Traveler’s Spear. Head to the end of this room to find a platform. Hop across to the platform and raise either side with a pillar of ice. Climb up the adjacent side to reach the area above. Continue to the top and examine the structure.
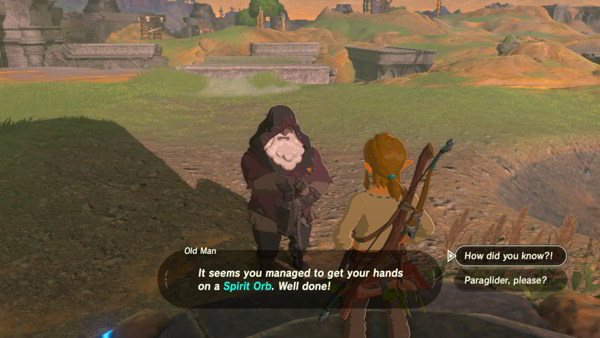
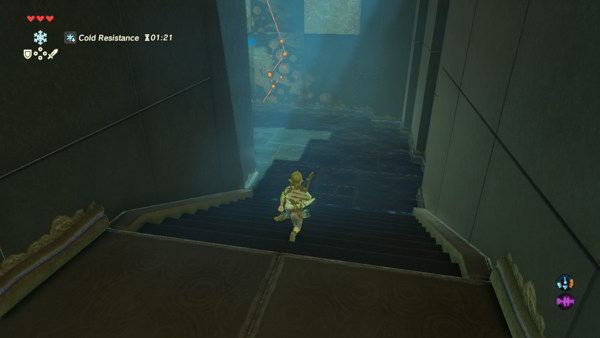
You’ll get another Spirit Orb and Link is transported outside of the Shrine, where the Old Man will now appear since we have completed the 4 Shrines of Trials on the Great Plateau. After the brief dialog, head to the Temple of Time and pray at the statue in the back. You may now get an extra heart container or stamina vessel.

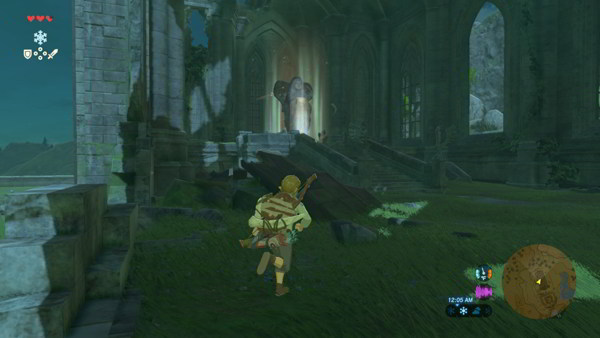
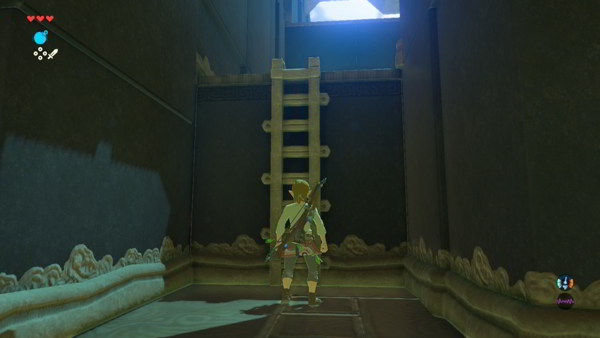
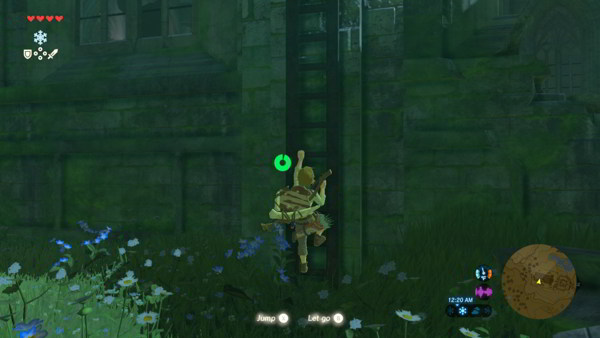
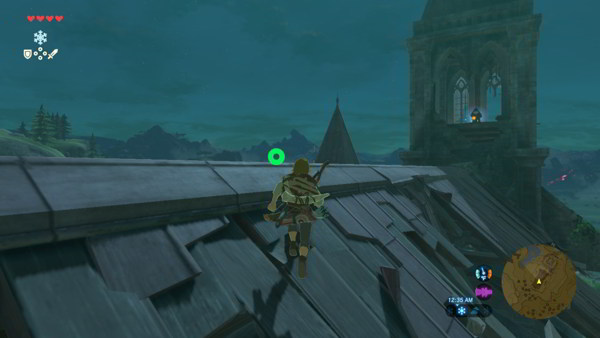
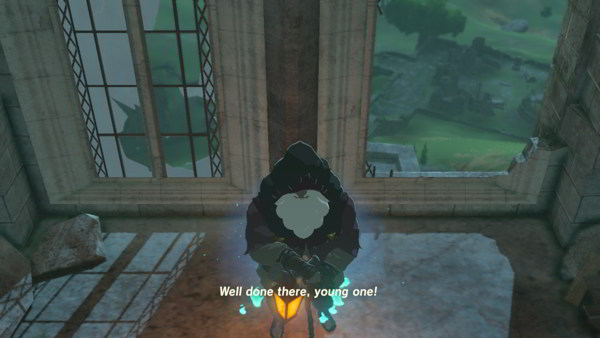
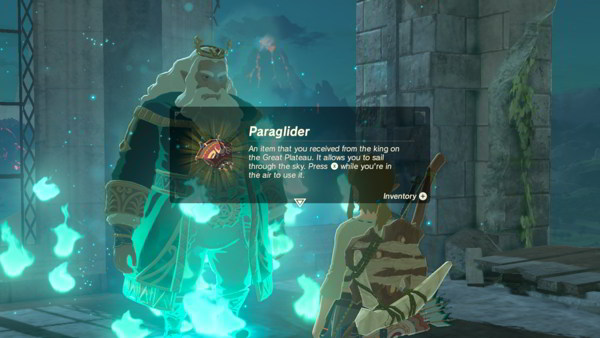
Now head around the outside of the temple to find a ladder, which we used earlier if you’ve been following along. Climb up the ladder and head to the very top for another cutscene. You will be given the Paraglider.
Continue to Part 2: Hyrule Kingdom
