
Link's Awakening Switch Bosses Guide
Our Link's Awakening Switch Bosses guide will detail where to find and how to defeat every boss in Link's Awakening. In Link's Awakening, dungeon bosses are called Nightmares. This guide covers Nightmares (Dungeon Bosses), Mini-Bosses, Overworld Bosses, and the Final Boss.
Link's Awakening Switch Nightmares
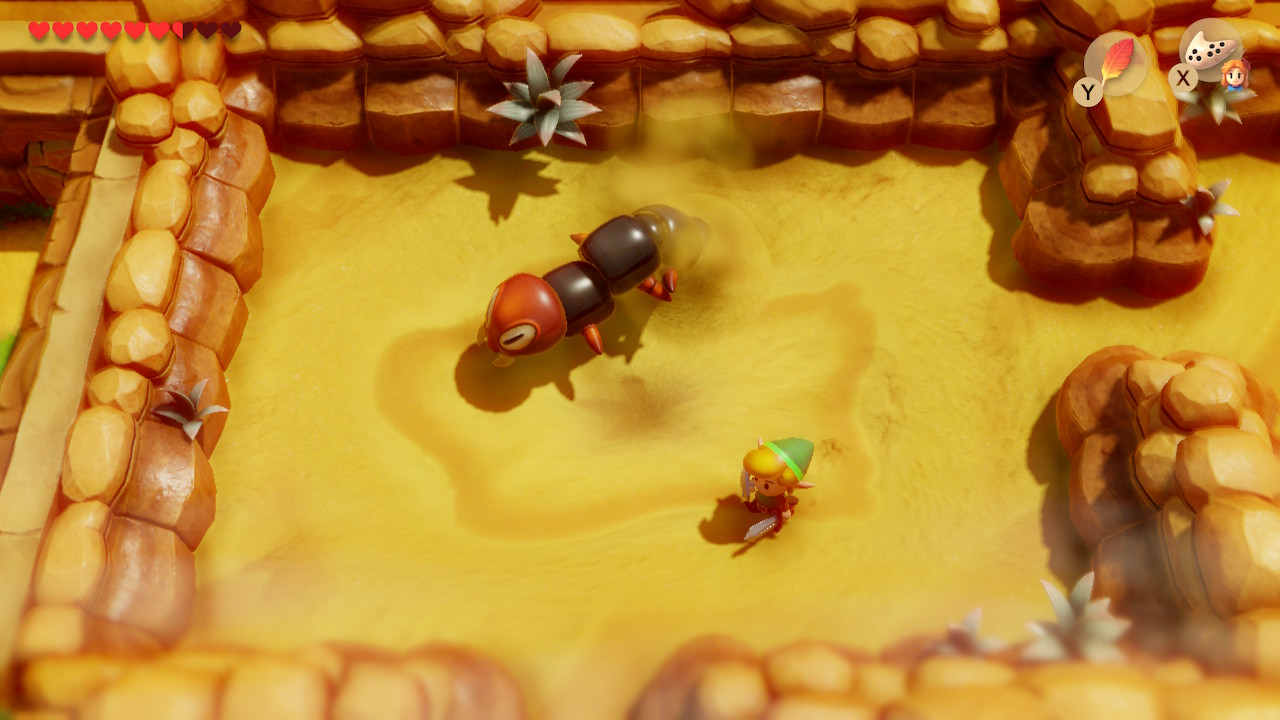
Moldorm
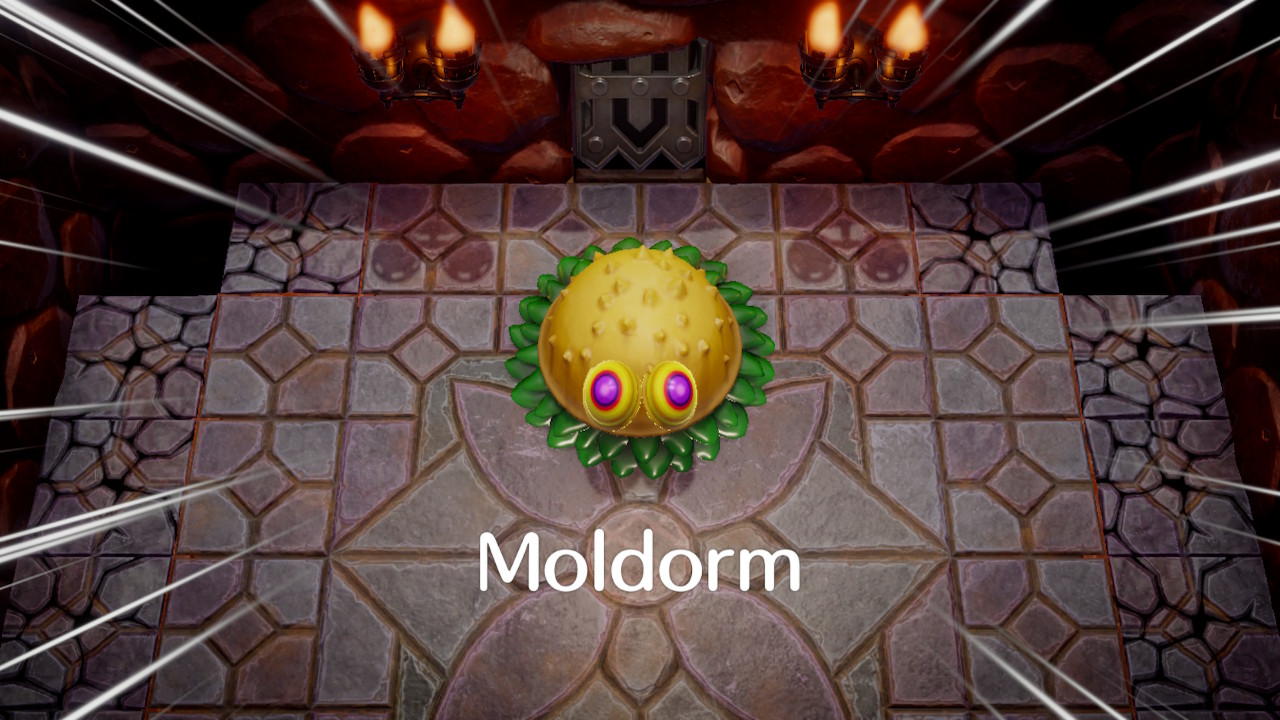
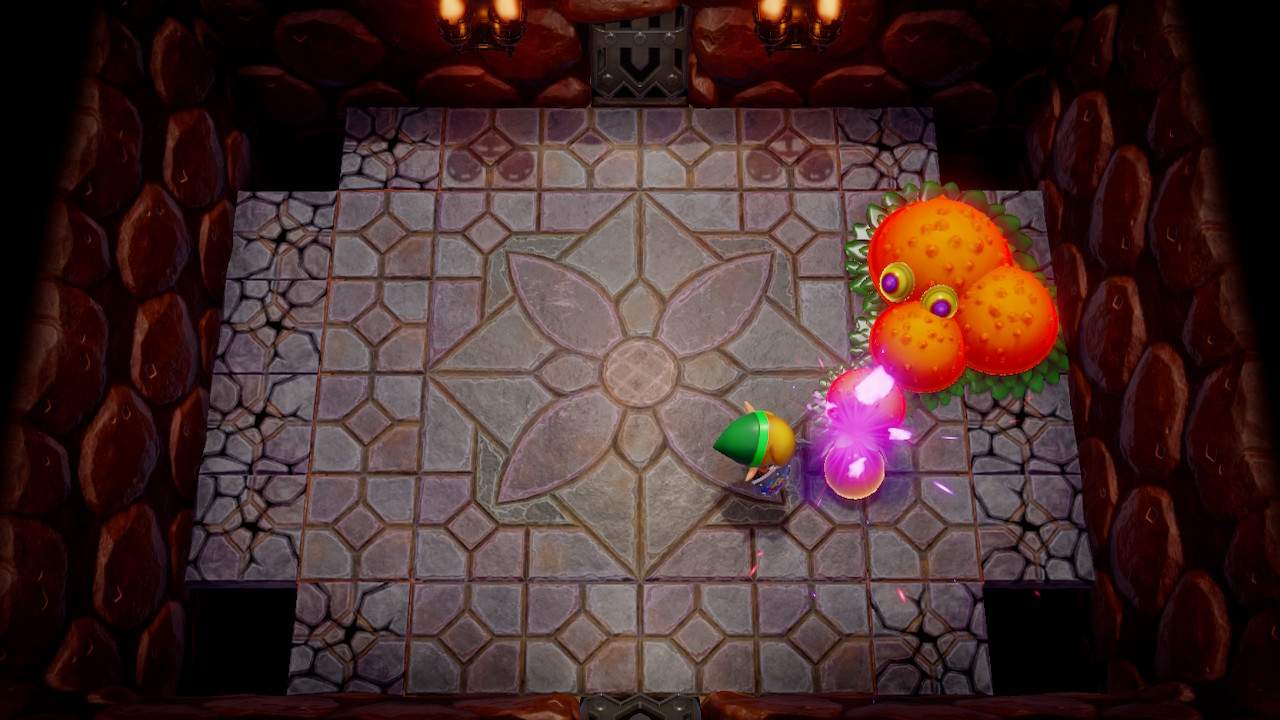
Boss of Tail Cave
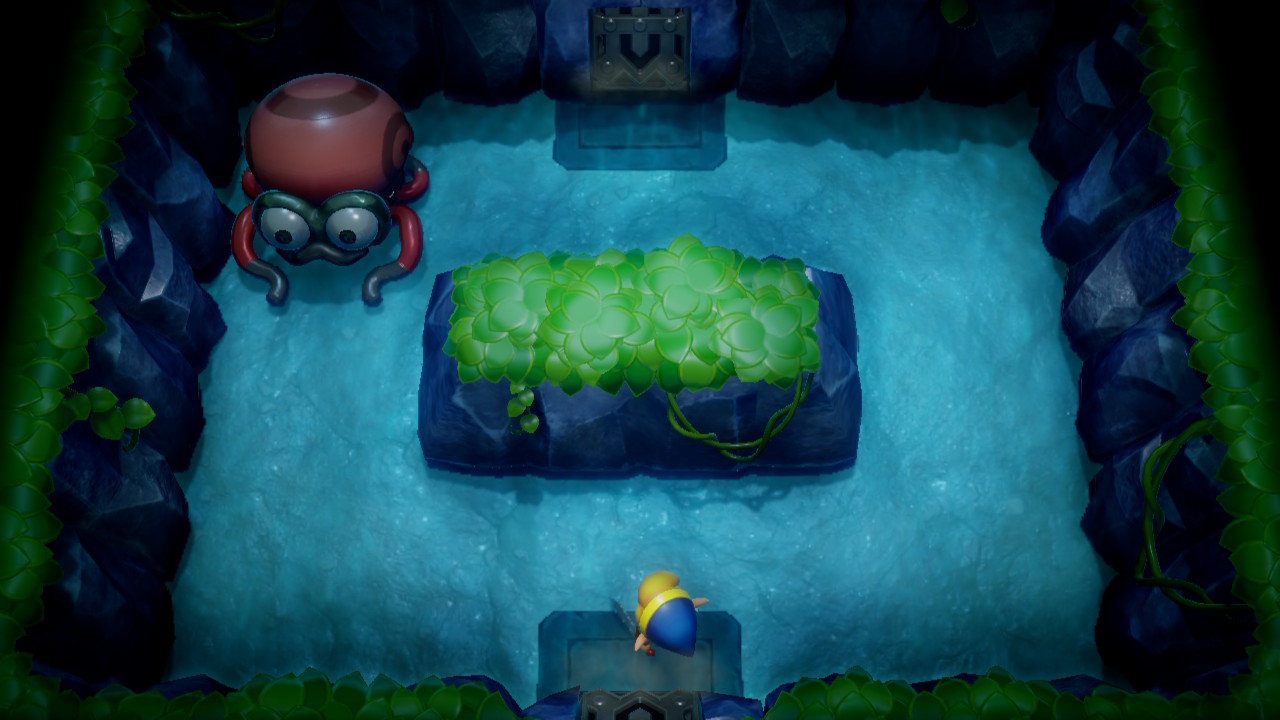
The boss of Tail Cave is called Moldorm. It's a giant worm that will move about the room erratically. Touching Moldorm at all will damage Link. Its weakness is the glowing sphere at the end of its tail. Simply slash at it and Moldorm will close its tail up and begin moving faster. Wait this stage out and repeat the process. It will go down after four hits.
Genie
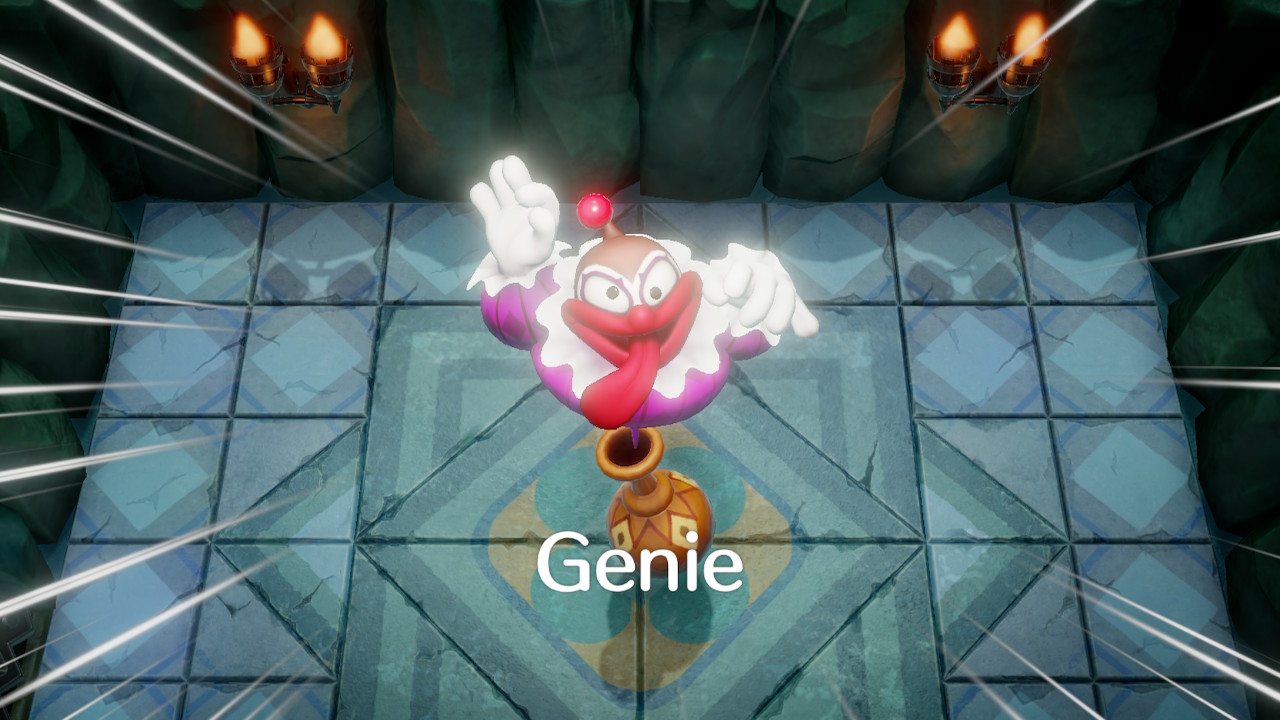
Boss of Bottle Grotto
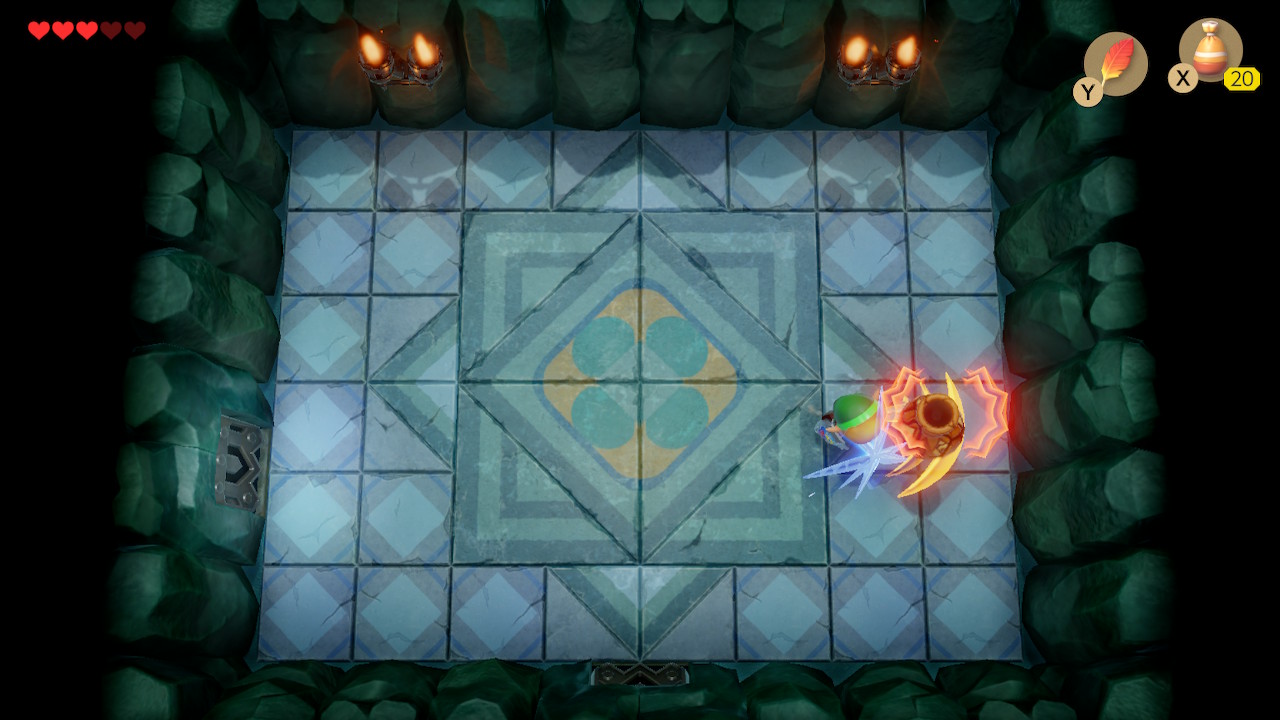
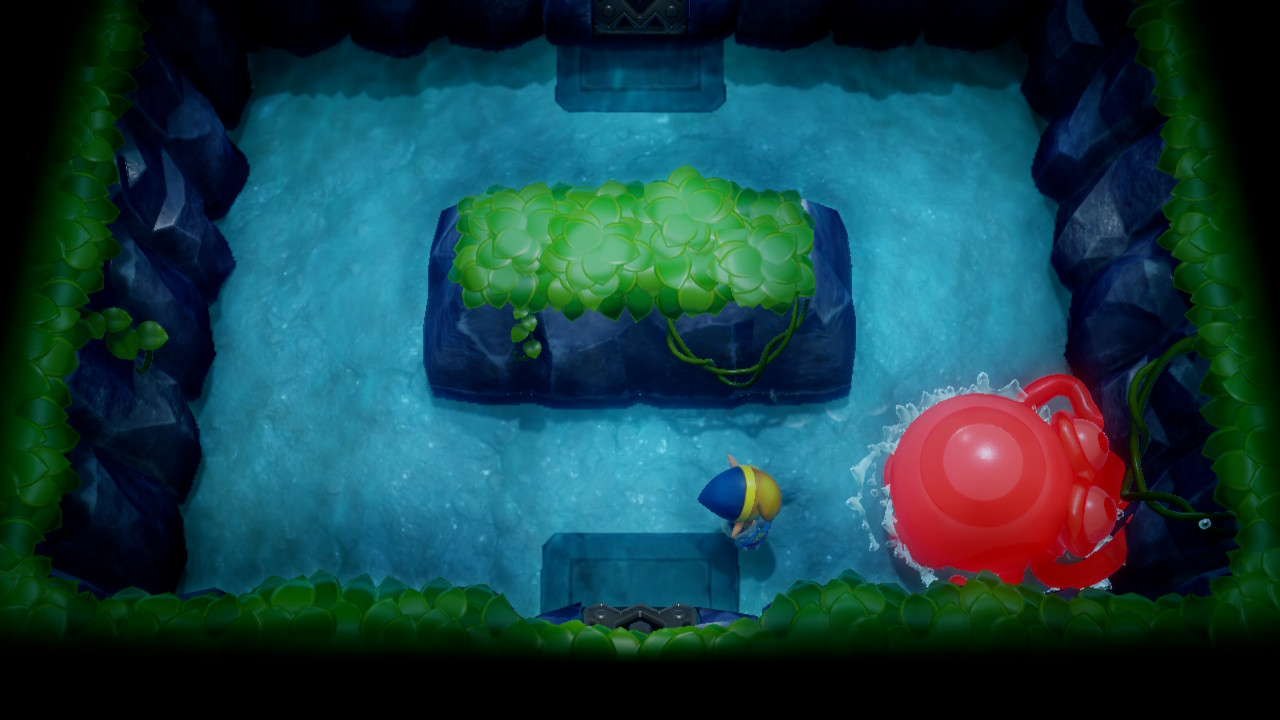
As the boss of Bottle Grotto - Genie will begin the fight by tossing fireballs at you. You can't hurt him yet, so simply dodge the fireballs. When he retreats to his bottle, slash it once with your sword. You can then pick it up and toss it into the wall. Do this process three times to move on to the next phase.
Genie will now spin around the room to confuse you, then continue throwing fireballs. He is now vulnerable to sword slashes after throwing these larger fireballs. Repeat this a few times and Genie will be defeated.
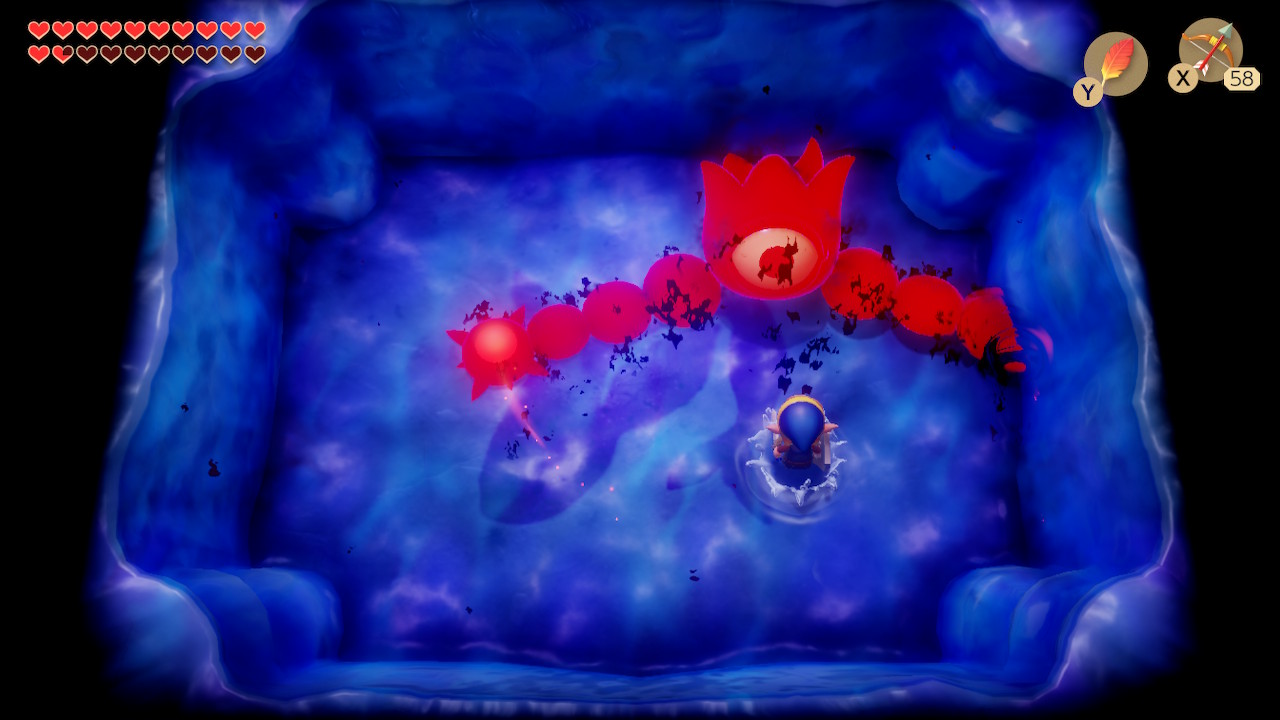
Slime Eye
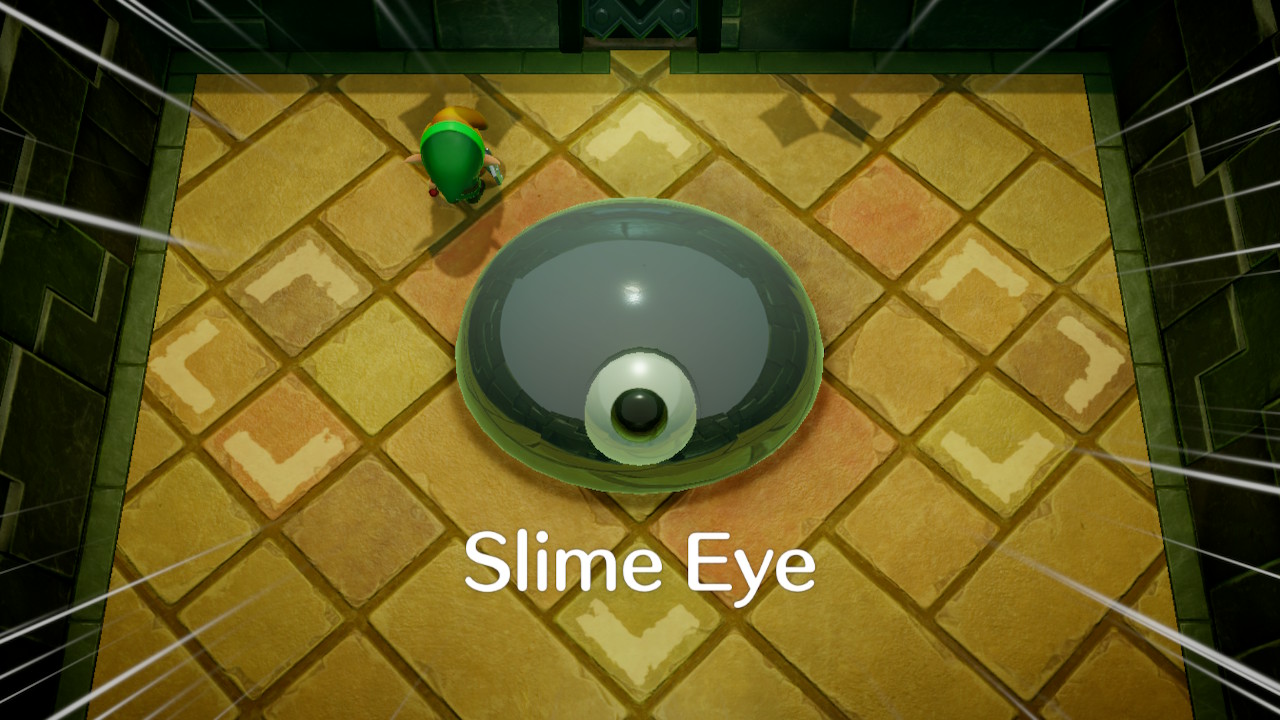
Boss of Key Cavern
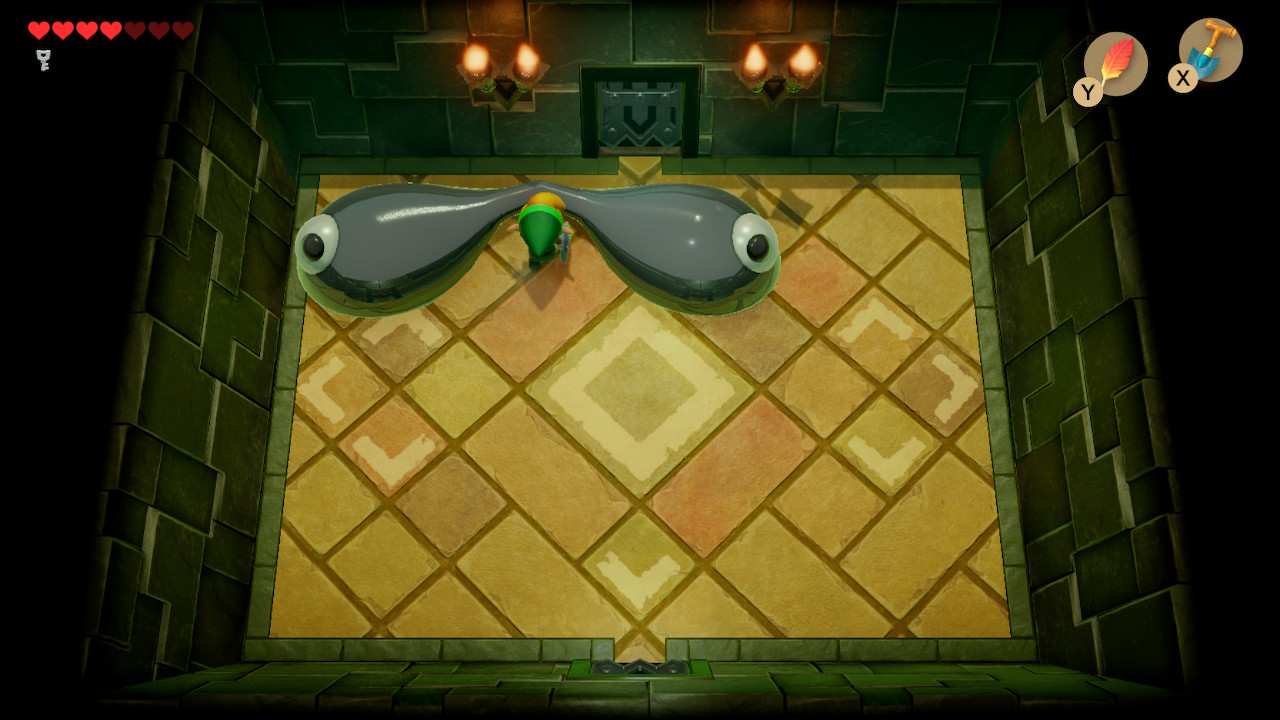
As the boss of the Key Cavern - Slime Eye will delcare that you won't be able to find him when you walk into the room. Quickly ram into a wall and he will drop to the ground. Slash at his eye and he will start to seperate into two. When slashing becomes ineffective, use your Pegasus Boots to ram him in the middle to fully seperate.
In the second phase of the battle, the two blobs will bounce up high and slam into you. Use Roc's Feather to avoid this and slash at each of them a few times to defeat them.
Angler's Fish
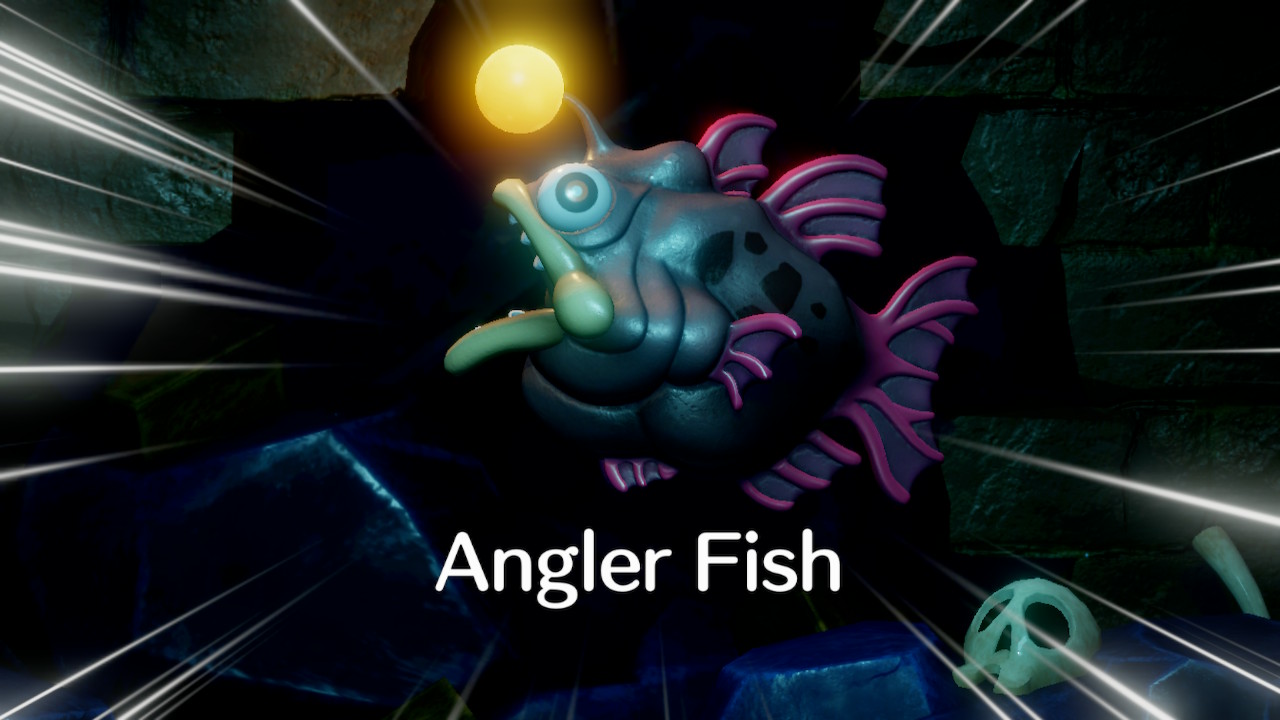
Boss of Angler's Tunnel
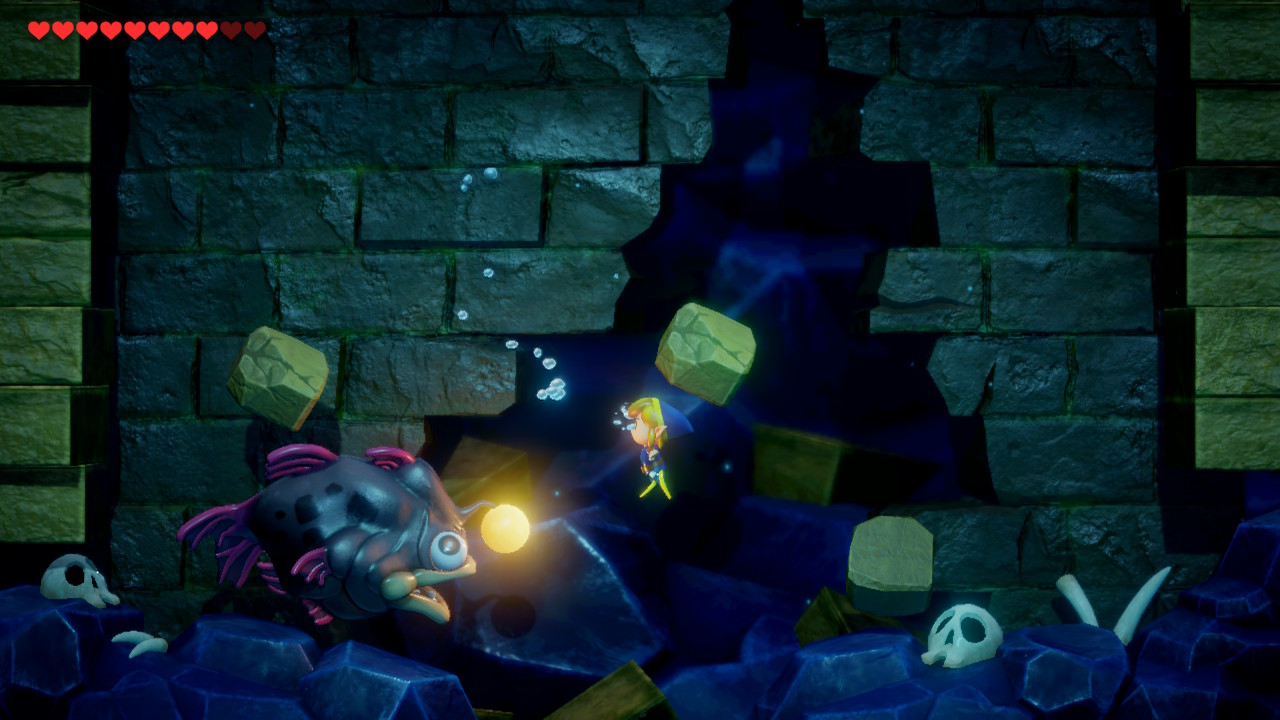
As the boss of the Angler's Tunnel - this fight was notoriously easy in the Gameboy version, but it puts up a better fight this time around (kind of). Angler Fish will smash into the wall causing rocks to fall from above and damaging you in the process. It will also summon smaller fish but they won't do much. Simply slash at its head over and over until Angler Fish is defeated.
Slime Eel
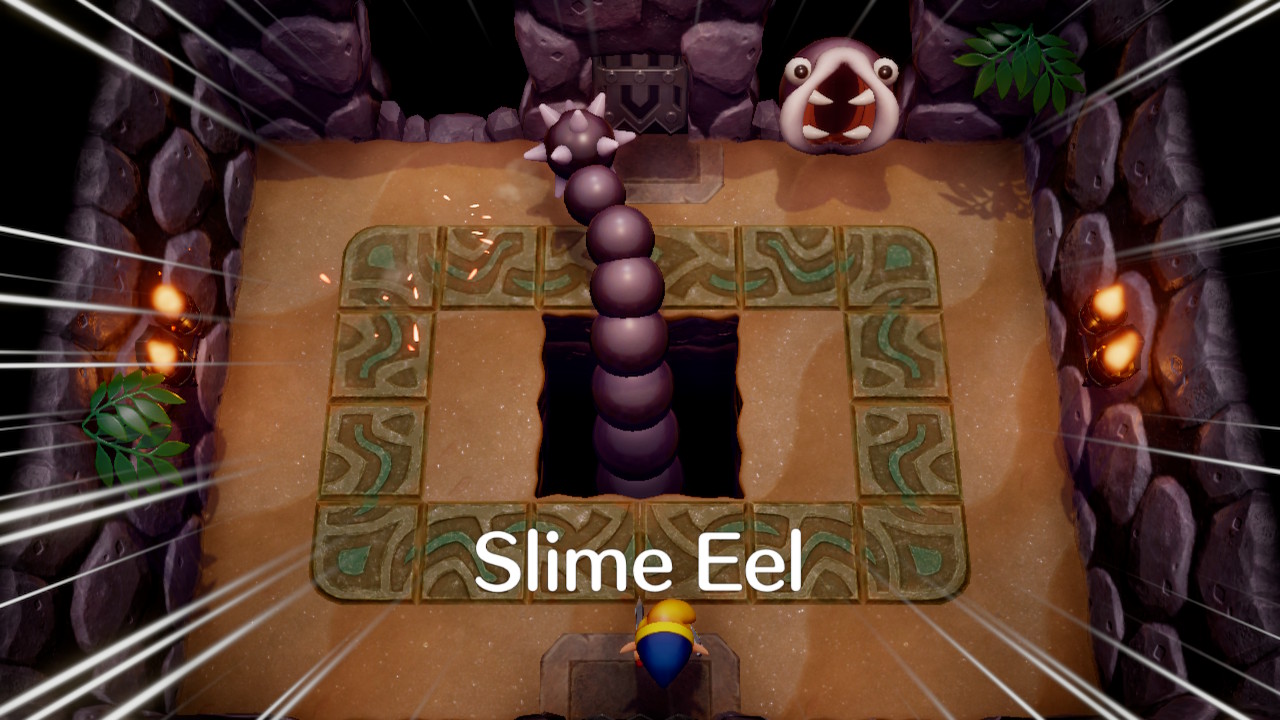
Boss of Catfish's Maw
The boss of the Catfish's Maw is called Slime Eel. He will poke his head out of four different holes that he made in the walls. When he does so, hookshot his head and then slash away at the glowing segment of his body. Before doing so, look at the pupils of his eyes. If they are white instead of black, this is a "fake head" and you shouldn't use your hookshot.
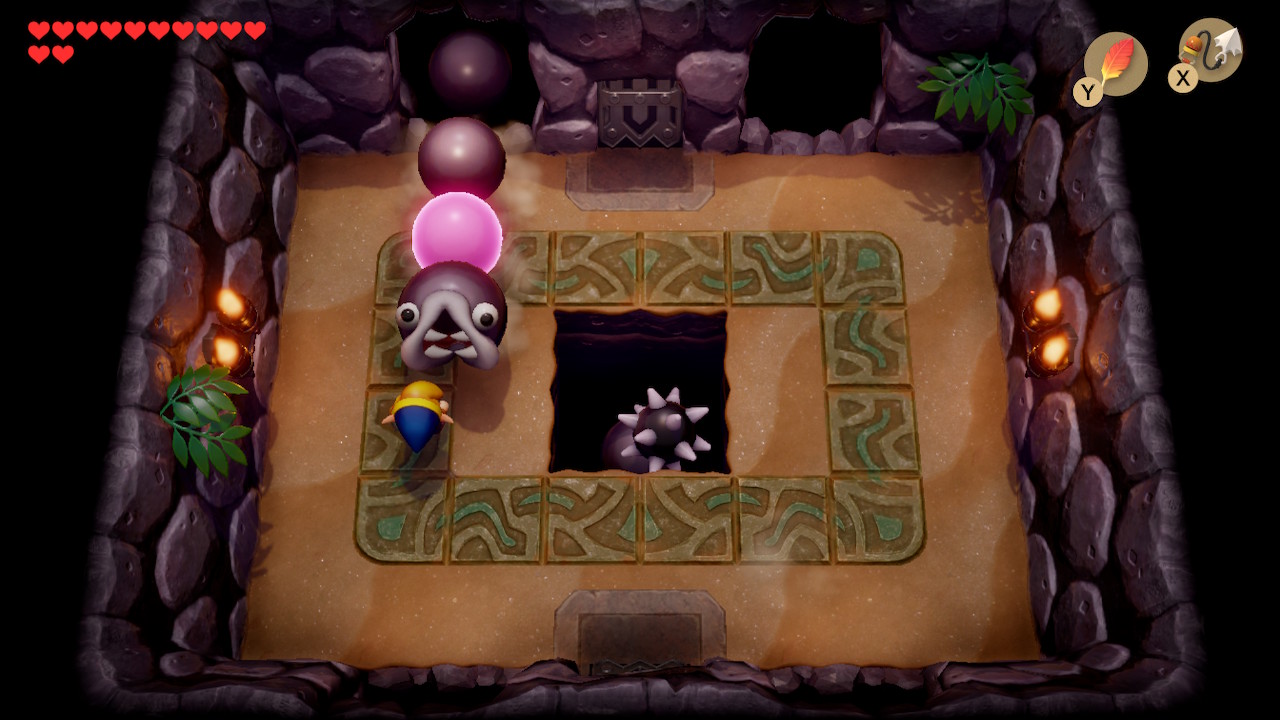
This boss is the most tricky so far, it'll take a lot of patience since you'll need to be quick when Slime Eel opens his mouth to use your hookshot, and his tail can get in the way. After enough slashes, he'll be defeated.
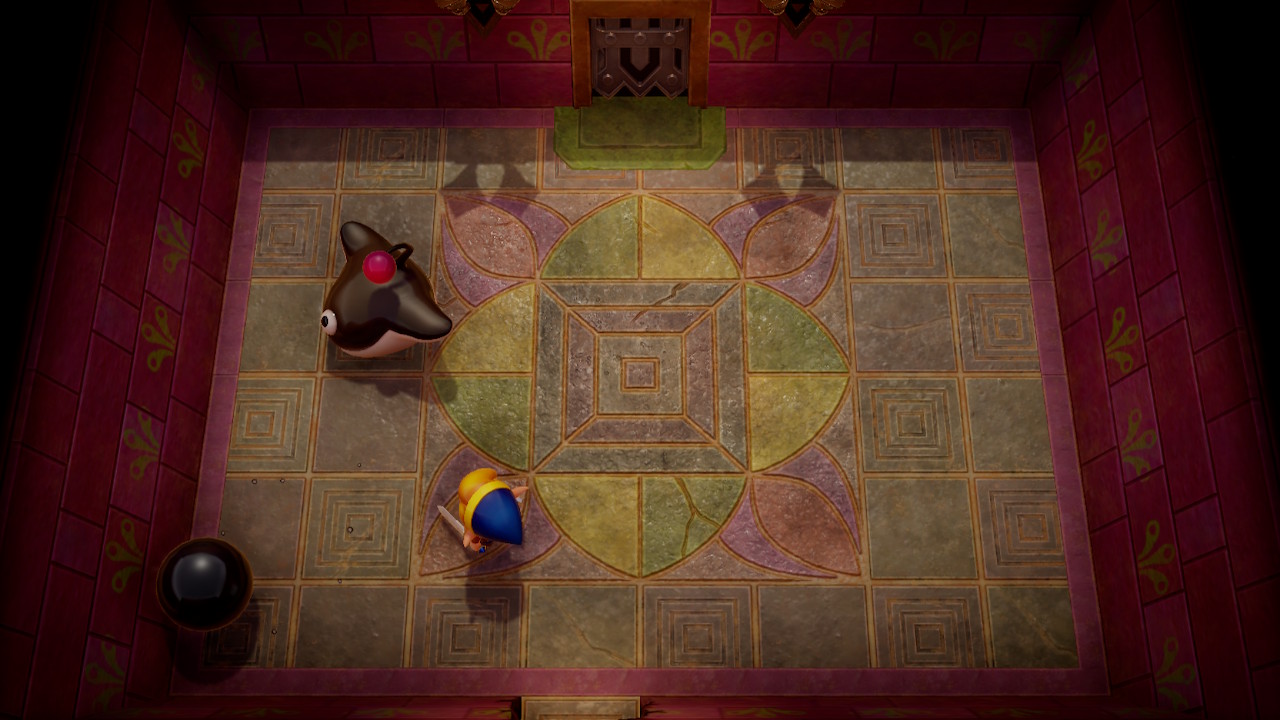
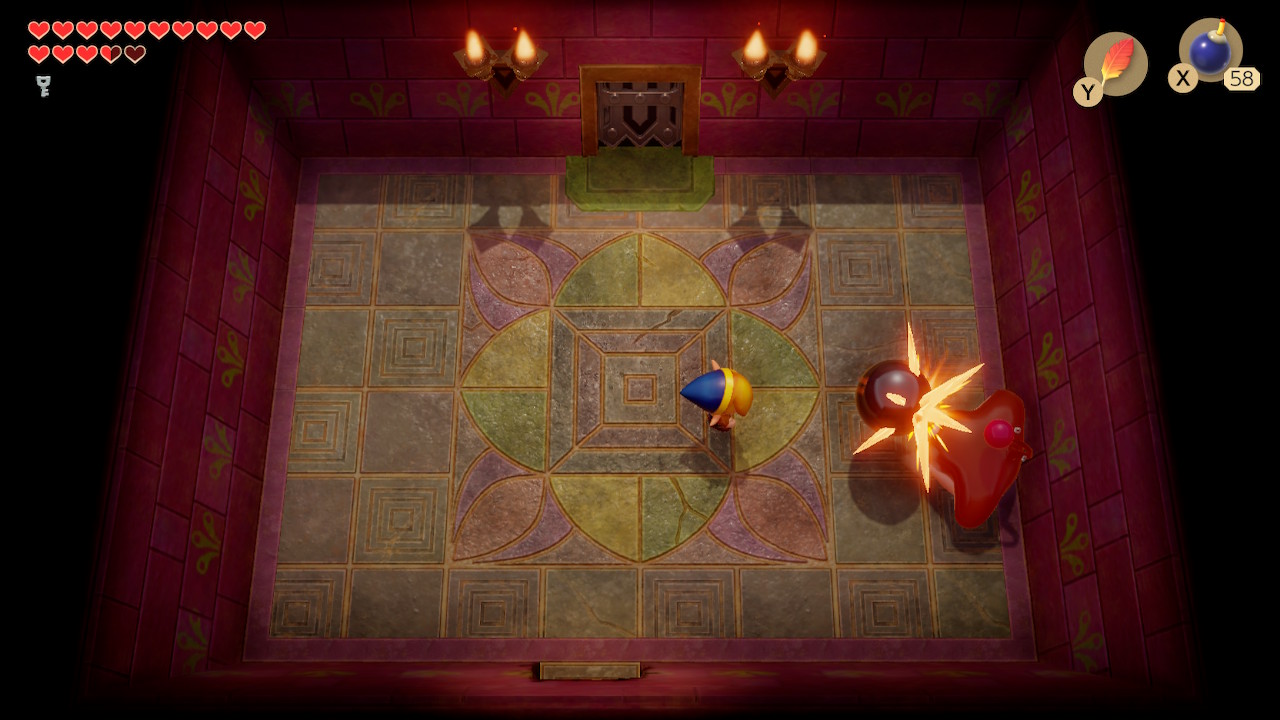
Facade

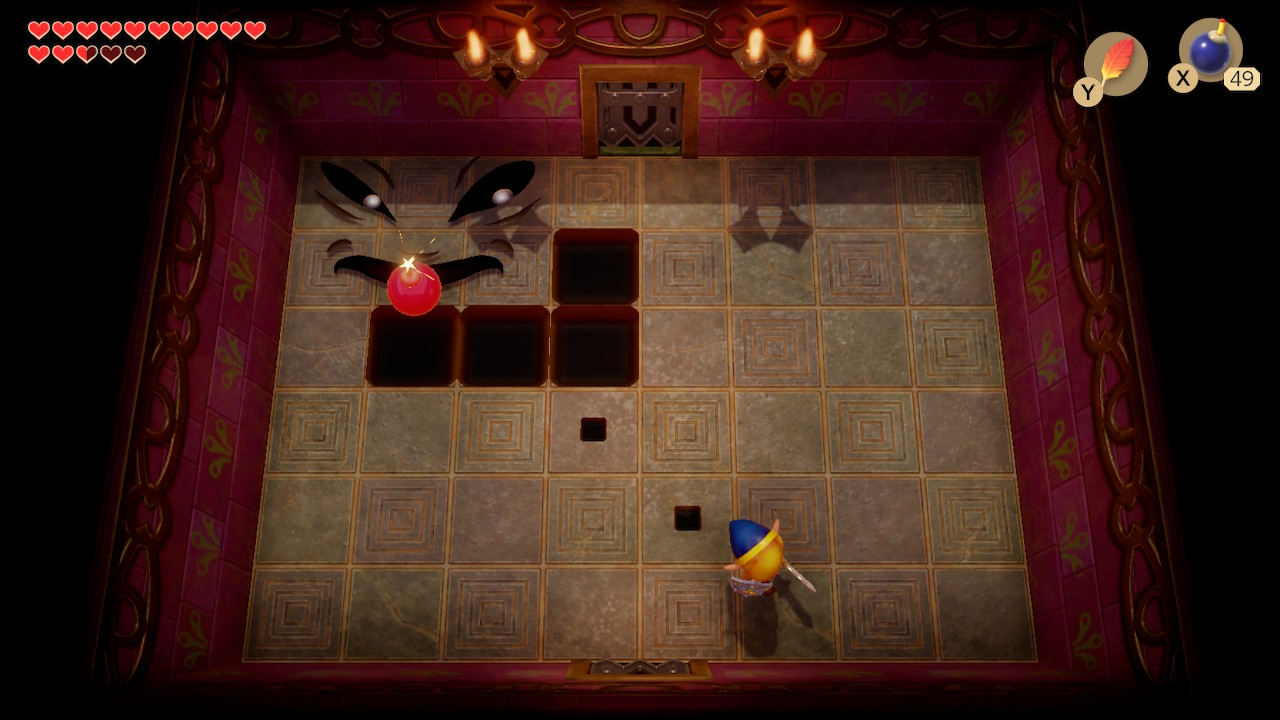
Boss of Face Shrine
The Face Shrine dungeon boss, which resembles a face on the ground, is called Facade. Standing on his face will hurt you, but he otherwise won't attack you directly. He'll rather furl obstacles at you in the room, like floor tiles and pots. The key to damaging him is to simply place a bomb near his face. After a few rounds of taking damage, he'll begin creating holes in the ground. Simply avoid them and keep bombing until he has been defeated.
Evil Eagle
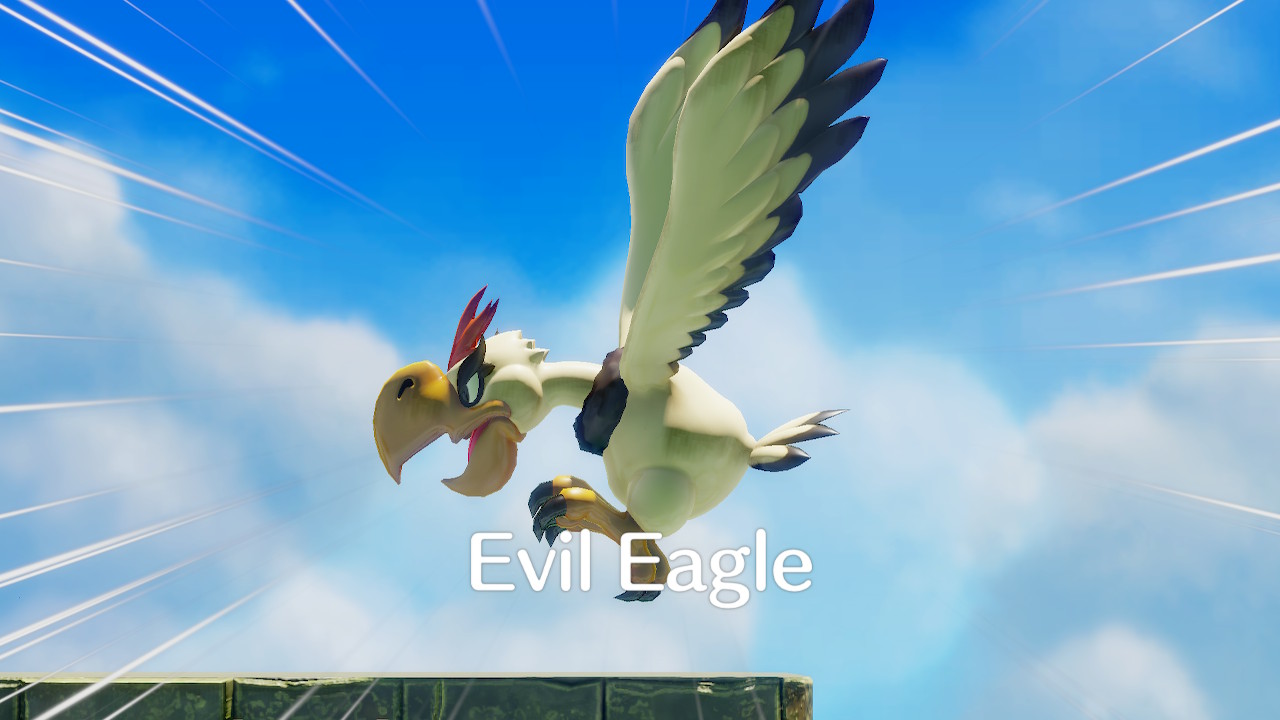
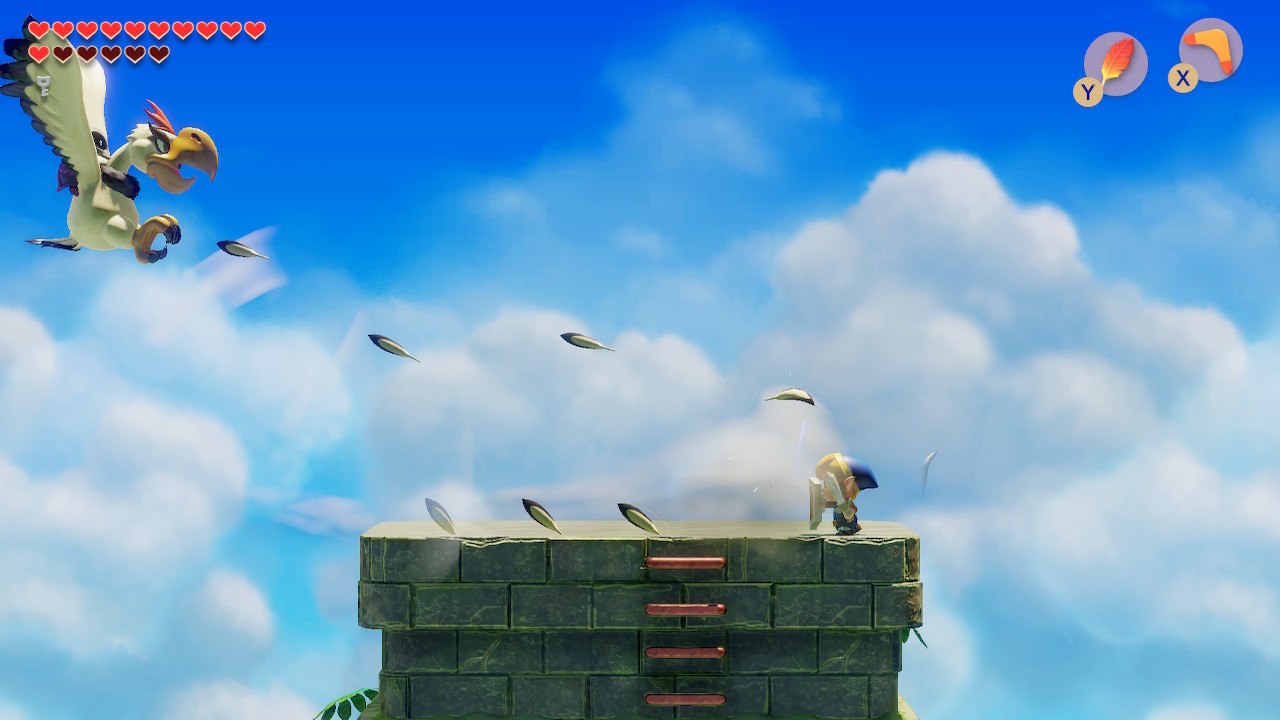
Boss of Eagle's Tower
As the boss of Eagle's Tower - this is one of the more interesting boss fights in the game. Evil eagle has a few different attacks he'll use on you. He can come swooping in at a few different heights, which can be blocked or slashed for a counter-attack. He'll also hover above at a diagonal and shoot feathers and wind at you.
During the feather attack, shield and hold in the direction of Evil Eagle. If you fall off, simply climb back up the ladder to get back into things. If he gets close enough, slash him with your sword. Otherwise, use your boomerang while he's in the air to deal damage. Evil Eagle will be defeated after taking enough hits.
Hot Head

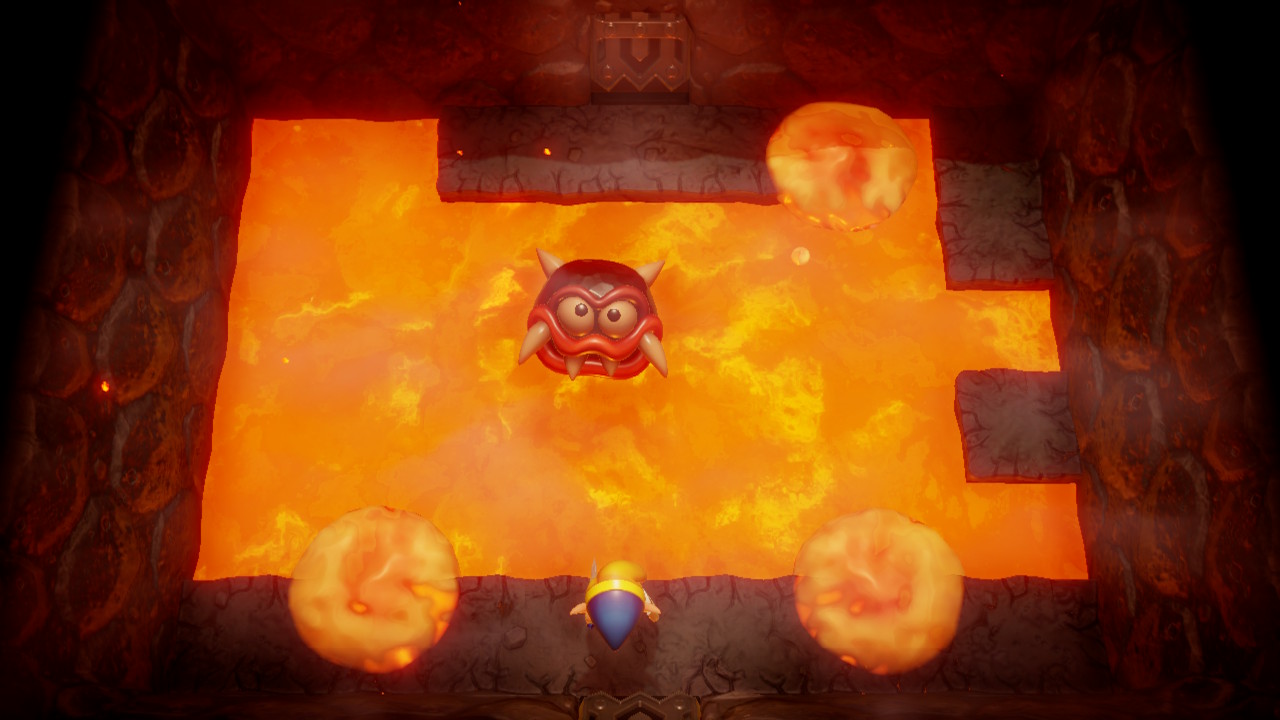
Boss of Turtle Rock
The boss of Turtle Rock is called Hot Head. It's a ball of lava that will quickly leap in and out of the lava, splashing you as it does. Just avoid the diagonal splashes and he can't hurt you. You'll need to use your Magic Rod and time your shots when he's jumping out.
After landing a hit, he'll lose his heat and quickly bounce around the room. Just keep firing shots at him. After a few rounds, he'll lose his armor. Just keep firing shots at this point as he more quickly jumps in and out of lava and he'll eventually be defeated.
Link's Awakening Switch Mini Bosses
Rolling Bones
Mini-Boss in Tail Cave
The mini-boss of Tail Cave is called Rolling Bones or Spike Roller. His only attack is to roll a spiked log at you. To defeat him, simply jump over the spiked log with Roc's Feather and slash him with your sword.
Hinox

Mini-Boss in Bottle Grotto
Bottle Grotto's mini-boss is a Hinox. He will quickly lunge at you to try and grab you. If he does, he'll toss you at the wall which hurts quite a bit. If he whiffs, you can slash at him from the side. He'll occasionally throw bombs at you as well. Keep punishing his whiffs and you'll eventually defeat him.
Dodongo Snakes
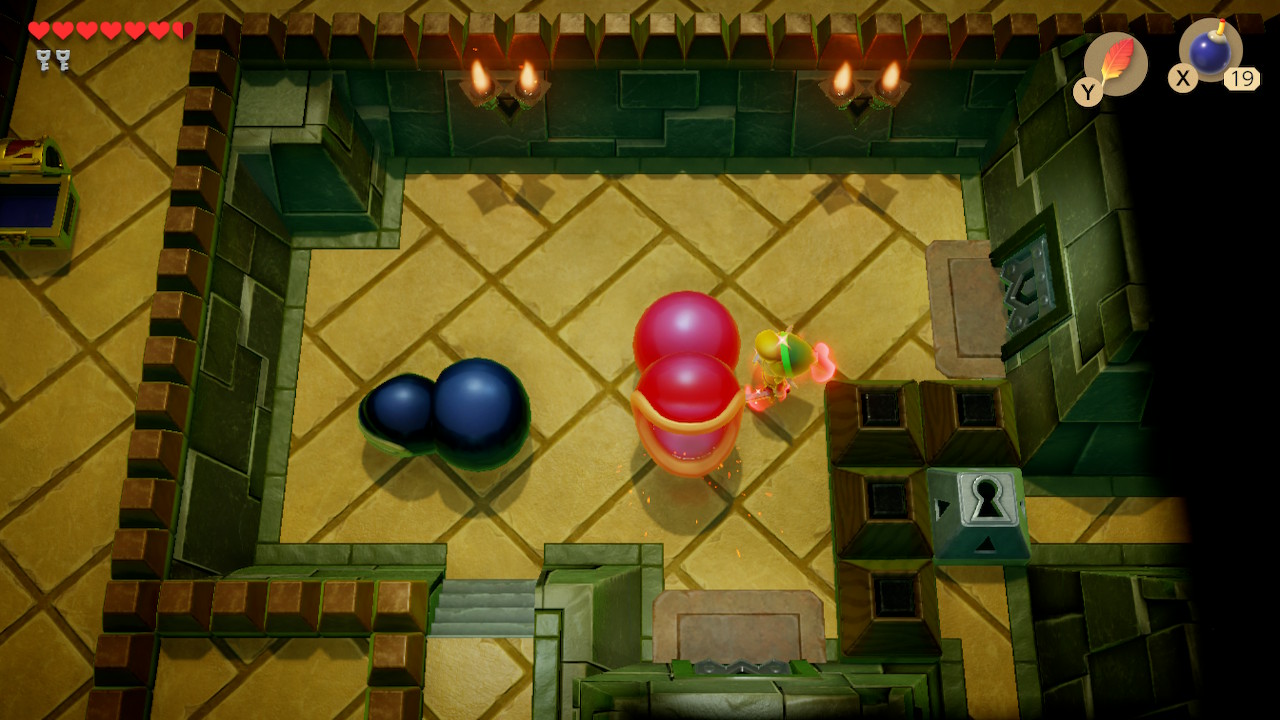
Mini-Boss in Key Cavern
The mini-boss of Key Cavern are a pair of Dodongo Snakes. The only way to deal damage is to have them consume your bombs. Simply place the bombs in front of their mouths and they will usually eat them right away. It takes three bombs per snake before they are defated.
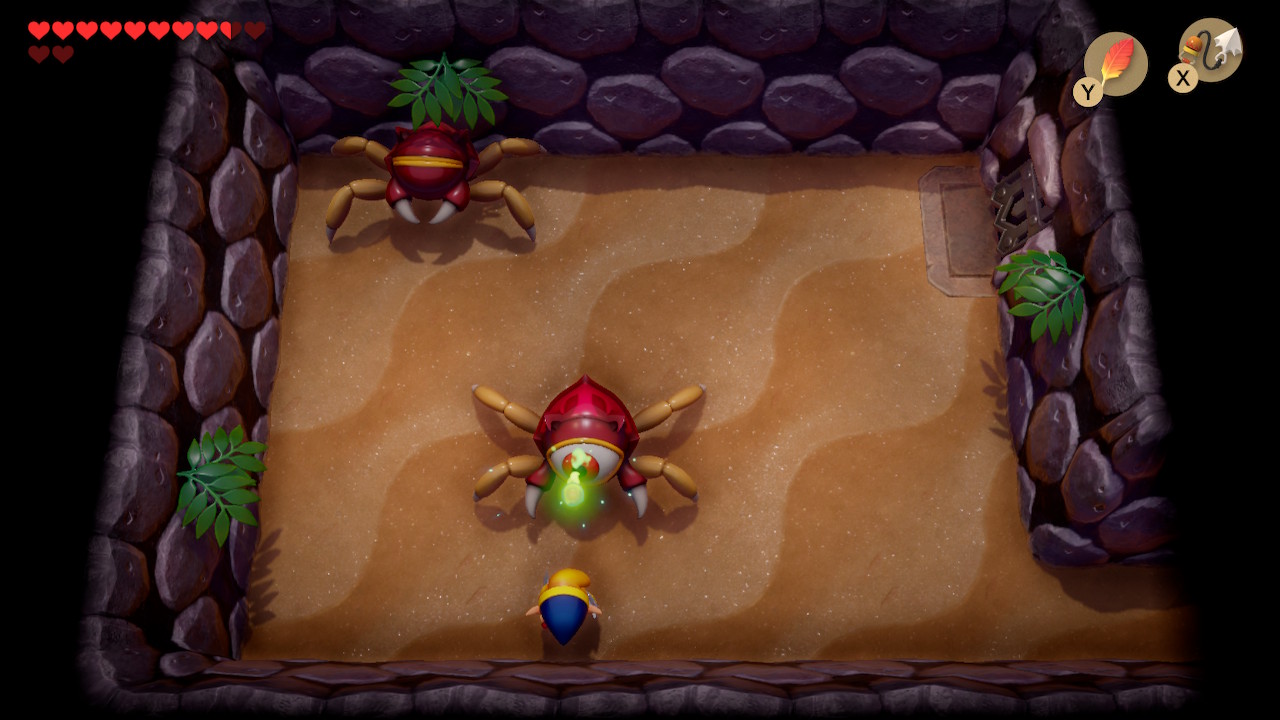
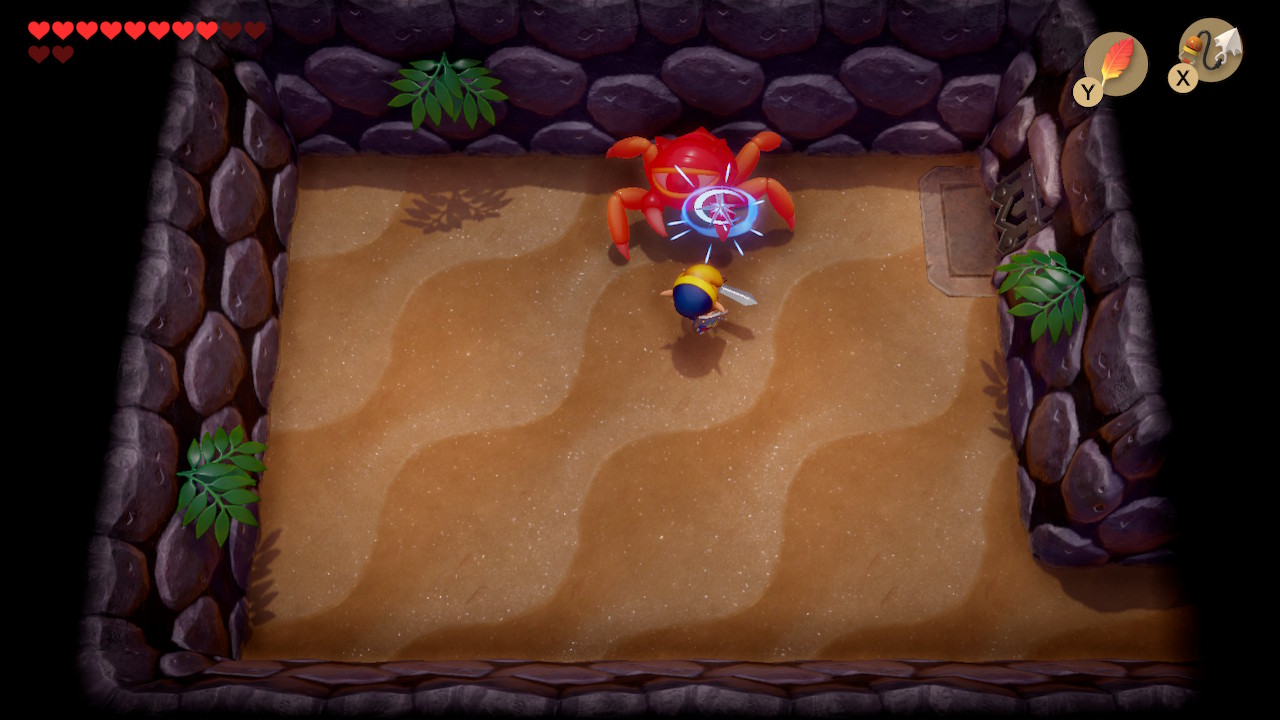
Cue Ball
Mini-Boss in Angler's Tunnel
The mini-boss of Angler's Tunnel is called Cue Ball or Hydrosaur. This giant spider-like creature will circle around the room trying to smash into you. You'll have to slash him from behind, but he'll turn around whenever he gets close. Simply jump over him and quickly attack him before he can turn around. After a few rounds he will be defeated.
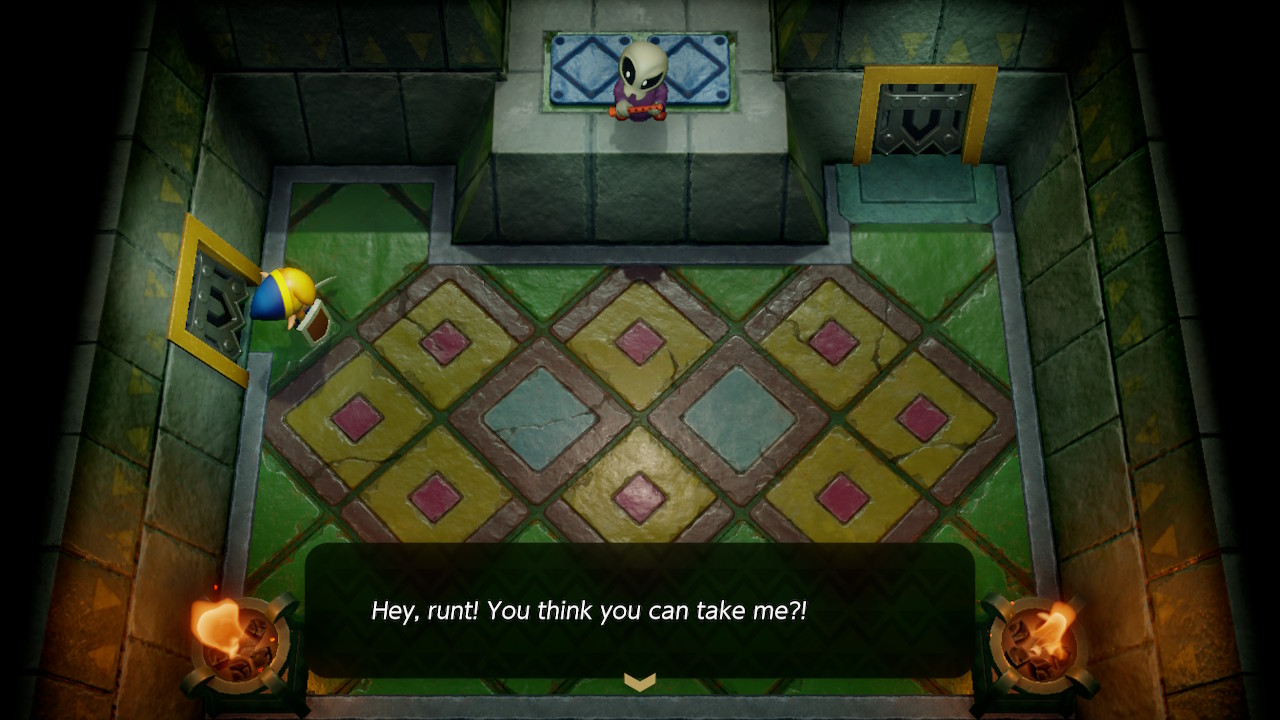
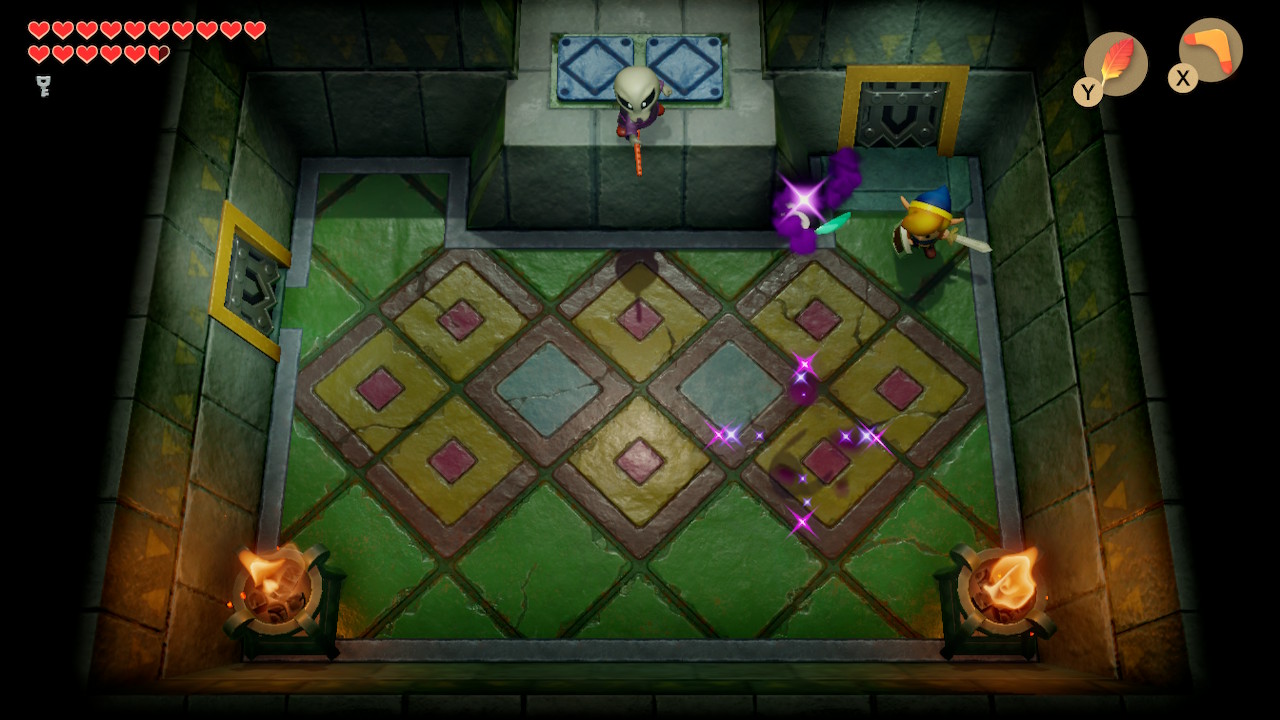
Master Stalfos
Mini-Boss in Catfish's Maw
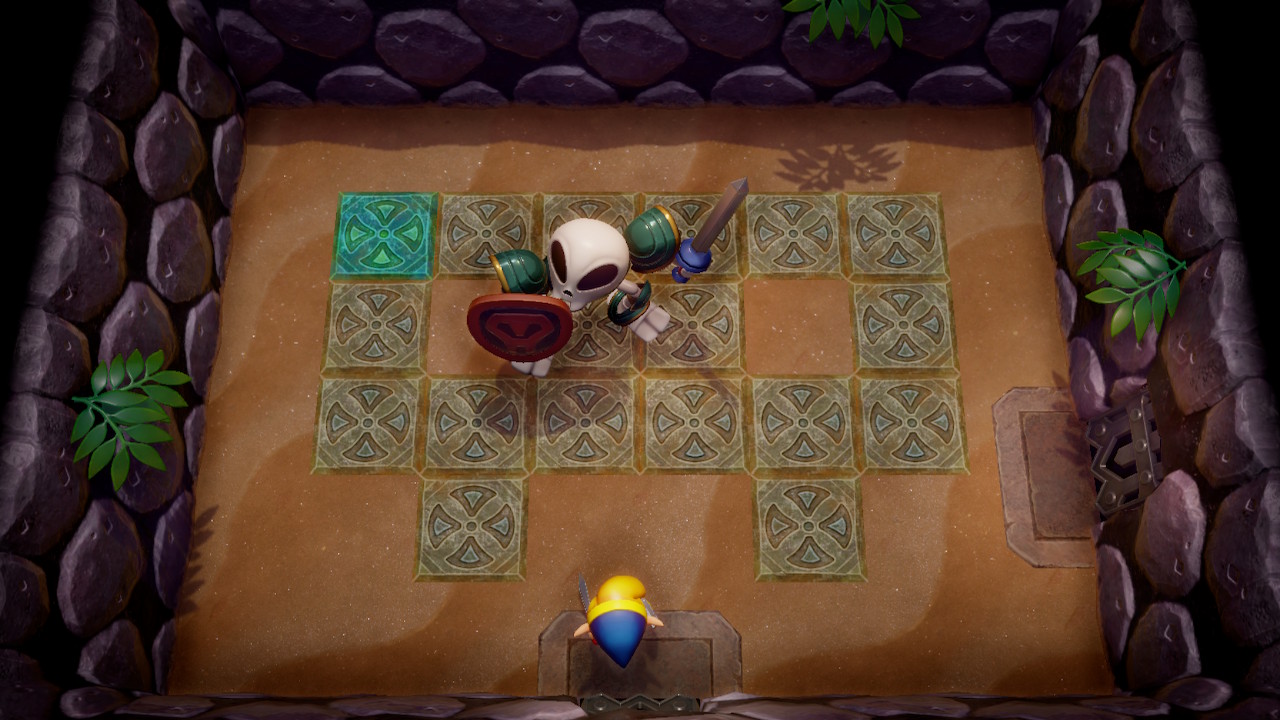
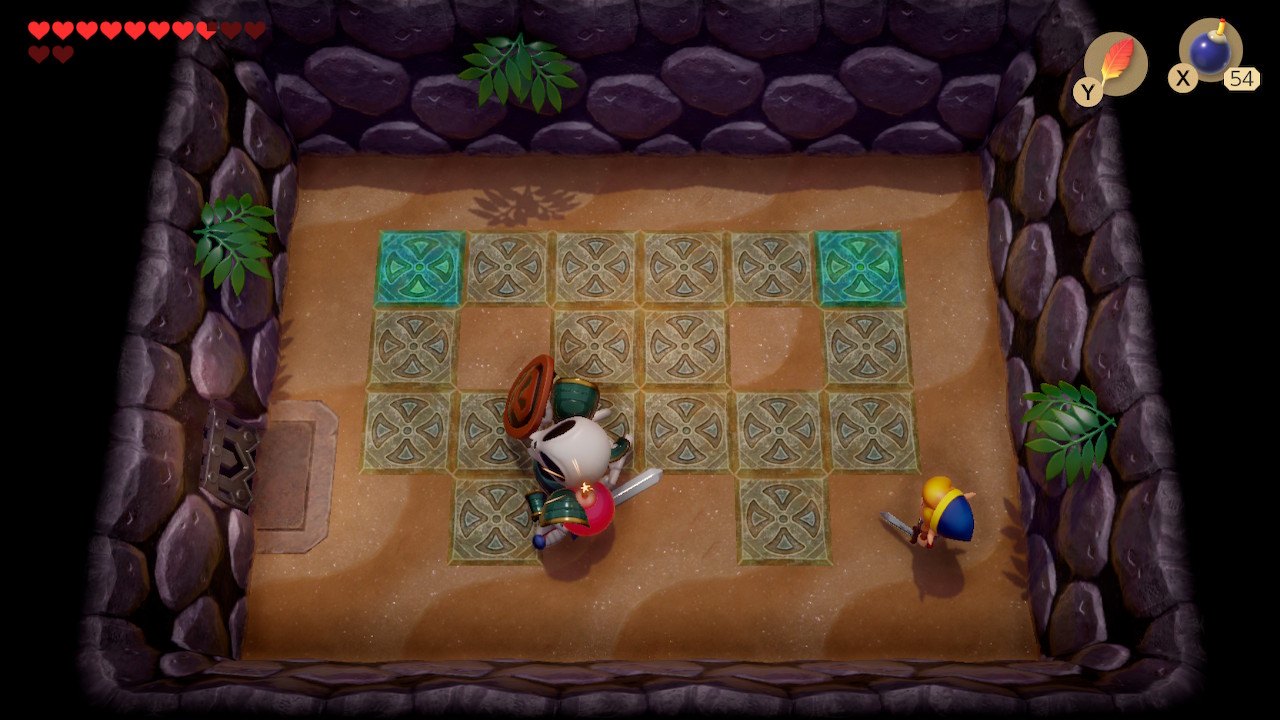
The first mini-boss of Catfish's Maw is called Master Stalfos. The key to defeating him was given by the Owl Statue. After he swings at you, attack him from the side. He'll crumble to the ground, at which point you should place a bomb. Repeat this process several times and he will eventually peace out. In this dungeon, you'll need to defeat Master Stalfos four times.
Gohma
Mini-Boss in Catfish's Maw
The second and completely optional mini-boss of Catfish's Maw are a pair of Gohma. The first attack Gohma can do is shoot a fireball out of their eye. When this happens, shield it and then use your Hookshot on the eye. The Gohma will be stunned, allowing you to slash with your sword. The second attack is a lunge, which can be dodged. Simply attack with your sword until they are defeated.
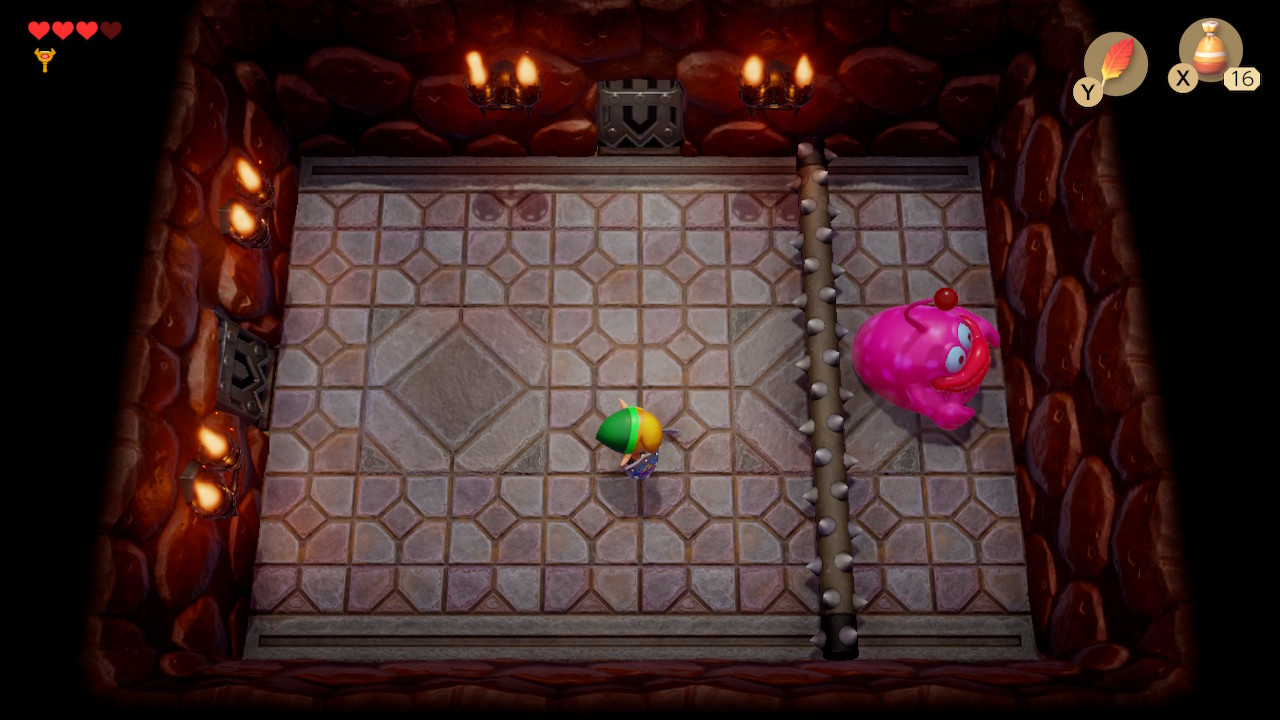
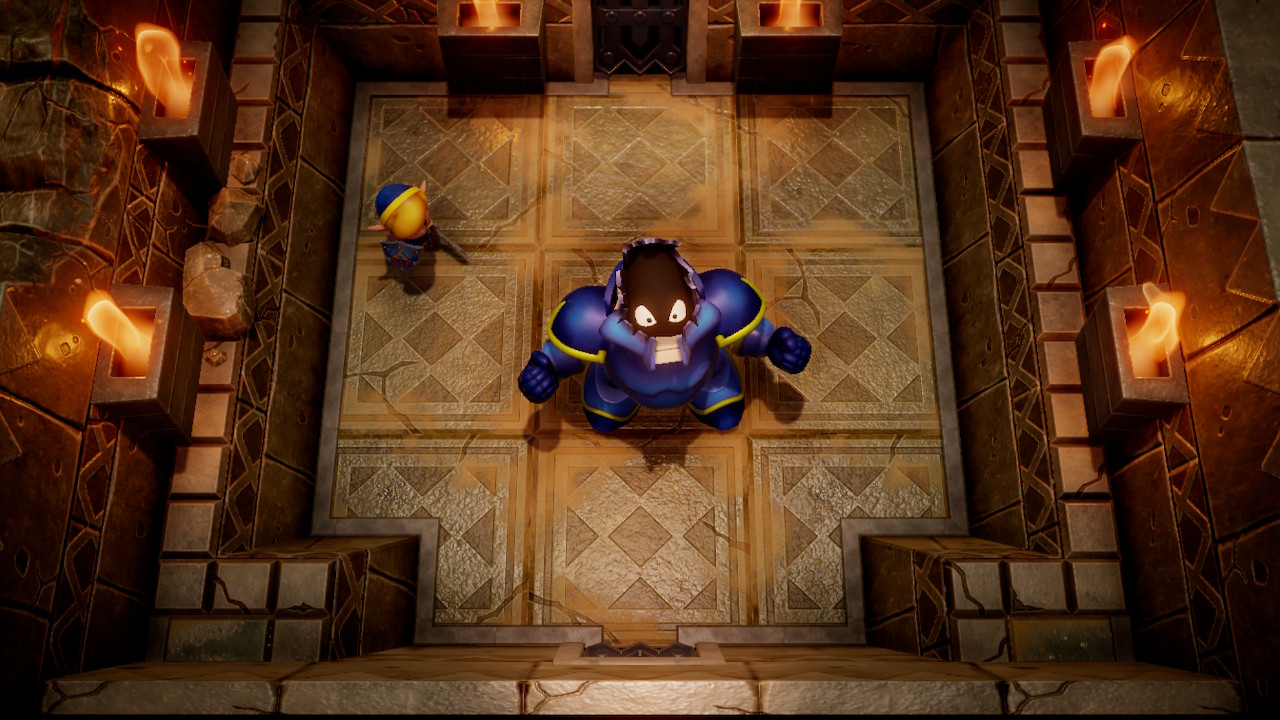
Smasher
Mini-Boss in Face Shrine
This mini-boss is called Smasher or Rover. His attack is to throw a large bowling ball at you. Now that we have the more powerful bracelet, we can toss it back at him to deal damage. He's pretty quick, so be sure to avoid his tosses and grab the ball quickly. After a couple rounds of tossing, he'll be defeated.
Grim Creeper
Mini-Boss in Eagle's Tower
This guy is called the Grim Creeper. It's quite the easy fight, he doesn't do any of it himself. Rather he sends six flying baddies at you that you must slice to defeat. Hit them all in one swoop and he'll quickly make an exit.
Blaino
Mini-Boss in Turtle Rock
The mini-boss of Turtle Rock is called Blaino. He'll punch you with his boxing gloves, so simply avoid them and attack him from above or below. If you get hit by his really big attack, it'll send you back to the entrance of the dungeon, but it's easy to avoid. He'll be defeated after a several slashes of your sword.
Link's Awakening Switch Overworld Bosses
King Moblin
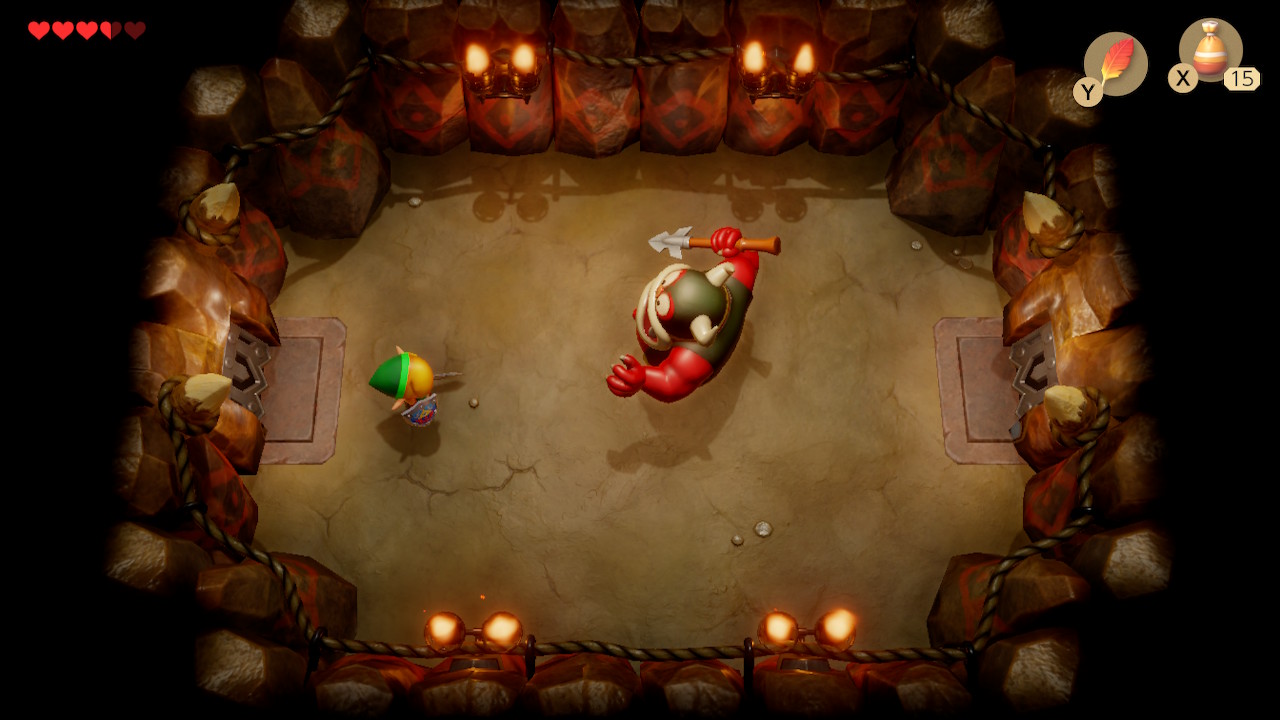
Boss of Moblin's Hideout
The third room of Moblin's Hideout contains the boss of the hideout, King Moblin. He'll throw spears at you that can be blocked or dodged. Eventually, he'll attempt to ram you. Move out of the way and strike while he is stunned. After a few cycles he will be defeated and drop a fairy.
Lanmola
Boss of Yarna Desert
In the northern part of Yarna Desert, you'll come accross an area of quicksand with a mini-boss called Lanmola. It's a snake that will emerge from the sand. Simply swipe at its head as it comes out until it's been defeated. Be careful to avoid being dragged underground by the quicksand.
Armos Knight
Boss of South Face Shrine
Walk down the steps of South Face Shrine and enter the next room to face a mini-boss: Armos Knight. Use Roc's Feather to dodge his ground-shaking attacks, then quickly charge a spin-attack to weaken his armor. Once his armor is weak (his shield will be gone) just shoot a couple arrows and he'll be defeated.
Giant Turtle
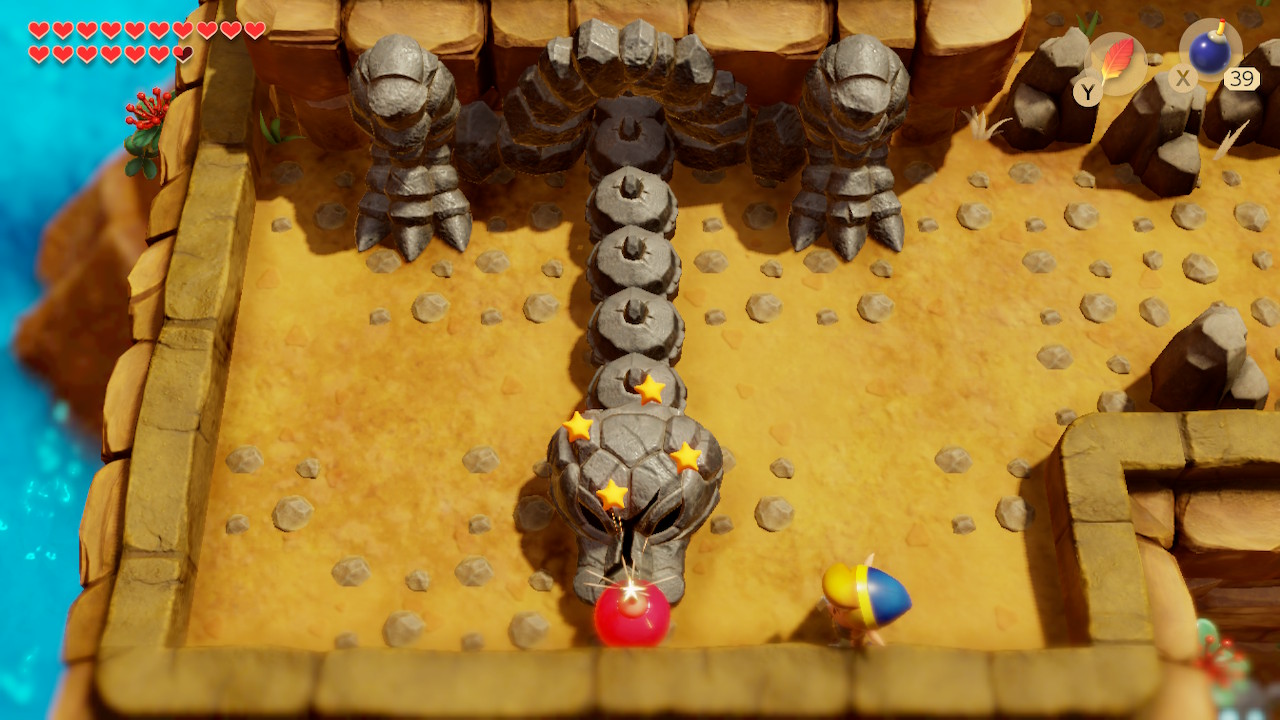
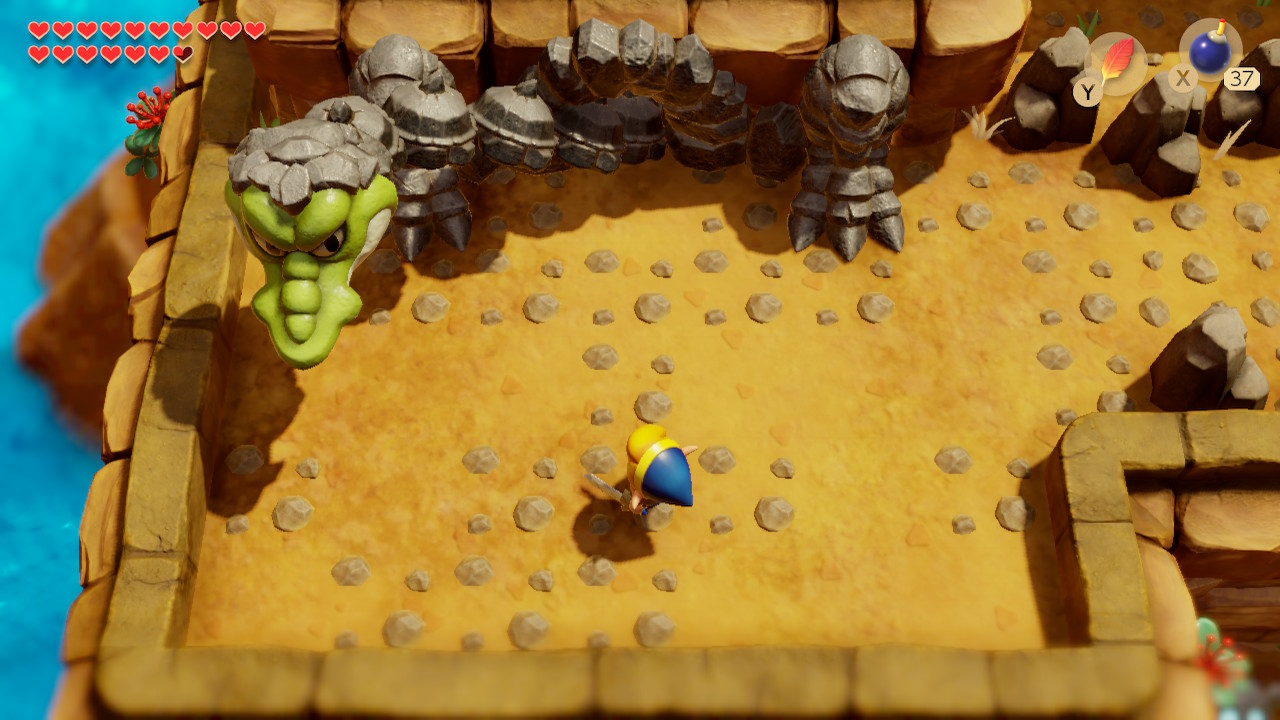
Boss guarding Turtle Rock
Play 'Frog's Song of Soul' in front of the entrance to Turtle Rock to awaken Giant Turtle. Stand around the center along the bottom edge to bait Giant Turtle into attacking you. Jump out of the way at the last second and he'll smash his head into the wall. Once stunned, place a bomb nead his head to break away his armor. After three rounds of this, his armor will be gone and he'll begin attacking more quickly. Simply slash away at his exposed face with your sword until he's been defeated.
Link's Awakening Switch Final Boss
Shadow Nightmares
Boss of Wind Fish's Egg
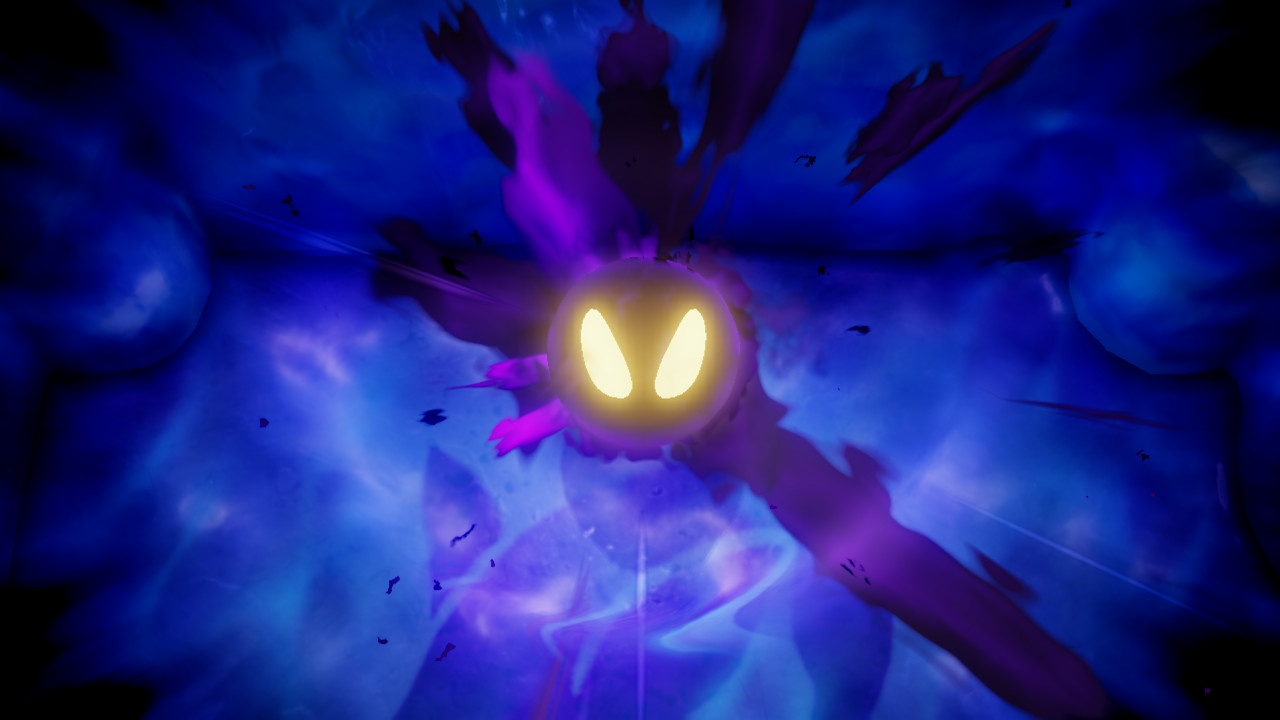
The final Nightmare has a toal of six forms and is the boss of the Wind Fish portion of the game. The first is Giant Blob form. The only way to damage it is with Magic Powder. Use it three times on Giant Blob and it will switch forms to Agahnim’s Shadow. This is a familiar boss form to Zelda veterans. To defeat it, swing your sword at the energy balls that he shoots your way to reflect them at him. Watch out for the non-ball projectiles, as they can't be reflected.
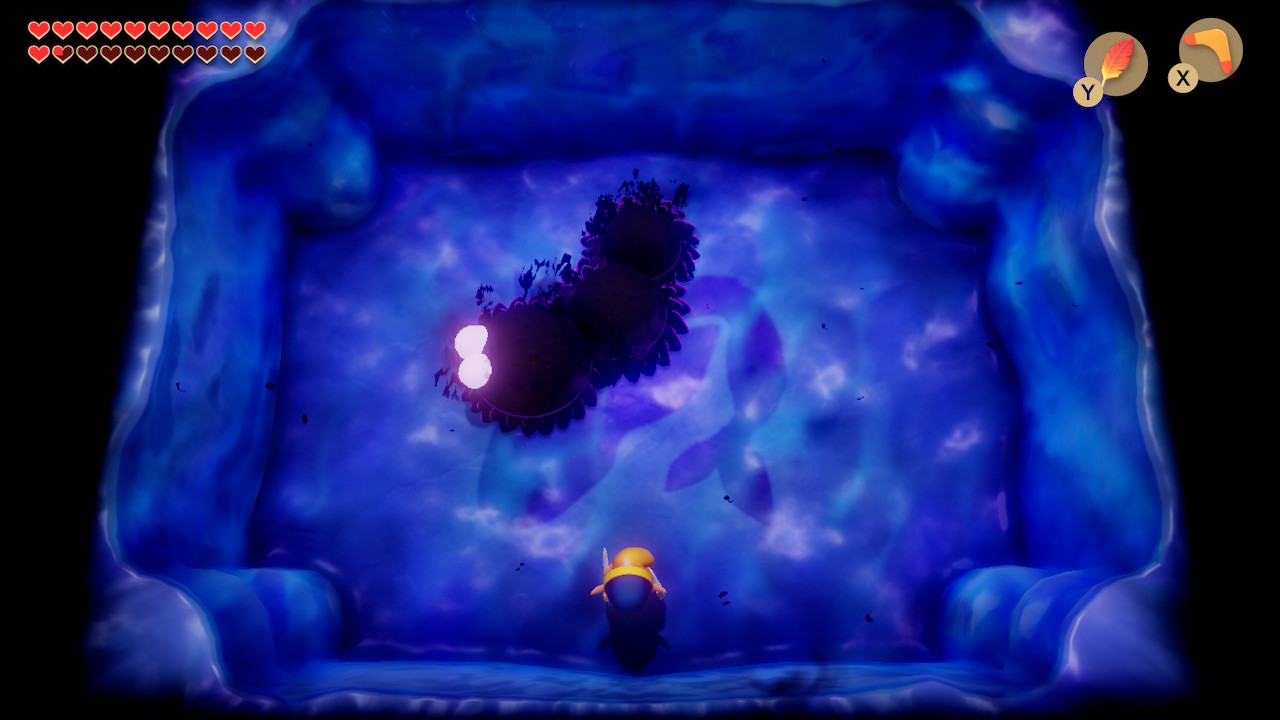
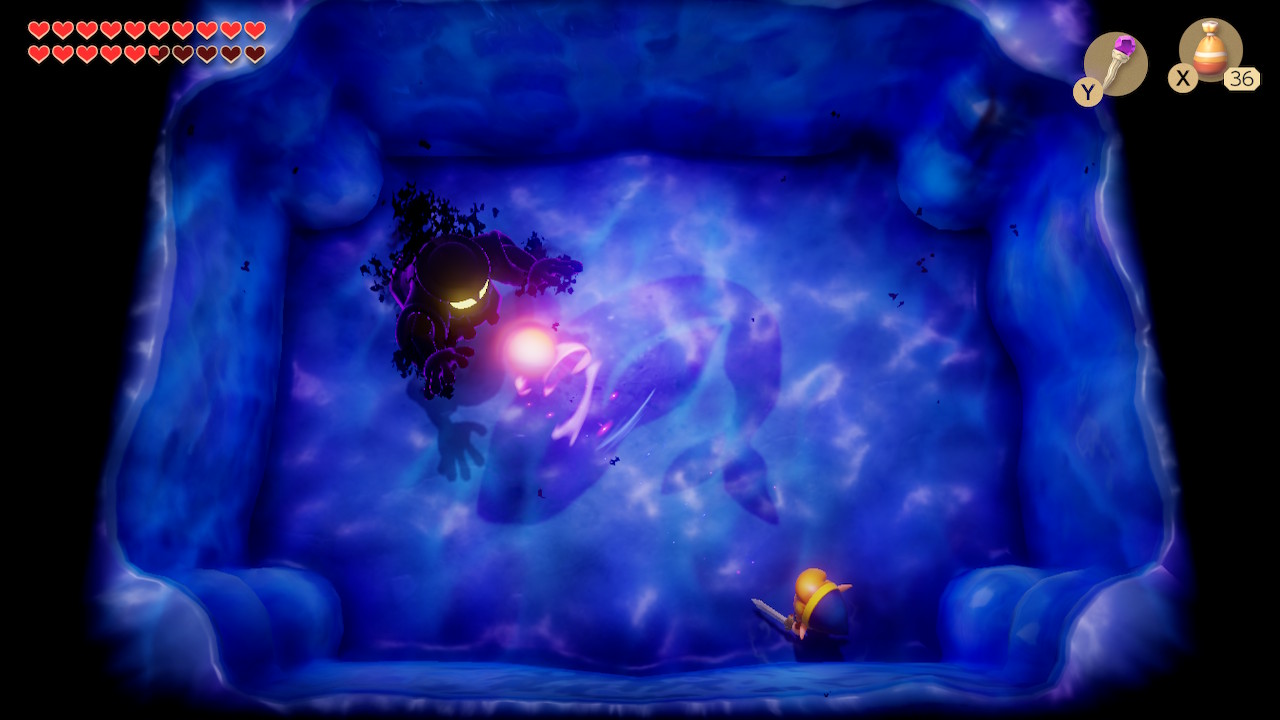
The third form is Moldorm's Shadow. Just like the normal form of Moldorm, you'll simply need to slash at his tail with your sword. This version is a bit quicker, but just as simple to take out. The fourth form is Ganon's Shadow. You'll need to dodge the bats he sends your way. Wait until he throws his trident at you then dash into him with the pegasus boots. This form can be defeated in one cycle if you're quick.

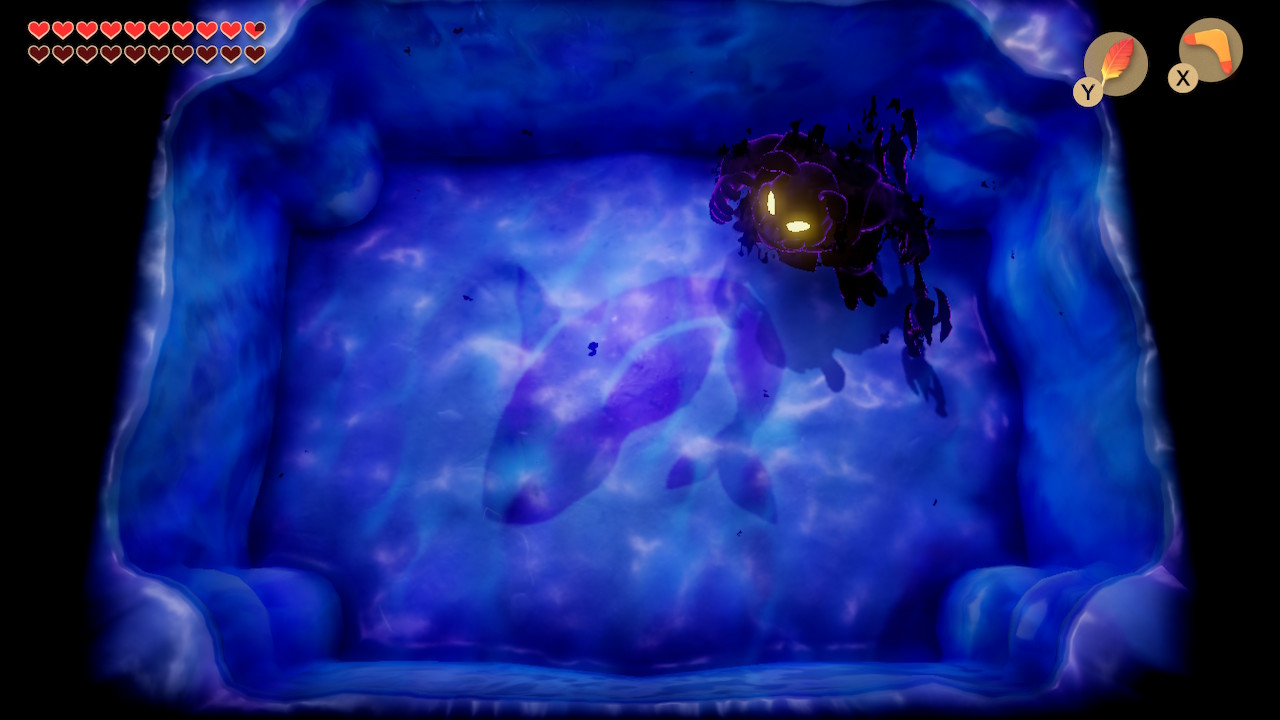
The fifth form is Lanmola's Shadow. It's a worm like form that moves quickly and will follow you around. This one is very easy to take out with a few spin attacks. The final form is Dethl. The key here is to attack the eye with arrows from the bow or your boomerang when it opens. Jump up with Roc's Feather to dodge his arms and shoot his eye. It'll take several arrows, but shouldn't be too challenging.
Thanks for using our Link's Awakening for Switch Boss guide!
