
Part 3: Key Cavern
Quick Collection
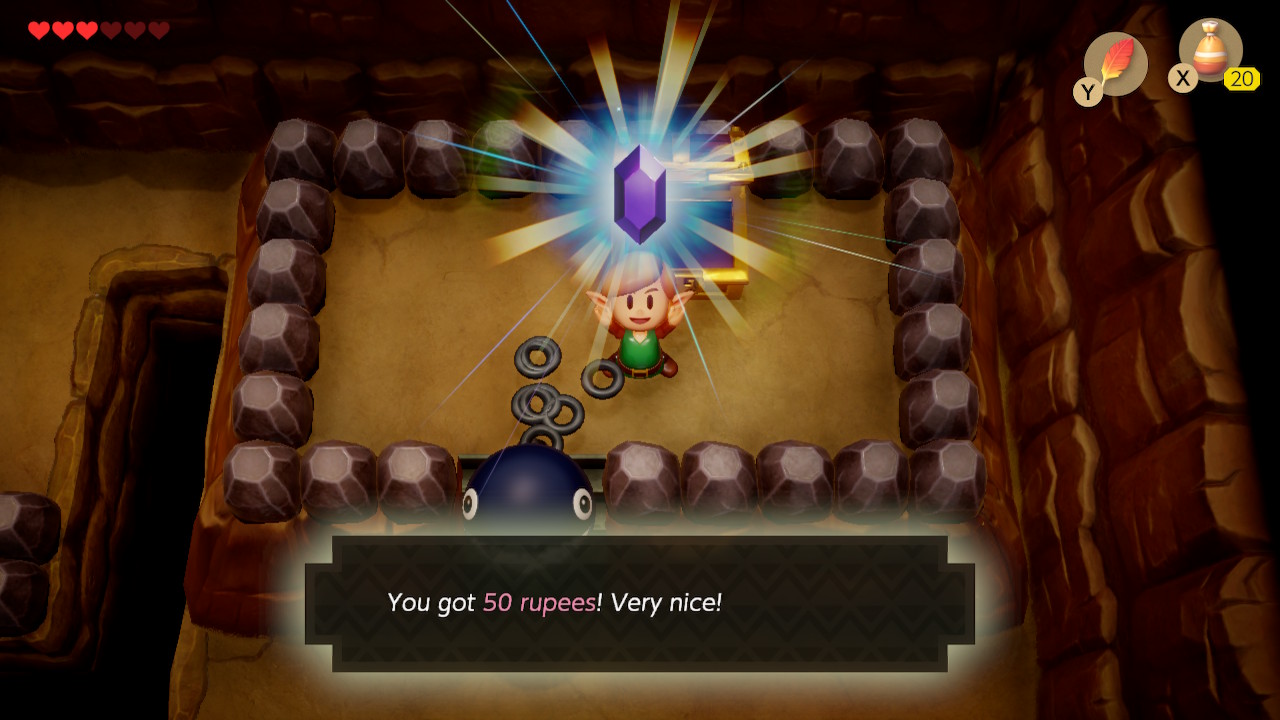
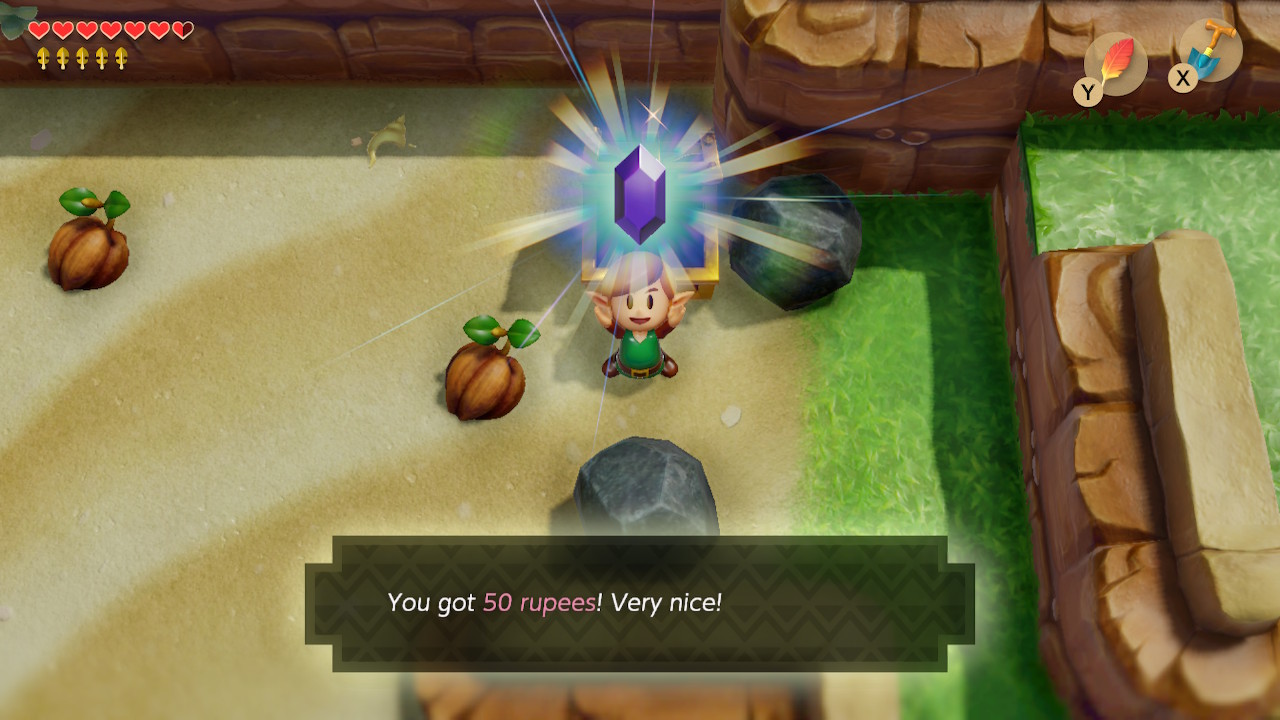
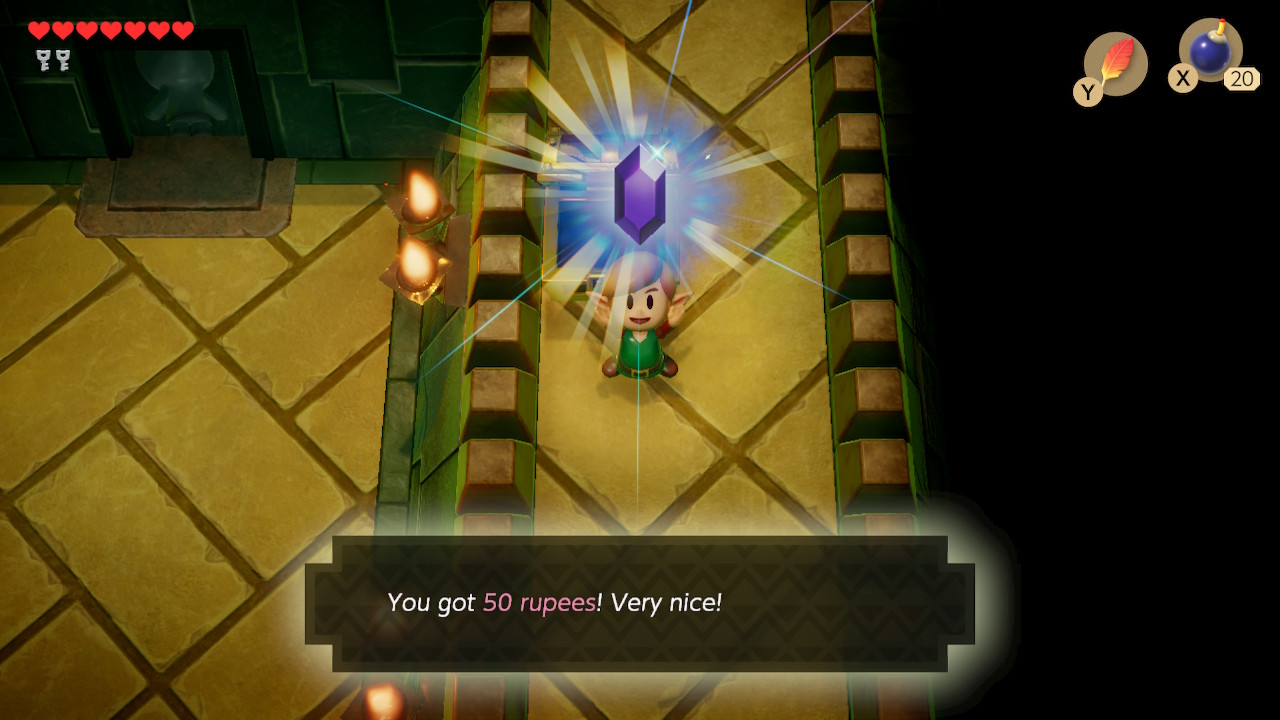
Now that we've completed Bottle Grotto, there's plenty of optional things to do and collect. If you're only interested in completing the main quest, feel free to skip ahead. Head left back through the swamp and a bit north to the cave with two entrances. Enter the right side and pick up the skull in front of the treasure chest. Inside are 50 rupees. On the left side of the cave is another chest containing 20 rupees.
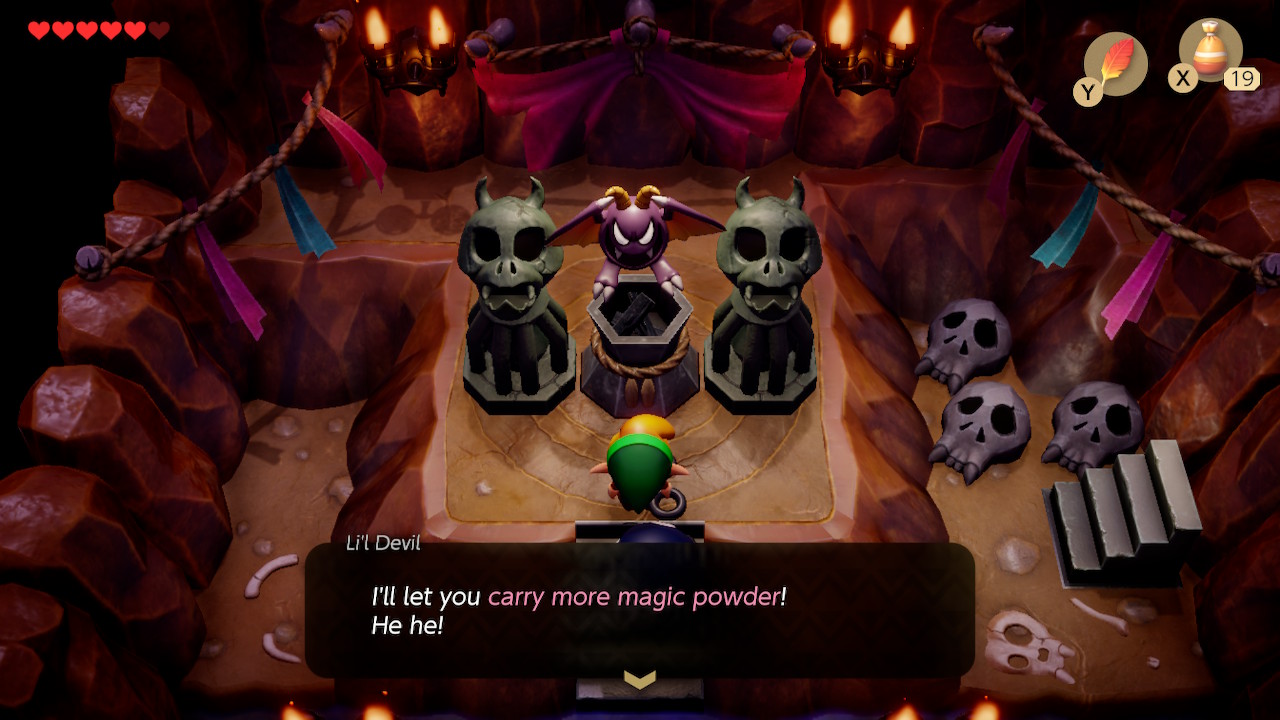
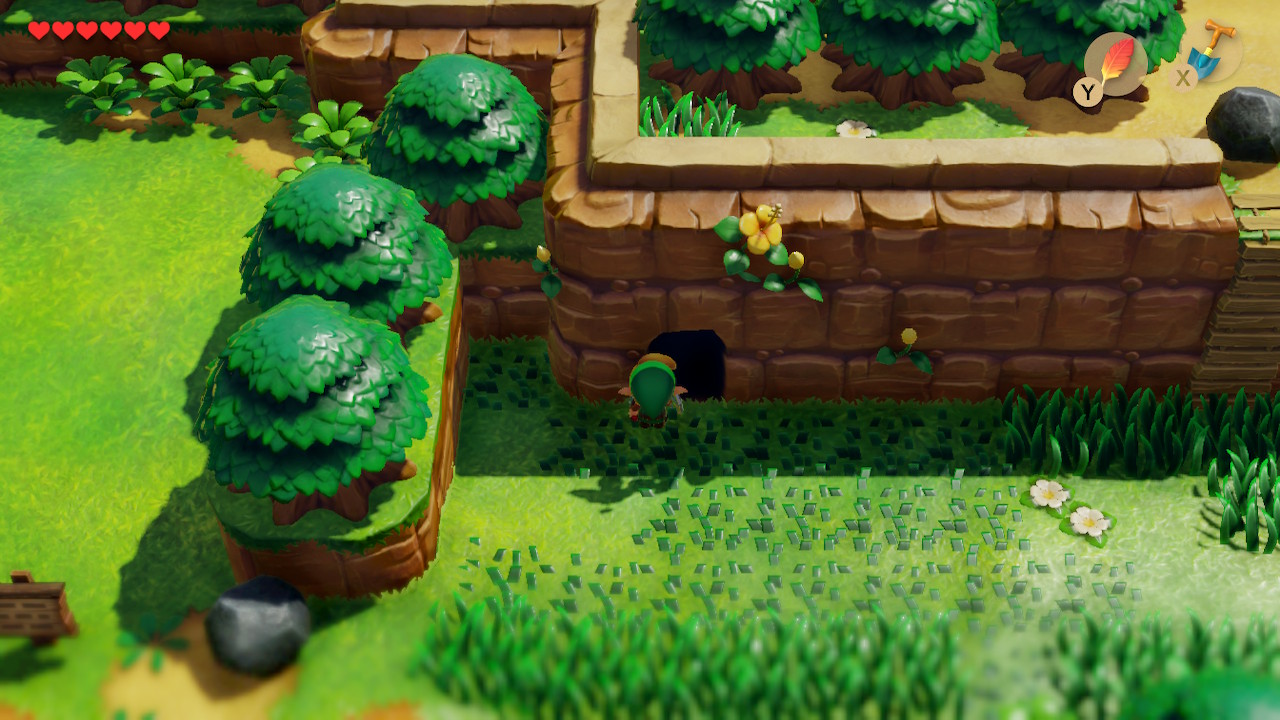
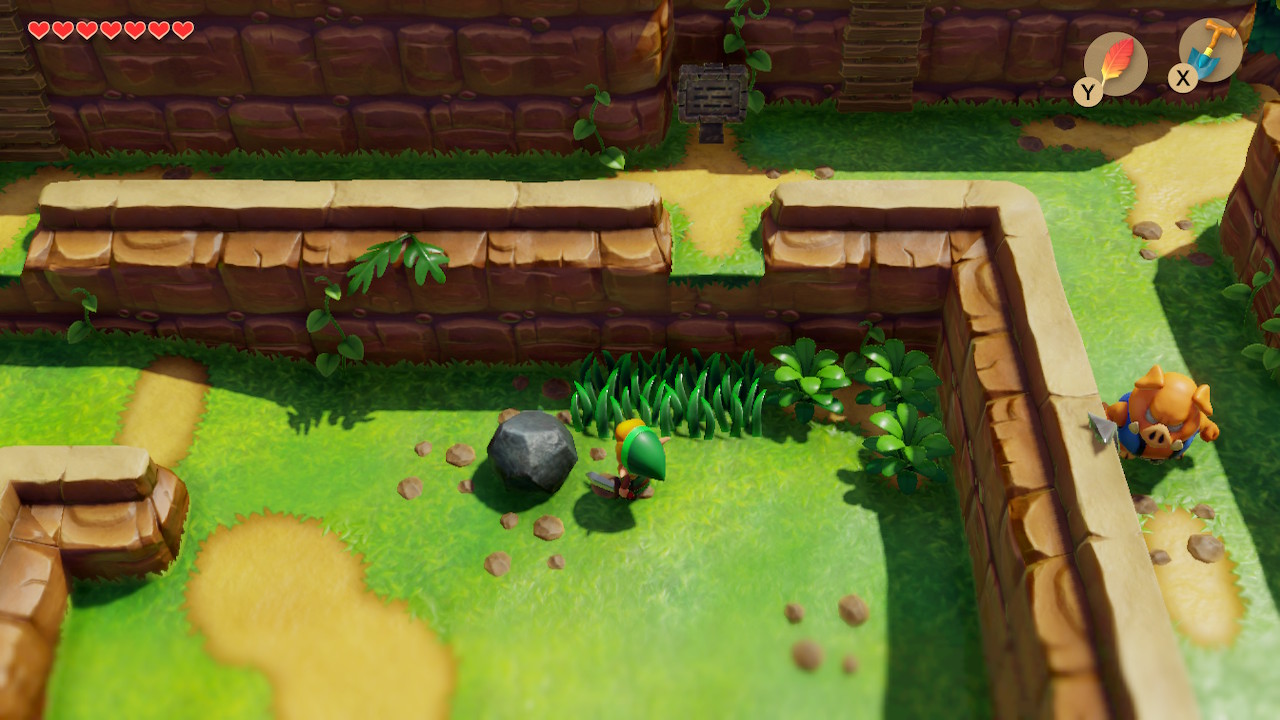
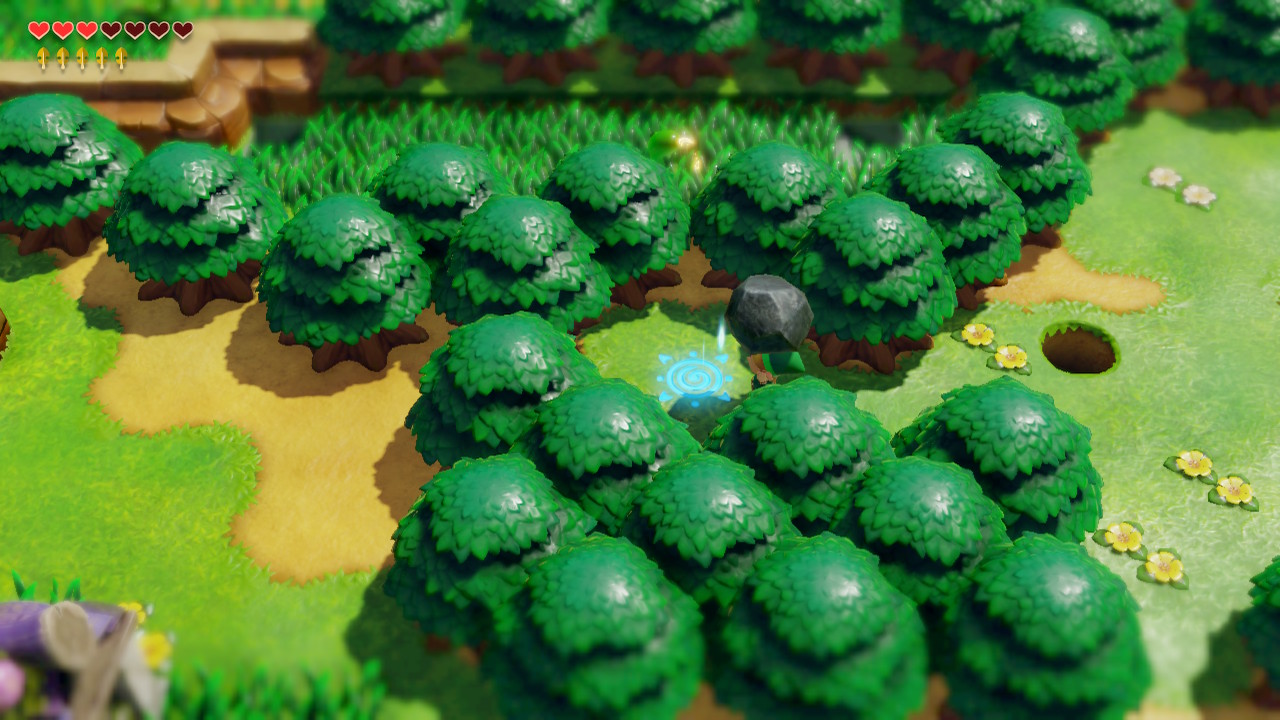
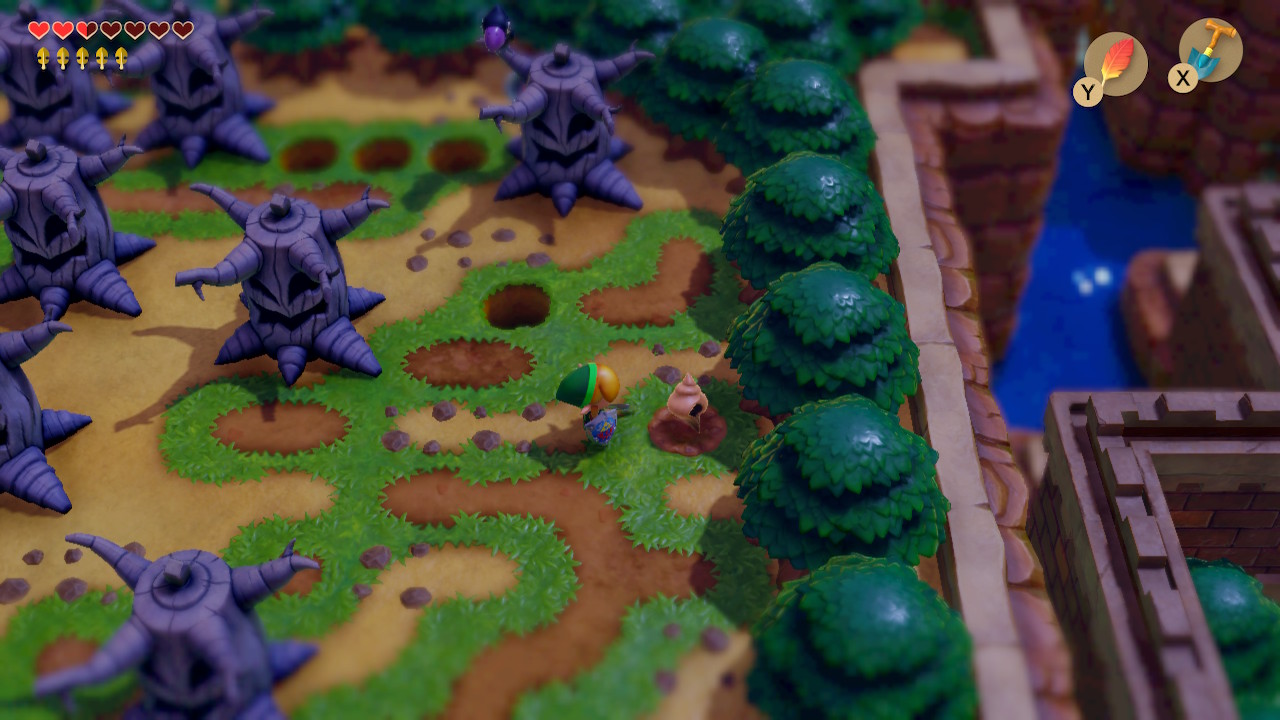
Head back south into Mysterious Forest. Near the center of the forest, there is an area with a boulder in the upper right corner. Pick this up to reveal a staircase. Go down and light the torch here. Li'l Devil will appear and curse you with the ability to carry more magic powder: 40 units.
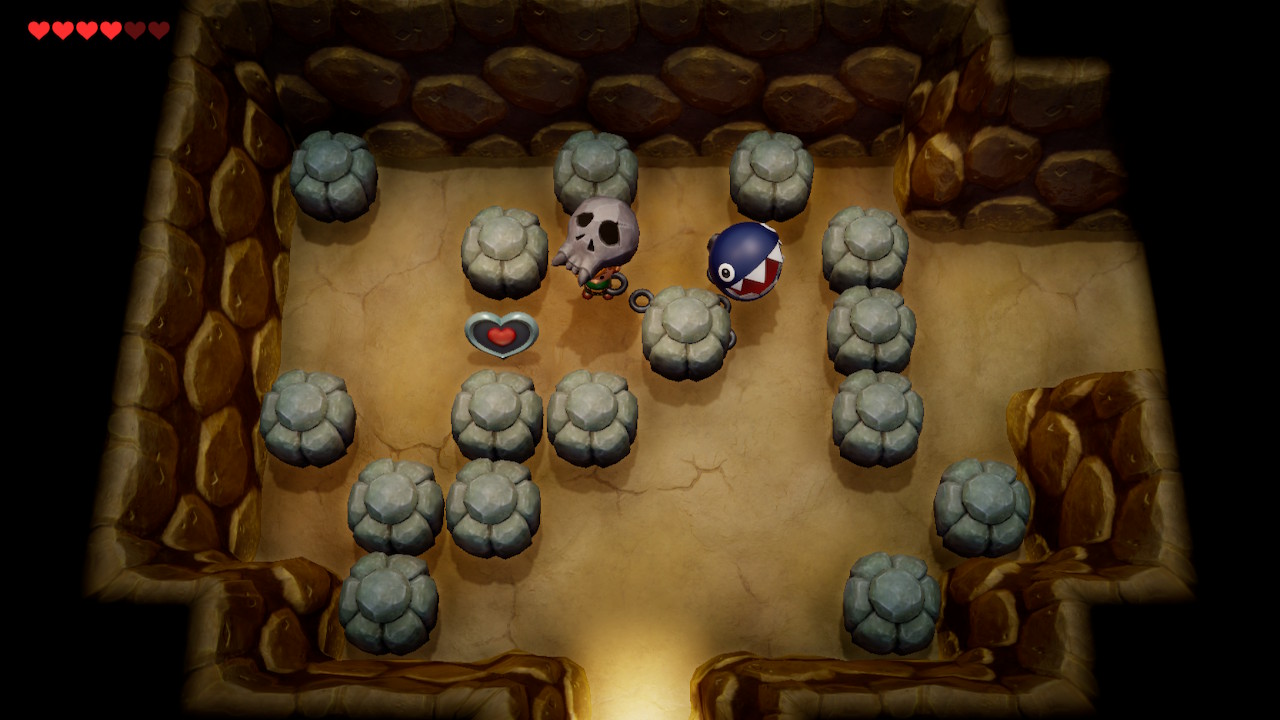
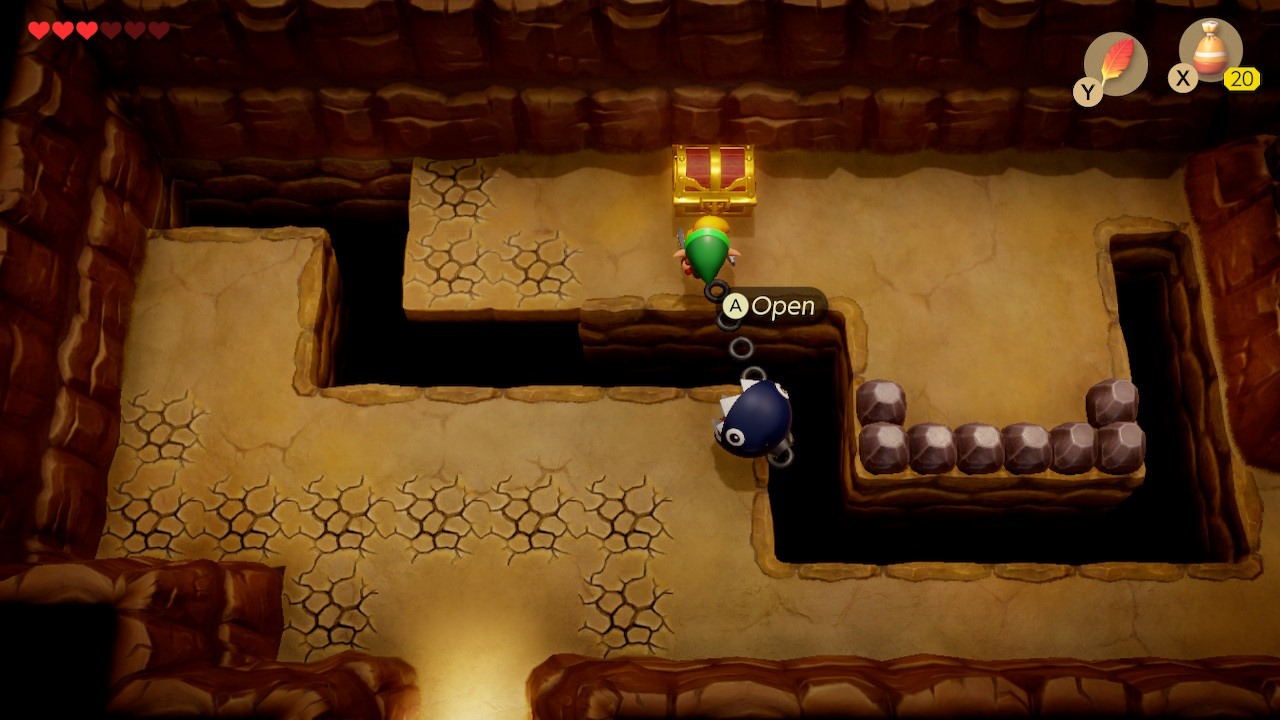
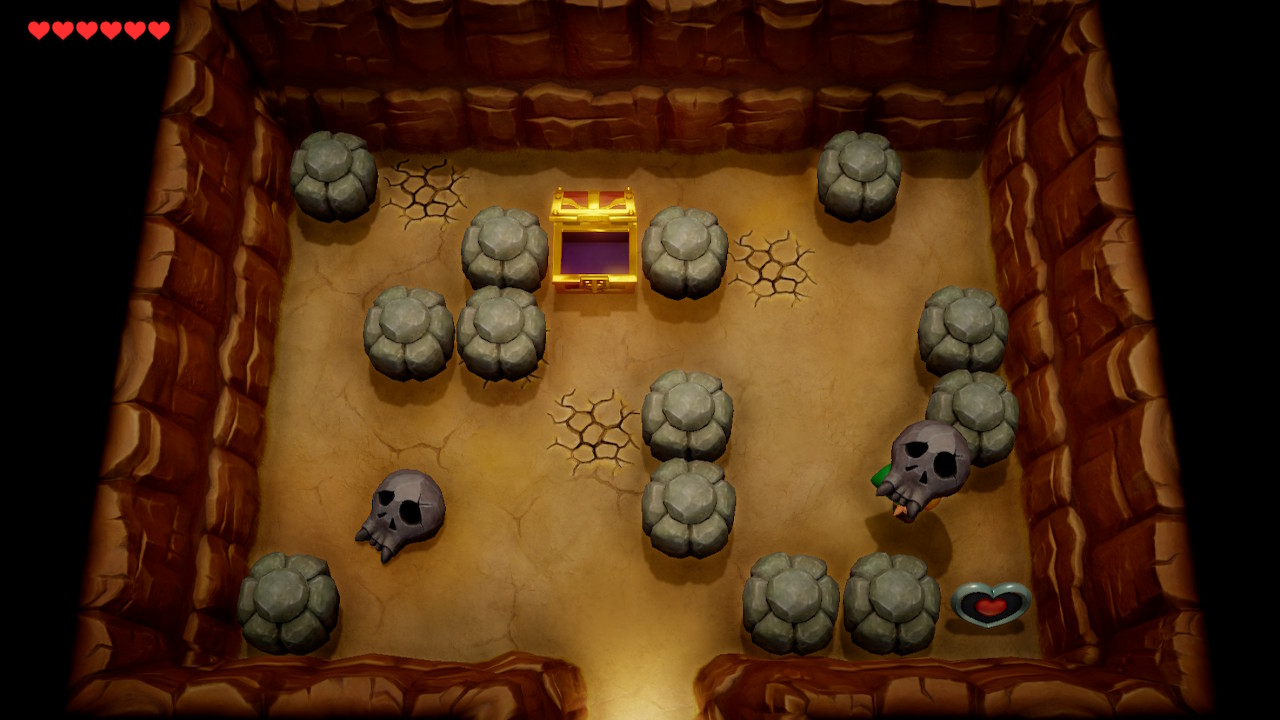
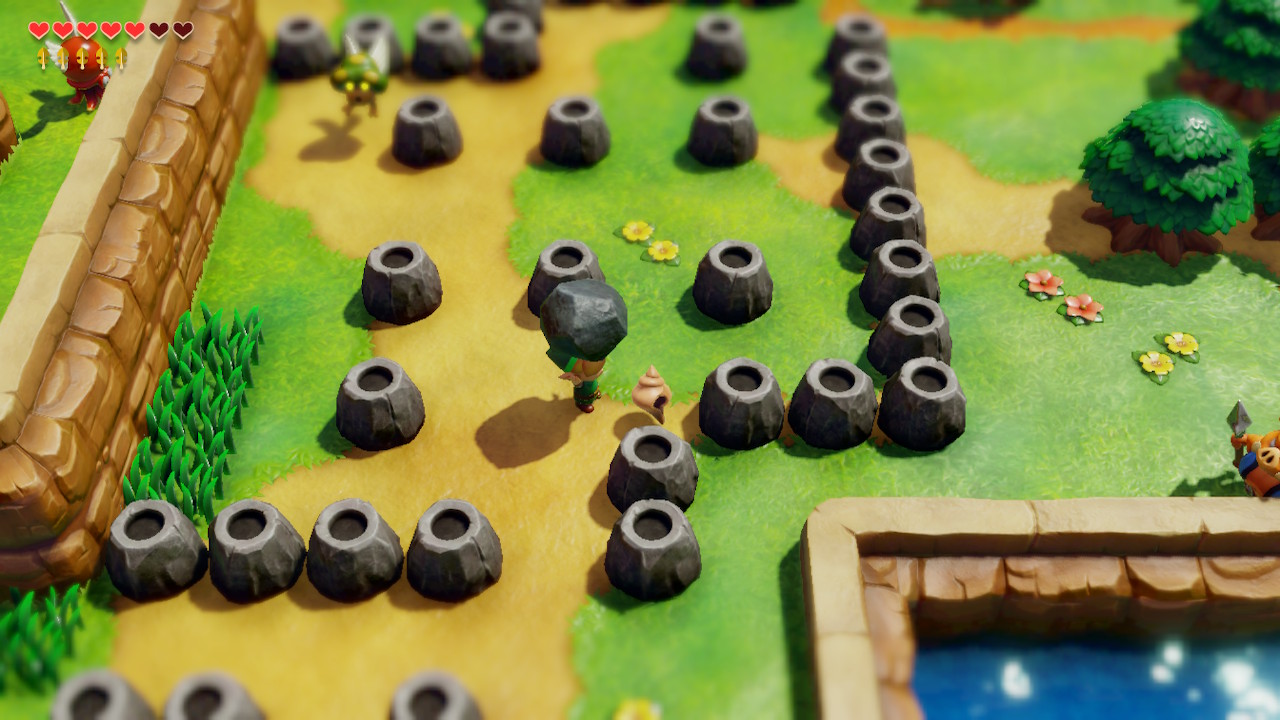
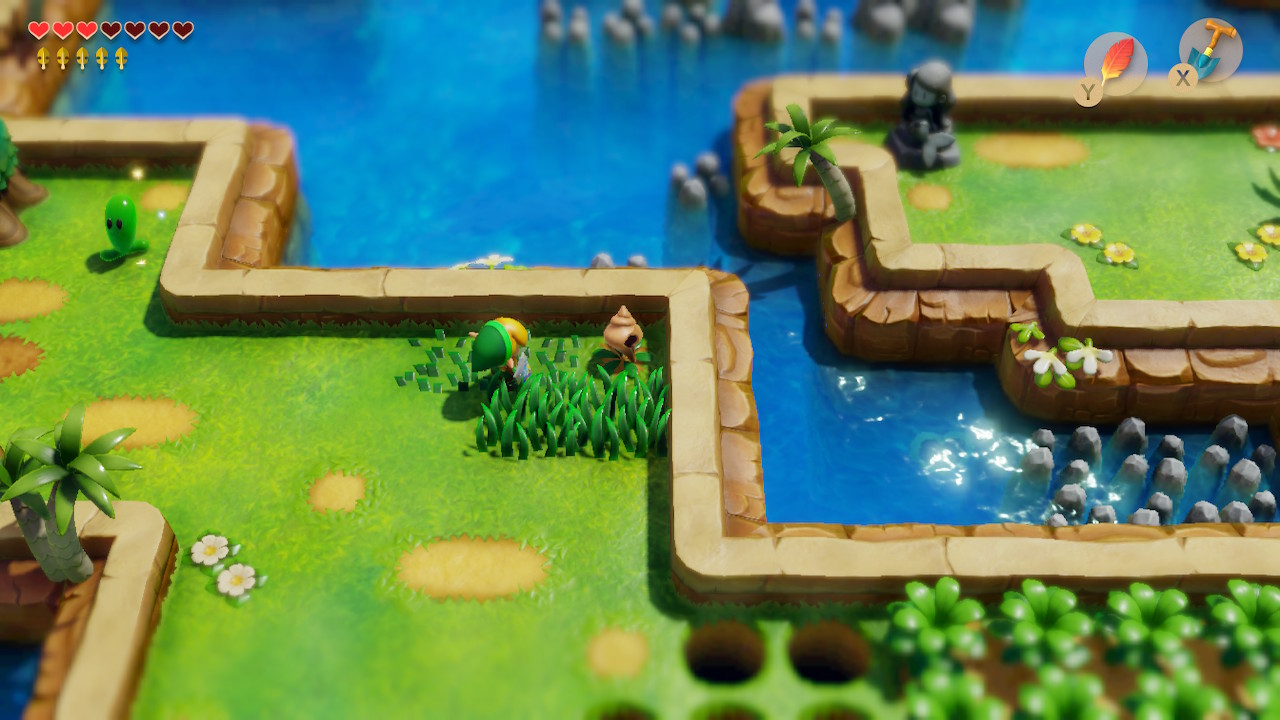
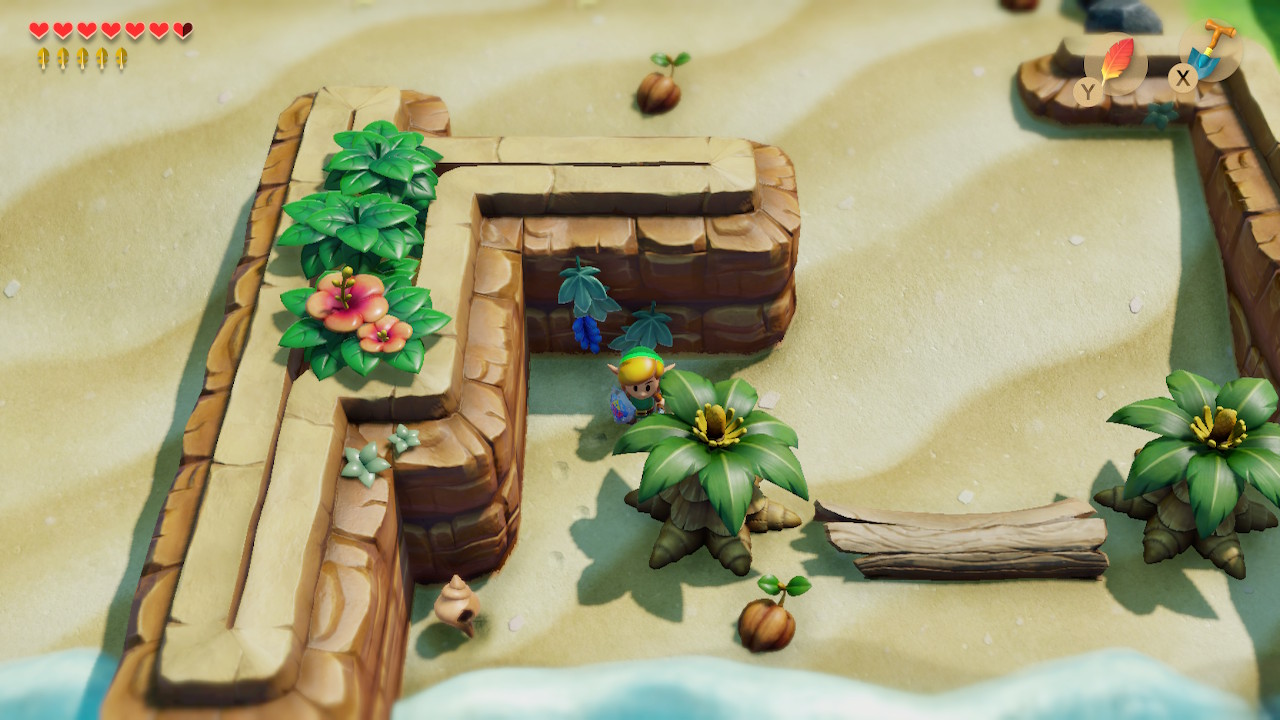
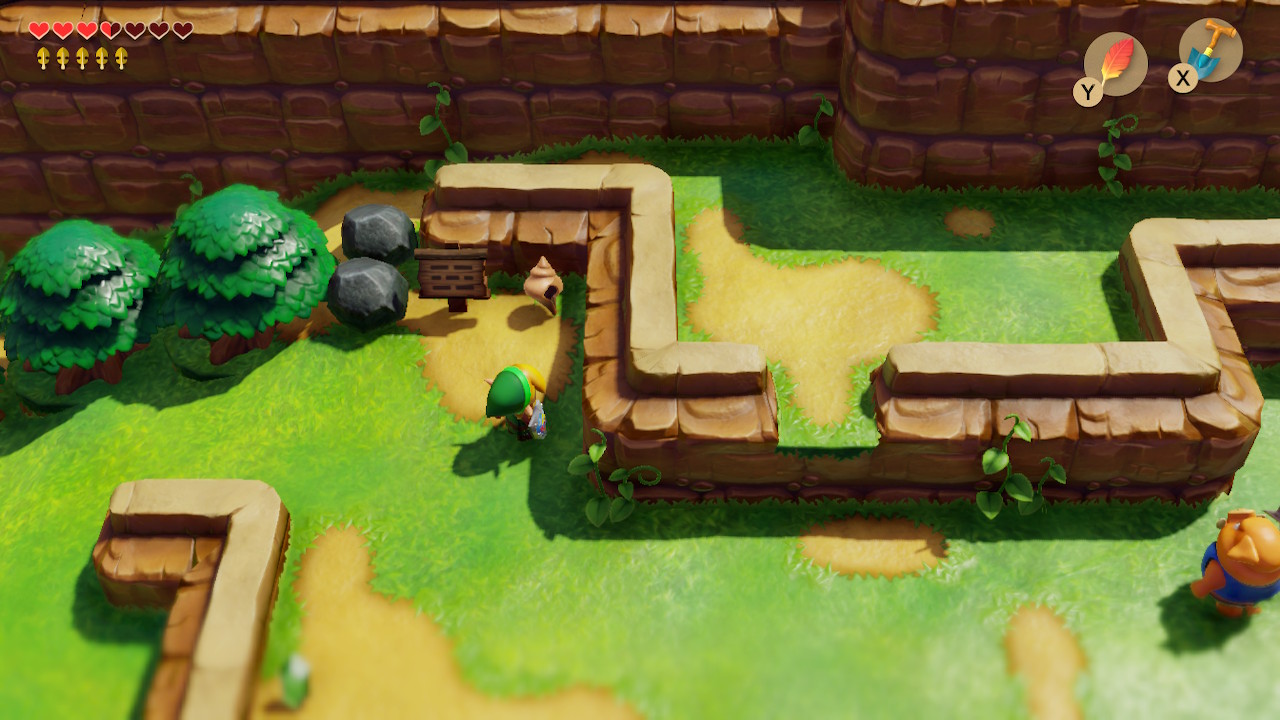
Head south back to the cave with a log entrance that we've been in before. If you haven't picked up the 50 rupees in the chest here, you can do so now. Continue through the next two rooms to find the room with boulders and skulls. Move the boulders out of the way and pick up the skulls now that you have the power bracelet. You can now pick up Piece of Heart #6. Exit the cave either way.
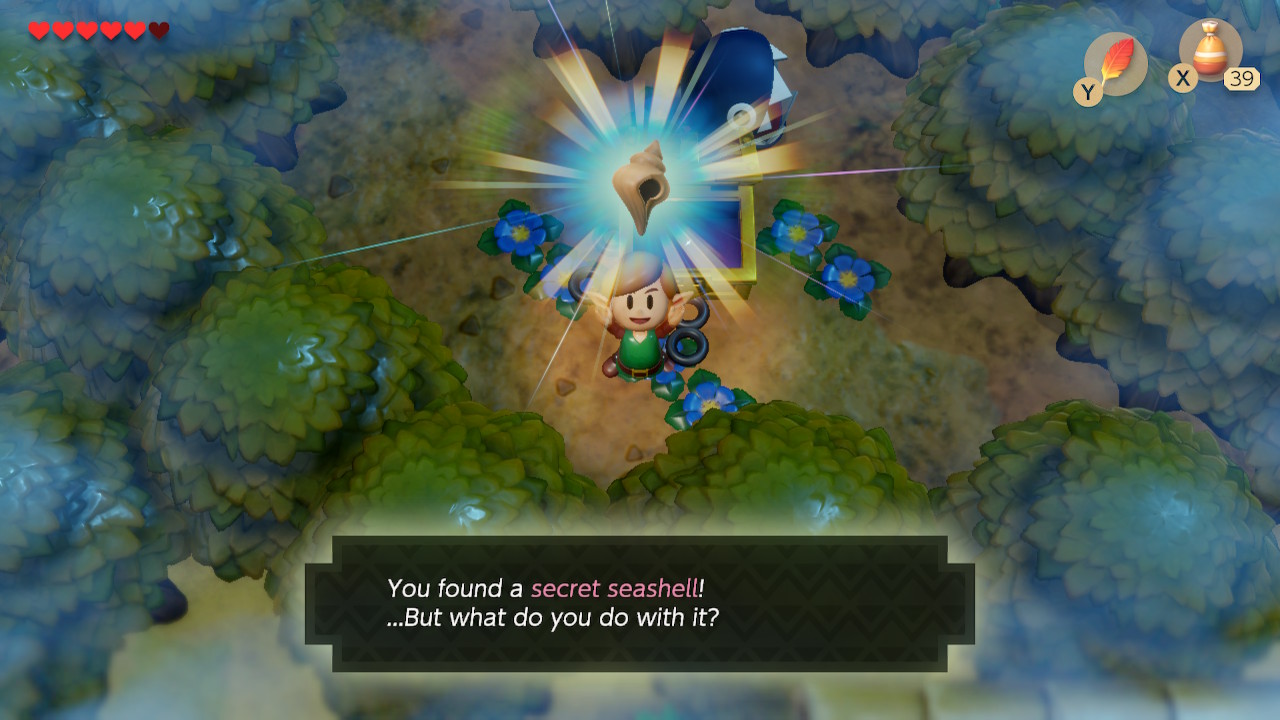
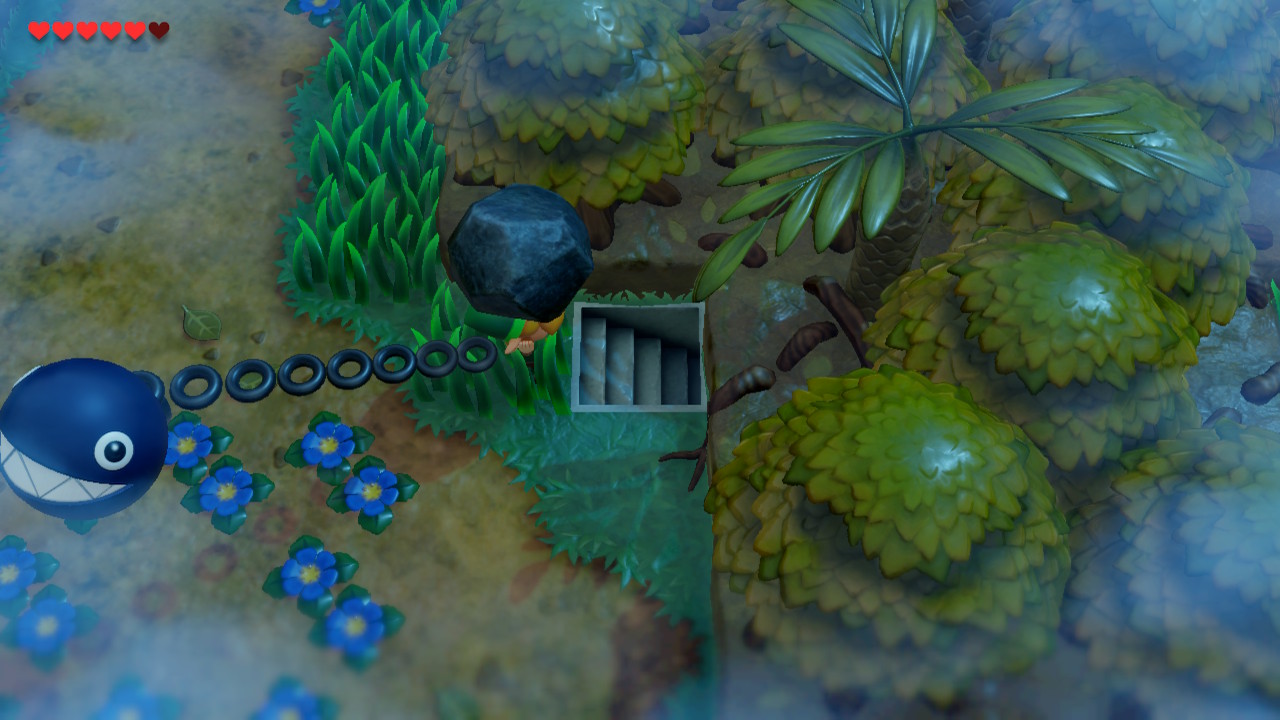
Head southwest towards the south entrance of Mysterious Forest. You'll see a boulder blocking the way to a treasure chest that you can now pick up. Open the chest to get Secret Seashell #3. After you've picked it up, exit the forest back to Mabe Village.
Returning BowWow

It's now time to return BowWow to his rightful owner. Before doing so, you could take him down to Toronbo Shores and have him eat the monkey there, but nothing will come out of it (the monkey respawns). Return him to Madam MeowMeow and she will reward you with a giant smooch.
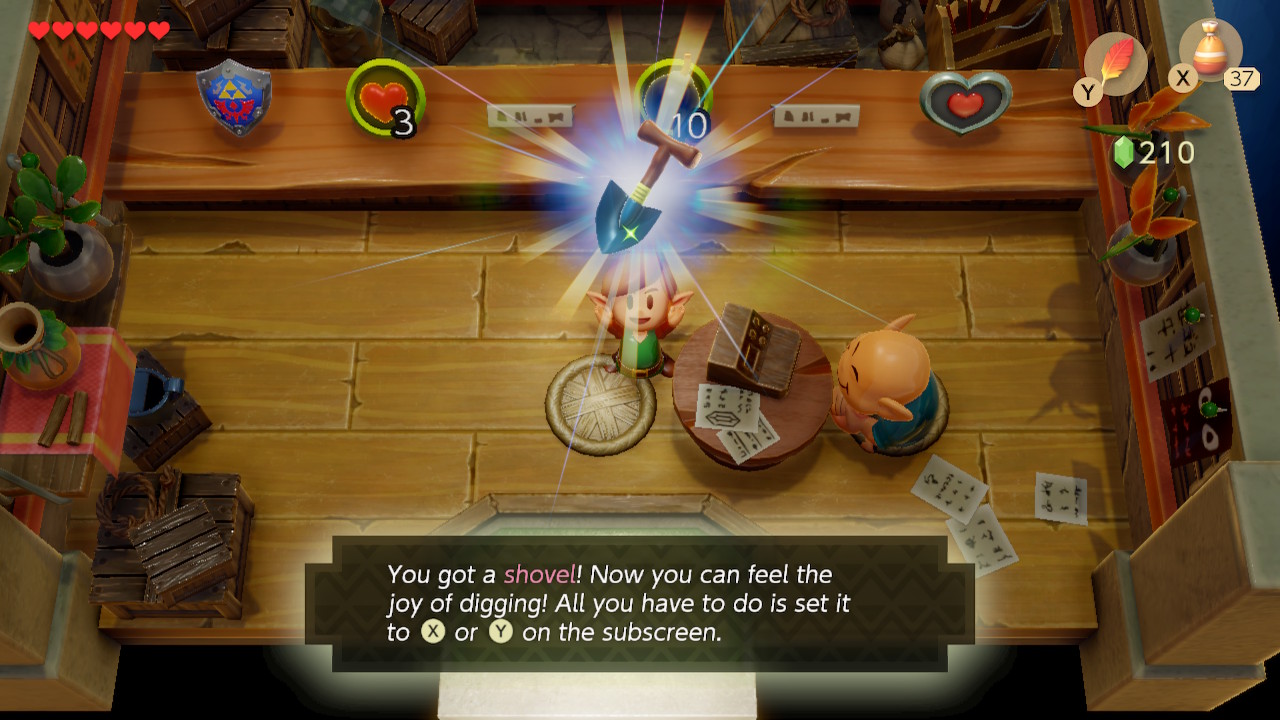
After you've said your goodbyes to BowWow, head to the shop in the northeast corner of the village. If you've been following along, you should have around 400 rupees by now. If not, farm the grass below the shop until you have at least 410 rupees. Enter the shop and buy the Shovel for 200 rupees. Afteward, fork over another 200 rupees for Piece of Heart #7. Pick up 10 Bombsfor 10 rupees as well. If a Like-Like ate your shield you can get a replacement for 20 rupees.
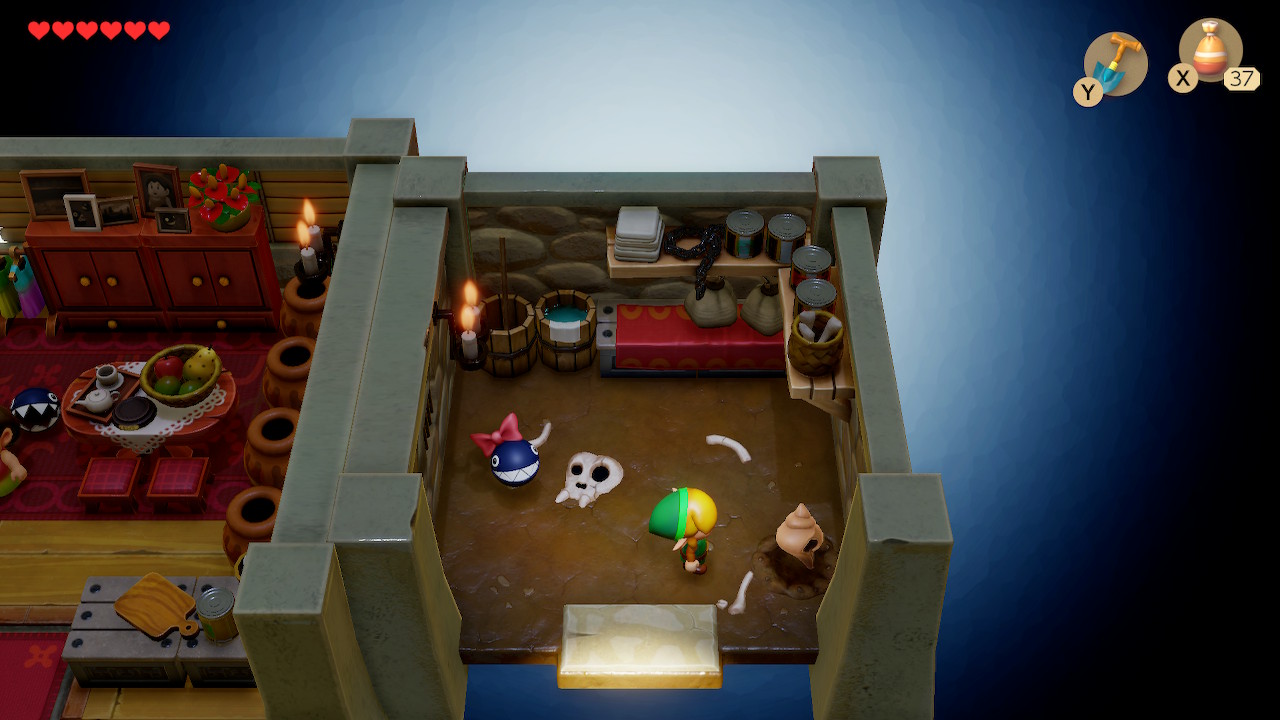
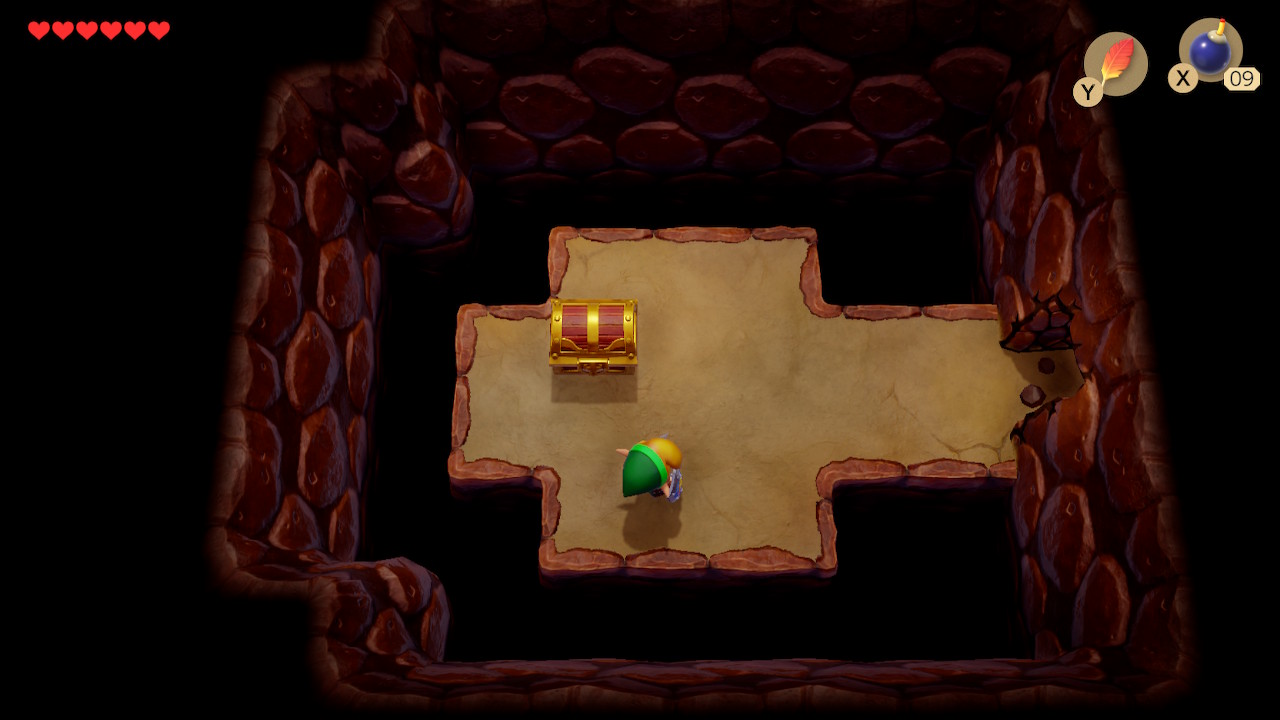
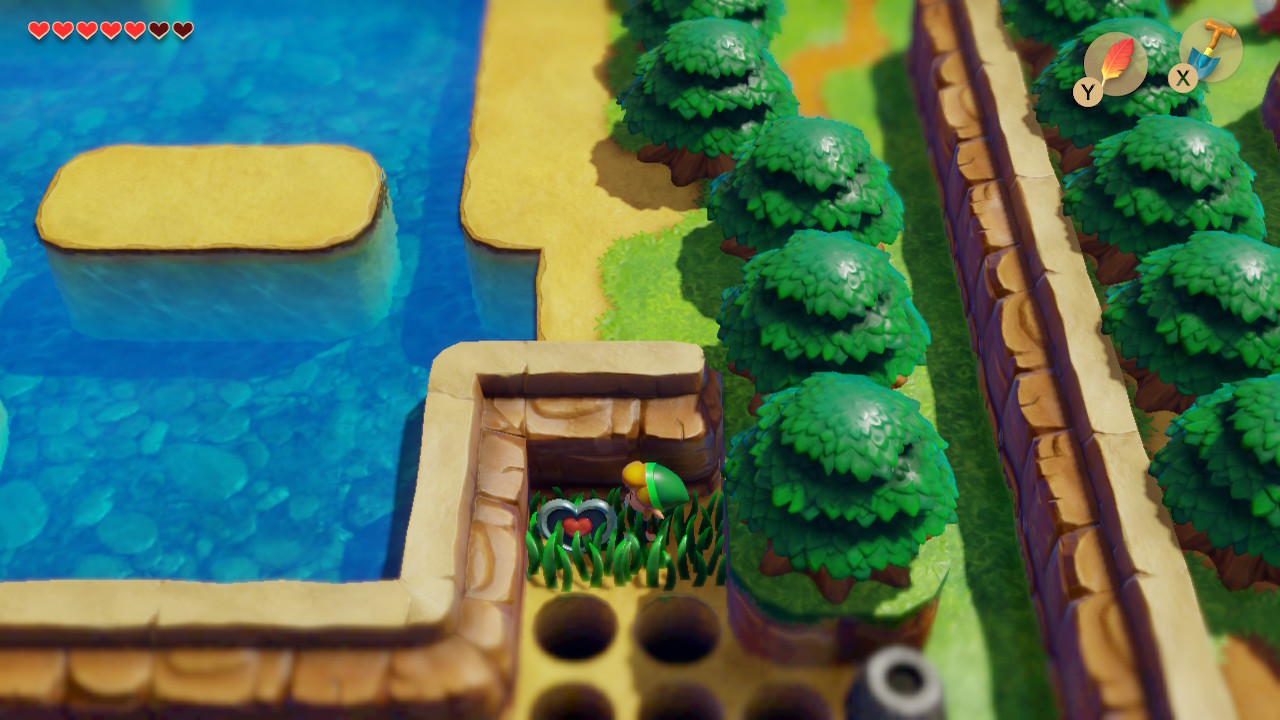
Head back to Madam MeowMeow's house and enter the right entrance to the doghouse. Use your shovel to dig in the bottom right corner and pick up Secret Seashell #4. Now, head south and make your way back to Tail Cave. Enter and head up, left, and up a room. You'll need to kill some Keese along the way. Place a bomb along the left wall and open the chest inside to get Secret Seashell #5. Exit the dungeon.
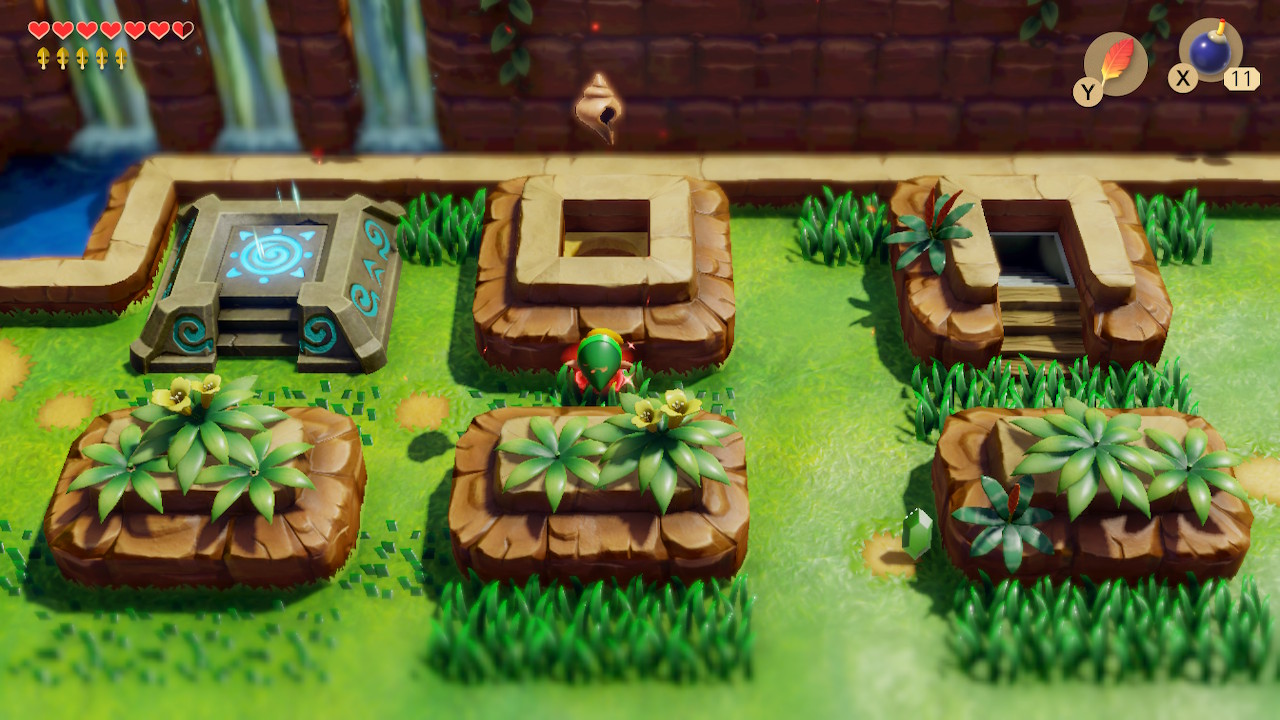
Head back to Mabe Village and exit east near the shop. Lift the boulders here to go east to Ukuku Prairie. Enter the cave to the north here. Inside, push the top-left stone up, the top-right stone right, and then the stone in front of the chest to the left. Open the chest to get 50 rupees. Now go to the bottom-right corner and push the middle stone right and the stone below you down. You can now pick up Piece of Heart #8.
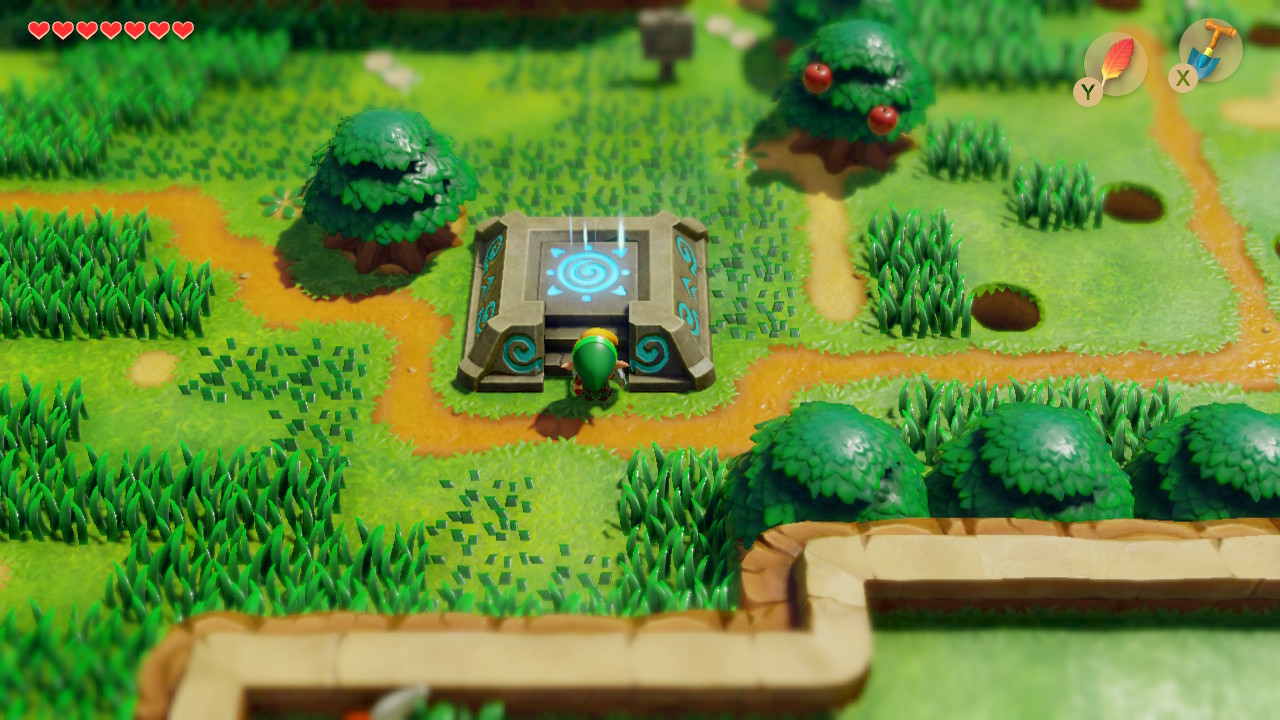
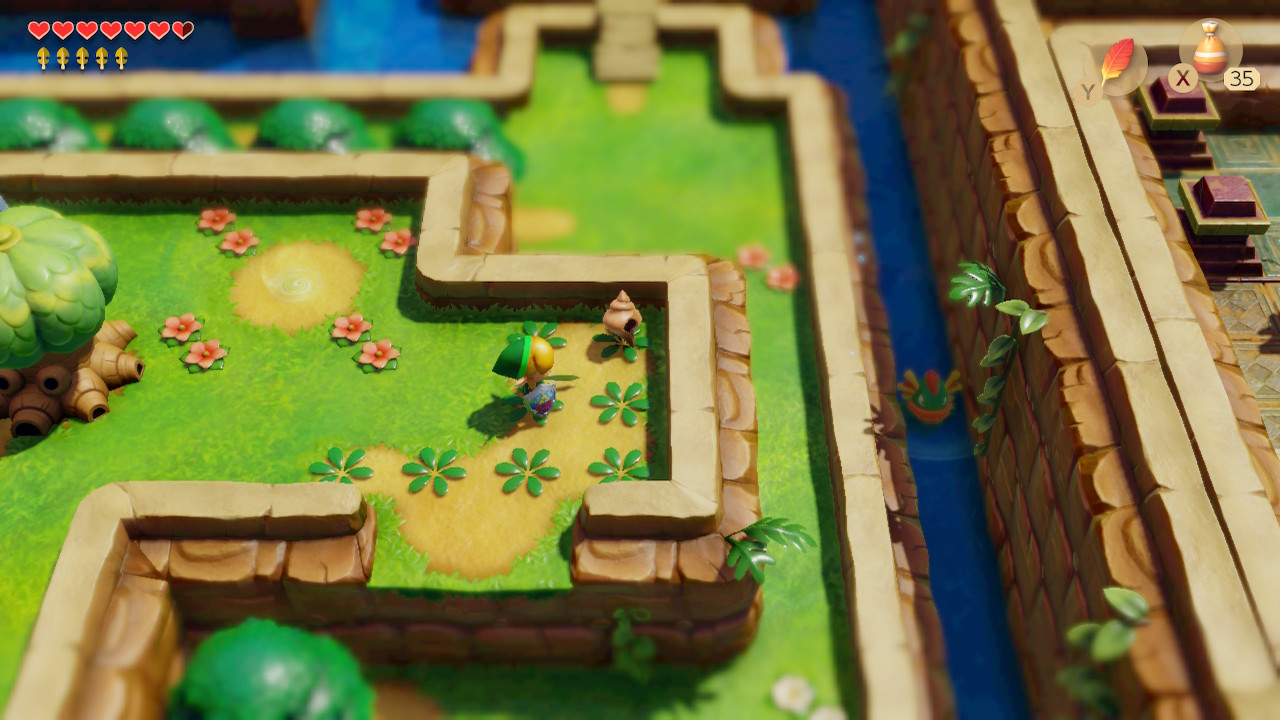
In this grassy area, there is a strange pedestal. Investigate it to active the first warp portal. We now want to head towards the Witch's Hut. The quickest way is to climb up the ladder near the cave you exited and keep heading north, making use of the power bracelet and Roc's Feather. At the hut, lift the stone and head south down the stairs. Cut the only bush in this area and then dig under it to find Secret Seashell #6.
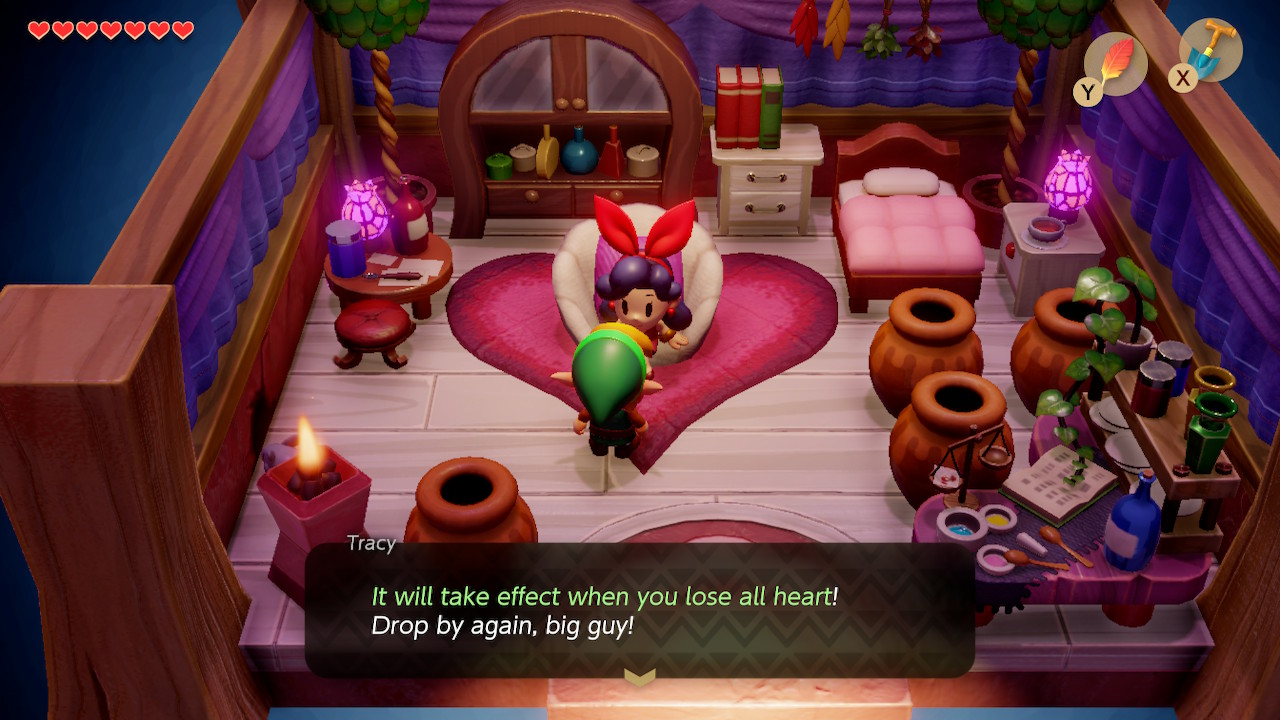
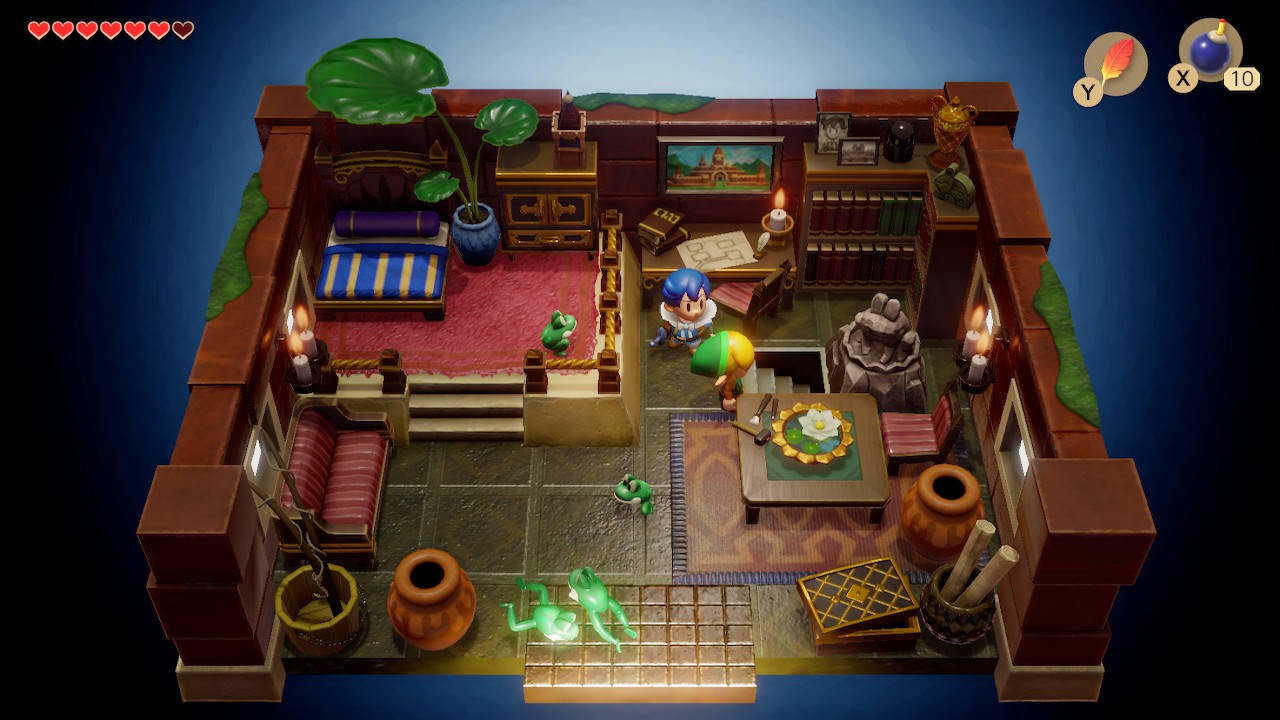
Head back to the Witch's Hut. Directly to the right, you can lift the boulder and head north. You'll find a house here, enter it and speak with Crazy Tracy. She'll give you some Secret Medicine that will revive you if you lose all your hearts.
Chamber Dungeon
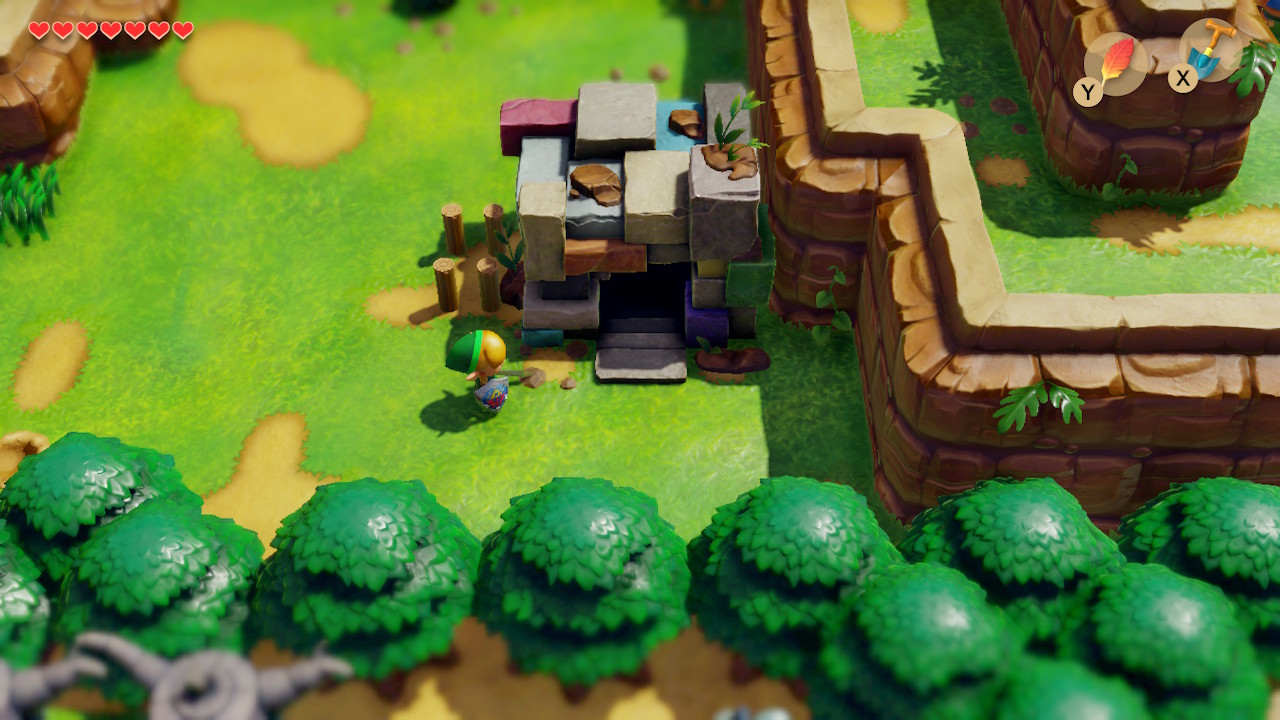
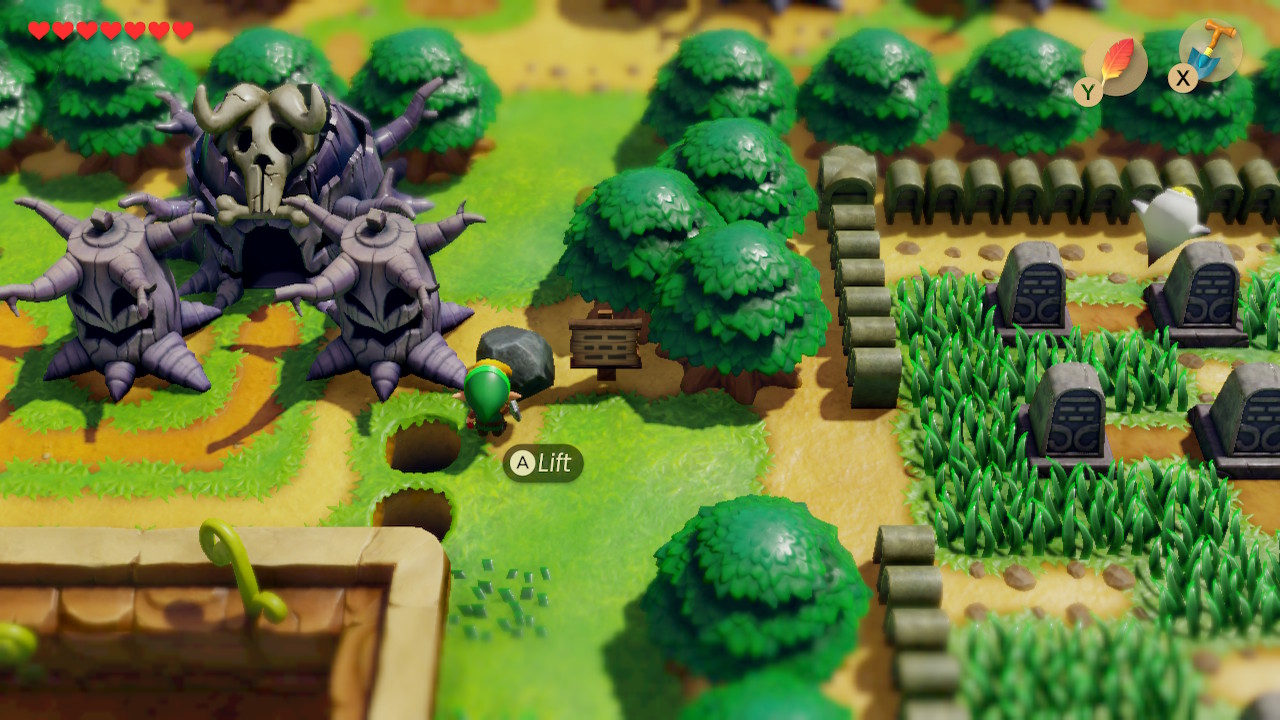
Now is a good opportunity to check out a brand new feature in the Switch version of Link's Awakening: the Chamber Dungeon. Note: this is completely optional and does not need to be completed right now, but becomes available after completing Bottle Grotto. To access it, we need to go to Dampe's Shack. From Crazy Tracy's, simply lift the boudlers to your right and head a little north. If you're coming from elsewhere, it can be found in southeast Tabahl Wasteland north of the graveyard.
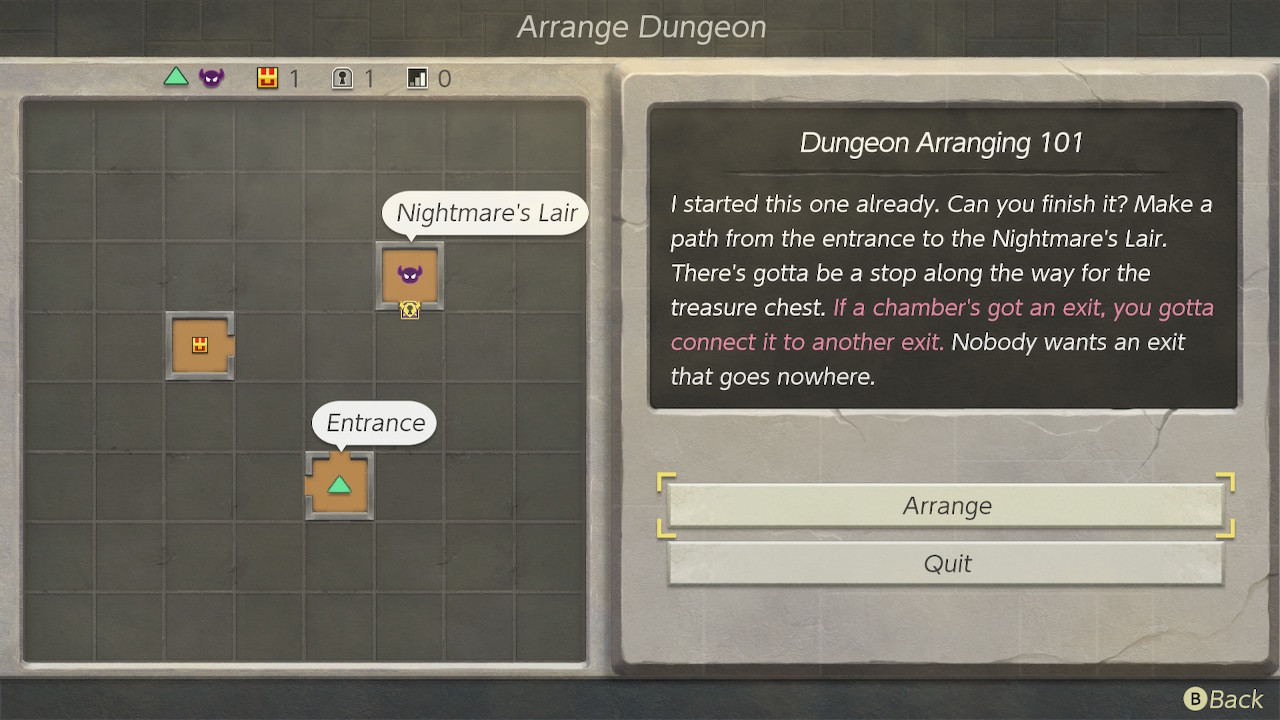
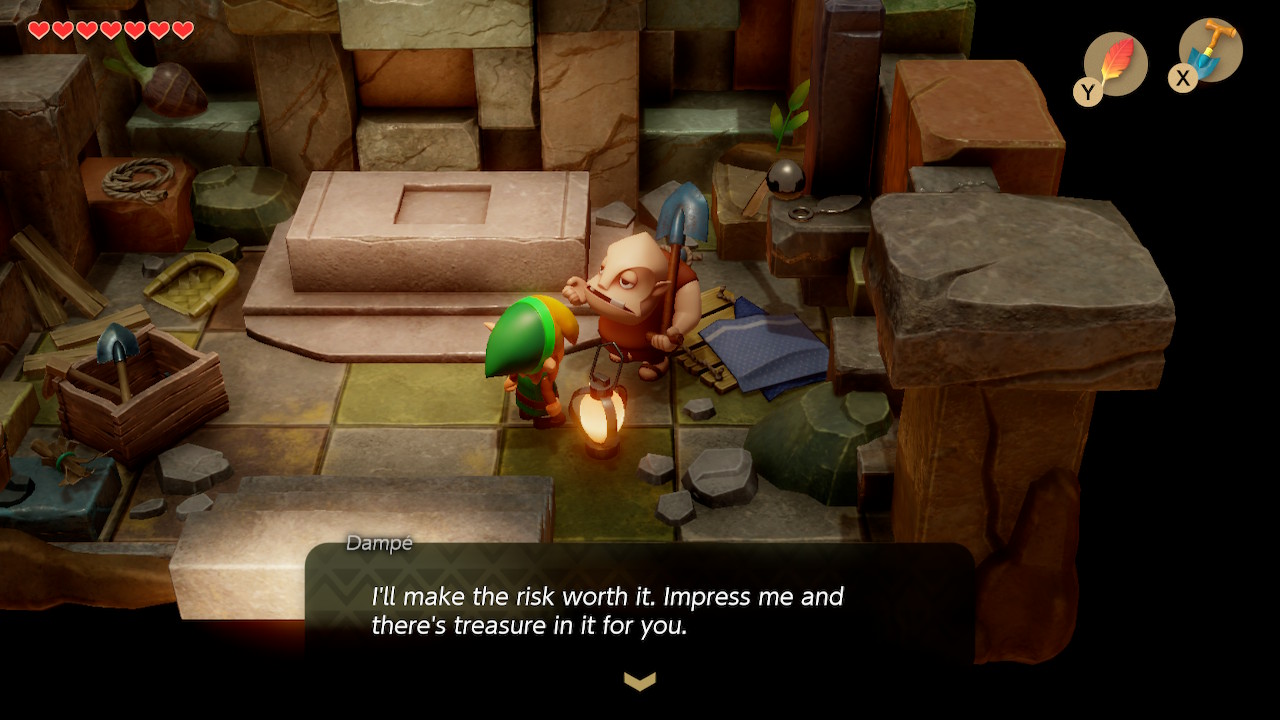
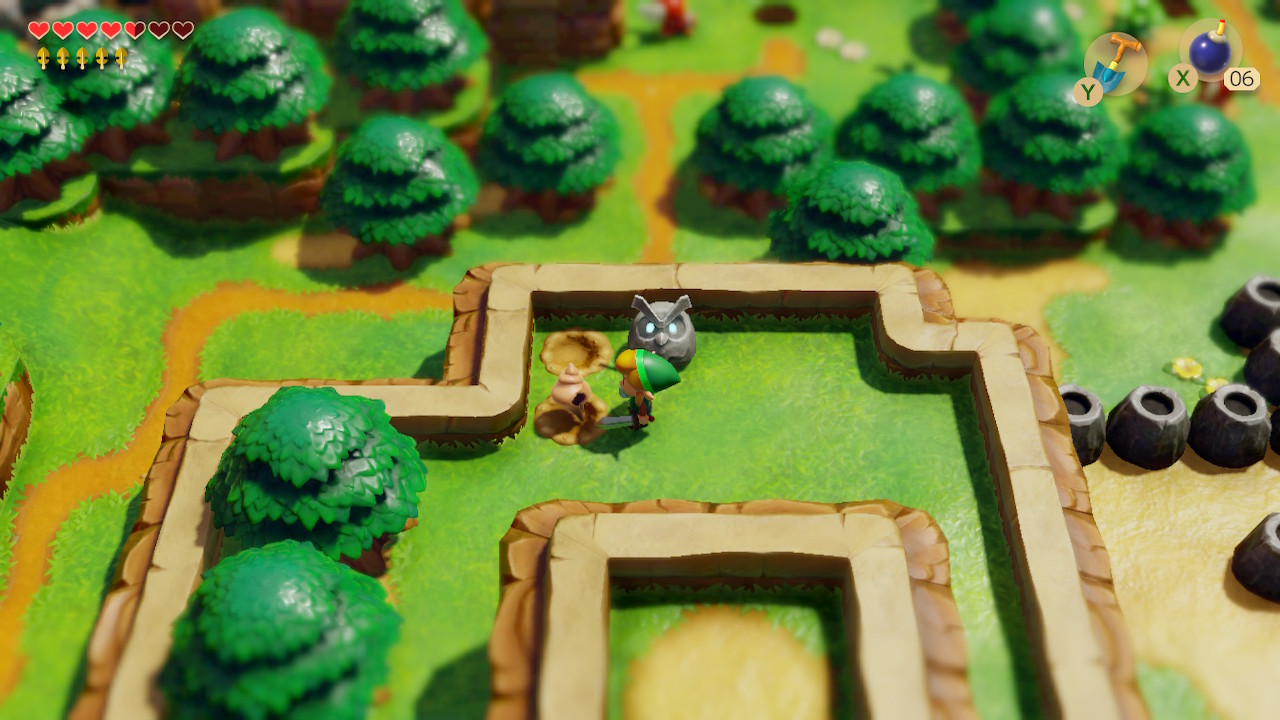
Enter the shack and Dampe will tell you about the Chamber Dungeon and give you some new Chambers. Try arranging a dungeon to the specifications of 'Dungeon Arranging 101'. Arrange and clear the dungeon you made to get some new Chambers. Once you've had your fun with Dampe, exit the shack. Just north of his shack, you can pick up the boulder here to create a warp portal. Go ahead and use it to get back to Ukuku Prairie.
Kanalet Castle
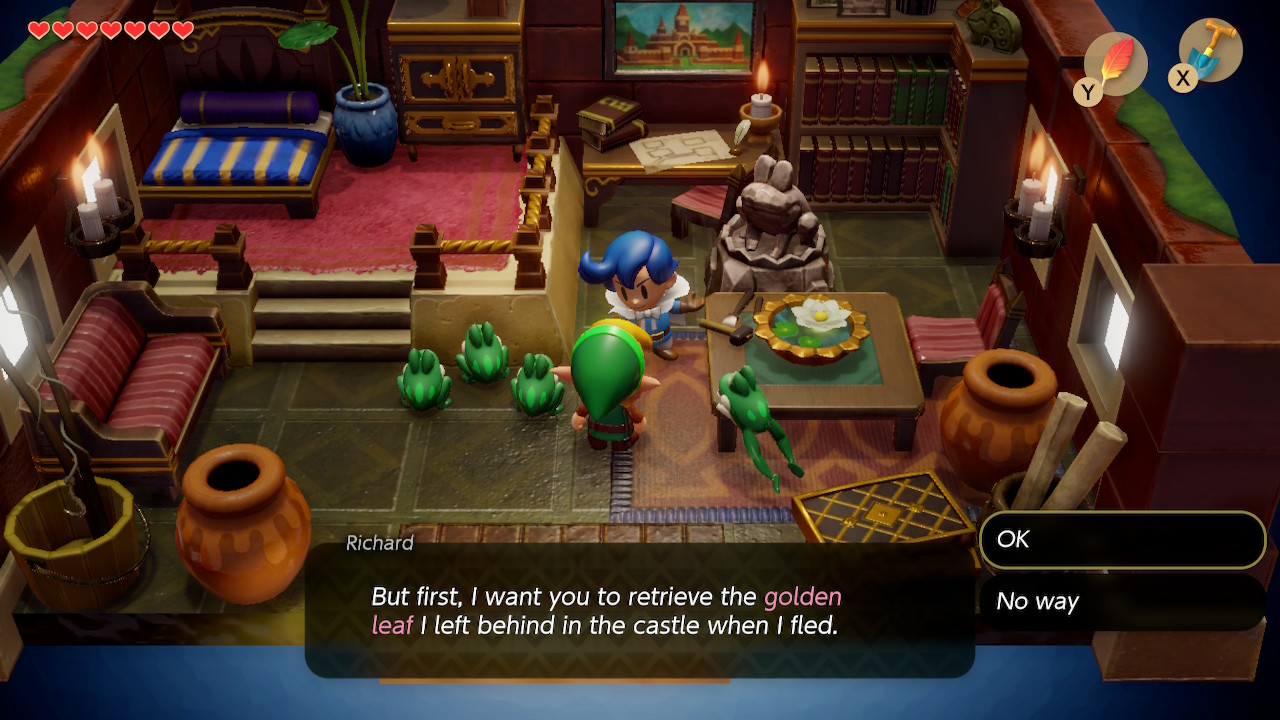
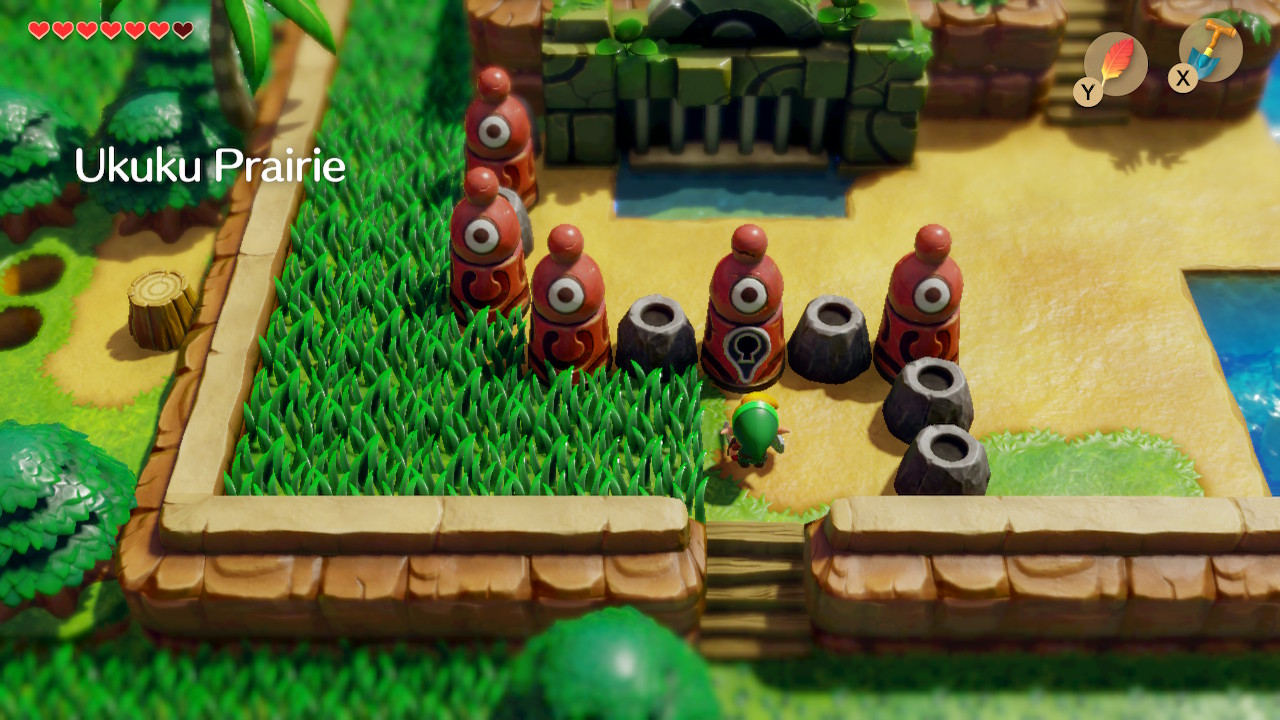
Continue southward from the warp point and you'll pass the third dungeon, but we can't access it yet. Instead keep going south through Pothole Field. Enter the house you see here. Speak to Richard and he'll task you with obtaining 5 Golden Leaves from a castle. Exit the house, then continue east and north back through Ukuku Prairie. You'll soon see the entrance to the castle, but we can't get in through the front.
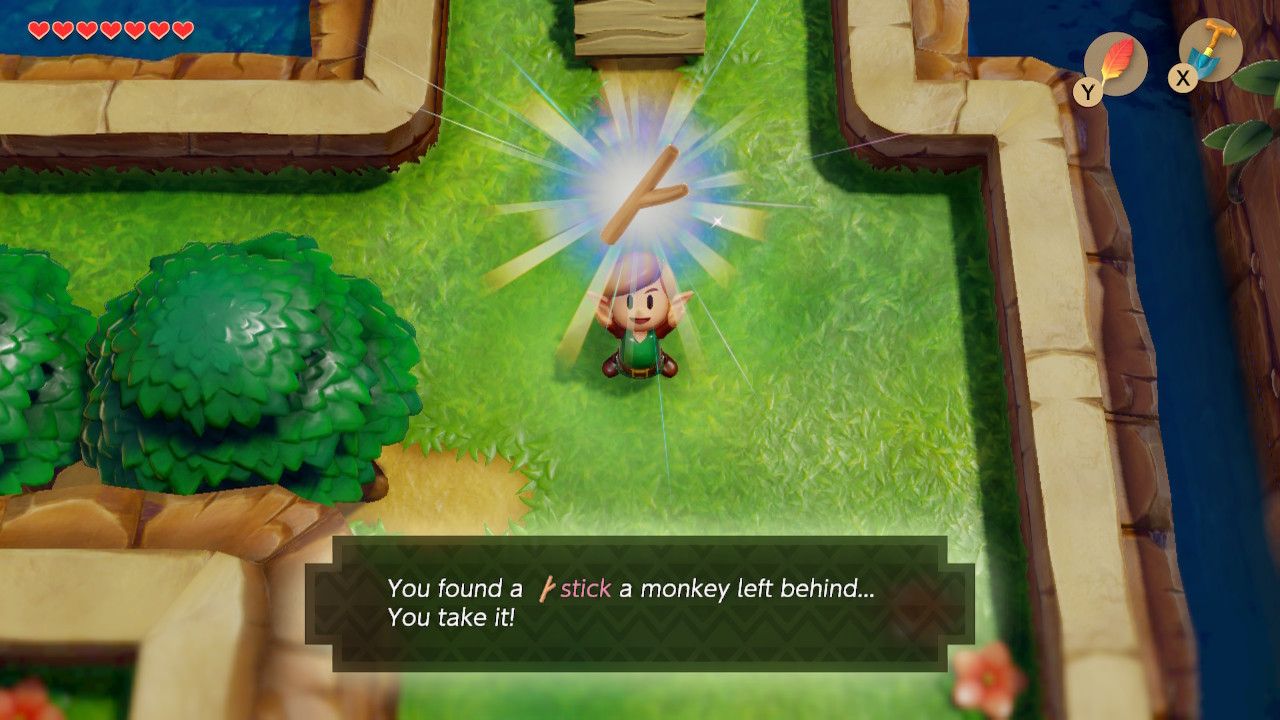
Head to the right and you'll find Kiki the Monkey. Agree to give him your Bananas and his monkey friends will build you a bridge. They'll also leave behind a Stick, the next item in the trading sequence. Head north over the bridge until it seems you can't go farther. Slash the lone bush here to reveal a secret set of stairs. Head down them.
Back in 2D, stomp the goombas and make your up the ladder to the left. You'll now be in Kanalet Castle. The Darknuts here can wield swords or spears. Head left and take out the two enemies here. You'll see a crow perched atop a tree, so throw a stone at it. It will charge you, so slash it to take it out. It will drop a Golden Leaf.
Head to the right side of the castle grounds. Here you'll find a Mad Bomber who will toss bombs at you. He'll pop out of different holes, so just slash him when he does until he is defeated. He'll drop another Golden Leaf. Now enter the castle.

The first enemy you see inside is called an Anti-Fairy. Sprinkle some magic powder on it and it will become a normal fairy. Continue left and defeat all enemies in this room and the third Golden Leaf will appear. Head up and right, defeating enemies along the way. Step on the switch here to open the front gate of the castle, creating a shortcut. Now walk up and left to get to the second floor.
Step down into the area here and bomb the cracks in the wall. Two darknuts will appear, one of them dropping the fourth Golden Leaf upon being defeated. Head right and down to go outside. Enter the central entrance and throw a pot at the closed door here to continue through it. In this room is a mini-boss called Ball and Train Trooper. Shield his ball and chain and slash him after he swings at you. Defeat him to get the fifth and final Golden Leaf. We can now exit the castle.
Shell Collection
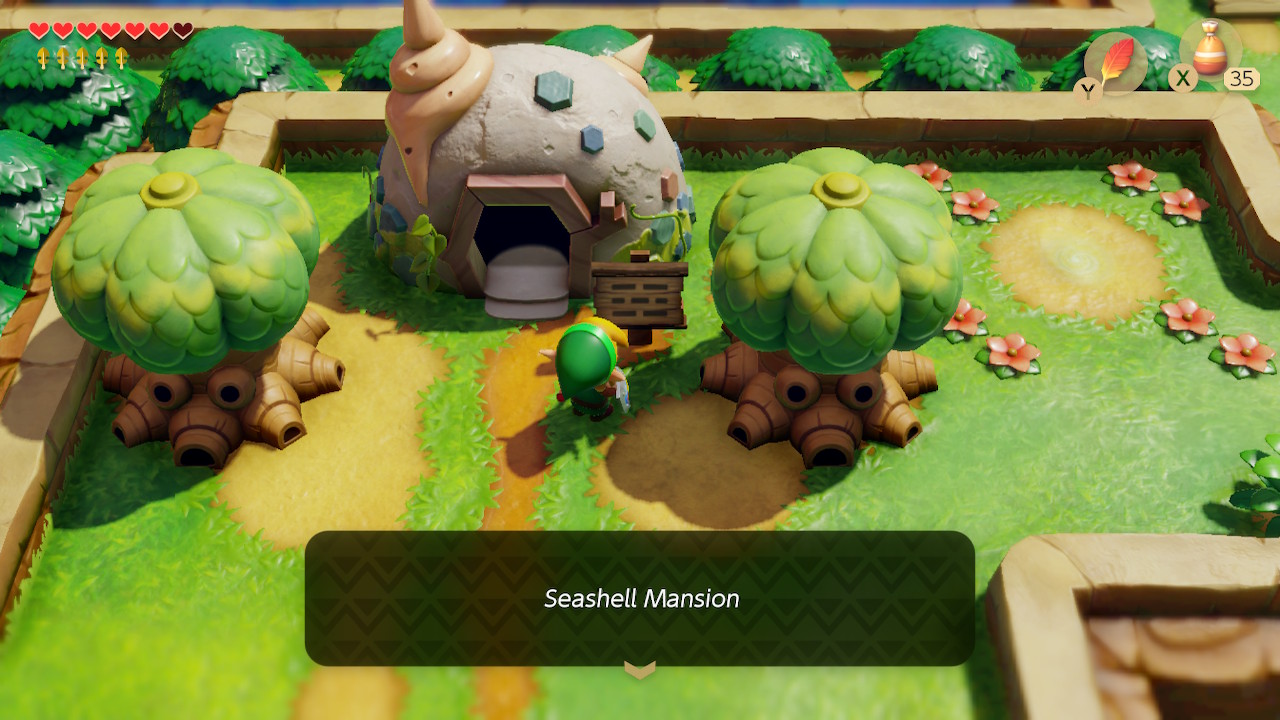
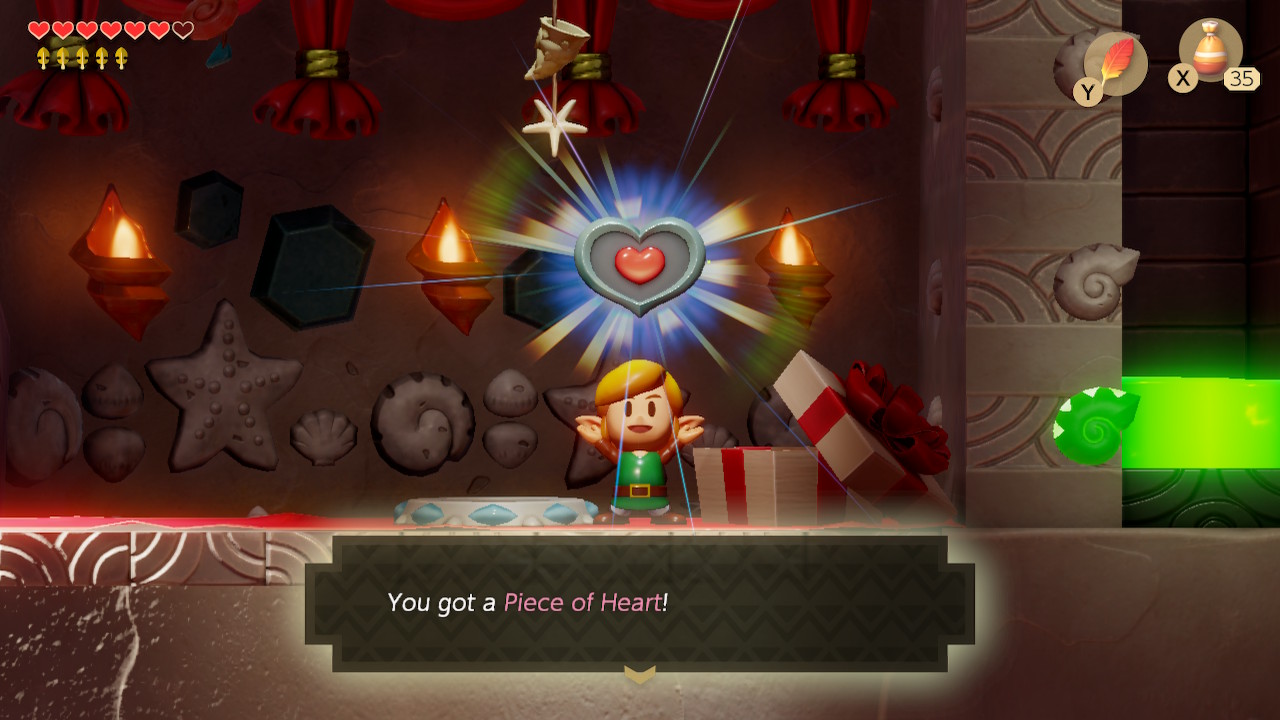
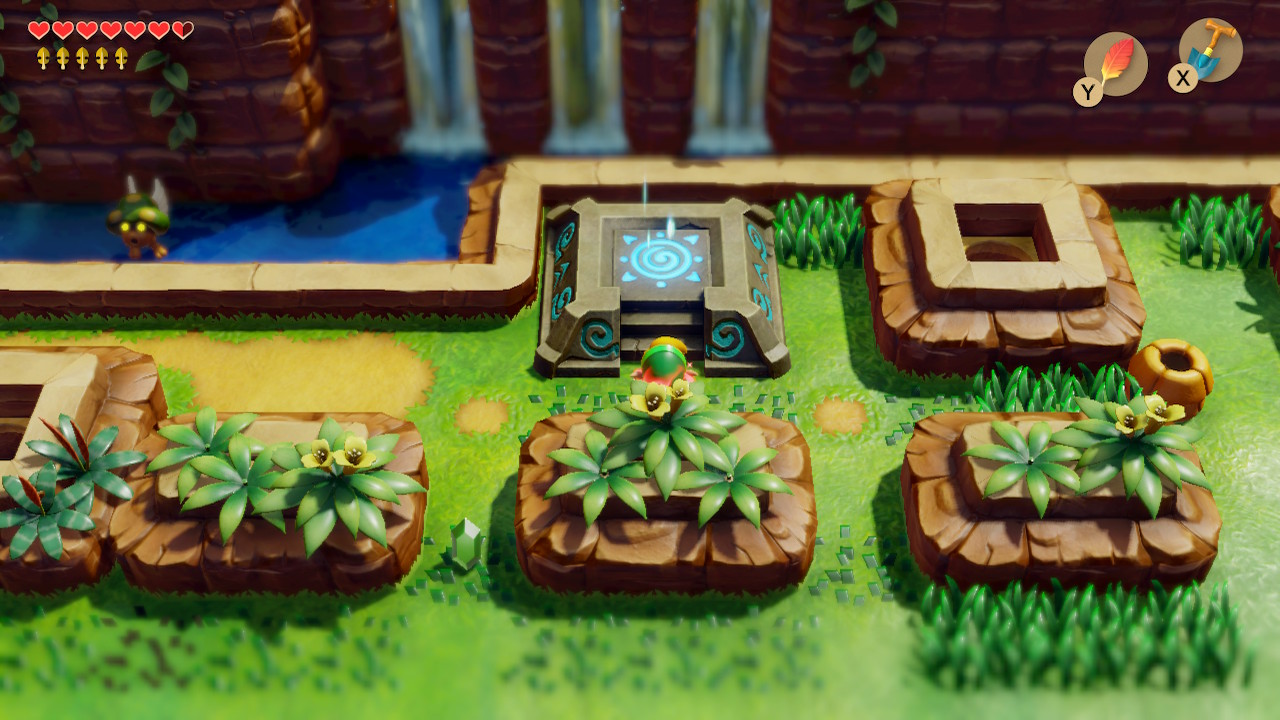
We're now going to be collecting a lot of Secret Seashells. If you'd rather not, feel free to skip this section as it is all optional. First, let's head south and then east of the castle to find the Seashell Mansion. Walk inside and stand on the pedestal. Because we have more than 5 Secret Seashells, we will be awarded with Piece of Heart #9.
Our quest for many shells starts just east of the Seashell Mansion. Cut the grass here to find Secret Seashell #7. Take this opportunity to also dig up the warp portal marked by an emblem on the ground just to the left of this shell. Then head directly southwest to an area with some cone-like stones. You'll find one normal boulder here that is hiding Secret Seashell #8 beneath it.
Head directly west into the cave here. Bomb the cracked wall on the left and then use Roc's Feather to jump the gap and head up the stairs. Walk forward and push the block to your left into the hole. Jump over this hole and wrap around to the bottom. The third block from the bottom needs to be pushed right and then the block above up to create a path. Exit the cave below. Outside, you'll see a few Octoroks and an owl statue. Dig to the bottom-left of the statue to find Secret Seashell #9.
Head back into the cave and exit to the bottom-left on the first floor. Head south and east past the telephone booth. You'll find a bush alone in the corner here. Slash it down to find Secret Seashell #10. Now, turn around and head directly west of the phone booth. You'll see a glowing boulder here that you can lift up to reveal a warp portal. Take it to Ukuku Prairie.
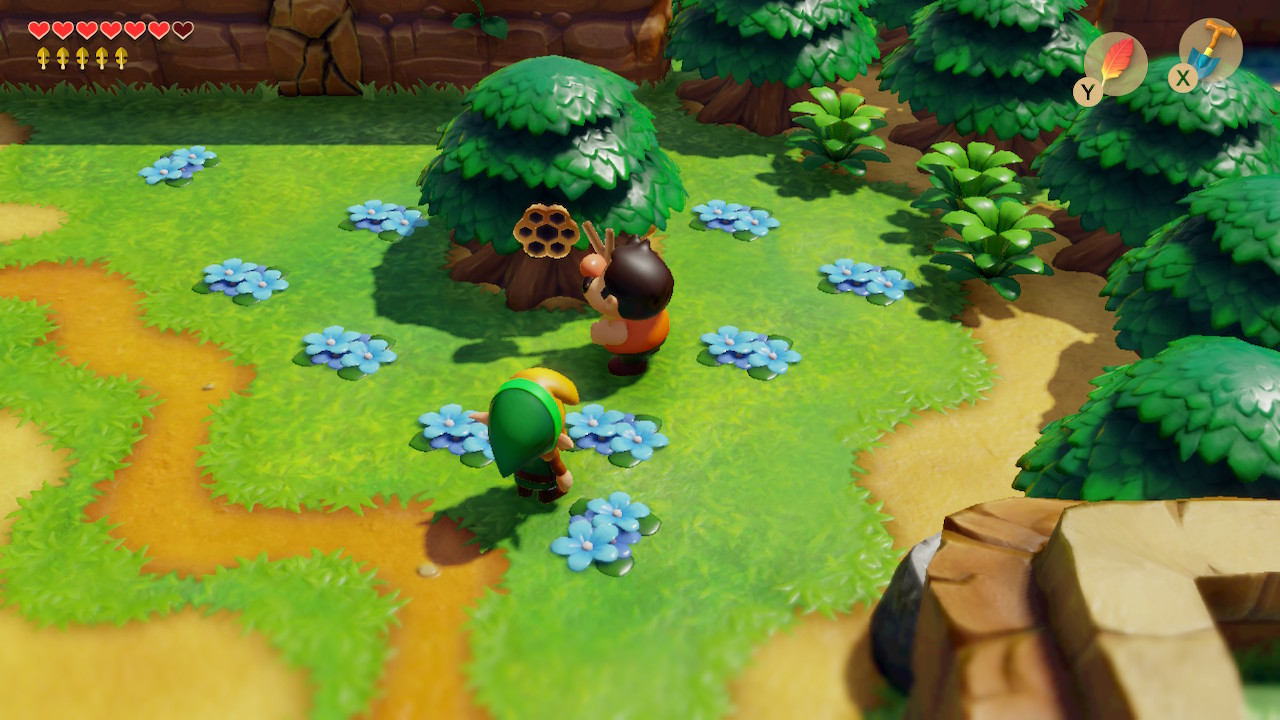
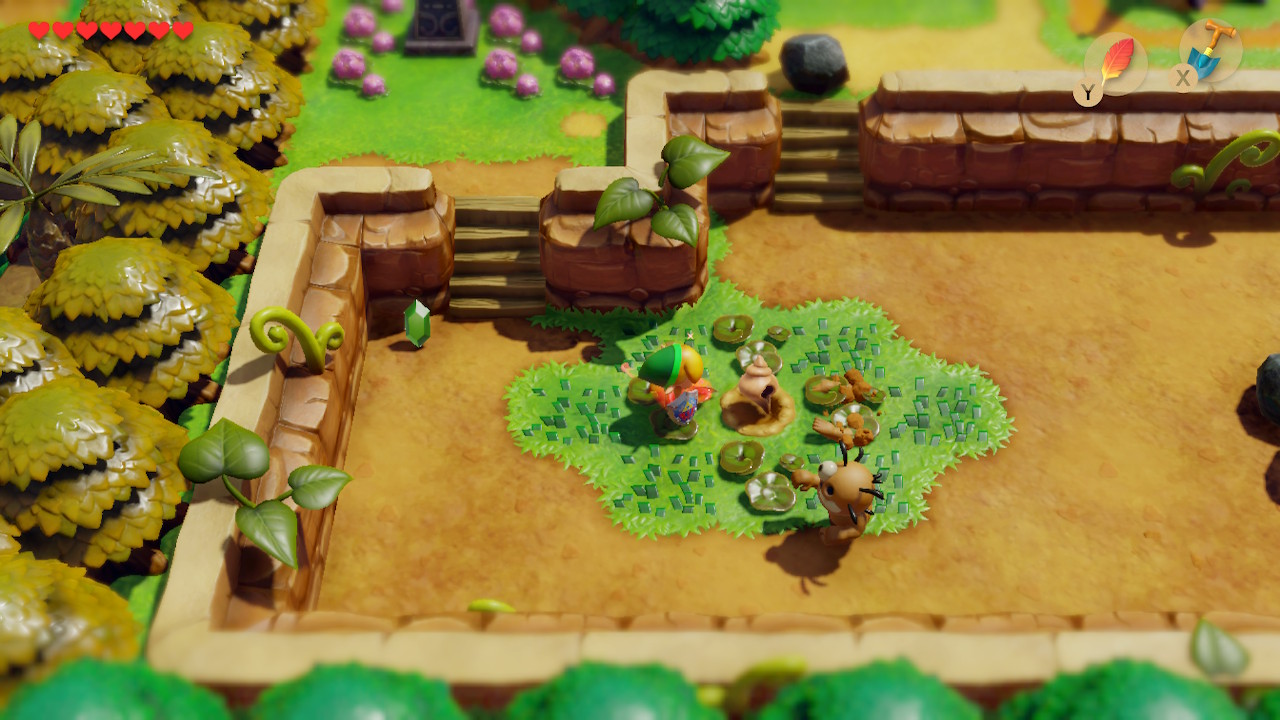
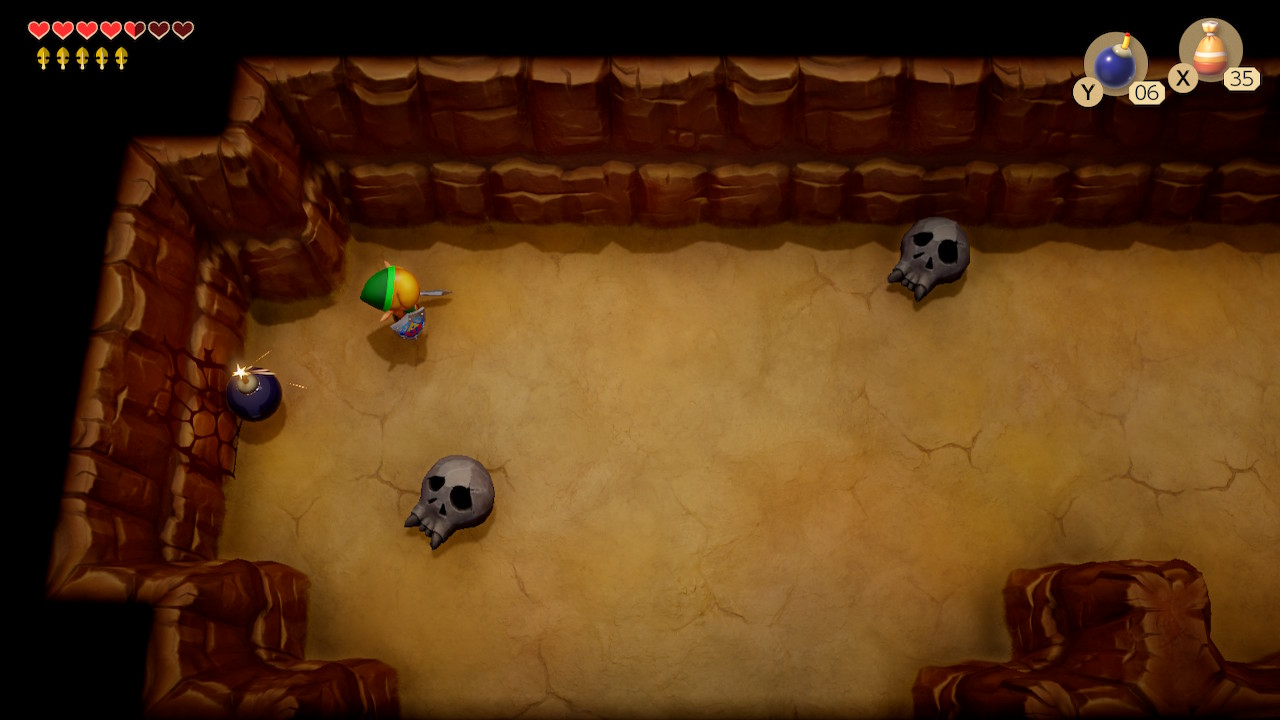
From the warp portal, head northeast and you'll see Tarin standing by a beehive. Lend him your stick and he'll make the wise decision to probe the beehive. After the bees chase him away, you're left to pick up the Honeycomb. Directly south of this is a large skull. Use a bomb on it and dig beneath to reveal Secret Seashell #11. Now, make your way back to Mabe Village.
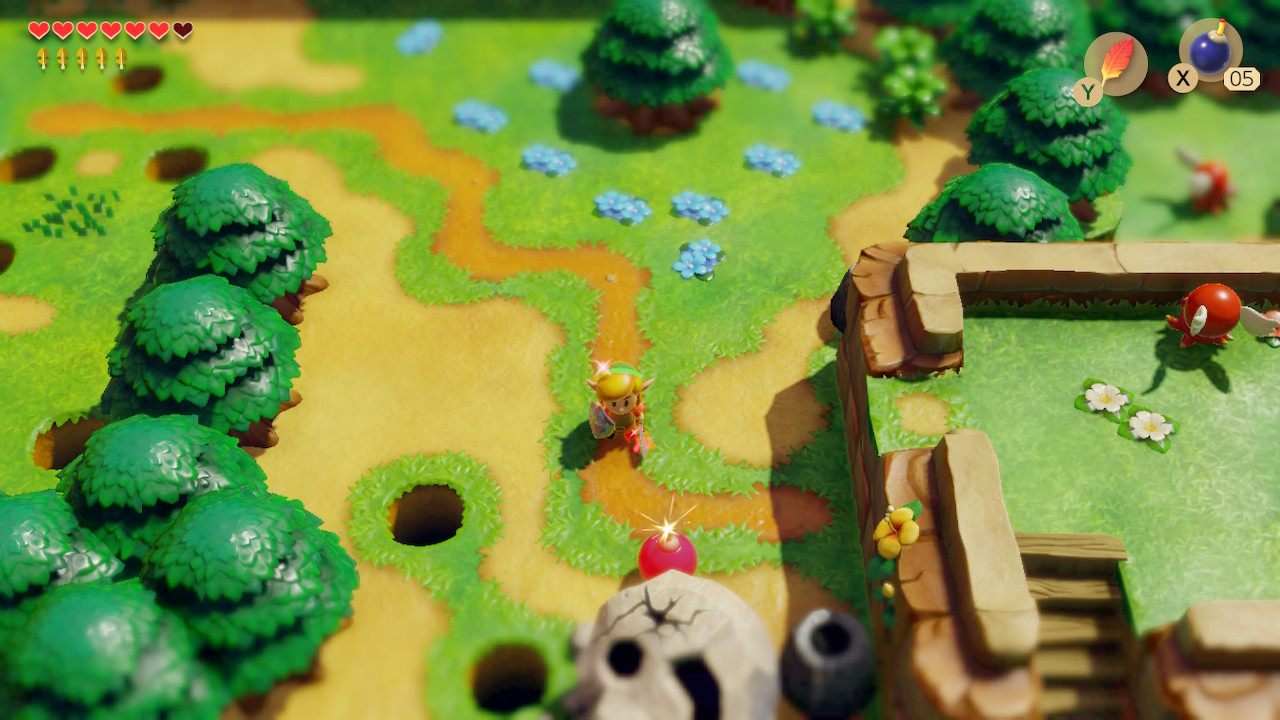
Stock up on bombs here if needed. Now go south to Toronbo Shores. Head all the way east until you find the washed up log between two trees. There is a little notch of sand here on the left side. Dig here to find Secret Seashell #12. Just to the northeast of this you can find a treasure chest with a boulder in front. Open it to find 50 rupees. Head back north to Mabe Village.
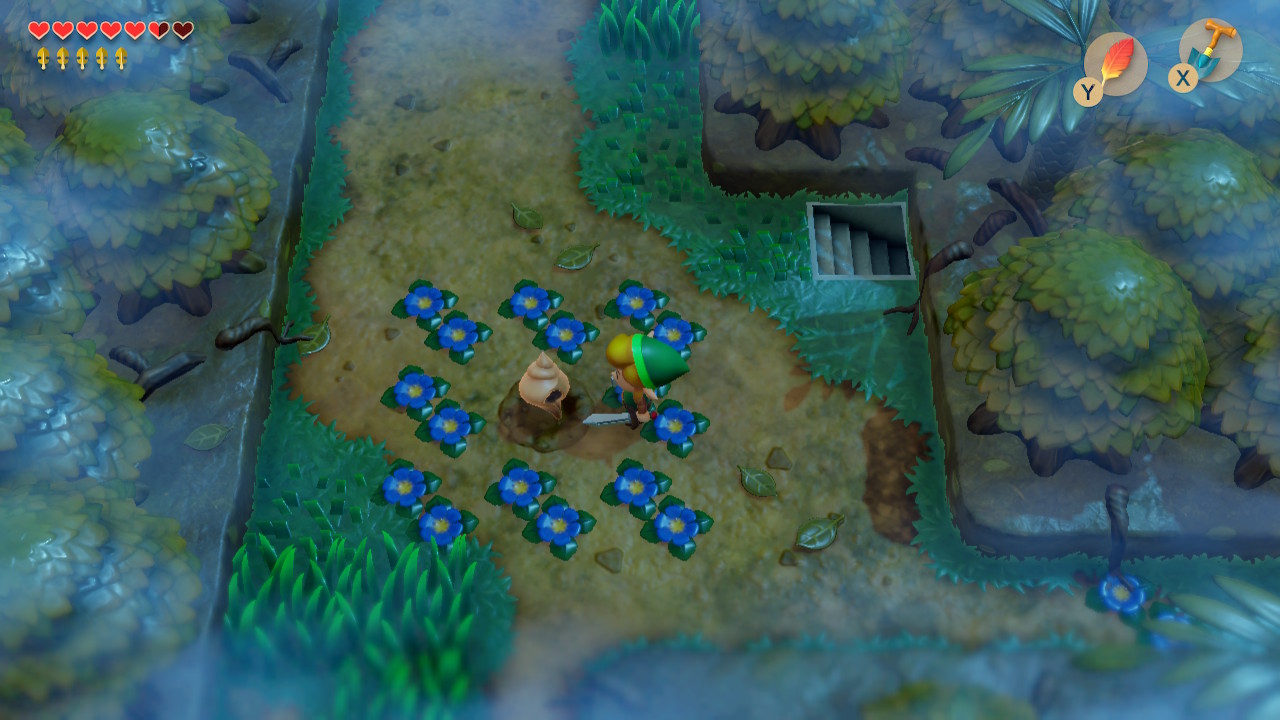

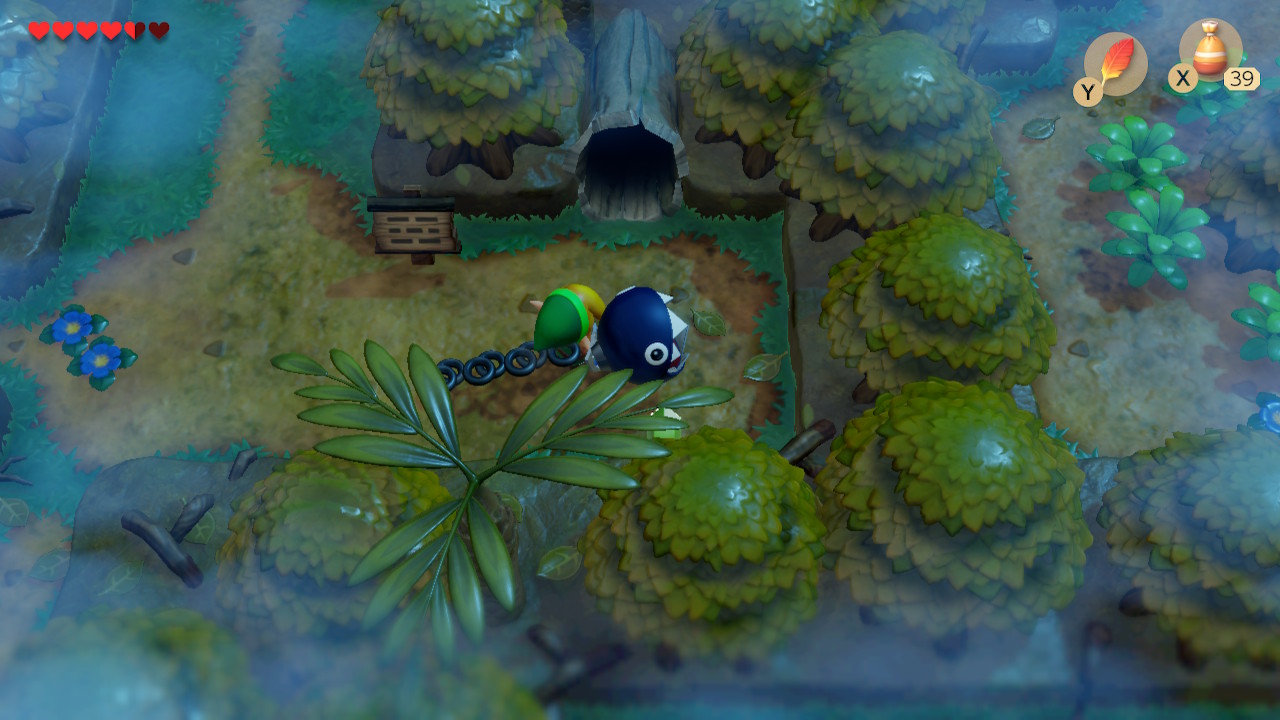
Go north back to the Mysterious Forest. In the center of the forest, where the hidden staircase was unveiled, there is a patch of blue flowers. Dig in the center of it to find Secret Seashell #13. Now, go to the northwest corner of the forest as if you are going to exit to the swamp. Along the left wall here just below the tree you'll find Secret Seashell #14.
Continue towards the swamp, but go north over the potholes in the ground when you get to the phone booth. There is a patch of grass with a single bush here. Slash the bush and dig under it to find Secret Seashell #15. Continue east past Goponga Swamp and the entrance of Bottle Grotto. Just to the right of the sign as you enter Tal Tal Heights you'll find Secret Seashell #16.
Continue east and then go south past Dampe's Shack into Tabahl Wasteland. Go to the northeast corner of this wooded area and along the far right wall of trees you'll see a single circular dark spot on the ground. Dig here to find Secret Seashell #17. Backtrack a little to the beginning of Tal Tal Heights and take the upper path this time. You'll need to move some boulders next to the sign to gain access.
Start heading east here until you run into a stone sign. Climb the ladder next to it into Tal Tal Mountain Range. Lift the boulder and enter the cave here. Head right into the next room. Push the first block to the left and go down the stairs. Head back up to reset the stone pattern. Now, push the middle stone (above the heart piece) down and the stone to the left of it to the left. Slash the crystal and grab Piece of Heart #10.
Drop back down and continue east on the grassy area (not the upper cliffs) past some moblins. Keep heading east on the grass and you'll eventually find a warp point pedestal. Be sure to active it now. Thow a bomb into the elevated hole directly to the right of it. Secret Seashell #18 will be spit back out. We're finished going out of our way to collect shells for now, so take the portal back to Ukuku Prairie.
Slime Key
From the Ukuku Prairie portal, head south through Pothole Field and to Richard's Villa once again. Speak to Richard and he'll move out of the way for you. Push his frog statue to reveal a secret case of stairs and head on down them. In this cave, take the left path and push the boulder into the abyss. Hop on over and open the chest to get Secret Seashell #19. Now take the right path and exit the cave in the next room.
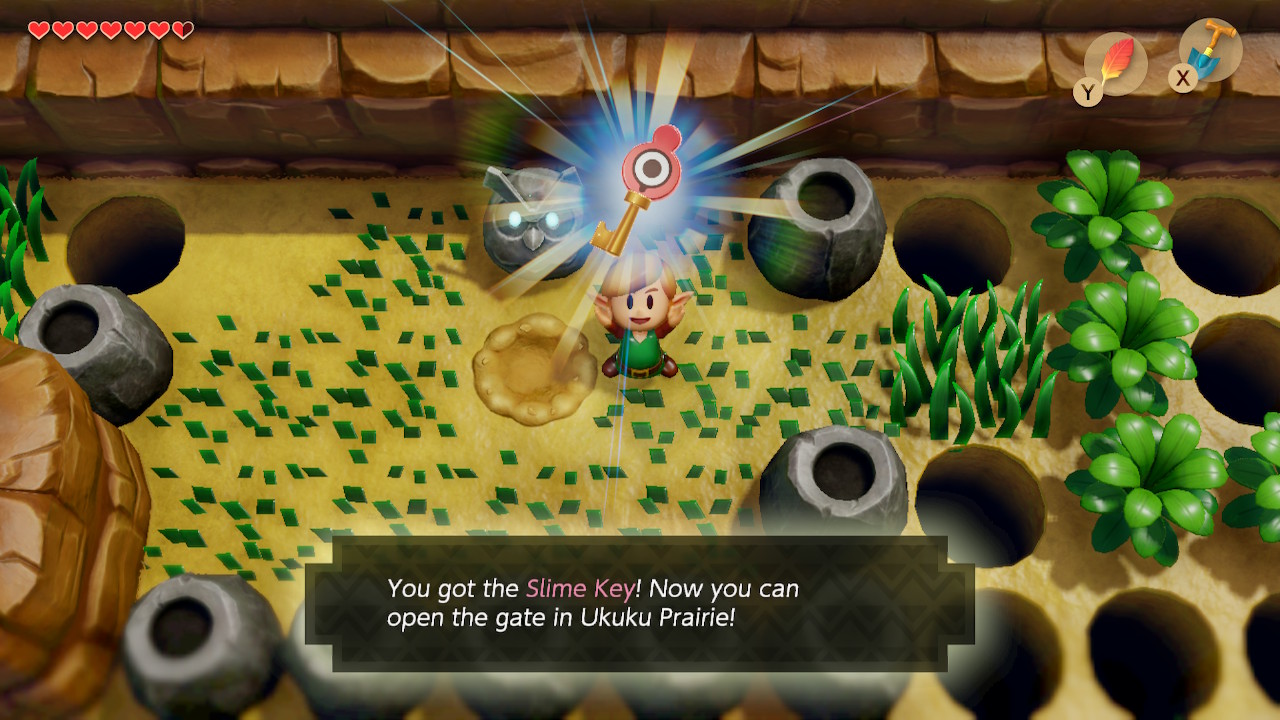
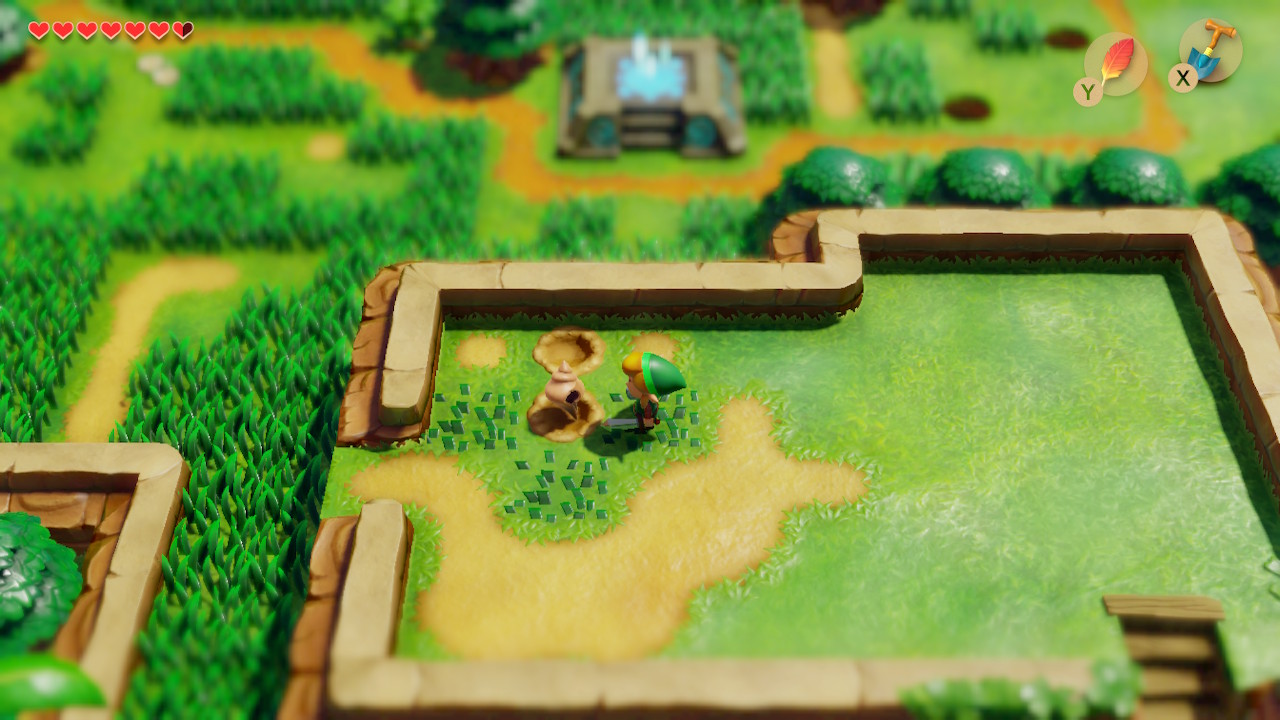
You'll find youself in Pothole Field proper. Slash away at the grass and bushes here and watch your step. Slowly make your way to the Owl Statue above. Dig in the soil right in front of it to find the Slime Key. Head back to the right where you can see a Heart Piece. A well spaced jump will barely get you over the two hold gap so that you can grab Piece of Heart #11.
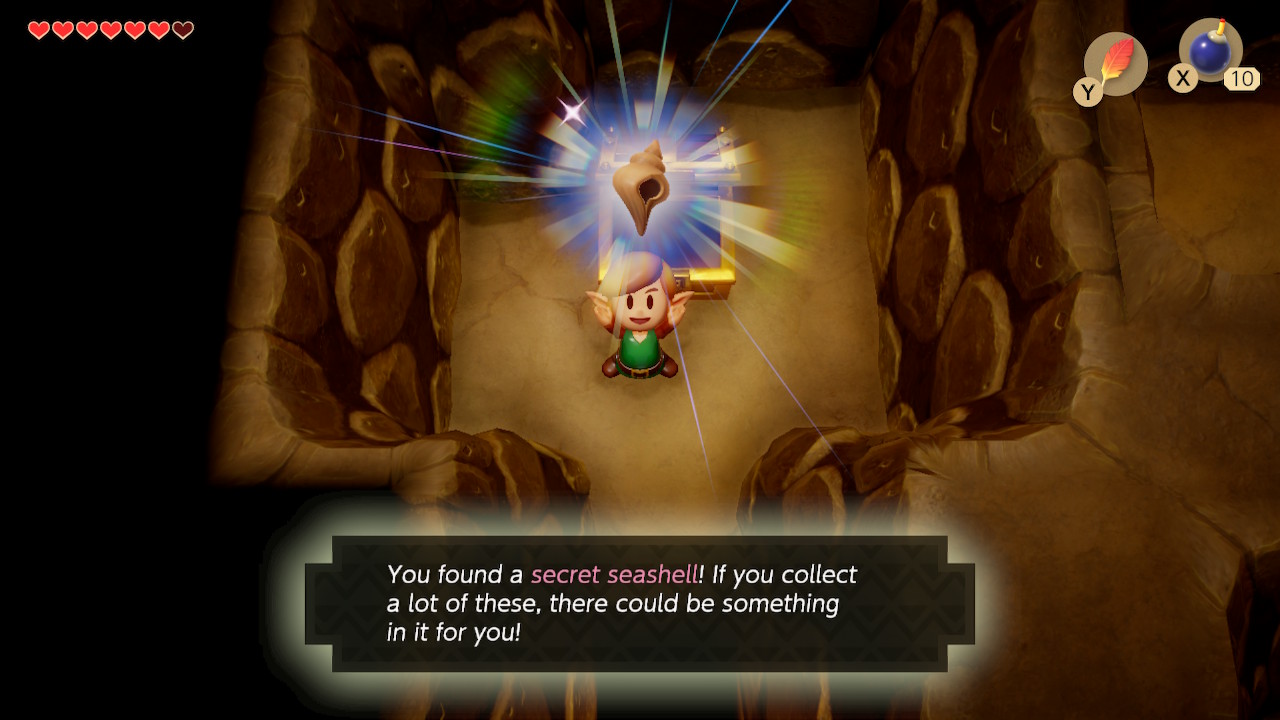
Exit Pothole Field to the left and head straight up to unlock the entrance to Key Cavern. However, we can't reach it from this side. Wrap back around Pothole Field,to the other side next to the body of water. Jump across the small islands here and you'll be near the entrance. Before going in, take the steps to the cliff above and dig in the center of the few bushes here. You'll find Secret Shell #20. Head back south and enter the dungeon.
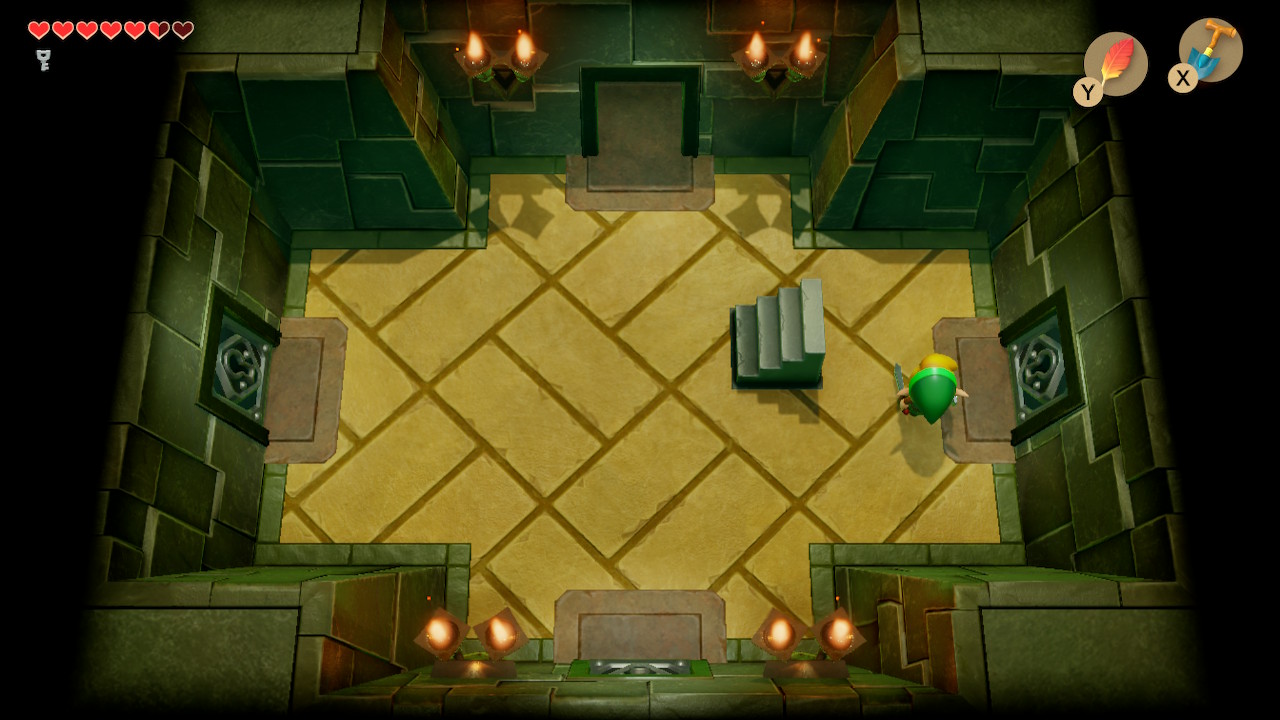
Key Cavern
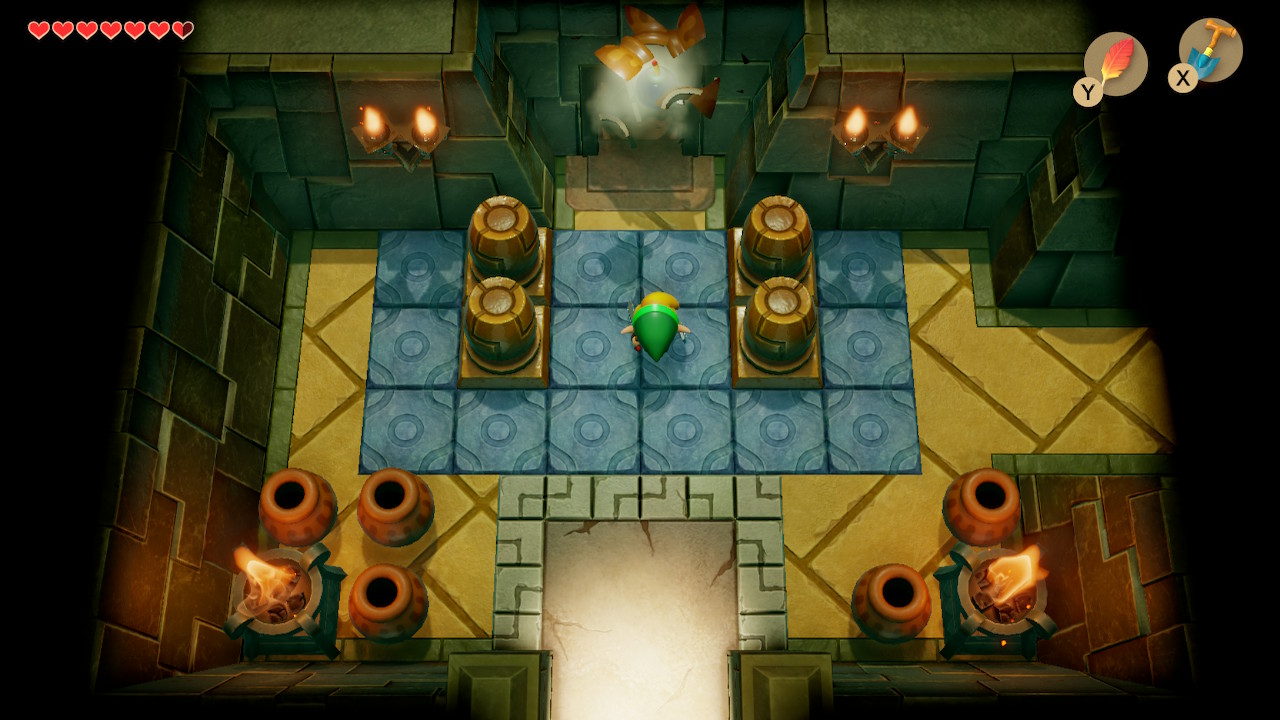
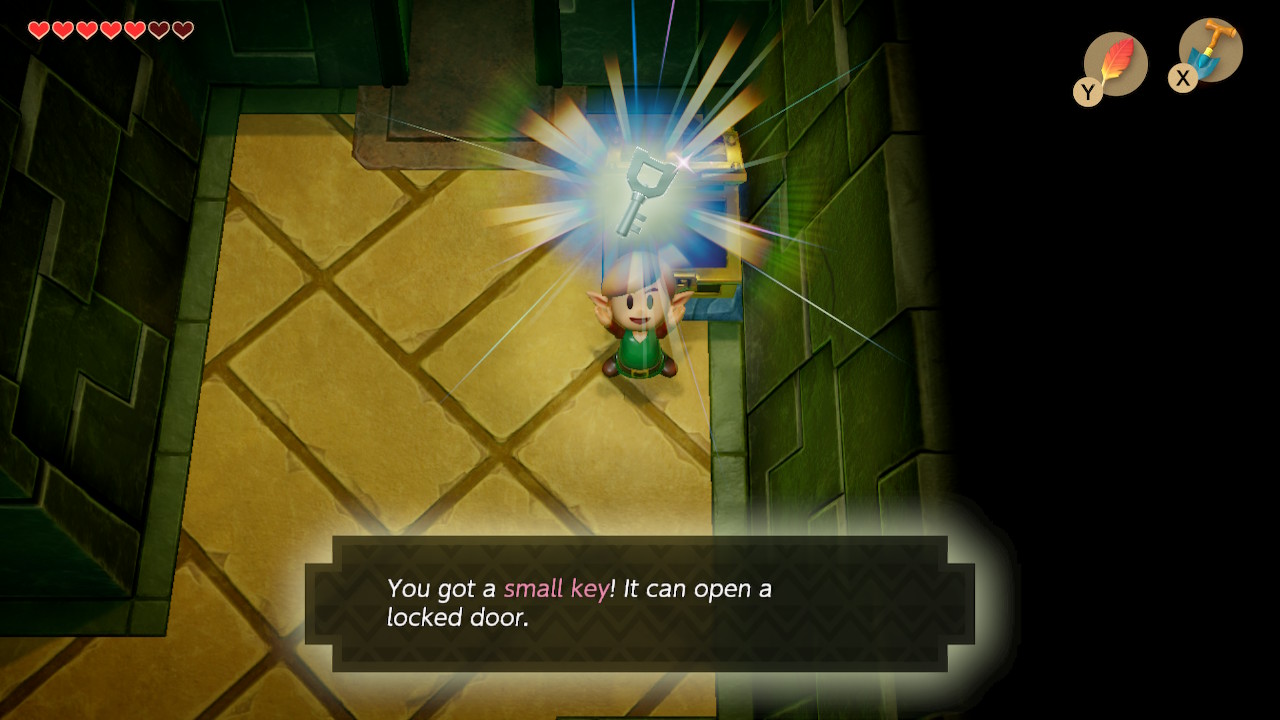
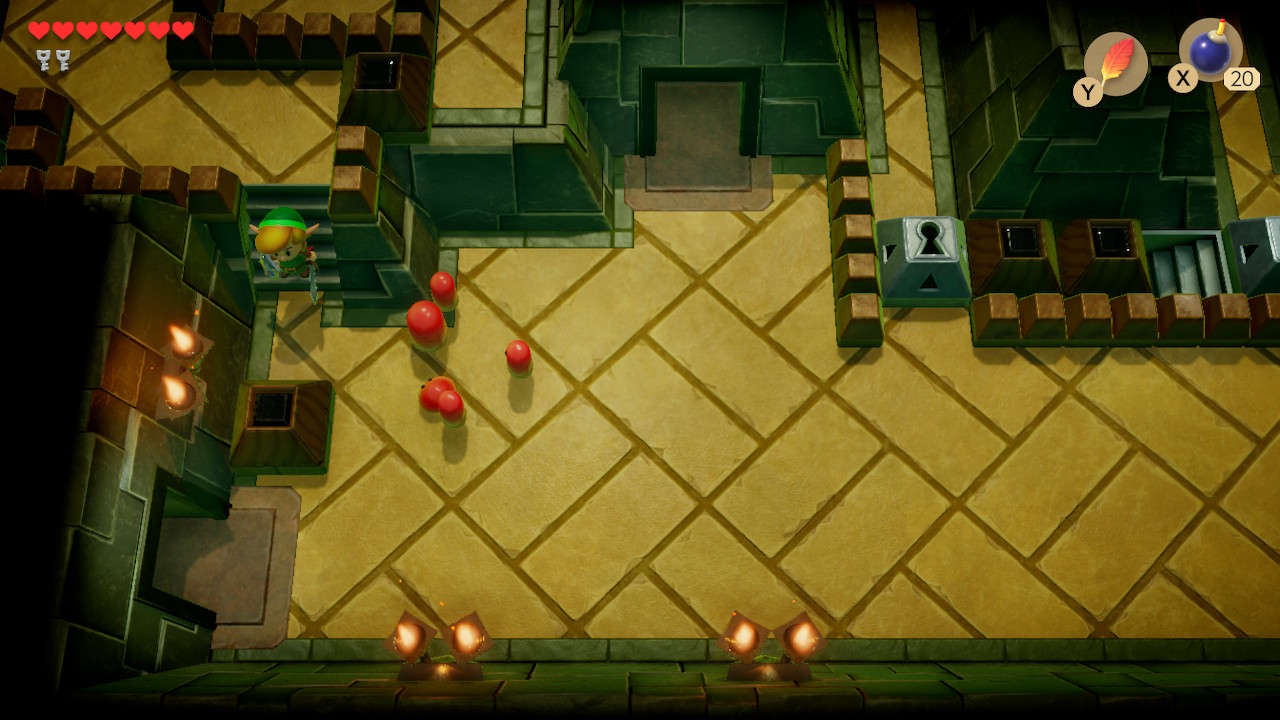
Toss a pot at the door that closes when you enter Key Cavern and head up. There's a new enemy in this room called a Bombite. It will bounce around wildly when you slash it with your sword before exploding. Defeat all enemies in this room and grab the Small Key from the chest that appears. Defeat the enemies in this next room but don't open the chest as it's a trap. Simply head upward.
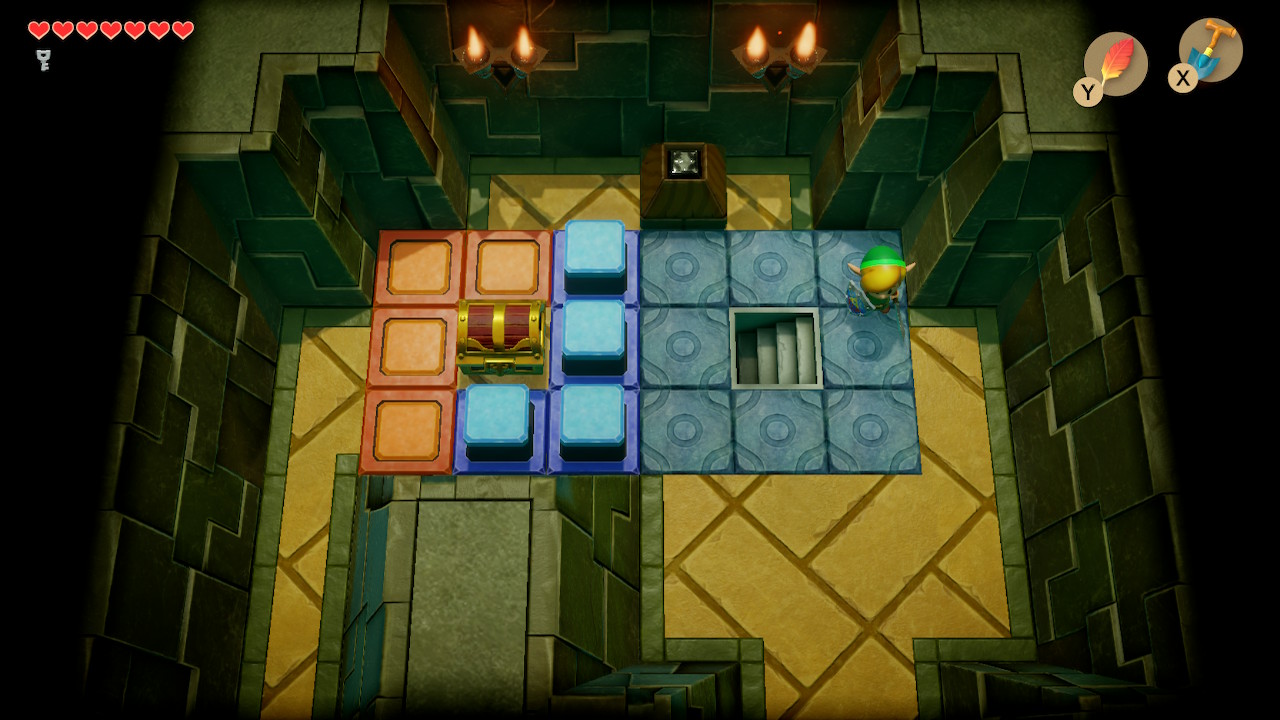
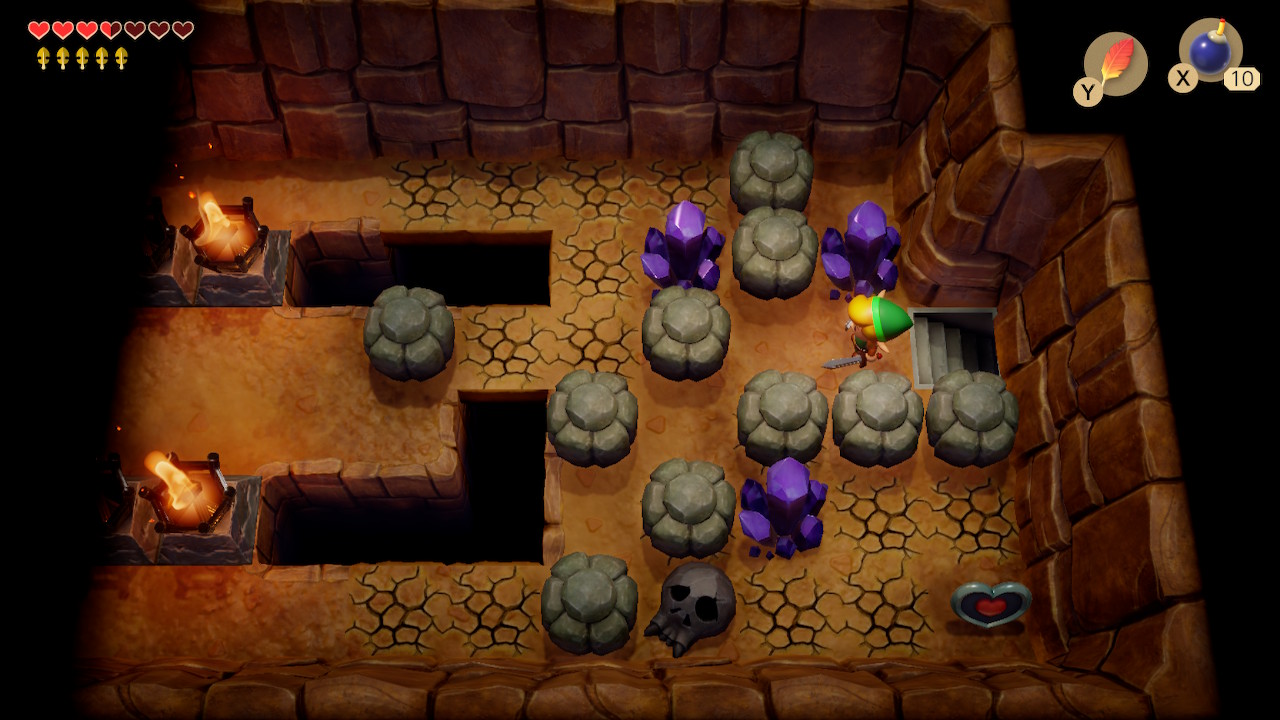
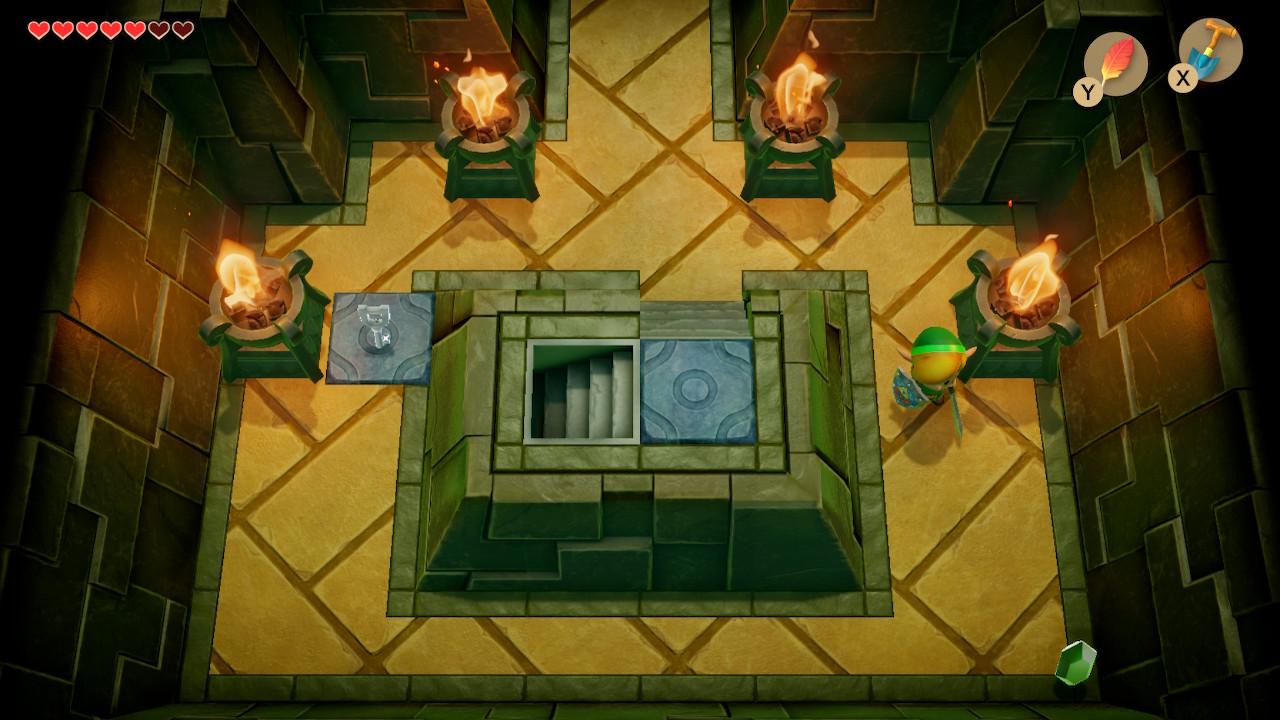
Keep going upward past the Stalfos and take the staircase down in this next room. Here is a room with four locked doors while we have one key. Taking the right most door is the fastest way through the dungeon if that's your goal. Head up first and defeat the enemies in this room to get a Small Key. Slash the crystal while you're here.
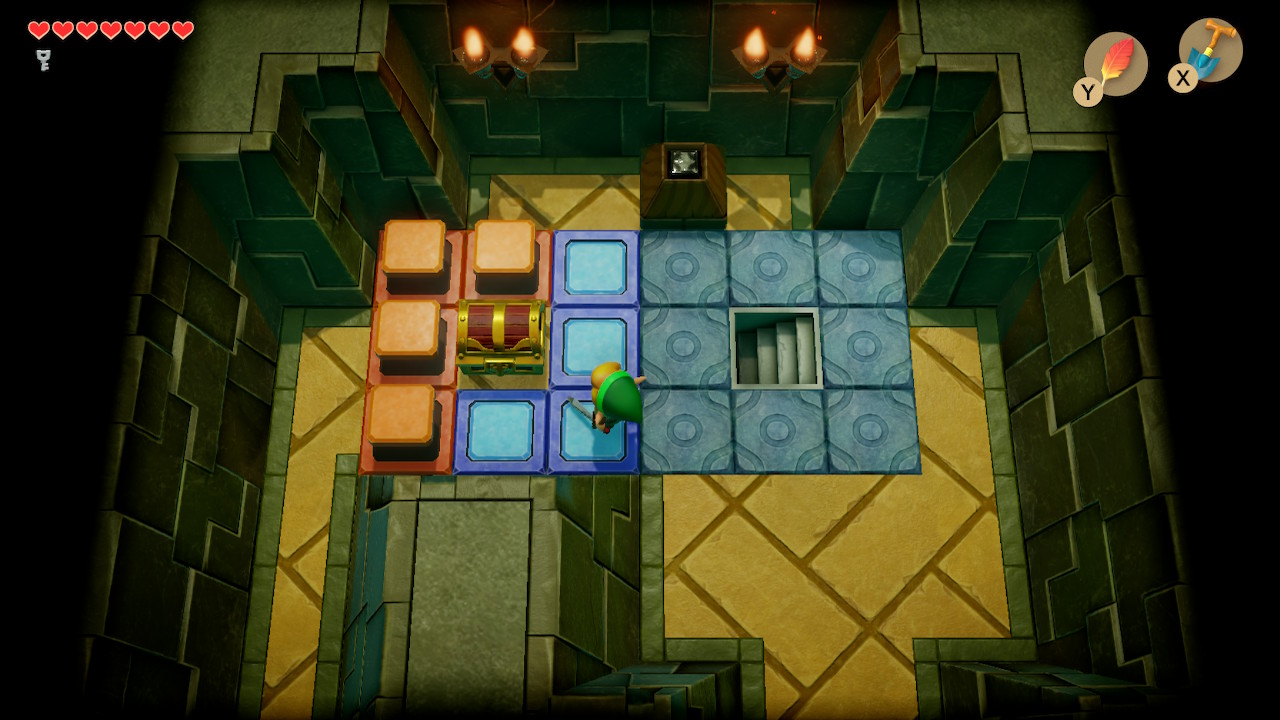

Head back down and go up the stairs. We now have access to the chest that contains the Stone Beak. Continue to backtrack down two rooms where the fake chest was. Go right from here and we can now pick up the Map from the chest since the blocks have been lowered. Now head back up and down the stairs to the room with the four locked doors.
The only reason to go through the door on the left is to grab a heart refill. Similarly, the door below will yield only bombs, which we will need shortly so take this route if you're out. If you don't mind skipping these otherwise pointless rooms,simply use your key on the door to the right.
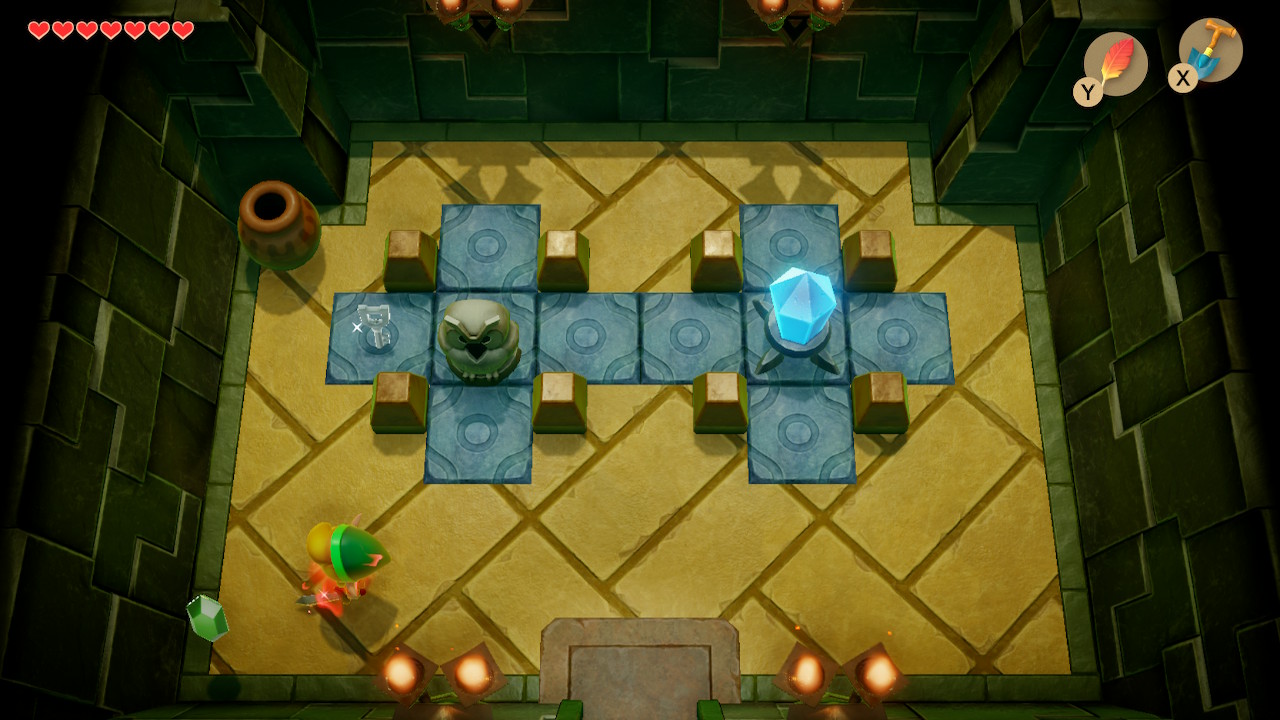
This room contains a new enemy called a Pairodd. Simply go through this room and climb the stairs. In this next room, you'll need to defeat the five green zols throughout the room. They'll appear as you walk around. A Small Key will drop from the ceiling. Pick it up and head upward. In this room, head left and and defeat all the enemies so that the doors will open.
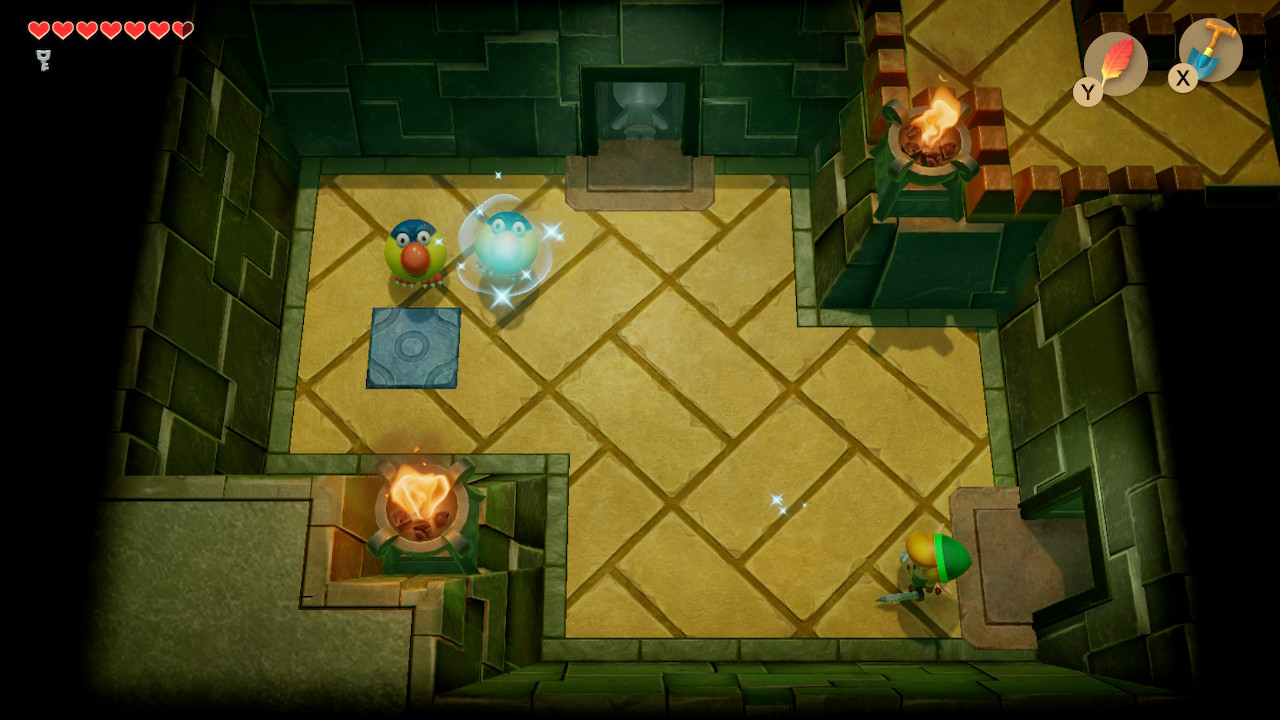
Enter the room to the left and defeat the Pairodds by placing a bomb where they warp from and baiting them over there. A Small Key will drop when they are defeated. Take the one-way door above. Defeat the enemies once again and a chest will appear on a ledge above that we can't reach quite yet. Head up into the next room and defeat the enemies with pots if you'd like. You can also grab a hint about upcoming enemies from the owl statue.
Go up on the ledge but head down and grab 50 rupees from the chest we spawned earlier. Head down and right and you'll be back in a familiar room. Push the block and defeat the enemies here once again. Head up to take on the mini-boss of Key Cavern.
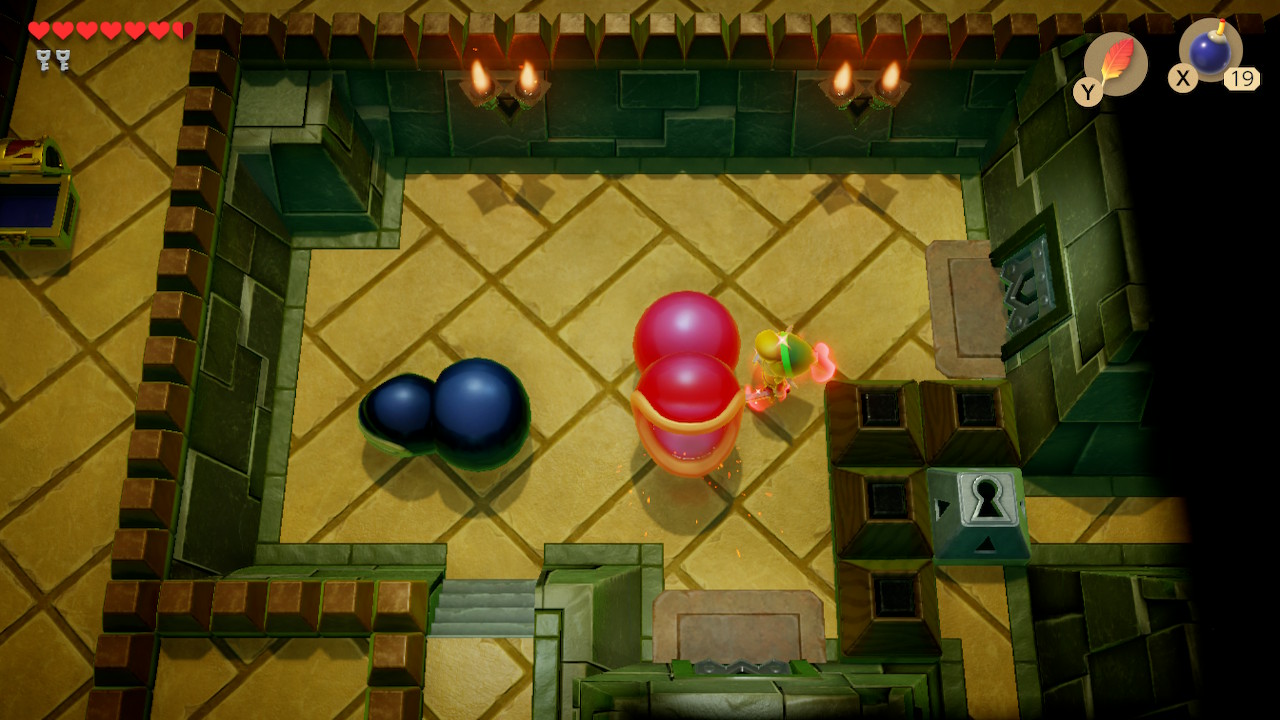
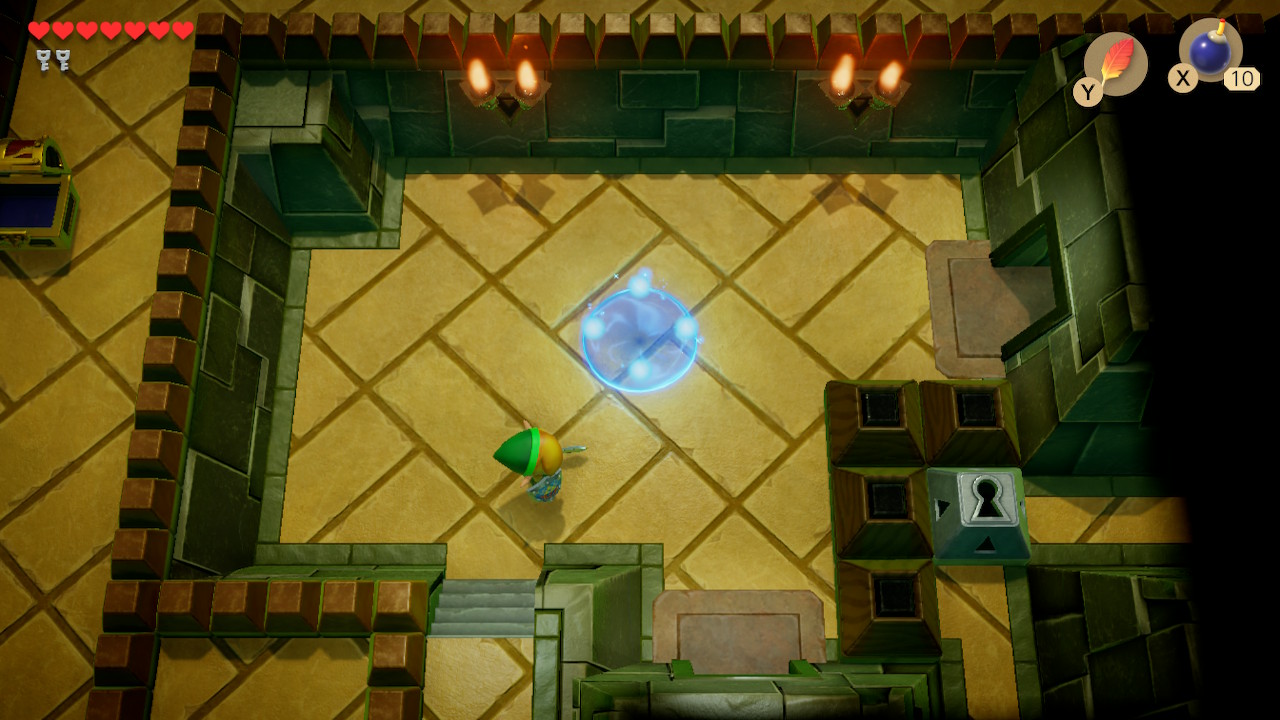
The mini-boss are a pair of Dodongo Snakes. The only way to deal damage is to have them consume your bombs. Simply place the bombs in front of their mouths and they will usually eat them right away. It takes three bombs per snake, and each will drop a fairy when it dies. Upon defeating both, a warp portal will appear. Head to the room to the right.
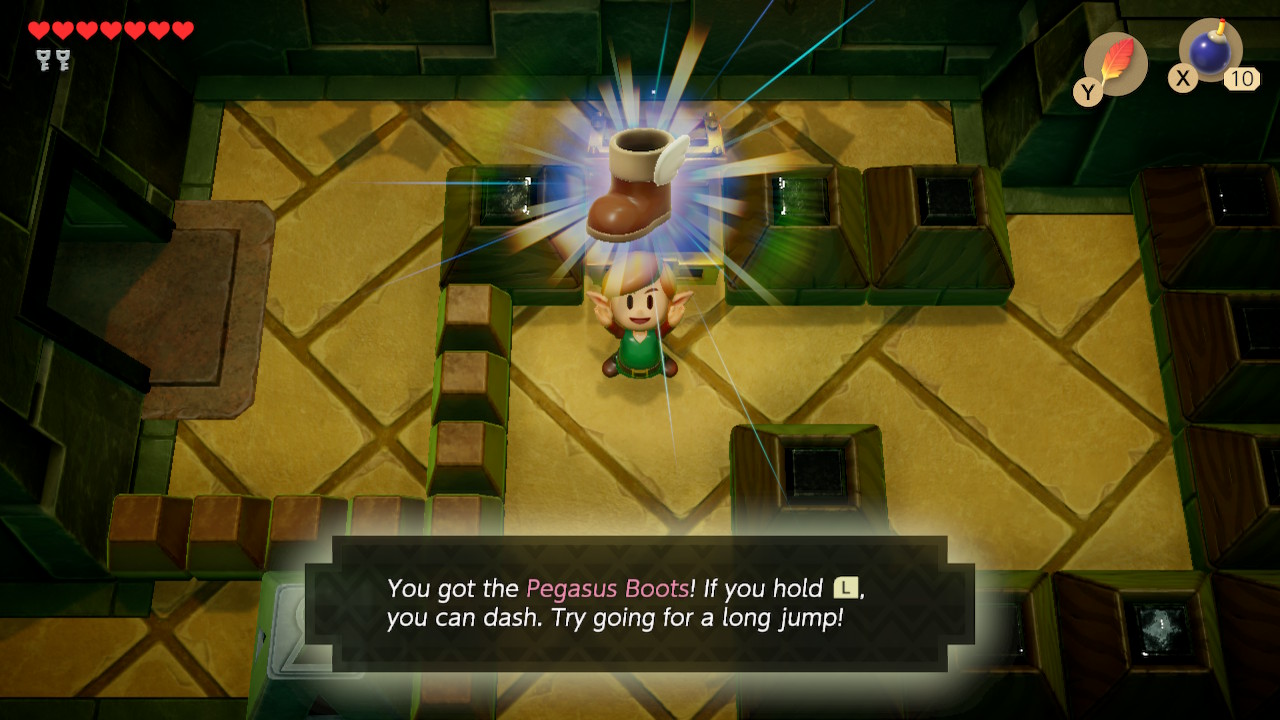
In this room, push the bottom block to the left and the other block up to get to the chest. Open it to get the dungeon item: Pegasus Boots. They are auto-equipped and mapped to the 'L' button. Use them to smash through the pyramid like boulders or jump over longer gaps when combined with Roc's Feather. Use your new boots on the objects below and push the block to the right to escape. Go back to the mini-boss room and take the portal to the beginning of the dungeon.
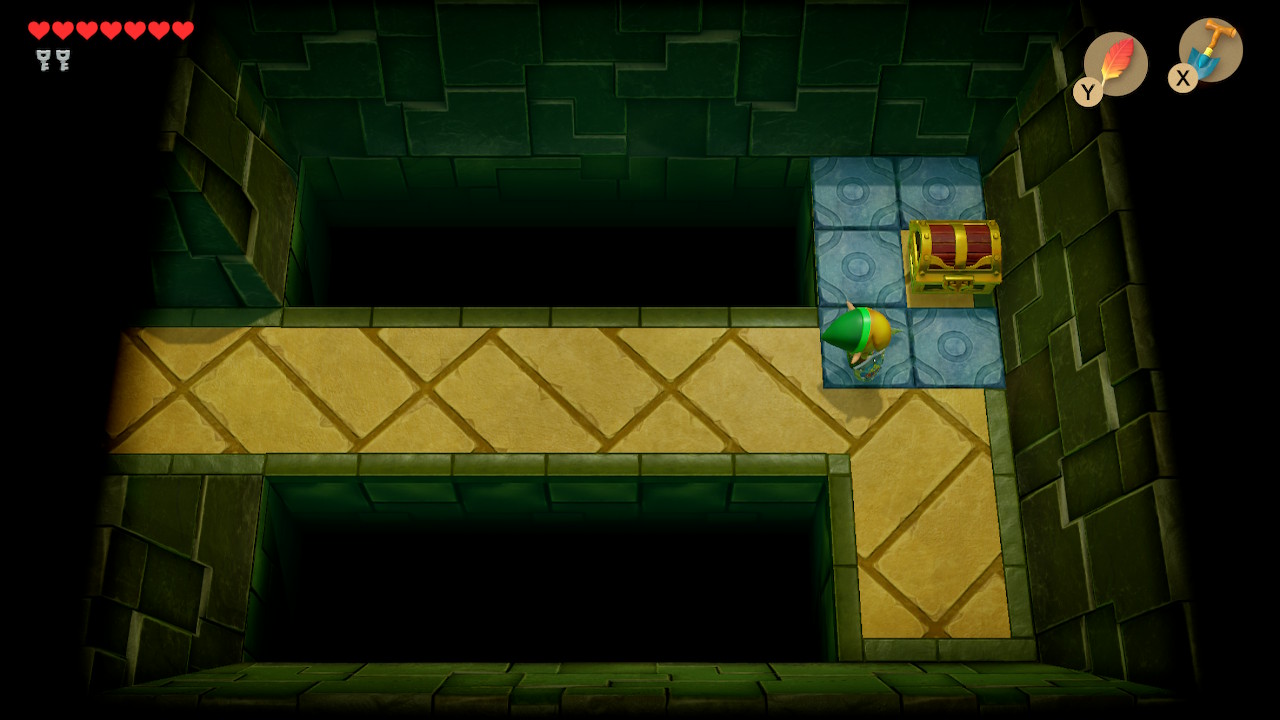
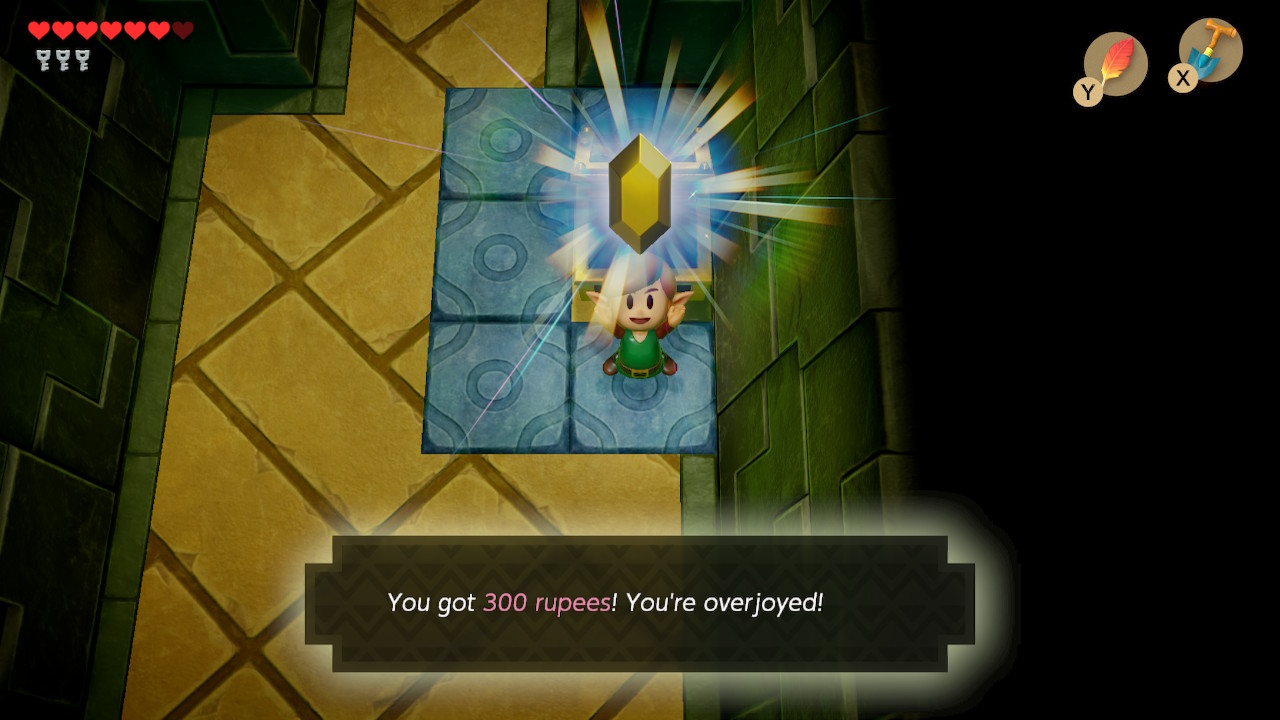
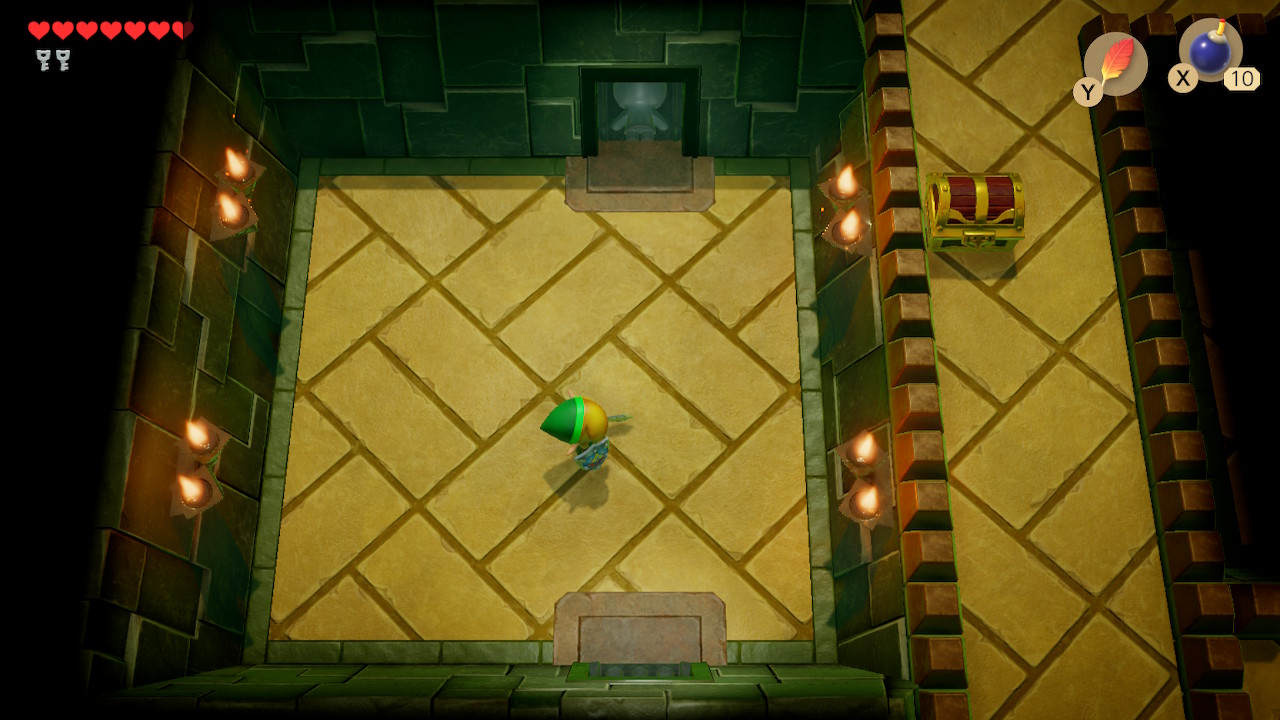
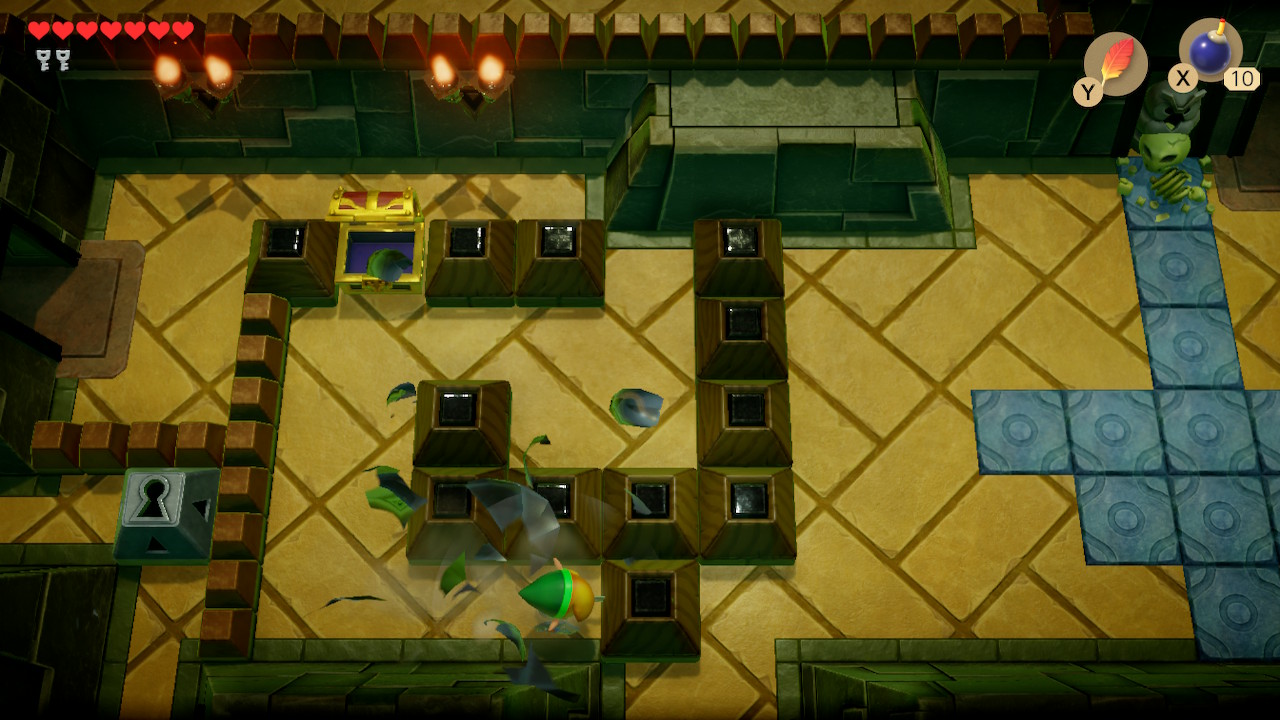
Enter the room to the right and use your pegasus boots to charge at the black hole here. Inside the chest you'll find another Small Key. Head back to the entrance and go up a room. Take the left path this time, using your pegasus boots on the objects in the way. Defeat the single enemy here and head back. Continue defeating all the enemies along the way and head up another room. Defeat the enemies in the two remaining rooms and a chest will appear containing a whopping 300 Rupees. Make your way back to the entrance and take the warp portal.
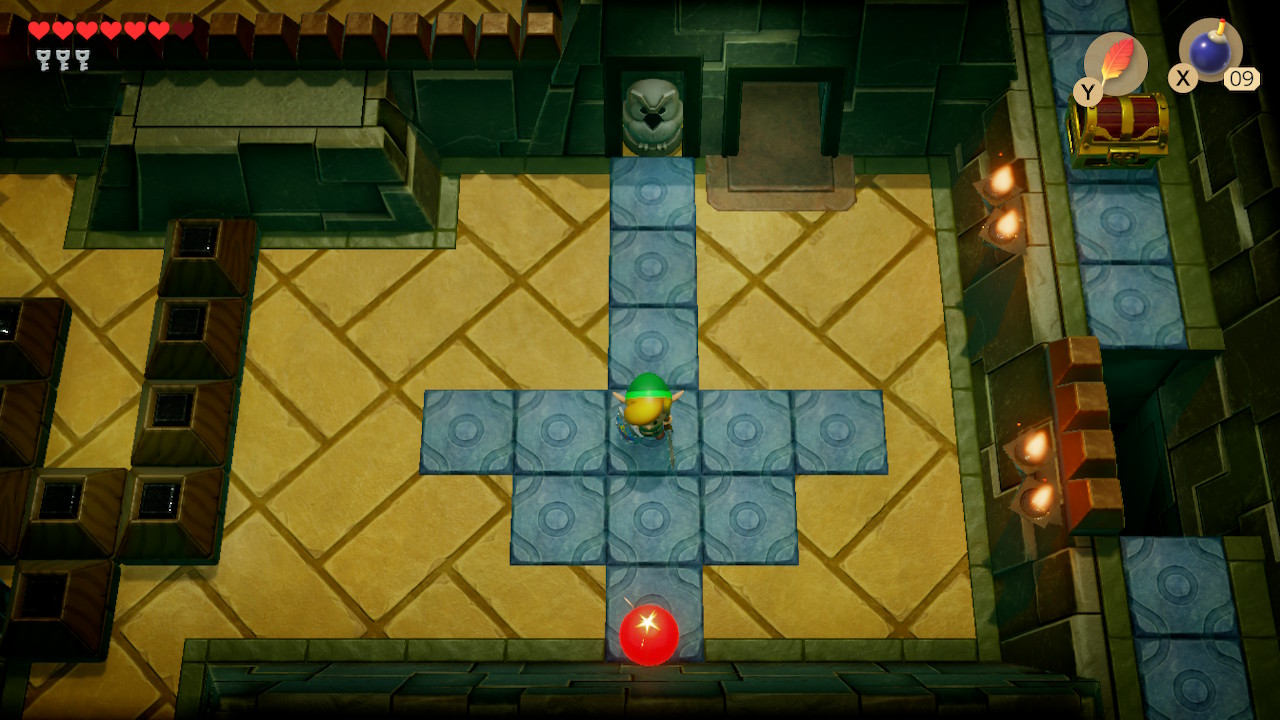
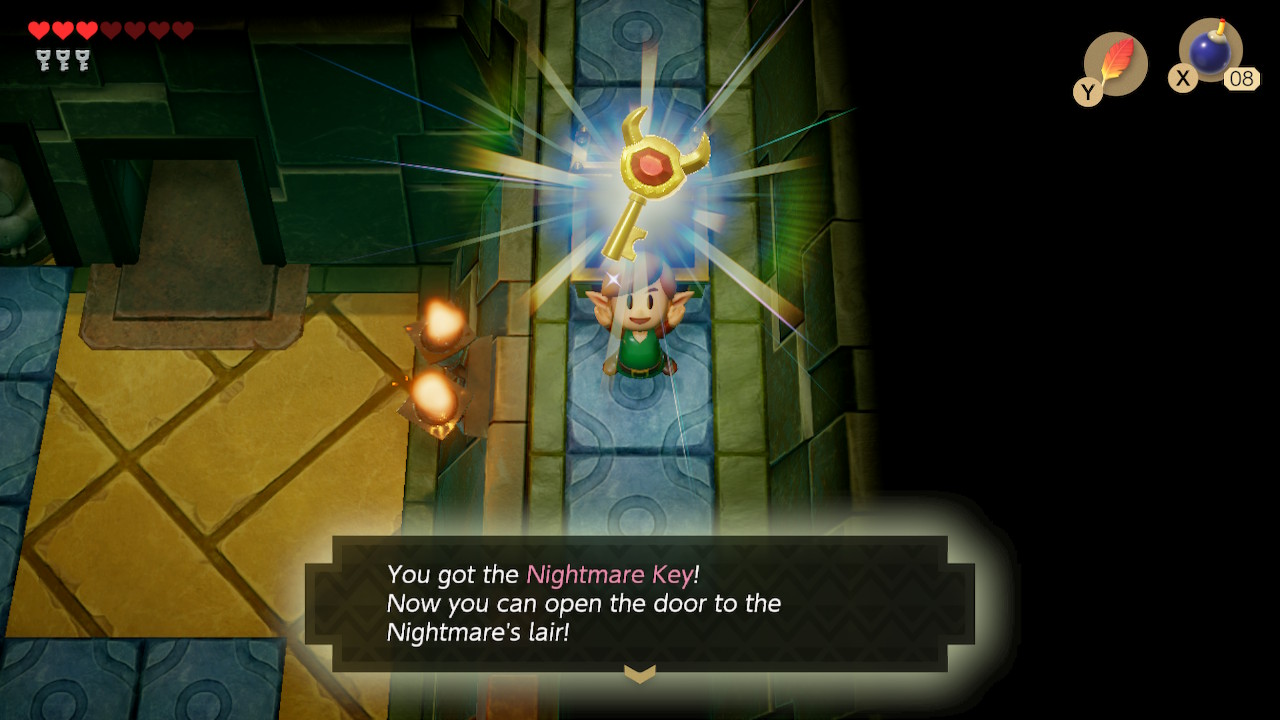
From the mini-boss room, head down and then exit to the top-right. Defeat the enemies here and then grab a hint from the owl statue if you wish. Follow the giant arrow on the ground and place a bomb along the wall. You can also bomb the cracked wall here to make a shortcut. Charge up the pegasus boots and use Roc's Feather to jump over the gap here. Head up and do it again to get to the chest containing the Nightmare Key.

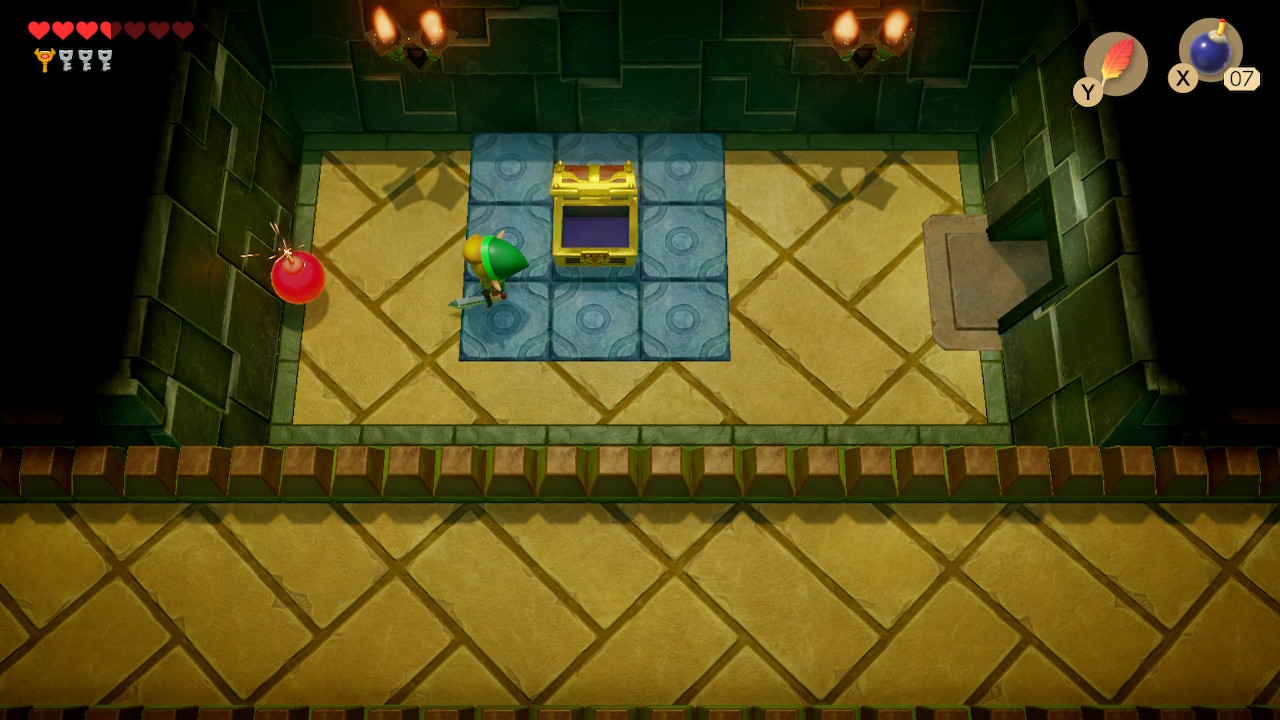
Jump down this ledge and head up into the next room. Defeat the enemies and head left. Defeat the enemies in the next room and open the treasure chest to get the dungeon Compass. Place a bomb on the left wall here and head through. Defeat the Bombites and a Small Key will drop down. There is also a fairy in the pots here.
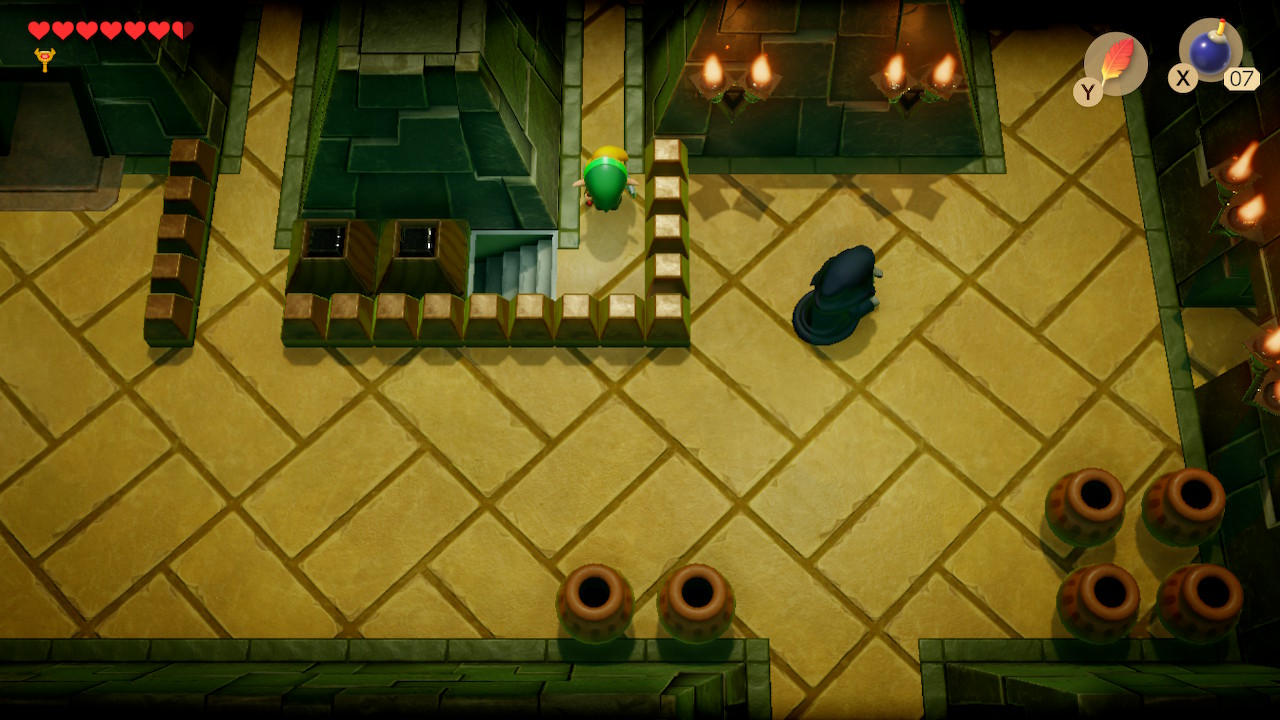
Backtrack until you get to the room where you fought the mini-boss. You should have four small keys at this point, so use one on the locked block at the top of this room. Use up the rest of your keys on the blocks here and head down the stairs. In the 2D basement, ram into the red thwomp to crash him down. Continue to the right by leaping over the spikes and going down the ladder.
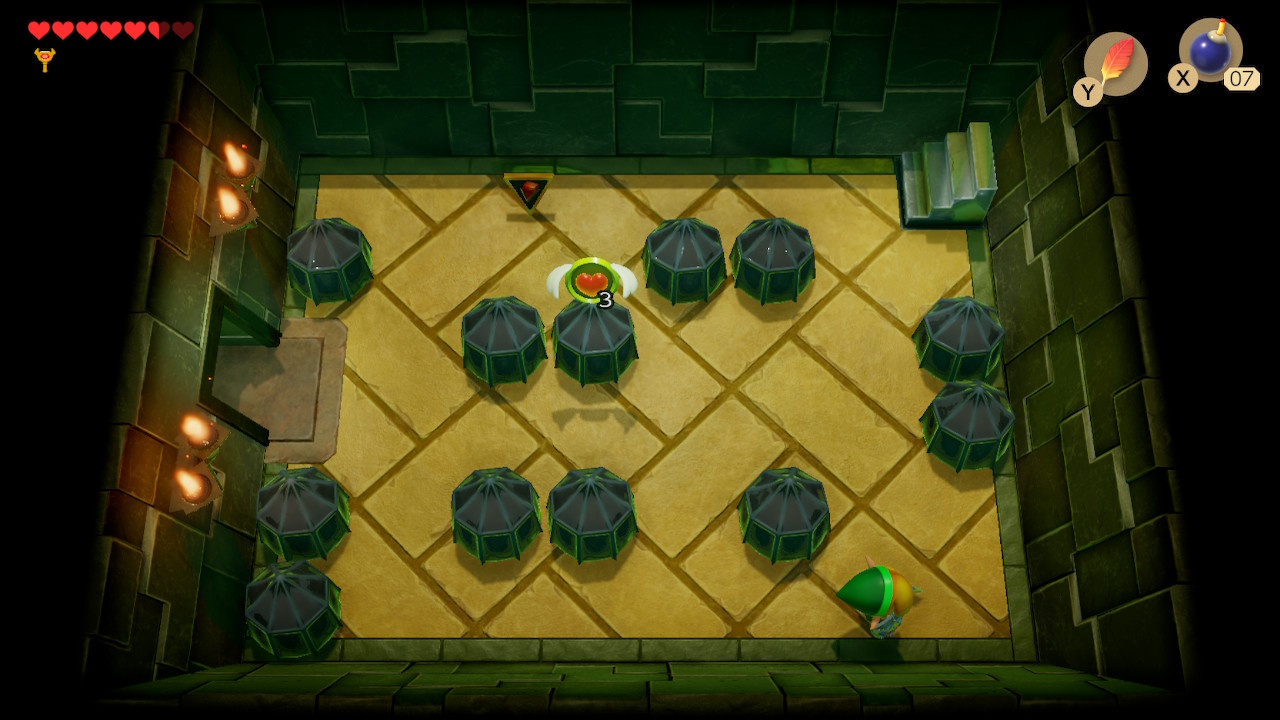
Defeat the Pairodds in this room by dashing into them with pegasus boots. Grab the recovery hearts and go left. In this next room, the floors are moving treads that will carry you around. Defeat all the Keese here to get another small key if you'd like, but we have no use for it. It's simply extra. Use your Nightmare Key on the door and enter the boss room.
Slime Eye
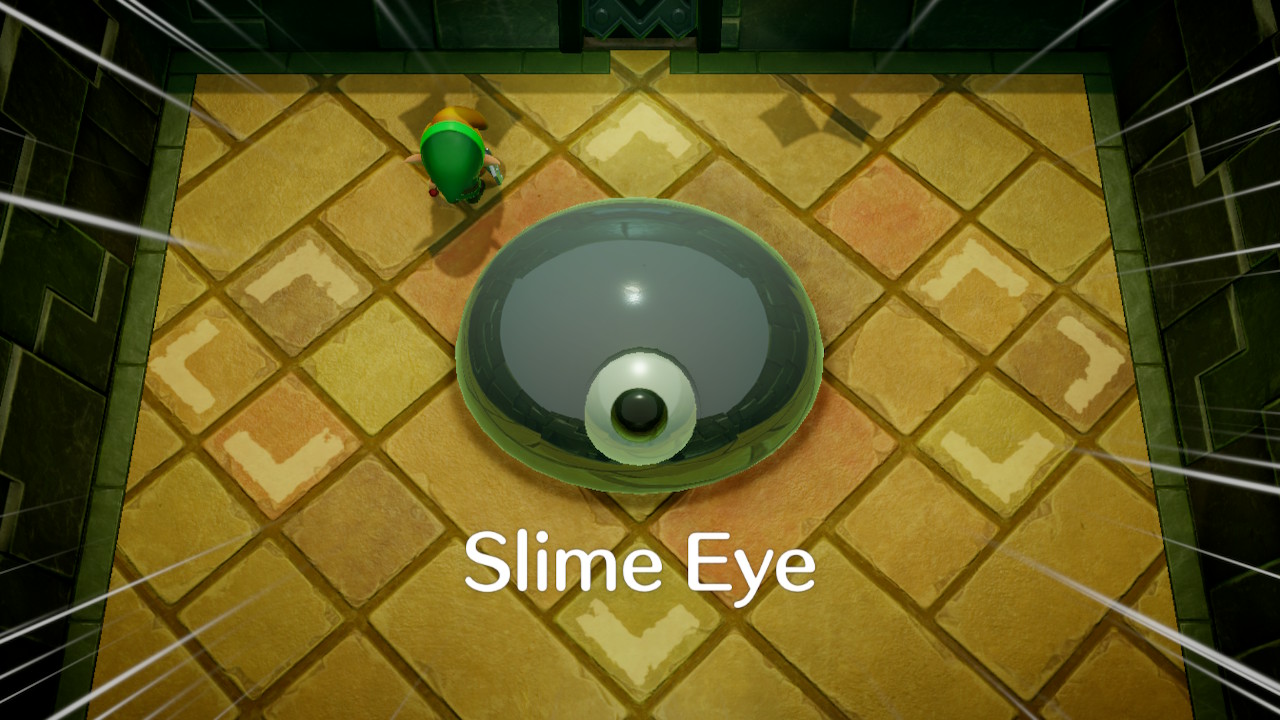
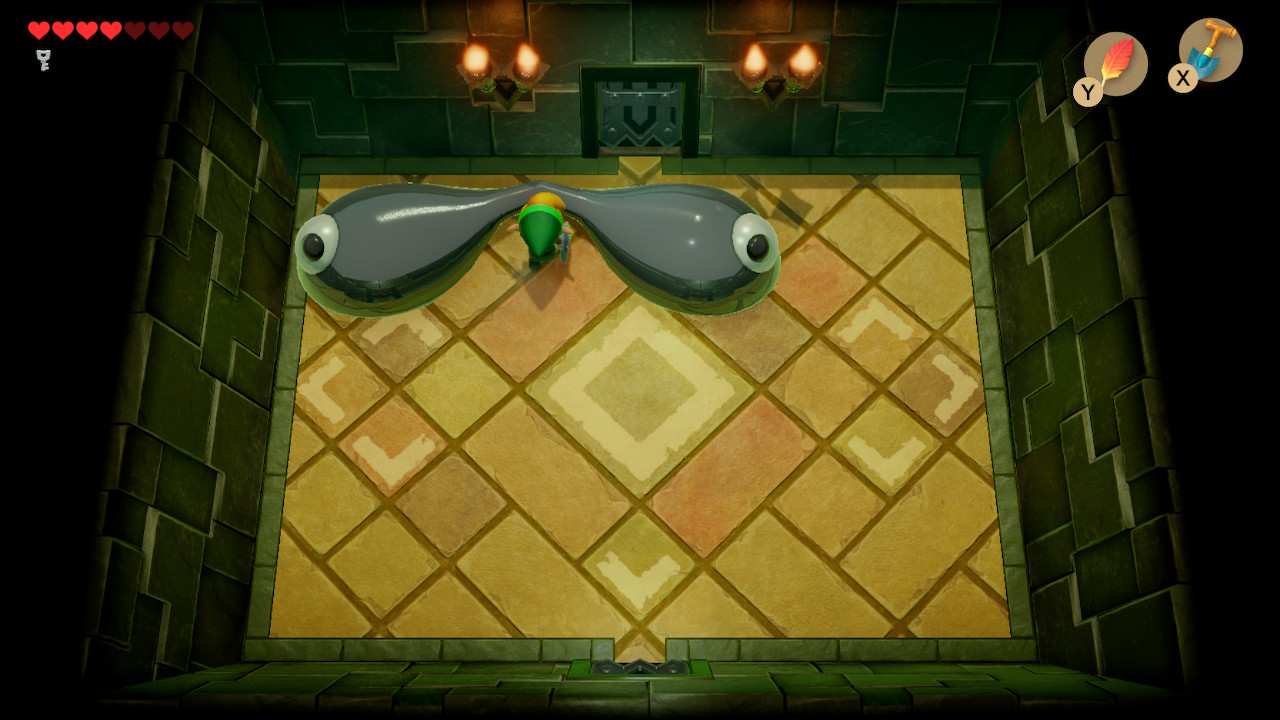
Slime Eye will delcare that you won't be able to find him when you want into the room. Quickly ram into a wall and he will drop to the ground. Slash at his eye and he will start to seperate into two. When slashing becomes ineffective, use your pegasus boots to ram him in the middle to fully seperate.
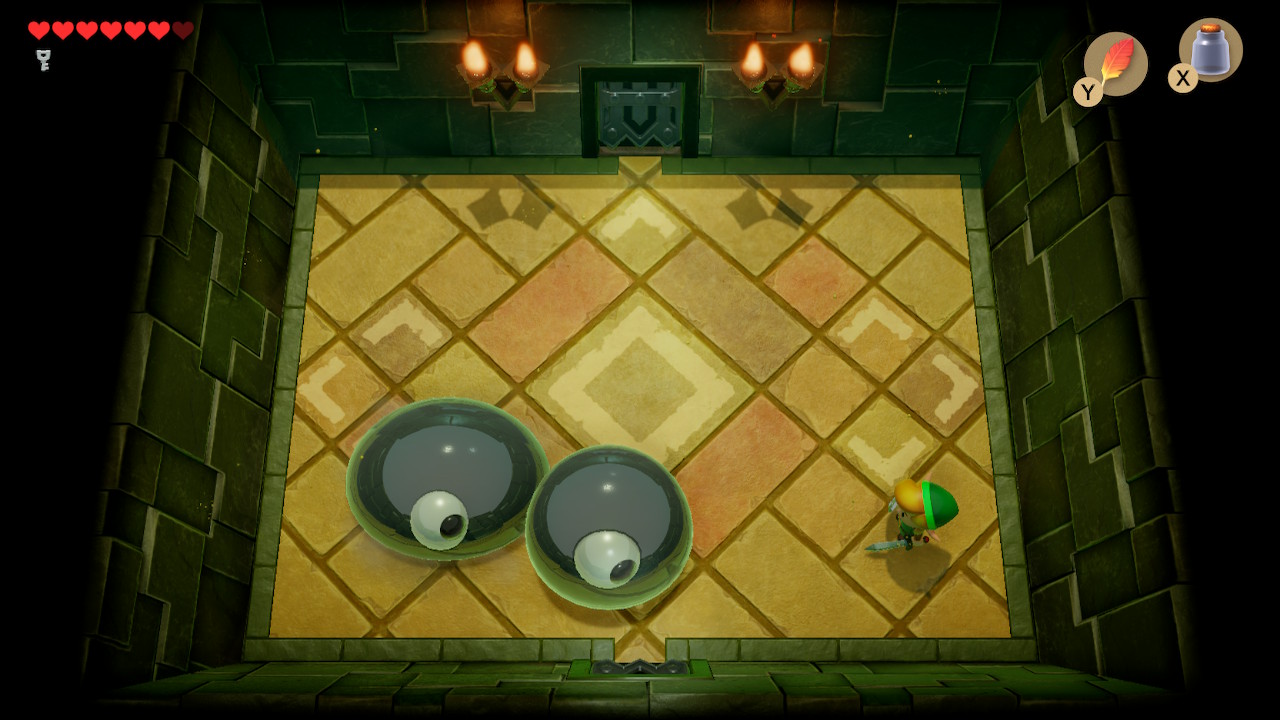
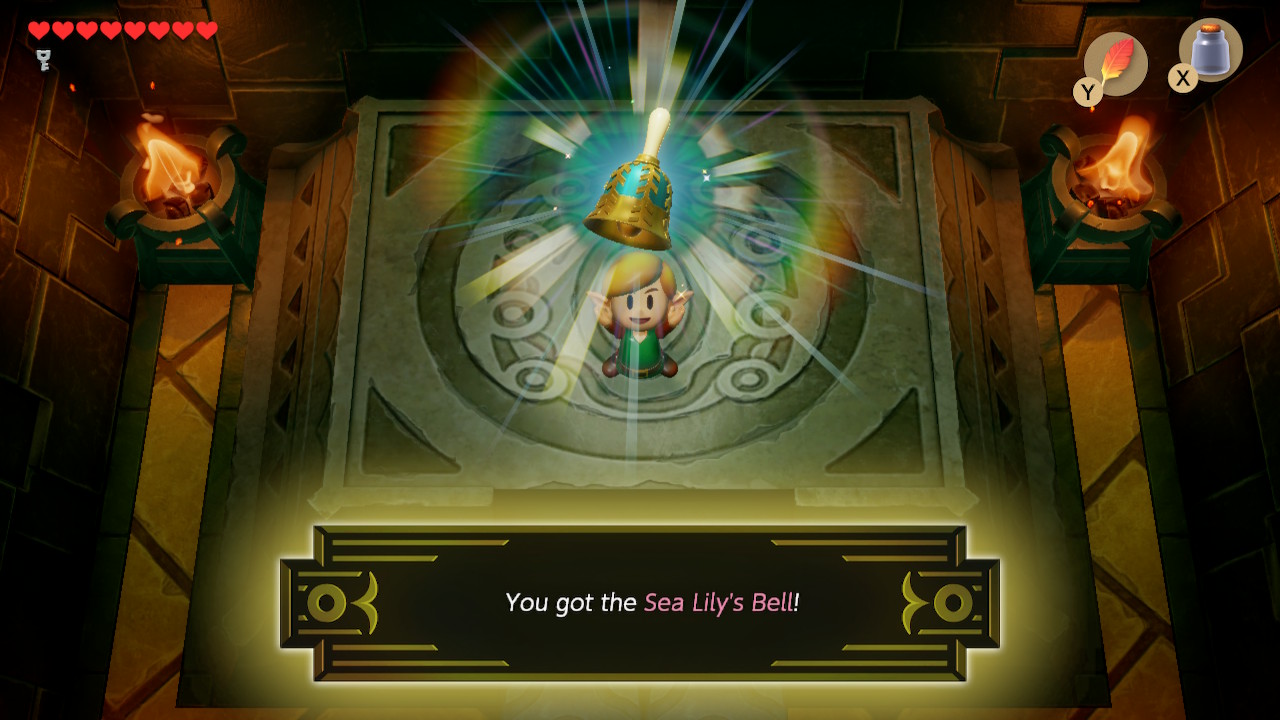
In the second phase of the battle, the two blobs will bounce up high and slam into you. Use Roc's Feather to avoid this and slash at each of them a few times to defeat them. Slime Eye will leave behind a Heart Container once defeated. Head up into the next room to get the Sea Lily's Bell. Upon exiting Key Cavern, the owl will check in with you and advise you head to Yarna Desert.
Back to Bottle Grotto Continue to Anglers Tunnel
