
Part 7: Eagle's Tower
Shells and a Bottle
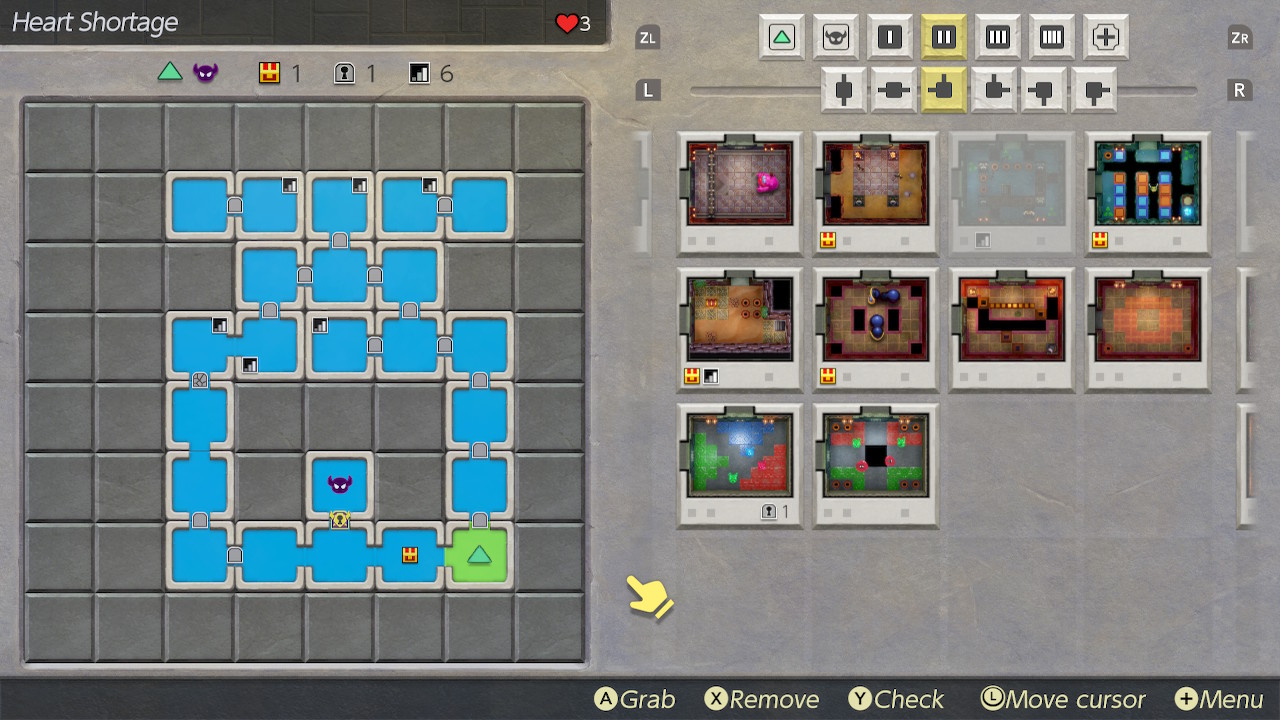
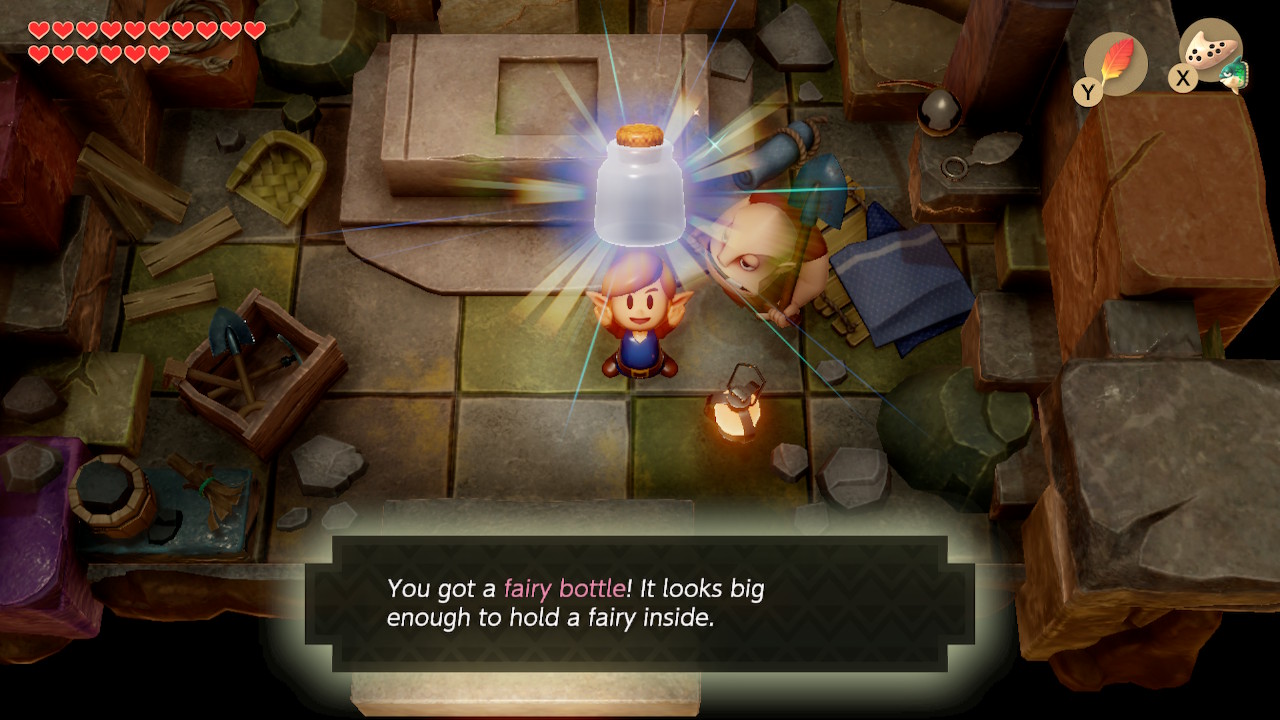
Now that we've completed Face Shrine, there's a few more goodies to collect from some past mini-games. Warp to Dampe's Shack to find some new Three-Shovel difficulty challenges for the Chamber Dungeons. You'll need to complete 'Stair Decisions' to unlock 'Heart Shortage'. If you complete the 'Heart Shortage' challenge, you'll be rewarded with Fairy Bottle #3.
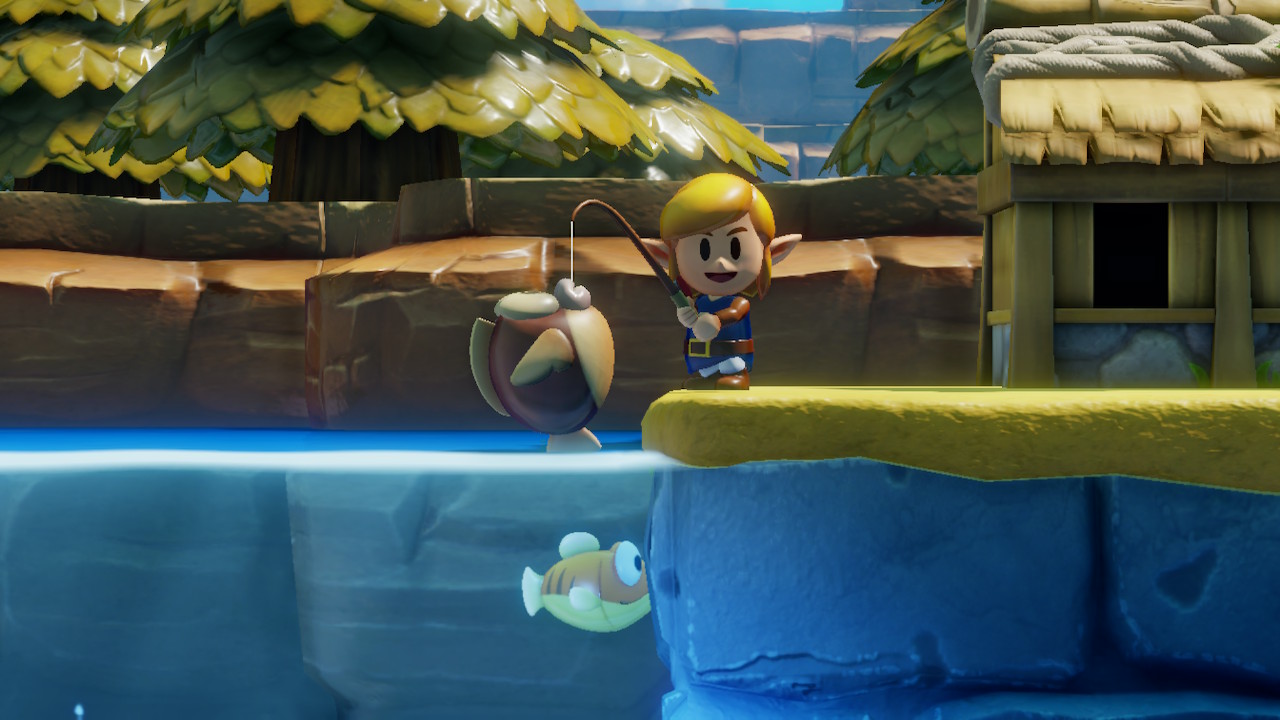
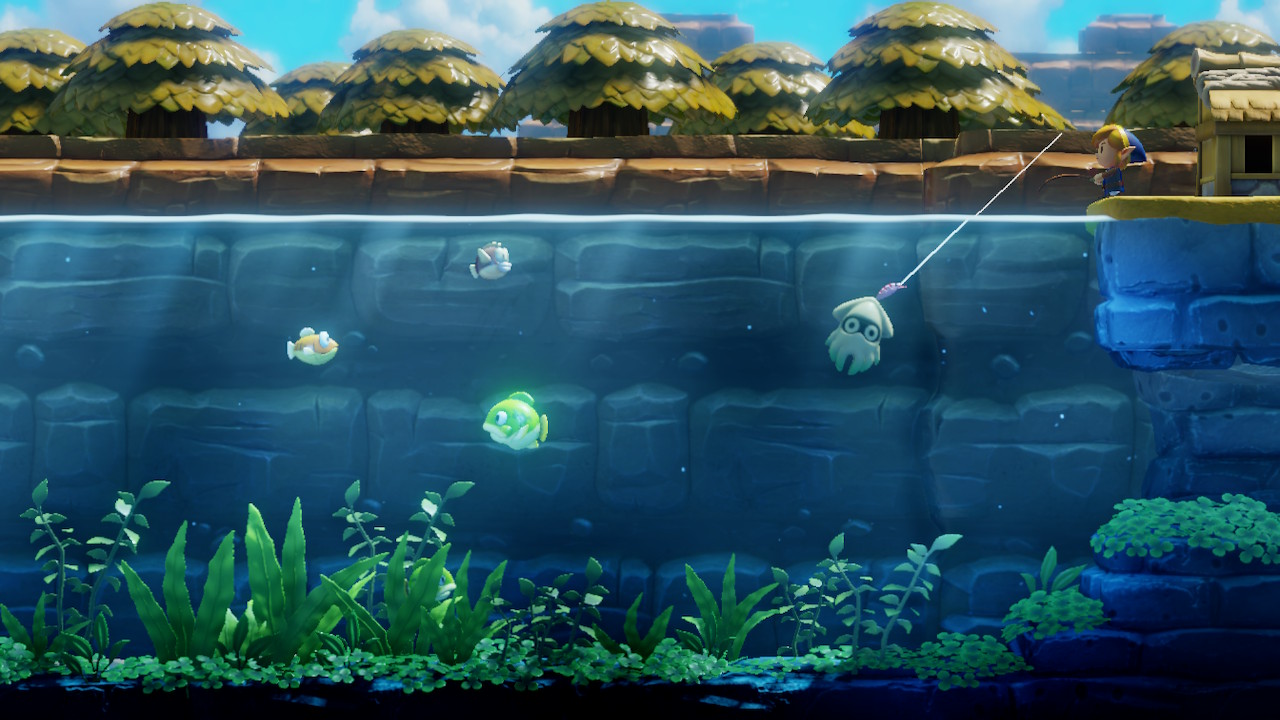
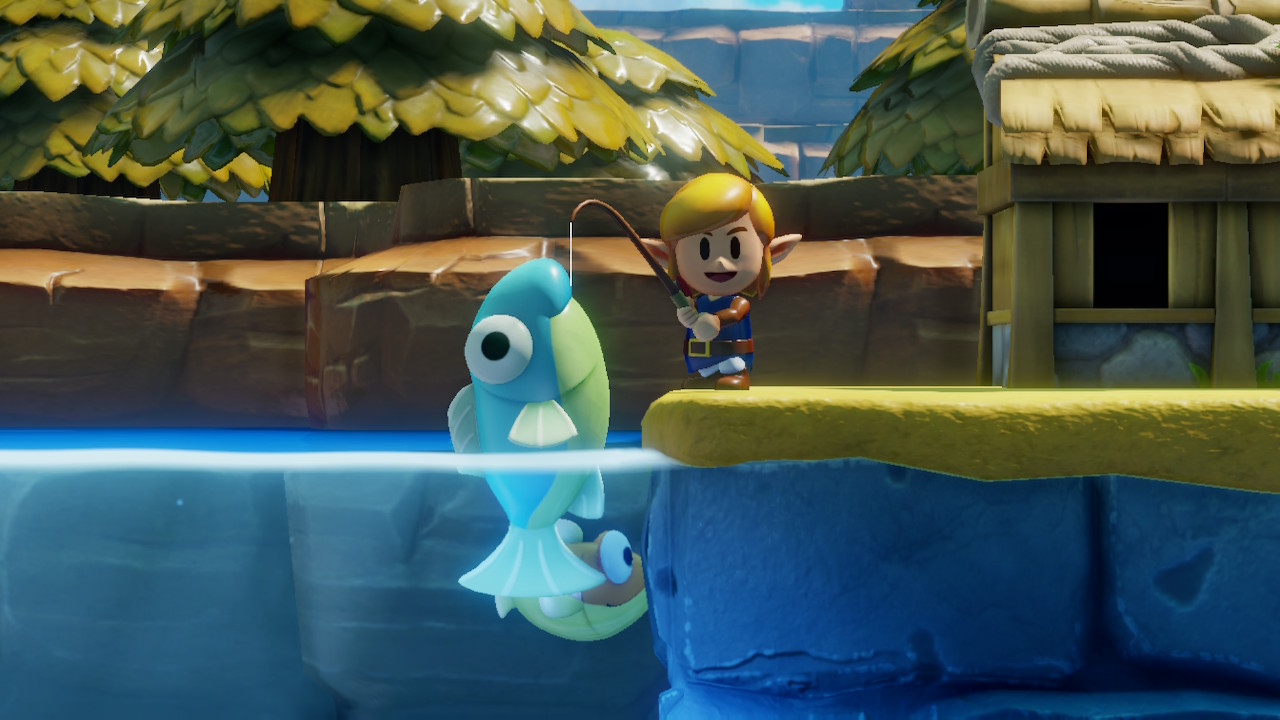
Head back to Mabe Village, probably via the Ukuku Prarie warp point. There are now new prizes we can grab from the fishing mini-game in the northwest corner of town. It costs 10 rupees to play. With Face Shrine completed, there are three new fish that can appear in this game. Cheep Cheep, Bloopers, and Ol' Baron. All three are difficult to catch, but use the same strategy as before. Mash 'A' when they swim towards you and don't press 'A' at all when they swim away or jump out of the water.
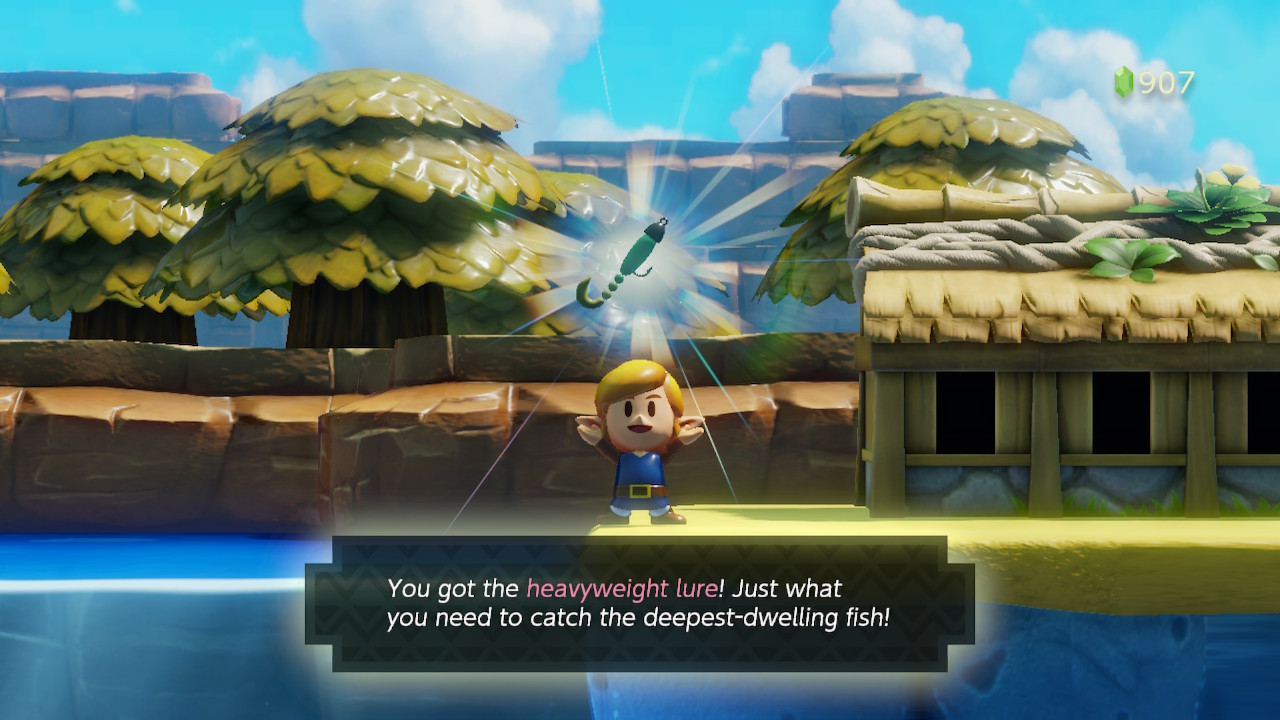
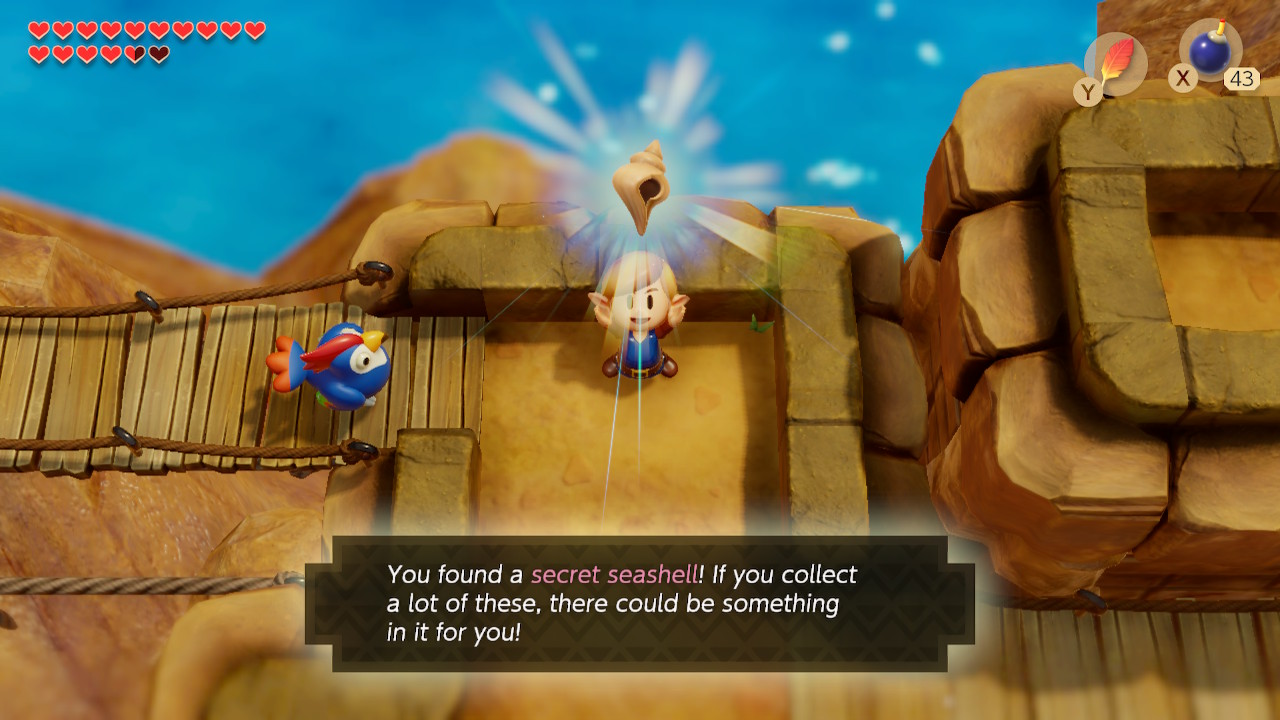
After catching your first Cheep Cheep, you'll get Secret Seashell #42 as a reward. Likewise, after catching your first Blooper, you'll get Secret Seashell #43. In addition, you'll also receive the Heavyweight lure for catching a Blooper. This will allow you to catch the rarest fish of all: Ol' Baron. If you manage to pull one in, a few Chamber Stones will be your reward.
Living Rooster
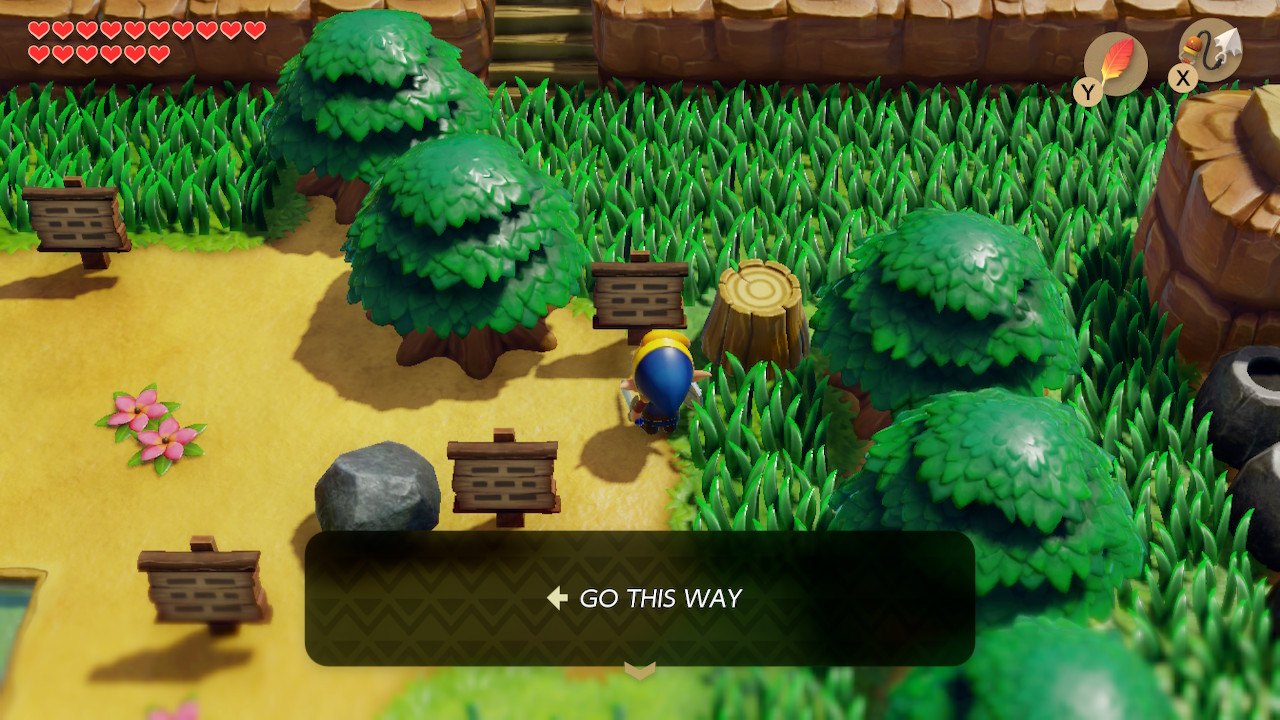
It's now time to learn a third and final song on the ocarina. Head east of Mabe Village and directly south. This should be the last unexplored area of the map. Use your hookshot to cross the pits here and head south. Welcome to the Signpost Maze.
All you need to do is follow the directions on each sign you come across. Walk in a straight line from each directional arrow to find the next sign. If you read a sign out of order, you'll need to start from the beginning. Note that each sign is visited exactly once. When you finish the puzzle, a staircase will appear near the center of this area.
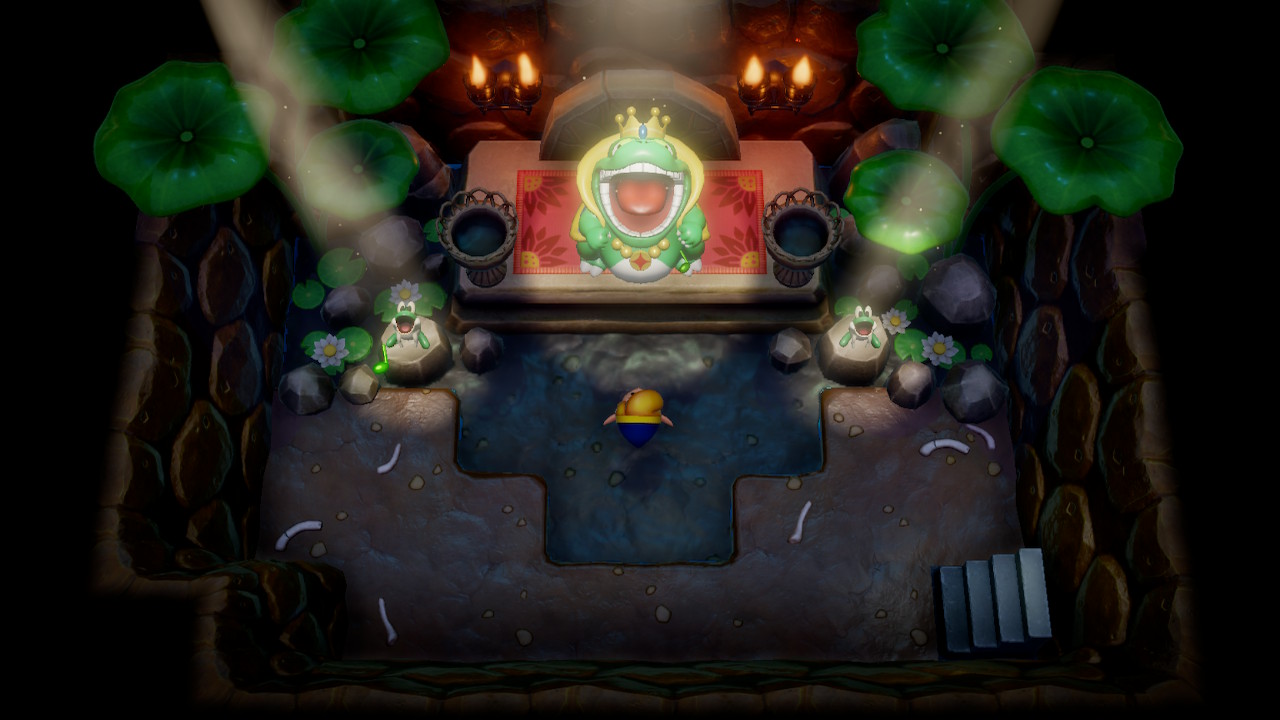
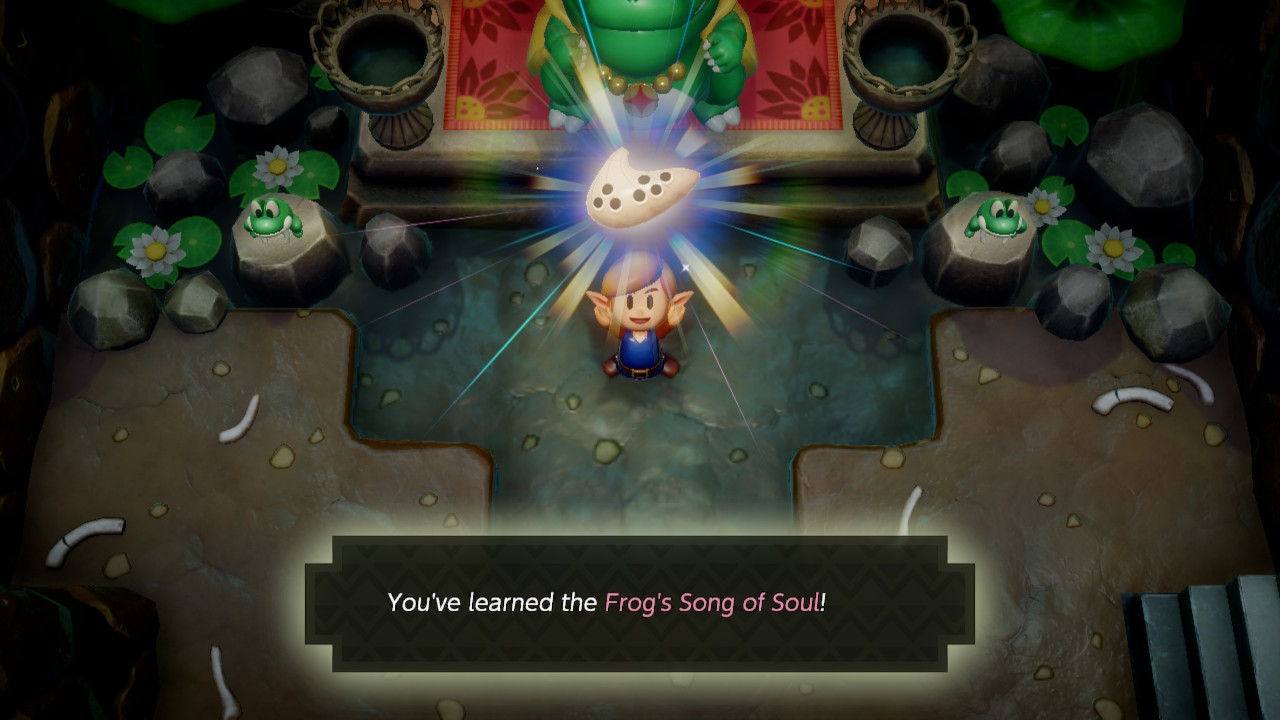
Inside, you'll find the giant reptile Mamu. Agree to pay 300 rupees to learn his song. You'll now be able to play 'Frog's Song of Soul'. Perhaps the most spectacular of songs, it can bring things back to life. Head back to Mabe Village so we can make use of this song.
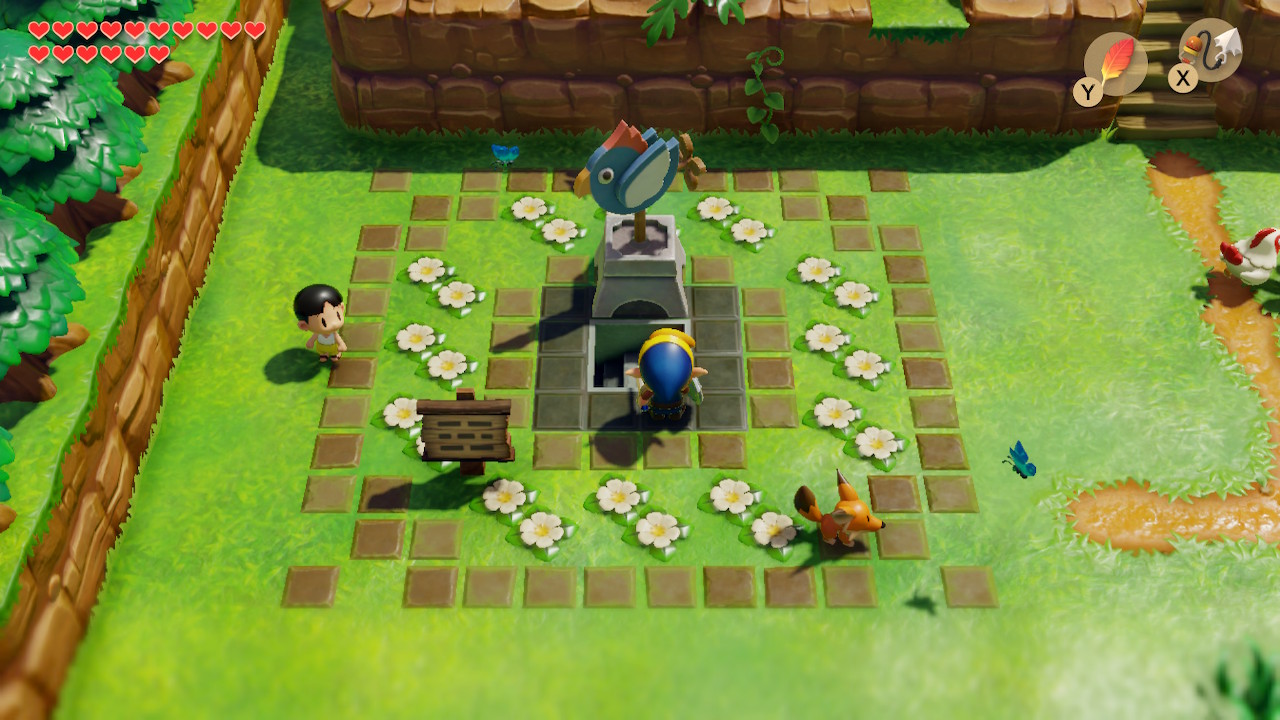
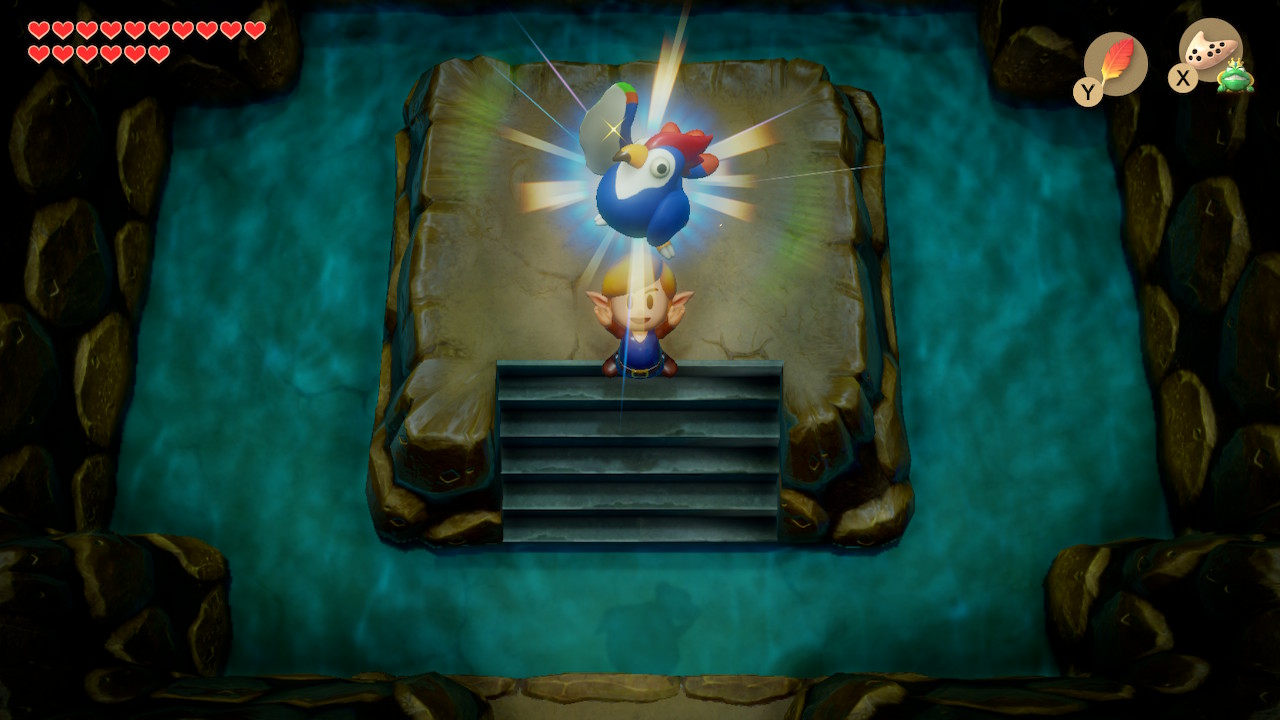
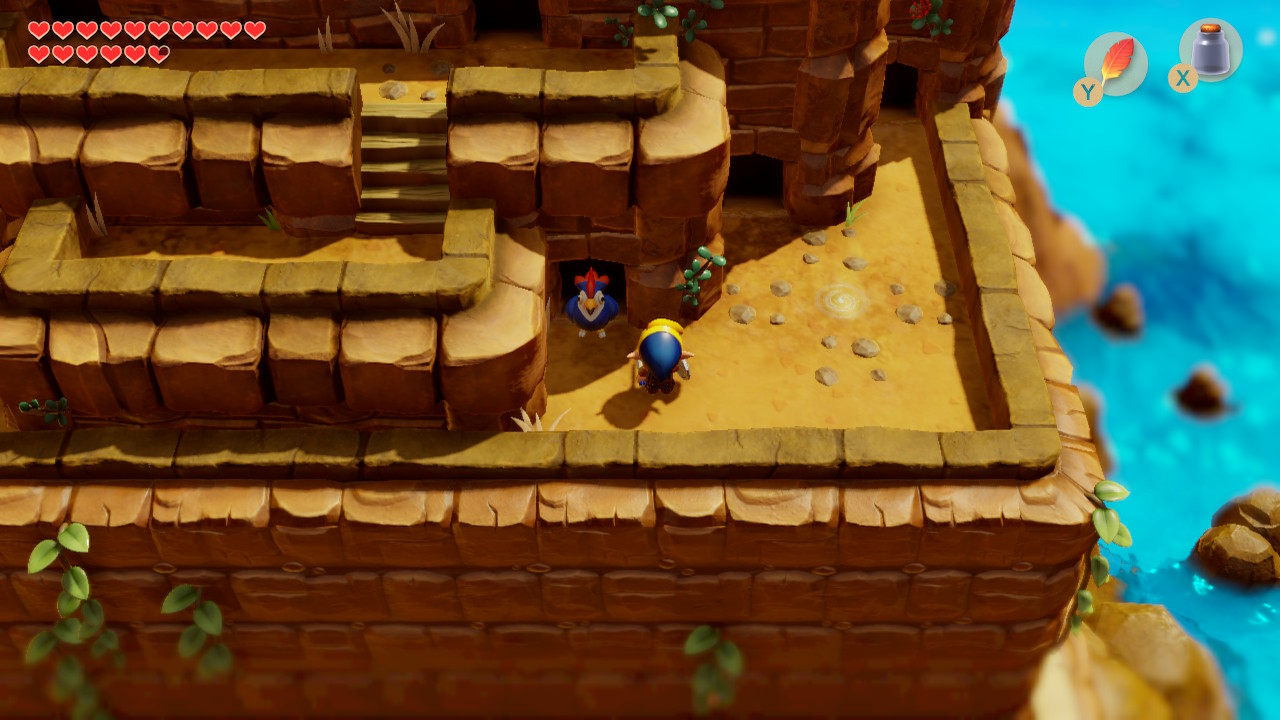
Now that we have the powerful bracelet, we can move the weathercrane in the plaza in Mabe Village. Do so to reveal a staircase underneath. Down here you'll find nothing but bones. Lucky for us, we just learned a song that can bring these bones to life. Play 'Frog's Song of Soul' here and the blue rooster will be reanimated and begin to follow you around.
Tal Tal Mountain Range
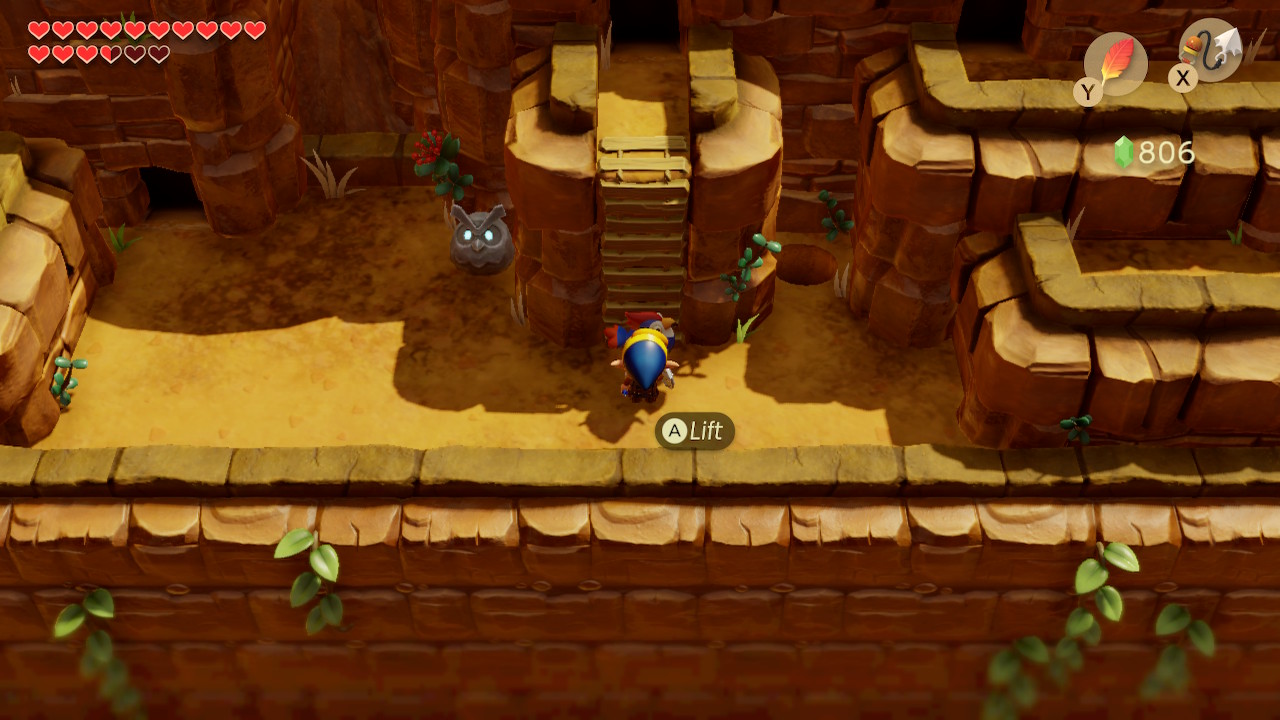
We are now ready to make our way towards the next dungeon. Warp to Dampe's Shack and head north. Take the right ladder and you'll be stopped by the owl once again. You'll be back at the Tal Tal Mountain Range. Enter the cave here and continue right through the rooms: we've been here before. Go up and down the stairs until you're in a room with a large gap and a treasure chest.
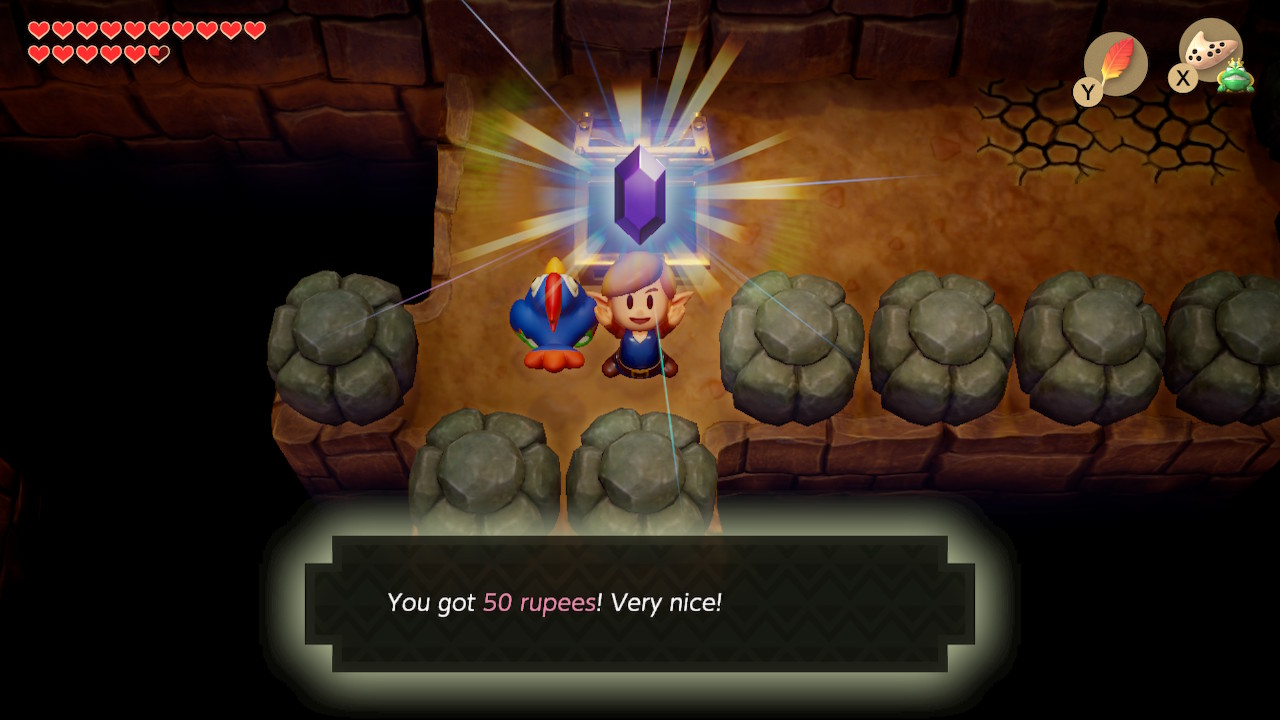

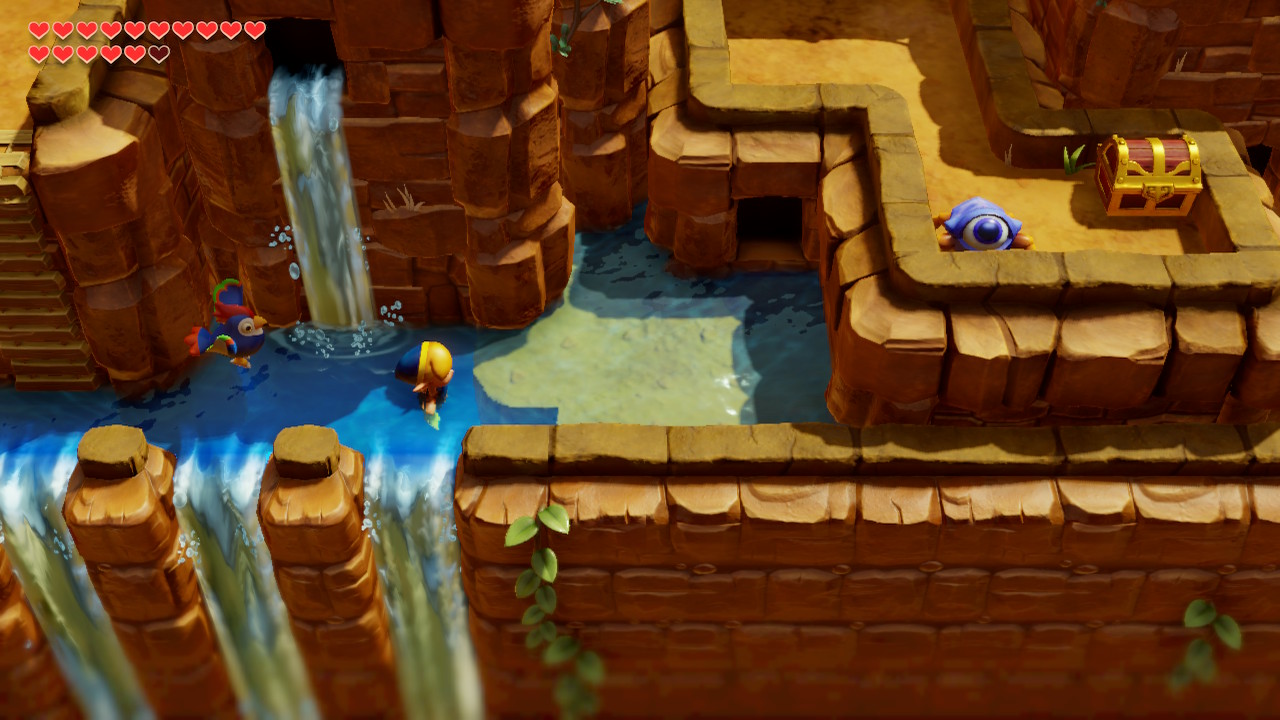
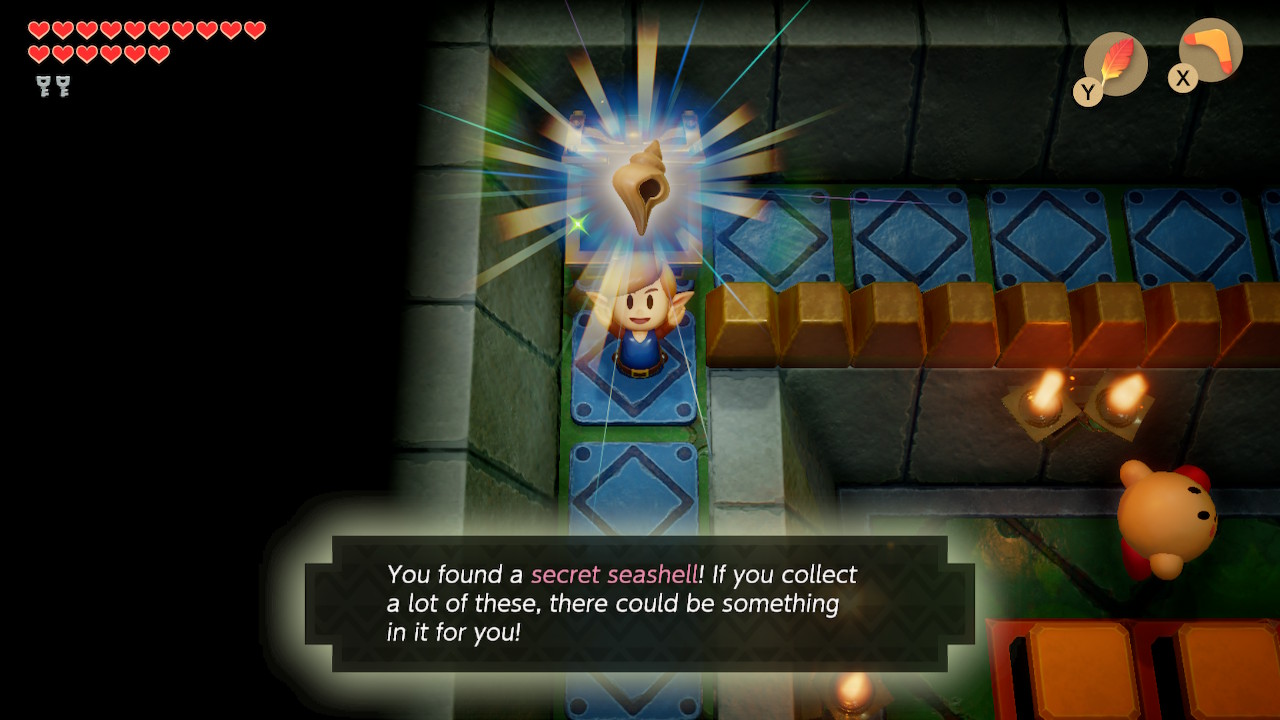
Now's a good time to see that you can lift up the rooster and use it to fly across gaps. Do so to open the chest and get 50 rupees. Alternatively, you can hookshot to get to the chest. Exit the cave to the right. Head all the way east until you get into some deep water. Dive under the waterfall here to find Secret Seashell #44.

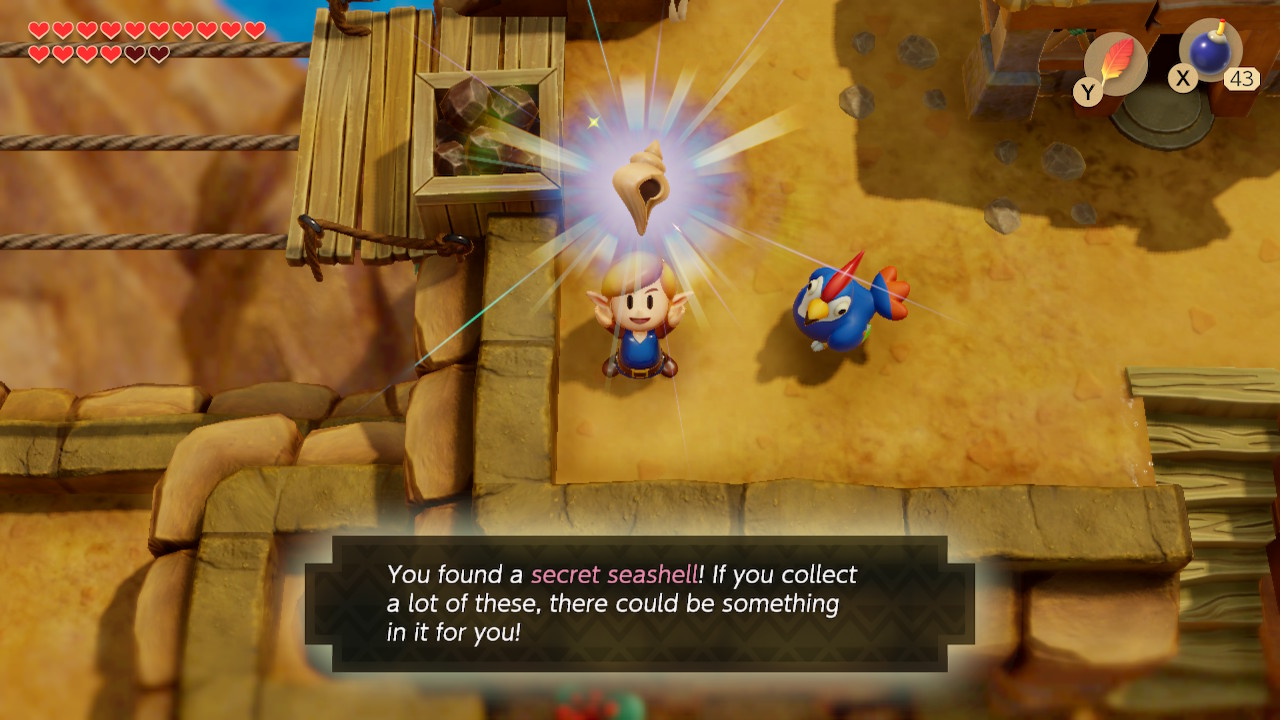
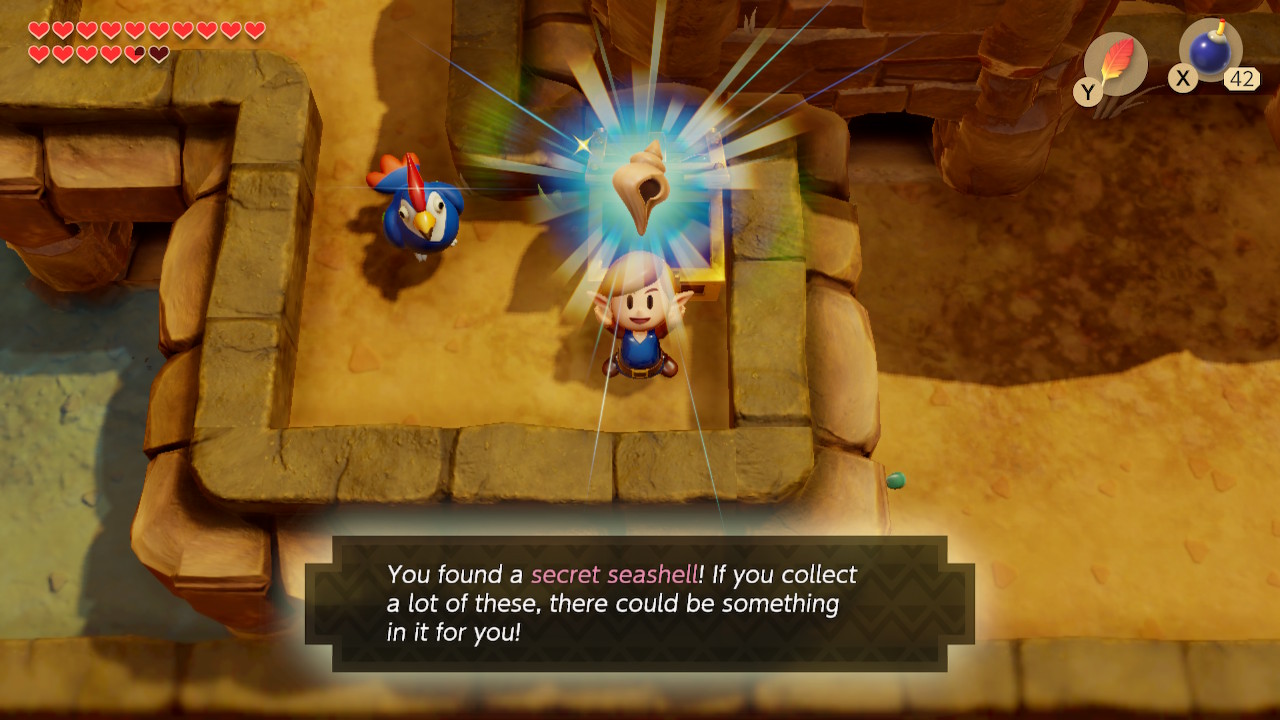
Take the ladder to the left of the waterfall here and continue heading west. Go up the small set of stairs and you'll see a building. To the left of the building, you'll see a hole covered in stone midway between this height and the lower level. Toss a bomb in this hole and out will pop Secret Seashell #45.
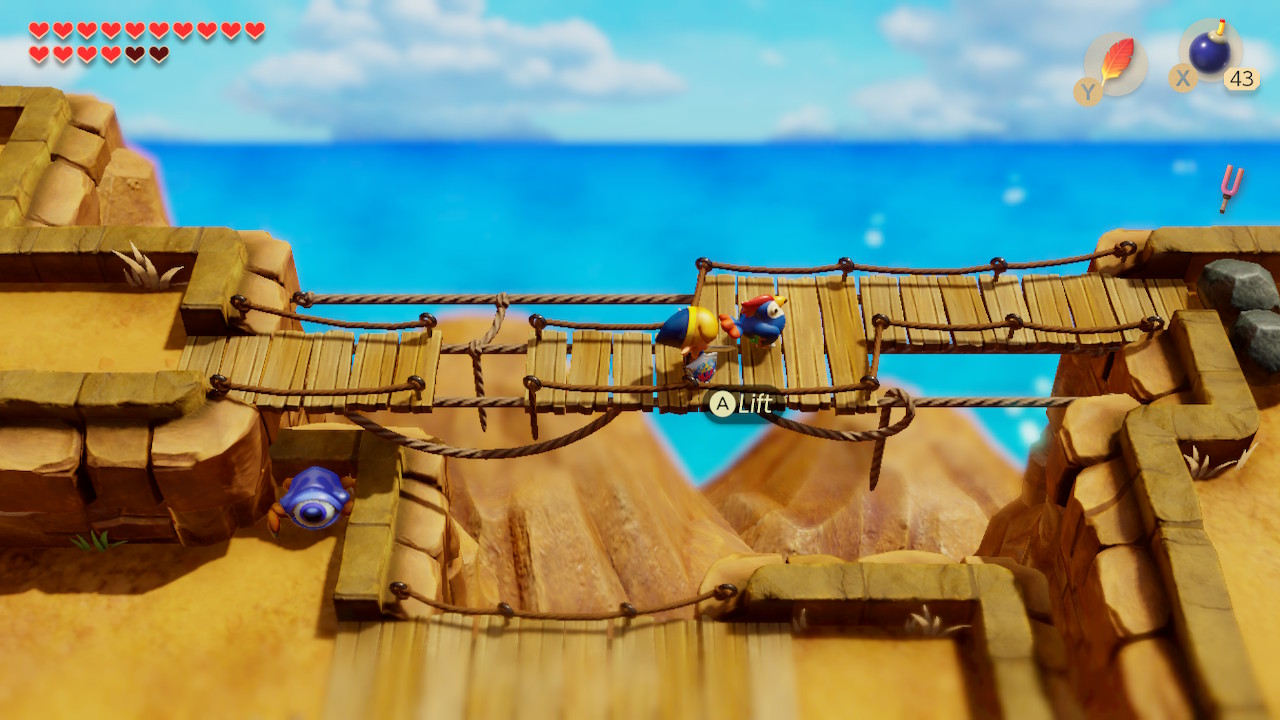
Head east from this building (inside is a man who will give you a hint that you can use your rooster to fly) and cross the bridge. You'll see three boulders in the corner here. Under the top-right you'll find Secret Seashell #46. Now, backtrack to the rooster building and enter the cave that you find down the stairs and to the south of it.
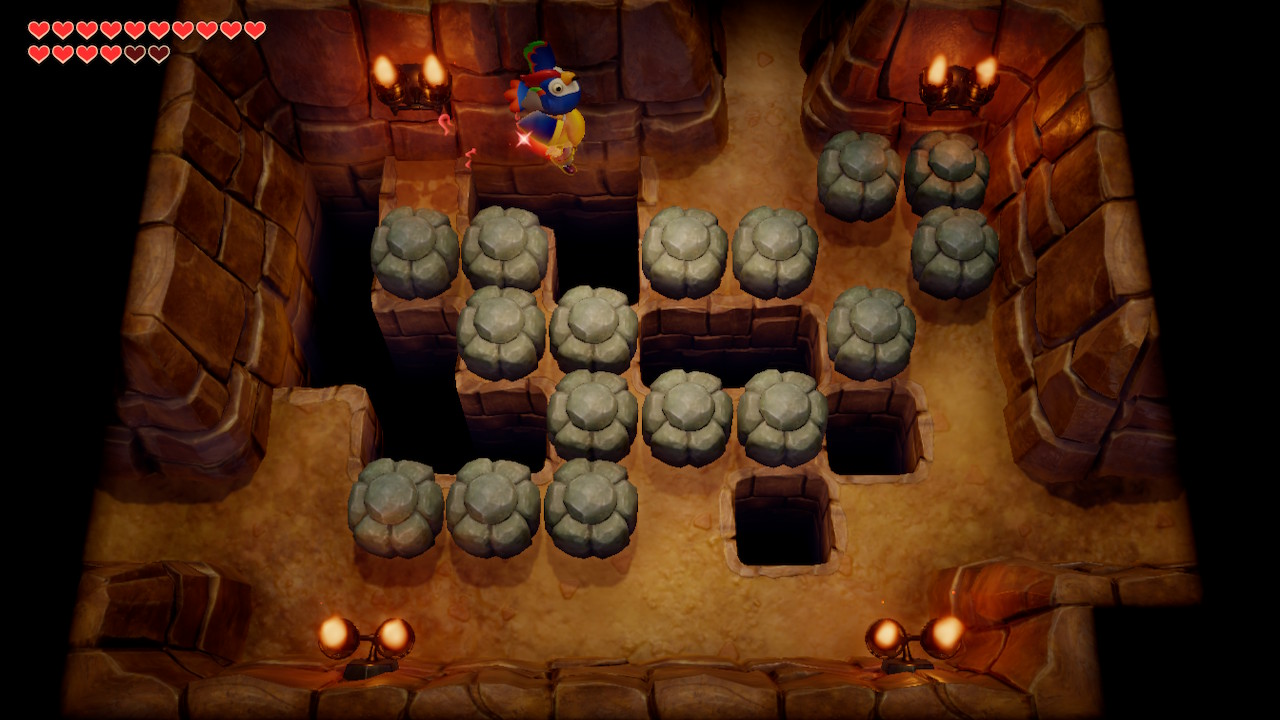
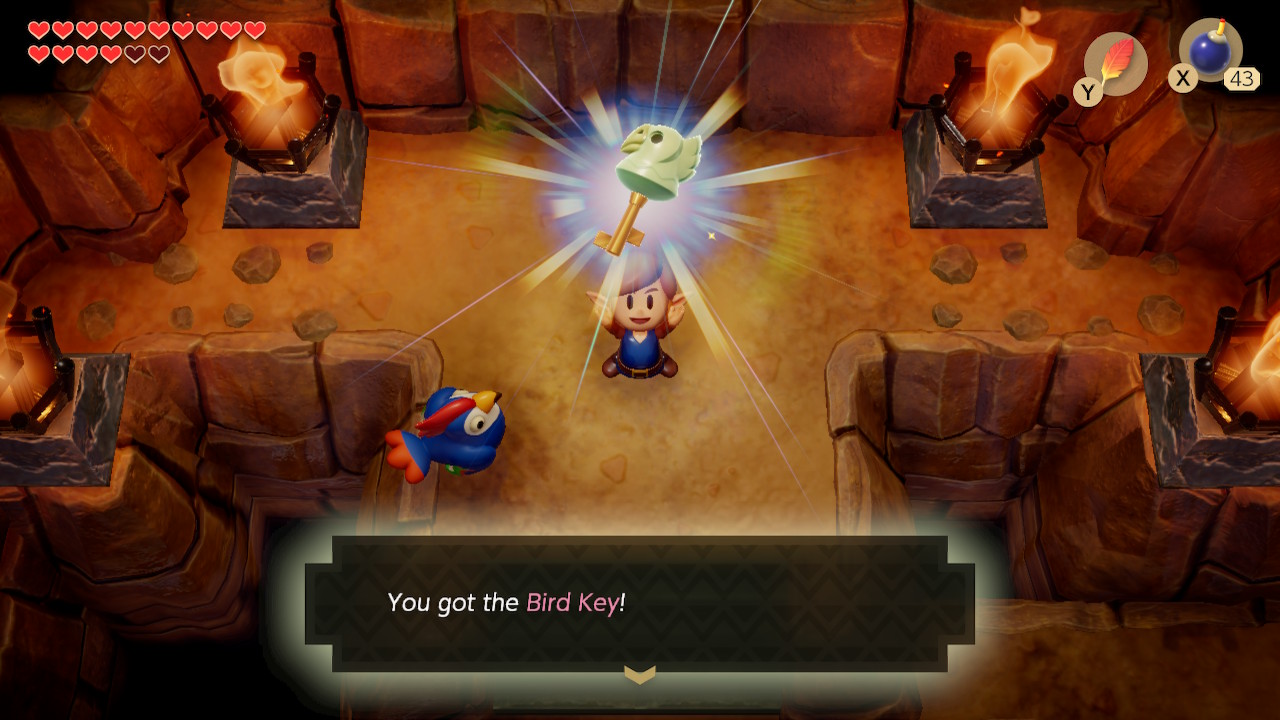
Follow the cave left into the next room. Here, you'll need to use the rooster to fly between the boulders to the northern part of the room. Fly across the gap in the next room as well where you will find the Bird Key waiting at the top of some steps. The remaining room in this cave has nothing of interest, so we can actually just hop into the abyss as a small shorcut.
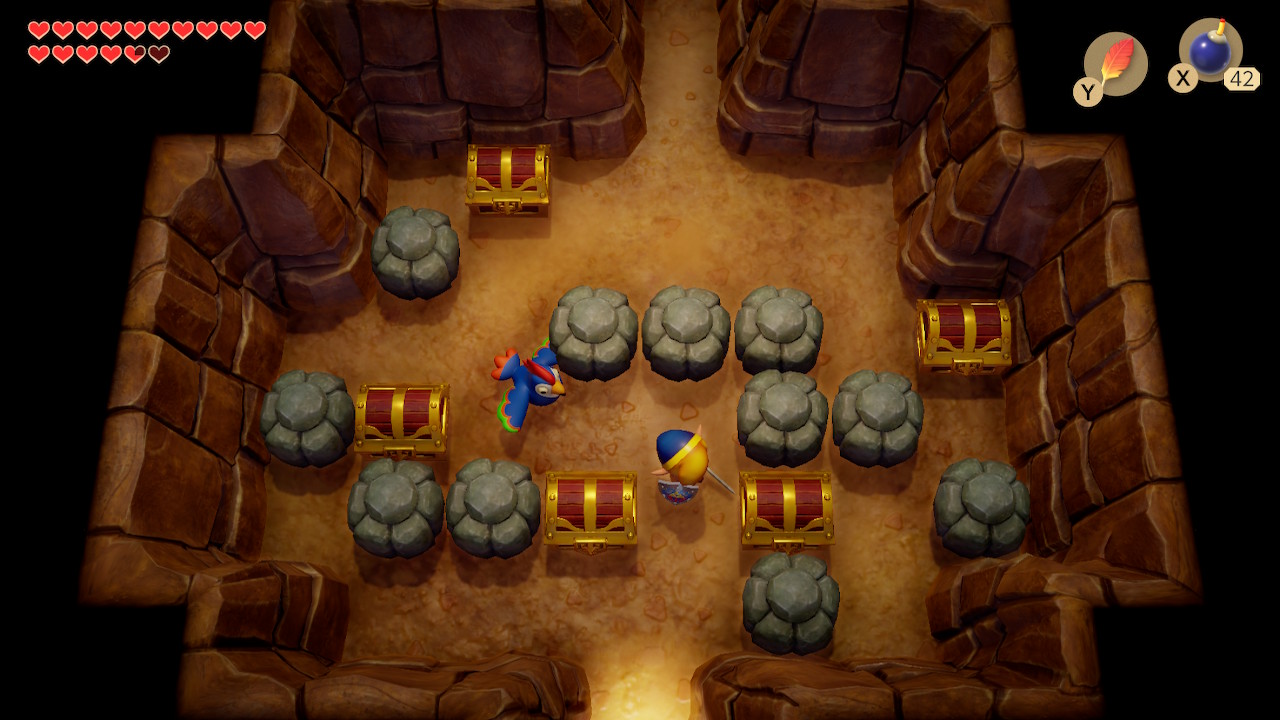
From the large waterfall on this lower level, head east and enter the cave. Upon entering, you'll notice a wall that you can bomb to the north. Do so and go up the stairs you see in the next room. There are many chests in this room, but all of them need to be opened to get anything out of them, do just exit to the south for now.
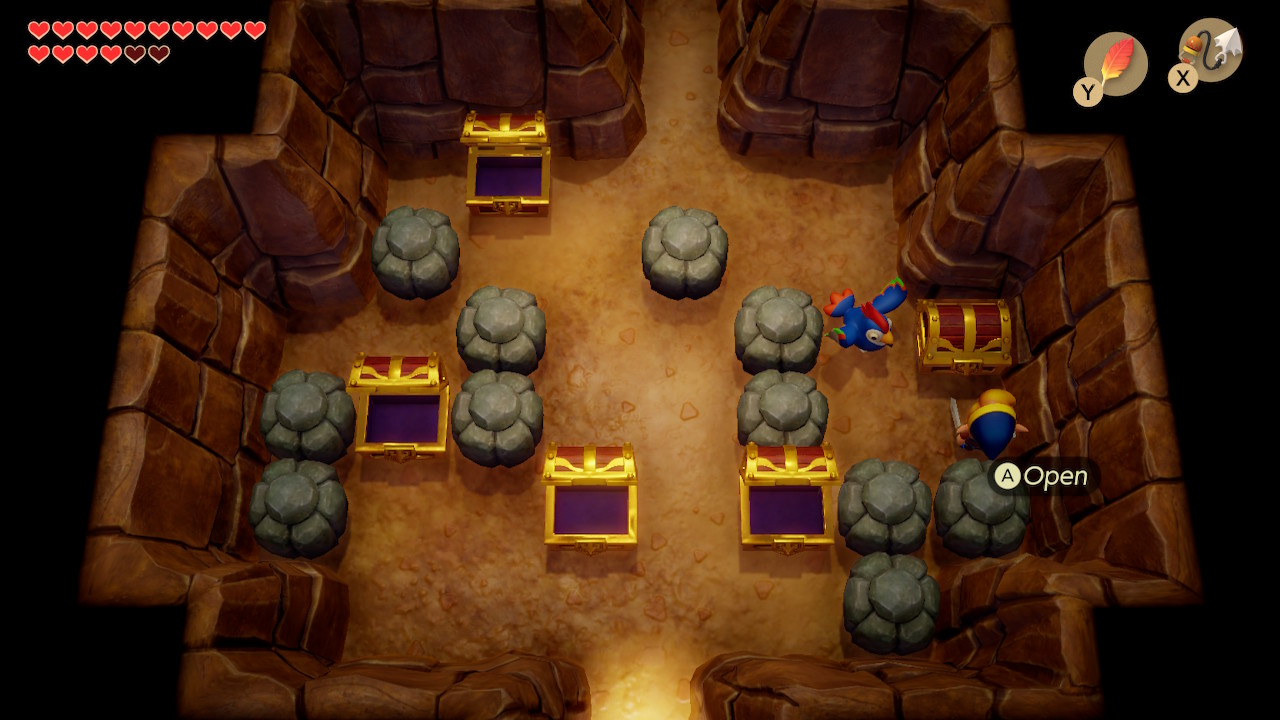
Outside, you'll find a chest that contains Secret Seashell #47. Head back inside the cave. From this angle, you'll be able to push the stones in such a way that you can open all five chests. Your reward for doing so will be 100 rupees. Backtrack through this cave until you get to the room where you bombed the wall. Exit this cave to the right.
Back outside, simply enter the next cave to the right up the ladder. This cave is just a narrow path that loops around to the other side. Exit here and the enter the left cave entrance. Go down the stairs and leap over the gap to the right. Use the rooster in this cave to simply float to the exit.
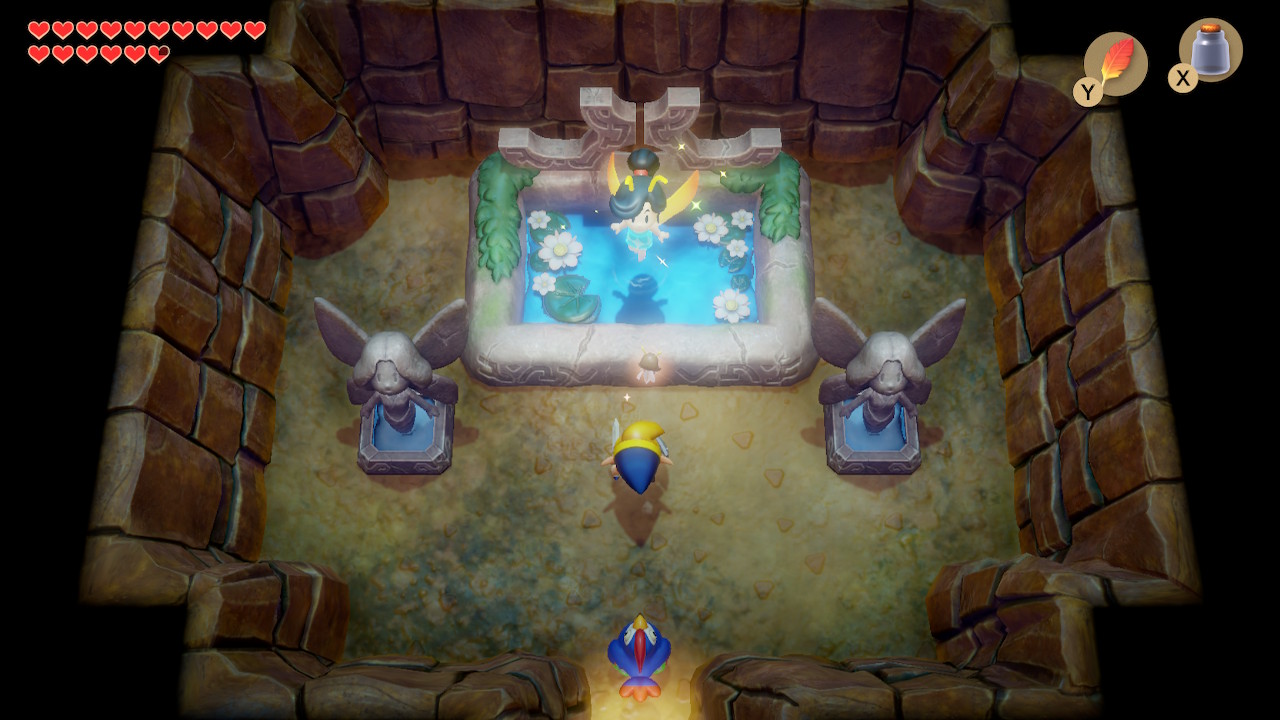
Back outside, bomb the wall to the left to open up a fairy fountain if you'd like. This is a perfect opportunity to fill up that new bottle of ours. On the ground outside, you'll see a faint spiral. Use your shovel to dig and it will reveal a warp point. Enter the cave on the far right side of the mountain. Climb up the steps here and exit back outside.
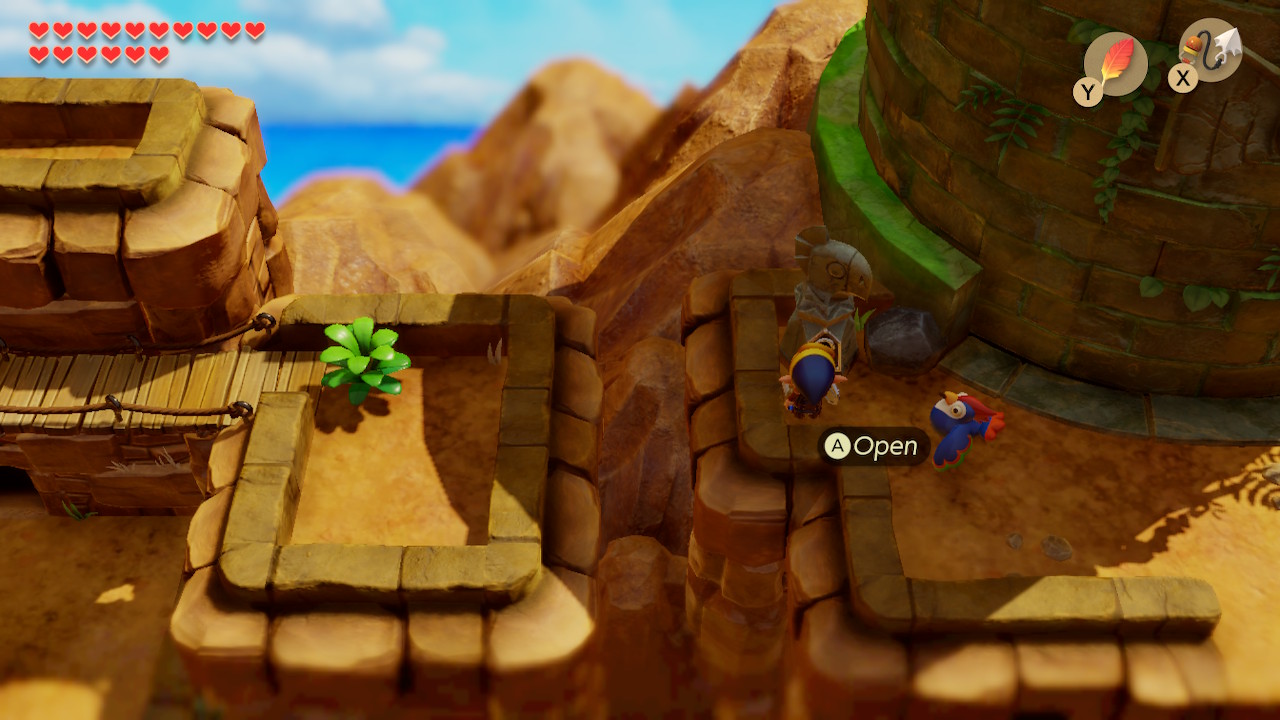
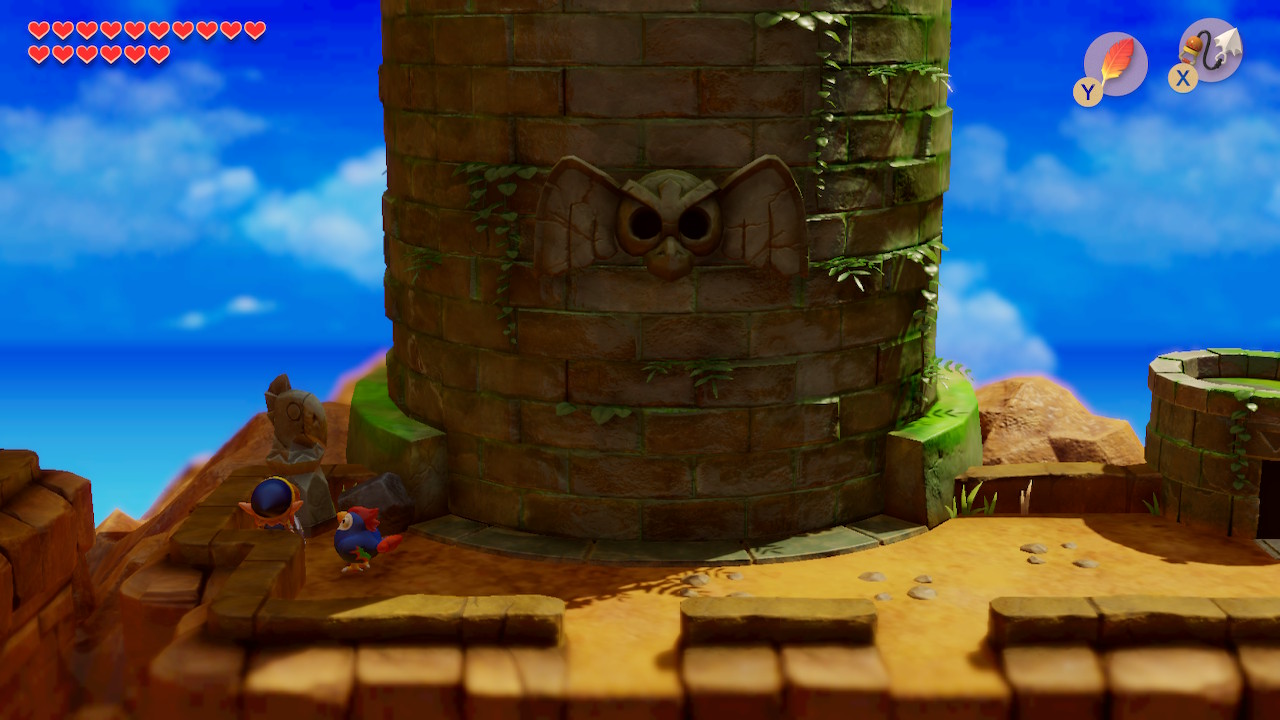
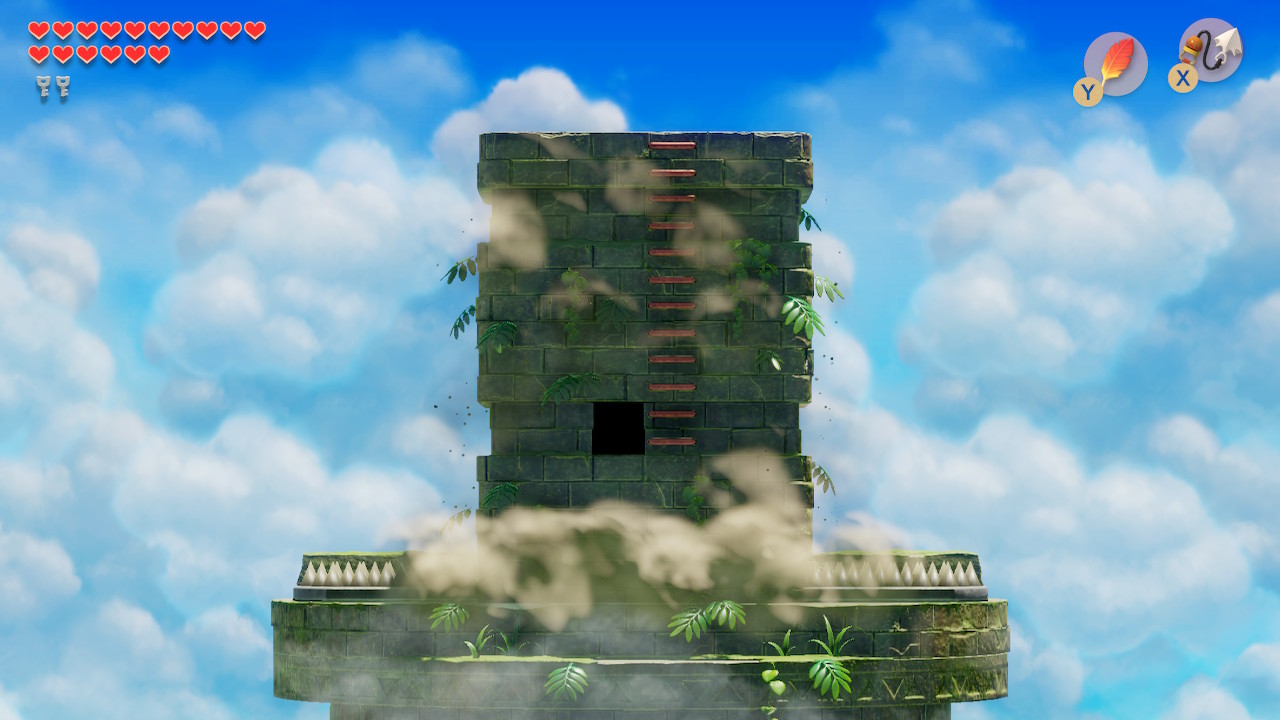
We are now at the top of the Tal Tal Mountain Range. To the left of the large tower you'll see a keyhole surrounded by boulders. Lift them up and use your Bird Key here. This will unlock the entrance to the next dungeon of the game, Eagle's Tower. Enter whenever you're ready.
Eagle's Tower
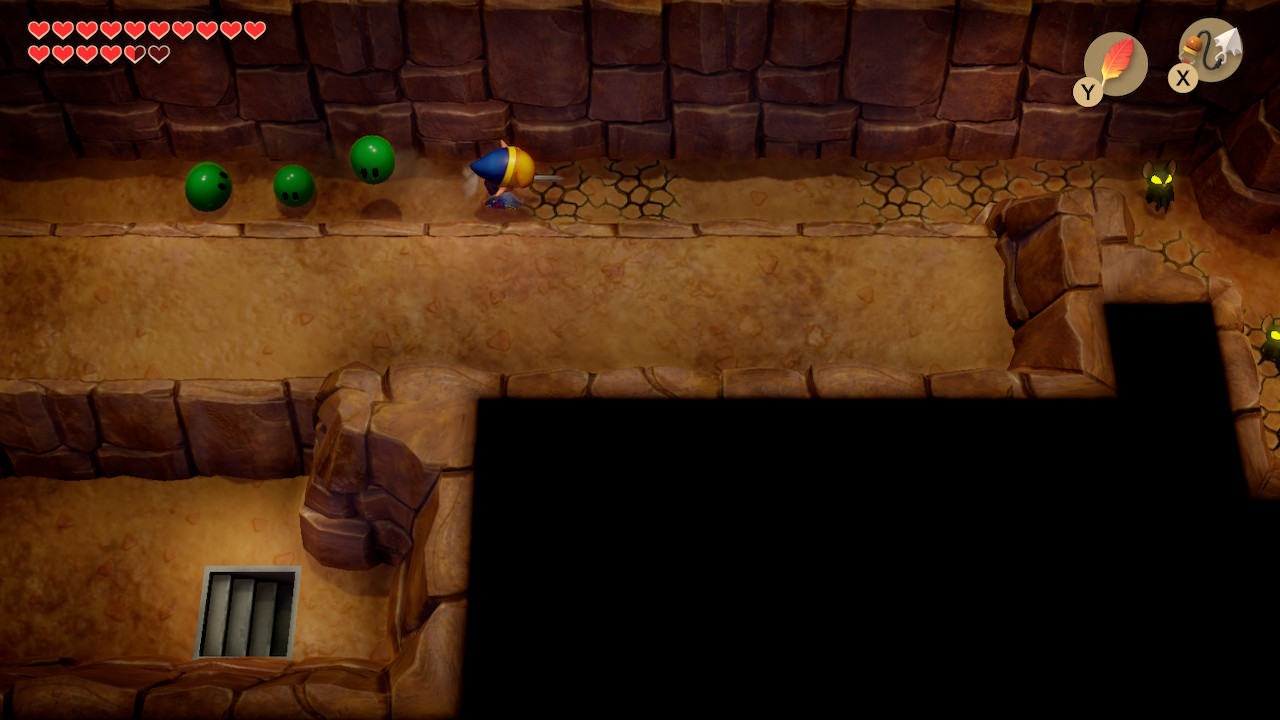
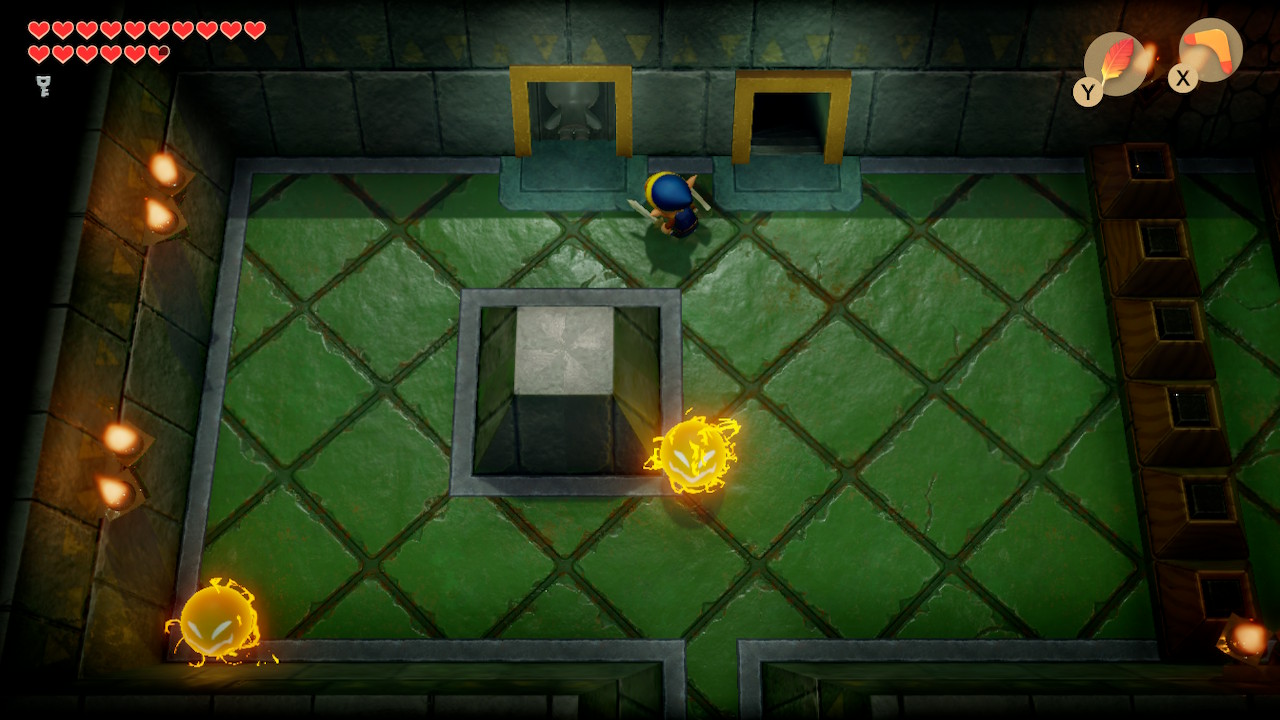
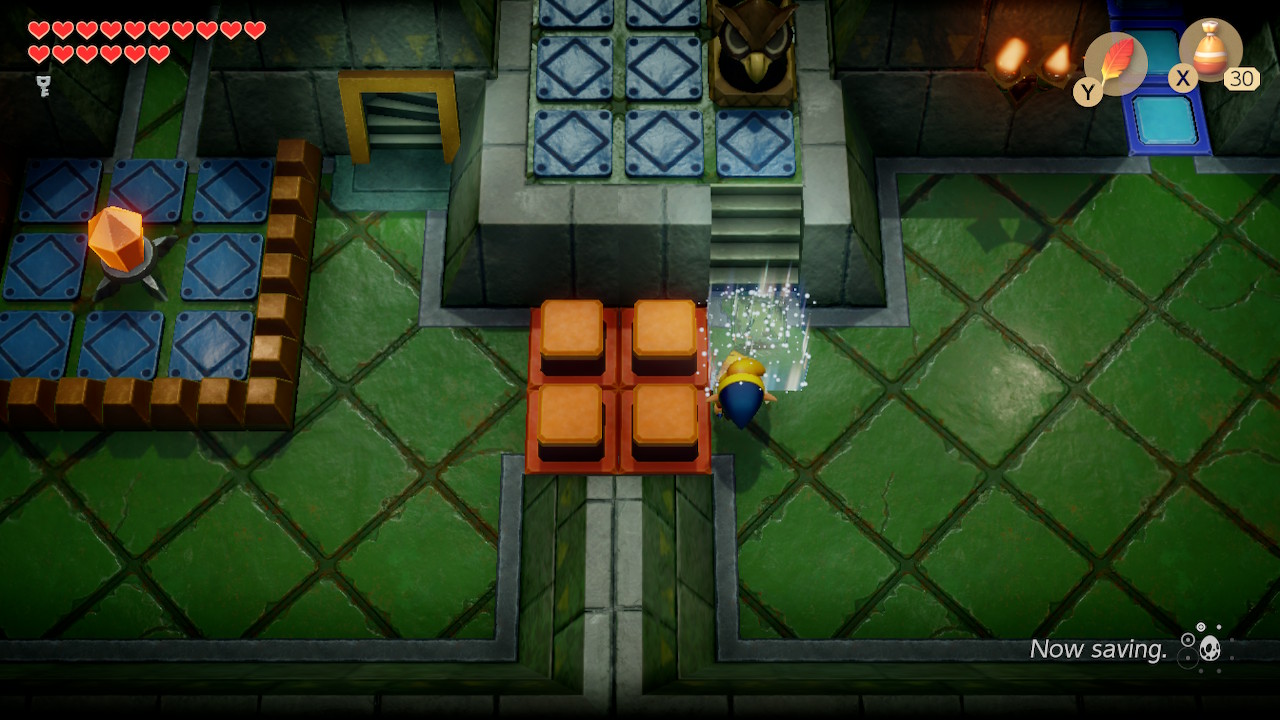
Welcome to Level 7, the toughest dungeon in the game so far. Start by heading right. Continue right through this room, dodging the traps on the floor. Defeat the enemies in this room and a Small Key will drop from above. You can use it right away on the locked door in this room.
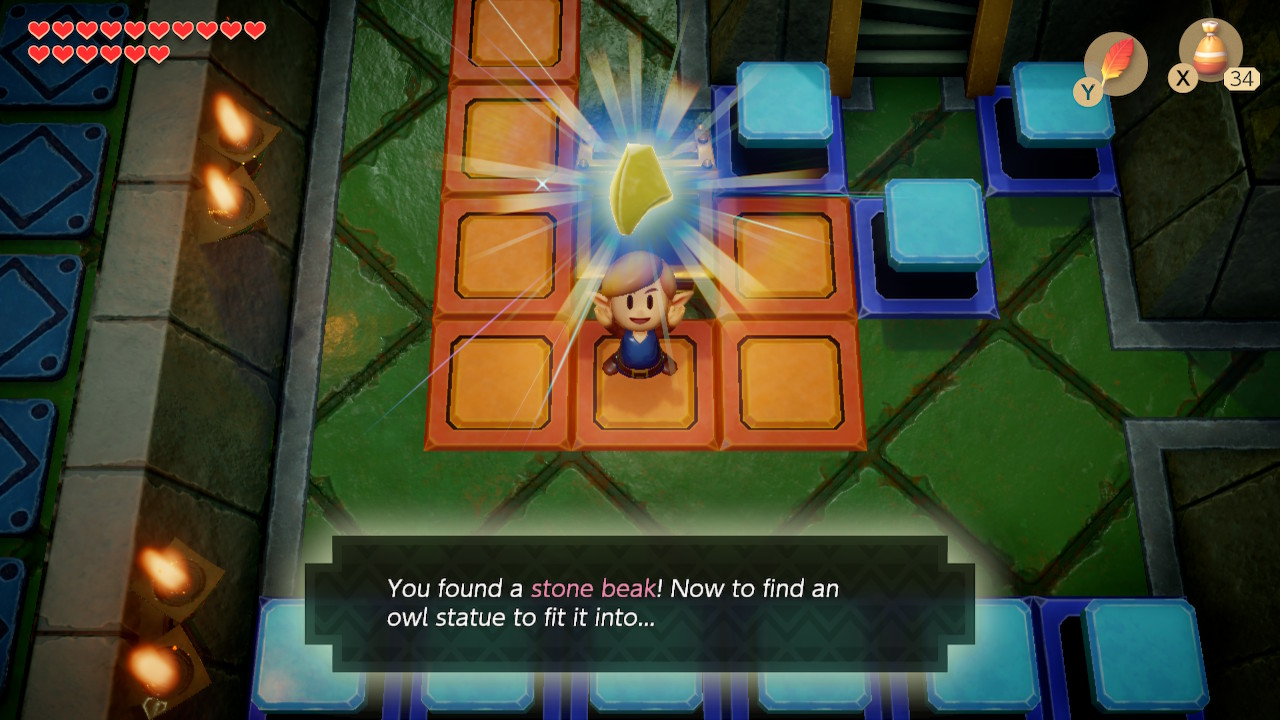
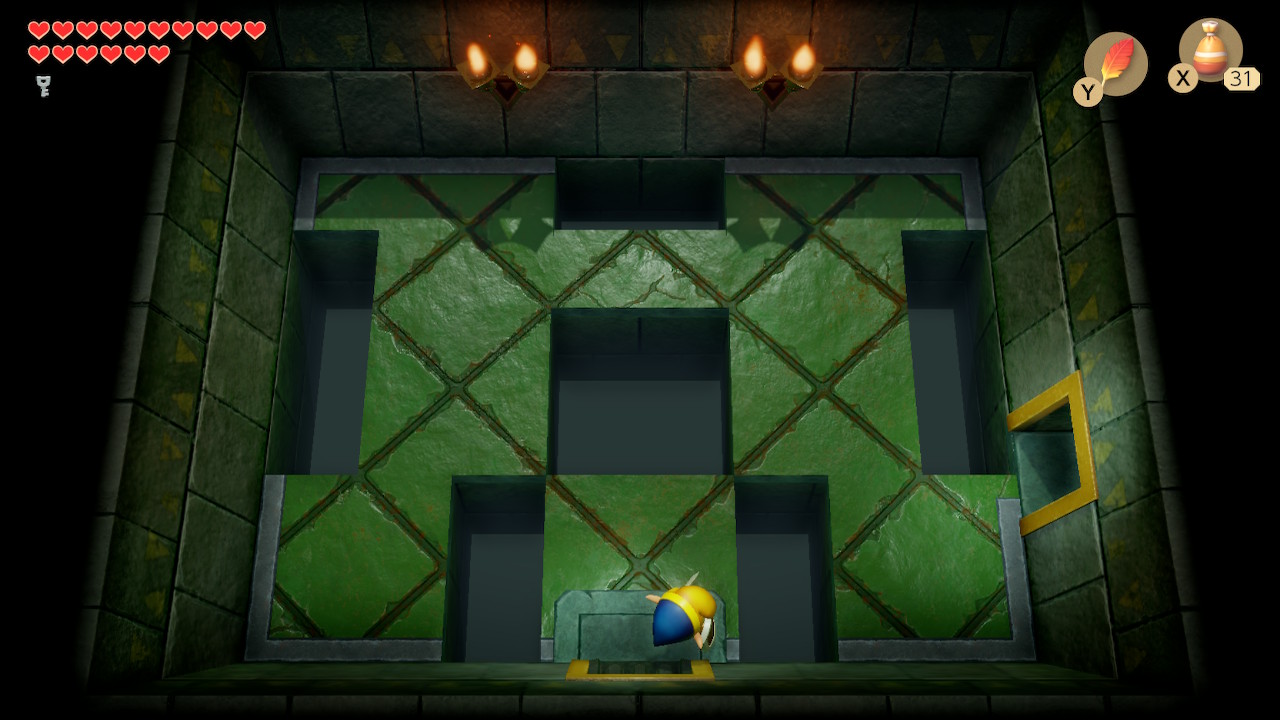
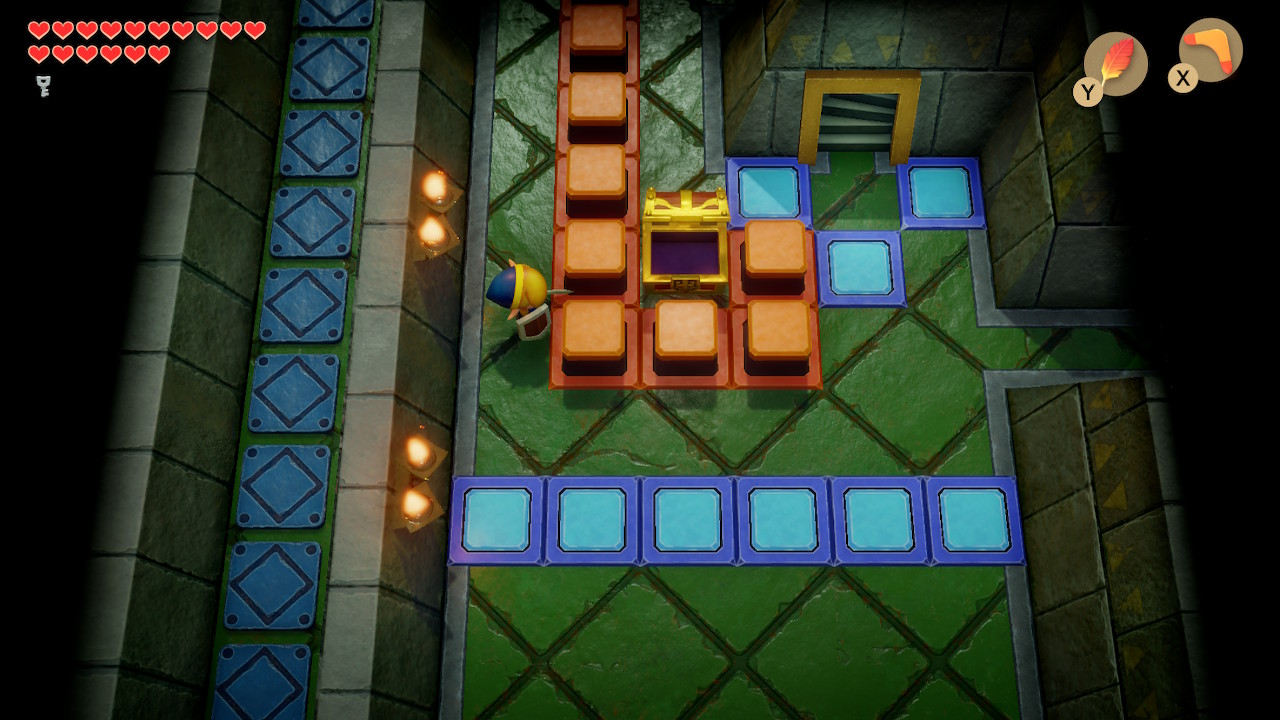
Head up the stairs here, as we can't cross to the left yet. Head up through the lowered orange blocks. Pull back the level on the right side of the room to spread the blocks apart so you can quickly head to the left. Leap into the pit in this room to fall to the floor below. In this room, follow the path of the lowered orange blocks as far left as you can, and then down. They'll lead you to a chest containing the Stone Beak.
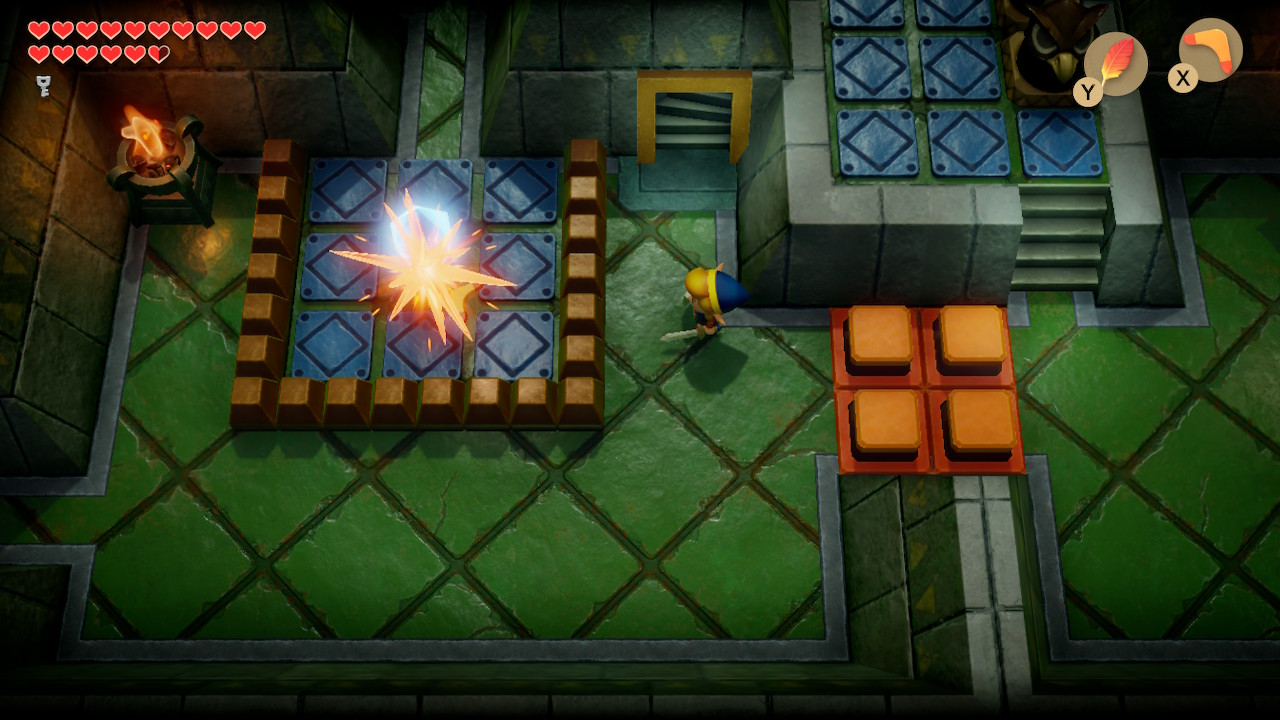
Backtrack a little ways, following the same orange path and then continuing right. You'll see a crystal switch in this room, go ahead and give it a whack. Now, follow the lowered blue blocks left, down, then right into a room with blade traps and a mummy. Head down from here and then back up through the door that used to be locked, all the way back up to the second floor.
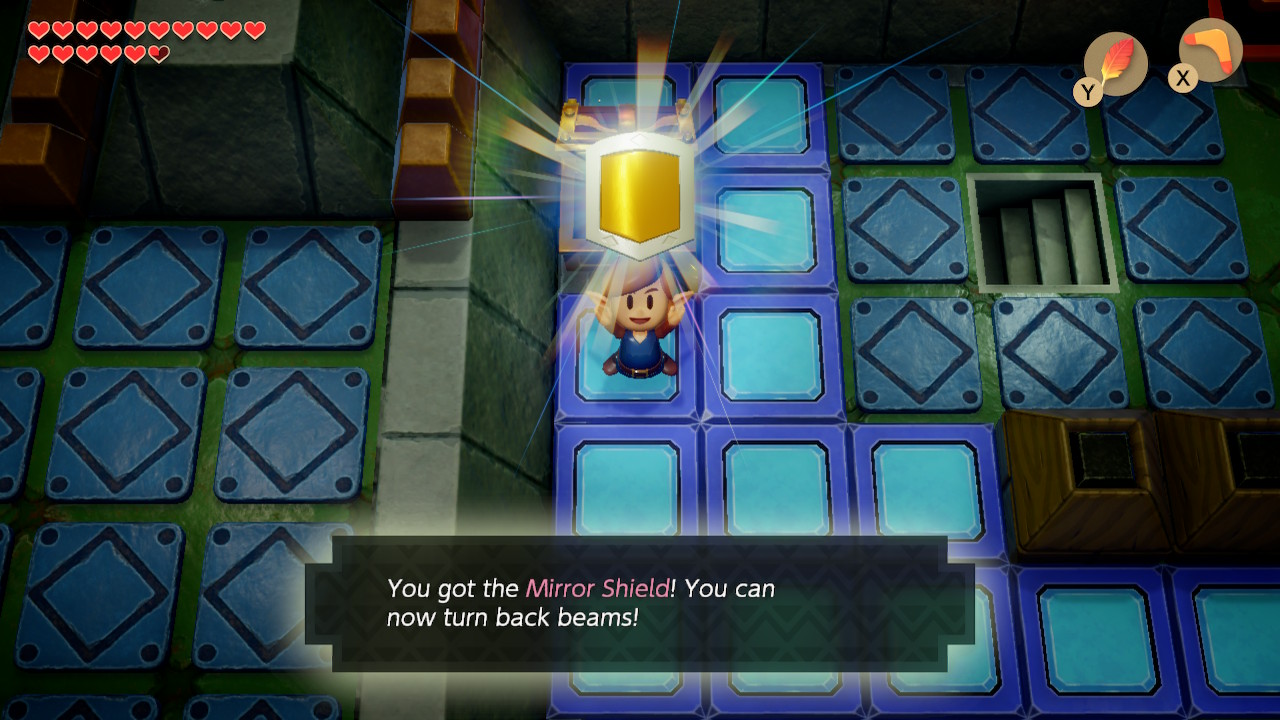
The chest will now be up for grabs, so open it to get the dungeon item: the Mirror Shield. This shield will auto-equip and let you reflect beams shot at you. Now go to the lower right of this room and hop down the small hole here. Go up twice from here to find a chest with a Small Key along this narrow ledge. Jump off the ledge here.
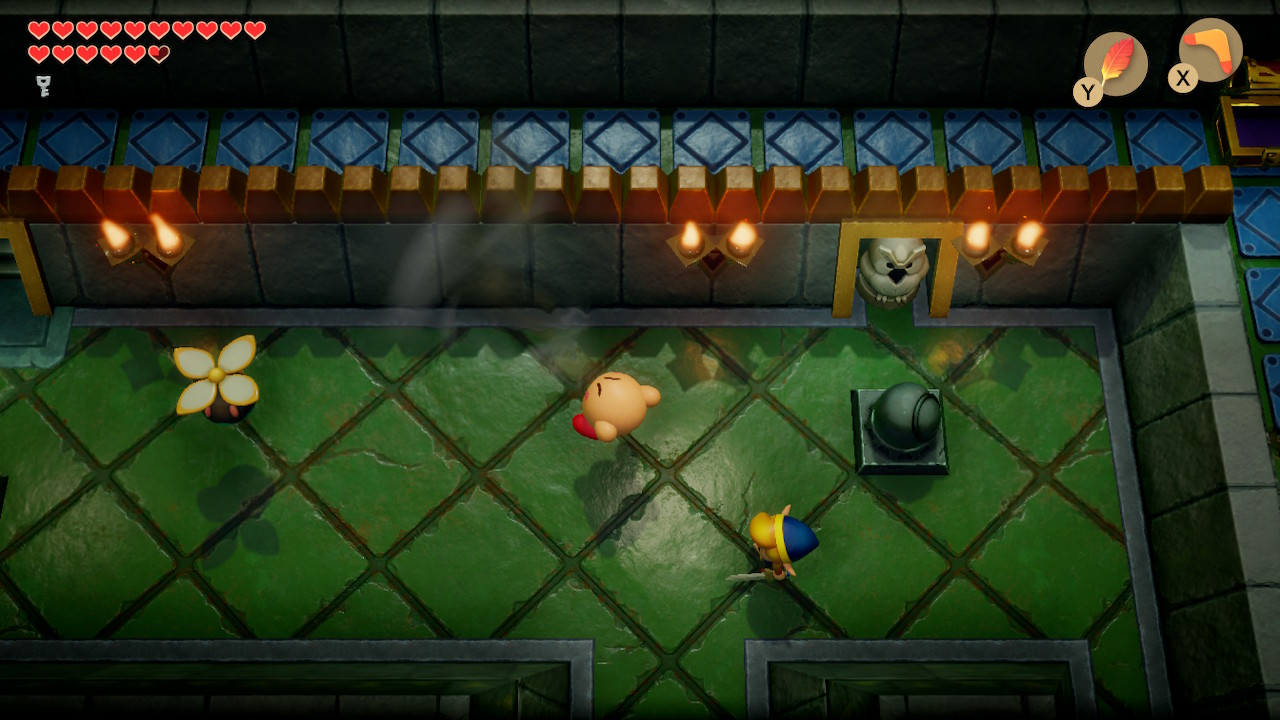
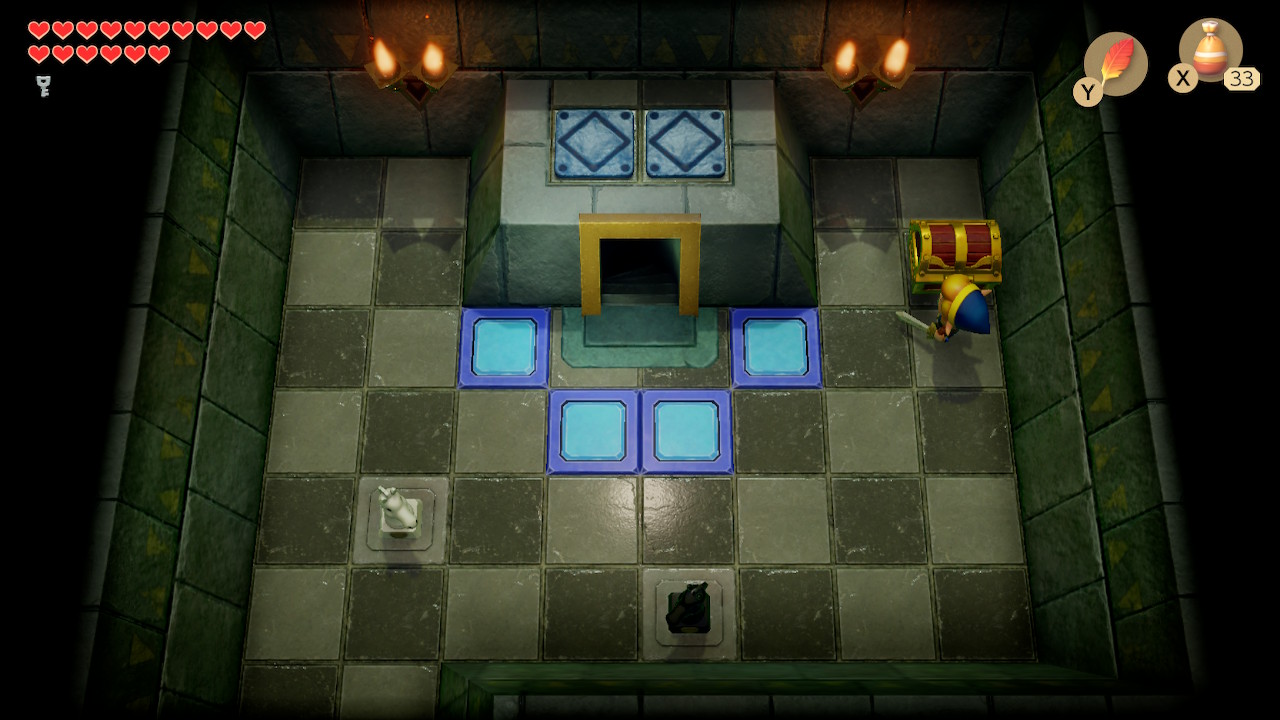
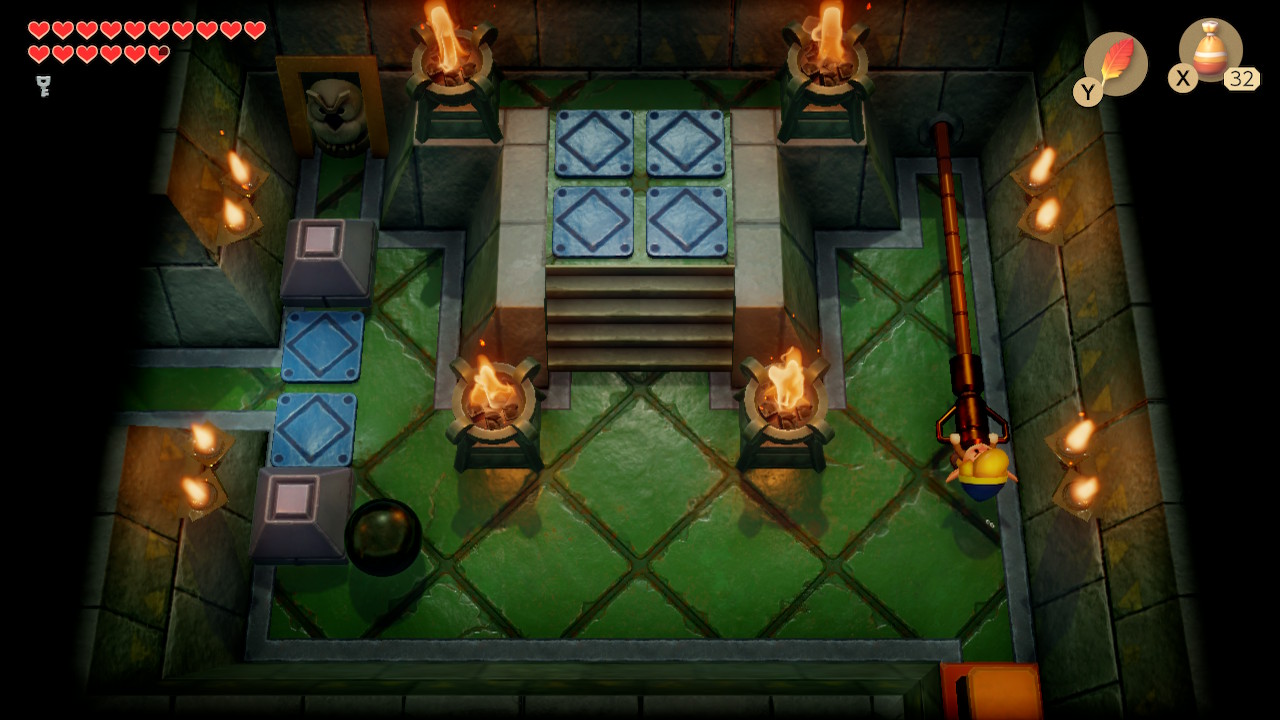
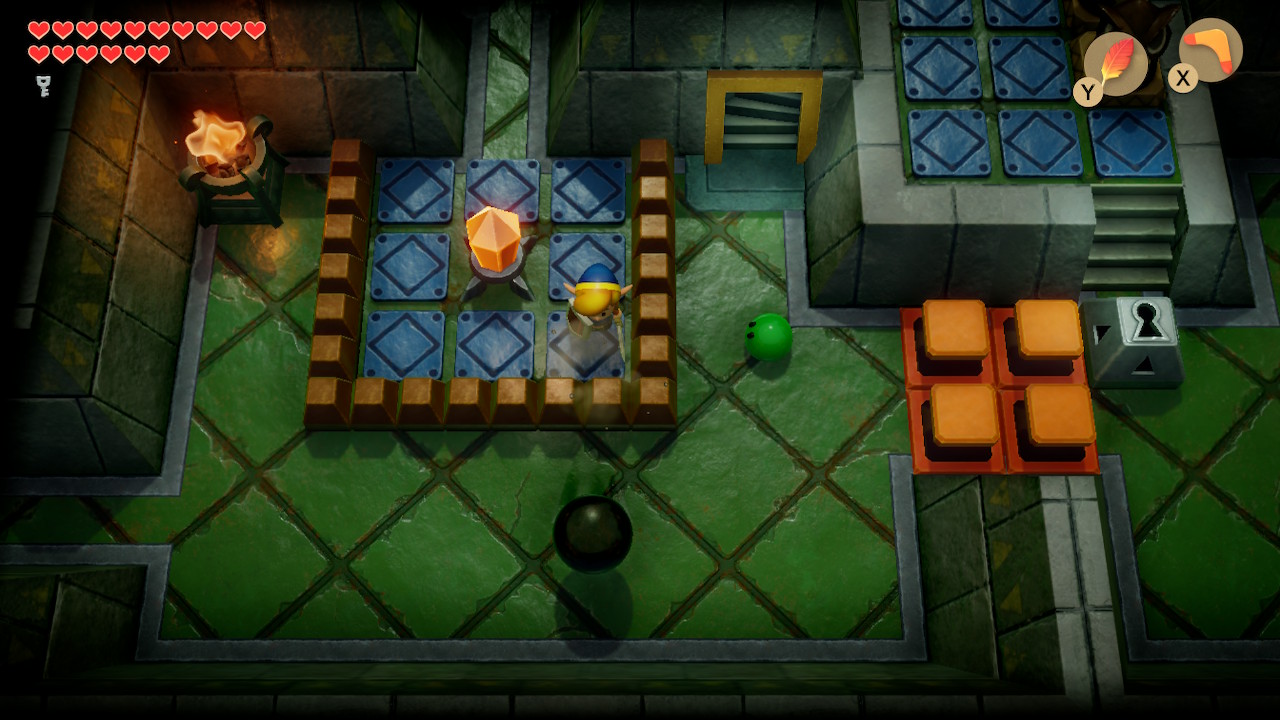
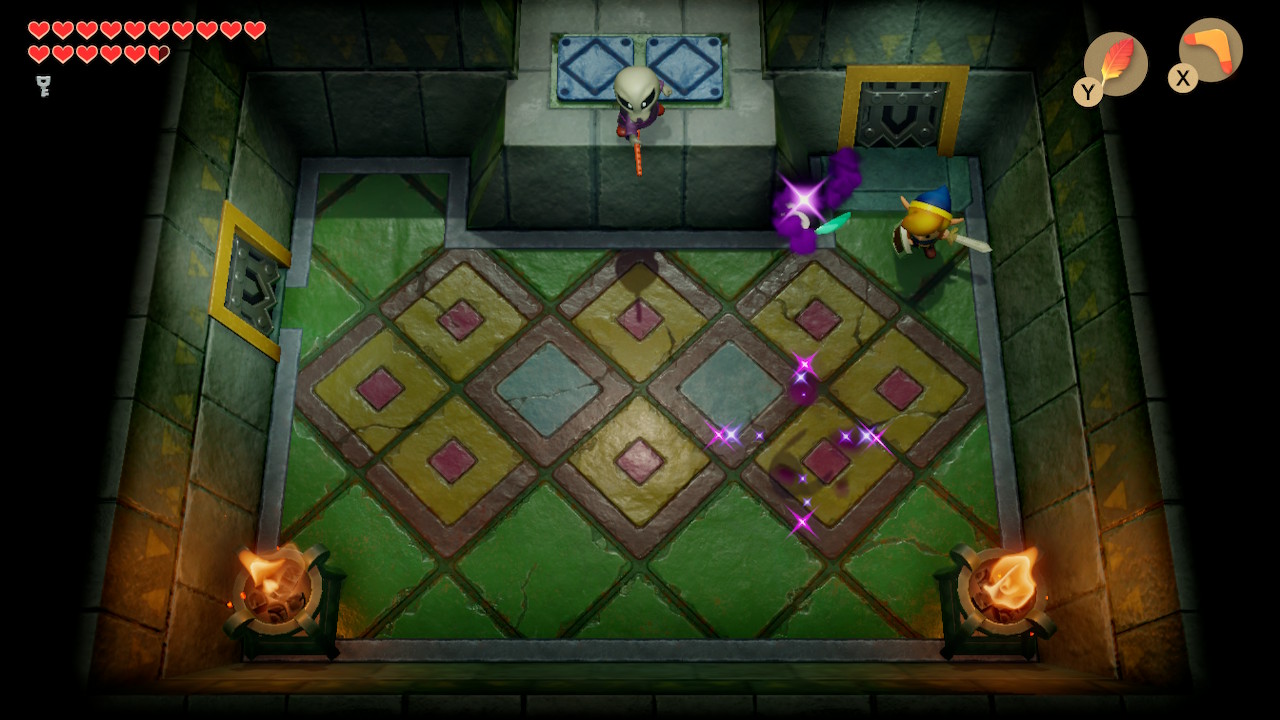
This room has a beamos, whose lazer can now be reflected to defeat it. A new enemy that resembles Kirby (called Anti-Kirby) can be found here as well and can be defeated with the boomerang or bombs. Head left and go up the stairs here. It's time to play chess again in this room. Remember the L-shaped rule, and toss the pieces until they land in the holes. Open the chest that appears to get the Map.

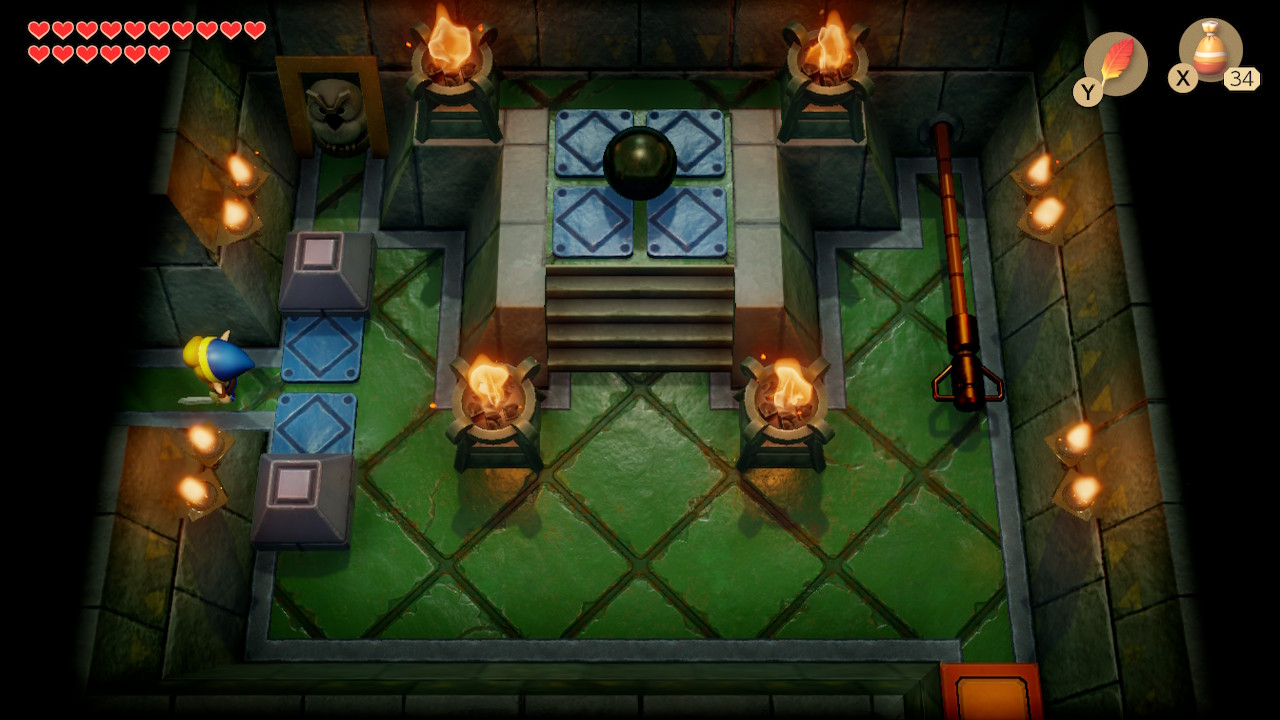
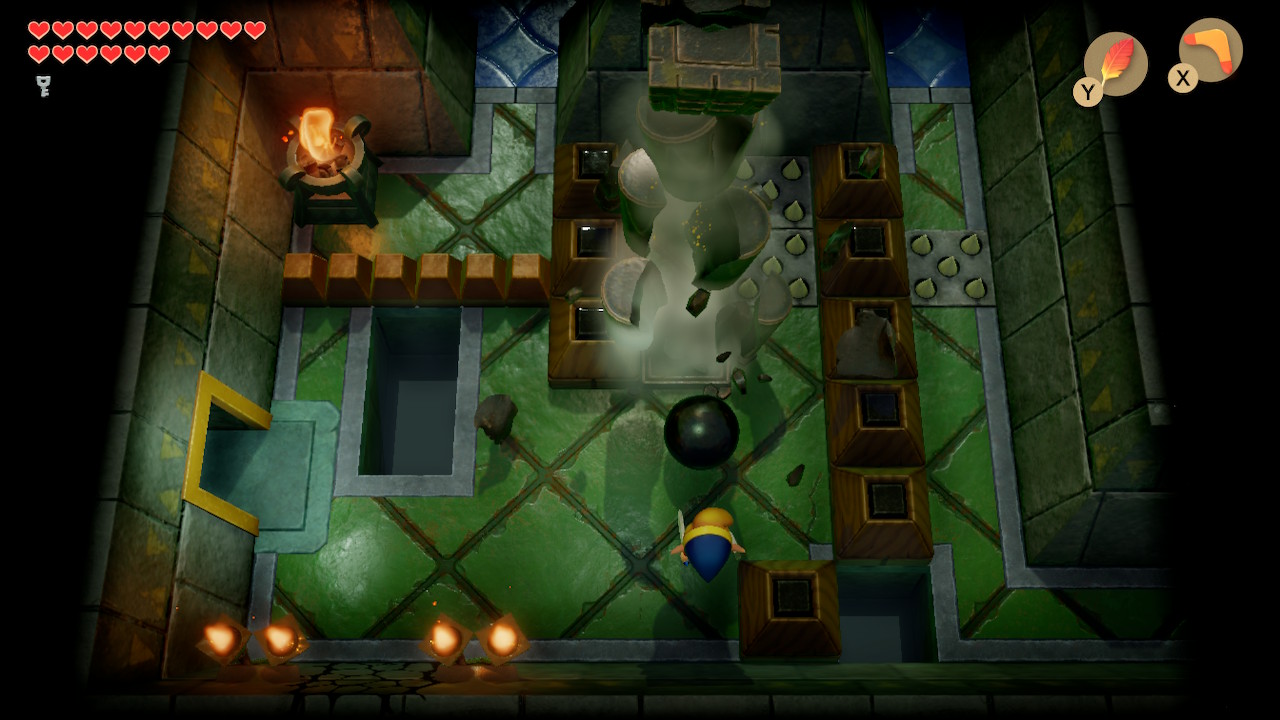
Go down and then to the right to find yourself in a familiar room. We need to move the black ball into the room to the left. First move it close to the blocks on the left, then pull the lever, pick up the ball, and quickly run through. Toss the ball at the pillar here in the left room to cause it to crumble. There are four pillars in this dungeon, and our goal is to do that to each of them.
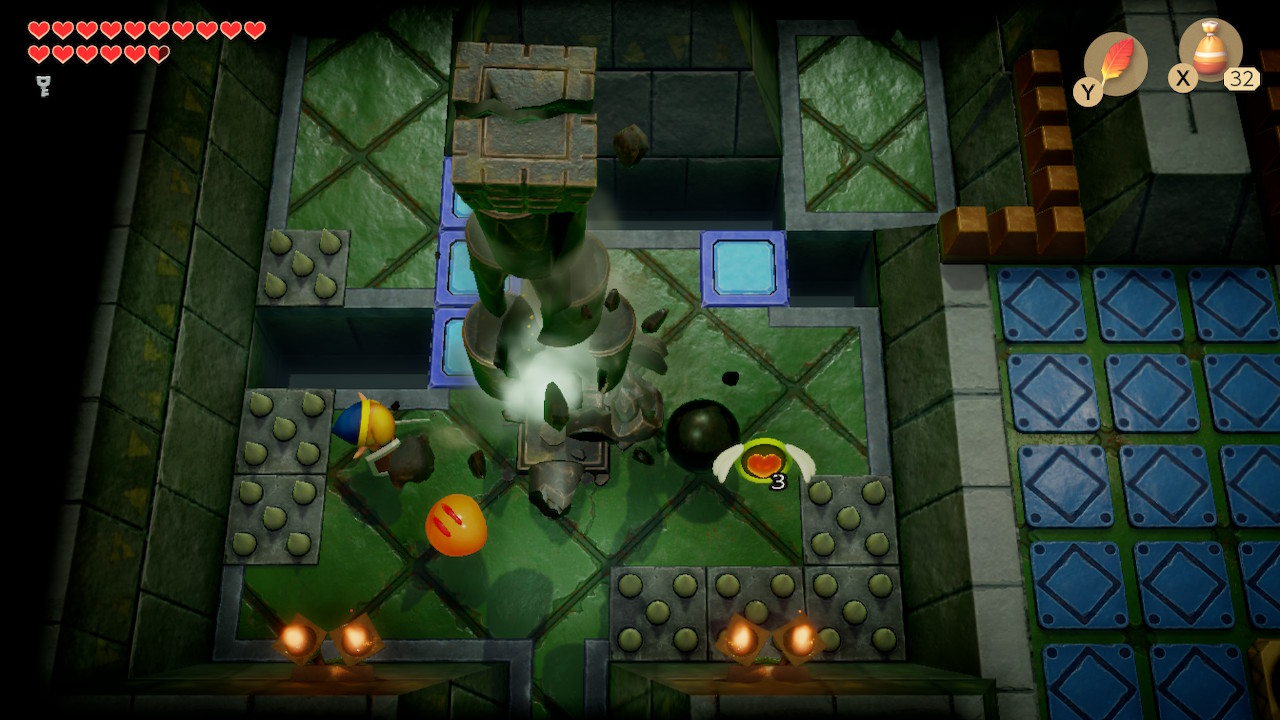
Pick the ball back up and head down into the next room. Carefully knock down the pillar here as well. If you accidently drop the ball down a level, simply go back to the room that it was originally found in and grab it again. Take the ball with you up into the previous room. Now move the block on the left down and take the ball with you to the left.
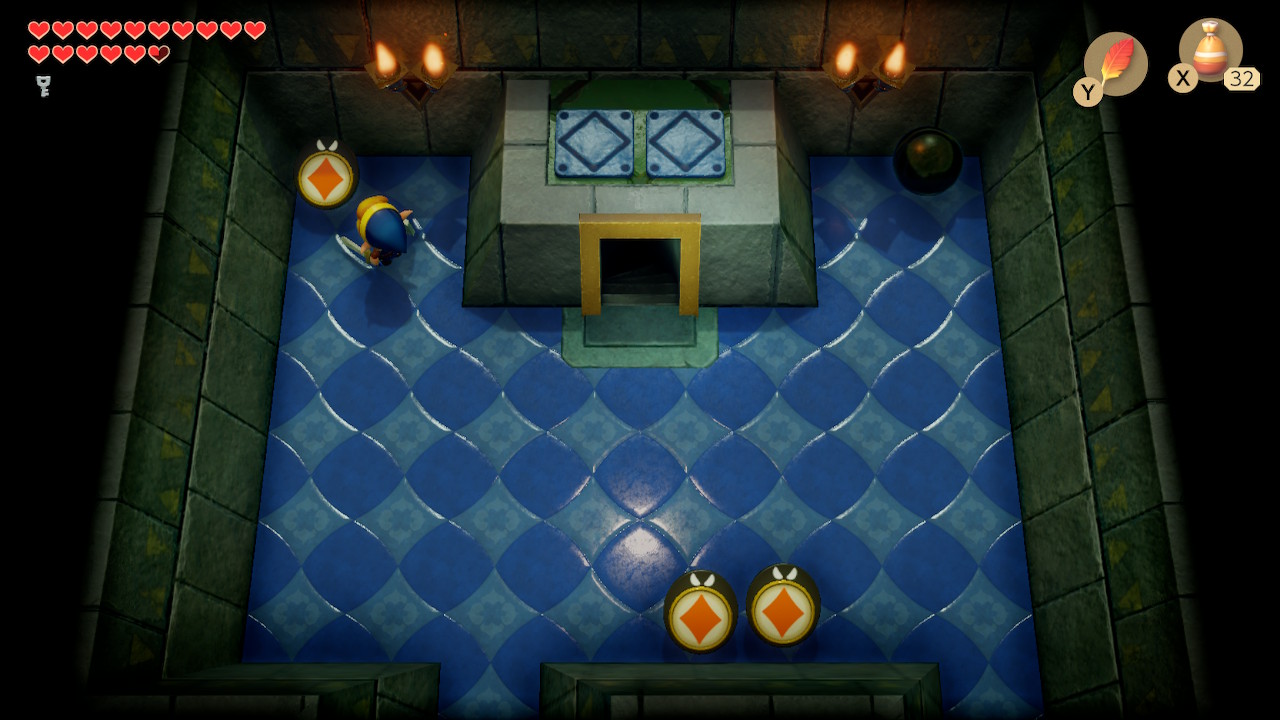
Carefully head up, dodging the spike if you can. Match the suite on the three enemies in this room and a chest will appear. In it you'll find the Compass. Head down with the ball to find the third pillar. We can't knock it down yet, but leave the ball in this room (on the side of the pillar) for now. Head back up and go down the stairs.
In this room, use the outside path around the orange blocks to head down. It's the path that has an Anti-Kirby blocking the way. Follow the orange blocks down until you reach an open treasure chest and a staircase that we can now reach. Go up it. Go through the one-way door that you find here as well.
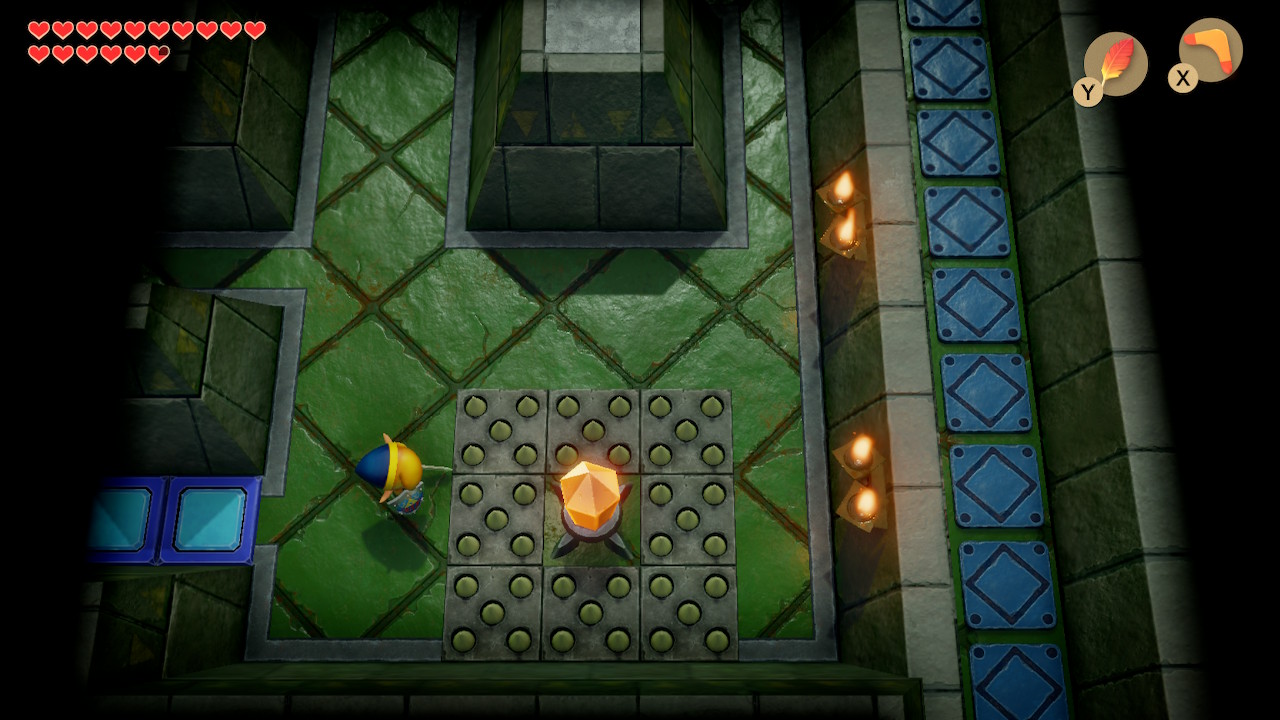
In this room, floor tiles will attack you. Just wait them out with your shield and the door will open when they are finished. Use some magic powder on the Anti-Fairy if you wish. Head right through the door to find yourself in the next pillar room. Knock this pillar down as well. Push the block at the bottom of the screen to the right, then toss the ball over the hole. Leap across yourself and carry the ball into the room to the right.
Head down two rooms with the ball and toss it over the barrier when you reach the crystal switch. Now backtrack up and to the left and up the stairs to the second floor. This is the room with the mini-Moldorm and Anti-Kirby. Take the same path as last time, following the raised orange blocks along the outside and down to the opened chest. Head up the stairs once again.
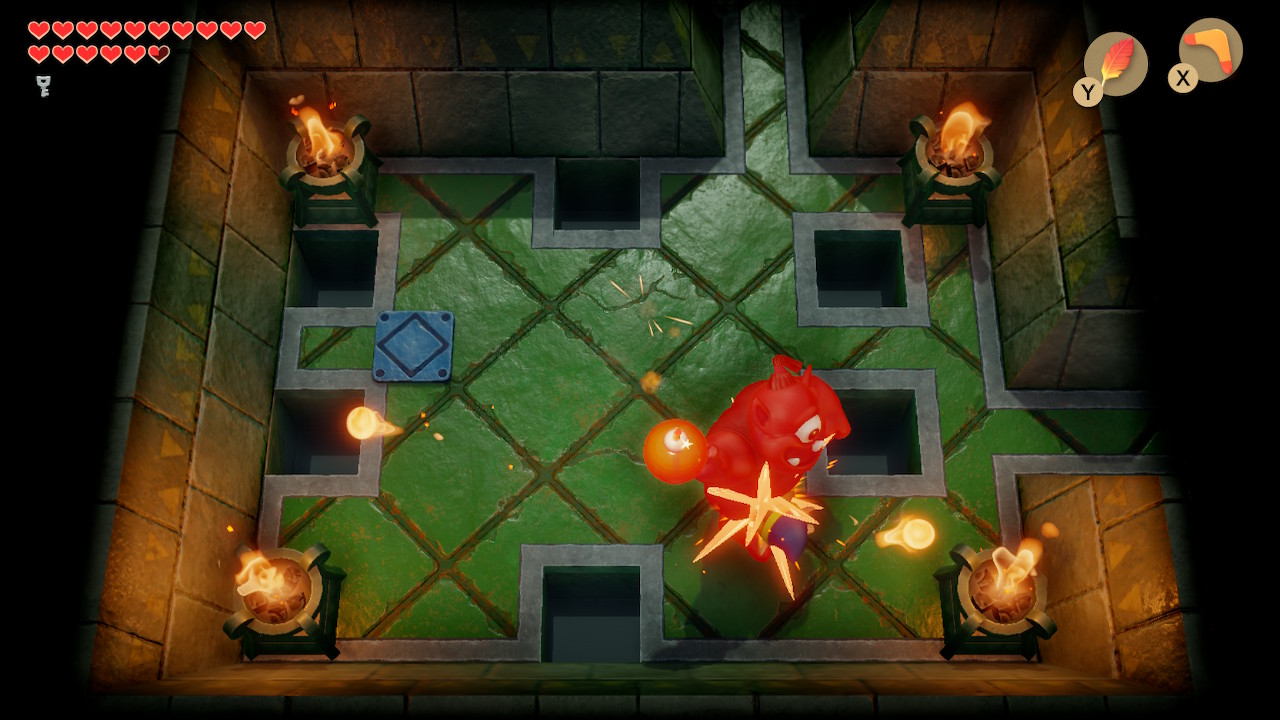
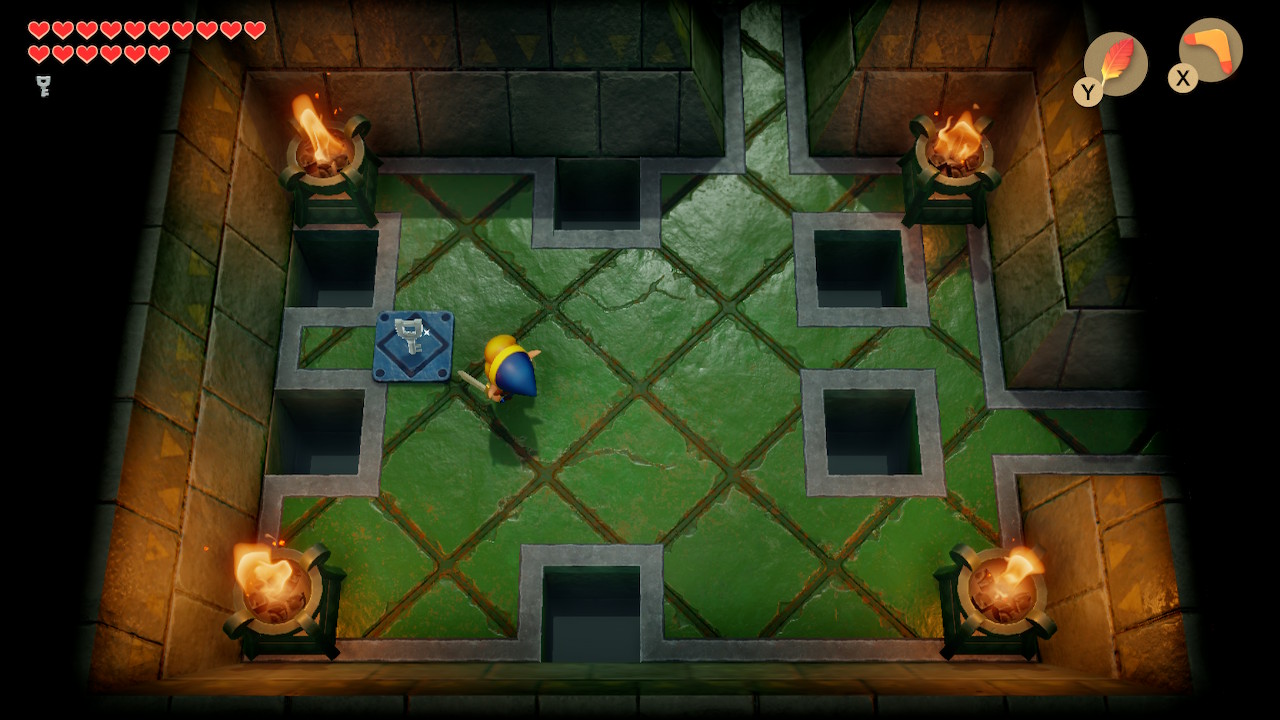
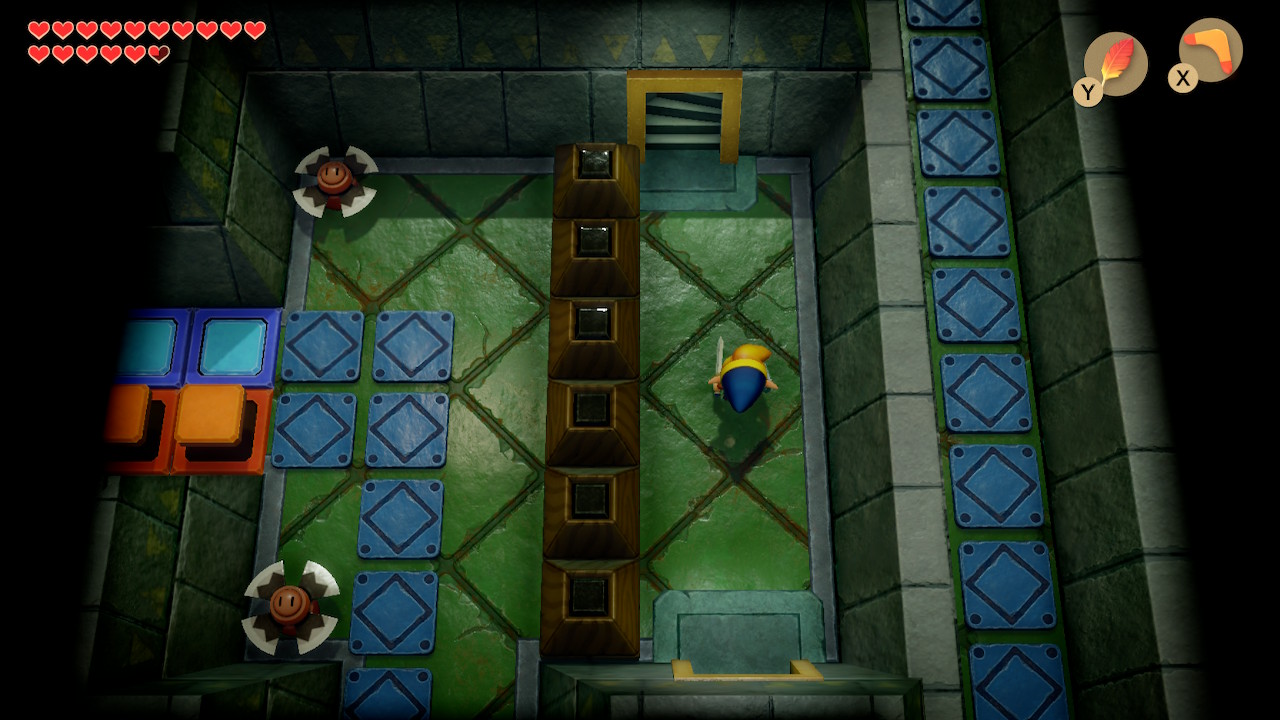
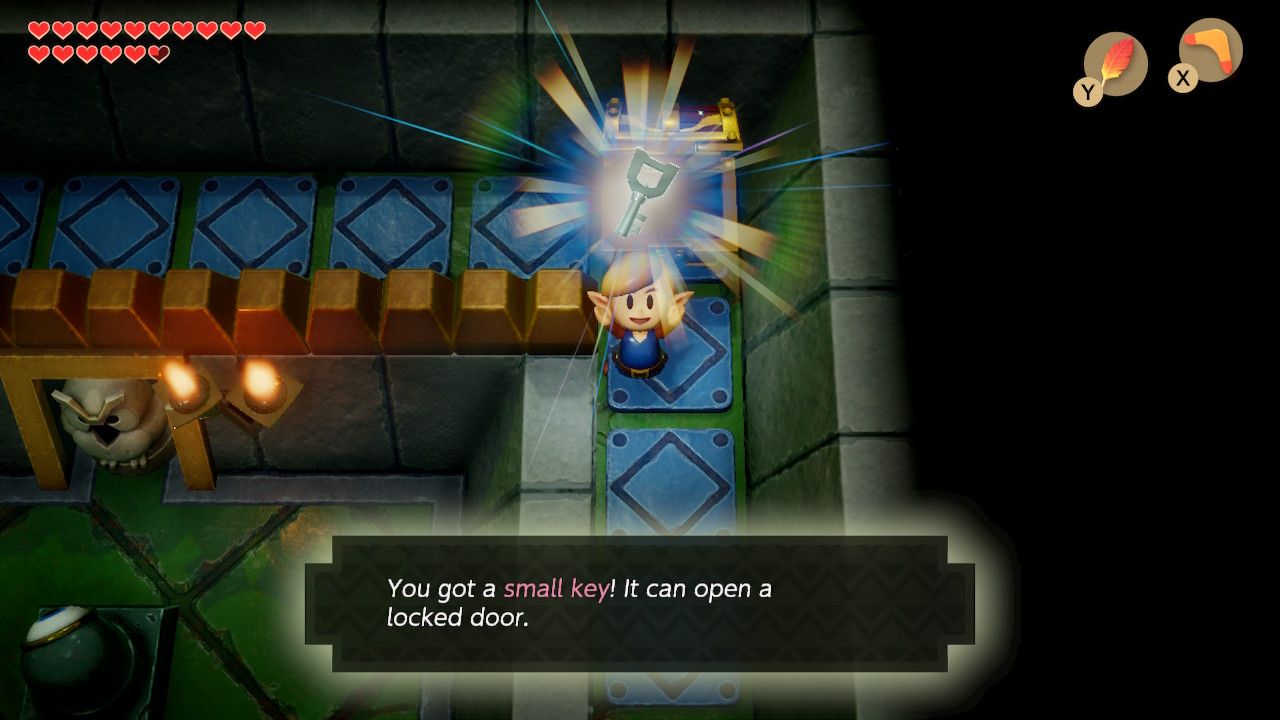
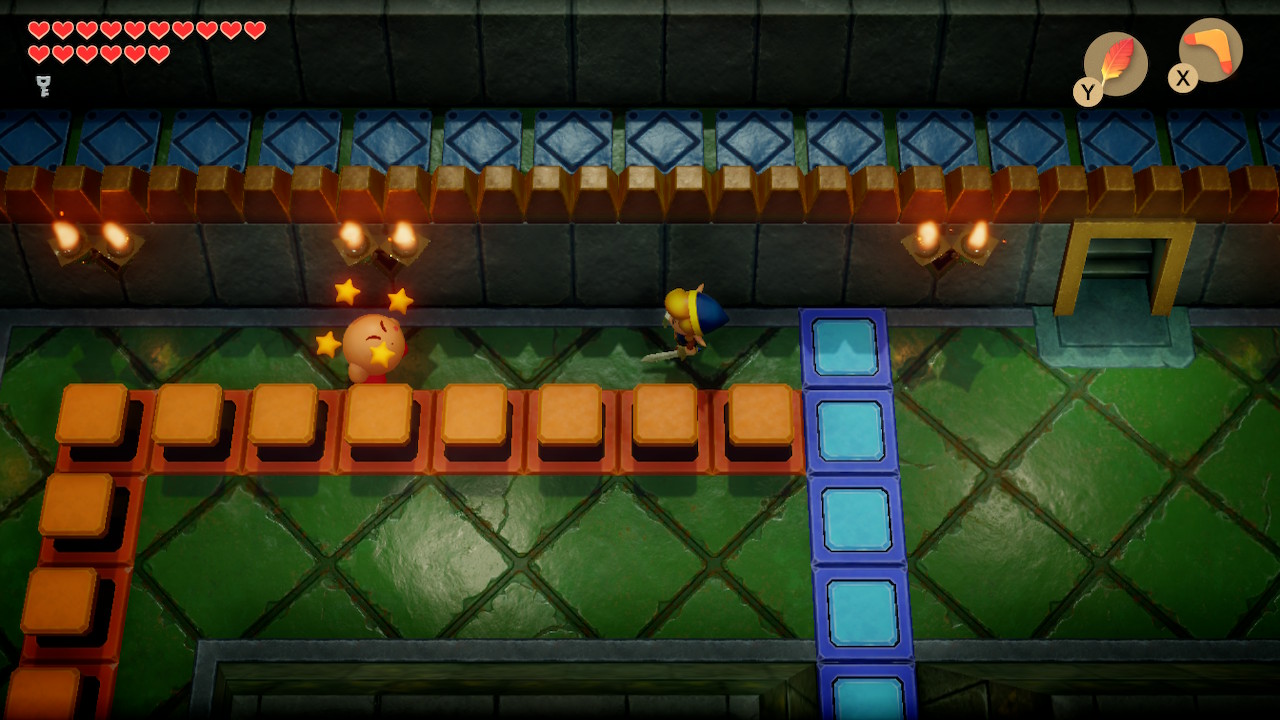
Back in the room with the one-way door, head down this time. You'll now need to defeat the Red Hinox mini-boss. He's a bit tougher since he can throw bombs now. However, a few hits of the boomerang should take him out quickly. Pick up the Small Key that drops and then jump through one of the holes on the left side of the room.
You'll find yourself on the narrow ledge on the left side of this floor. Head up a few times and you'll find a chest that contains Secret Seashell #48. Hop off this ledge and head back up the stairs and make your way back to the mini-boss room. Head right from here. In this room, match the suites on the three enemies to make a chest appear that we can't reach yet.
Head into the room on the right and pick up the black ball that we tossed here earlier. Head back left and carefully toss the ball such that it sits on the top portion of the room. Back track left and up and go through the one-way door once again. Quickly head right to avoid the floor tiles in this room. Place a bomb between the torches on the south wall to open a new path and head down into it.
There's another wall to bomb to the south here as well. Do so and head down through the new gap. We can now hookshot to the treasure chest that we spawned here earlier. If you're short on bombs, it also has some inside. Otherwise pick up the black ball and head up. Toss it at the fourth and final pillar here. The top of the tower will come crumbling down. Walk down and hop into the abyss to get back to the entrance of the tower.
We now want to head right twice and then up to the next floor on the right side. Head down over the lowered blue blocks into the next room. Use a key on the block here and jump off the platform to the left side. Use one of your projectiles (bomb, arrow, boomerang) to switch the crystal. Head up the stairs to the third floor.
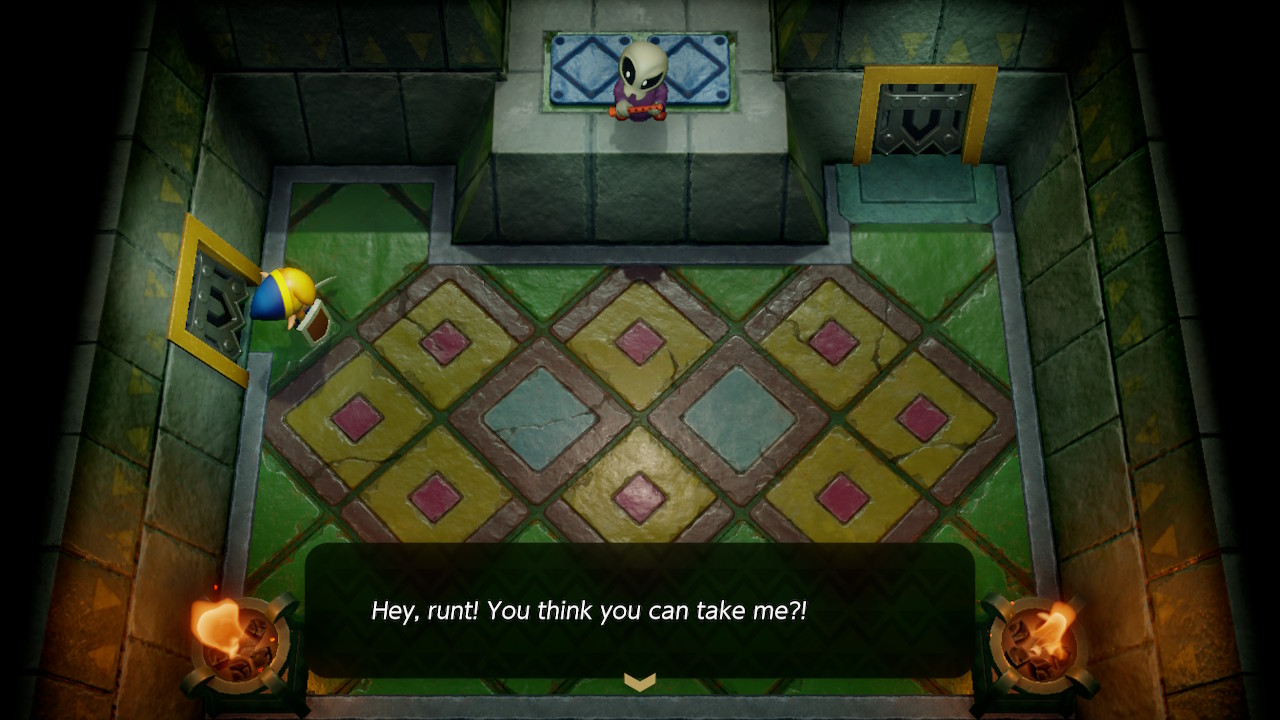
Once on the third floor, head up and then right a room for a mini-boss fight. This guy is called the Grim Creeper. It's quite the easy fight, he doesn't fight any of it himself. Rather he send six flying baddies at you that you must slice to defeat. Hit them all in one swoop and he'll make an exit, leaving a warp portal to the beginning of the dungeon behind.
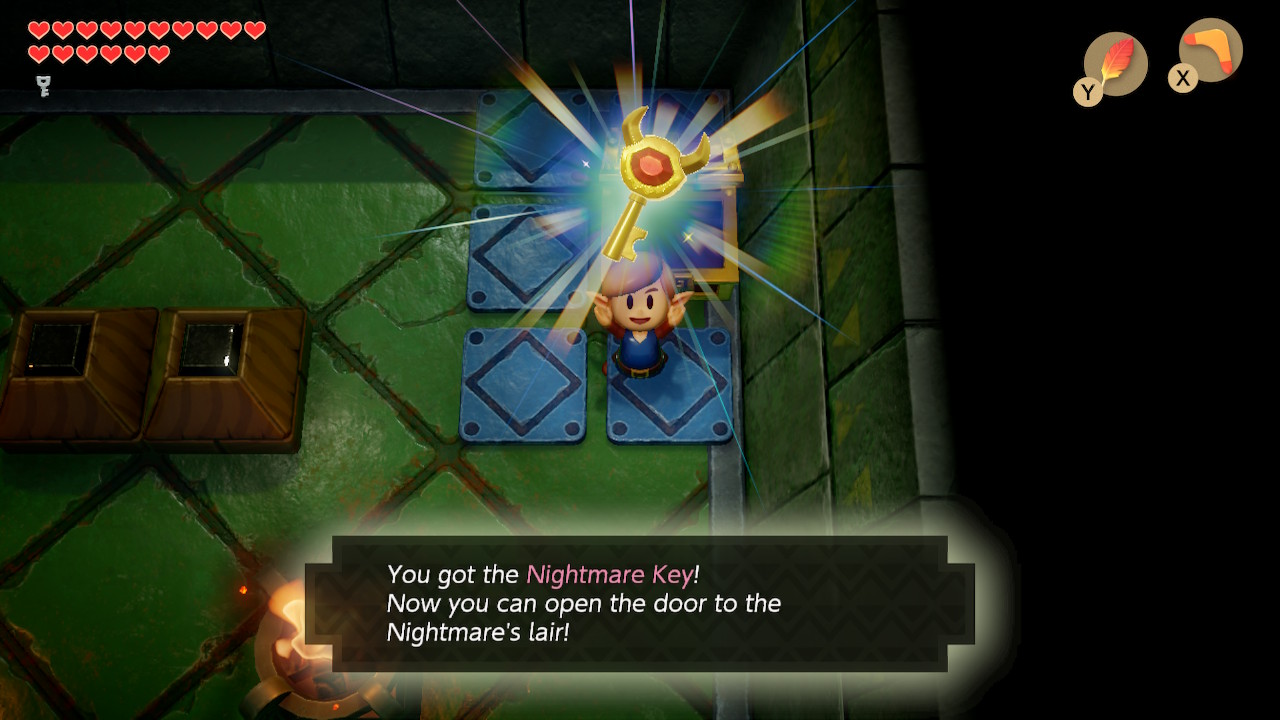
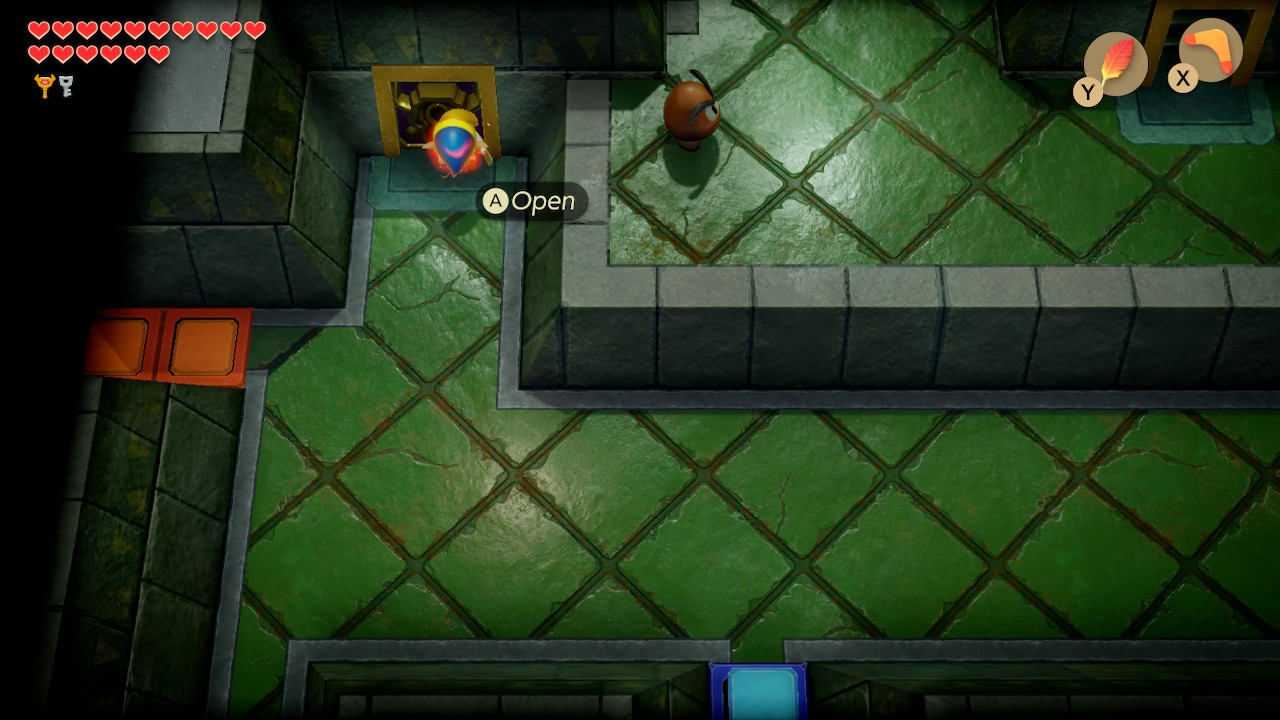
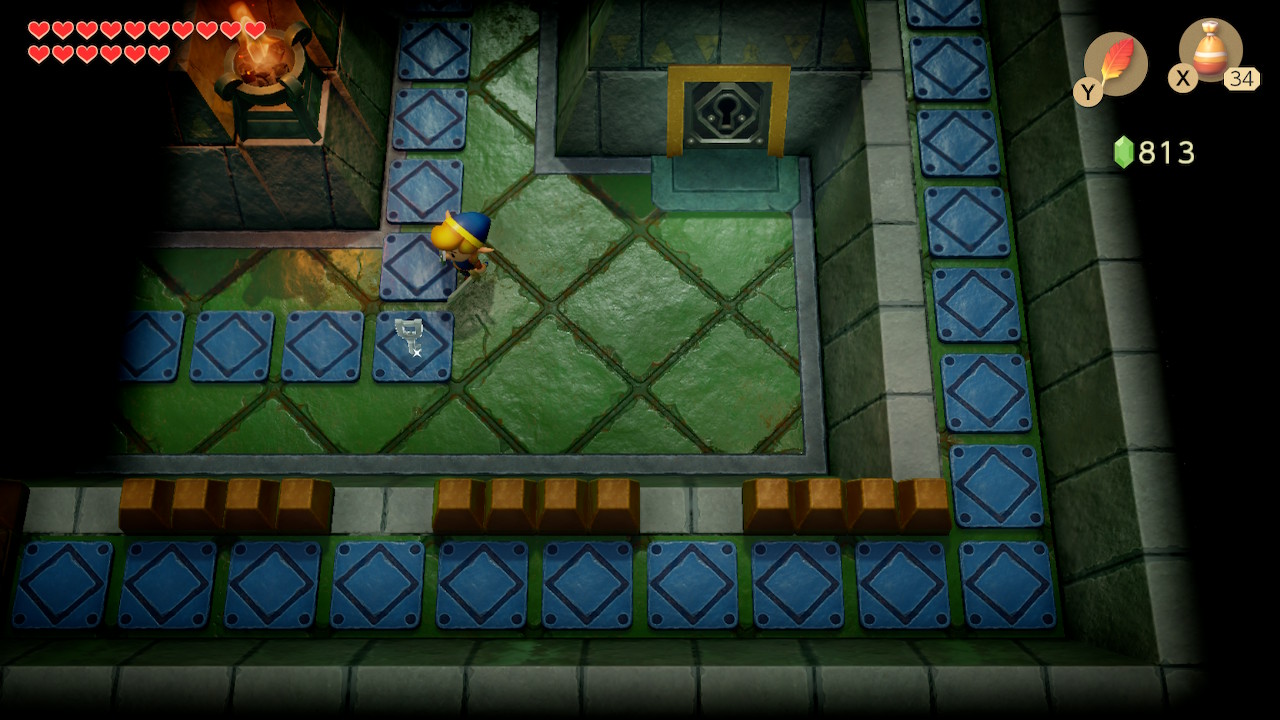
Head up to the next room. You'll want to whack the crystal switch here once (turning it blue) and push the two blocks together. Inside the chest that spawns is the Nightmare Key. Backtrack down a room and left past some Goombas until you find the boss door. Use your newfound key on it and head through it.
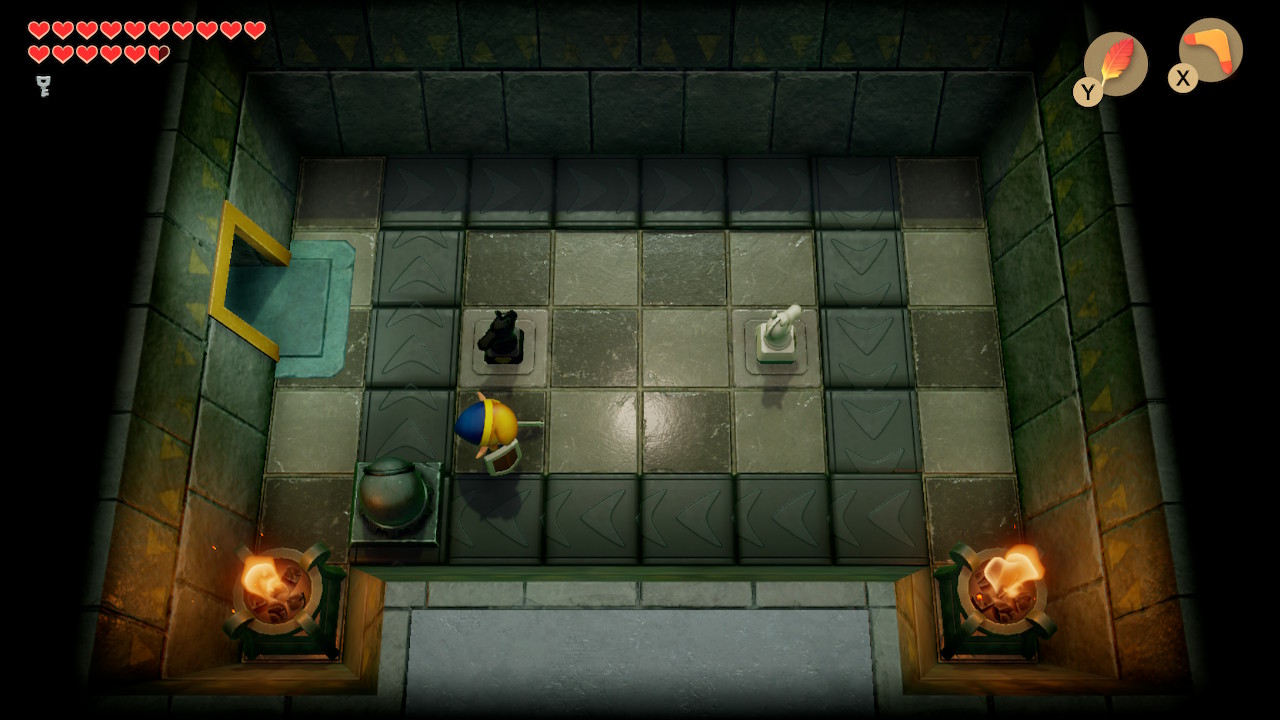
There's a little more to do before the actual boss fight, unlock other dungeons. Just head up through this next room, watch out for the blade traps as you do. Just head right through this room as well. Reflect the beam from the beamos to make things less annoying. Place the two chess pieces here. Open the chest for some Secret Medicine.
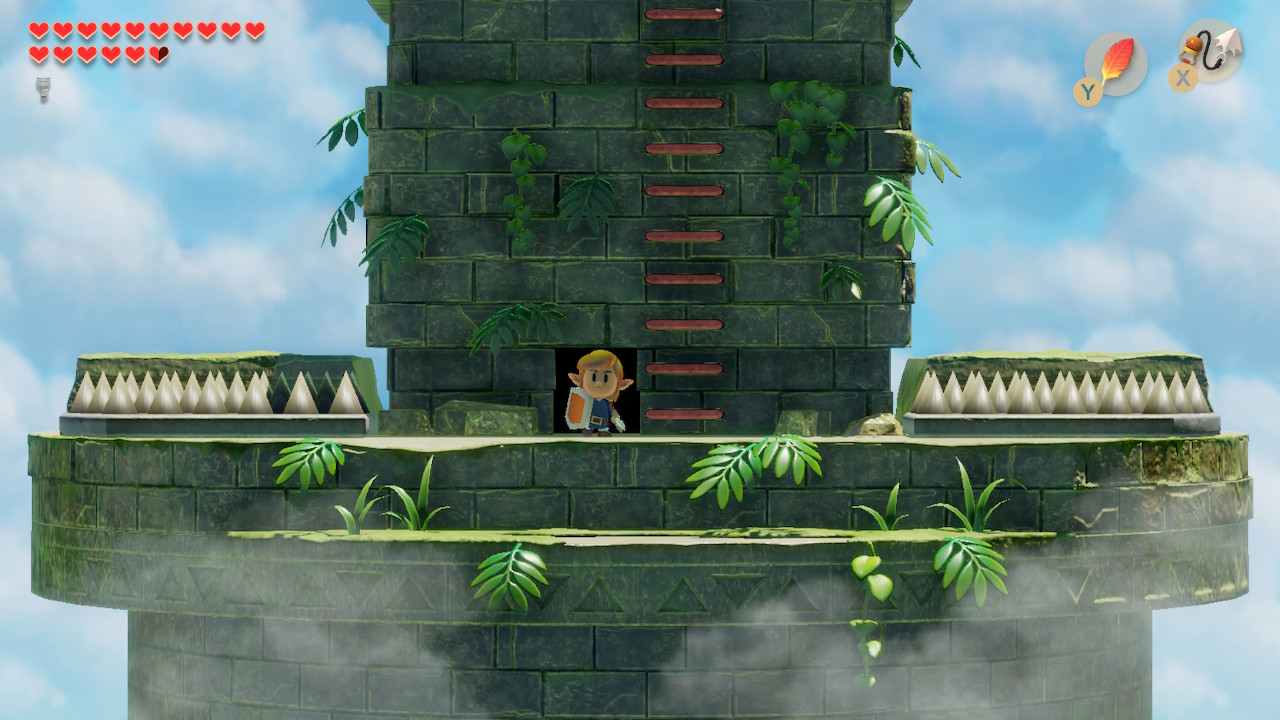
Head back left and down and go up the stairs that seem to just have a block on top. Hookshot to the other side with the Goomba and head down. Head right and go up the stairs. You'll find yourself outside, nearly to the top of the tower. Climb the long ladder when you're ready for the boss fight.
Evil Eagle
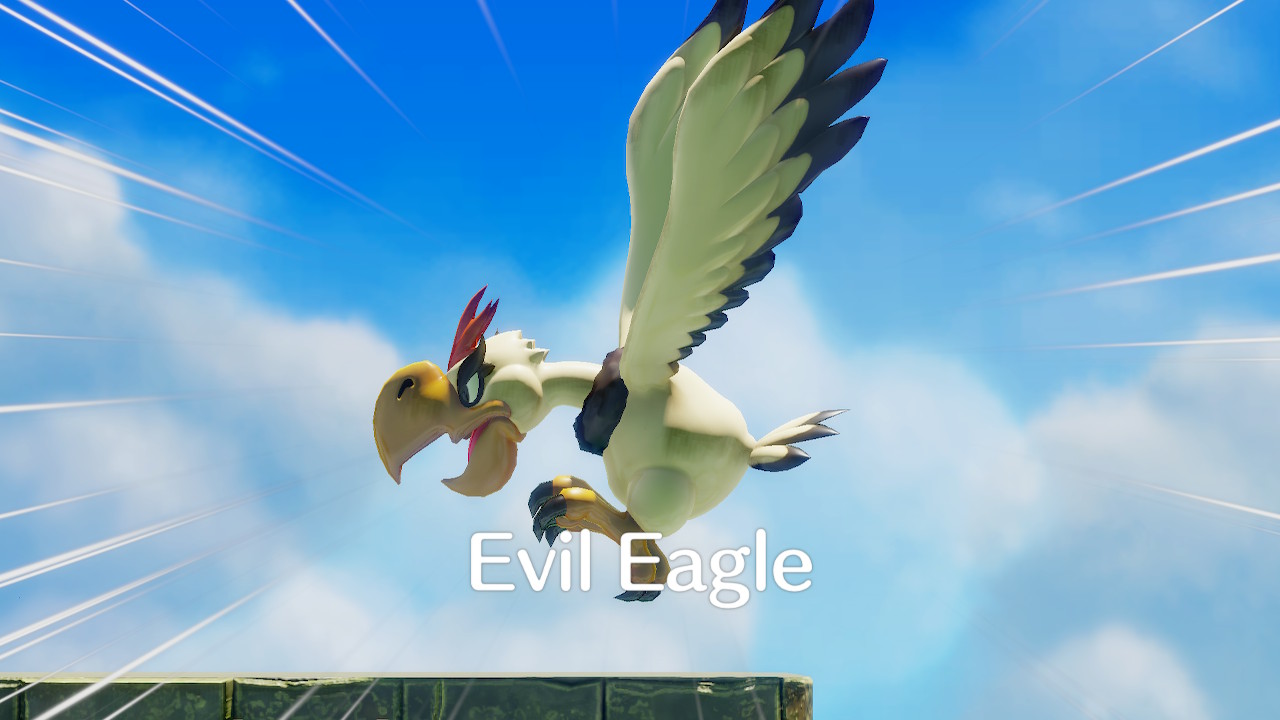
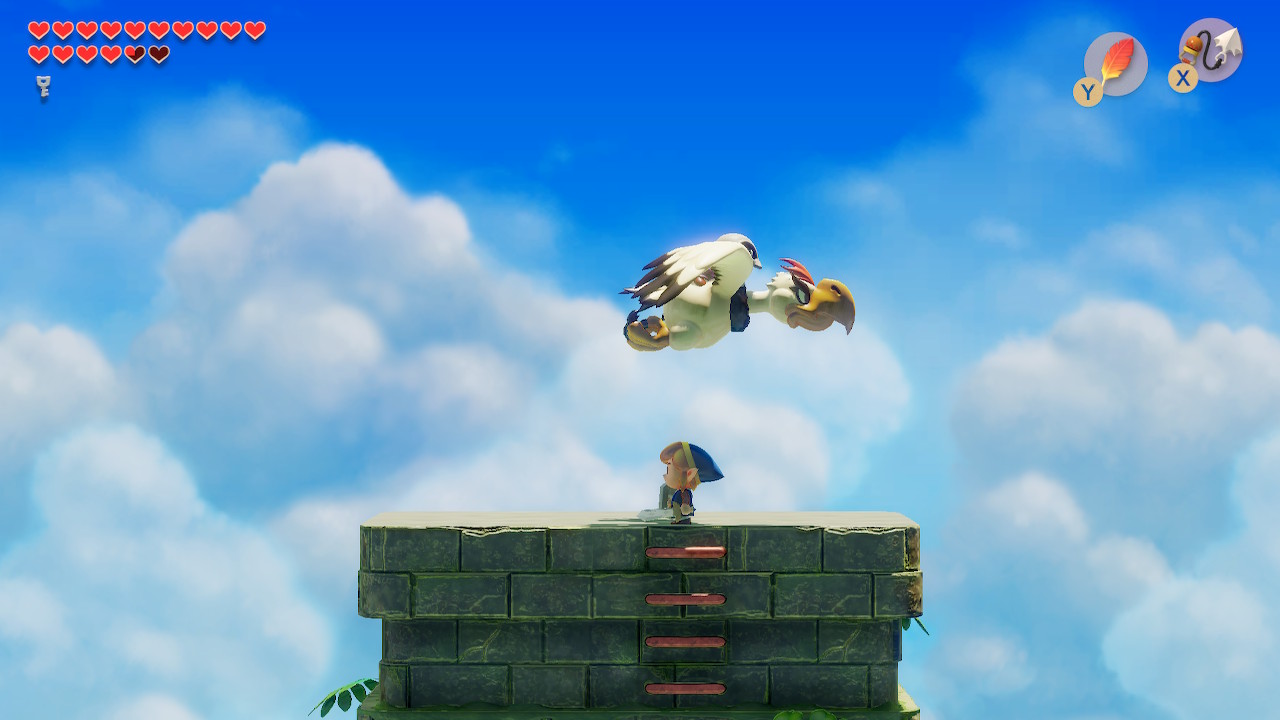
At the top of the tower, you'll run into the Grim Creeper once again. This dungeon's boss Evil Eagle, will swoop down and the Grimp Creeper will hop on for a ride. This is one of the more interesting boss fights in the game. He's got a few different attacks he'll use on you. He can come swooping in at a few different heights, which can be blocked or slashed for a counter-attack. He'll also hover above at a diagonal and shoot feathers and wind at you.
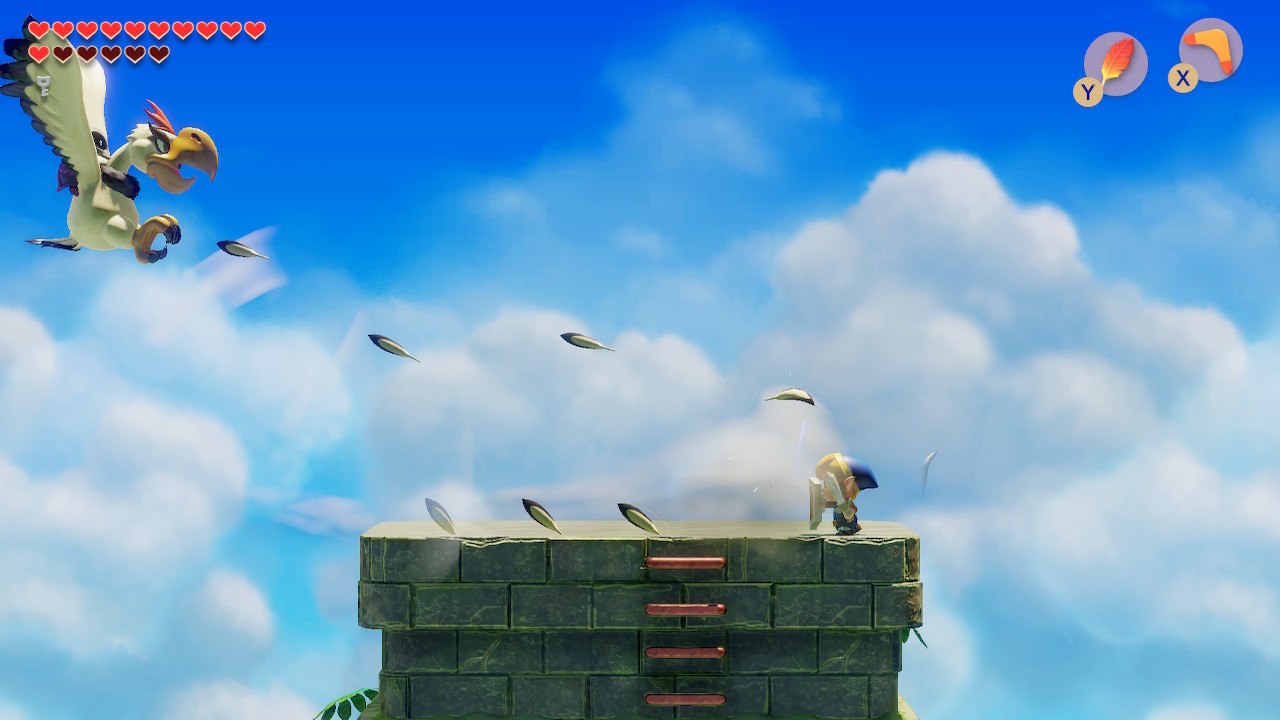
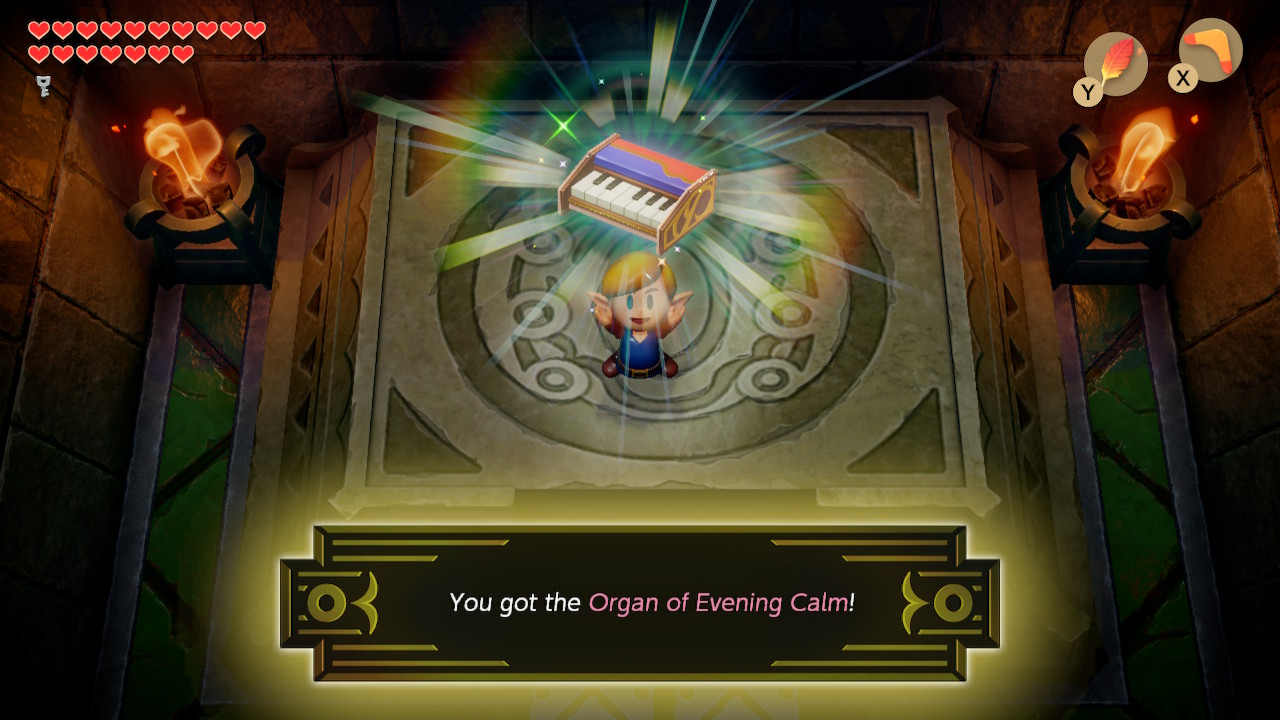
During the feather attack, shield and hold in the direction of Evil Eagle. If you fall off, simply climb back up the ladder to get back into things. If he gets close enough, slash him with your sword. Otherwise, use your boomerang while he's in the air to deal damage. After Evil Eagle is defeated, pick up the Heart Container. Re-enter the dungeon, hop off to the right, and enter this room. Here you'll pick up the next instrument, the Organ of Evening Calm.
Back to Face Shrine Continue to Turtle Rock
