
Part 1: Tail Cave
Toronbo Shores

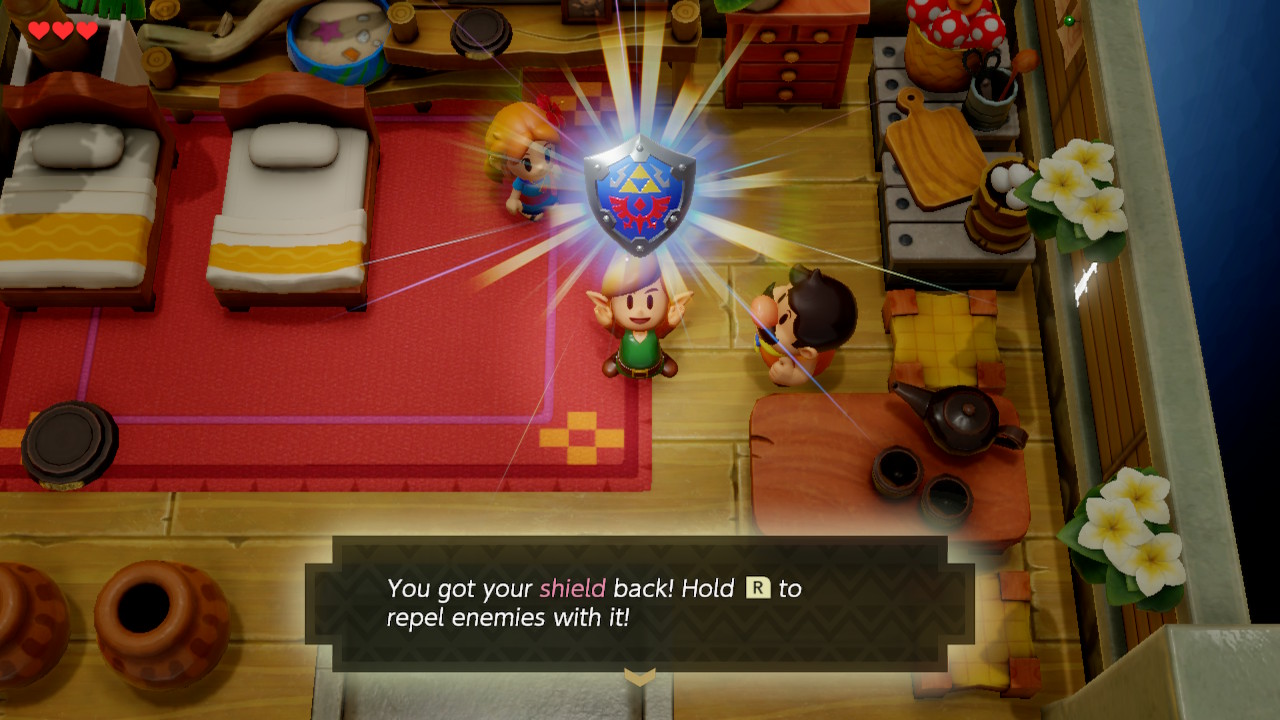
The game begins with Link awaking in a bed, greeted by a girl named Marin. Link finds himself on Koholint Island after being washed up on a beach. After gaining control of Link, speak to the man on the right side of the room named Tarin. He'll give you back your Shield. Exit the house.
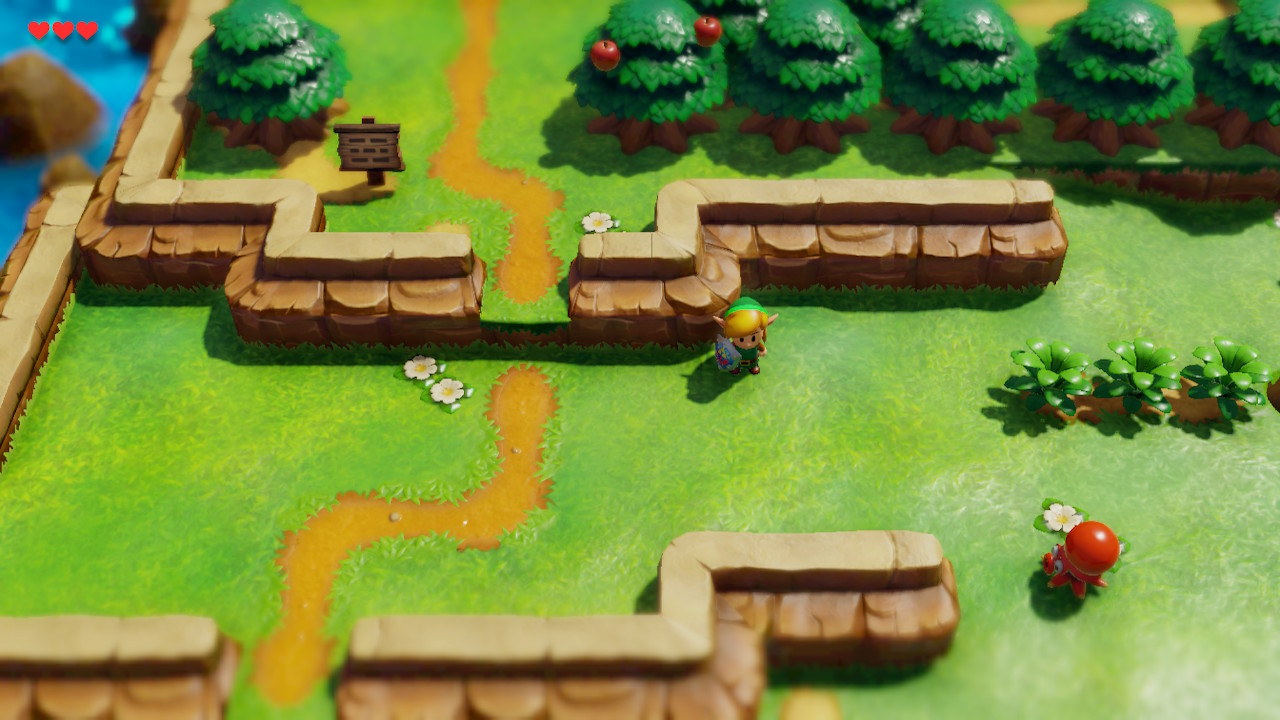
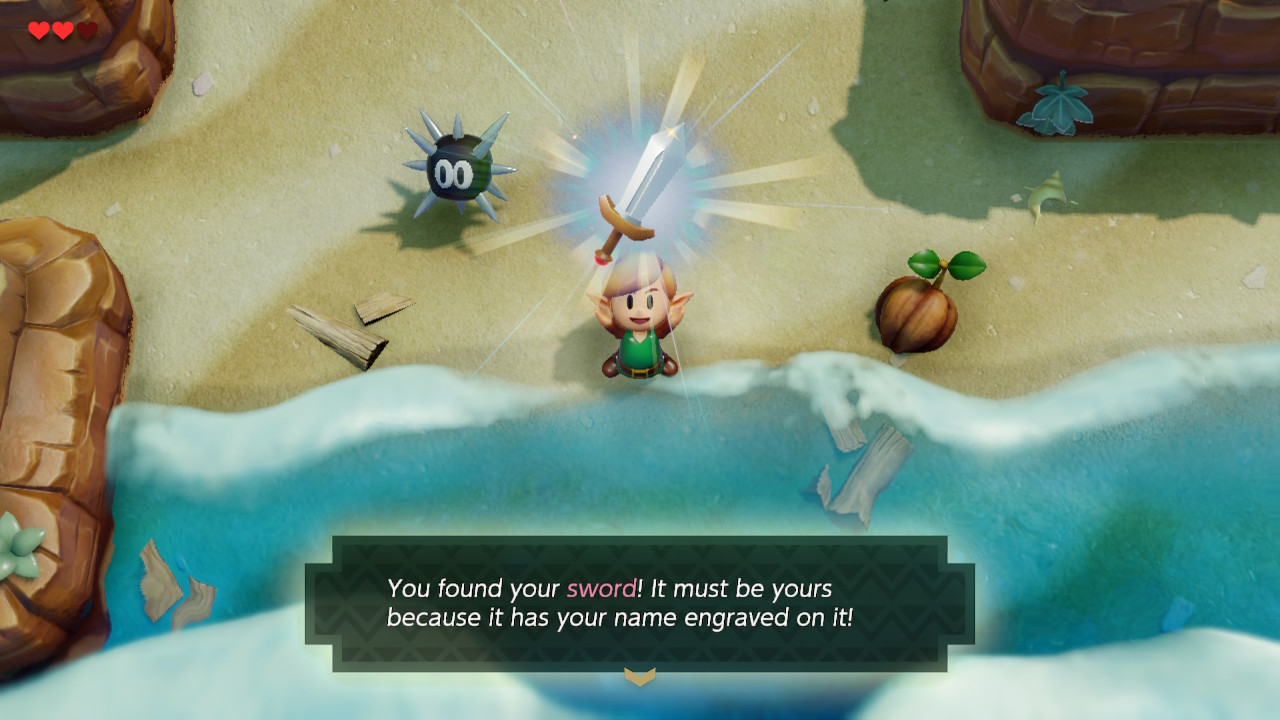
You'll find yourself in Mabe Village. Head left and south down the cliffs here. Avoid the Octoroks as you currently have no way to attack them. Continue south onto Toronbo Shores. Go all the way south until you're at the waterfront, then head right. There are Sea Urchins here blocking the path. Walk into them while shielding (hold R) to push them out of the way. Approach the sword buried in the sand.
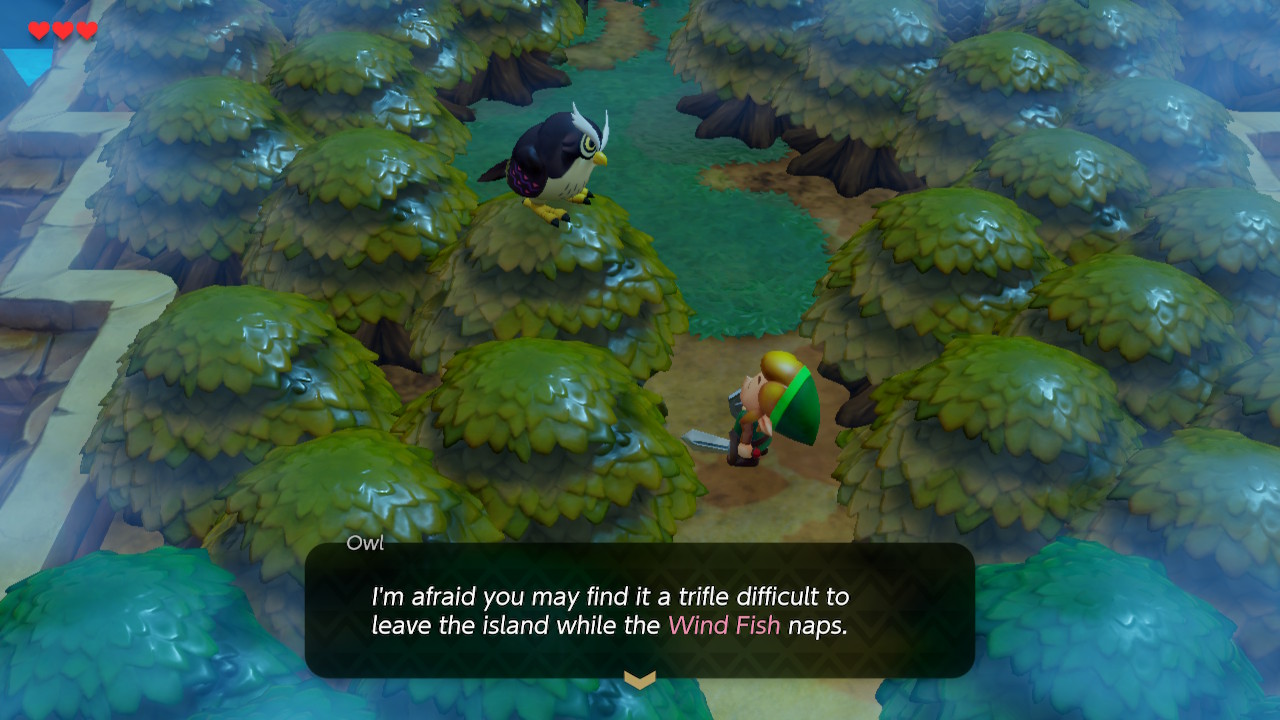
An owl will swoop down and begin telling you about the Wind Fish. Waking it is the only way off the island. After the dialogue, pull your Sword out of the sand. You can use it with the B button. Head back north to Mabe Village the same way you came, defeating the enemies along the way for hearts and rupees if you wish.
Back in the village, stick left and climb up the ledge here overlooking a well. Cut down the three bushes and hop in from above. In here you'll find Piece of Heart #1. There's not much else to do in the village for the time being, so head north from the well and enter the Mysterious Forest.
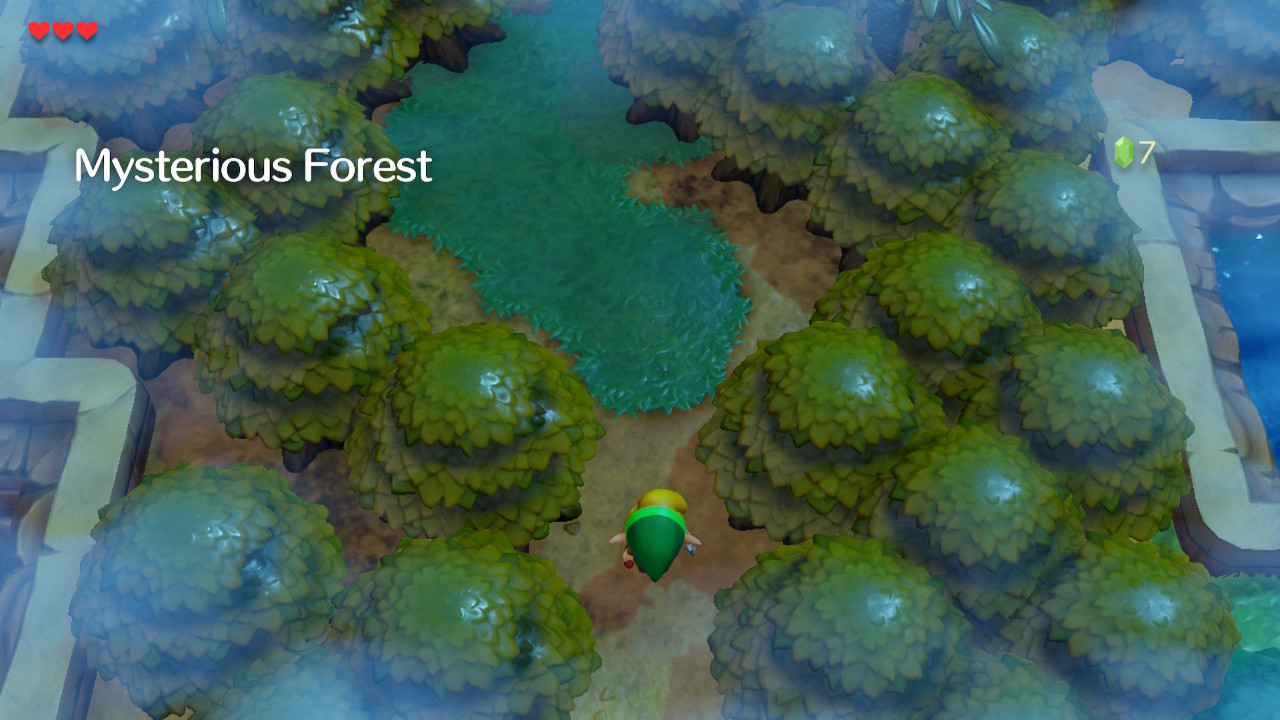
Mysterious Forest
Upon entering the forest, you'll be greeted by the owl once again. He'll advise you that there is a key hidden in this forest that should be used in Tail Cave. Here you'll find the first serious enemies in the game: Moblins. Remember that you can use your shield to block their attacks. Head right and you'll find a log with a sign next to it.
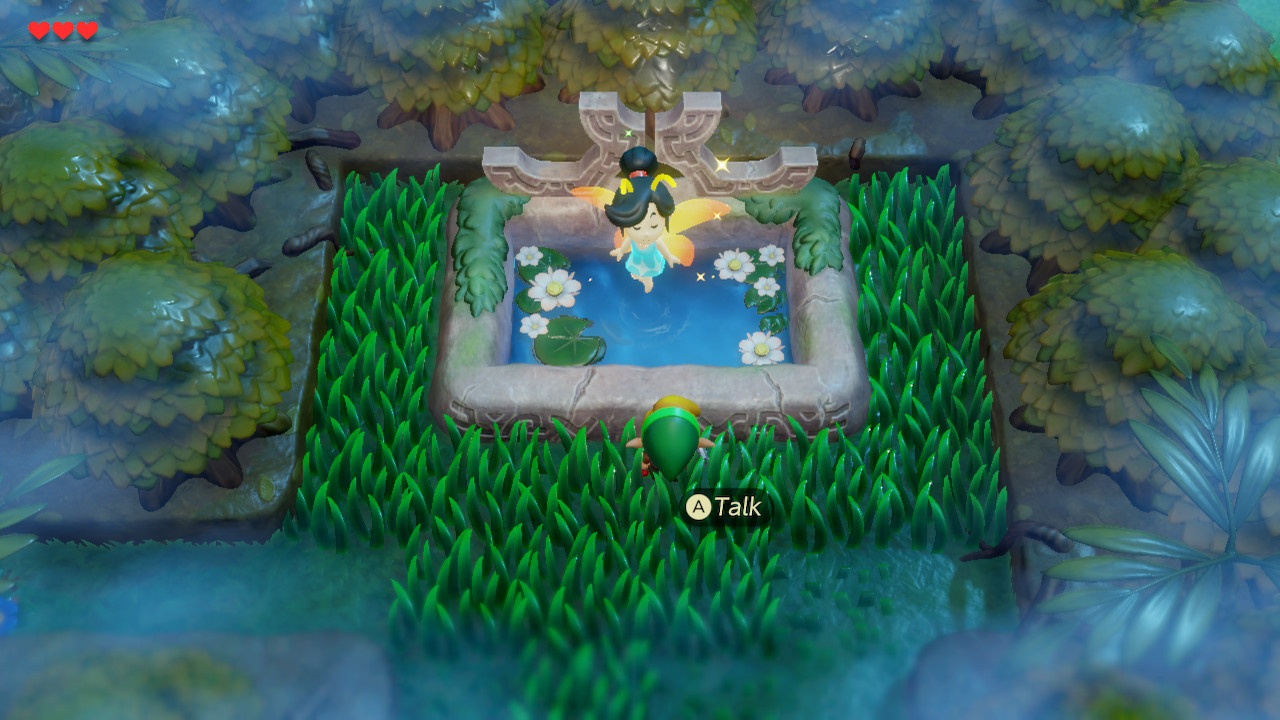
If you try to go north past the Raccoon instead of east upon entering the forest, you'll be teleported to a different part of the forest. Once here, you can use the fairy fountain to your north to regain hearts if you need. Then head southwest until you find a log with a sign near it. Enter the log to find yourself in a cave.
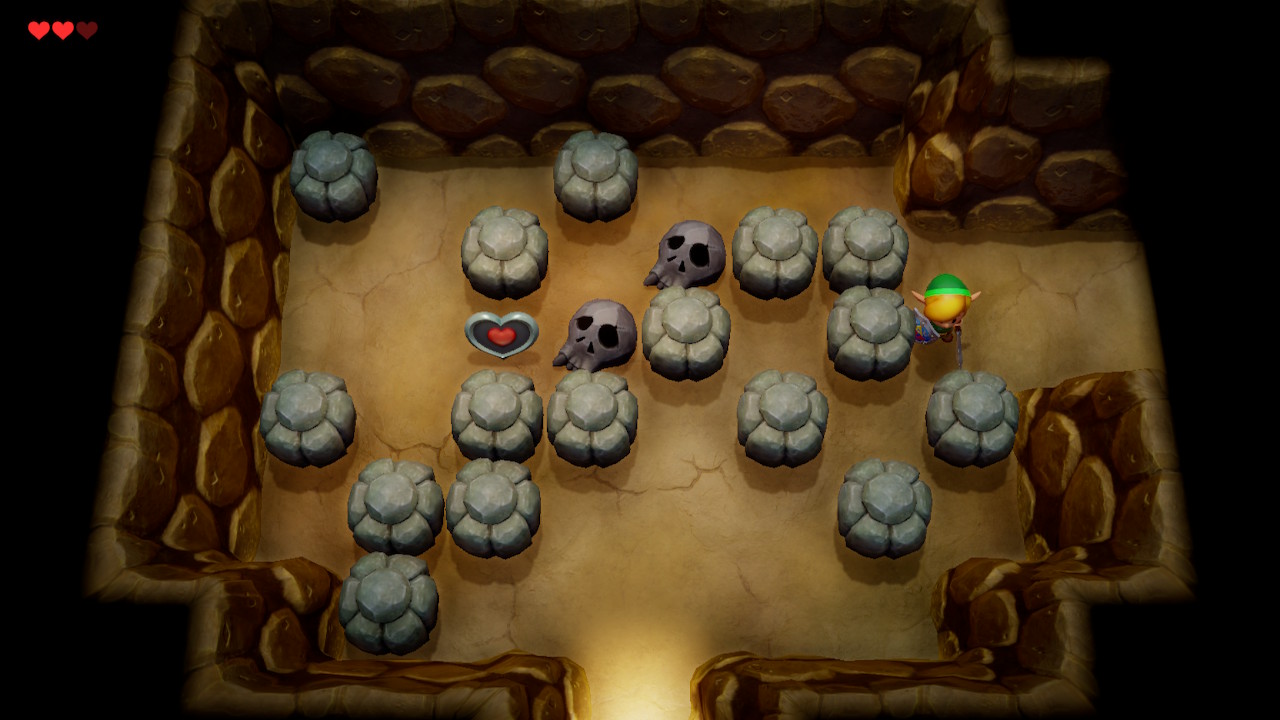
Inside the cave, you'll find a bat enemy called Keese. Defeat them if you like, heading north. Note that if you stand on the cracked ground too long, you'll fall in and take damage. Follow the route to the left to get in a room with many stones. Push the stone to your left to the left and the stone below you down. You'll pass by a Piece of Heart here that we can't pick up yet.
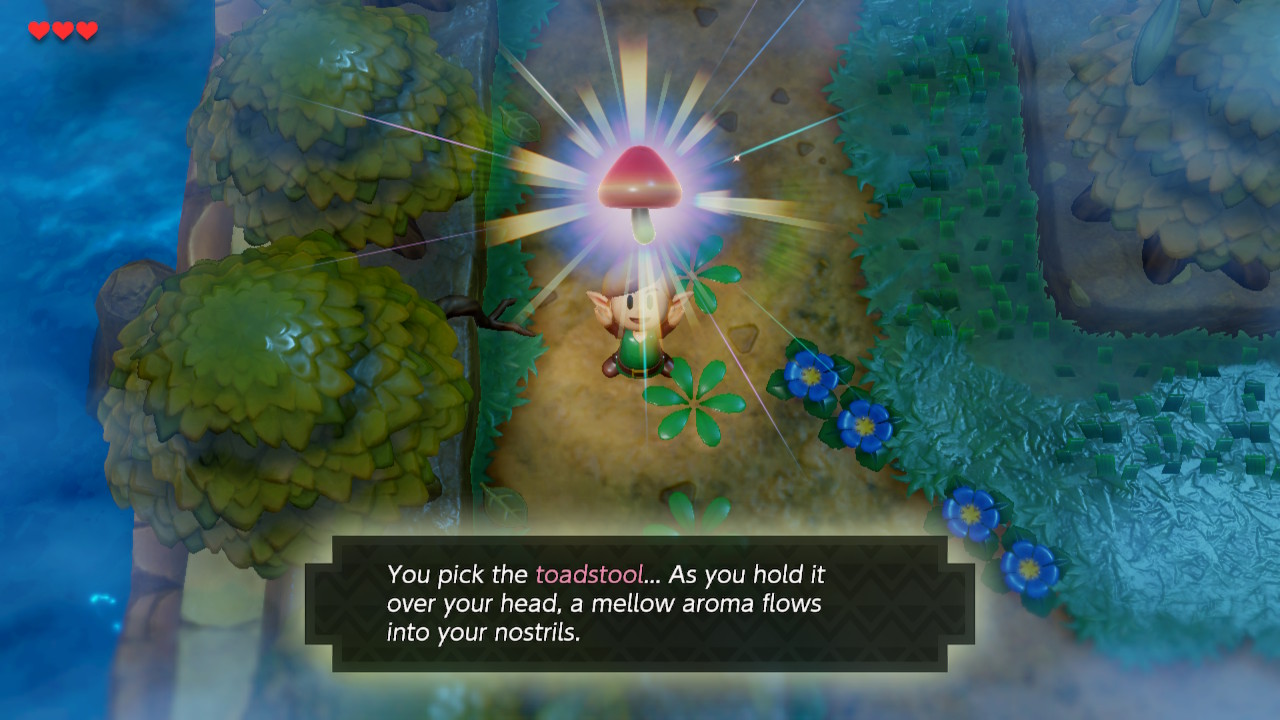
Exit the cave to the south and you'll be back out in Mysterious Forest. Pick up the Toadstool to your left. Go back through the cave the same way you came (you'll need to be more creative with pushing blocks this time around). Head all the way north and east to exit the forest into Koholint Prarie.
Witch's Hut
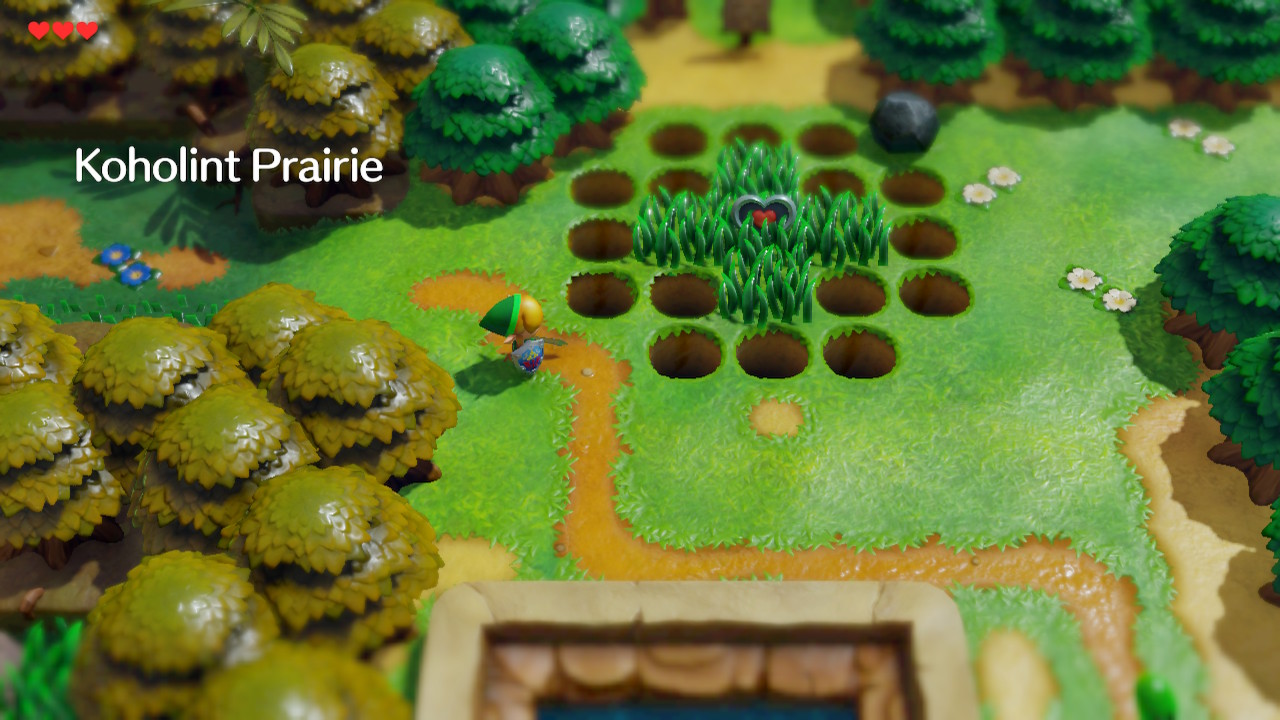
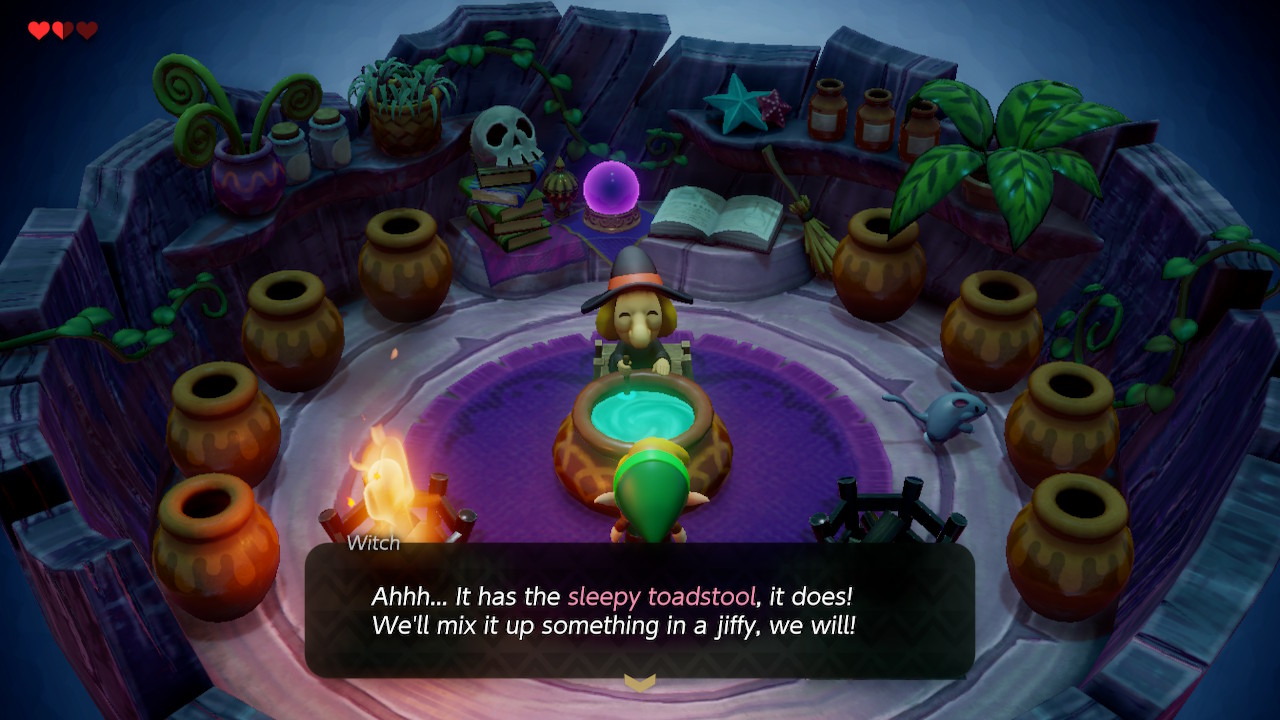
You'll see a Piece of Heart that we can't pick up yet here. You'll also find an Electric Chu on this route. Don't attack it with your sword, as it will shock and damage you. Continue southeast to find the Witch's Hut. Speak with the witch and she'll use the toadstool you found to make some Magic Powder for you. Equip it to X or Y and use it on the torch here. Exit the hut and head back into the forest.
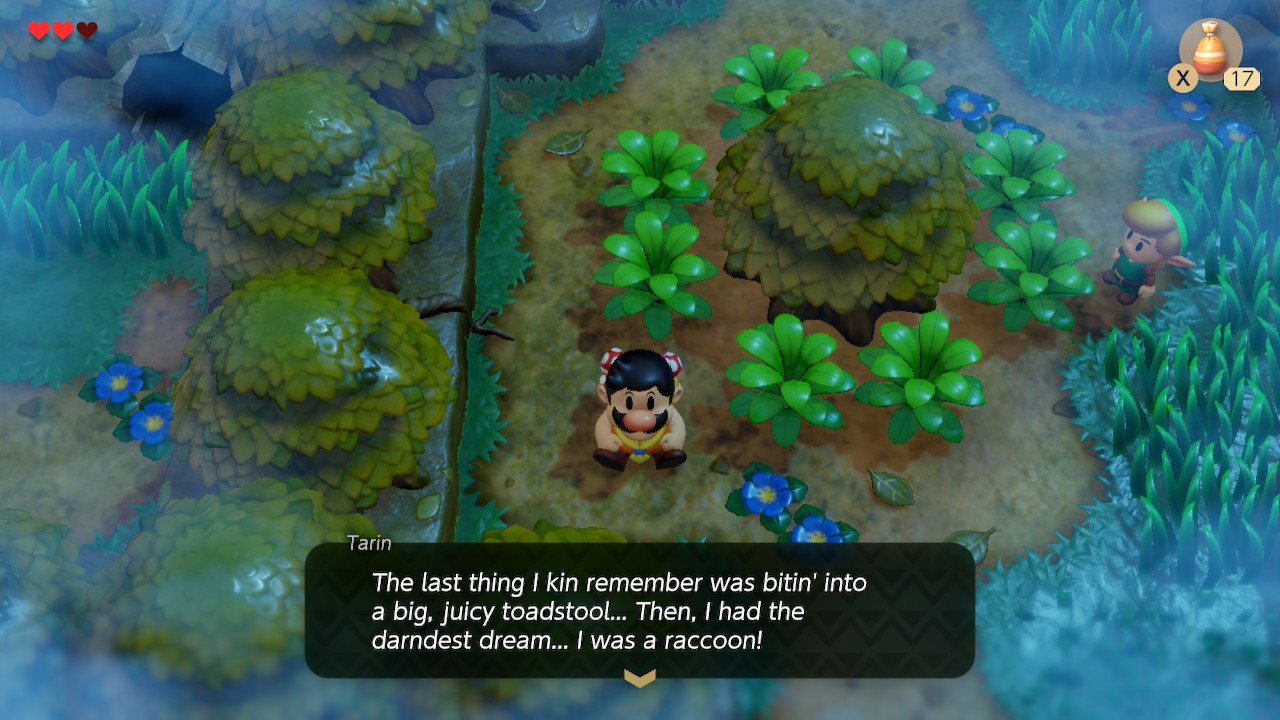
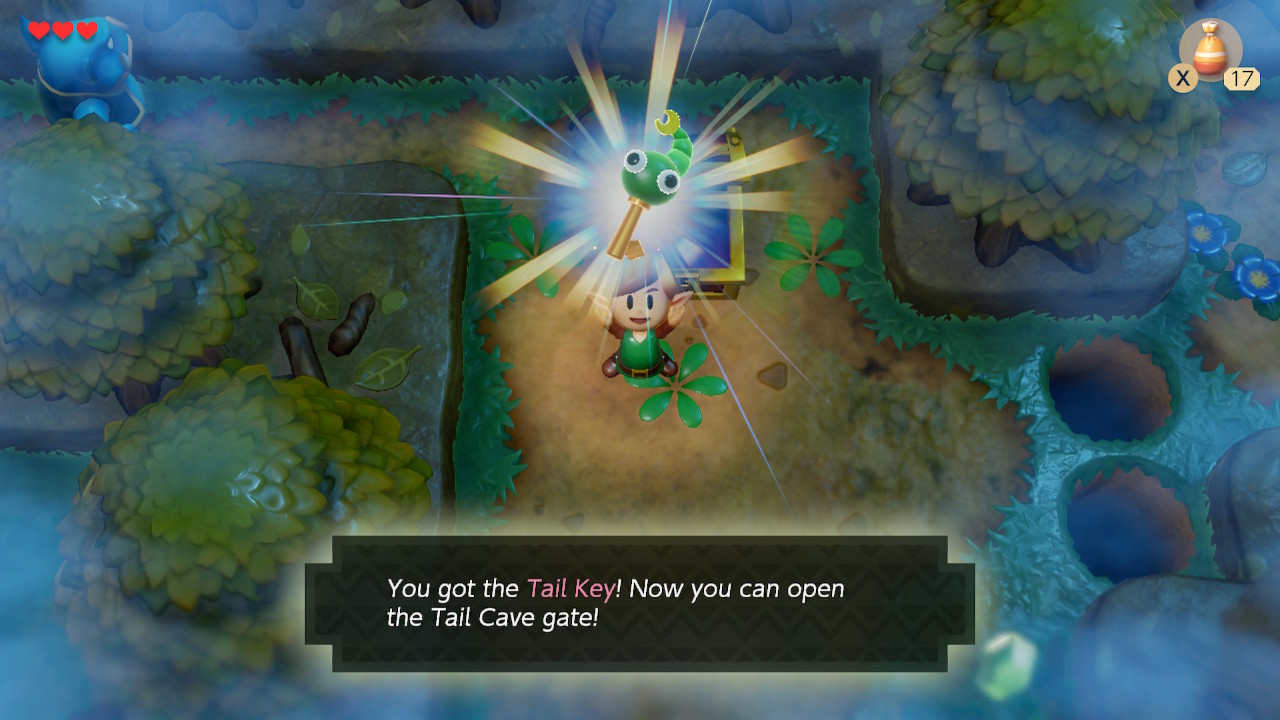
Head southwest toward the beginning of the forest. North of here is the Raccoon that you may have encountered earlier. Use your magic powder on it and it will transform back into Tarin. It turns out he ate a funky toadstool. You'll now be able to continue north of here. Open the chest to get the Tail Key. The owl will come speak to you again, instructing you to use your new key at Tail Cave. Exit the forest to the south.
Trendy Game
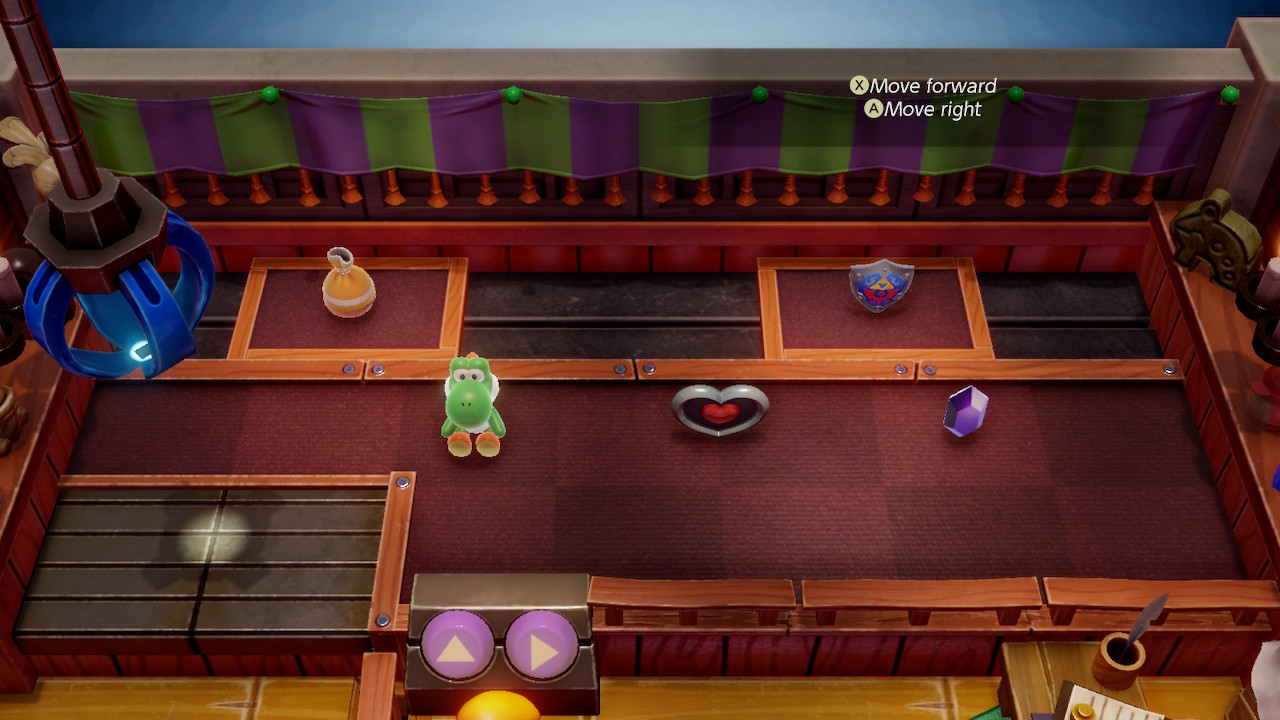
Back in Mabe Village, there's plenty of things to do. Many of these next quests are optional, so skip ahead if you're only looking to progress the main quest. First, head to the Trendy Game building in the southeast of Mabe Village. Inside is a crane game that costs 10 rupees to play. If you've been slicing bushes and defeating enemies, you should have enough rupees to play a few times.
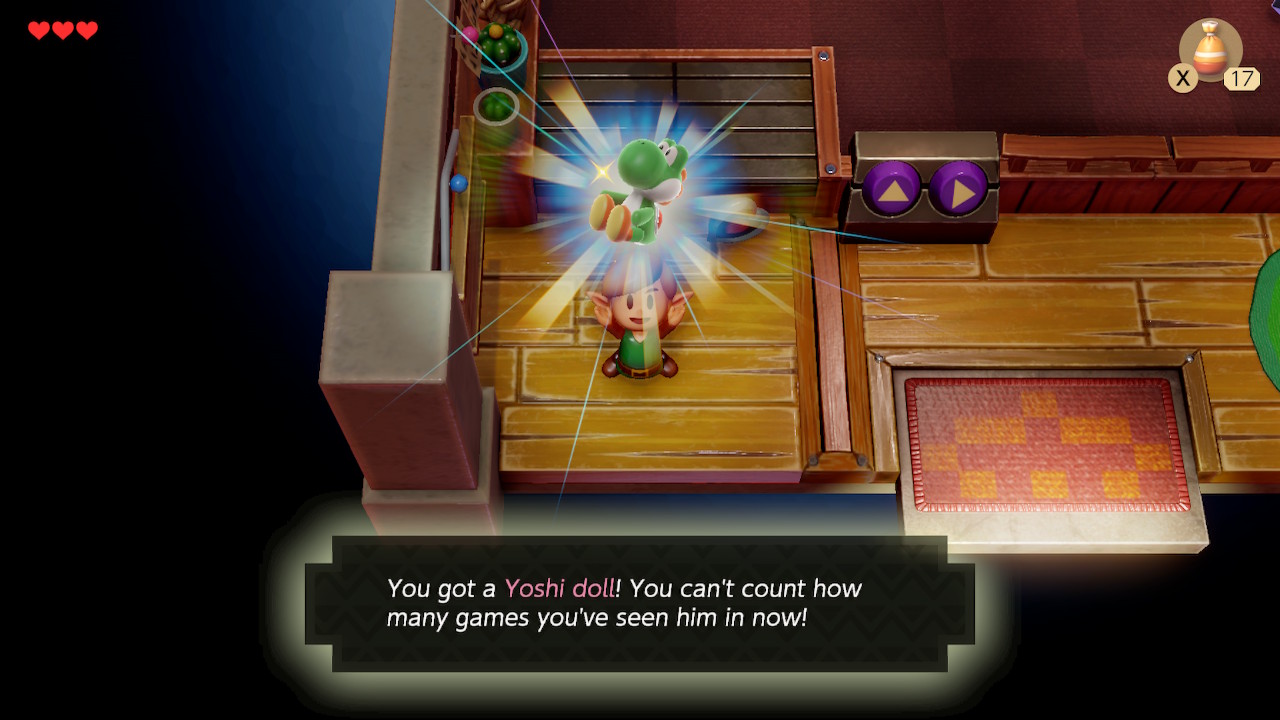
We are going after the Yoshi Doll and Piece of Heart #2 here. Use X and A to move the crane arm and take aim at the prize. Keep in mind that once you release a button in one direction, you cannot adjust any further. Once you've got both prizes, go ahead and exit the shop.
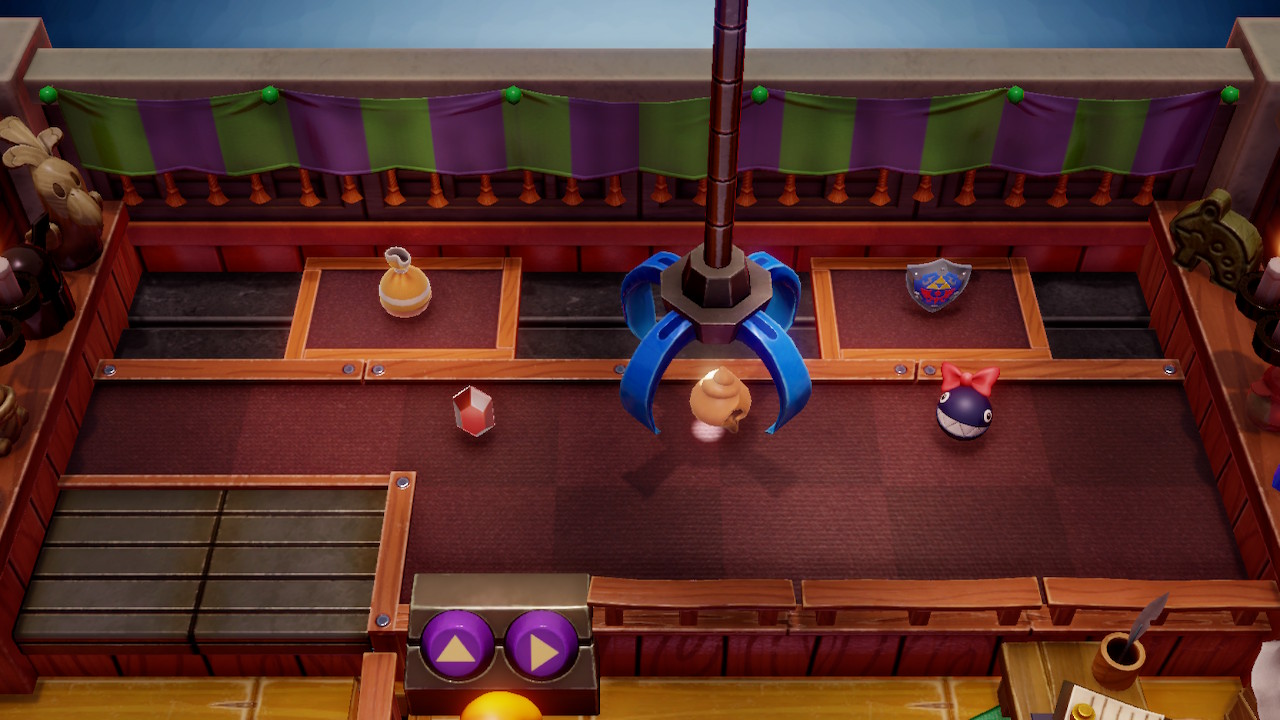
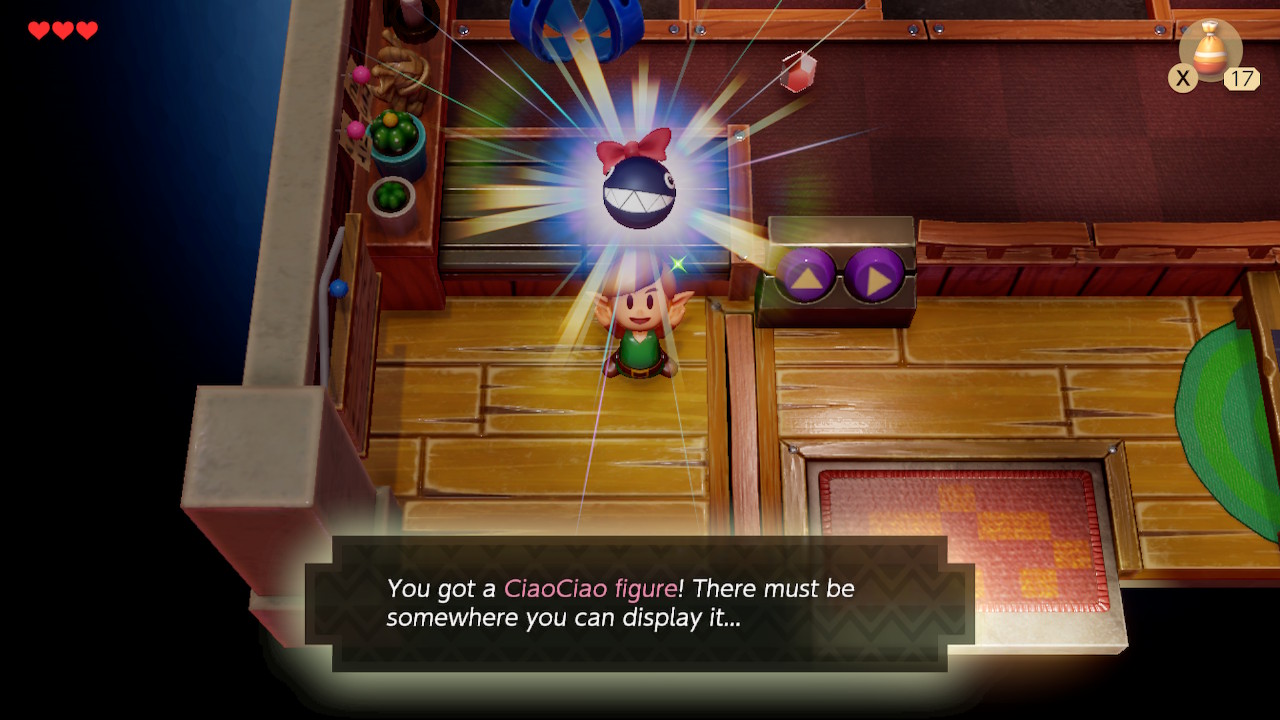
Once outside, a child named Suhni will comment about how his mother has been wanting the Yoshi Doll for a long time. More on that later. Now enter the shop again to find some prizes have been restocked. This time, we're looking to nab Secret Seashell #1 and the CiaoCiao Figure. Go ahead and exit the shop once you do.
Fishing
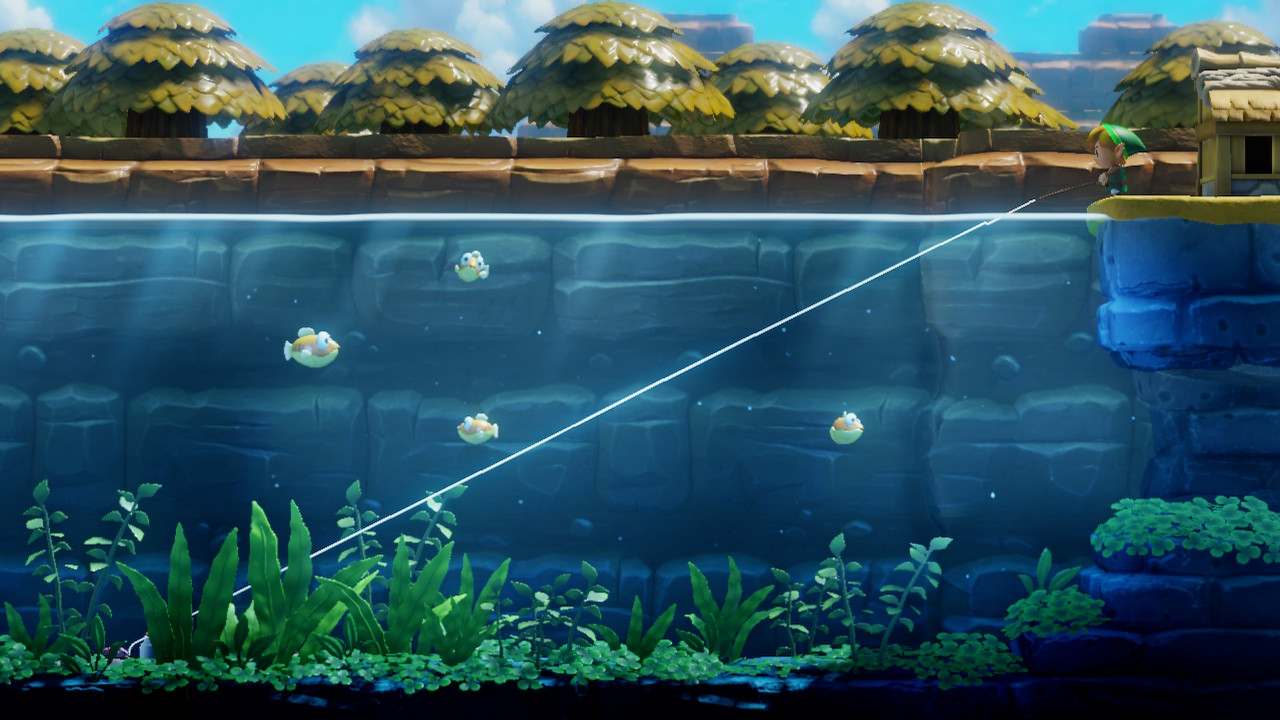
There is a fishing mini-game in the northern part of town. Speak to the fisherman here and pay 10 rupees to play. Aim for the biggest fish you can. Quickly tap A while the fish is swimming towards you and slowly tap A while it's swimming away. If you catch a fish larger than 10 inches, you'll get Piece of Heart #3.
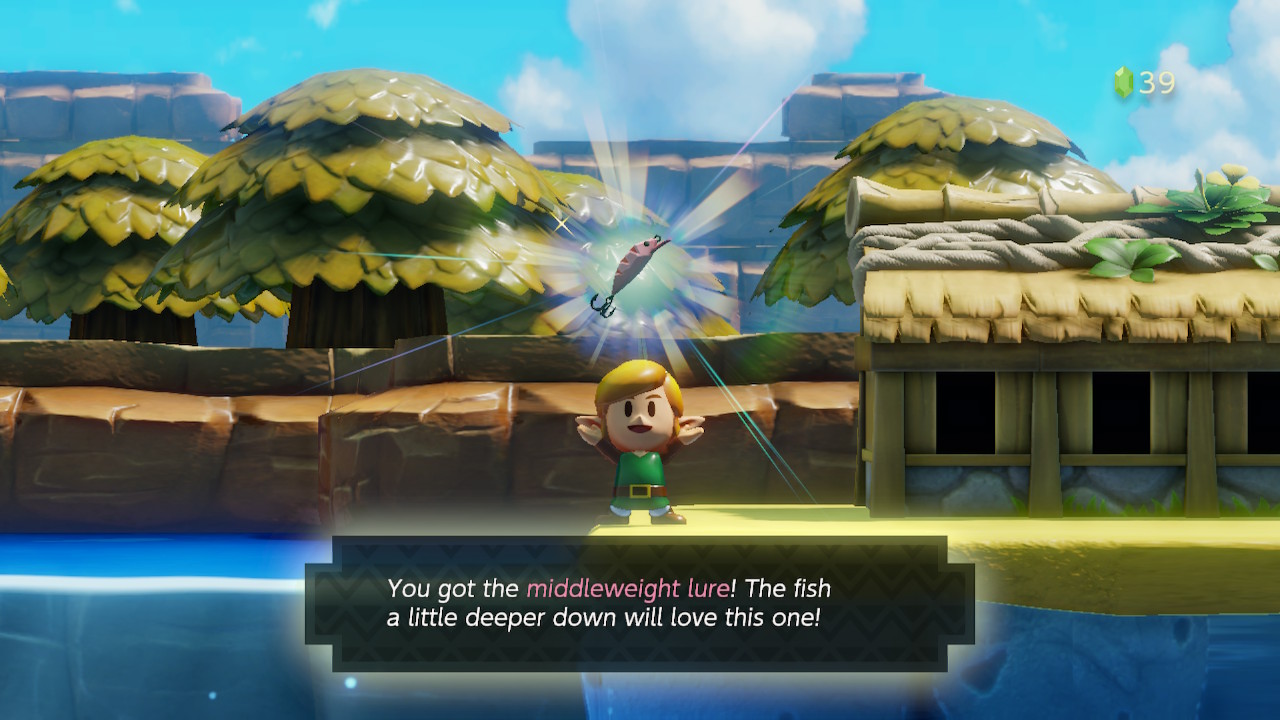
Keep playing the fishing game and catch a large green fish. If it's longer than 30 inches, you'll be rewarded with the Middleweight Lure and Piece of Heart #4. Play again let you lure sink to the very bottom. Pull Fairy Bottle #1 out of the water and you'll get to keep it. If another fish bumps the bottle, it will fall of your lure, so be careful.
Trading Sequence
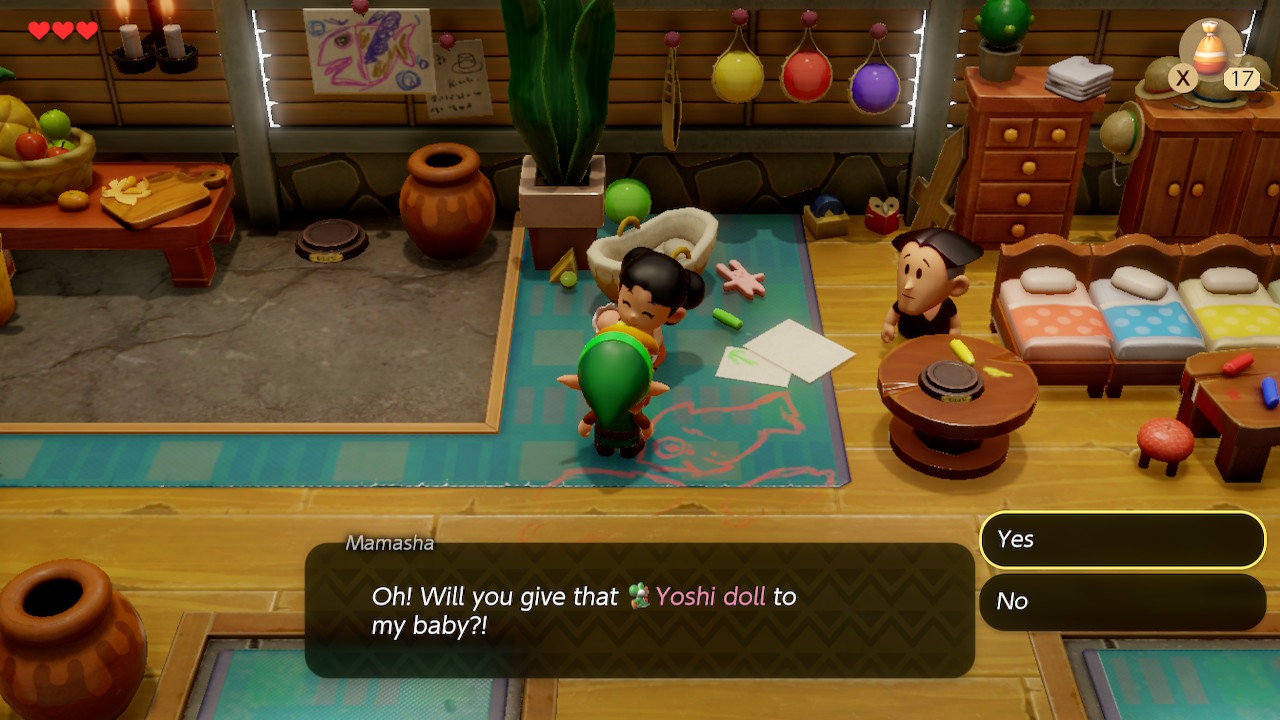
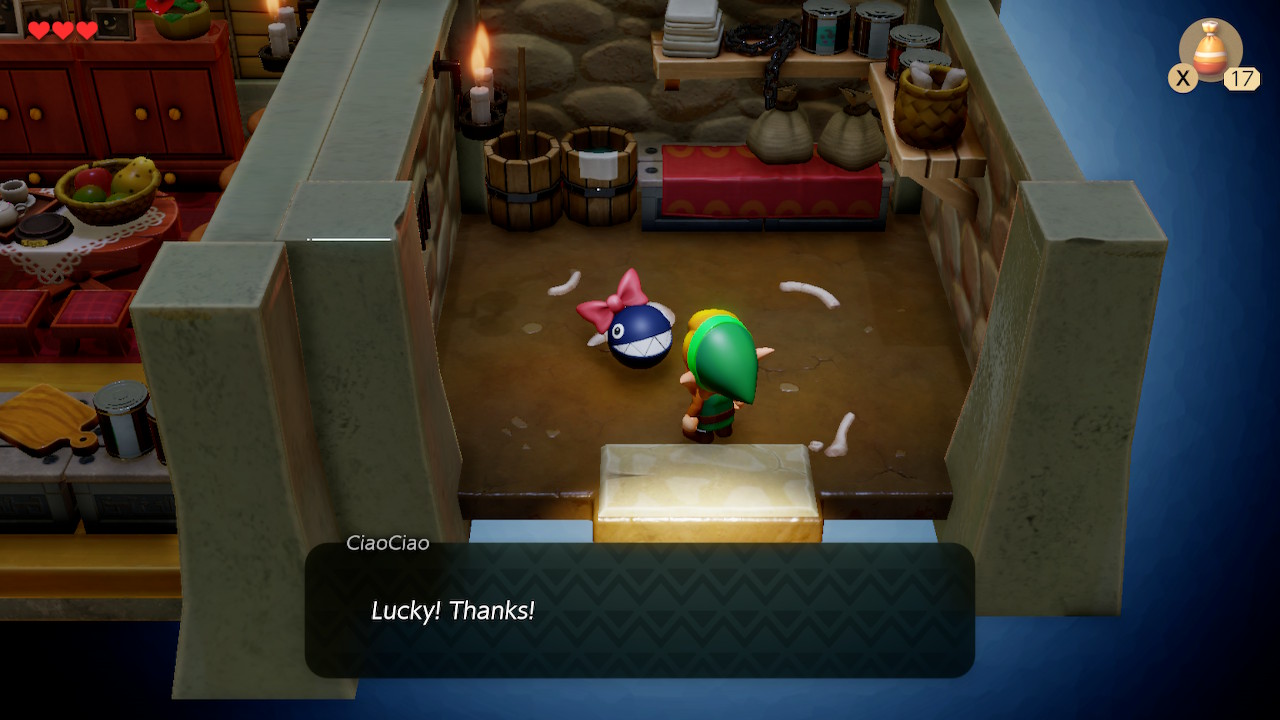
Directly north of the Trendy Game is a patch of bushes surrounded by grass. Slice all the bushes and you'll find Secret Seashell #2. Enter the home with two doors on the north side of the village. Speak to the woman named Mamasha and trade her the Yoshi Doll for a Ribbon. Now head southwest to the house with the chain chomp tied to the front. Speak to the tiny chain-chomp, CiaoCiao, here. Trade her the Ribbon for some Dog Food.
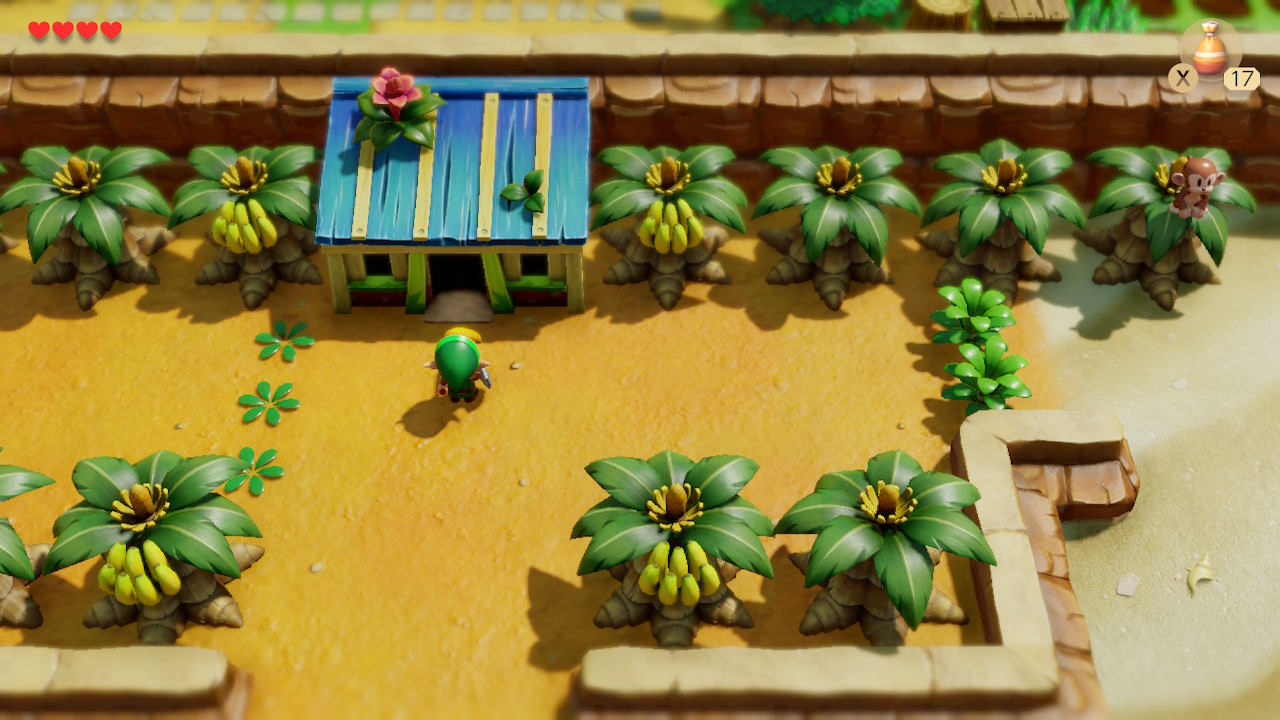
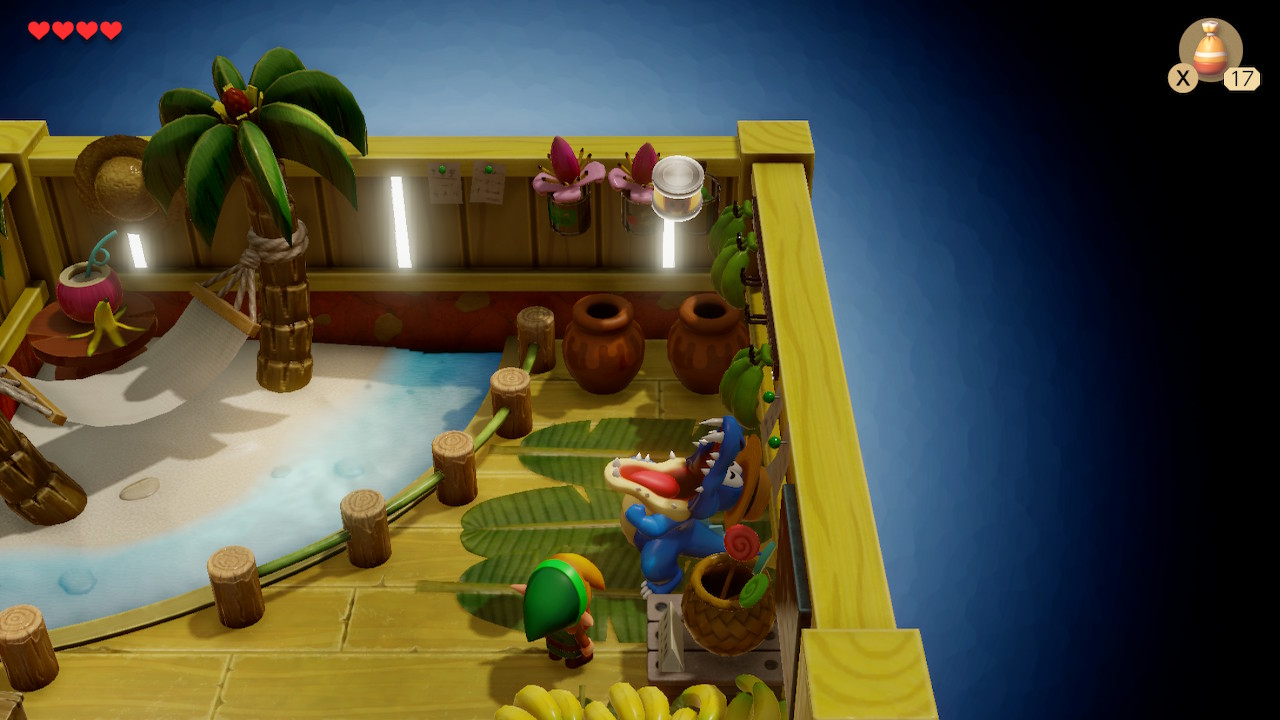
Now, head south out of Mabe Village back to Toronbo Shores. Head east and enter the house you find. Inside, speak to the alligator Sale and trade him your Dog Food for some Bananas. Head back towards Mabe Village but stop just south.
Tail Cave
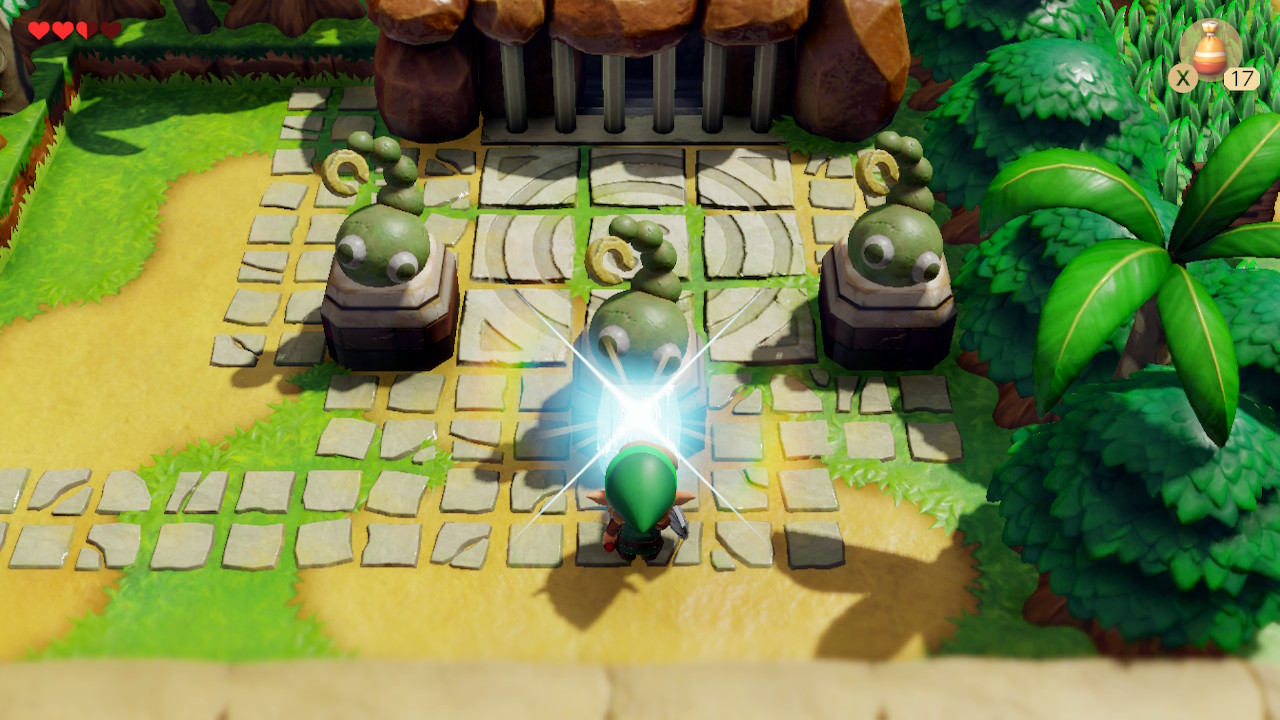
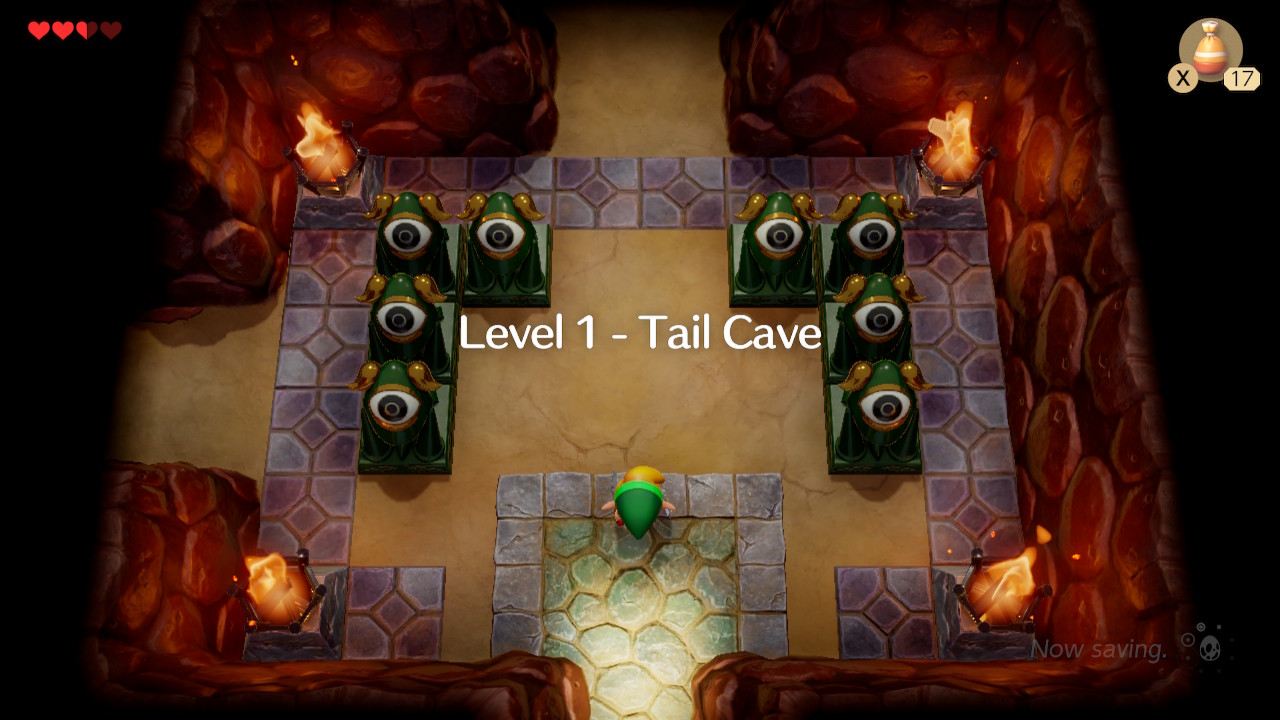
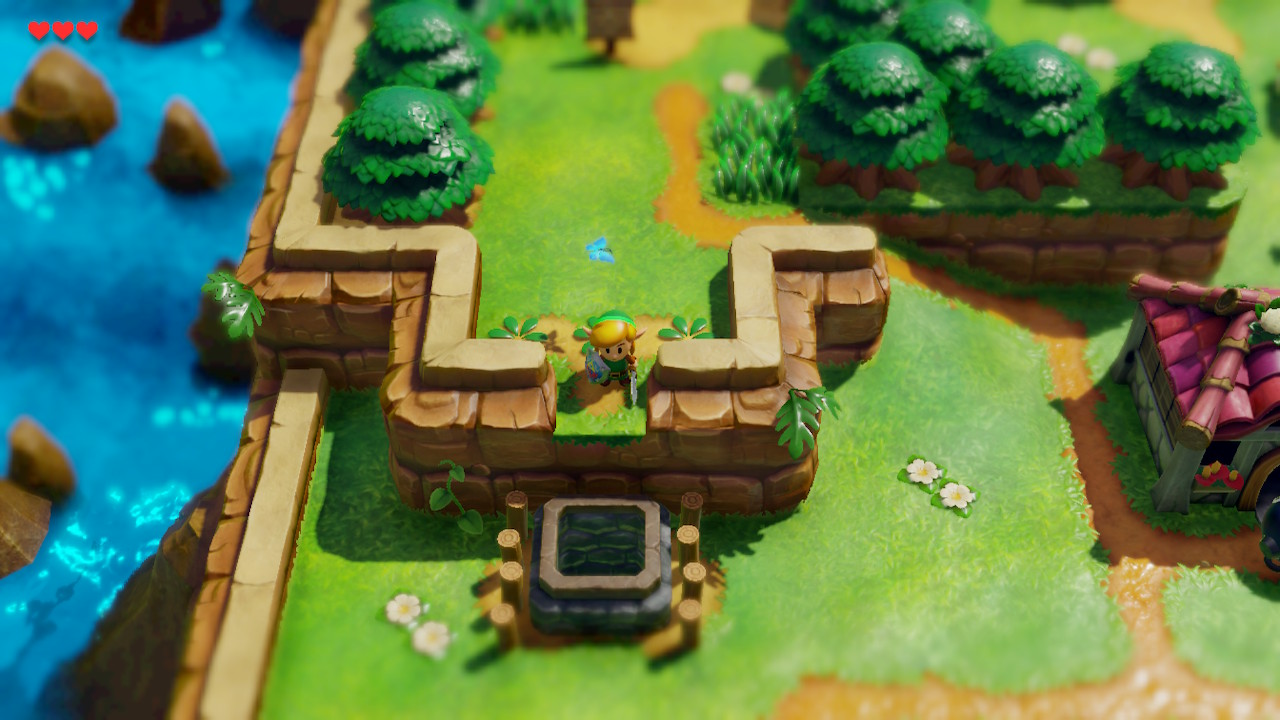
From just south of Mabe Village, head straight east along the grassy path. Dip south when you can't go further and you'll find the entrance to the first dungeon of the game, Tail Cave. Use the key you found in the Mysterious Forest to unlock the entrance.
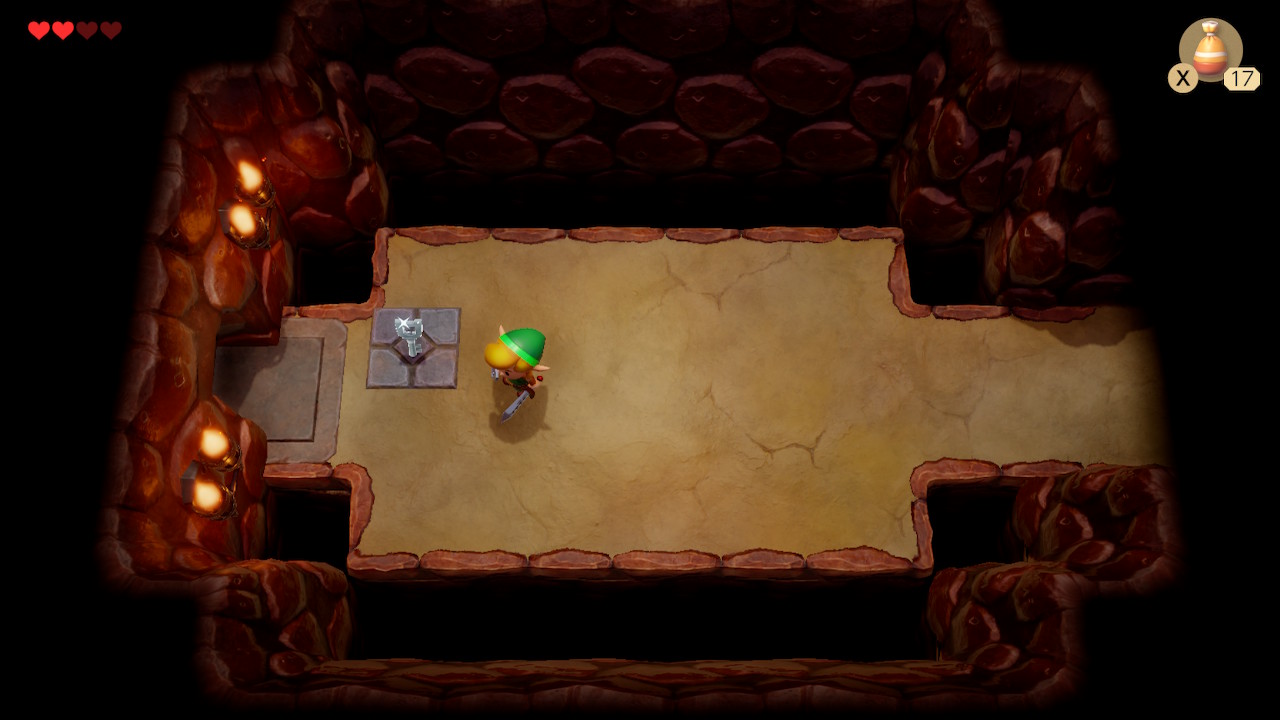
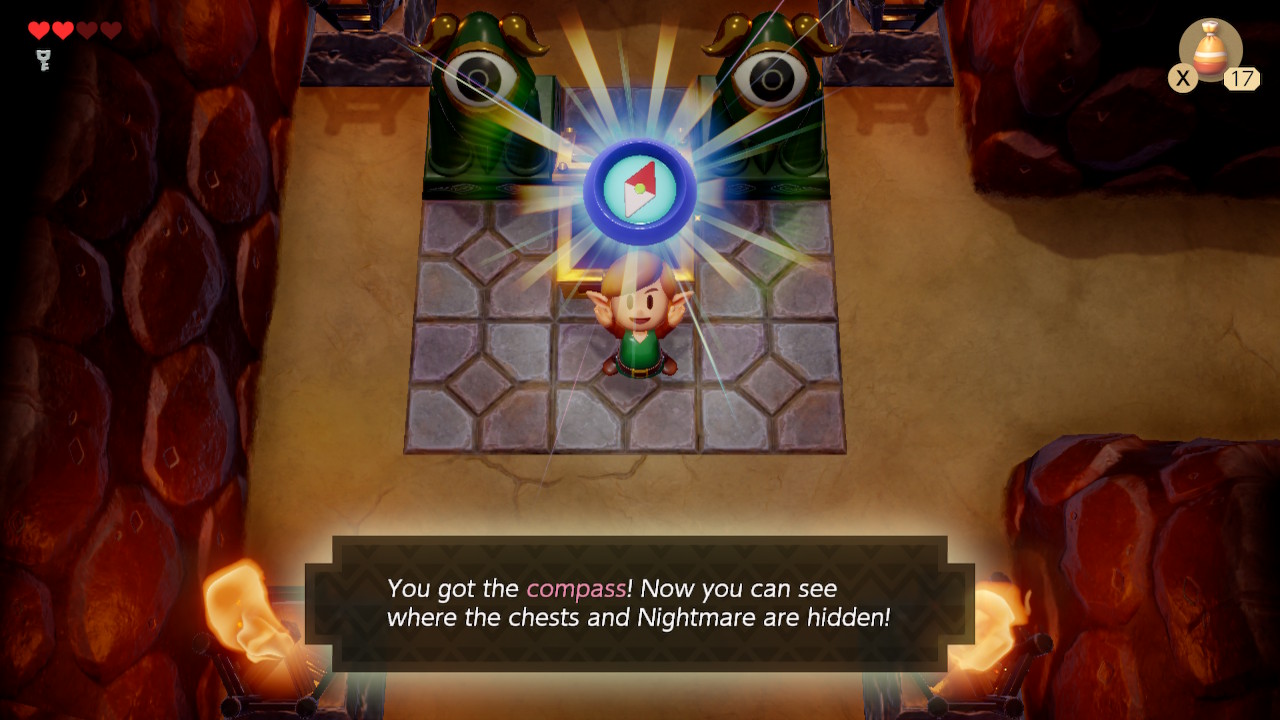
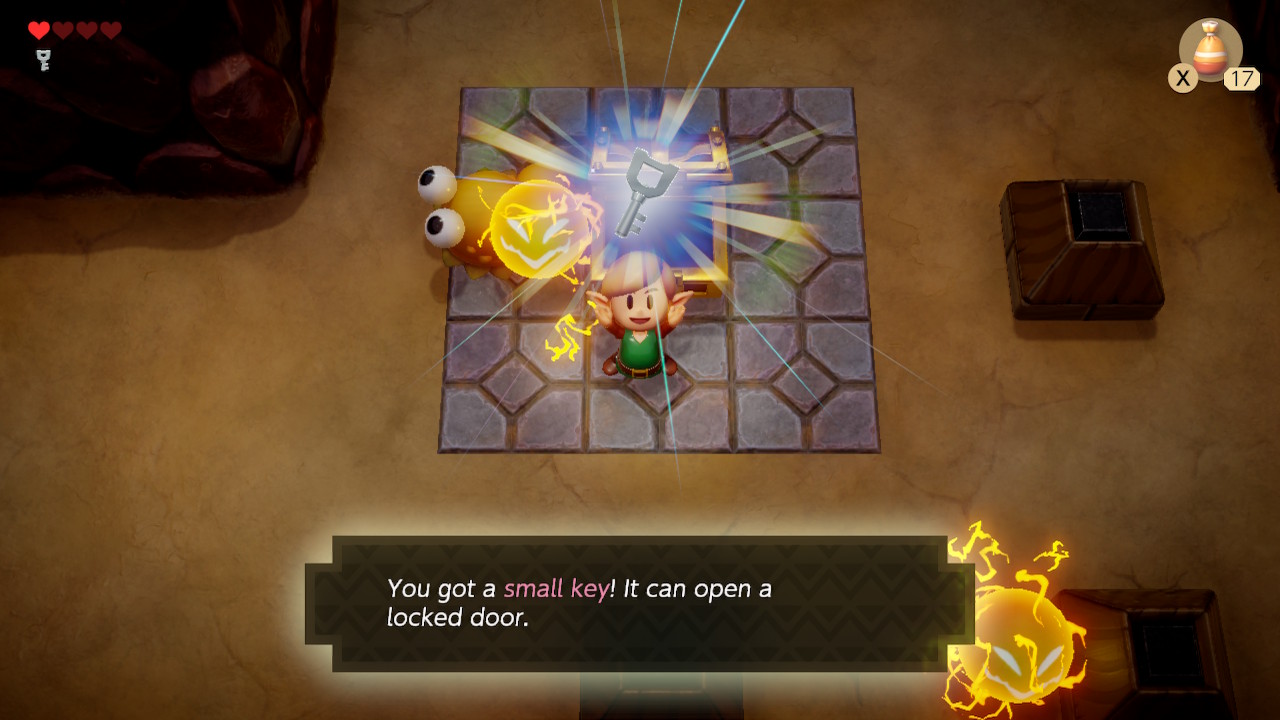
Head left once inside the dungeon. You can defeat these Hardhat Beetles by pushing them off the ledge with your sword: this will spawn a Small Key. Pick it up and continue left. In the next room, open the chess to get the Compass. Defeat the small Chus to unlock the door and head back right.
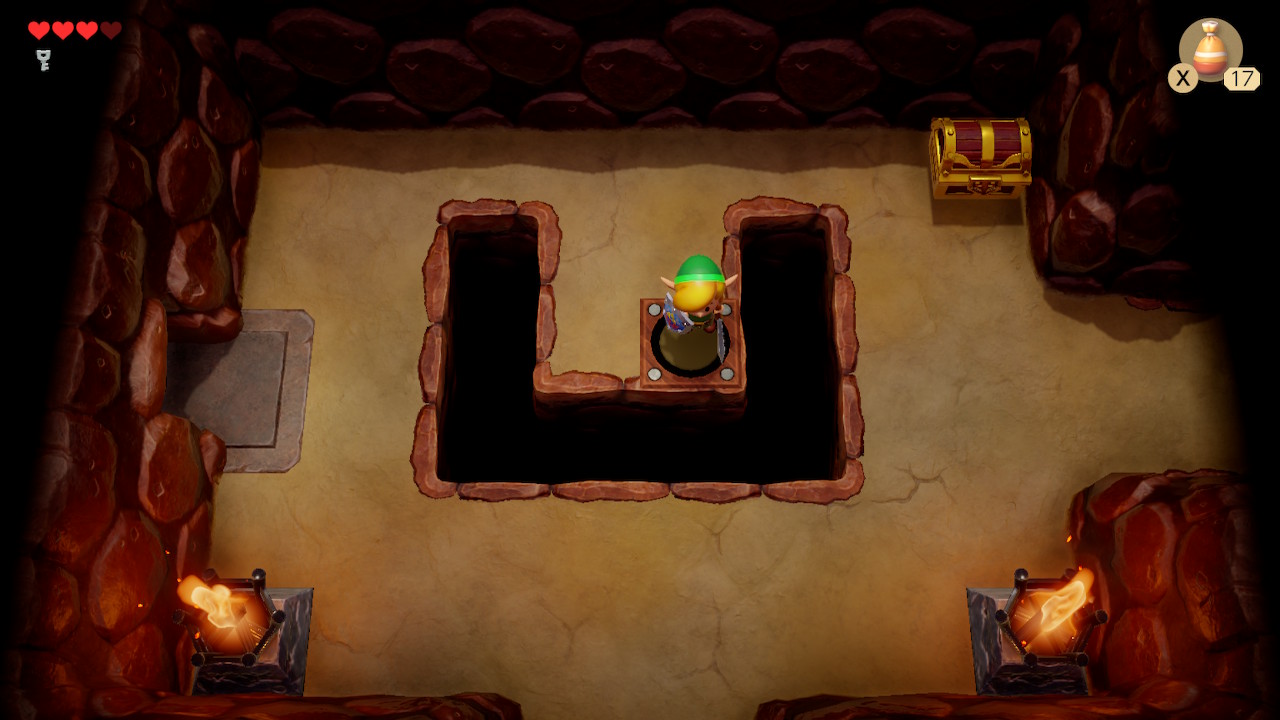
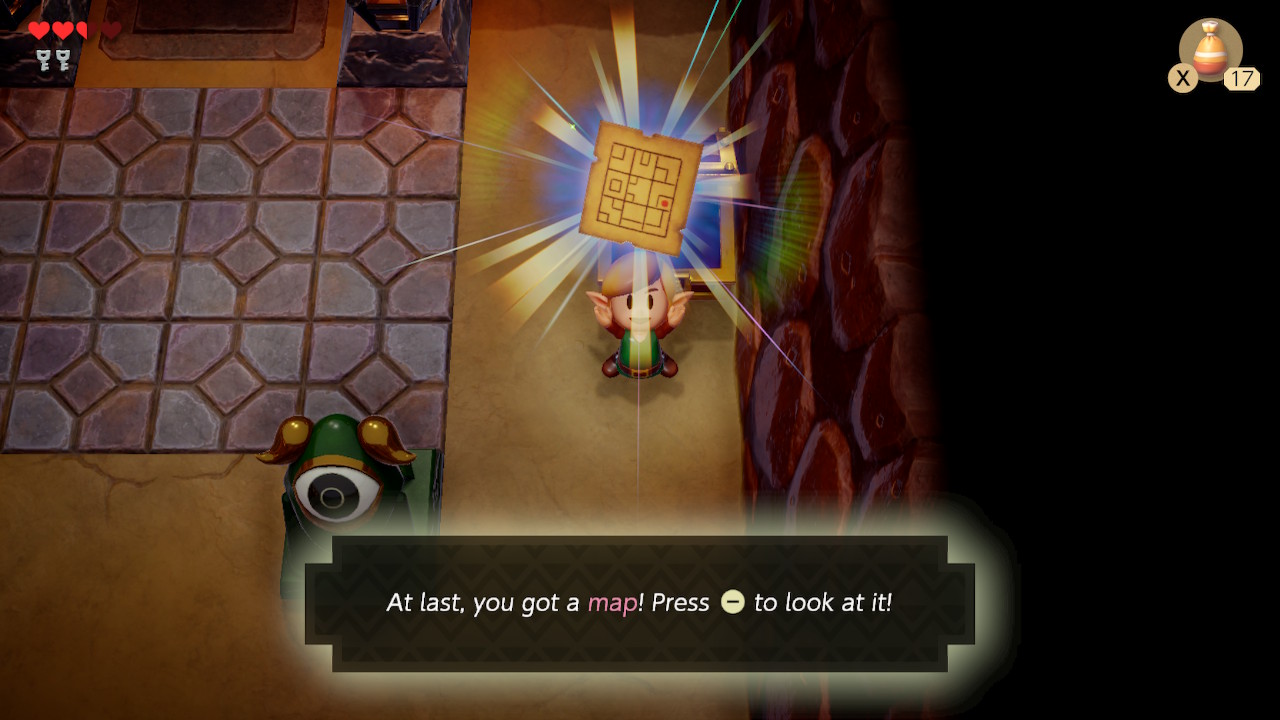
Head up and step on the switch. Open this chest to get another Small Key. Continue right into the next room. Defeat all the enemies here to spawn a chest containing the Map. To defeat the Stalfos (skeleton-like enemies), you'll need to push them into a corner. Take the secret door above.
In this room, use a small key on the door to the right. Enter this room and immediately head up. Time your slices on these enemies so that the suit match on all three. A chest will spawn containing a Stone Beak. You can now place this in the owl statues to get dungeon hints. Head back down and left.
Head left in this room and open the chest to find another Small Key. Defeat both the mini Moldorm in this room to spawn a chest containing 20 rupees if you'd like. Head up, avoiding the blade trap on the ground, and use a key on the locked door.
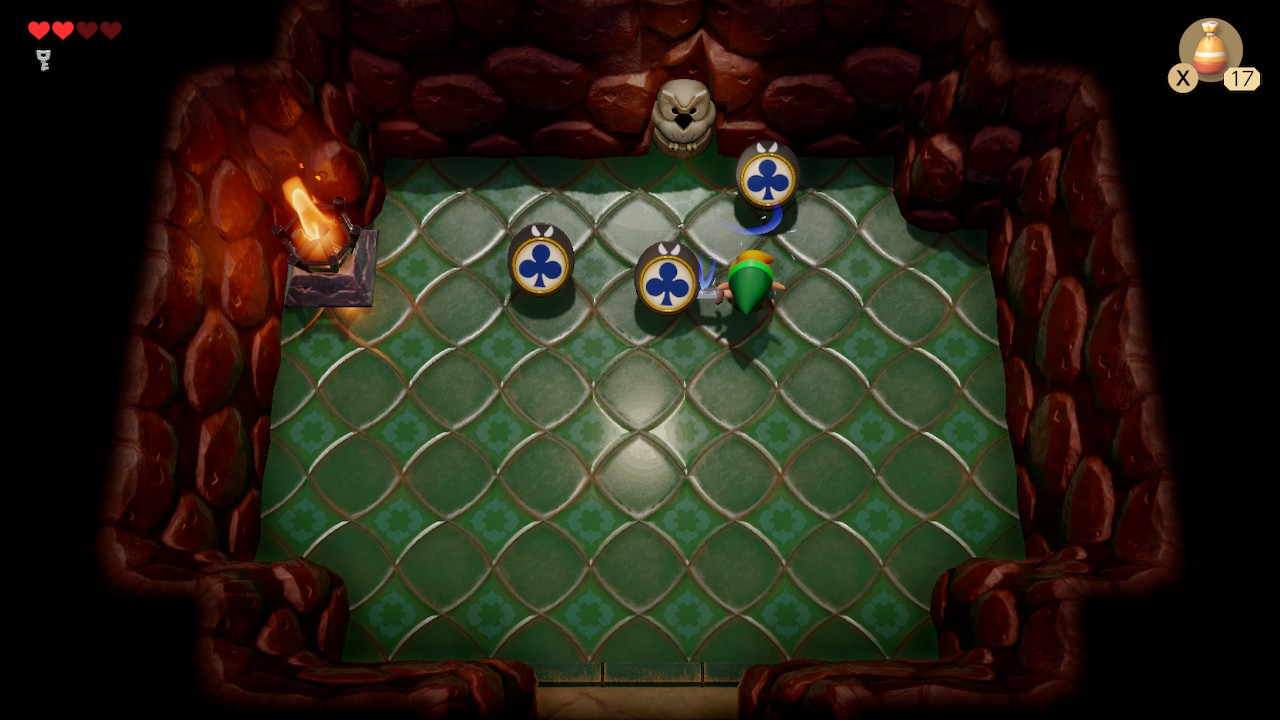
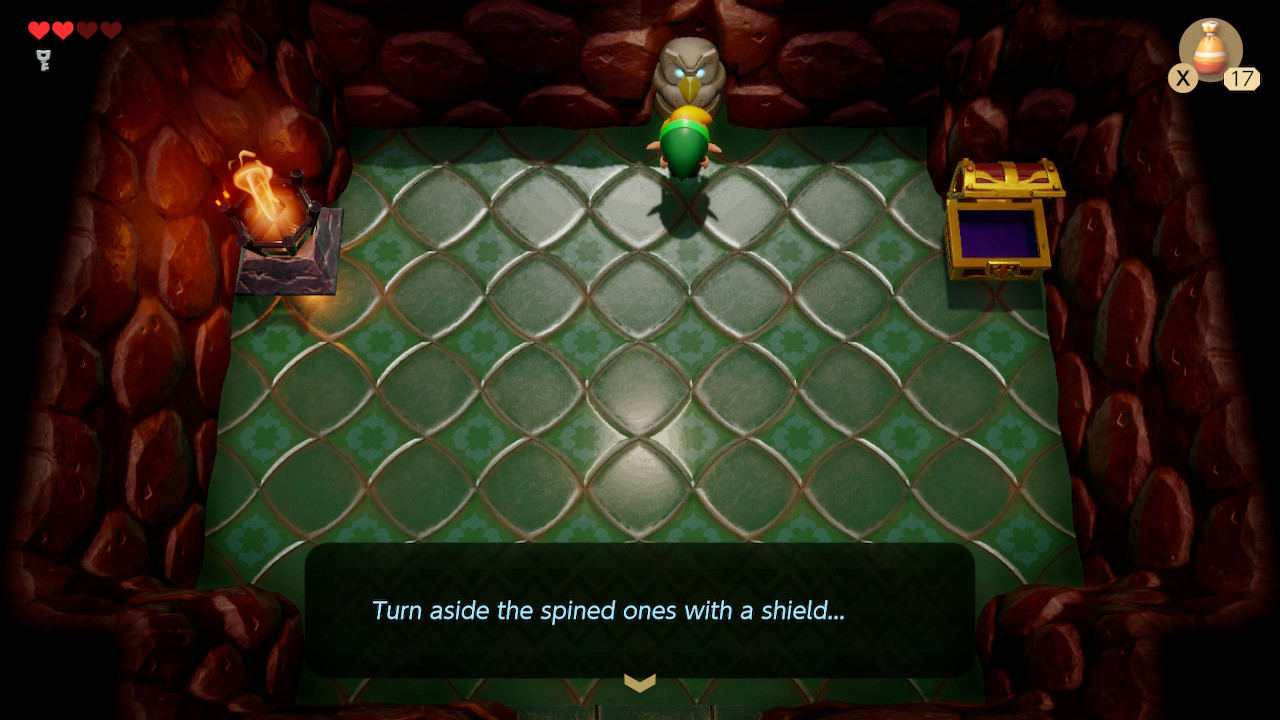
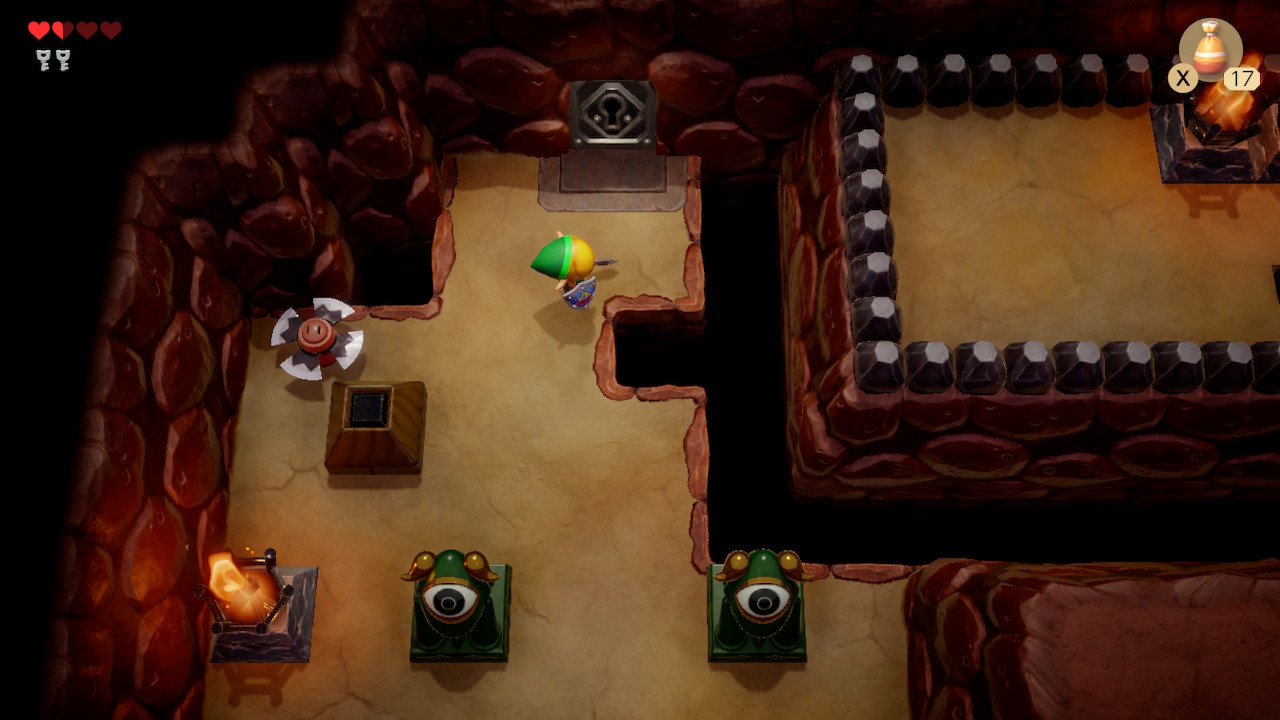
In this room, head right and wrap around back to the top. Use your stone beak in the owl statue if you'd like. Follow the hint and push the furthest-left block to the right to open the door. In this room, use your shield to flip over the spiked enemies and kill both to reveal a staircase. Head down the staircase.
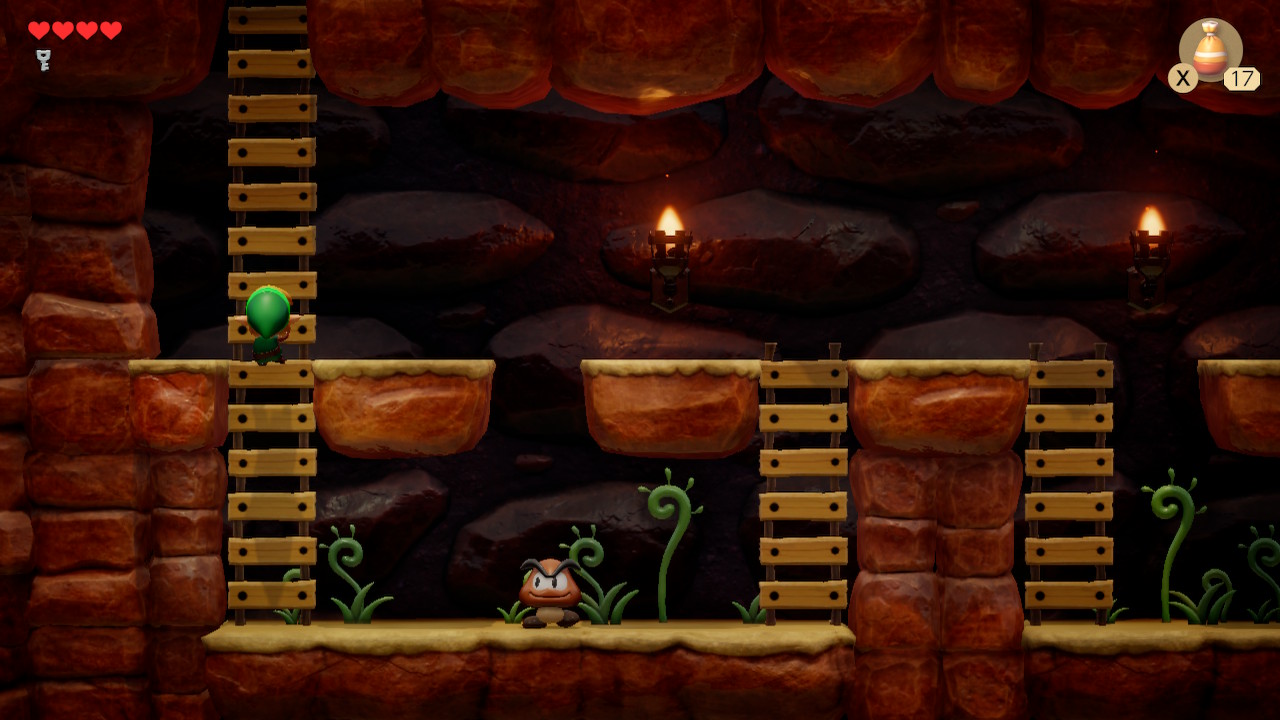
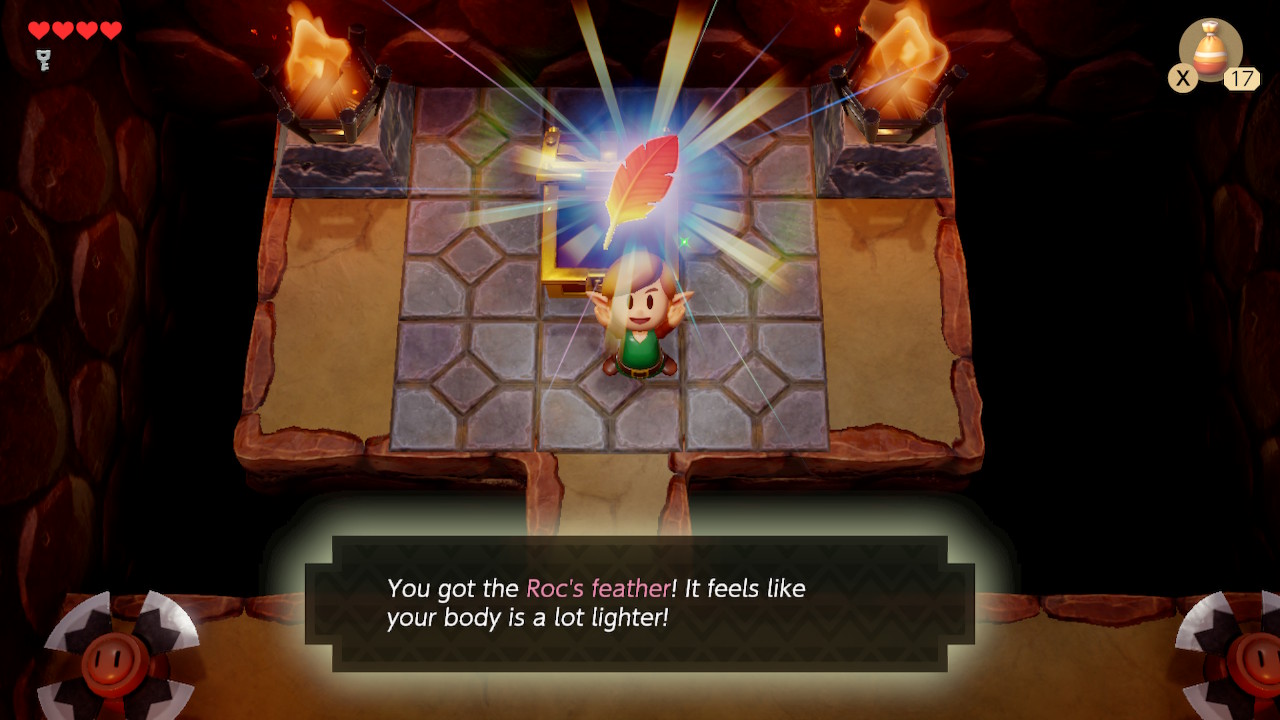
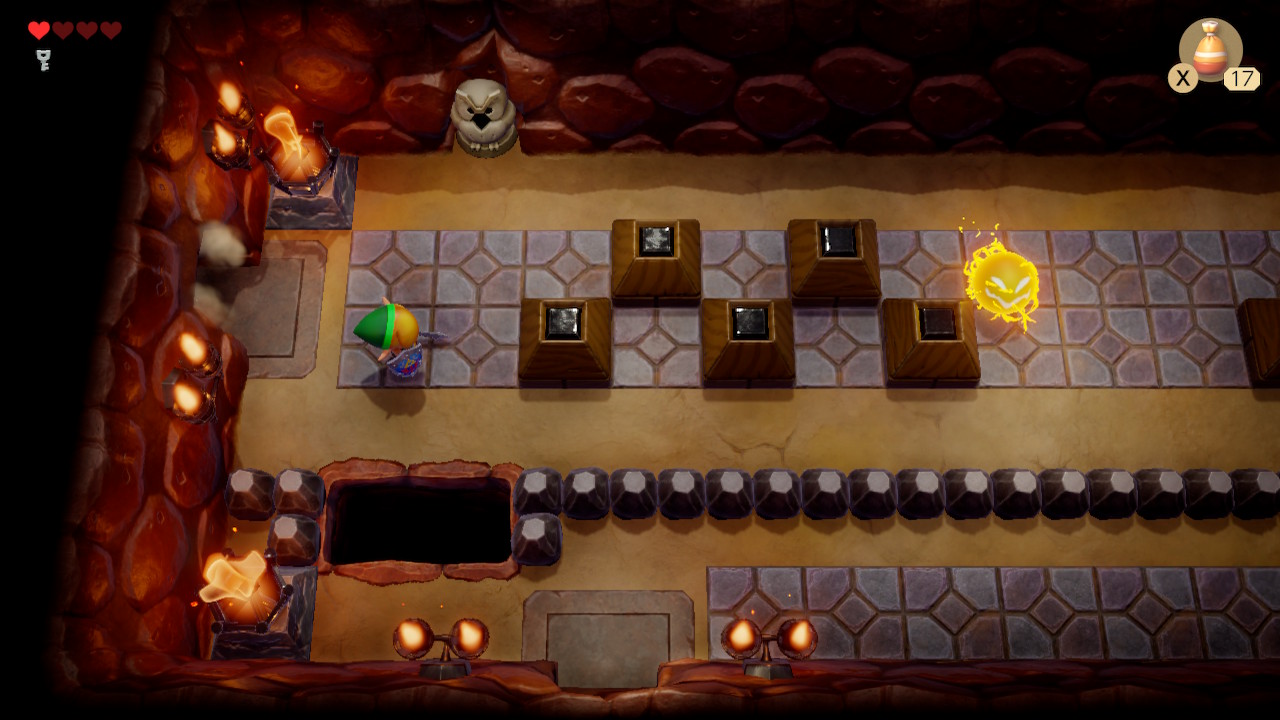
You'll find yourself in a 2D platforming perspective, complete with Goombas from the Super Mario series. You can jump on their heads from above to get hearts or simply slash them with your sword. Head left and up the ladder. Head up and past the blade traps to pick up Roc's feather. Equip it to X or Y and use it to soar through the air.
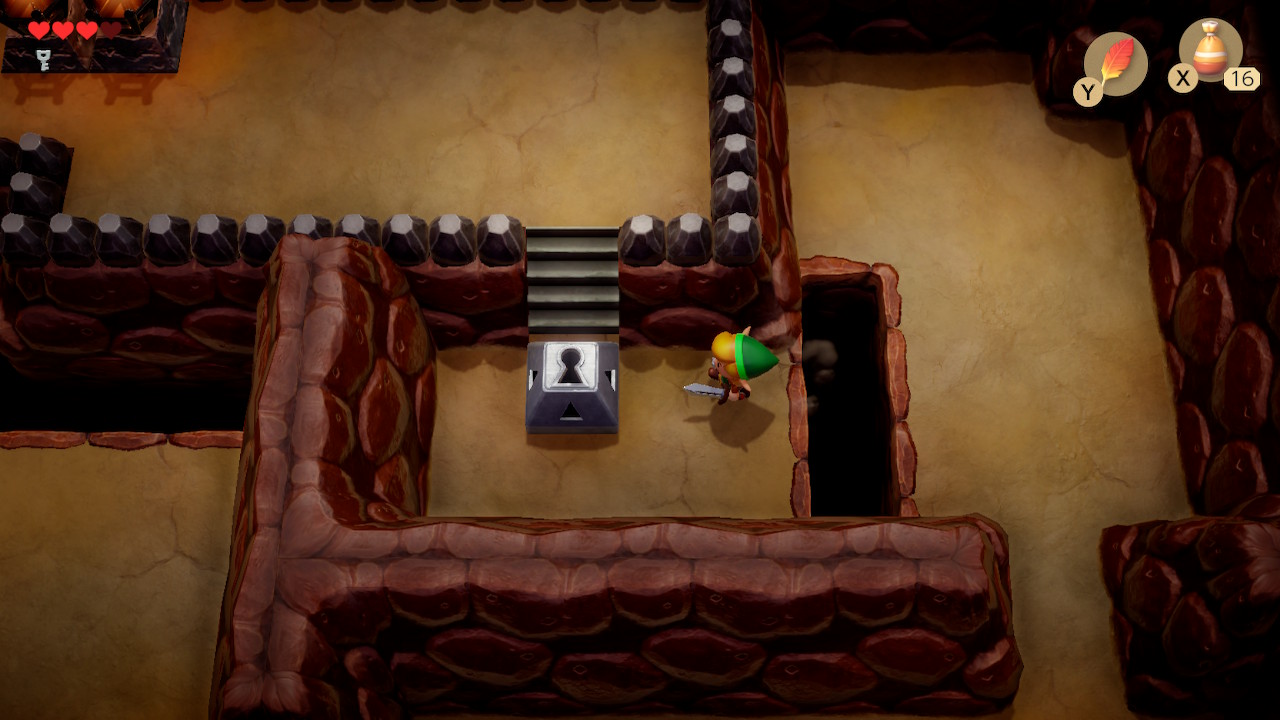
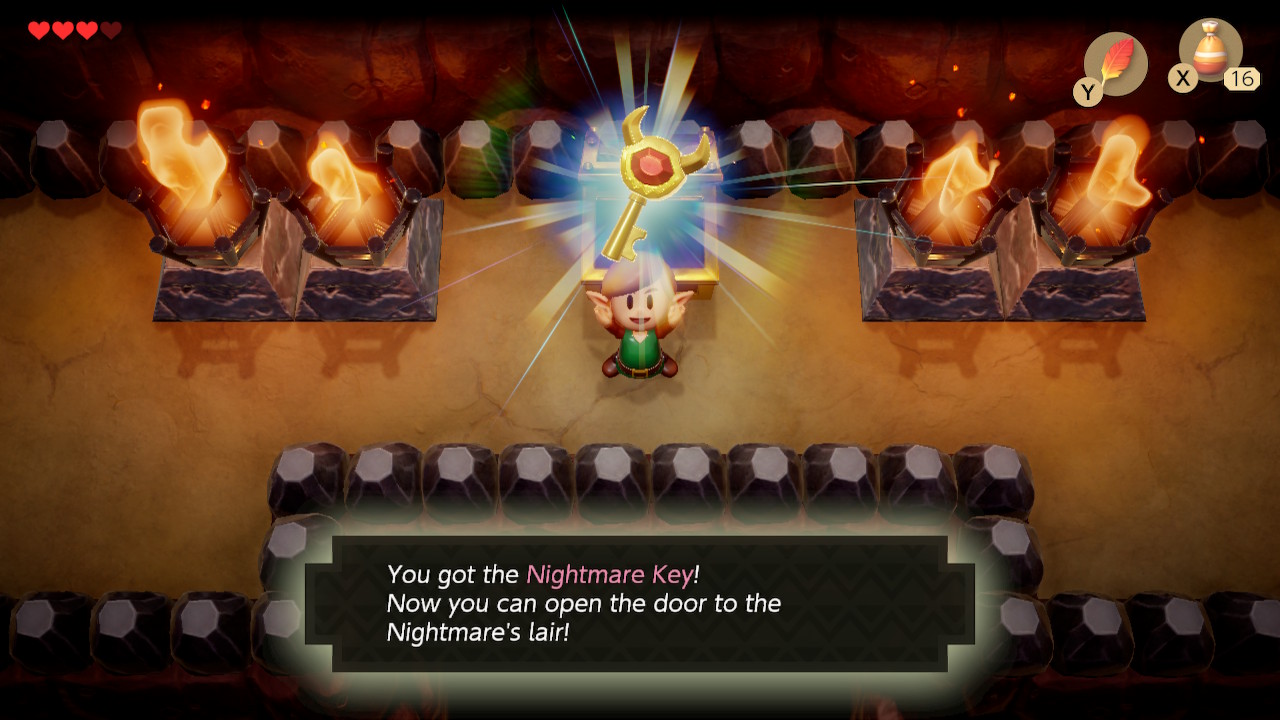
Head back through the basement and exit the room with the staircase to the right. You can take a shortcut through this next room by jumping over the gap with Roc's Feather. Head down into the large room we've been in a few times before. Head to the right side of the room and through the narrow passage. You'll see a gap that can be jumped over and a block that can be unlocked with a key. Do so and open the chest here to get the Nightmare Key.
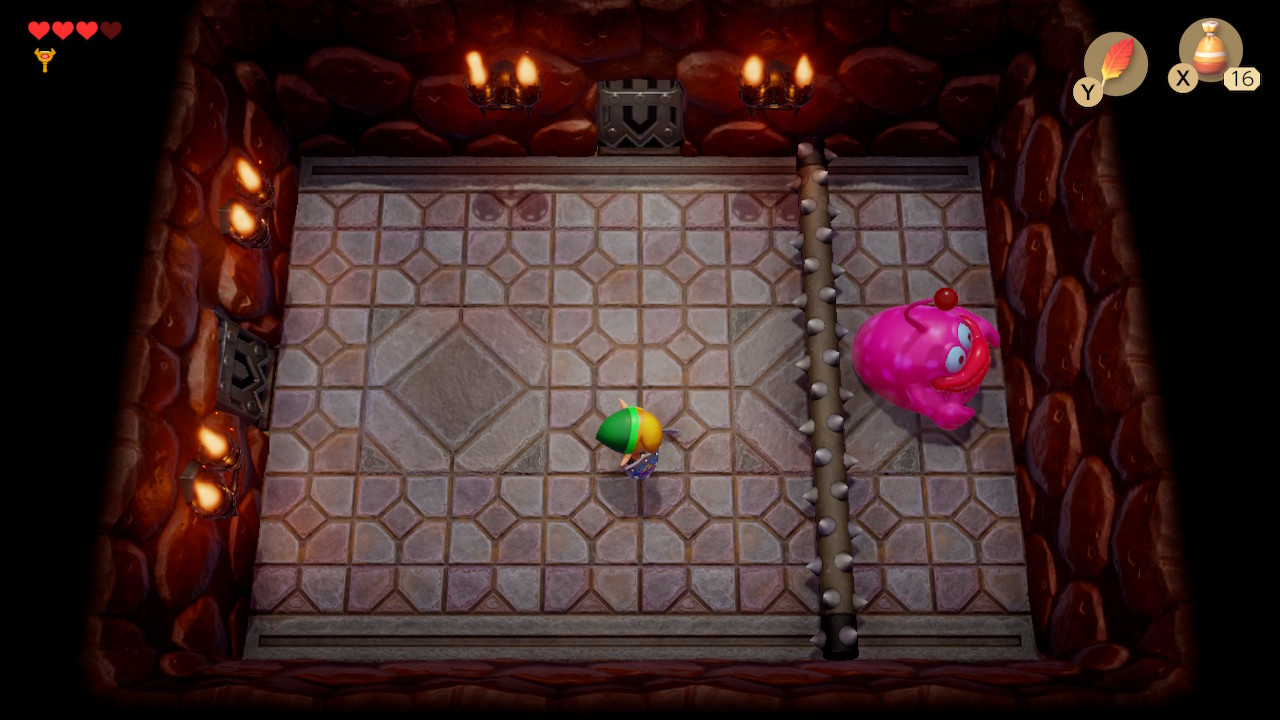

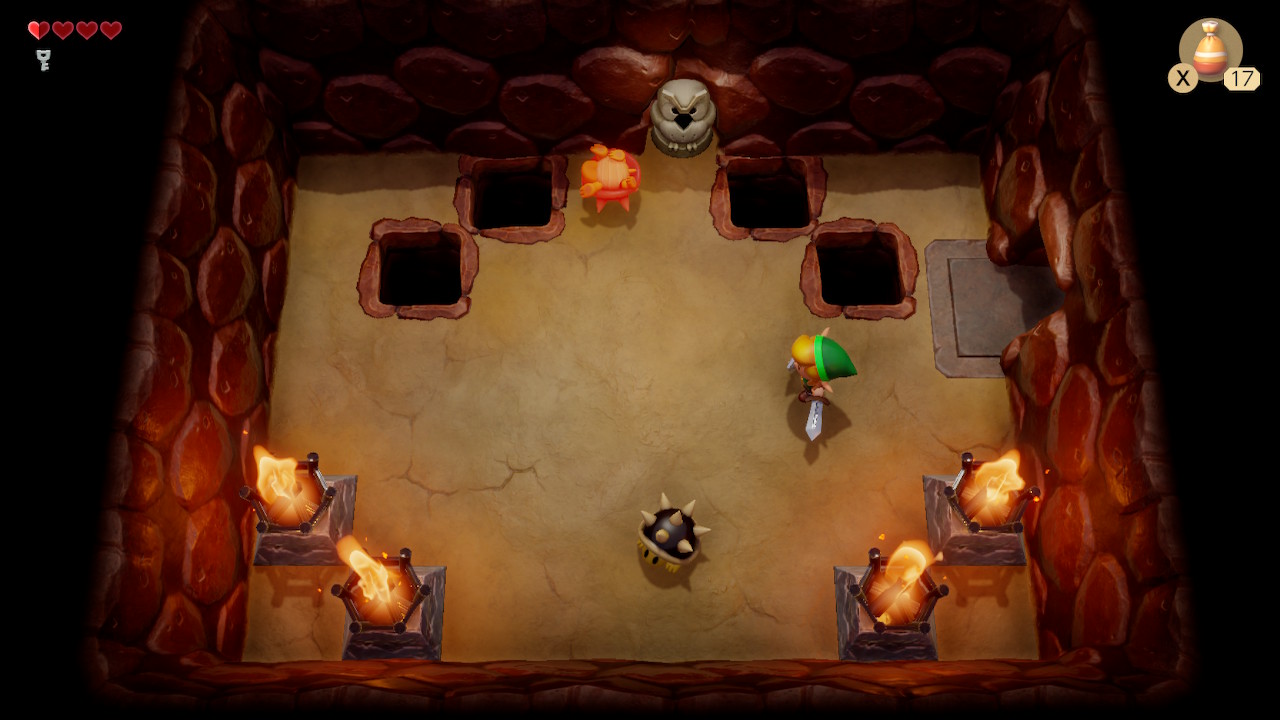
Exit this large room to the right in the direction where we picked up the stone beak. You can now hop over the gap on the right side and enter the room to the right. Here you'll face the dungeon mini-boss: Rolling Bones. To defeat him, simply jump over the spiked log with Roc's Feather and slash him with your sword. He'll drop a fairy that you can pick up in your bottle if you got it. A warp point will also spawn allowing you to travel back and forth to the beginning of the dungeon.
Head into the room above. If you want to pick up three recovery hearts, you can do so by taking the staircase to the 2D basement. Otherwise, enter the boss door above.
Moldorm
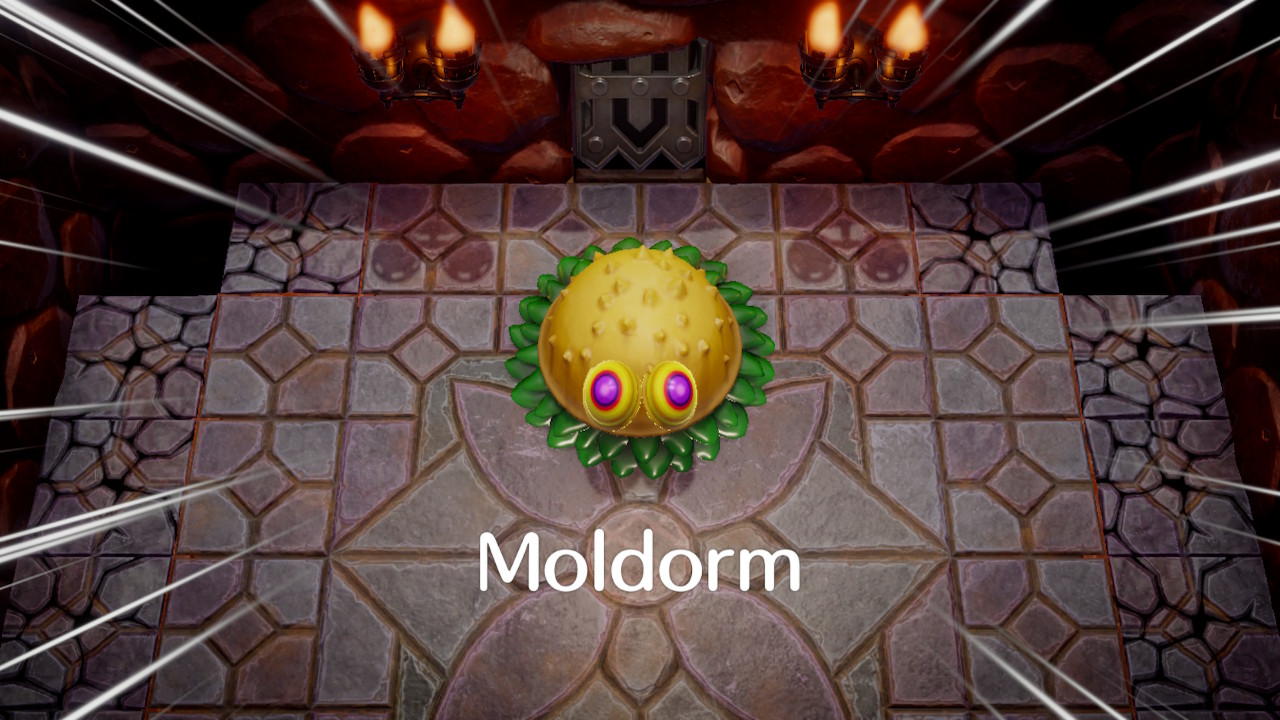
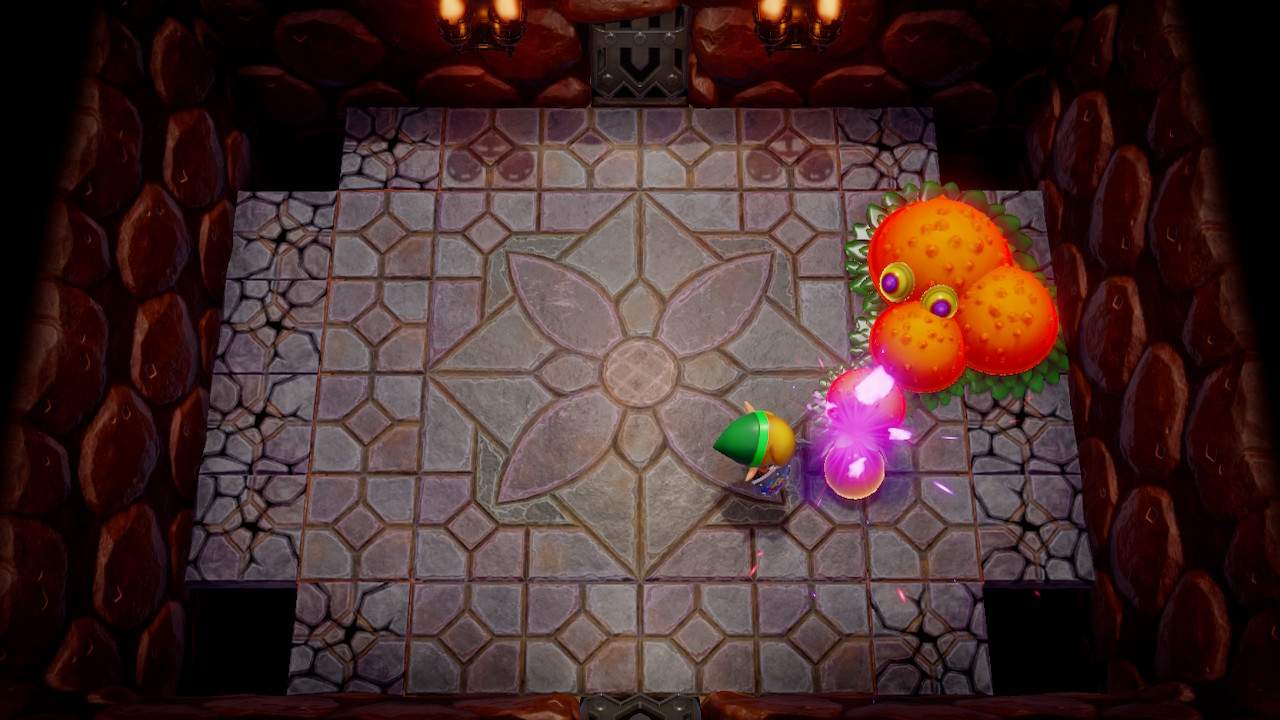
The boss of Tail Cave is called Moldorm. It's a giant worm that will move about the room erratically. Touching Moldorm at all will damage link. Its weakness is the glowing sphere at the end of its tail. Simply slash at it and Moldorm will close its tail up and begin moving faster. Wait this stage out and repeat the process. It will go down after four hits.
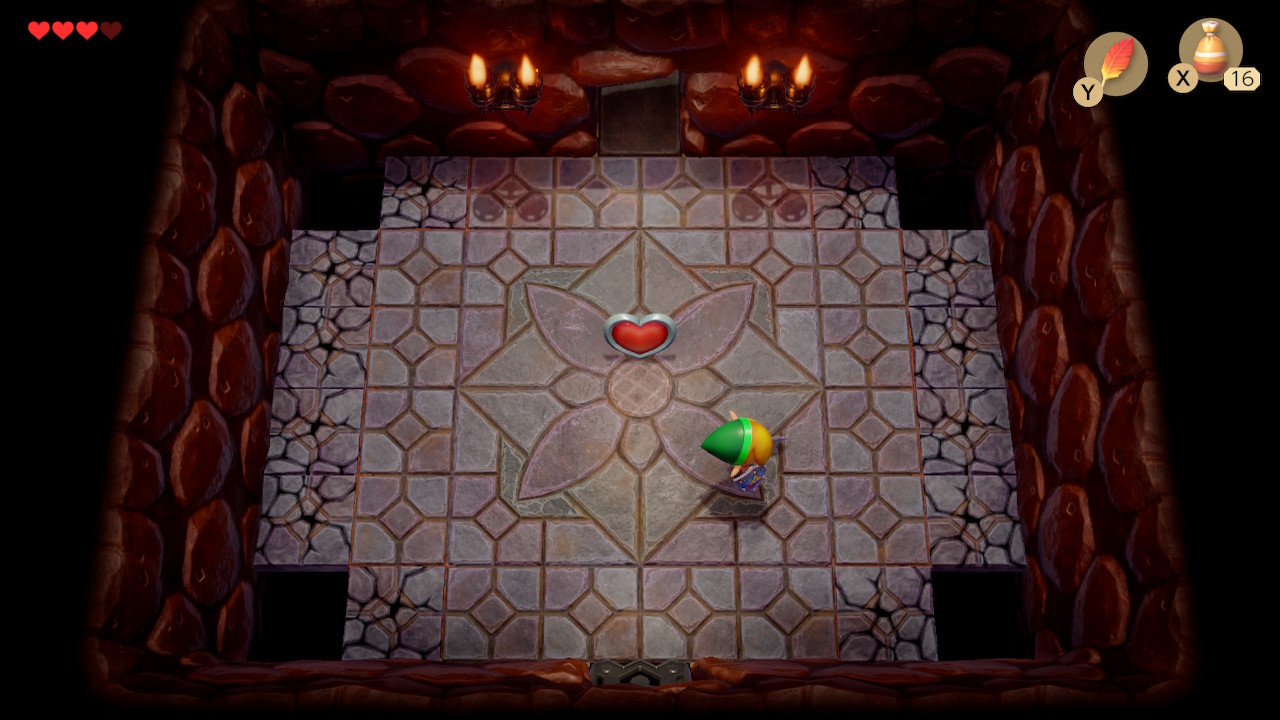
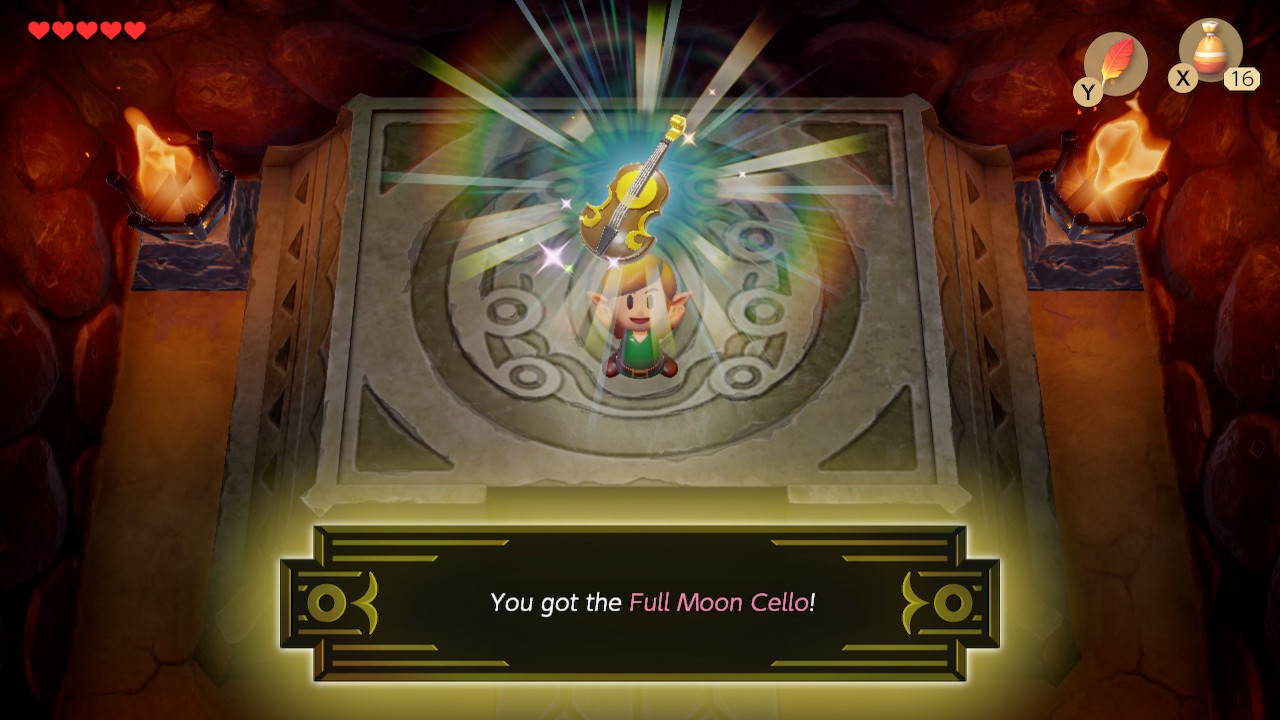
Pick up the Heart Container dropped to instantly increase your number of hearts by one. Enter the room above and pick up the Full Moon Cello. A cutscene will play suggesting a path has opened in the swamp.
Continue to Bottle Grotto
