
Part 4: Angler's Tunnel
Ocarina
After completing Key Cavern, a lot has opened up for us to do. This part of the walkthrough will cover a lot of optional collectibles, so feel free to skip these if you are only interested in the main quest. That being said, there is plenty of the main quest to complete before the next dungeon as well, so let's get started.
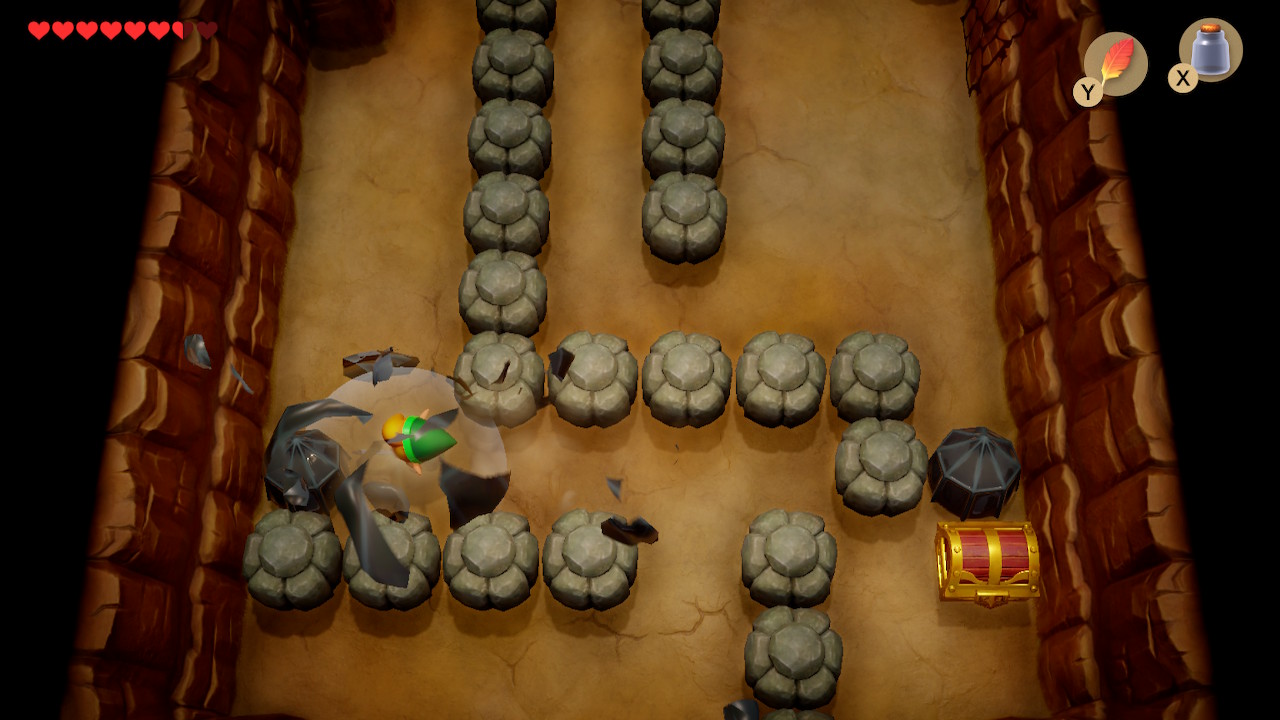
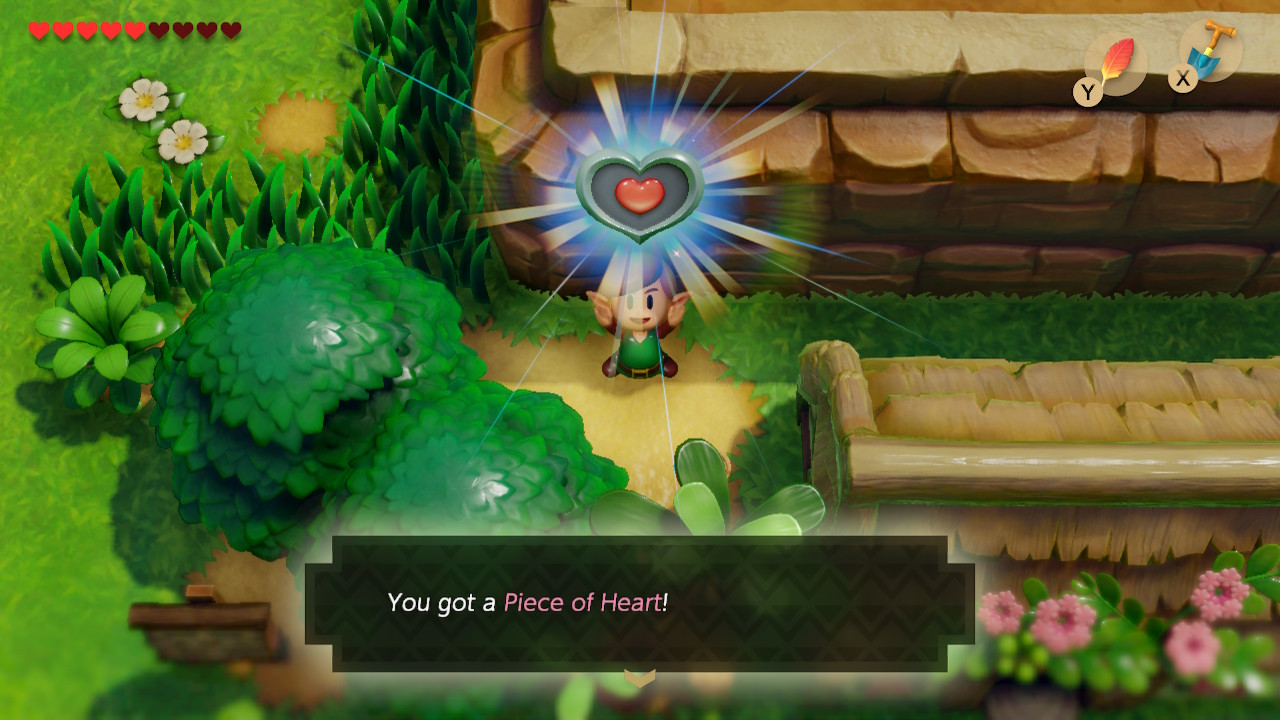
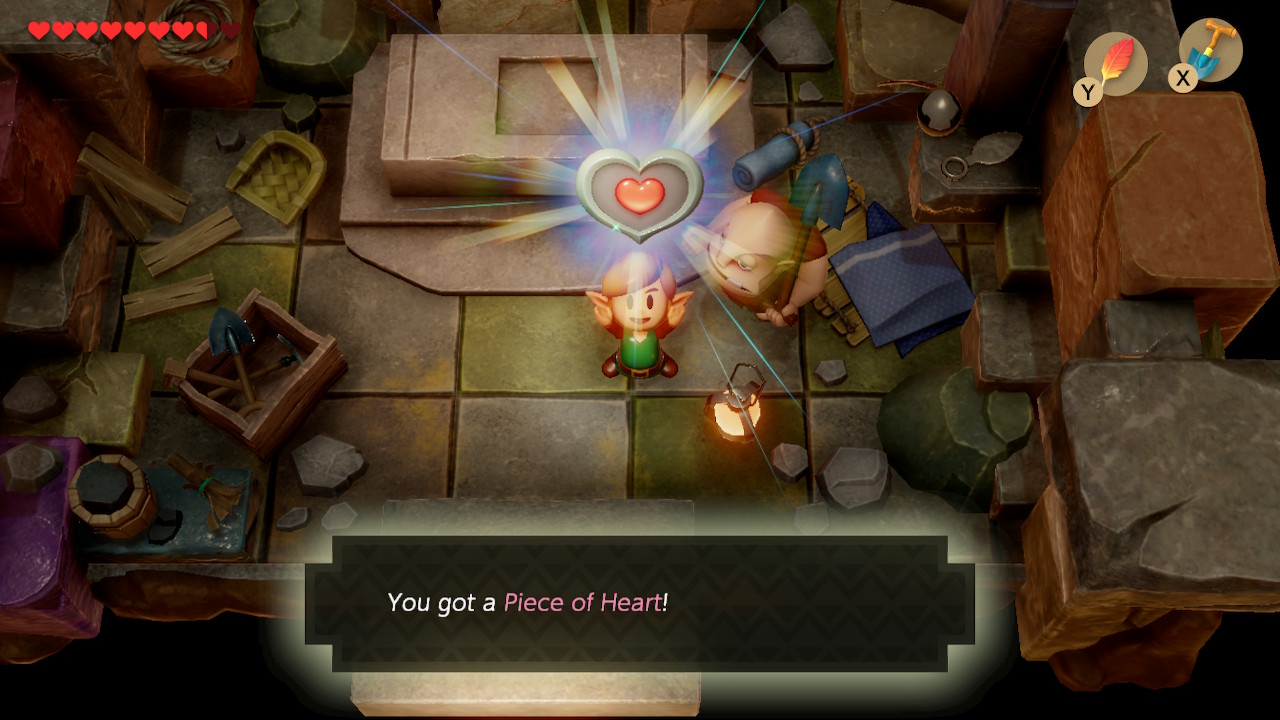
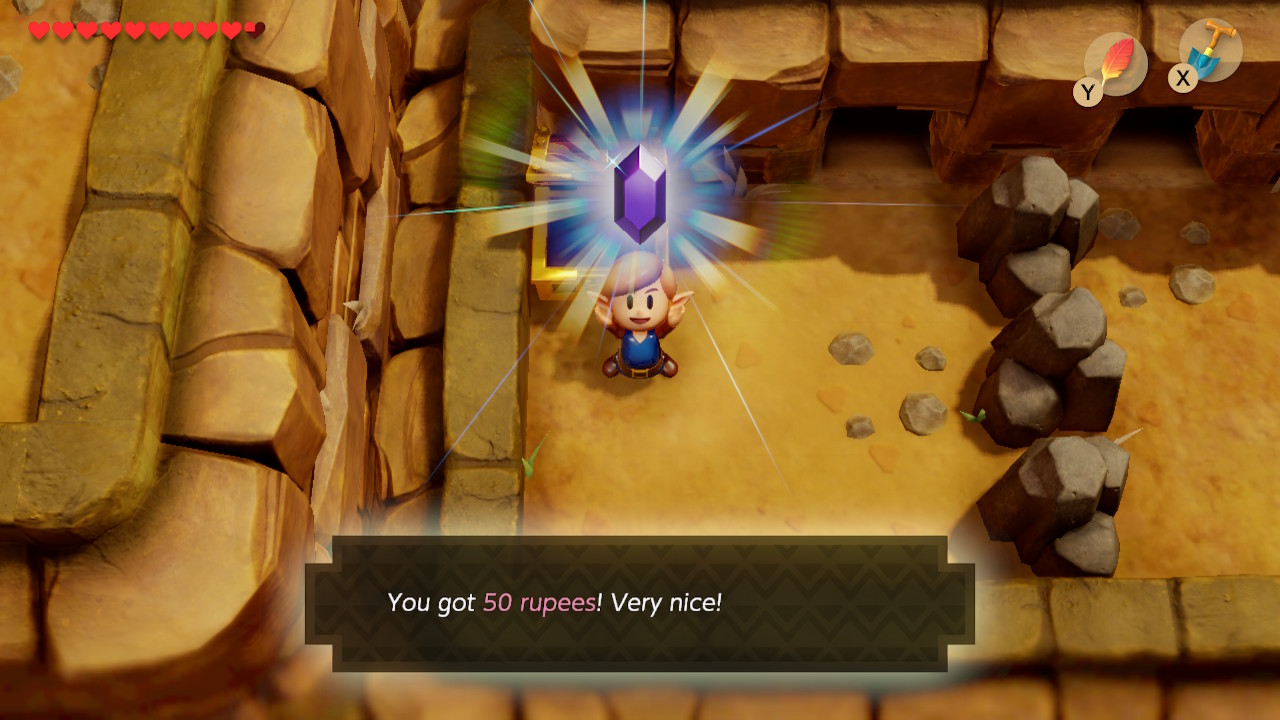
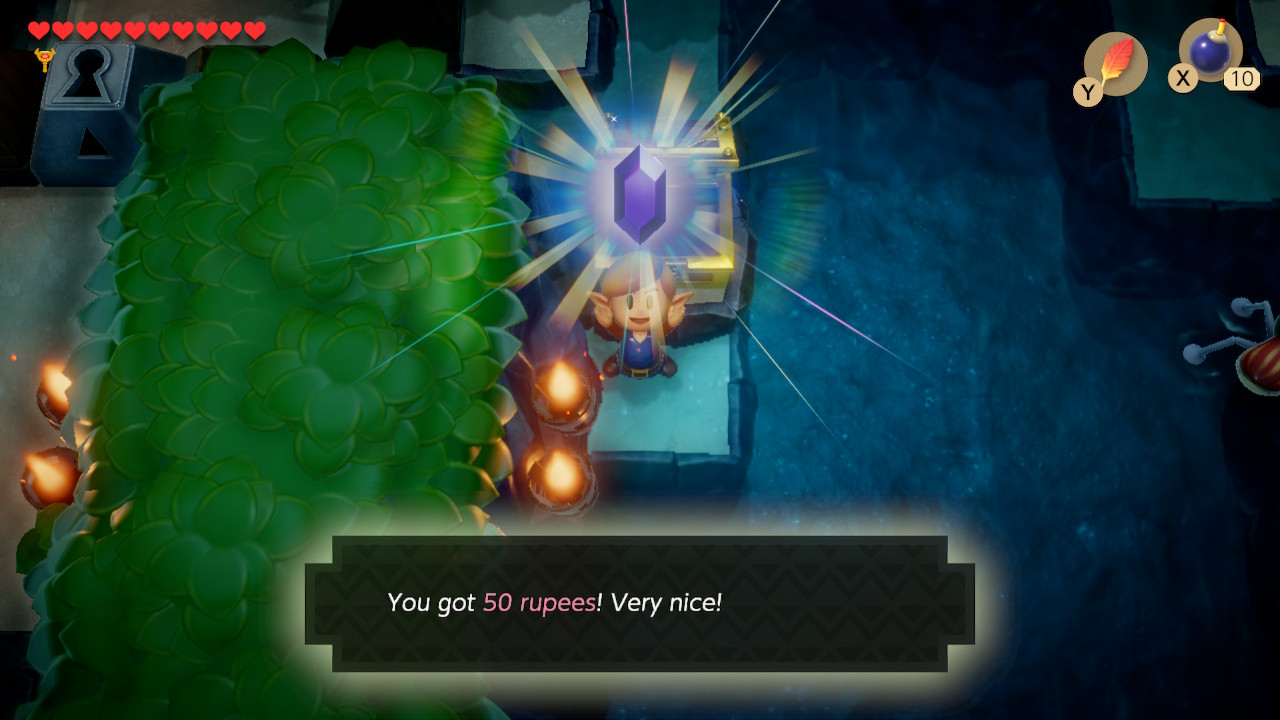
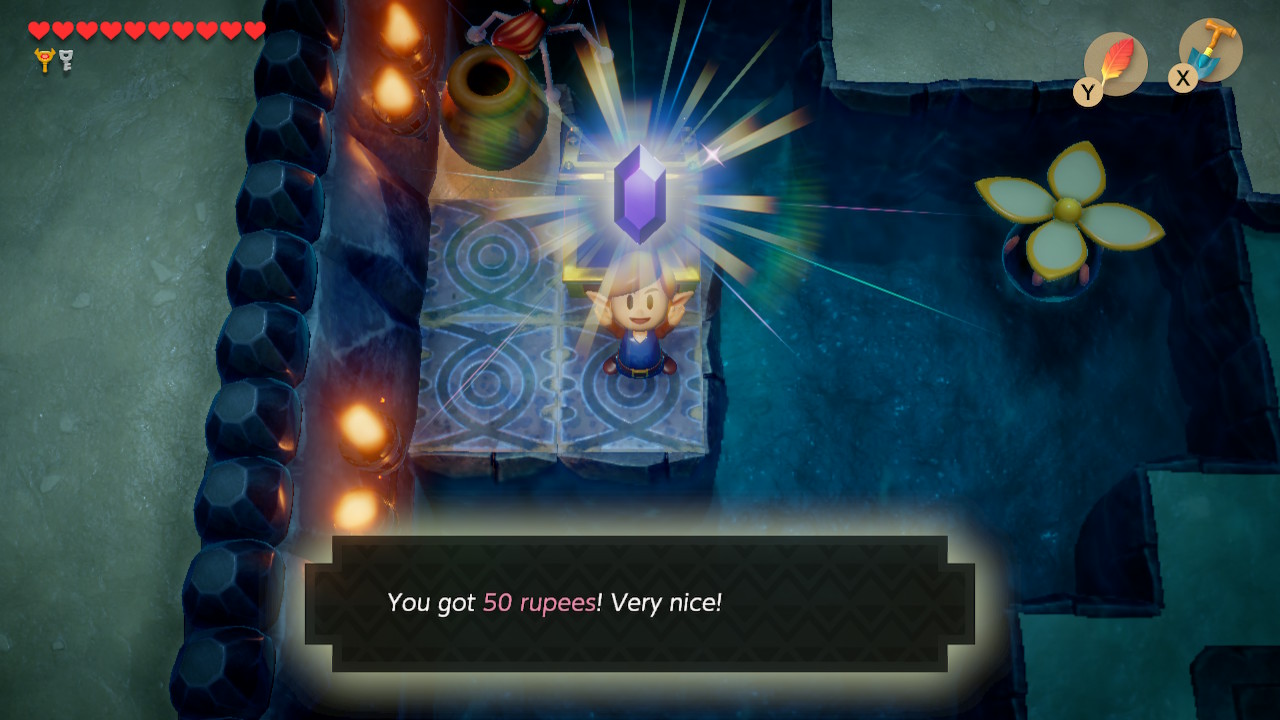
Head north in Ukuku Prairie from the entrance of the dungeon and you'll find a cracked wall that can be bombed. This would be just west of where the Honeycomb was picked up in the trading sequence. Enter the cave and use your new pegasus boots to smash through the objects and clear a path here. Grab the 50 rupees from the chest and then check out the cracked wall on the right. Blast it open and grab Piece of Heart #12 inside.
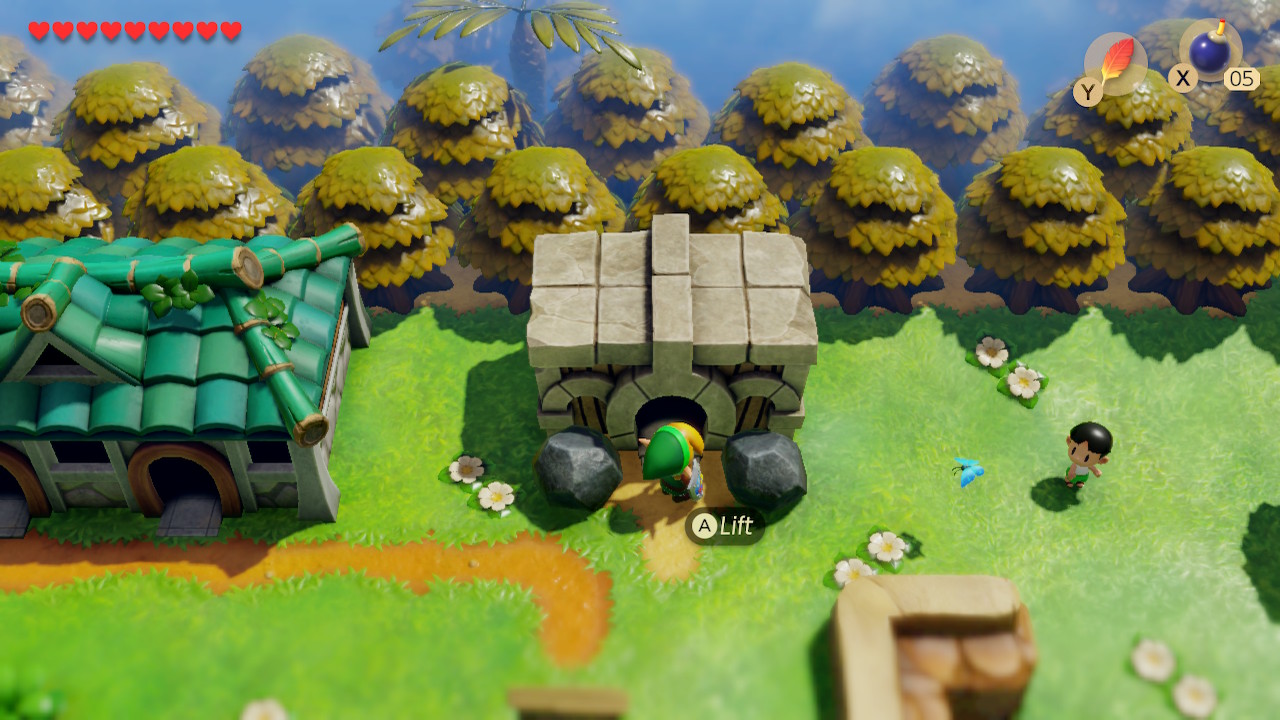
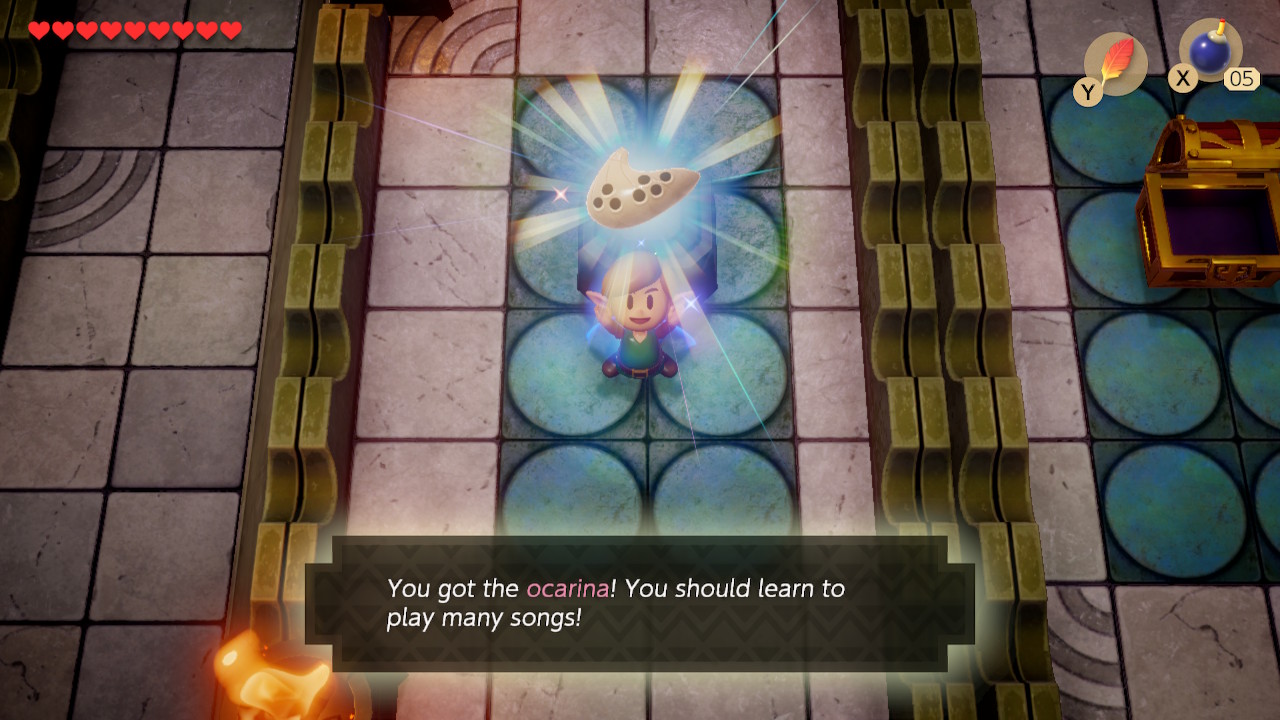
Head west back to Mabe Village. There is a building just north of the town shop called the Dream Shrine. It will have several boulders blocking the entrance. Enter it and hop in bed. You'll be teleported to a room with a new enemy called Arm-Mimics. Use your pegasus boots to defeat them and quickly make your way around the squre. Head up the stairs on the right to get 100 rupees. In the area to the left, you can grab the Ocarina. Exit the Dream Shrine.
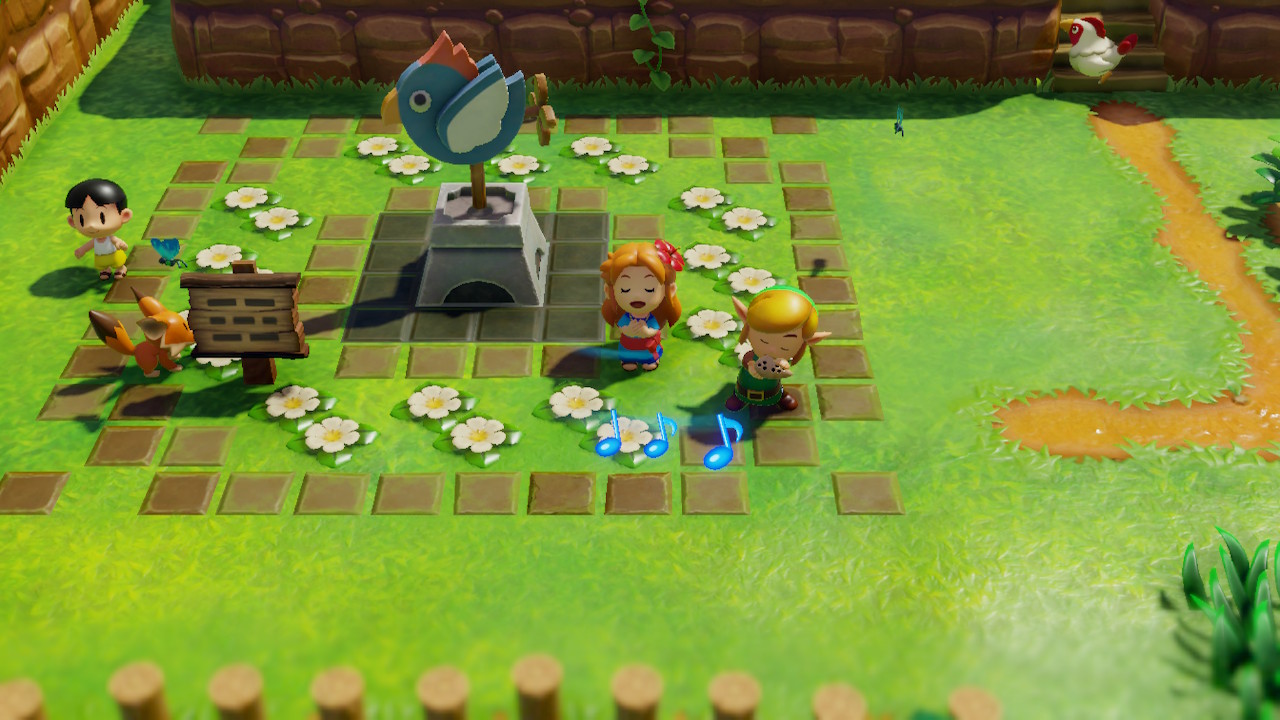
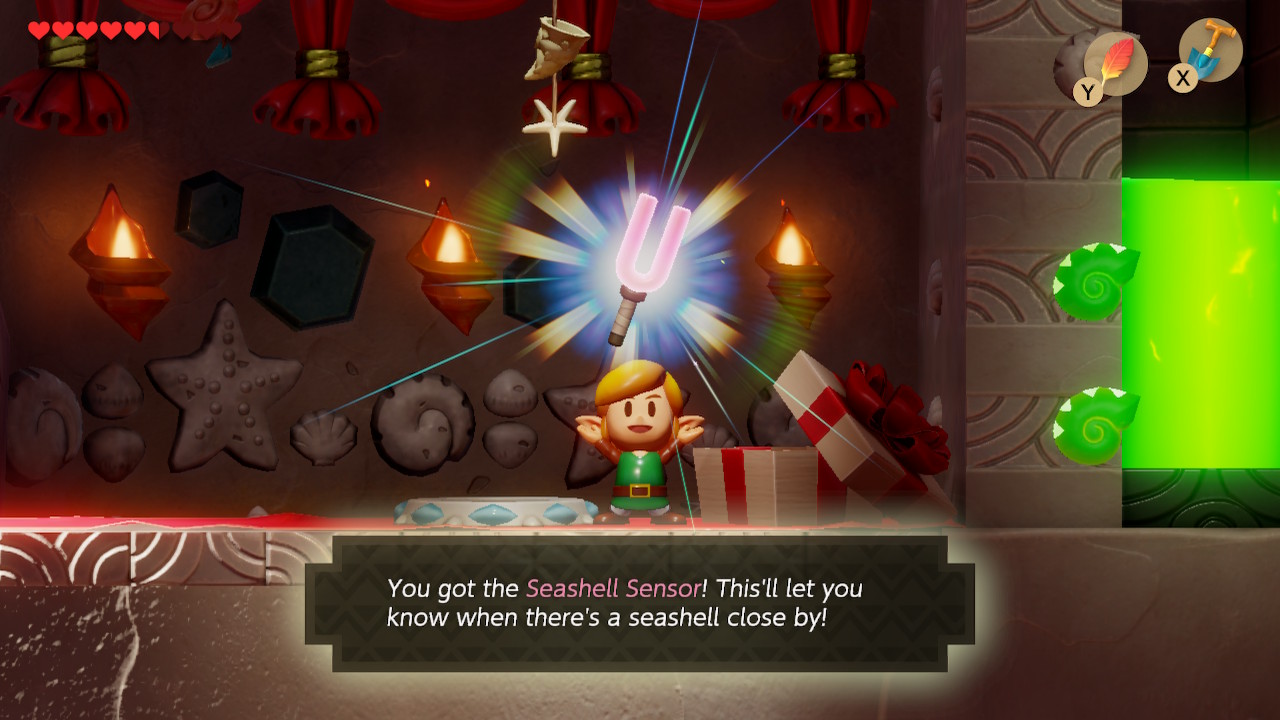
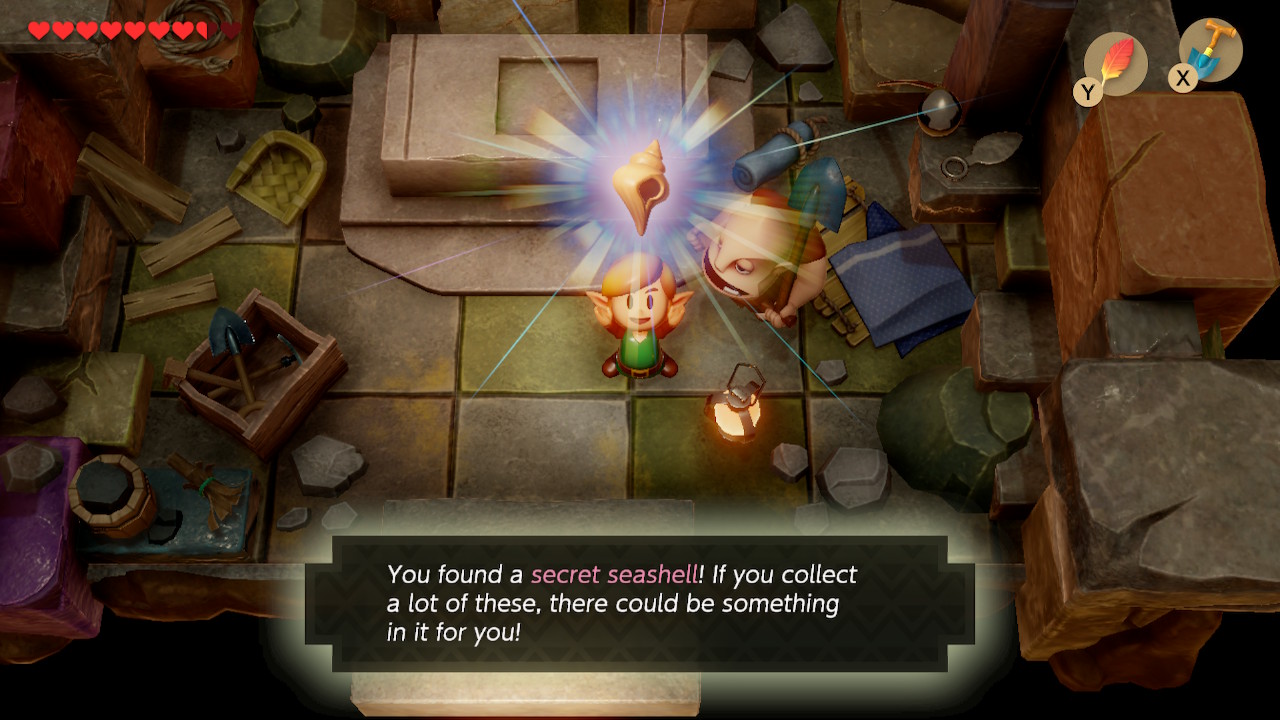
Head south a bit and speak to Marin in the plaza here. She will teach you the song 'Ballad of the Wind Fish'. We now want to take the warp portal east of town to the Seashell Mansion. If you haven't already, enter the Seashell Mansion and collect your Seashell Sensor for finding 15 or more Secret Seashells.
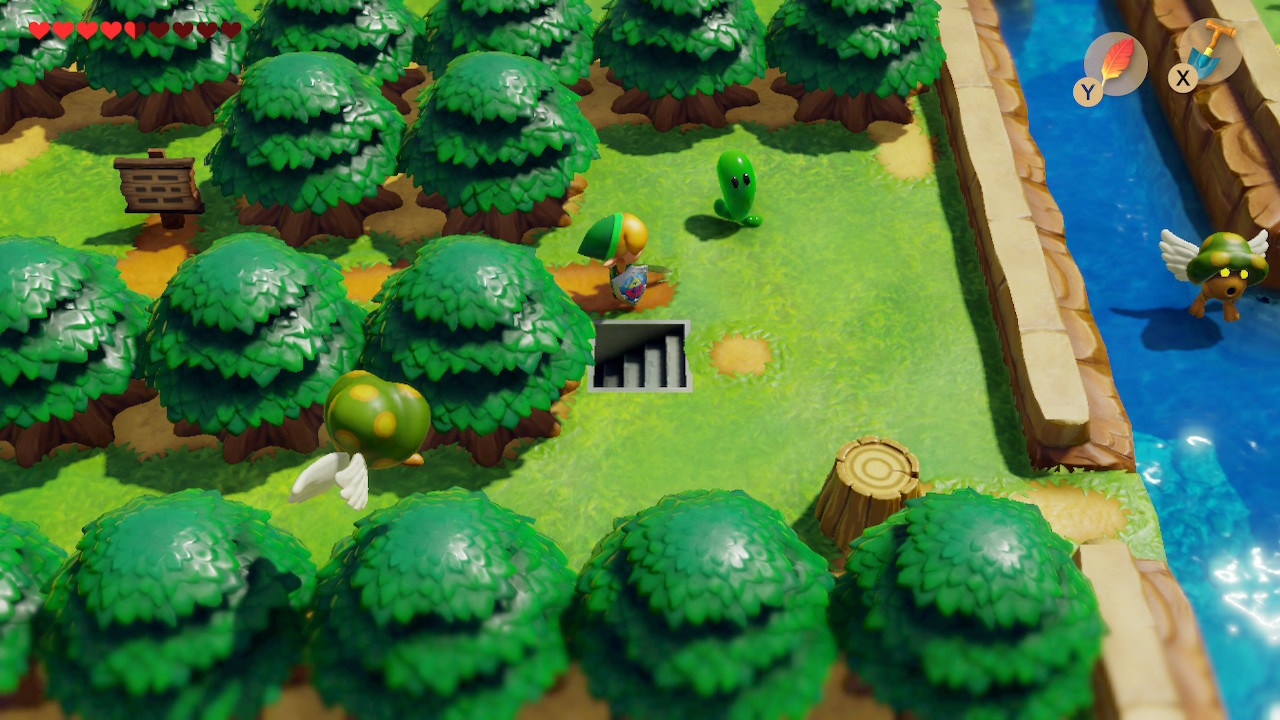
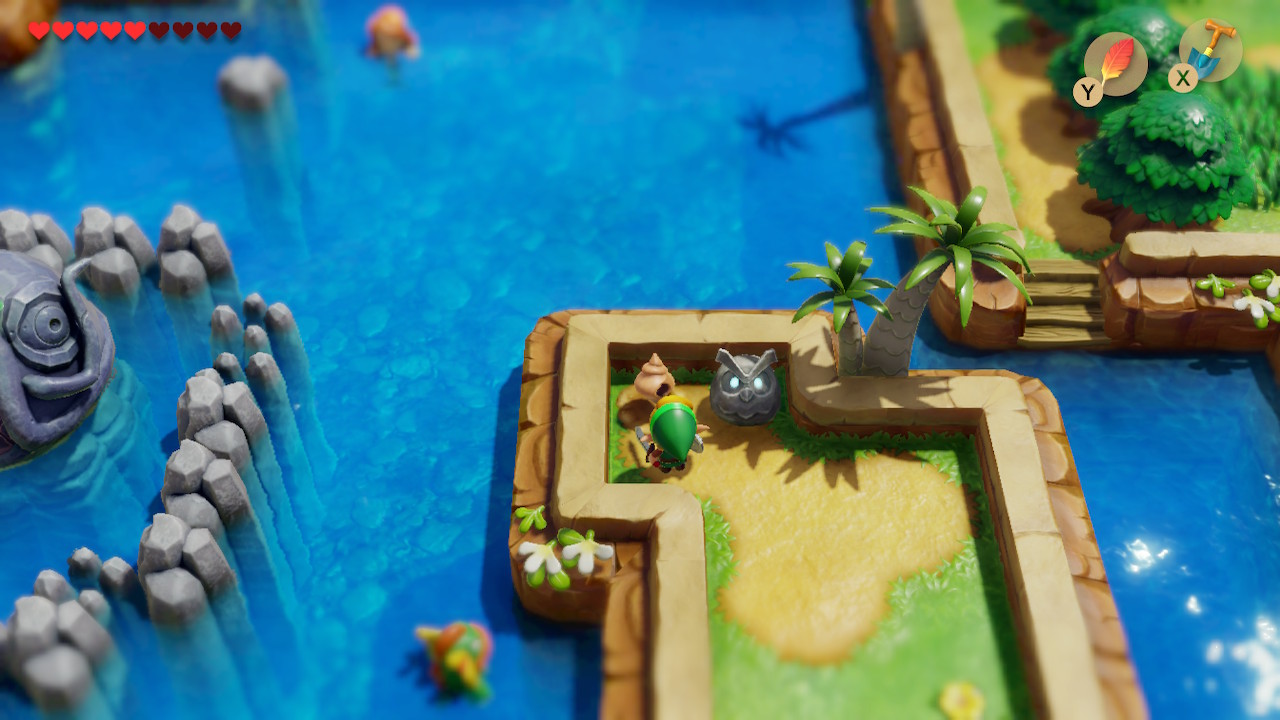
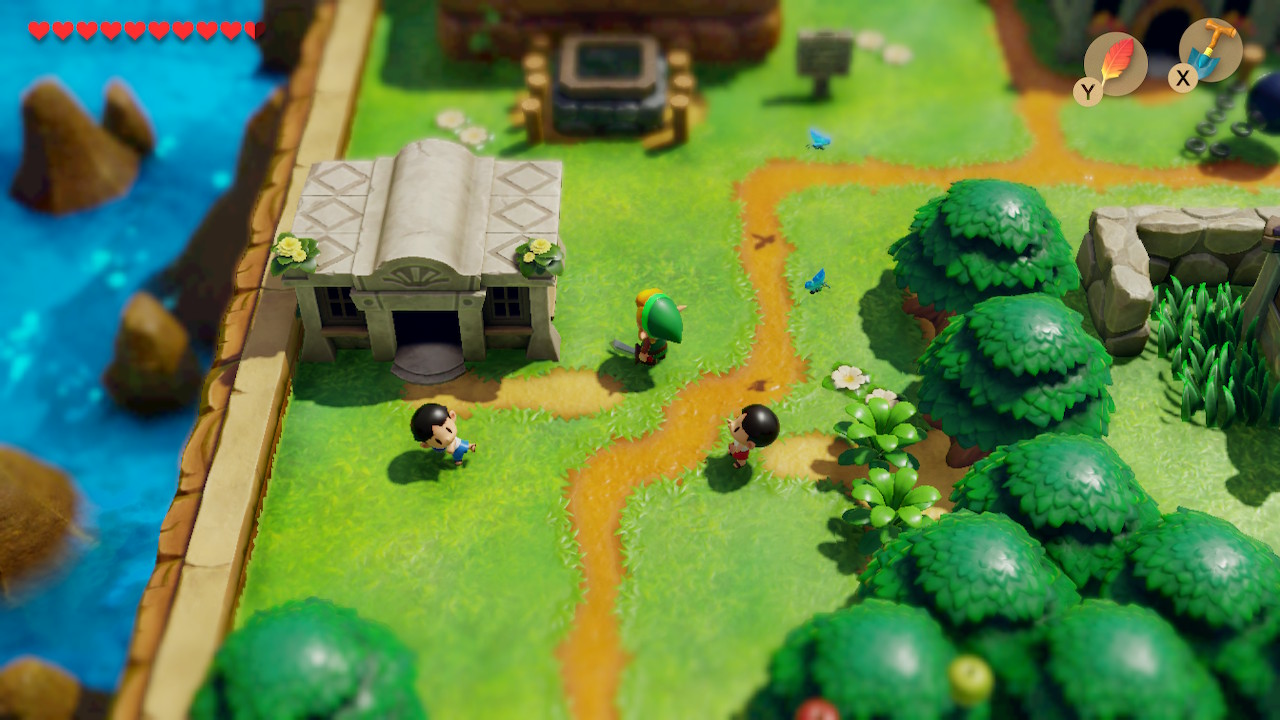
From the Seashell Mansion, head south and wrap around the trees here. You'll find a lone bush that can be cut down to reveal a secret staircase. Take it down. Dash through this area and up the staircase to find yourself on the other side of the river. Just south of here you'll find yourself at Animal Village.
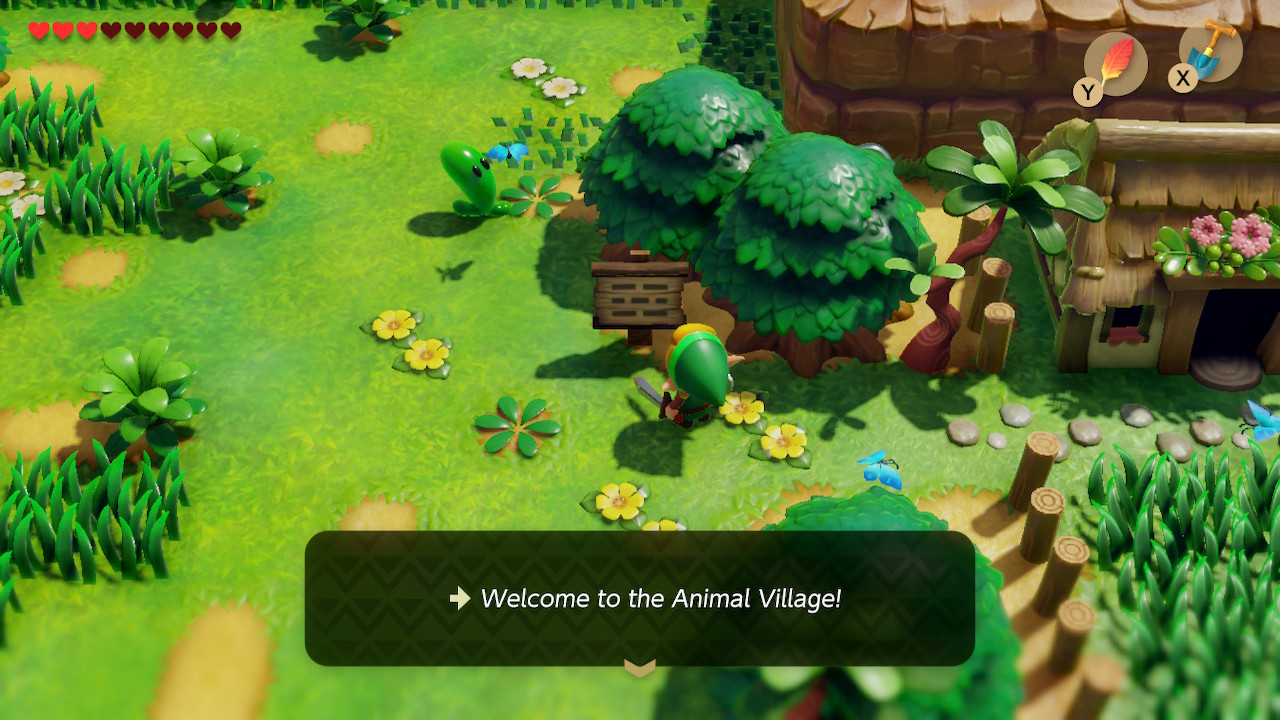
Animal Village
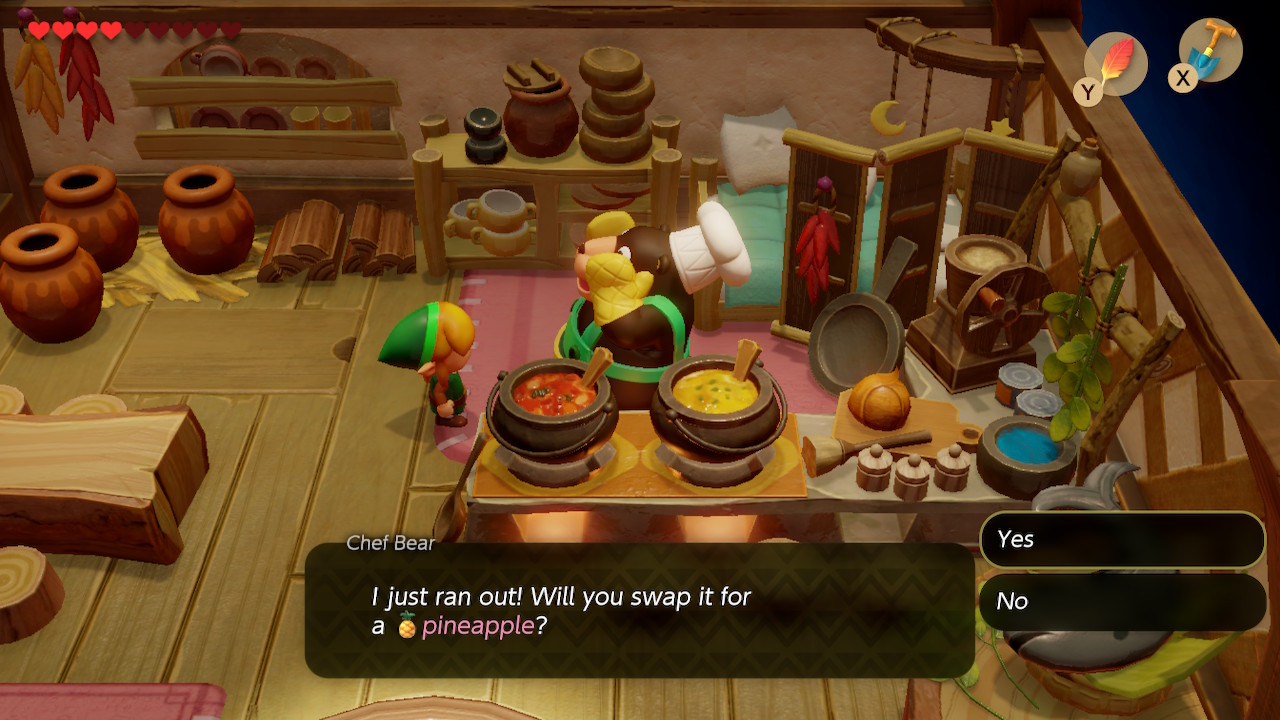
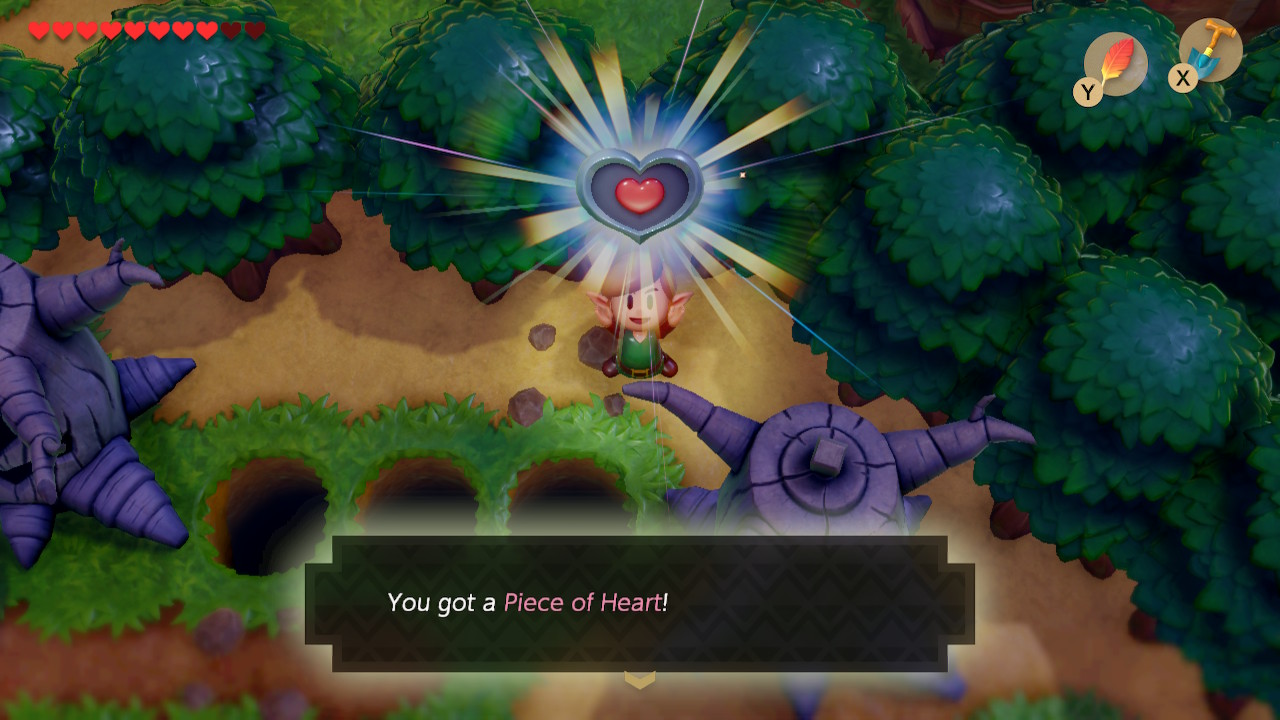
Like the name implies, this is a small village inhabited only by animals. The first thing we are going to is actually take the southwest exit out of the village and use it to wrap around the perimeter back to the top. Here you'll find Piece of Heart #13 hiding in the corner. Go back to the village and enter the building in the southeast corner of town that is home to a Chef Bear. Hand over your Honeycomb in exchange for a Pineapple. Exit the house and walk south to activate the Animal Village warp portal. Take the portal back to Mabe Village.
Getting Marin
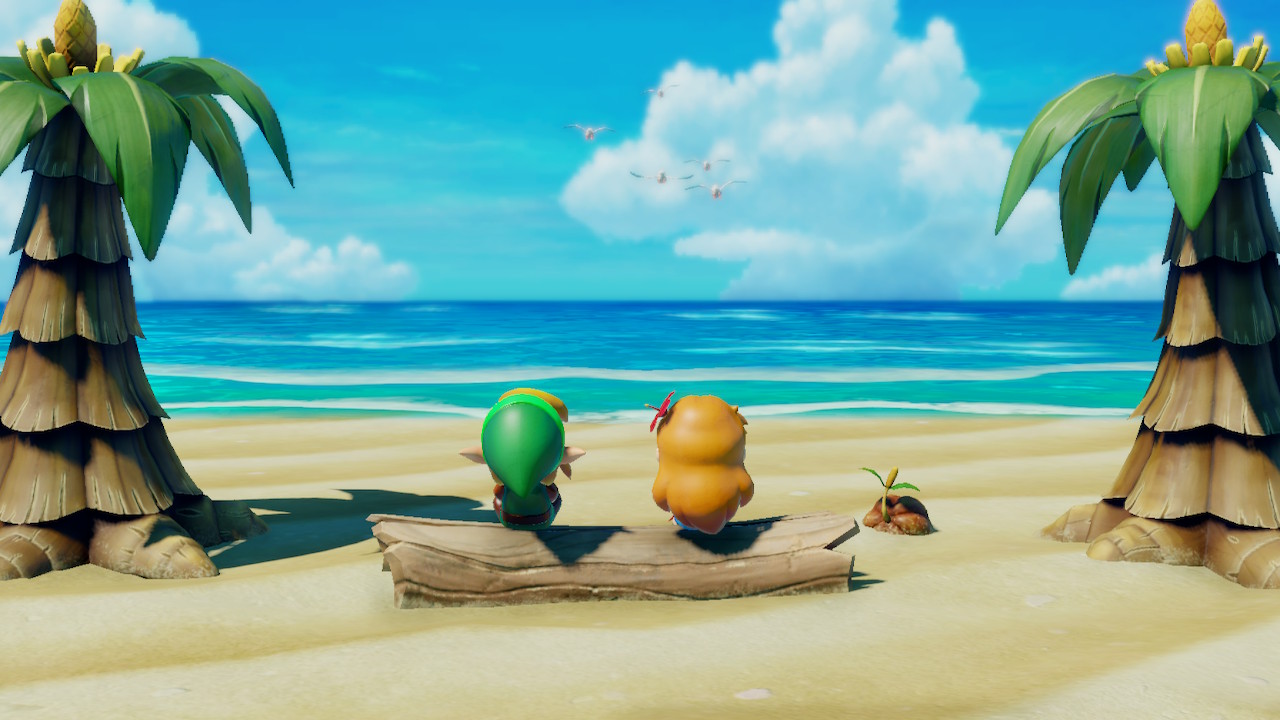
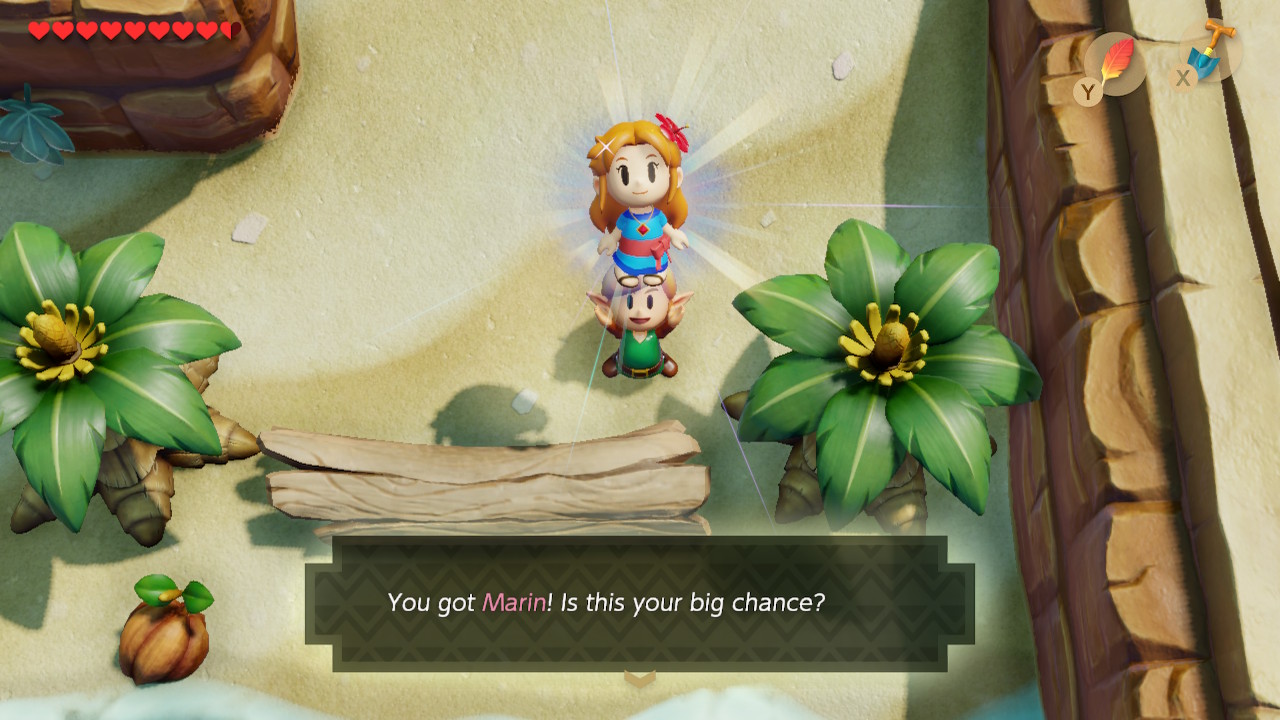
Head back to the plaza where we found Marin earlier. You'll notice she's gone, so let's make our way south to Toronbo Shores to find her. Now head to the southeast area of the beach and you'll find Marin sitting on a log. Agree to sit and talk with her for a while. After a bit of dialogue she'll agree to come see the Walrus that Chef Bear told us about. She'll now follow you around the overworld.
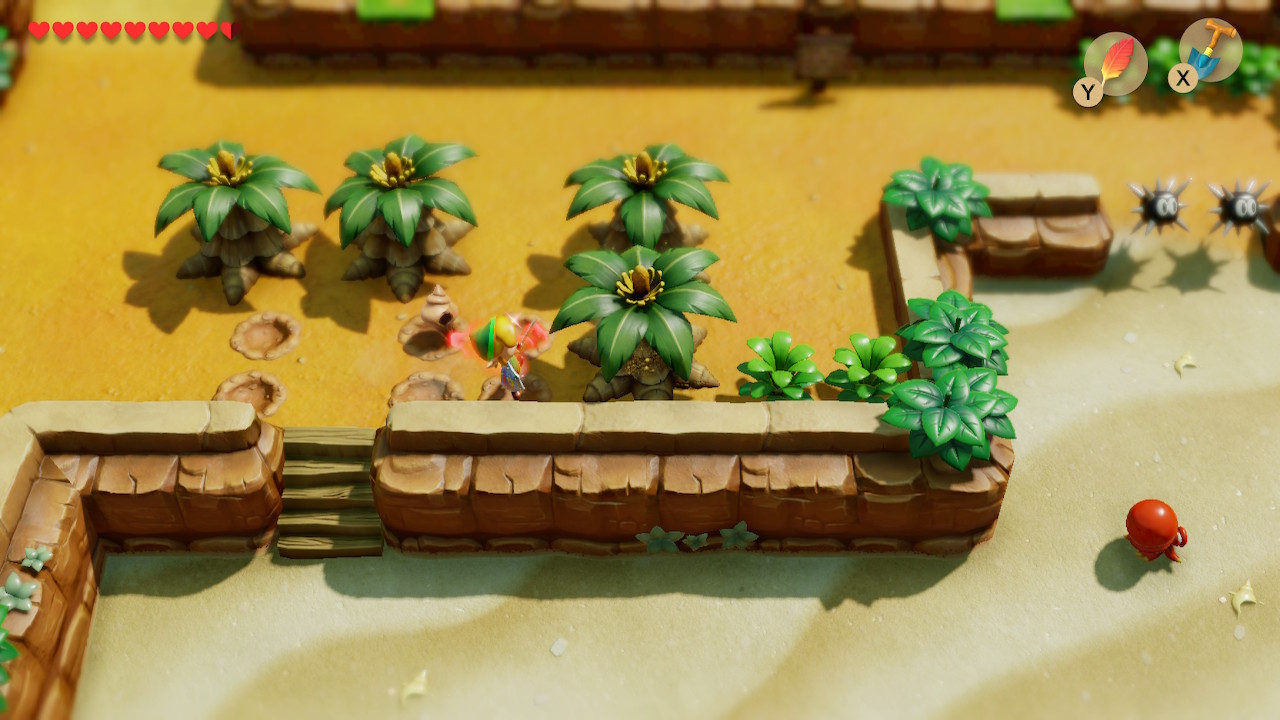
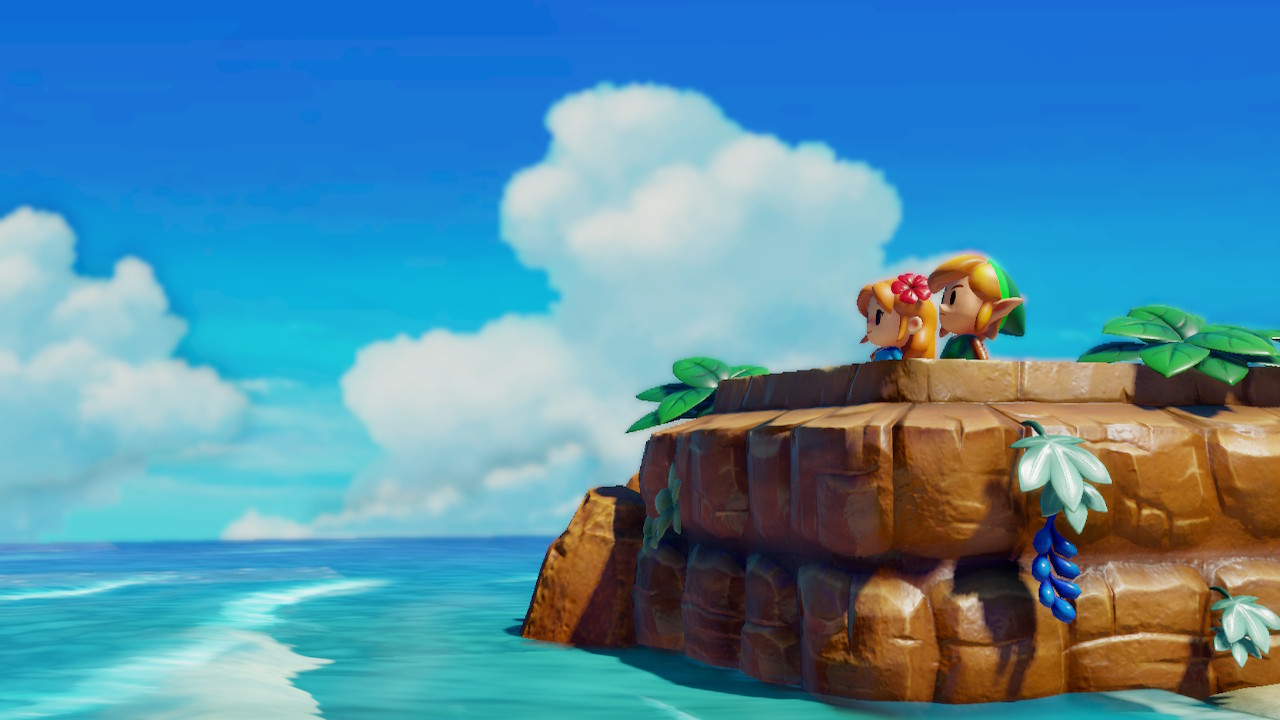
Head west along the beach. Near the furthest left staircase down to the actual beach, you'll see four trees. Ram into the one on the bottom-right and Secret Seashell #21 will pop out. You can also take this opportunity to take Marin to the cliff-face to the left. Nothing comes out of it, but there is a bit of a romantic cutscene.
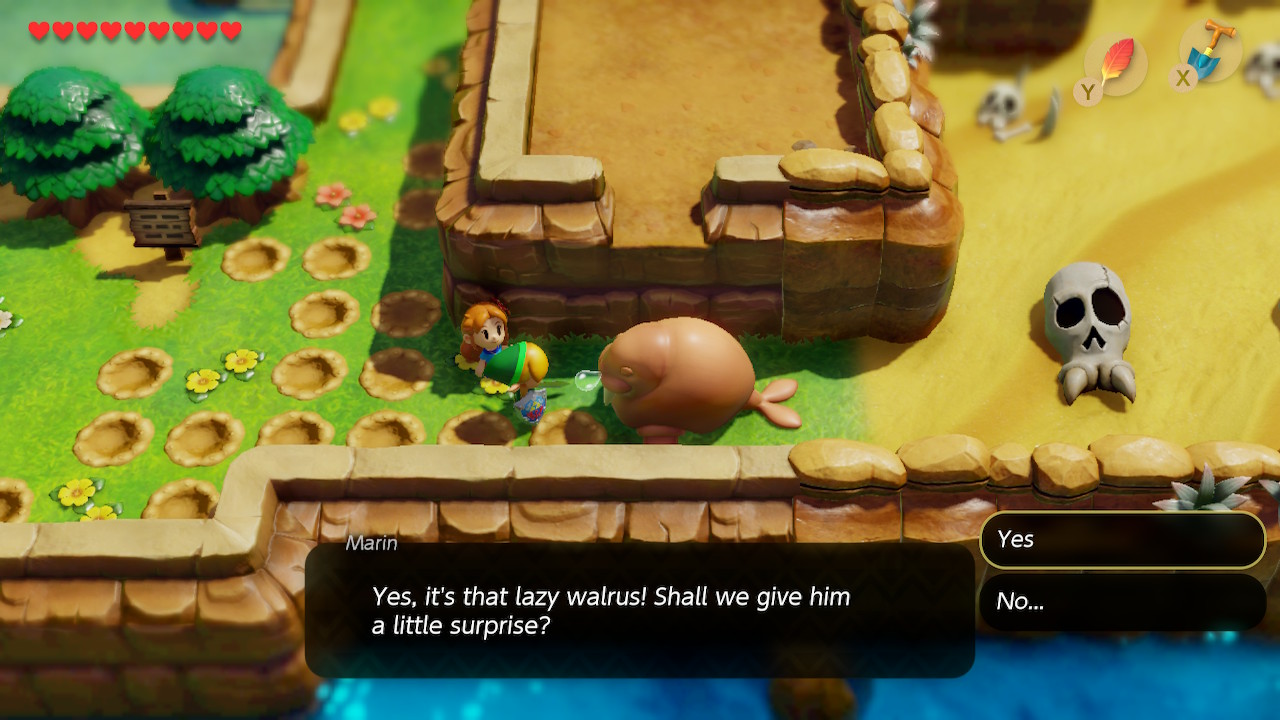
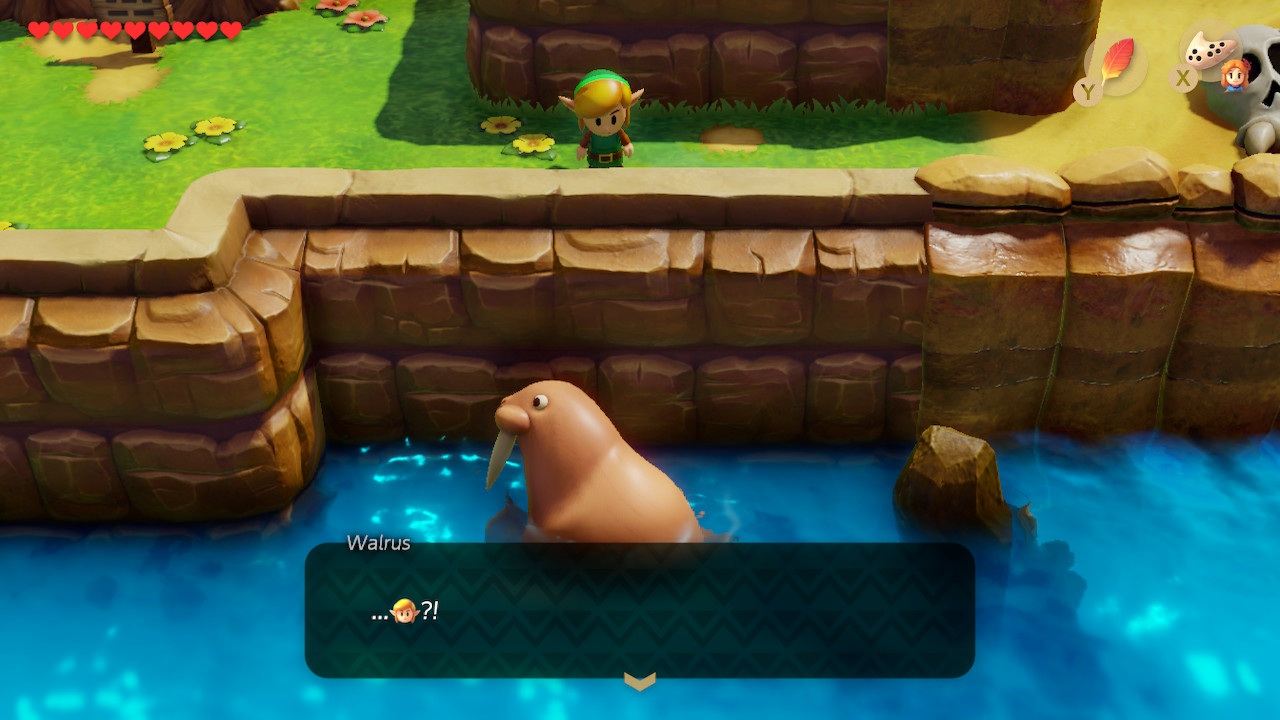
Head back to Mabe Village and take the nearest warp portal to Animal Village. Once back at Animal Village, head south and find the Walrus blocking the path. Speak to it and Marin will begin to serenade him with 'Ballad of the Wind Fish'. He'll be so pleased that he flops right over into the water. If you stand where the Walrus was and play 'Balad of the Wind Fish' on your Ocarina, the Walrus will pop back out and toss you Secret Seashell #22. Head right to enter Yarna Desert.
Yarna Desert
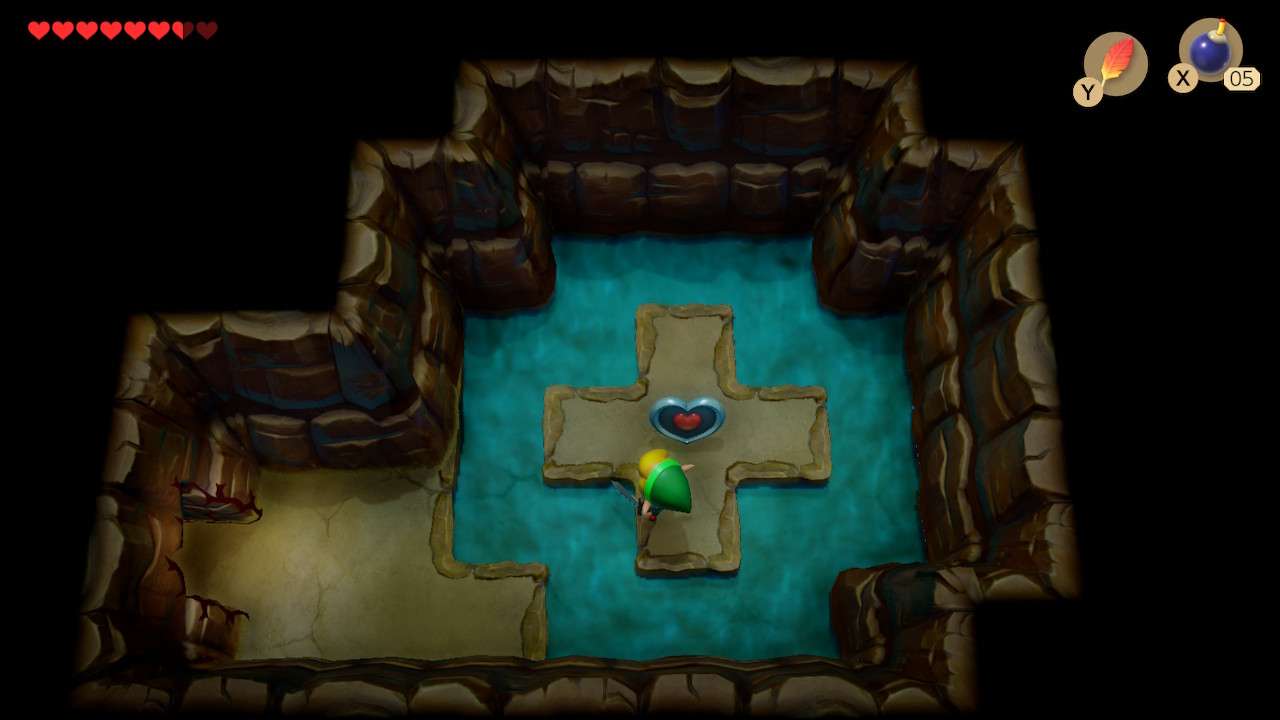
Head north in the desert along the left wall here. You'll shortly come accross an area of quicksand with a mini-boss called Lanmola. It's a snake that will emerge from the sand. Simply swipe at its head as it comes out until it's been defeated. Afterward, it will drop the Angler Key. Go ahead and drop down into the quicksand to find yourself in a cave. Bomb the wall to the north and enter to find Piece of Heart #14. Exit to the right.
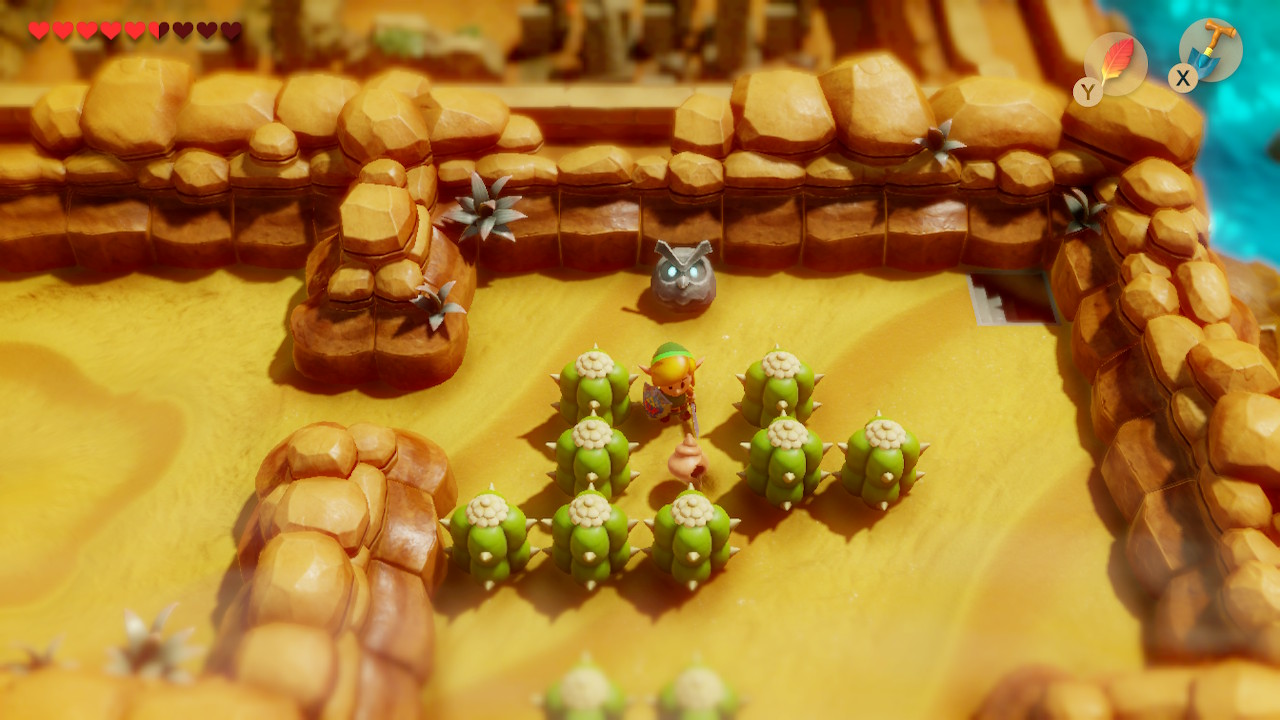

Directly to the right of the quicksand you'll see an owl statue. Dig directly south of it in the cacti to find Secret Seashell #23. Now head to the southeast portion of the desert and follow the wall to the right. You'll find yourself on an elevated path on the cliff that ends with two boulders. Pick up the bottom one to find Secret Seashell #24.
Collection Time
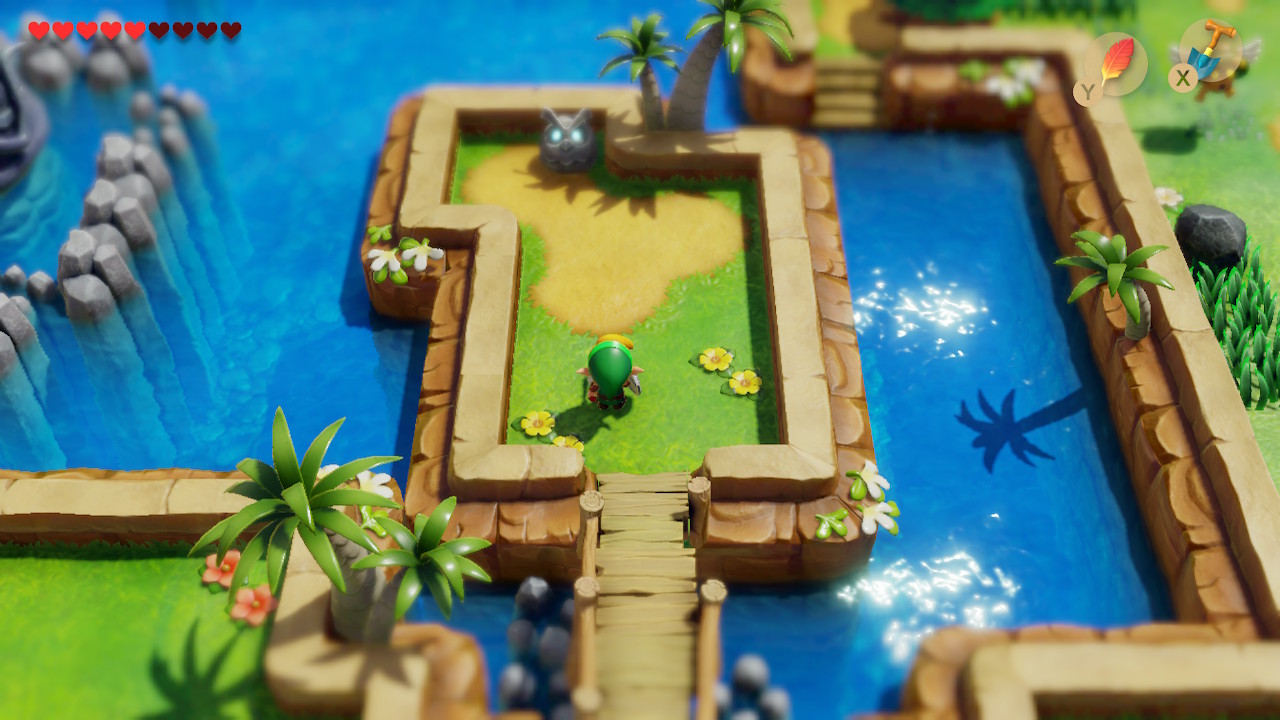
Exit the desert. As you do, the owl will swoop in and advise you visit the mountain waterfall. We've got some more goodies to pick up before we're ready for that. Head back north to Animal Village and then southwest. Cross the bridge to a small island with an owl statue. Dig directly to the left of it to find Secret Seashell #25.
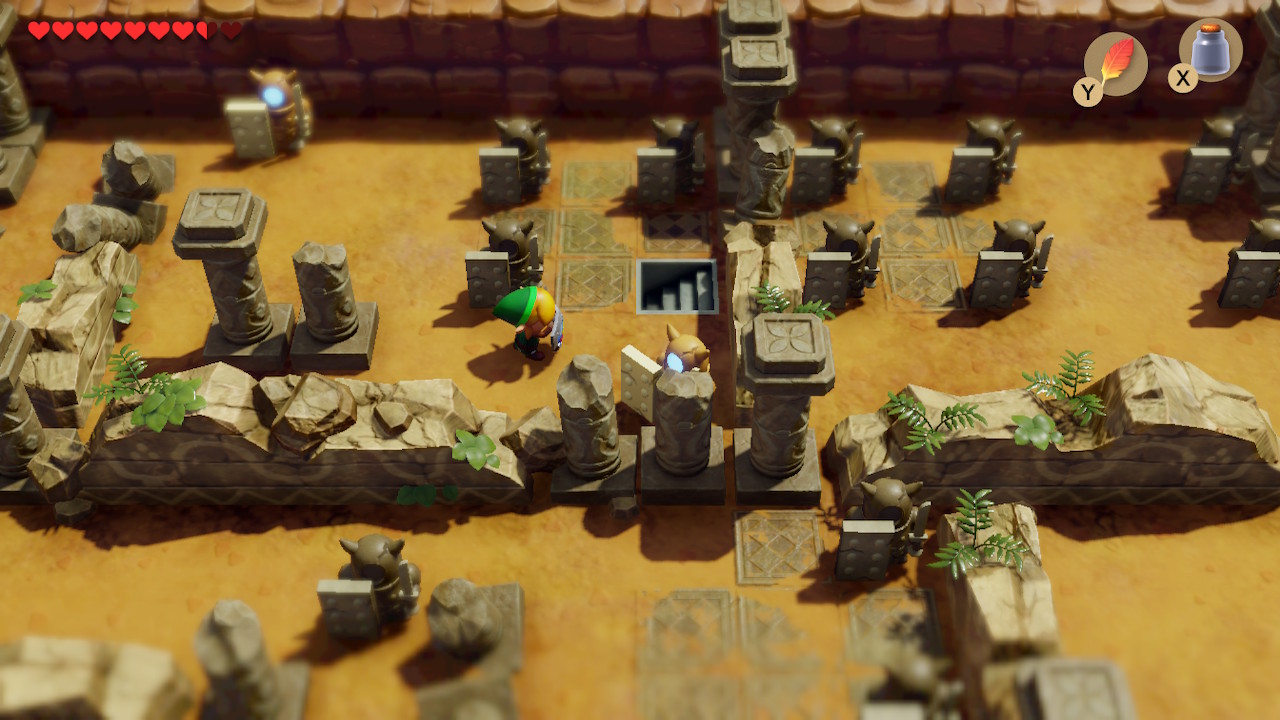
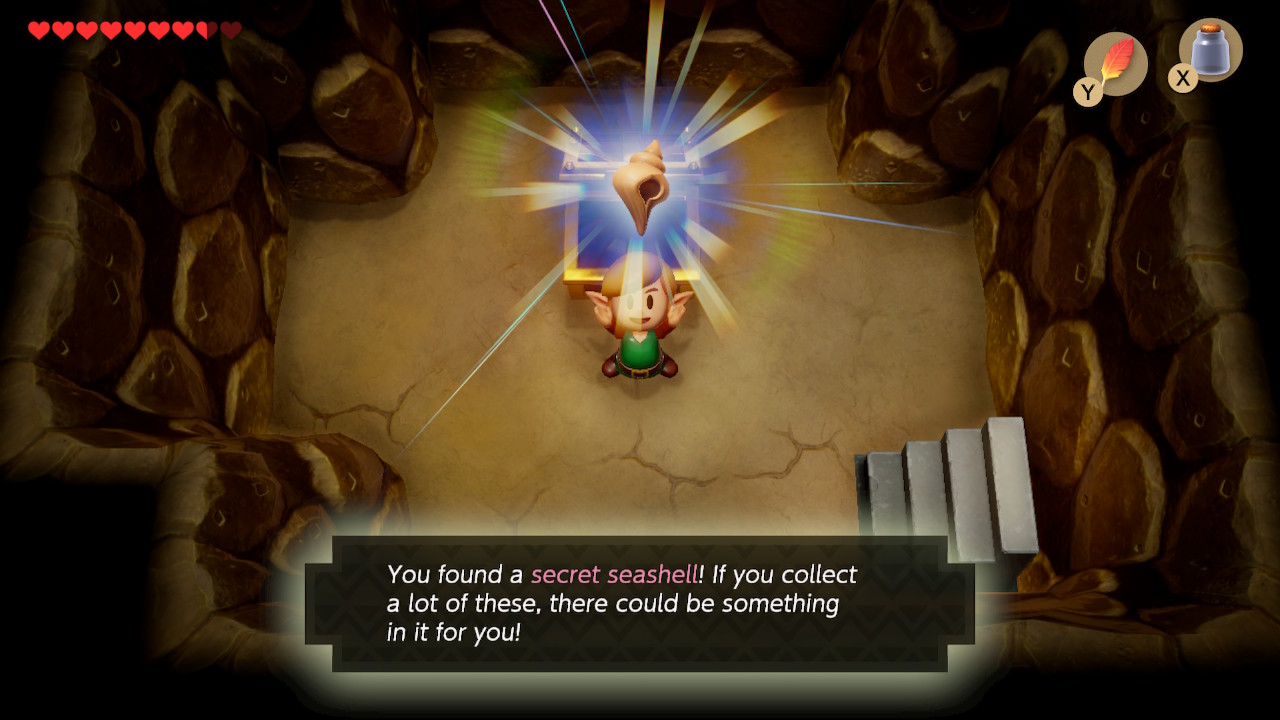
Now head north of the Animal Village. Head back along the right side of the river past the staircase we came to this side of the map on. Continue north and wrap around the path here and you'll eventually run into the owl once again. Head east past some boulders and south into the Ancient Ruin. We aren't really supposed to be here yet, but if you can make your way to the west side (the Armos statues can be a bit brutal) you'll find a formation of four statues. Beneath the bottom-right one is a hidden staircase. Inside is a chest containing Secret Seashell #26.
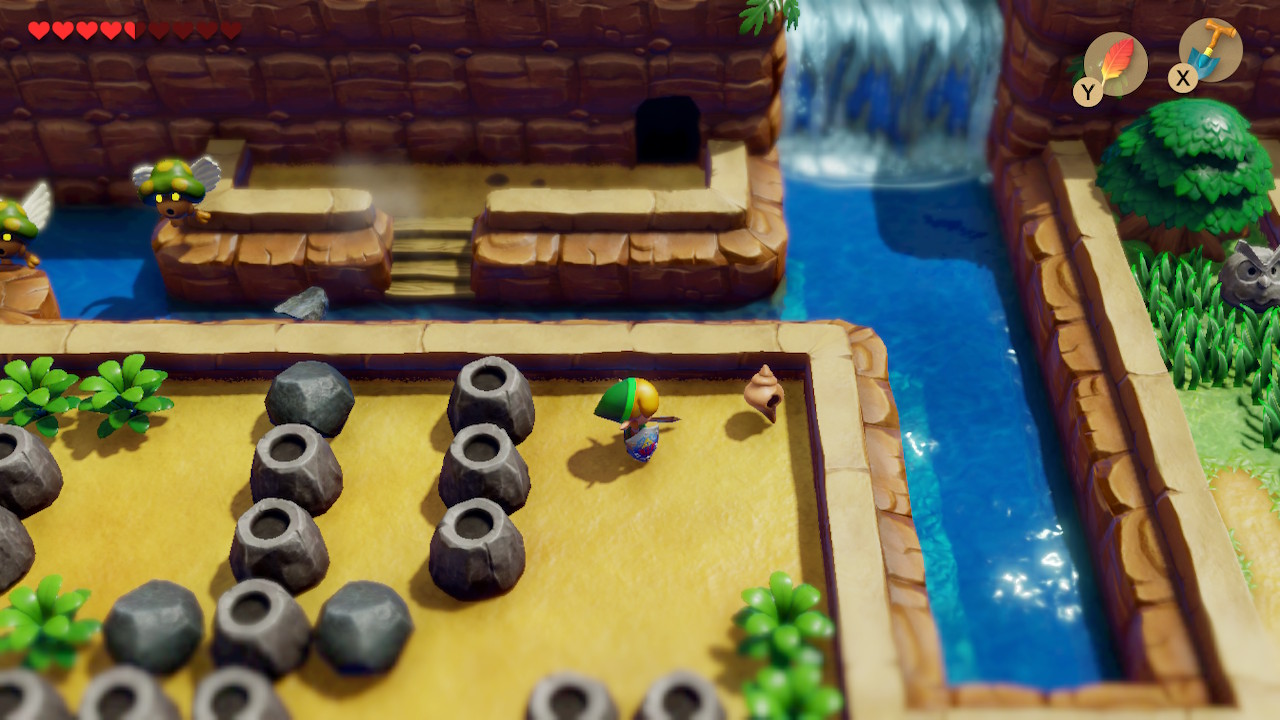
Head just north of here to an area with a lot of boulders and stones. Pick up the boulders and check out the top-right corner bordering the water. Underneath the lone boulder here is Secret Seashell #27.
Head back to Mabe Village and have another go at the Trendy Game. Play until you get the stone looking object in the back to get a Chamber Stone. Re-enter the shop and you'll see another Heart Piece up for grabs. Play the game until you get it for Piece of Heart #15.
Head south out of town towards the entrance to Tail Cave. Just west of the dungeon there's a bit of a clearing with a lone tree in the middle. Ram into it with the pegasus boots and Secret Seashell #28 will pop out.
Go back through Mabe Village and exit to the east. You'll find a tree next to the phone booth here. Ram into it with the pegasus boots and Secret Seashell #29 will fall down. Now is a good time to check the Chamber Dungeon at Dampe's Shack out. There's some rather compelling prizes now that we've overcome Key Cavern. Take the nearest warp portal there if you'd like.
Chamber Dungeon
Enter Dampe's Shack and tell him about the new dungeon you've completed. He'll give you some new Chambers. Assuming you've completed the first two tasks, he's also got a few new ones for you. You'll get new Chambers for completing most challenges, but we're after is Secret Seashell #30 for completing any four challenges and Piece of Heart #16 for completing the 'Fill Up Your Hearts' challenge.

While we're here, head south of the shack to Tabahl Wasteland. Jump over the pits here in the north of the forest and grab Piece of Heart #17. This is the end of our collection spree for now, but there's actually an entirely optional dungeon that we'll be heading too next. If you're not interested, skip the next section.
Cemetery
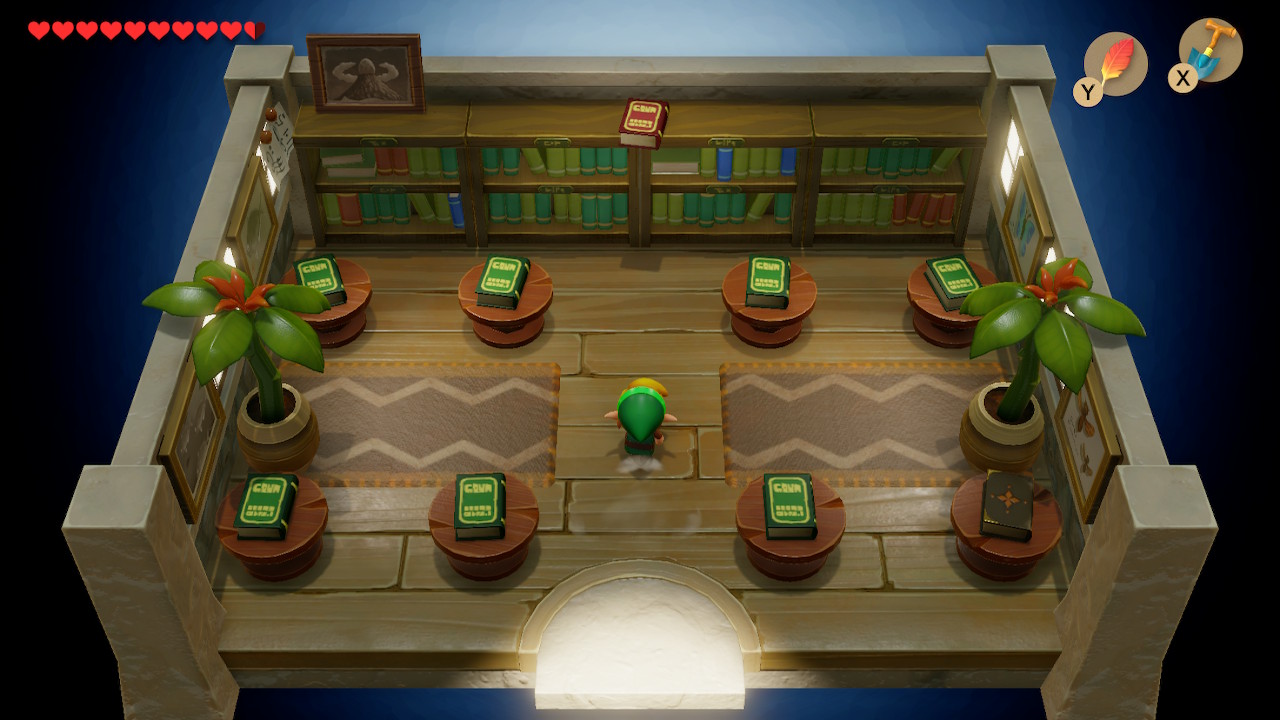
Head back to Mabe Village and enter the Village Library on the west side. Use your pegasus boots to ram into the bookshelf here and make the book drop from the shelf. This book contains a hint on how to access the Color Dungeon. We now want to head to the Cemetery. It's located directly east of the Witch's Hut in Koholint Prairie.
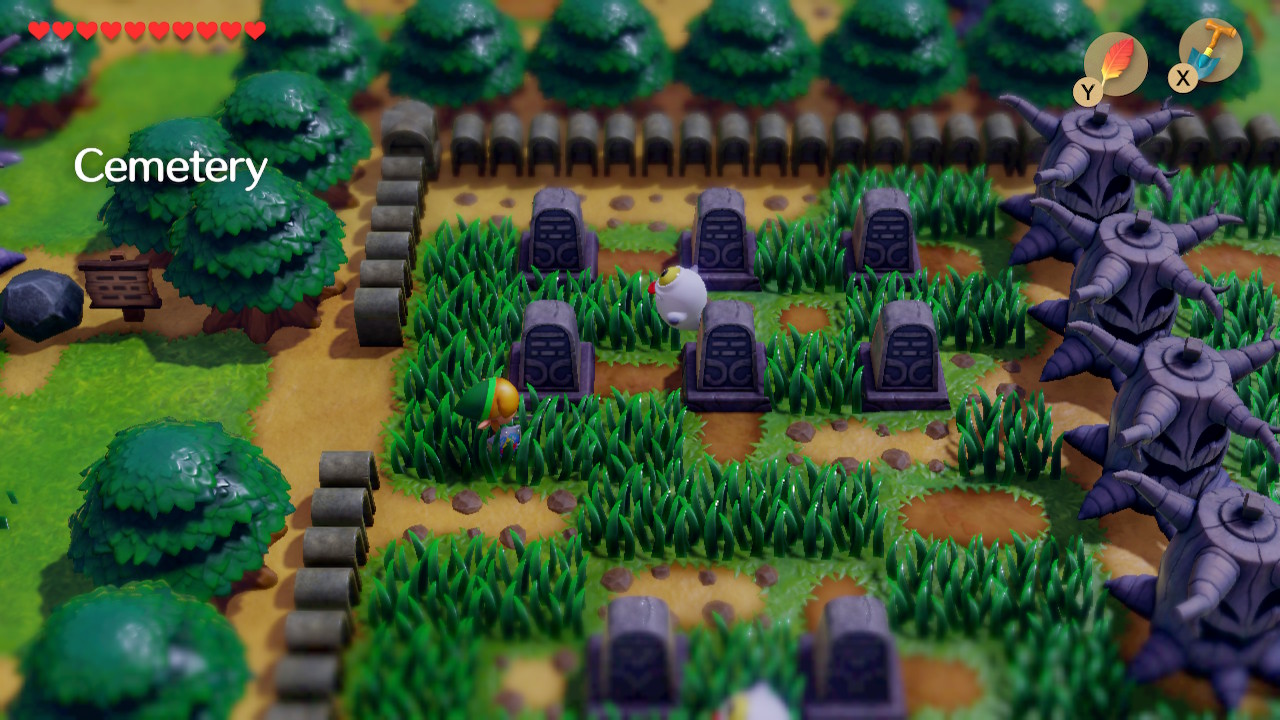
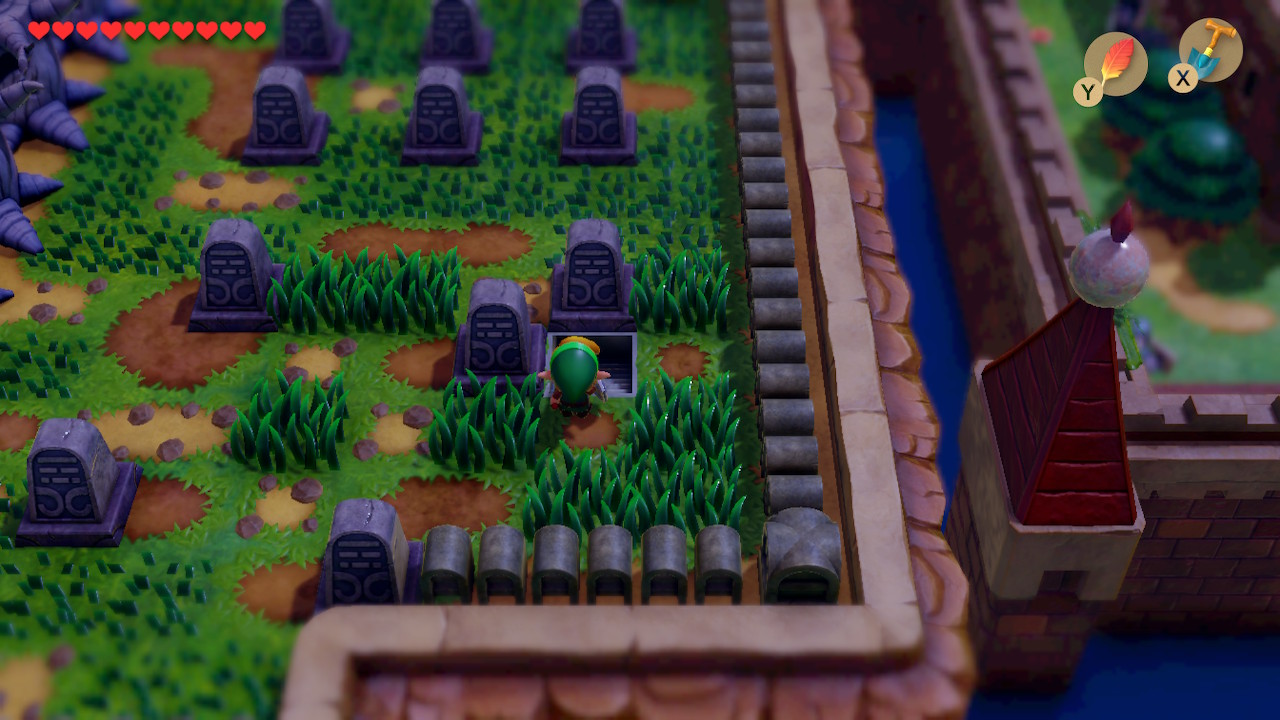
Head to the southeast portion of the Cemetery. When you touch the gravestones, a ghost enemy called Ghini will appear. They're a bit of a pain, but a few spin attacks will take them out. Now we want to move the five gravestones here in the order that we read in the book. Like this:
- Bottom-center gravestone down
- Bottom-left gravestone left
- Top-left gravestone up
- Top-center gravestone right
- Top-right gravestone up
When you've done this, a staircase will appear under the last gravestone. Take it and enter the Color Dungeon.
Color Dungeon
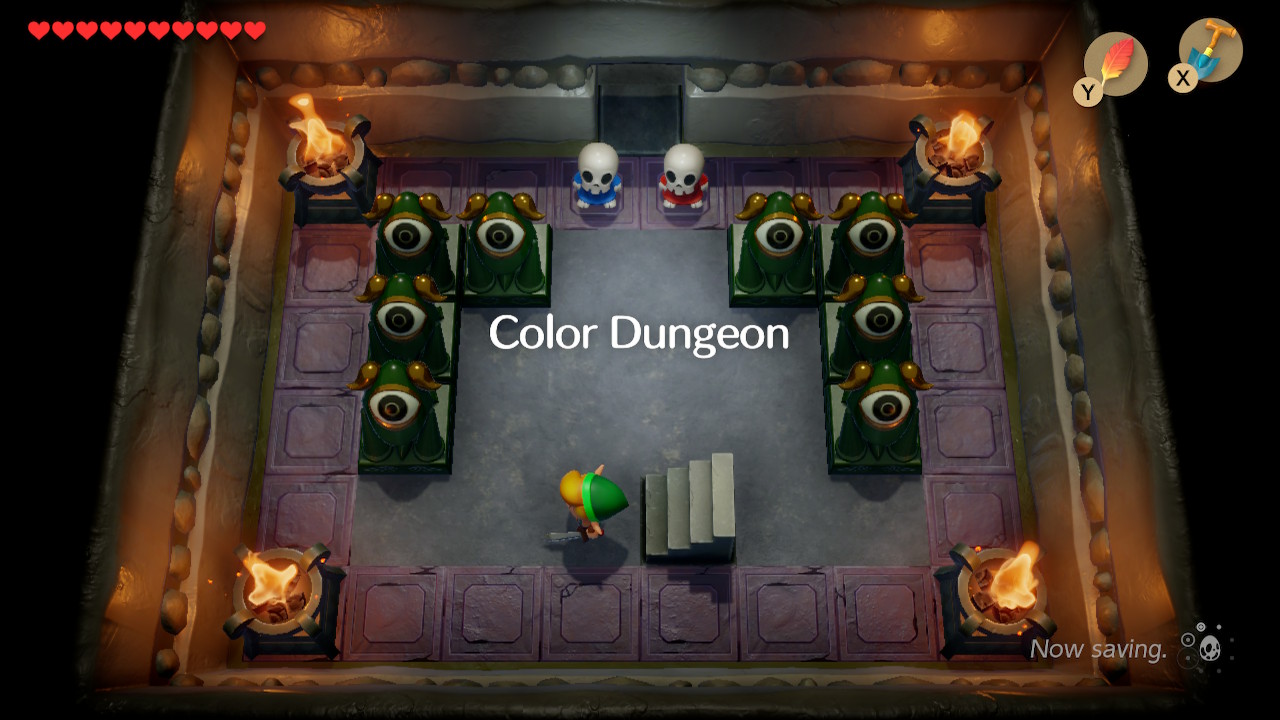
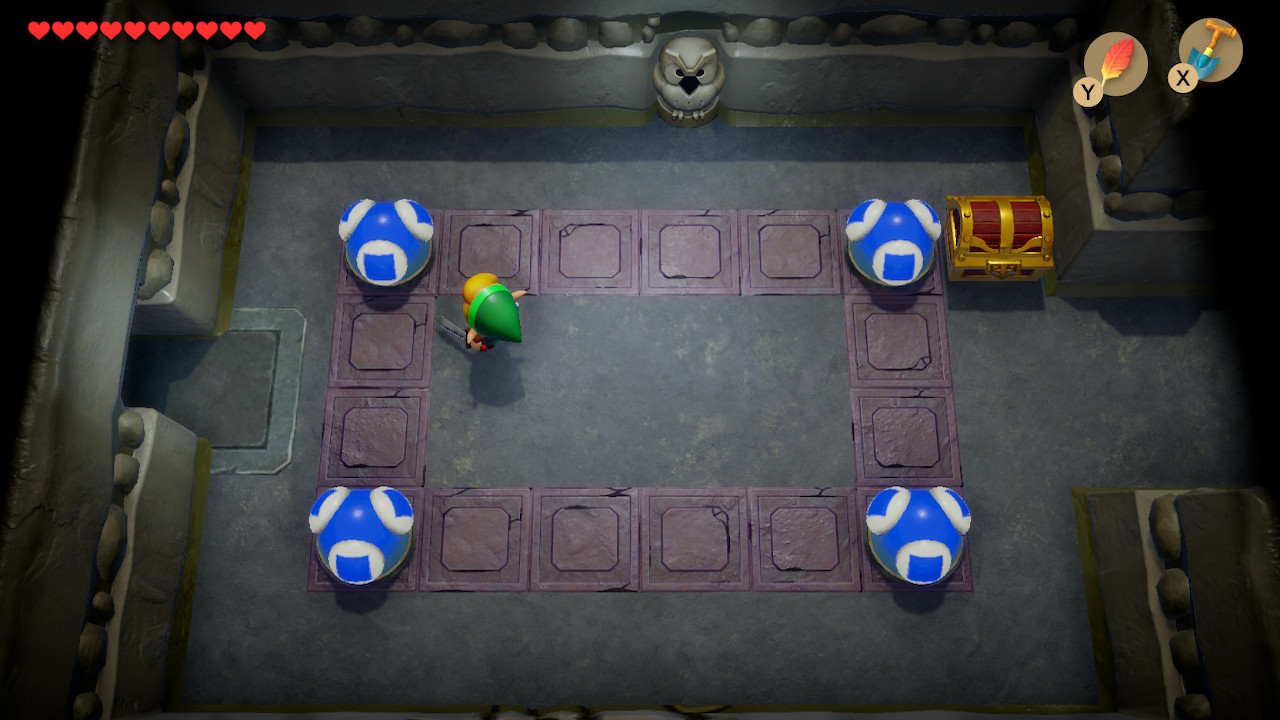
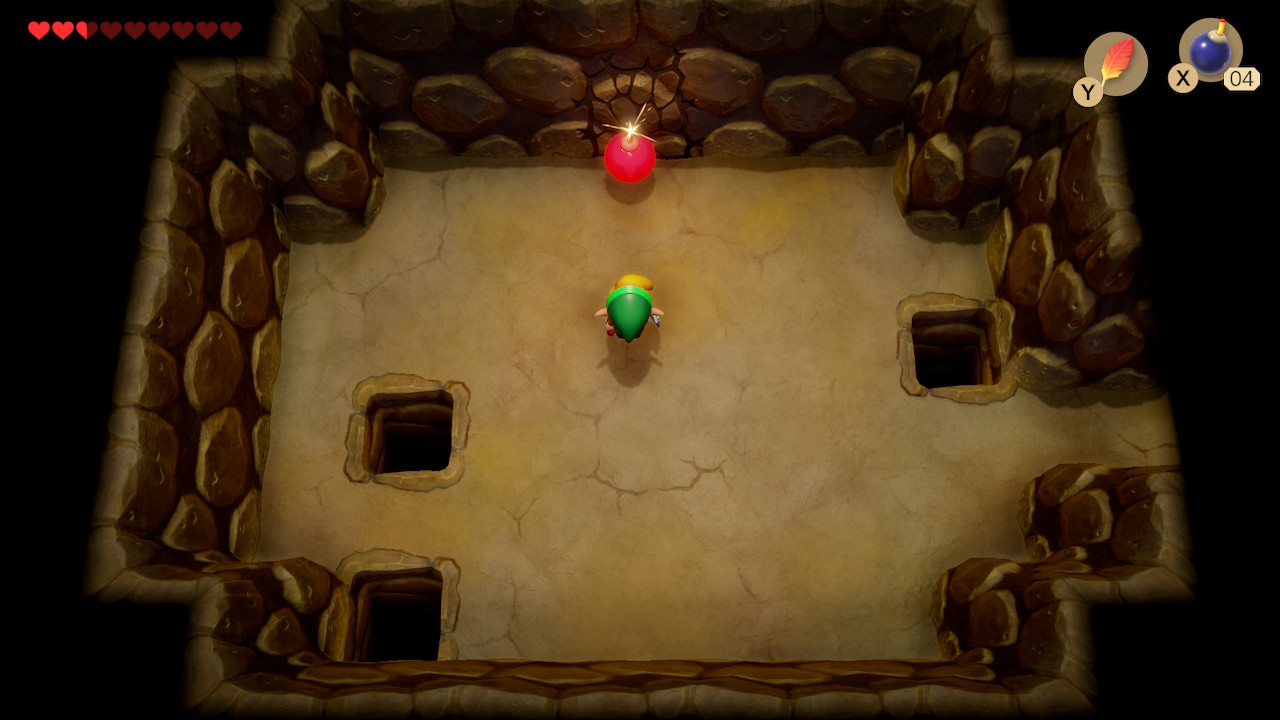
Speak to one of the skeletons here and they will move out of the way so you can head up into the next room. Defeat the colored slime enemies here and head right. Slash the colored objects here until they are all blue. A treasure chest will appear containing the Compass. Blow a hole in the wall along the bottom here to enter a room full of rupees. Collect them and head up a room and then right.
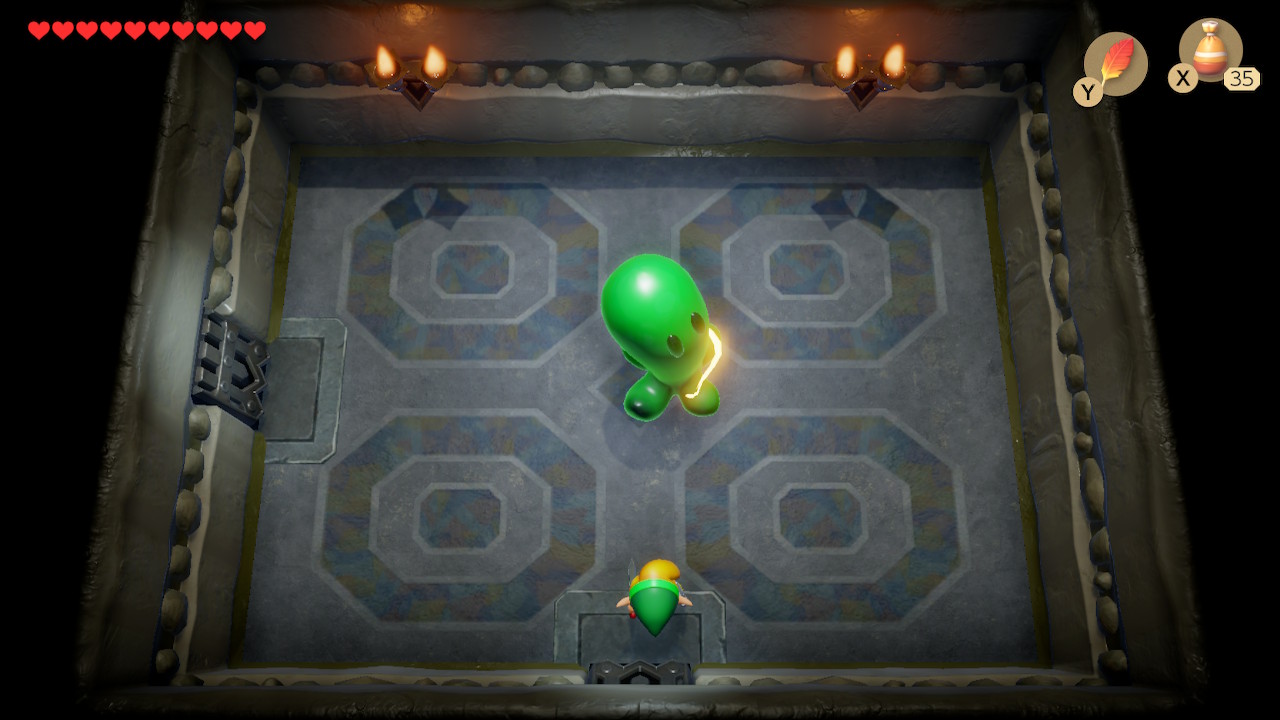
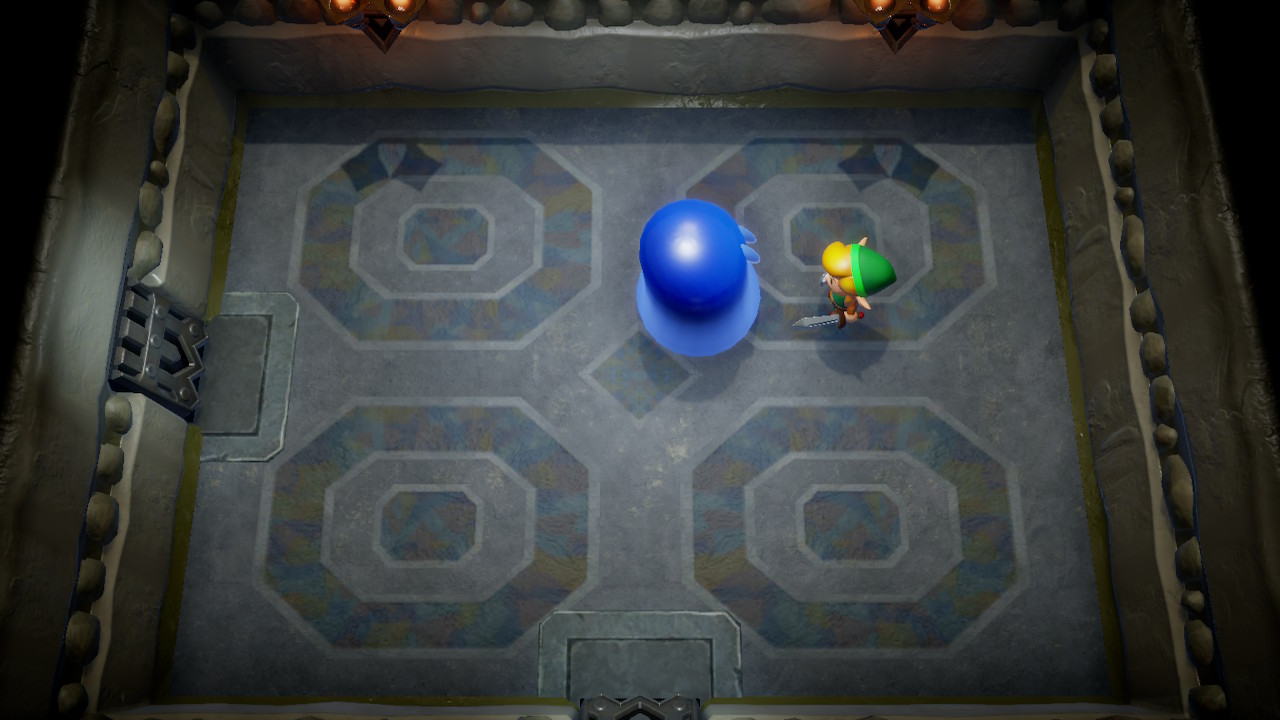
Just pass right through this room into the next with two colored enemies called Karakoro. Slash them so they turn into a ball and throw them into their respective colored holes. Open the chest containing a Stone Beak. Simply go up two rooms, passing through another room with bouncy colored tiles. Here, strike the statue in the bottom-right once and the top-left twice. A Small Key will drop from above.
Head right a room and then use your small key on the door above. Here you'll find a mini-boss: Giant Buzz Blob. To defeat it, you'll need to sprinkle some magic powder on it. You can then slash with your sword. If it reverts to its invulnerable form, simple repeat the process. It'll leave a fairy behind once defeated. Head through the door to the left.
Push the top and bottom blocks to the left and the center block down to make your way to the chest containing the Nightmare Key. Backtrack all the way down to the room with the two colored ball enemies. Head down into the next room and defeat the four colored Goblins here. Head left to the next room and open the chest to get a Small Key. Head up through the one-way door.
Use your key on the door above and you'll find another mini-boss: Dekudon. You can use your sword or bombs to take him out. When he is jumping up and down, use Roc's Feather so that you won't get stunned on landing. He'll also leave a fairy behind for you. Go left into the next room. The doors will close when you enter, but there is a switch beneath the pot in the top-left of the room. Activate it and then head to the room above.
Defeat all the zols in this next room and a chest will appear. Open it to get the dungeon Map. Head to the right and you'll find a room with four colored Karakoros. Sink them in the right holes and grab the Small Key that drops from above. Backtrack to the room with the colored bouncy tiles and switch. We're going to head in the left room this time.
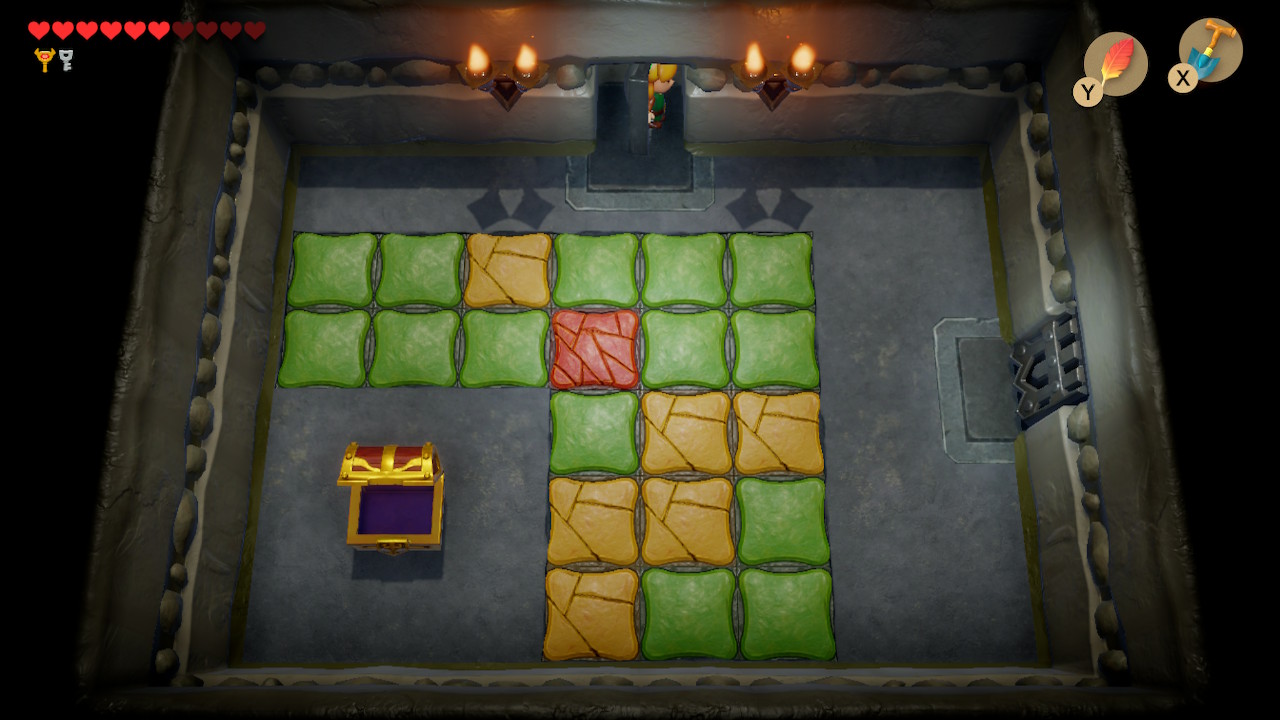
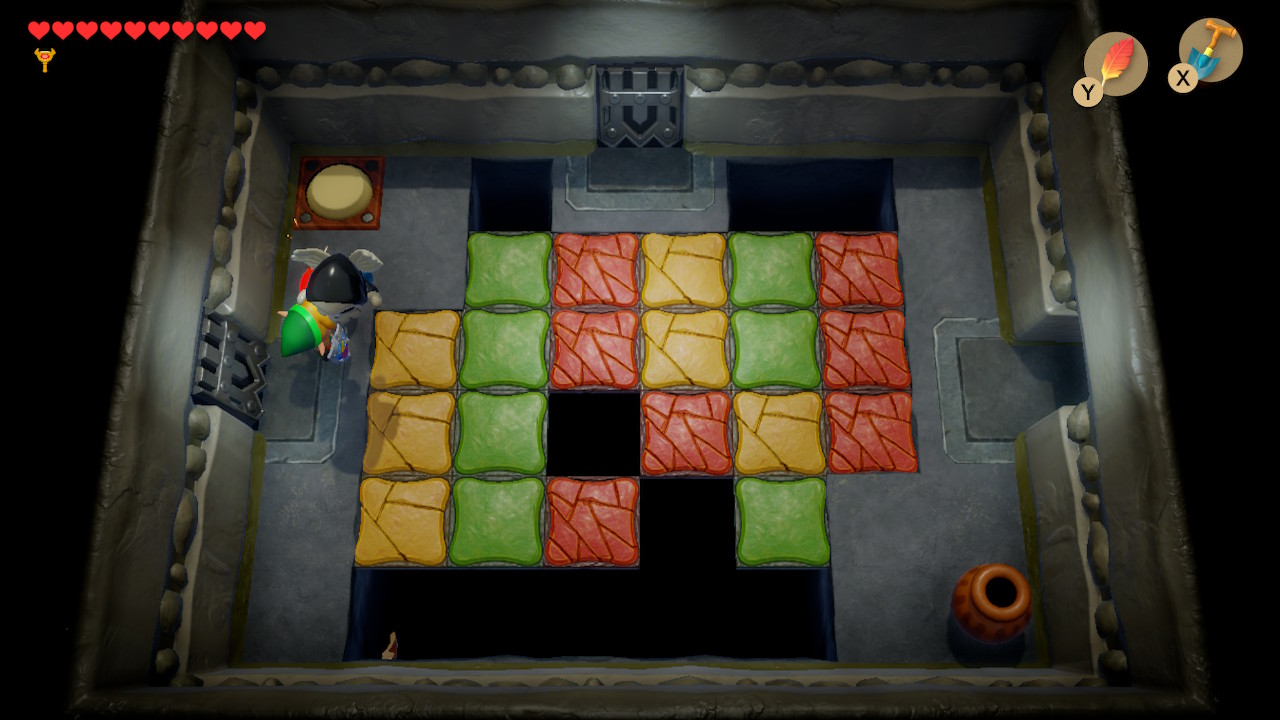
There are nine colored statues here, but the puzzle is quite simple. Just strike the four that are red when you enter the room, the "edge statues" if you will. Head up into the next room that doesn't have much going on. There's a fairy in one of the pots. Use your key to the left. In the next room, simply strike the switch and head up through the boss door.
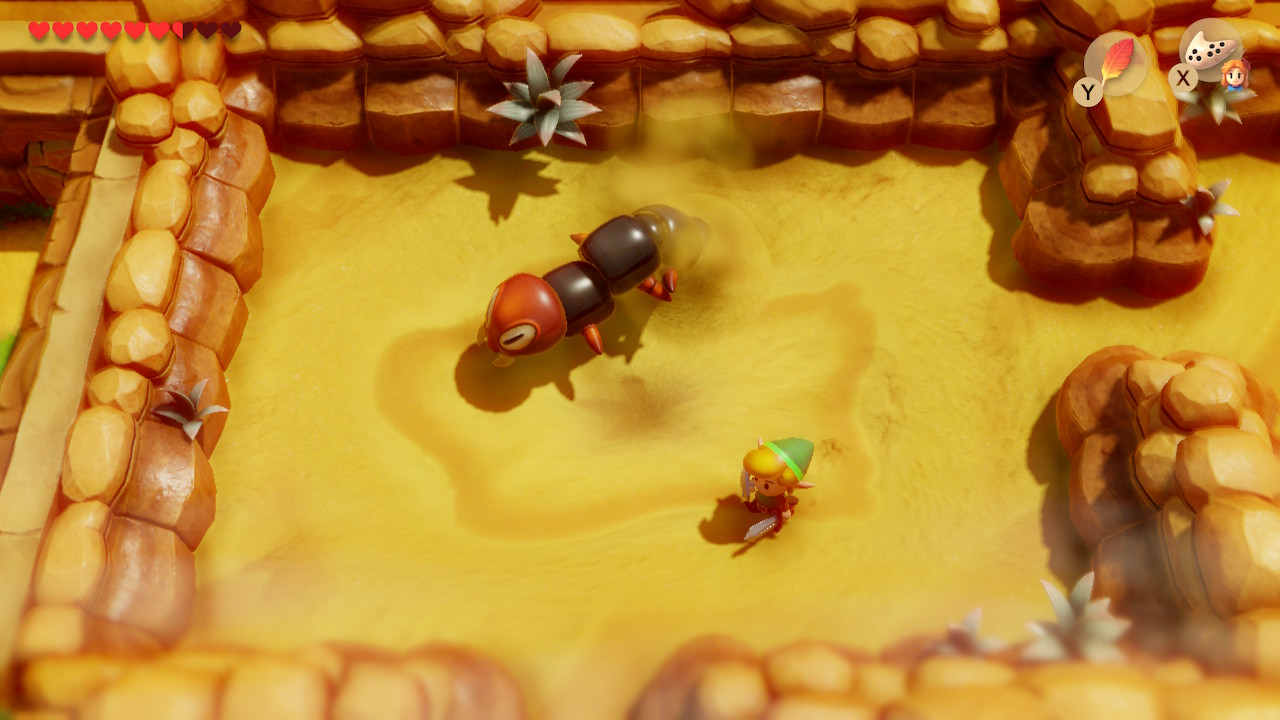
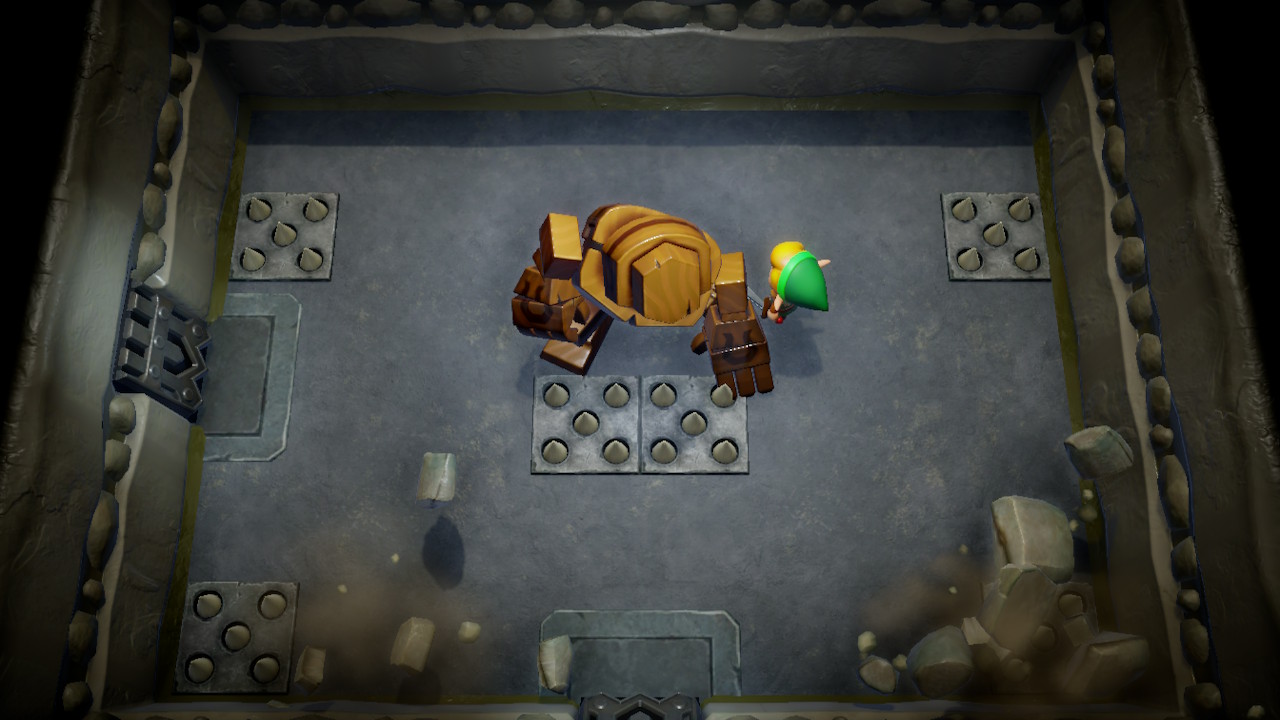
Hardhit Beetle
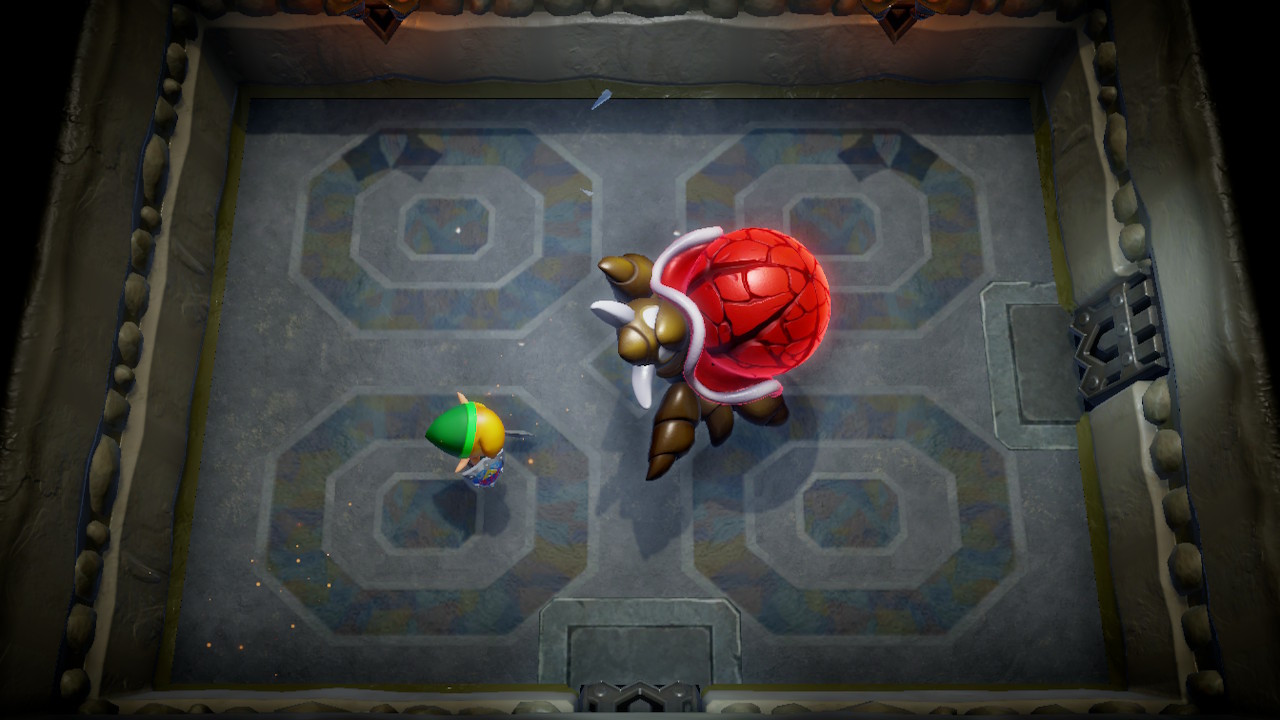
This boss is called Hardhit Beetle. As you slash with your sword, the color of his shell will change. It's a very easy boss to defeat. Use Roc's Feather to jump up and slash him. Continue to do this and he will be defeated after his shell turns a dark red. Head right into the next room where you will find the Fairy Queen.
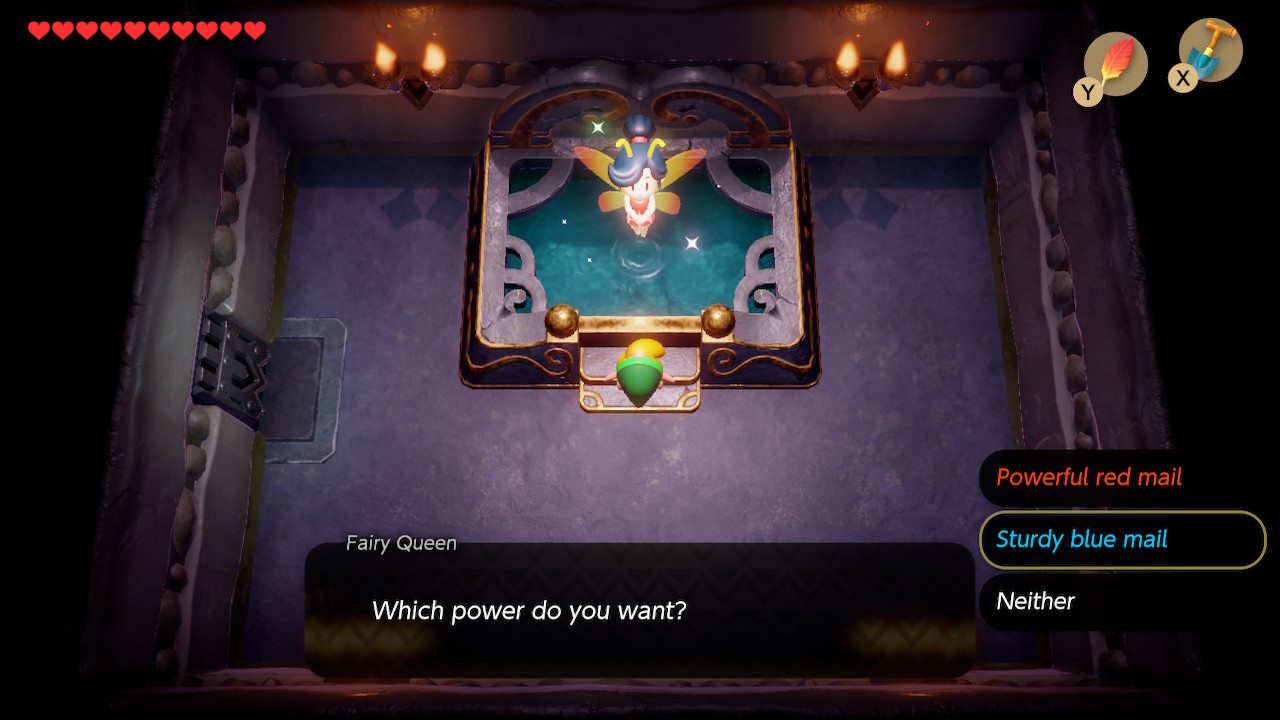
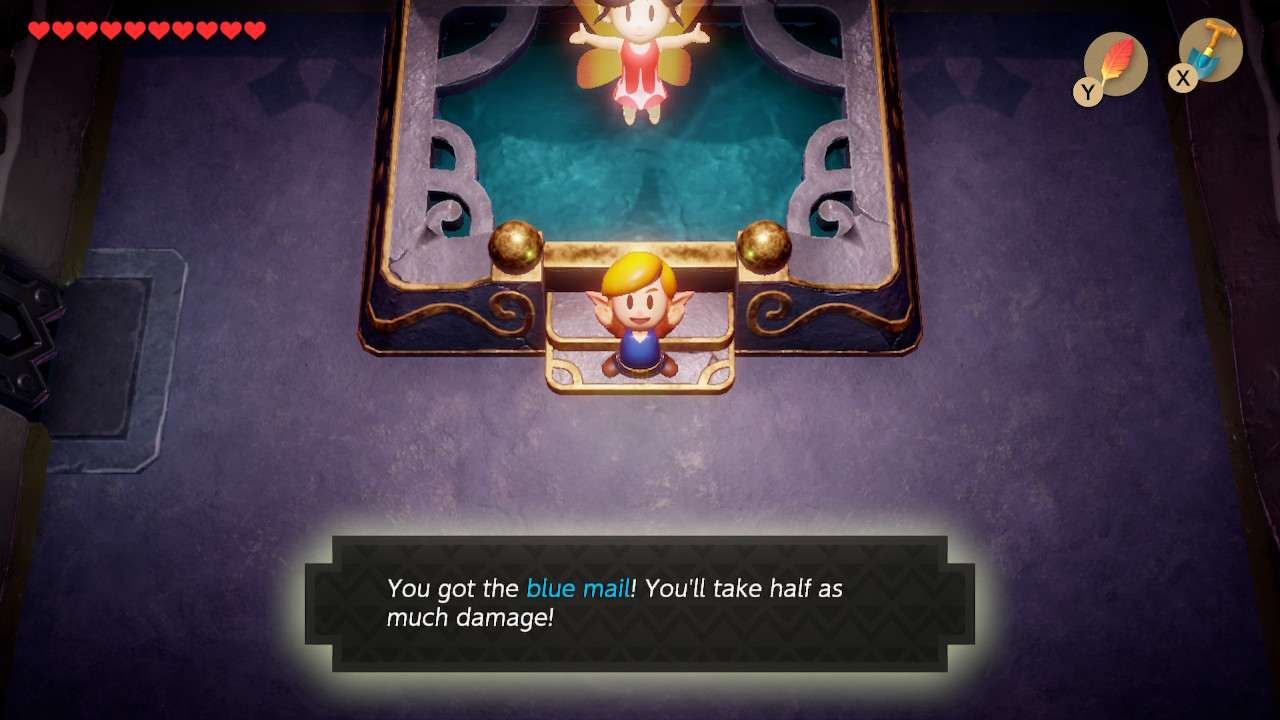
You'll now get to choose your reward: the powerful Red Mail or the sturdy Blue Mail. The red tunic will increase the attack of your sword, while the blue tunic will increase your overall defense. The choice is yours, but keep in mind that we will have the opportunity to upgrade our sword soon. You can also return to this dungeon and swap out your choice any time.
Waterfall
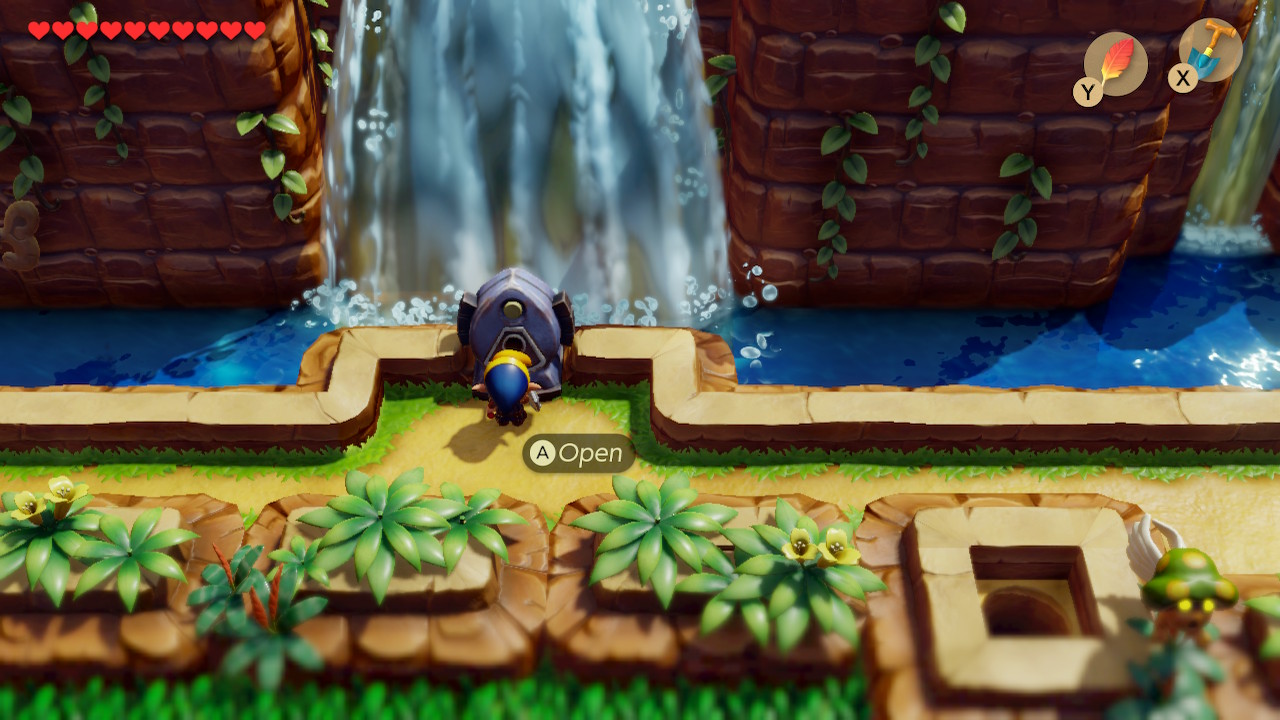
With all the collecting and sidequesting out of the way, we are now ready to head to the next dungeon. Use a warp portal to Tal Tal Heights. From here, head left and you'll see a keystone in front of the a waterfall. Use your Angler Key to unlock the entrance to the next dungeon, Angler's Tunnel. We can't quite reach it from this angle though, so we'll need to wrap around first.
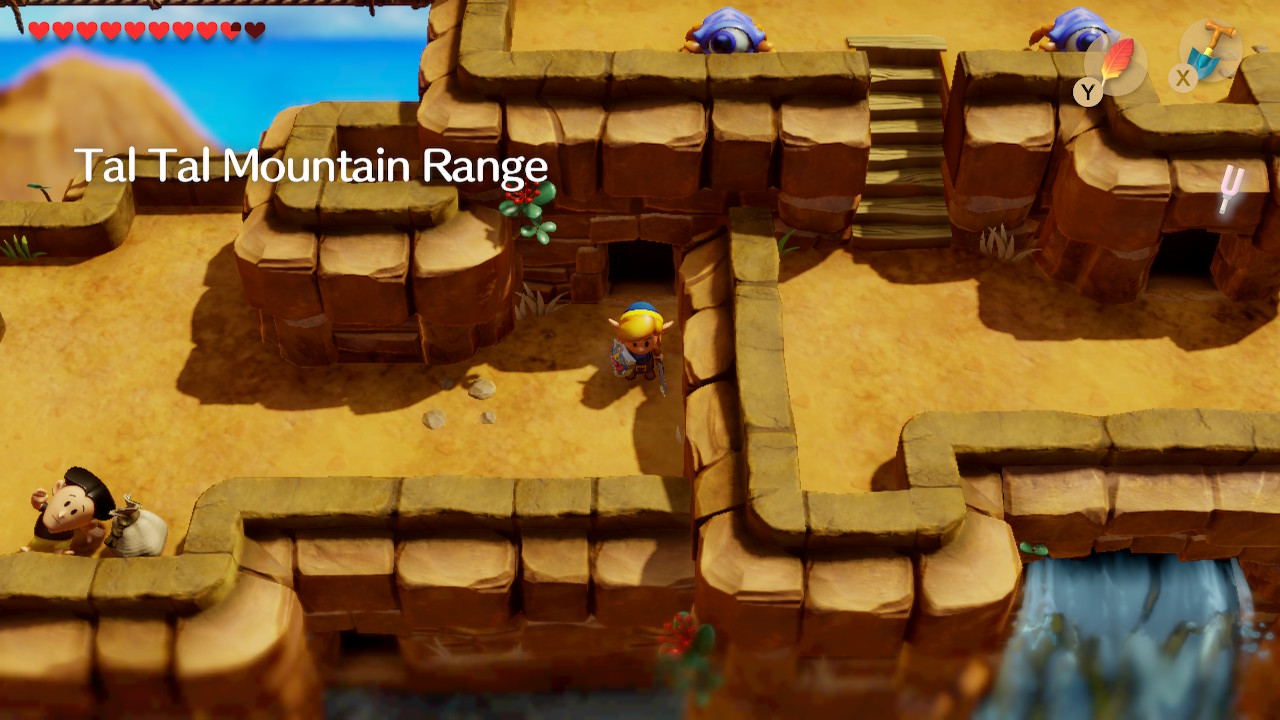
Head west to access the Tal Tal Mountain Range. Take the first ladder you see and enter the cave where we got a Heart Piece before. Head right through the cave and exit on the other side. Exit the cave via the left and you can grab 50 rupees from a chest. Get back in the cave and use the pegasus boots to smash your way to the right. Use the right exit to get out of the cave.
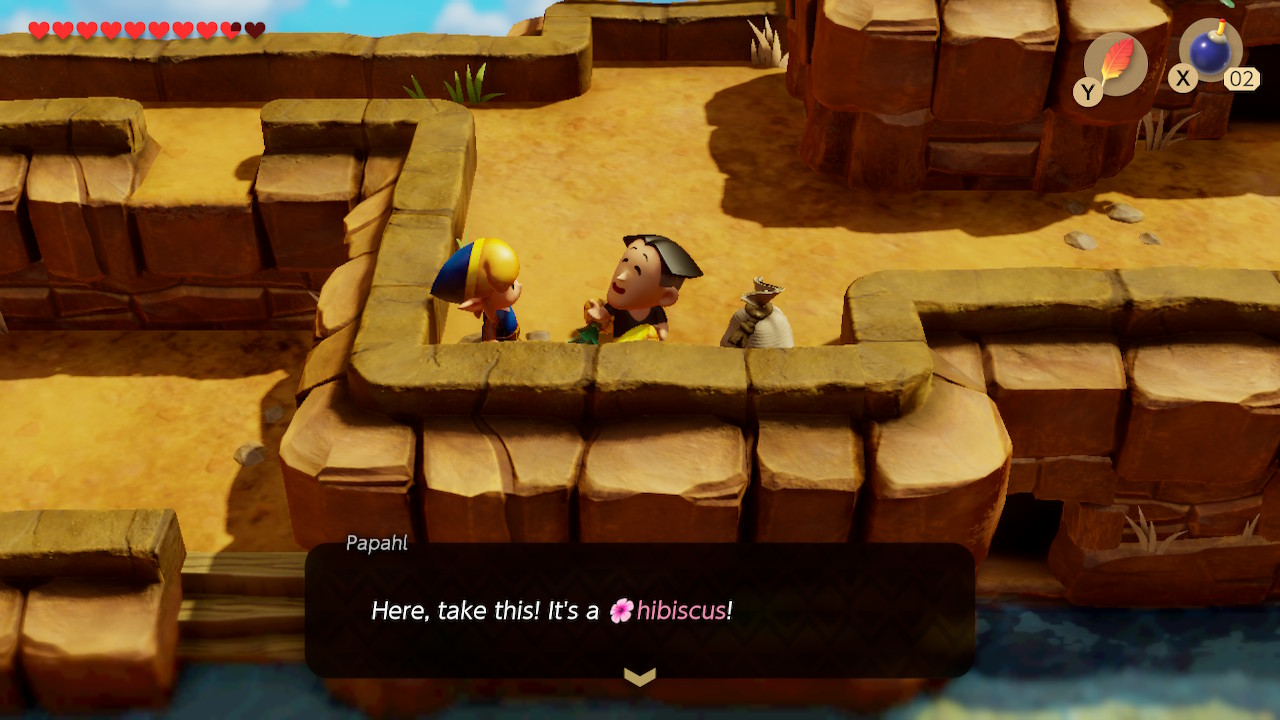
There's another cave entrance just a little to the east that you should head in. Continue up and take the stairs. This chest here is fake, don't open it. Exit this cave below. Speak to the man named Papahl here and give him your Pineapple. He'll give you the Hibiscus in return. Jump off the ledge to your left and then head east until you see a ledge you can jump off of that will take you to the entrance of the next dungeon.
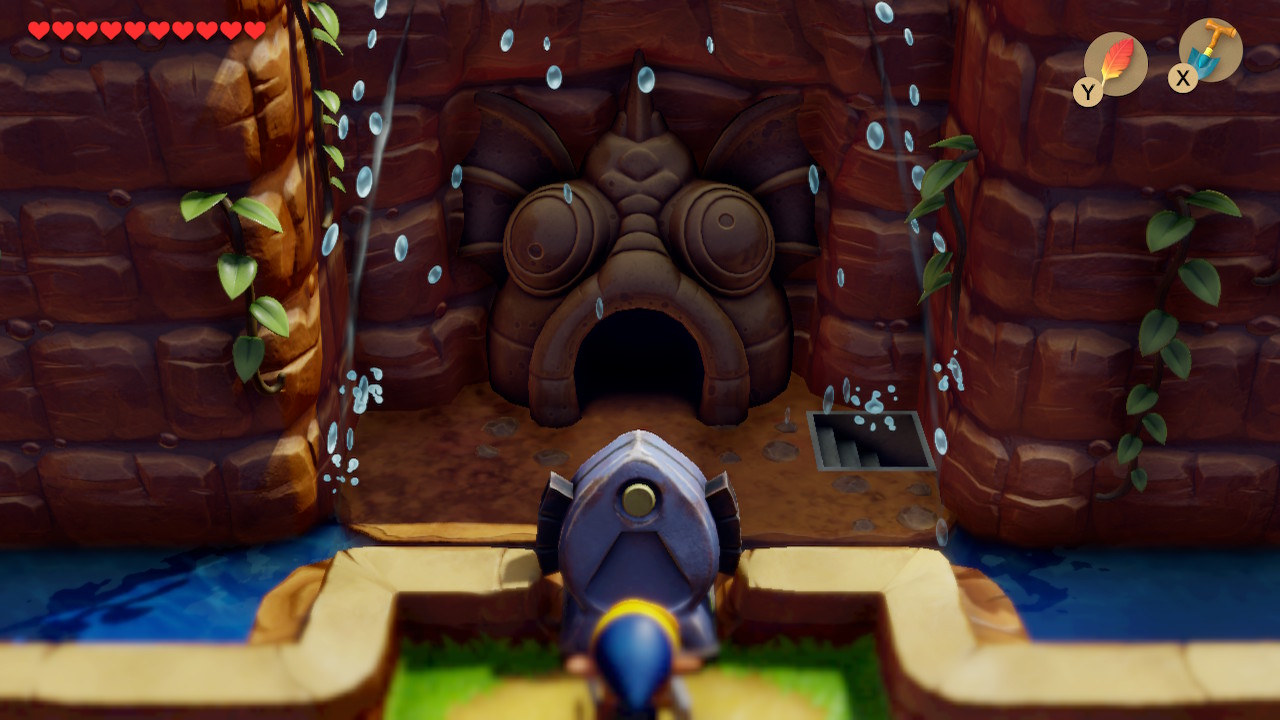
Angler's Tunnel
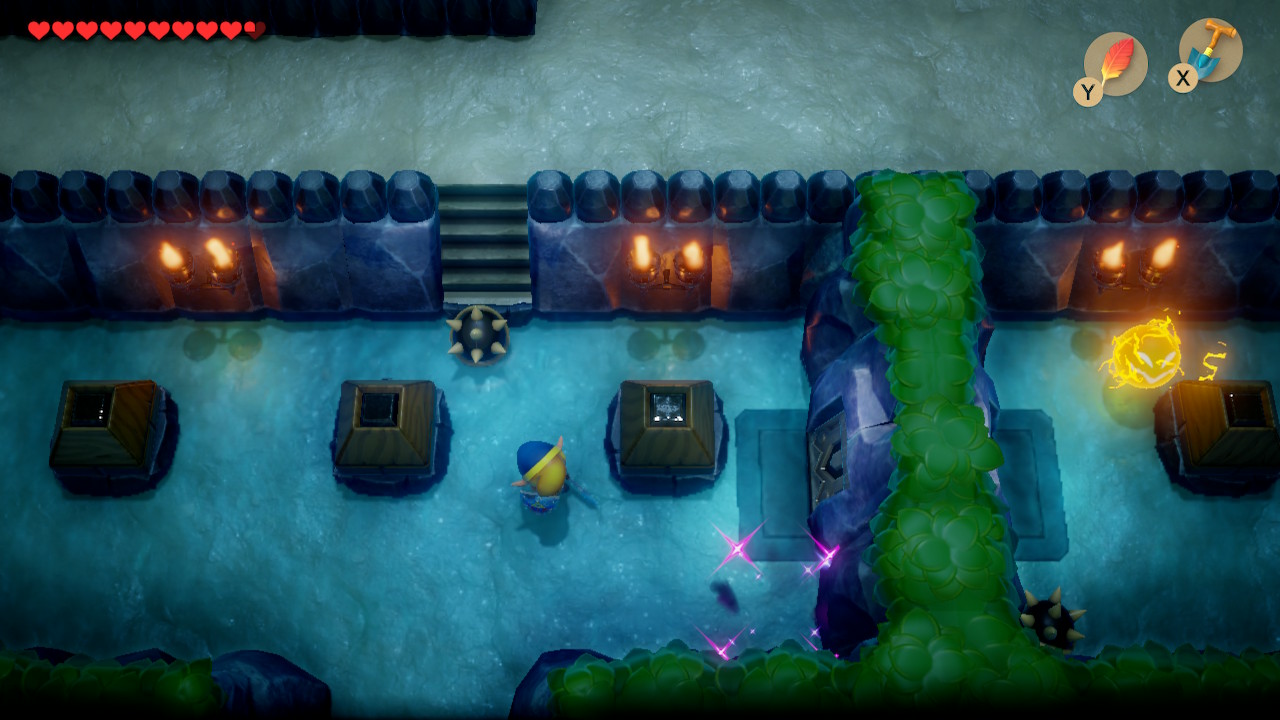
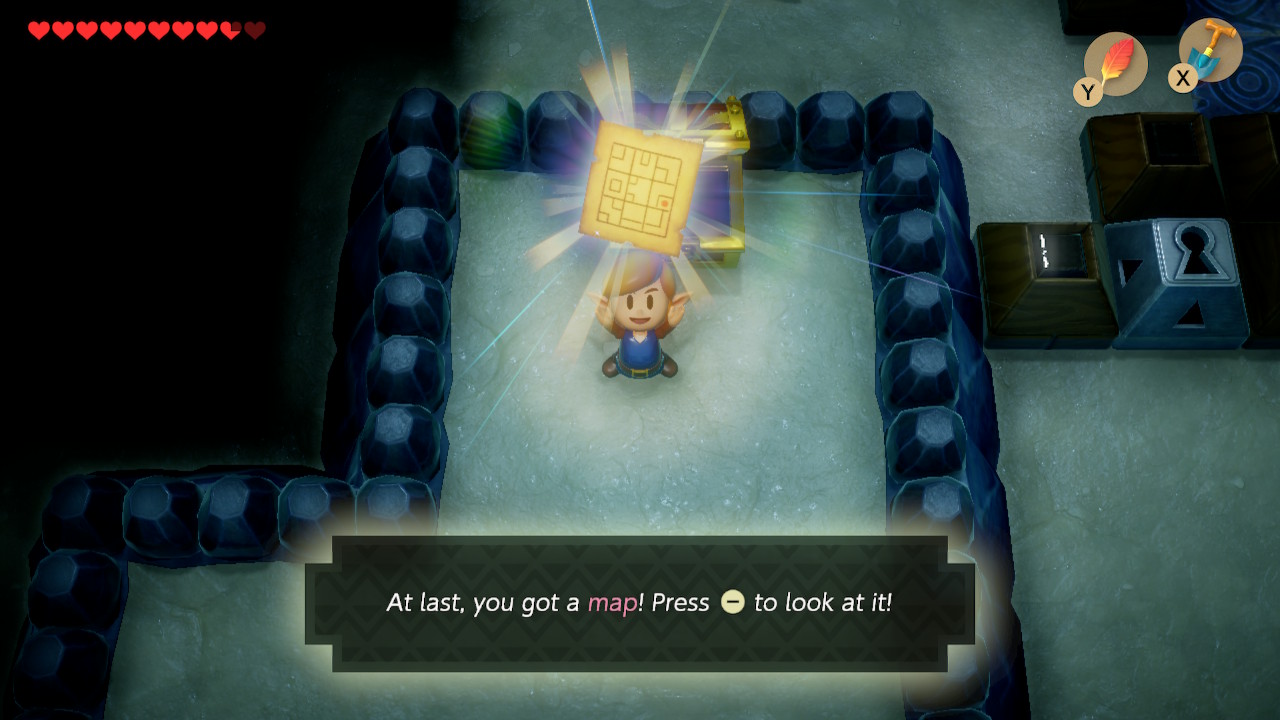
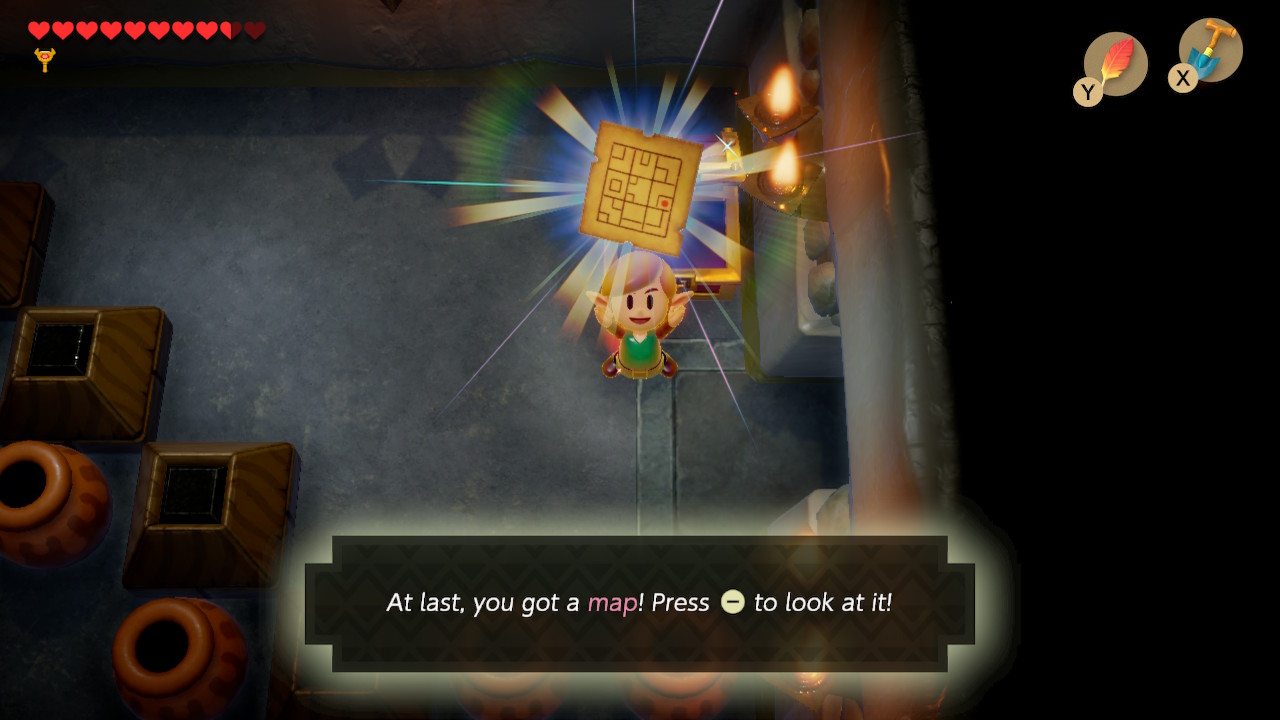
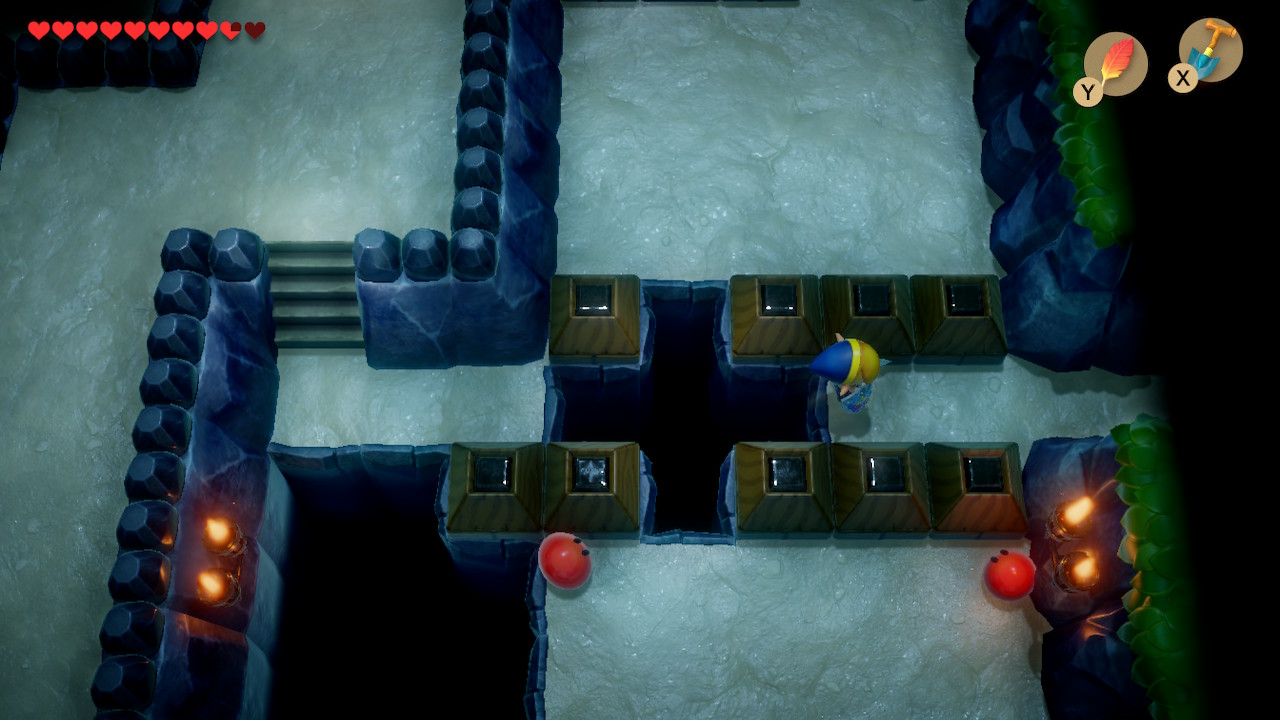
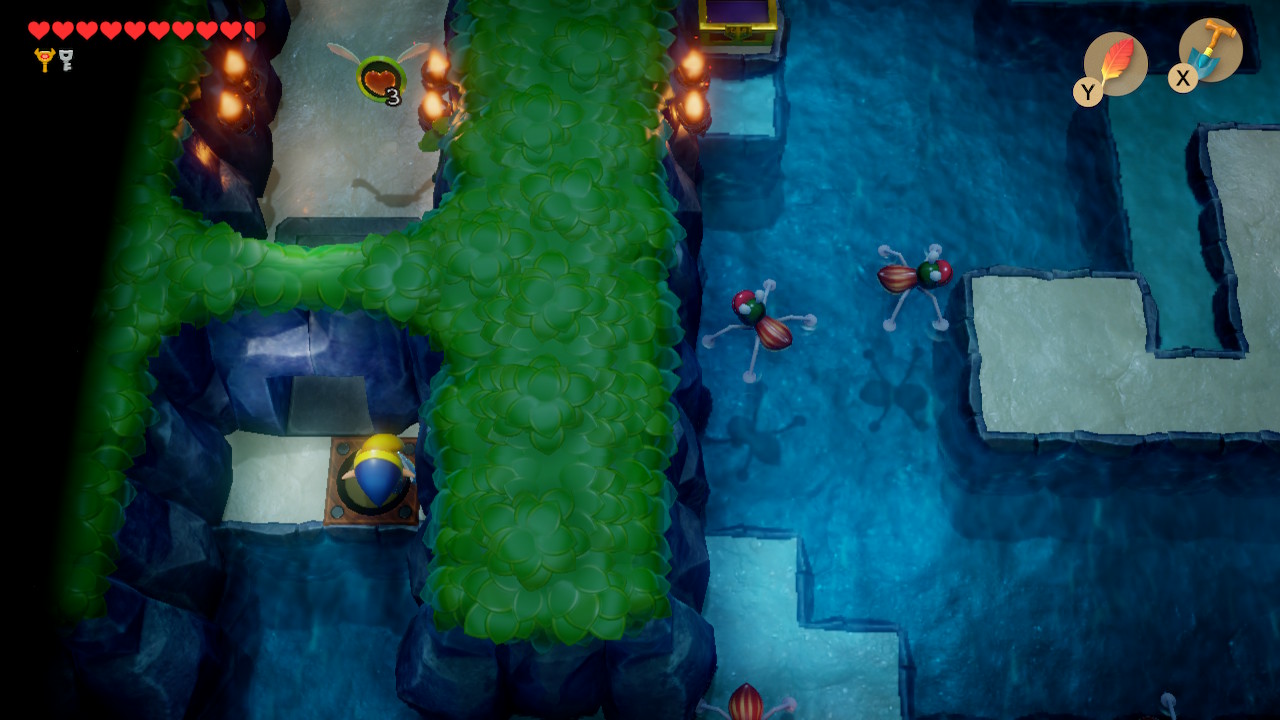
Welcome to one of the prettiest dungeons in the Switch version of Link's Awakening. Head up to the next room and then go left a bit to pick up a floating bomb drop. Then take the stairs and head all the way right. Down these steps you'll find a Stone Beak in a chest. Head back up and continue up and right and you'll find another chest with the dungeon Map. That was quick.
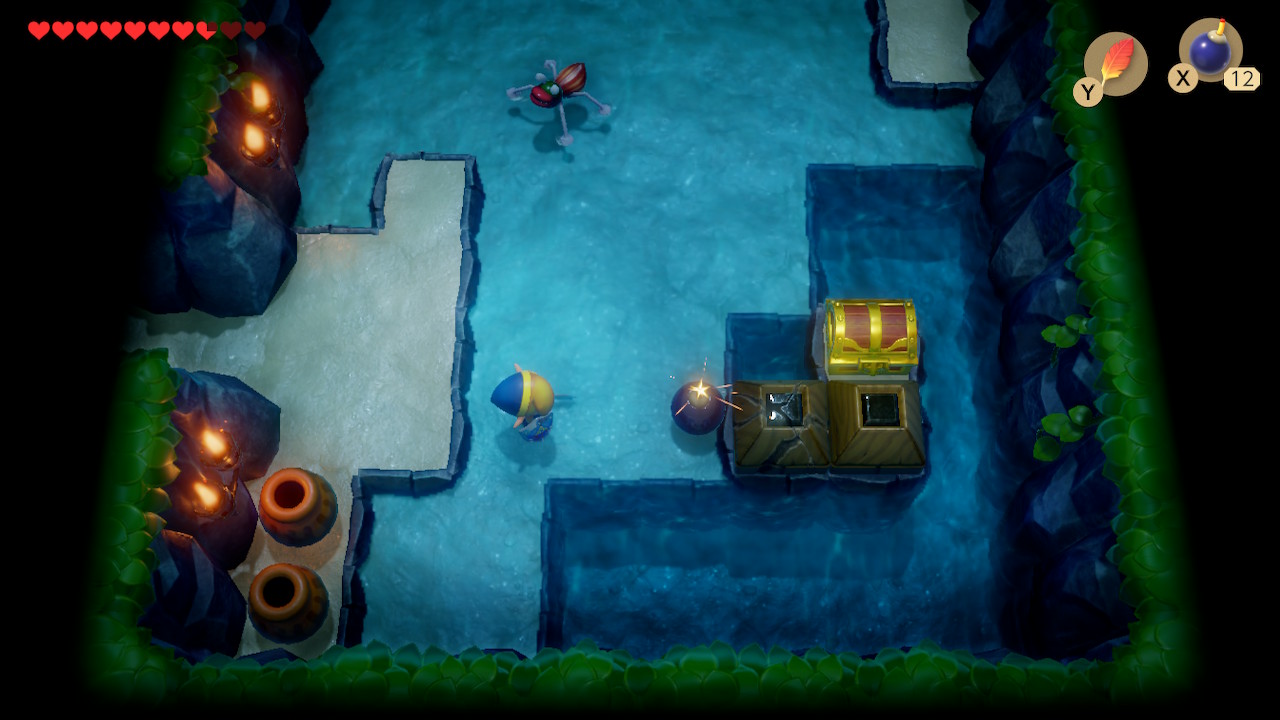
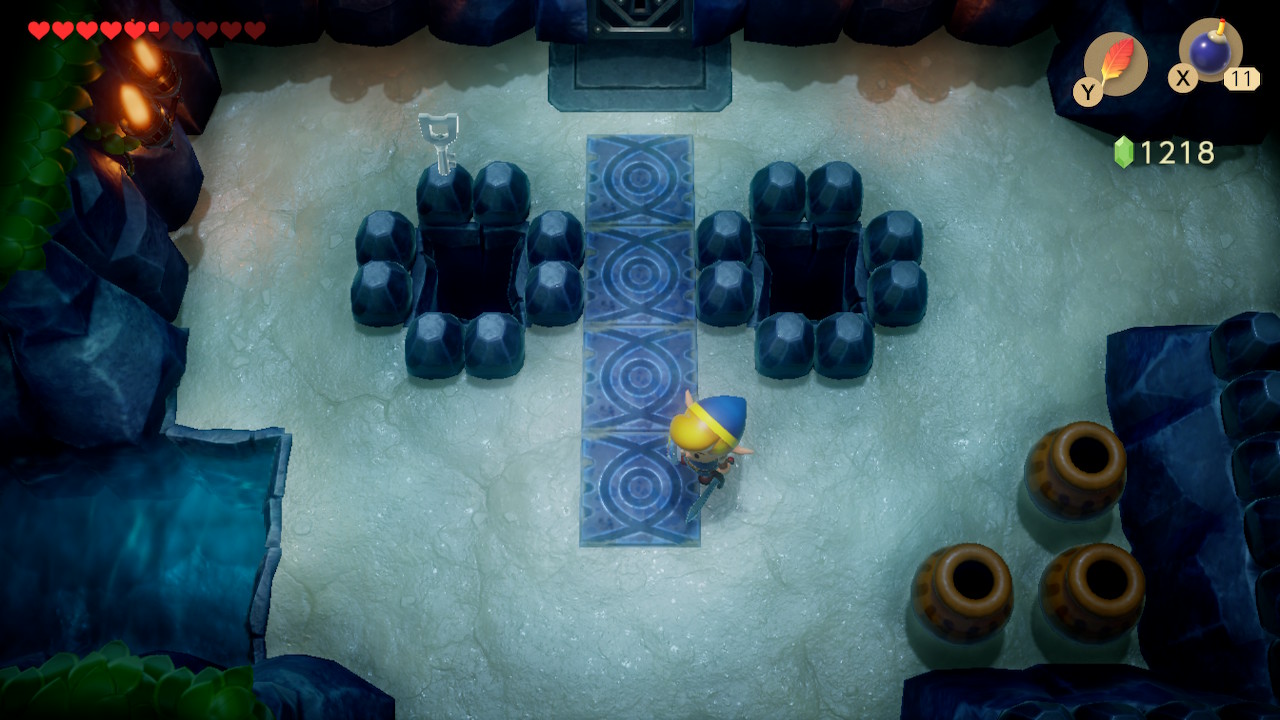
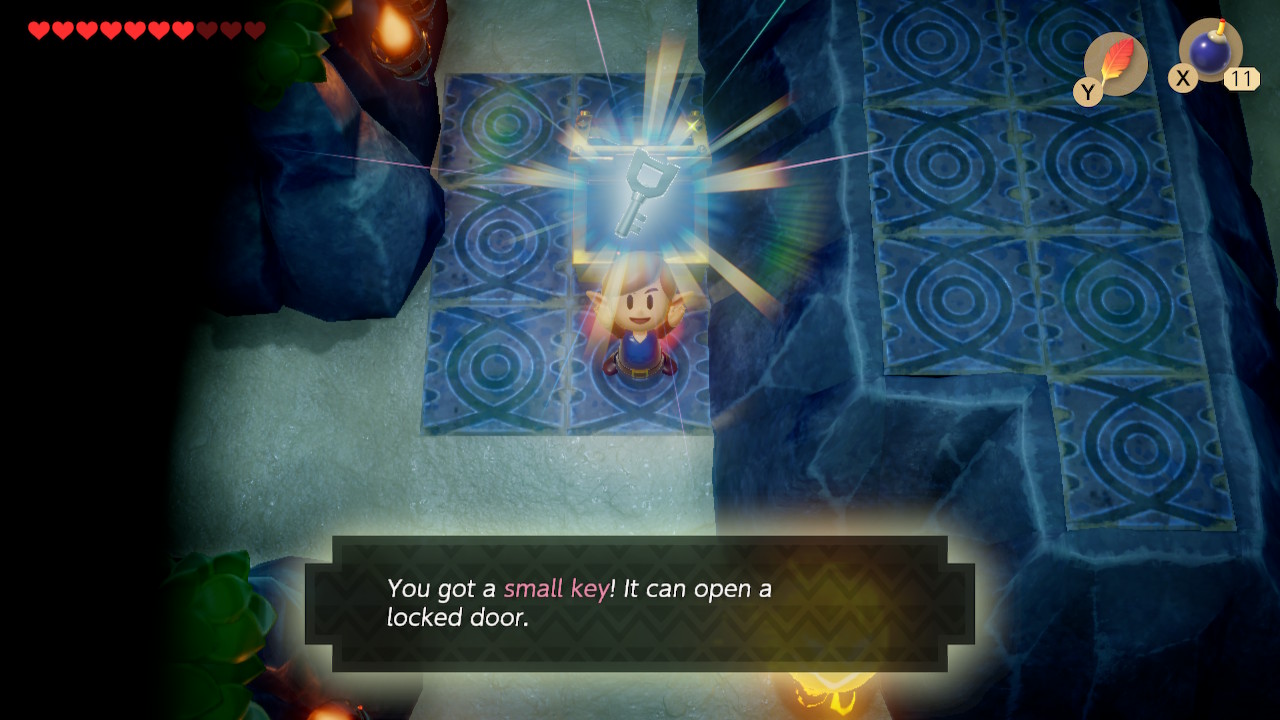
Head down the stairs here. You'll need to use the pegasus boots and Roc's Feather together to jump the gap to the right. In this room you'll see two blocks next to each other in front of a chest. Bomb the one on the left and push the one on the right into the water. Open the chest for a Small Key. Walk up into the next room and bomb the block in the center. Open the chest for a Small Key.
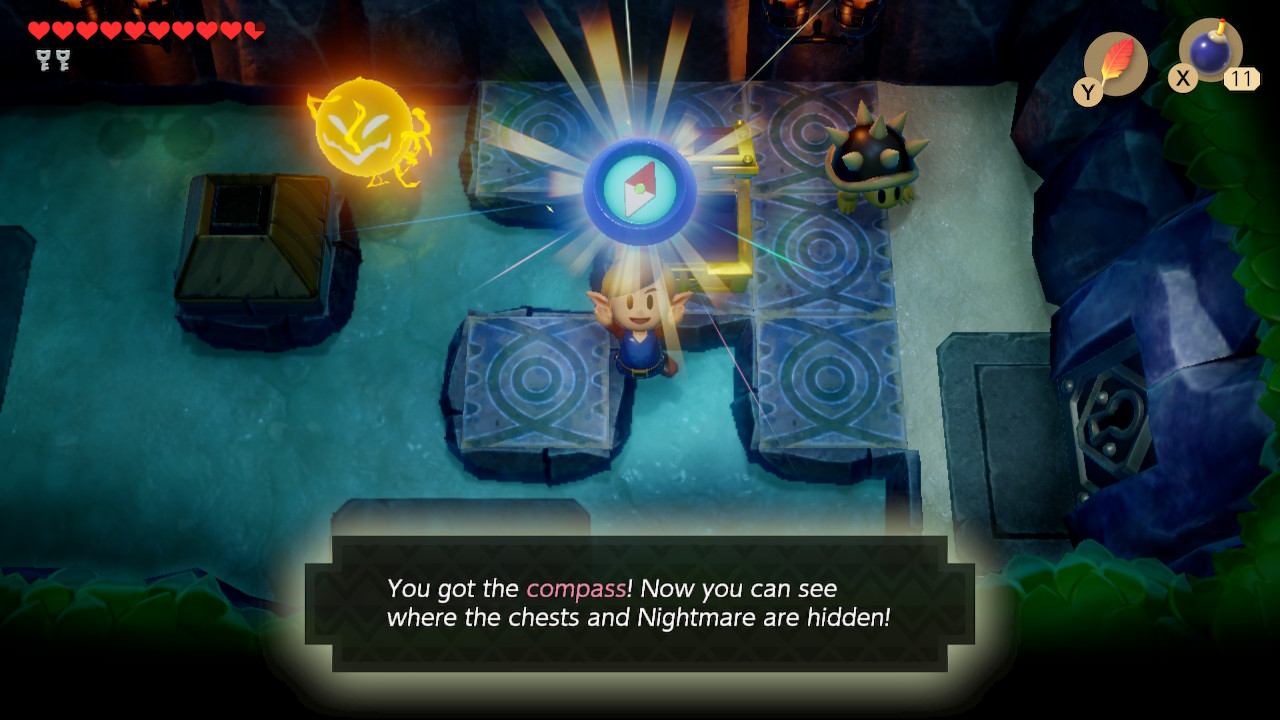

Backtrack to the main area, the first room after the entrance. Defeat the Spiked Beetles with your shield and enter the room to the right. Open this chest for the Compass and then head down through the door that opens up. You'll have to make a bit of a tricky jump over the deep water on the right side of the room to get to the chest containing a Small Key. Head back up.
Use a key on the door to the right and then a key on the door above in this next room. We now get to make the leap over the same gap as before, this time going upward. Use a key on the block here and defeat the enemies. Head left into the next room. Defeat the enemies here and a Small Key will drop from the ceiling but land a floor below. Head down into the next room.
Jump over the deep water in the next room and wrap around left. There are a lot of enemies here, take them out to make your life easier. In the area above, you'll see a treasure chest, but don't open it: it's fake. Continue up past it. Breeze on by this next room with the tiles for now, grabbing the Small Key from the chest in the room to the right. Backtrack to the room where the small key dropped too far and use your key on the door above.
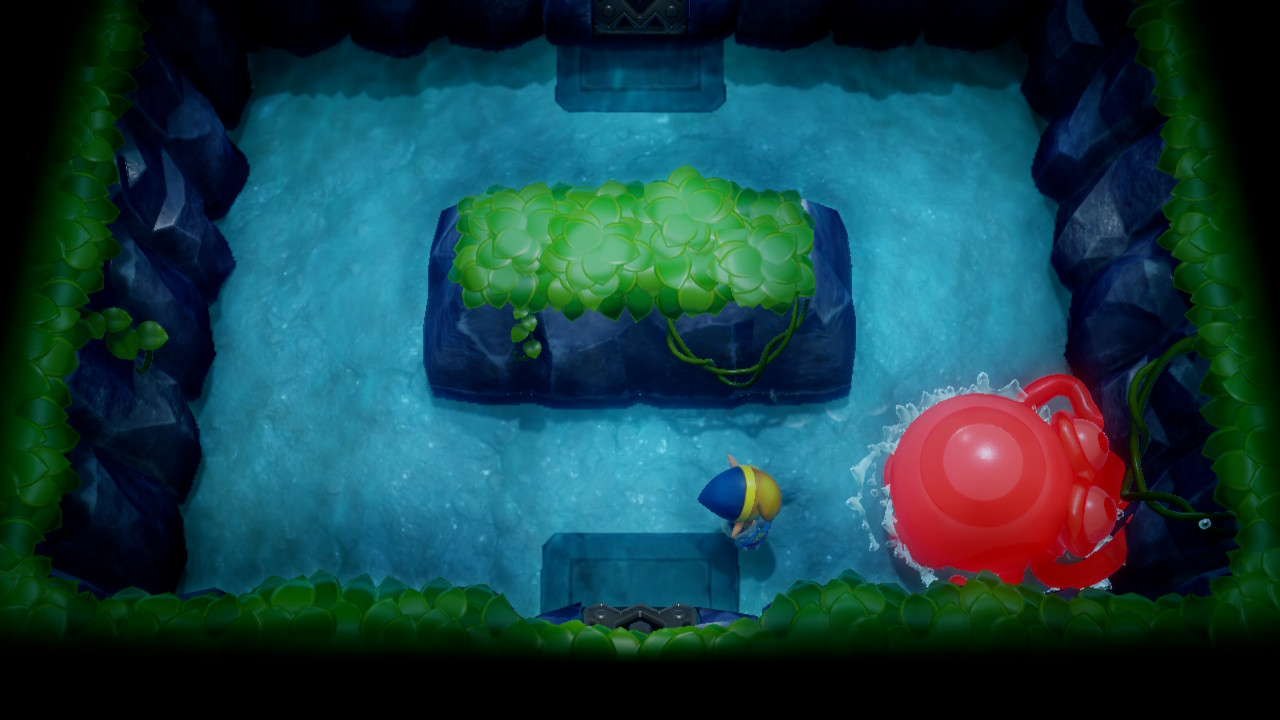
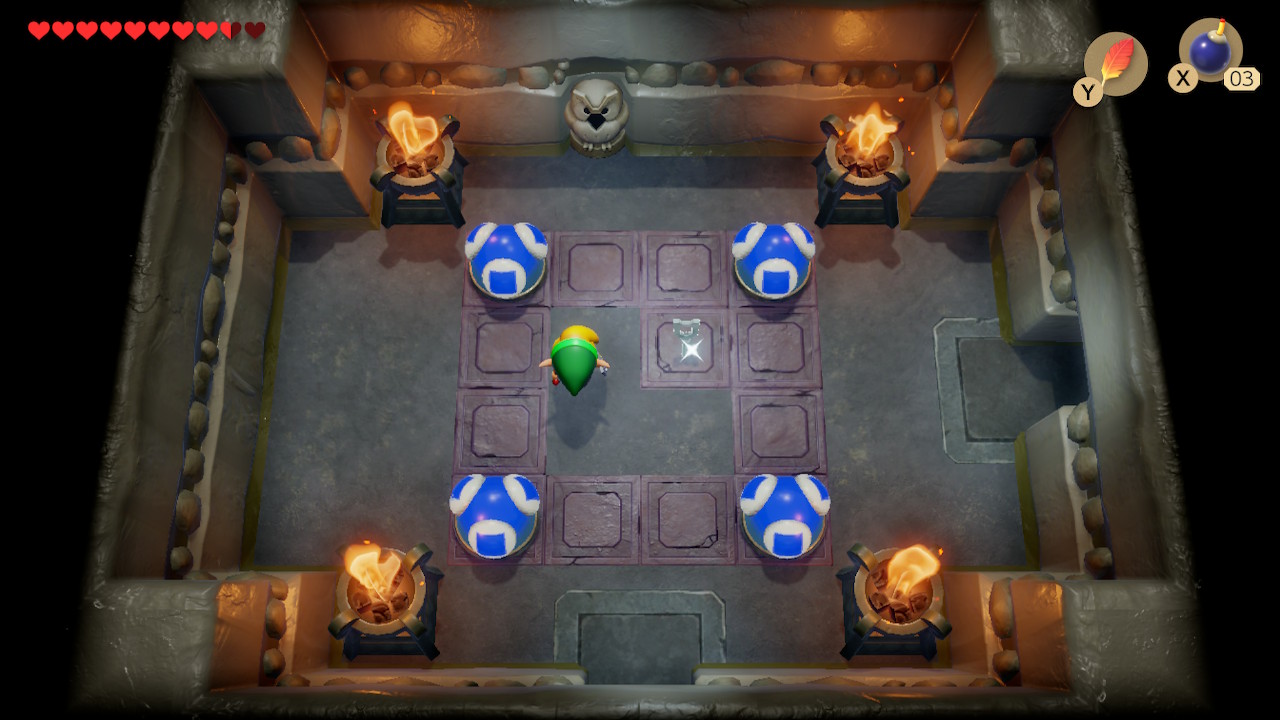
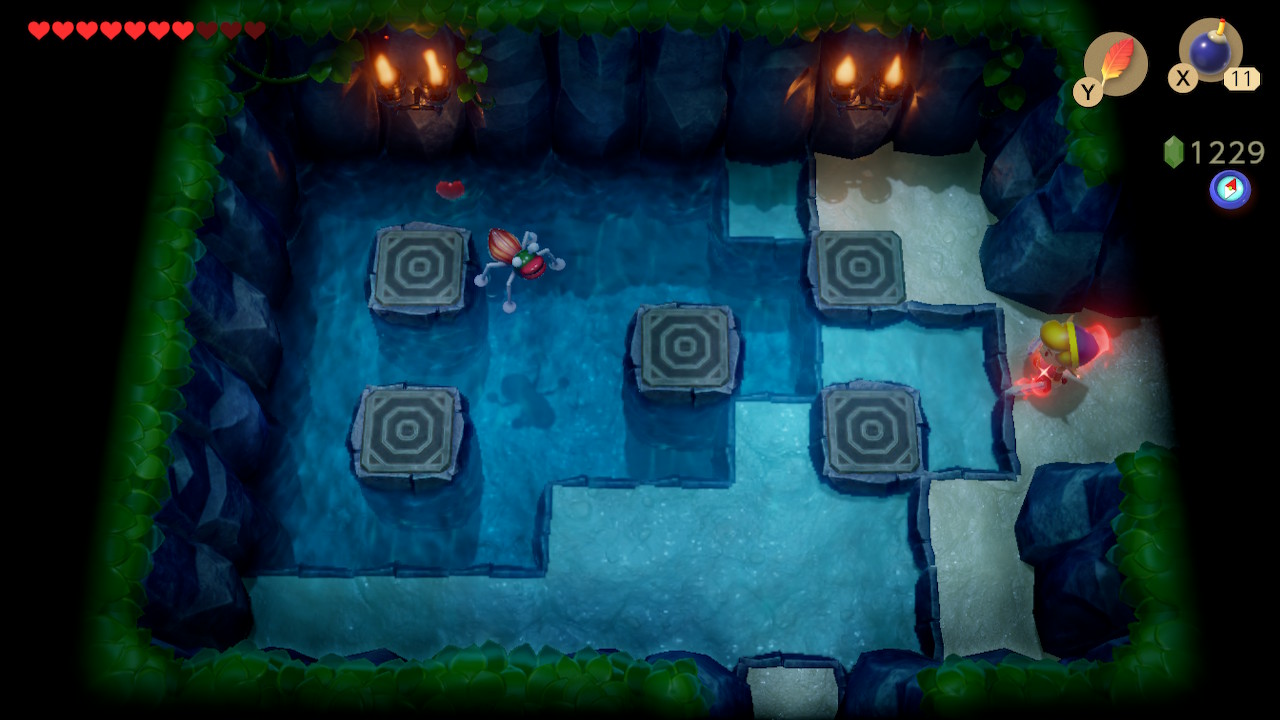
Inside this room you'll find a mini-boss: Cue Ball. This giant spider-like creature will circle around the room trying to smash into you. You'll have to slash him from behind, but he'll turn around whenever he gets close. Simply jump over him and quickly attack him before he can turn around. Upon being defeated, he'll drop a fairy and a warp portal to the beginning of the dungeon will appear.
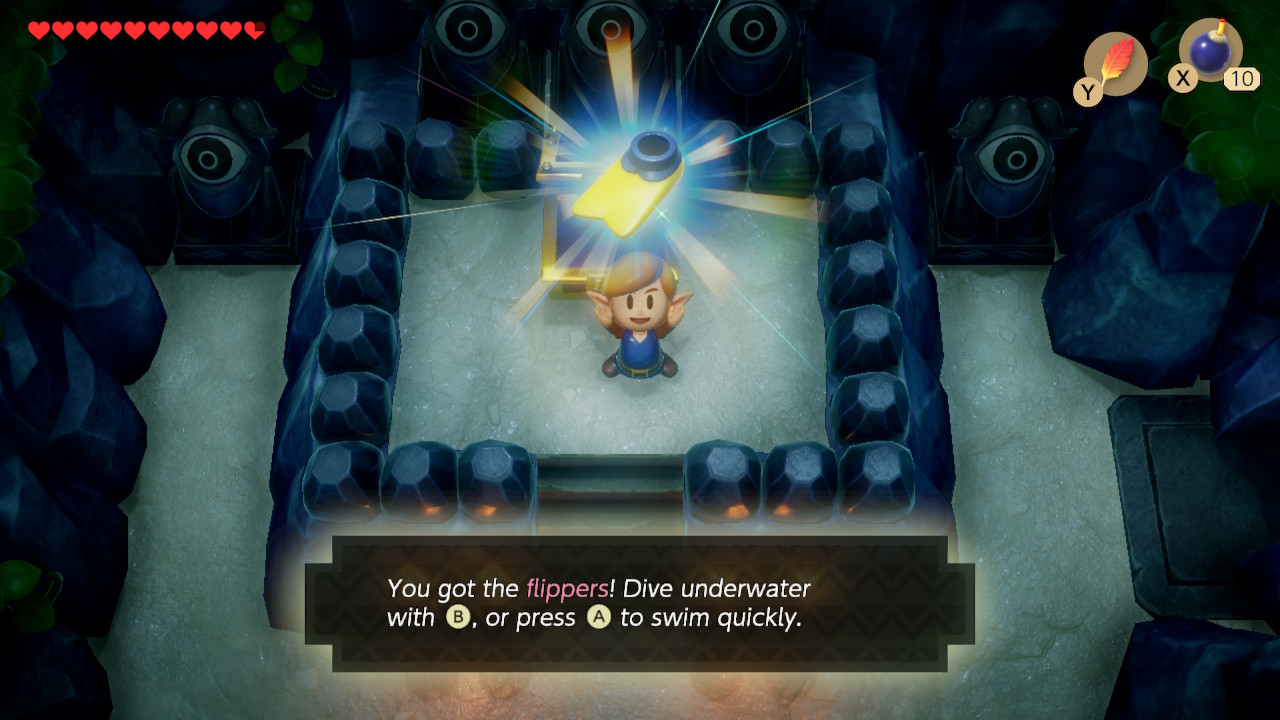
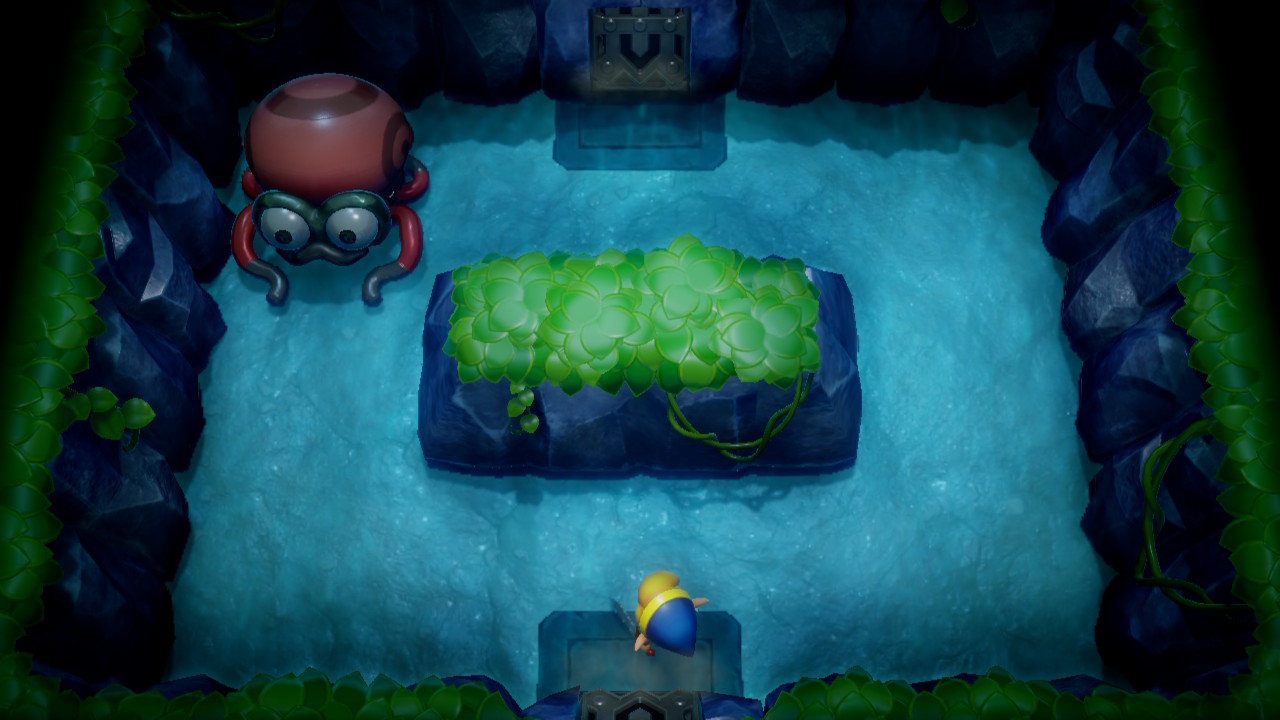
Head up into the next room and you'll notice the blocks around the doorways slowly closing in. Simply pull the lever to the right back as far as you can and quickly exit to the left. Open the chest here to get the dungeon item: the Flippers. These will let you swim in deep water without drowning and dive underwater. Head down a room.
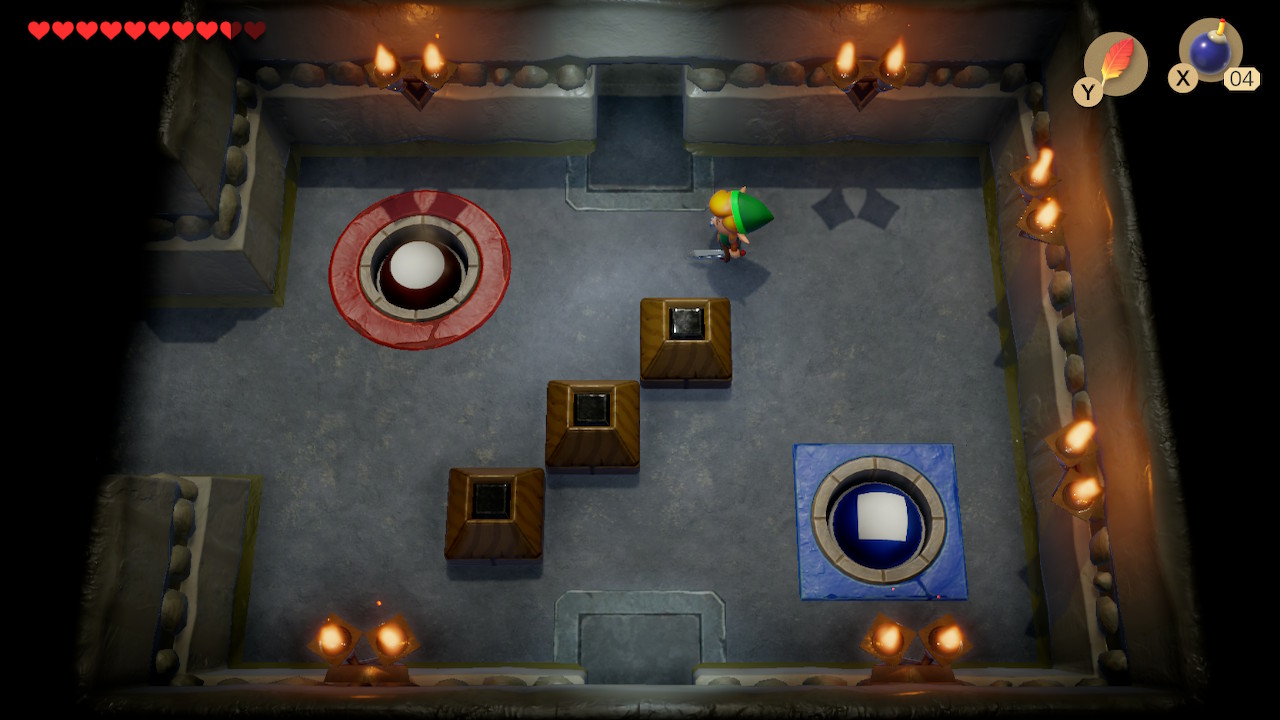
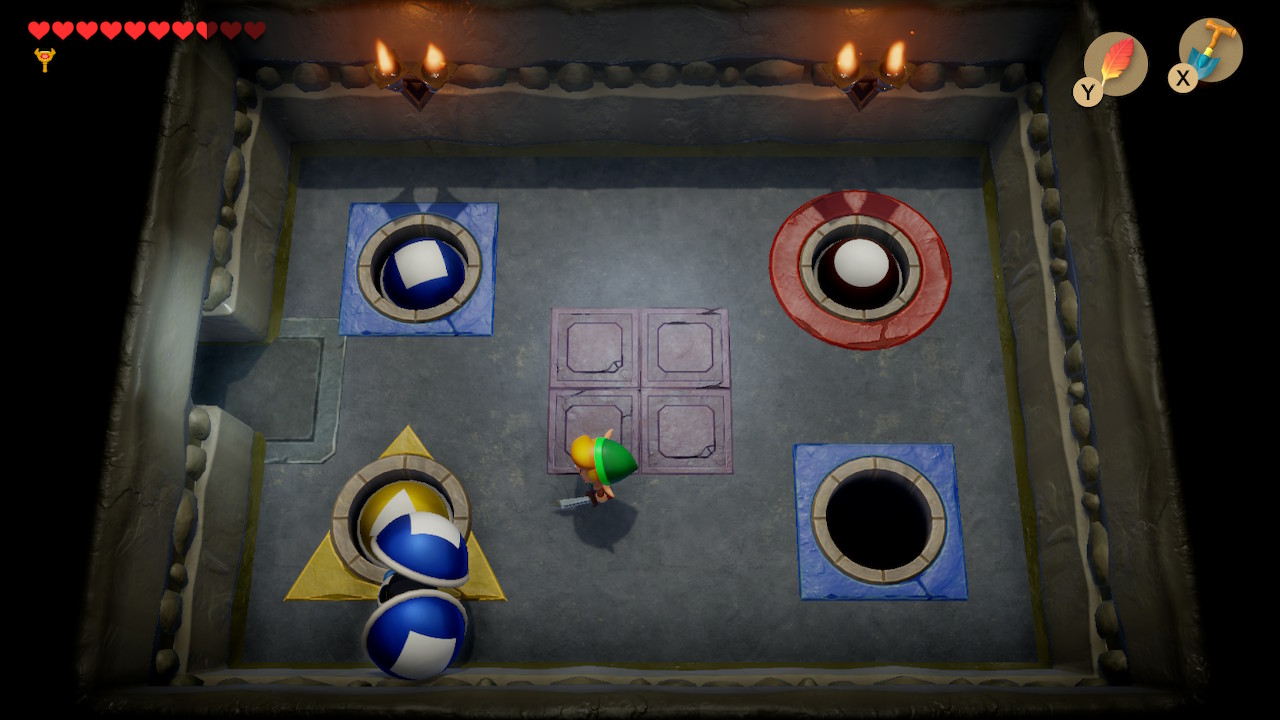
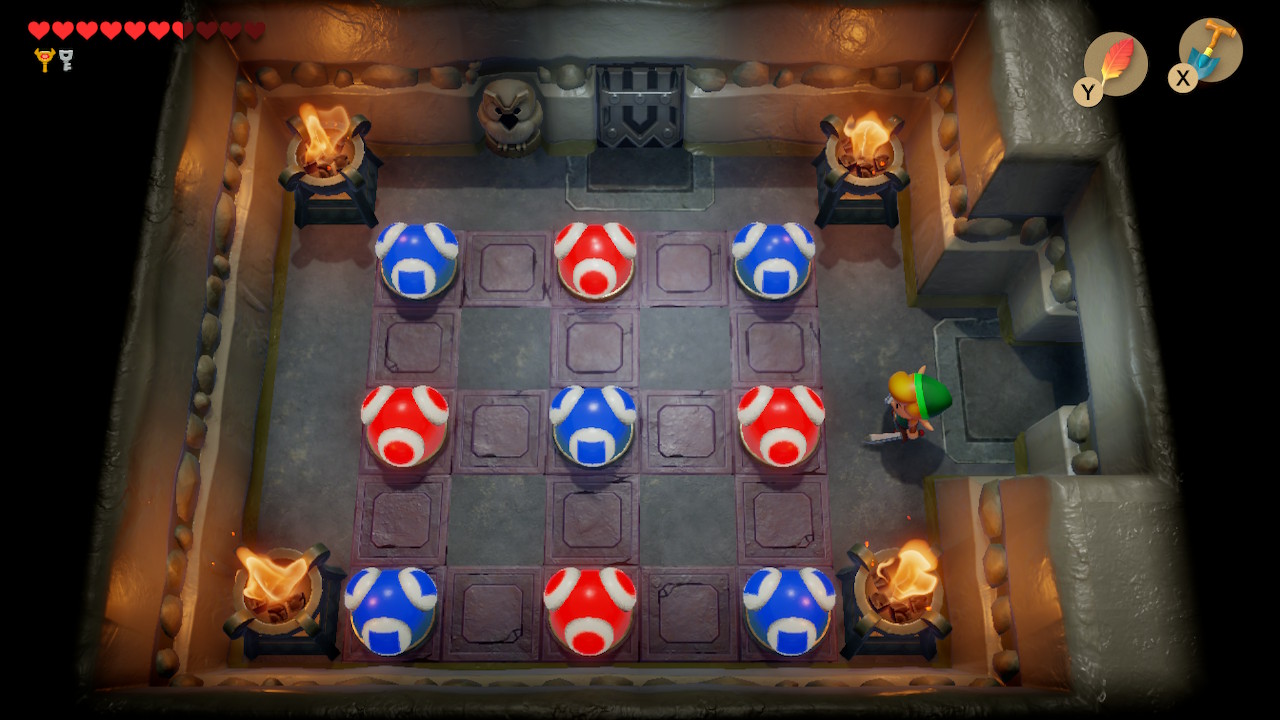
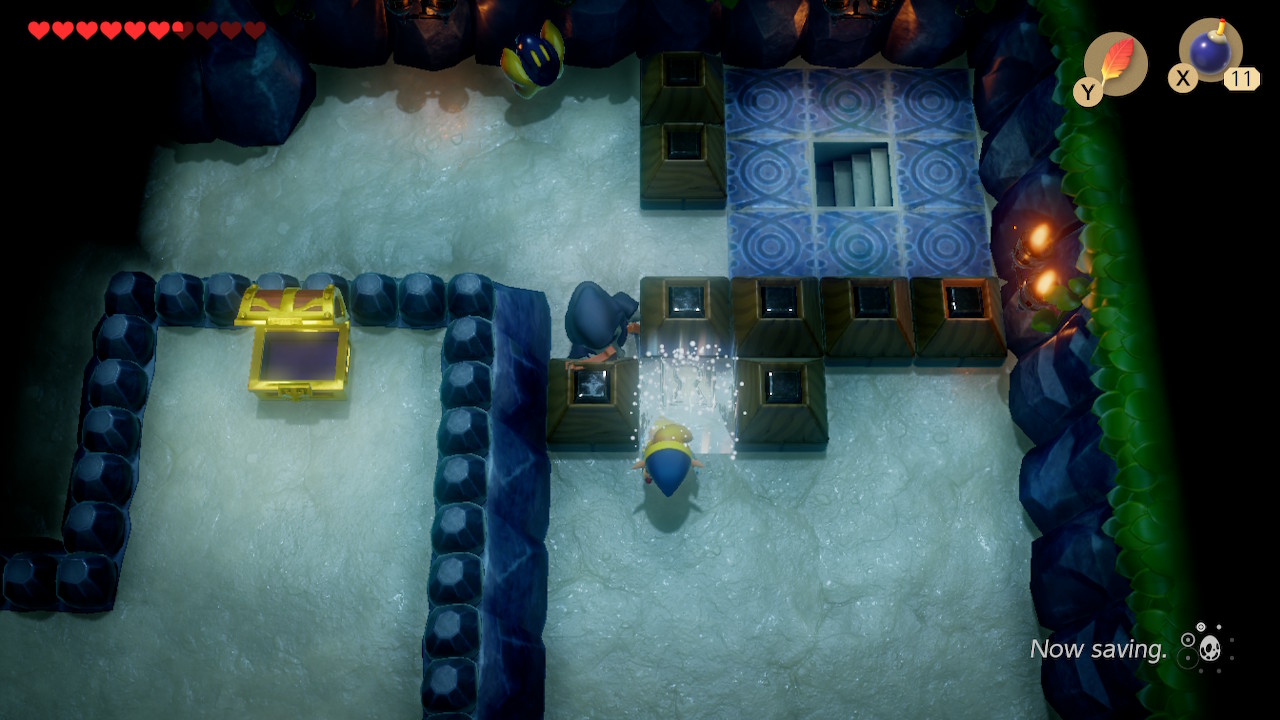
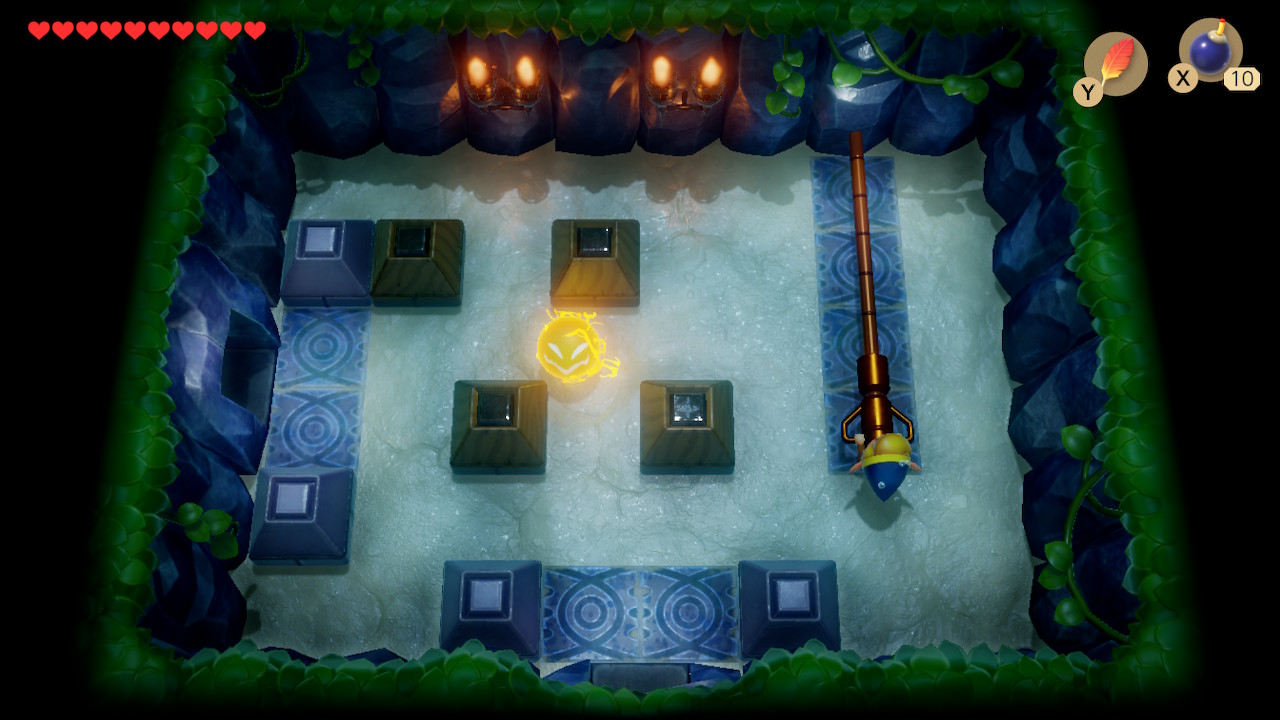
In this room, you'll see a glow on a tile. Follow the glow and walk over each tile in the order it appears. You'll need to remember the order of this for later, so make a note of it. It's random for each game, so we won't be able to help you with it. After doing so head down and push the block to the left so you can head left. Walk over the tiles in the same order you just did. Head down the staircase that appears.
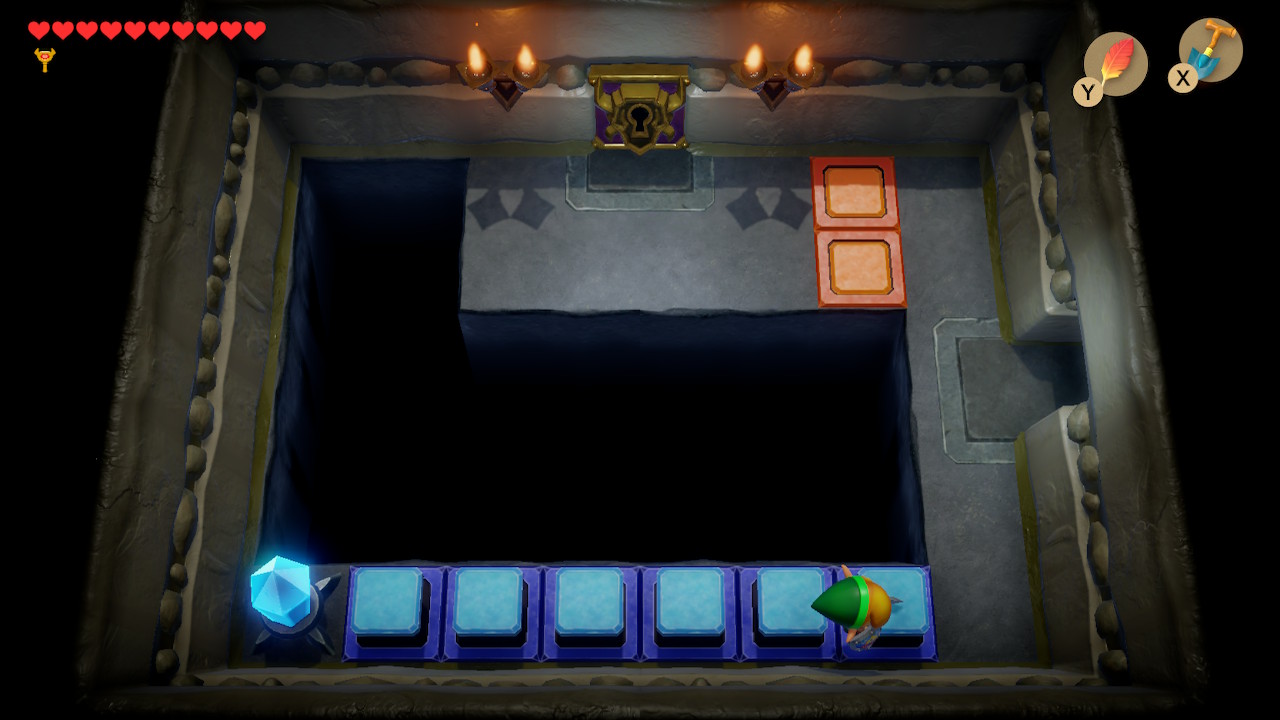
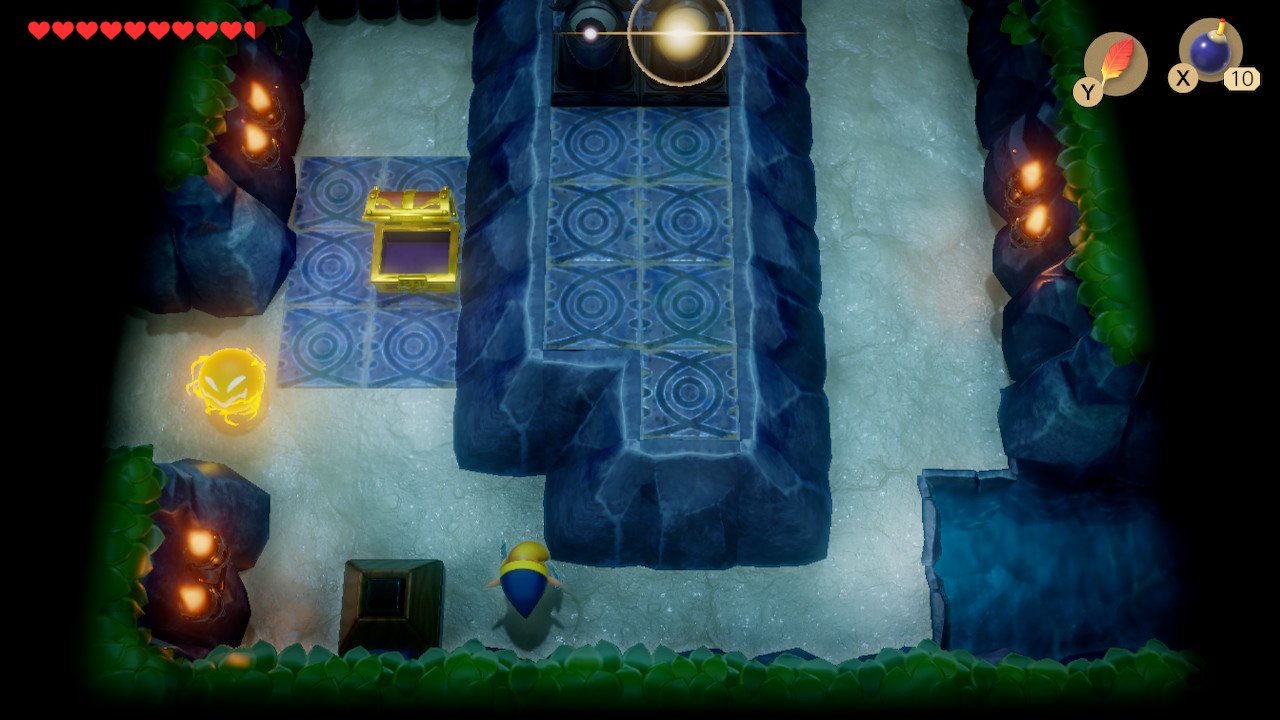
Head left in this room, avoiding the Thwomps here. You'll need to bait the left one so that you can ride it as it makes it way back to the top of the screen. Climb up the ladder to the left. Head down to find a chest containing the Nightmare Key. Head up a bit and jump off the ledge here. Use your new flippers (auto-equipped) to swim to the right and up into the next room to find a chest with 50 rupees. Exit this room above.
We're after that small key from earlier. Head right a room and down the staircase. Head to the left to find the Small Key from before underwater. Now that we have the flippers, we can grab it with ease. Exit the 2D basement and push the block here down so we can head down and jump back over the gap. Swim to the left here to grab 50 rupees from a chest.

Head back up and leap accross the gap for a final time. Go left into the next room and down from here. Hop back into the deep water and swim left. Step on the switch here to open the door. Use a key on the block and head down the stairs. You can take out the Cheep-Cheep here if you like, head left and up the ladder either way. Enter the boss room when you're ready.
Angler Fish
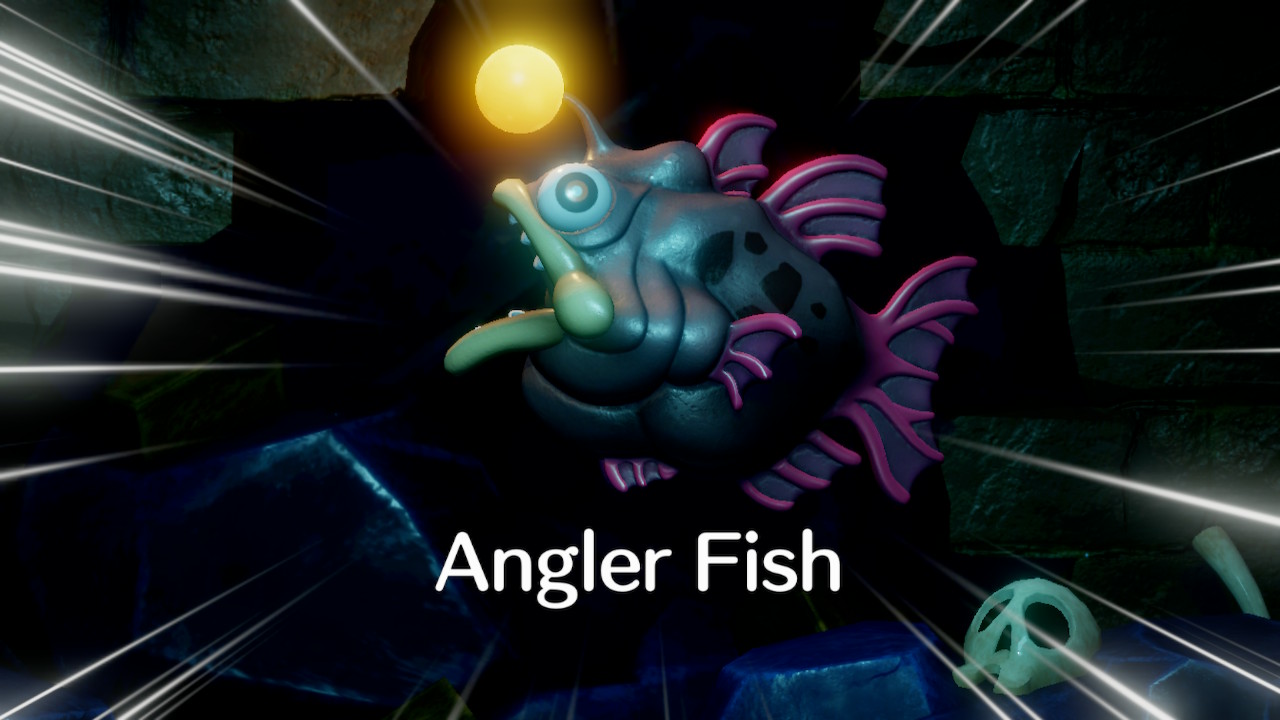
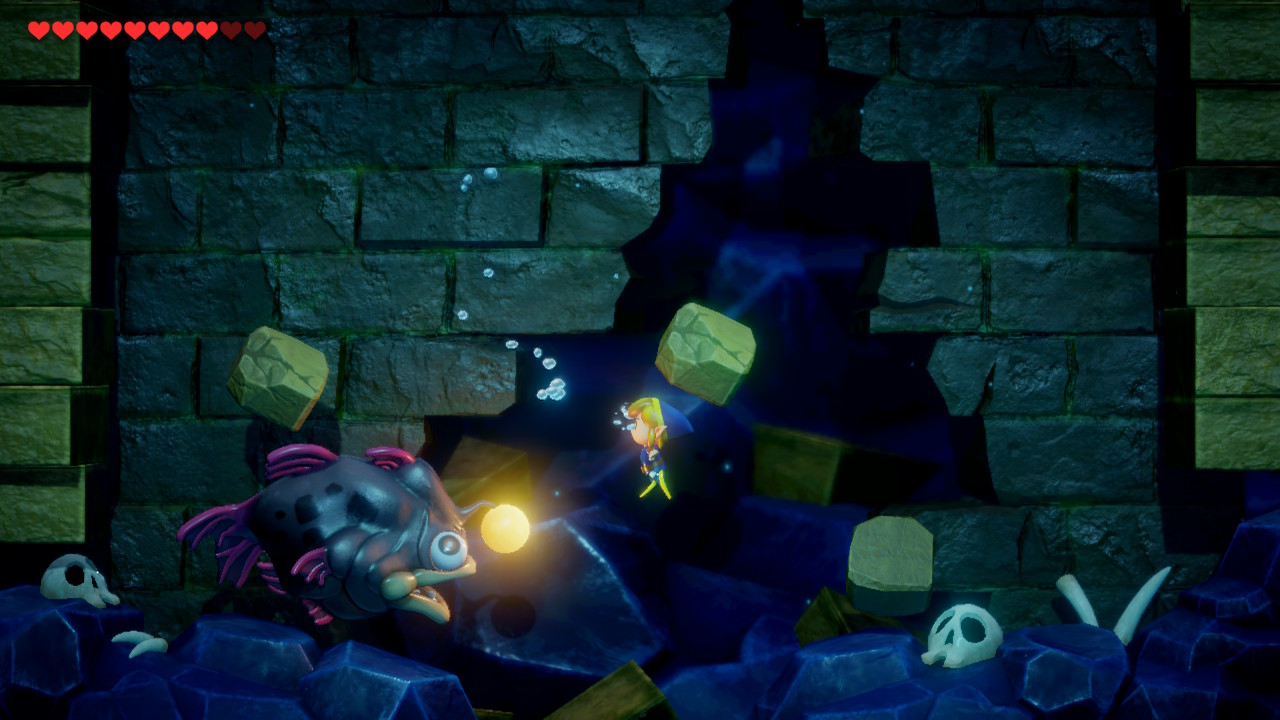
You'll need to go down the steps and into the water to fight the first 2D boss in the game. This fight was notoriously easy in the Gameboy version, but it puts up a better fight this time around (kind of). It'll smash into the wall causing rocks to fall from above and damaging you in the process. It will also summon smaller fish but they won't do much. Simply slash at its head over and over until Angler Fish is defeated.
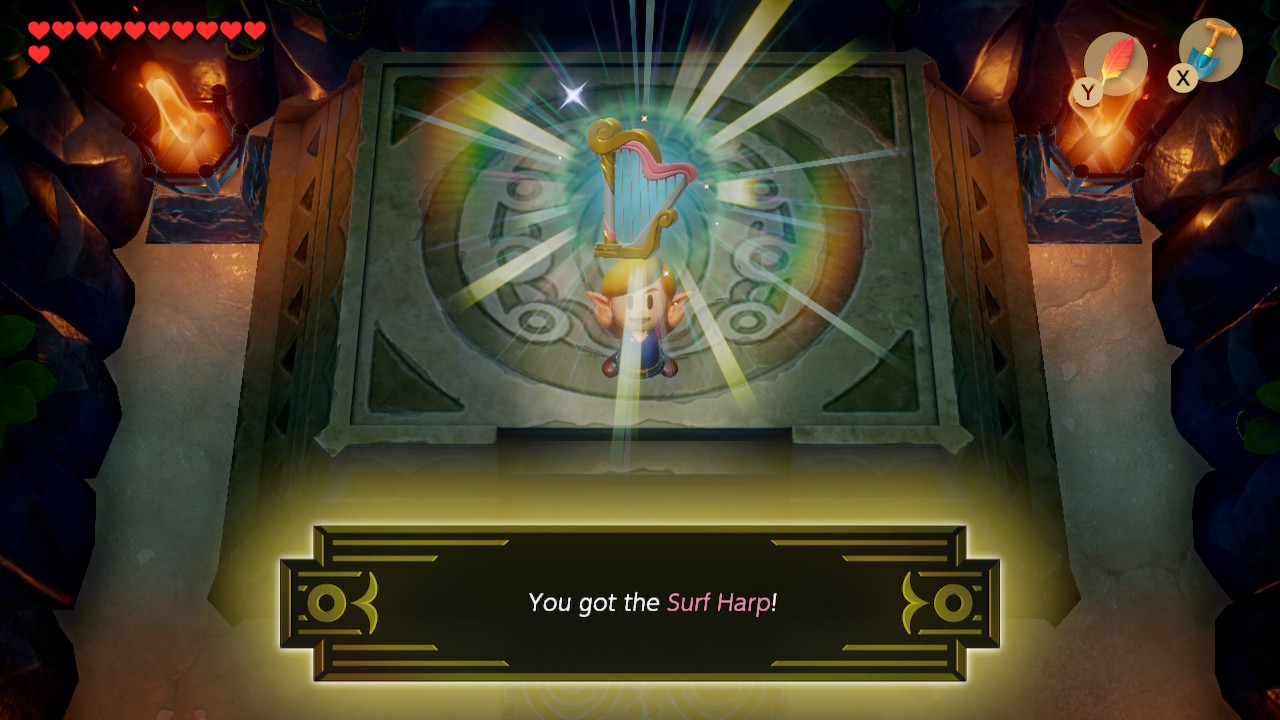
It'll leave behind a Heart Container that you should pick up. Head back up the ladder and into the room above. Here you can pick up the fourth instrument, the Surf Harp.
Back to Key Cavern Continue to Catfish's Maw
