
Part 8: Turtle Rock
Western Tal Tal Mountains
There's now only one more dungeon to complete and not much else before Link's Awakening is wrapped up. So let's get to it. After exiting Eagle's Tower, jump off the ledge to the right and then enter the cave to the right. Simply backtrack left through the cave and exit. Go down the ladder and enter the other cave to the left. Backtrack left through this one as well.
Climb the ladder next to the waterfall to your left. Climb the mountain a bit to the north and you'll find yourself back at the rooster house. You can enter it to find the blue rooster from before if you'd like, but it'll be staying here from now on. Rather, head to the left of this house and use your hookshot to cross the bridge that is missing some panels.

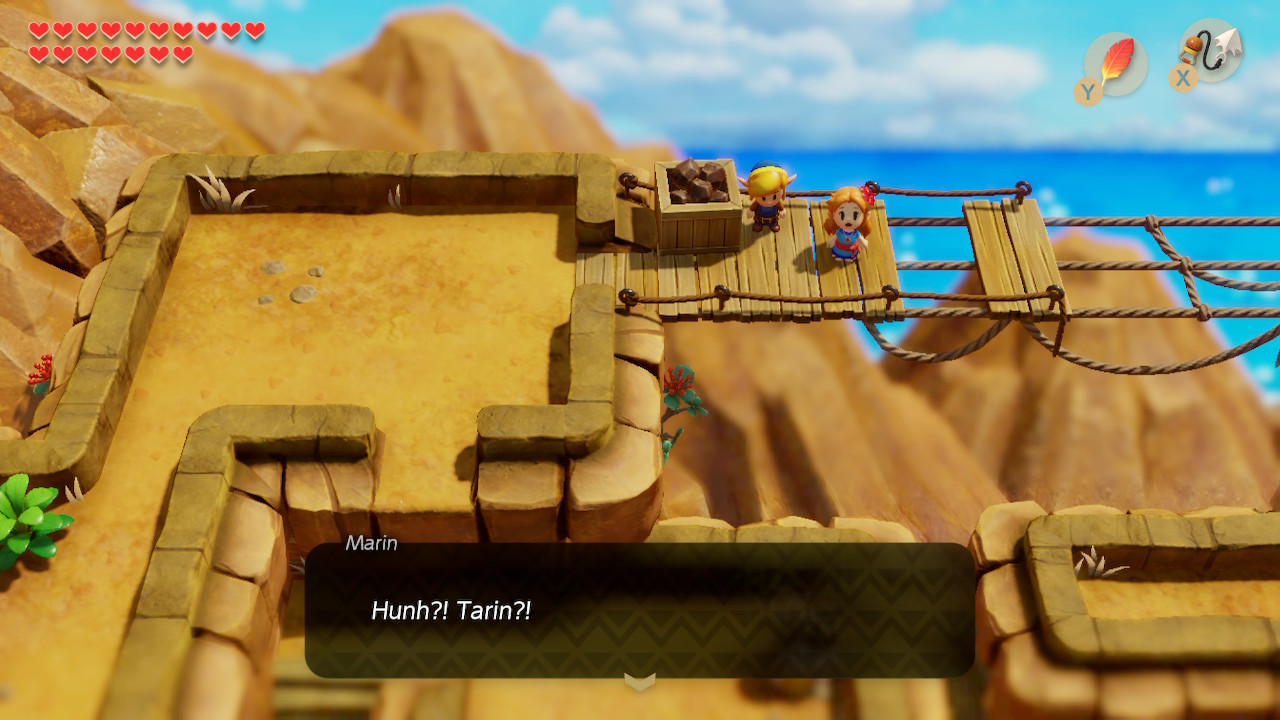
Here you'll see Marin stranded on the bridge. Use your hookshot to swoop by and save her. She almost says something romantic... but is interupted when her father comes by. They'll both leave and the owl will come by and give you a hint that the next instrument is in the west.
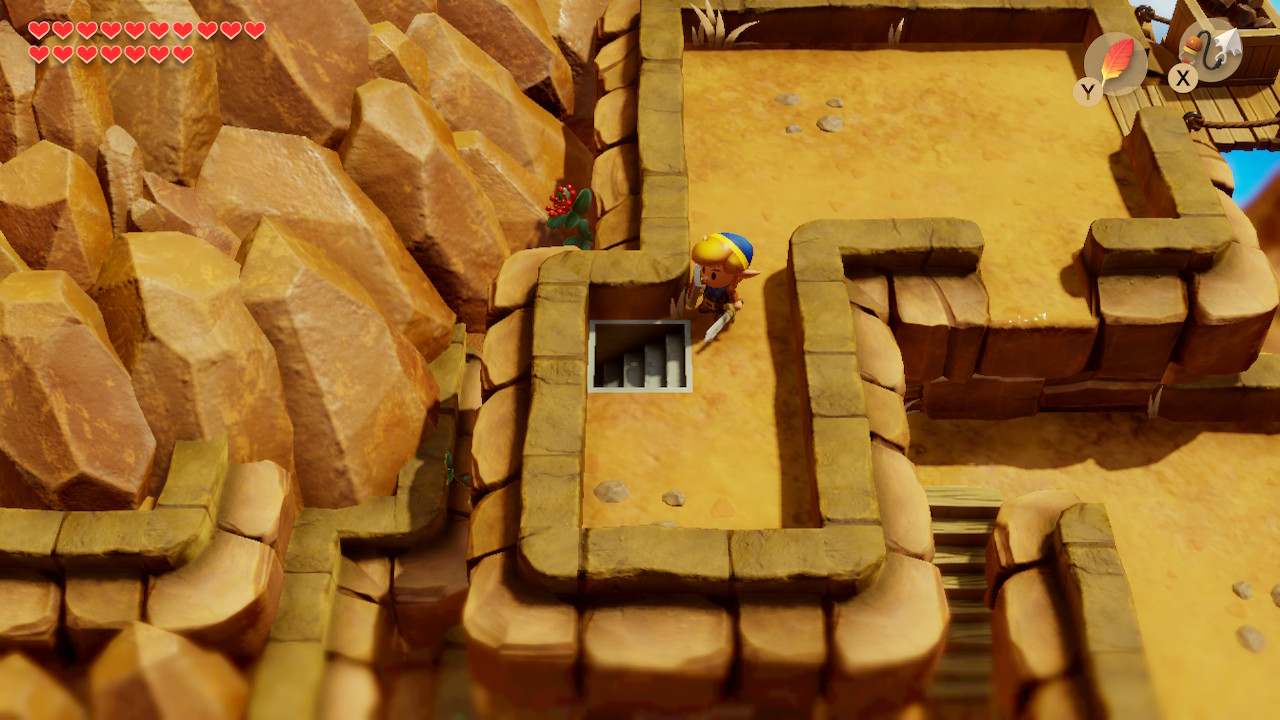
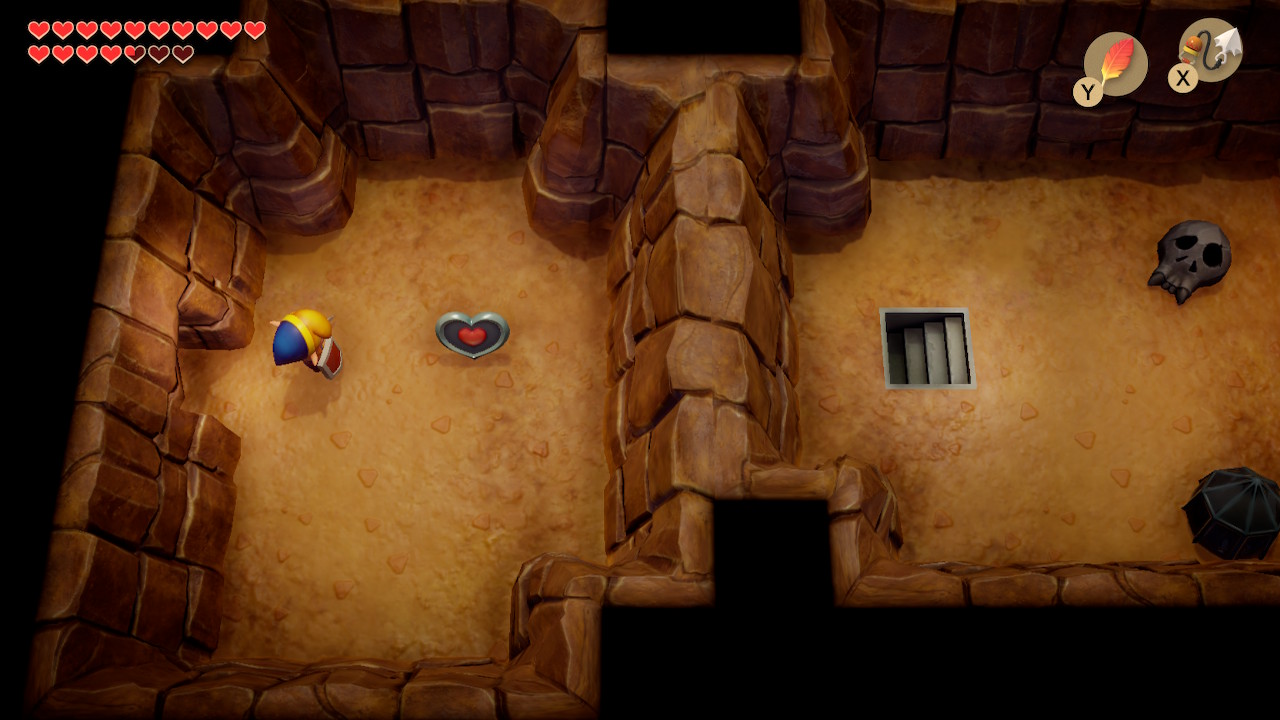
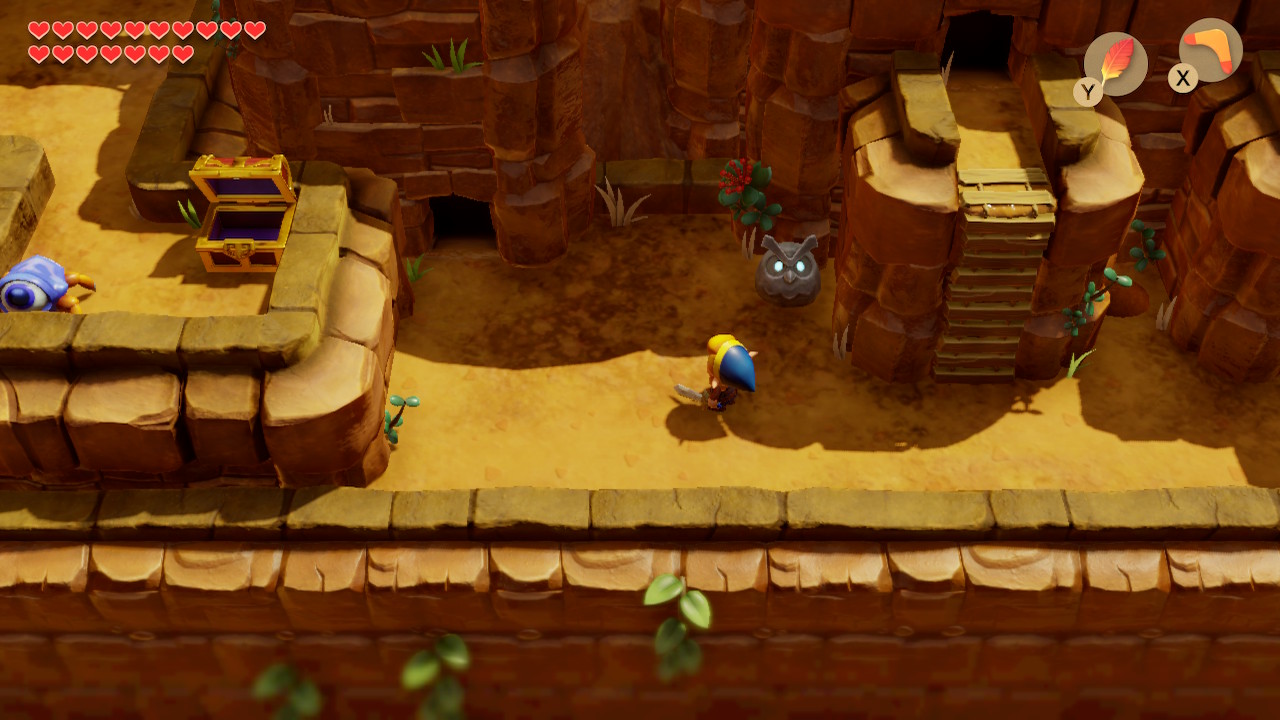
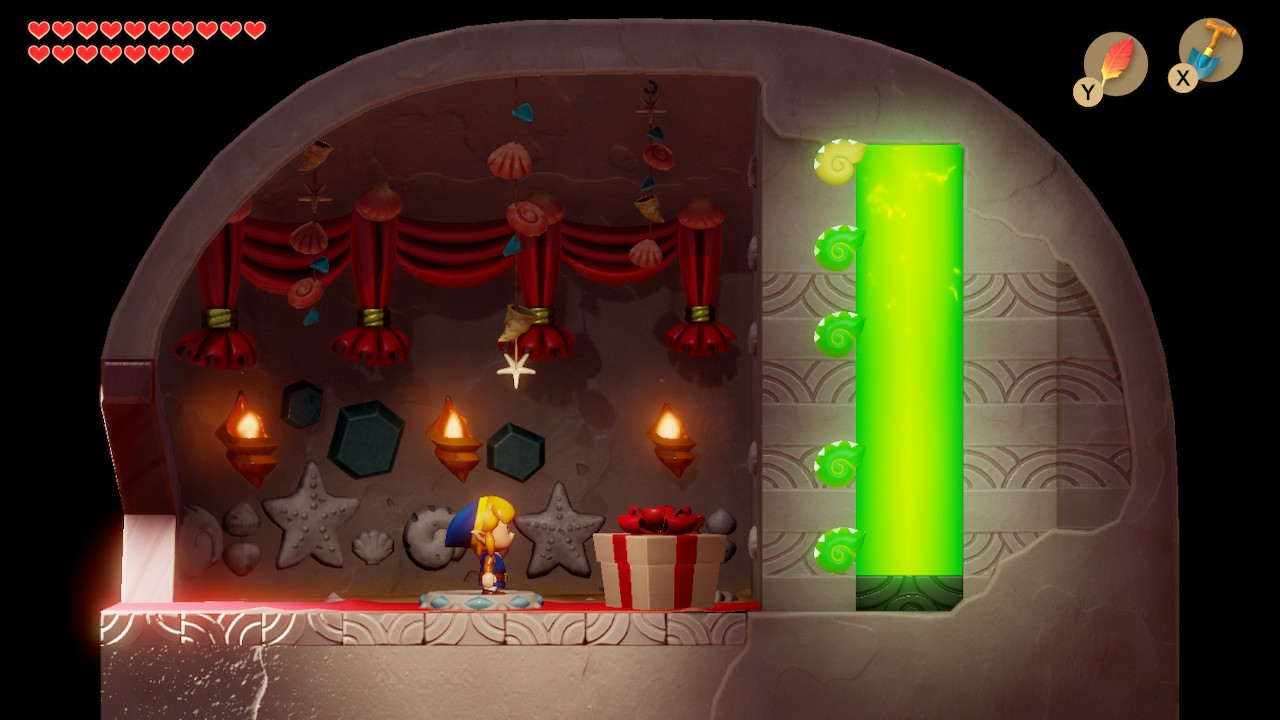
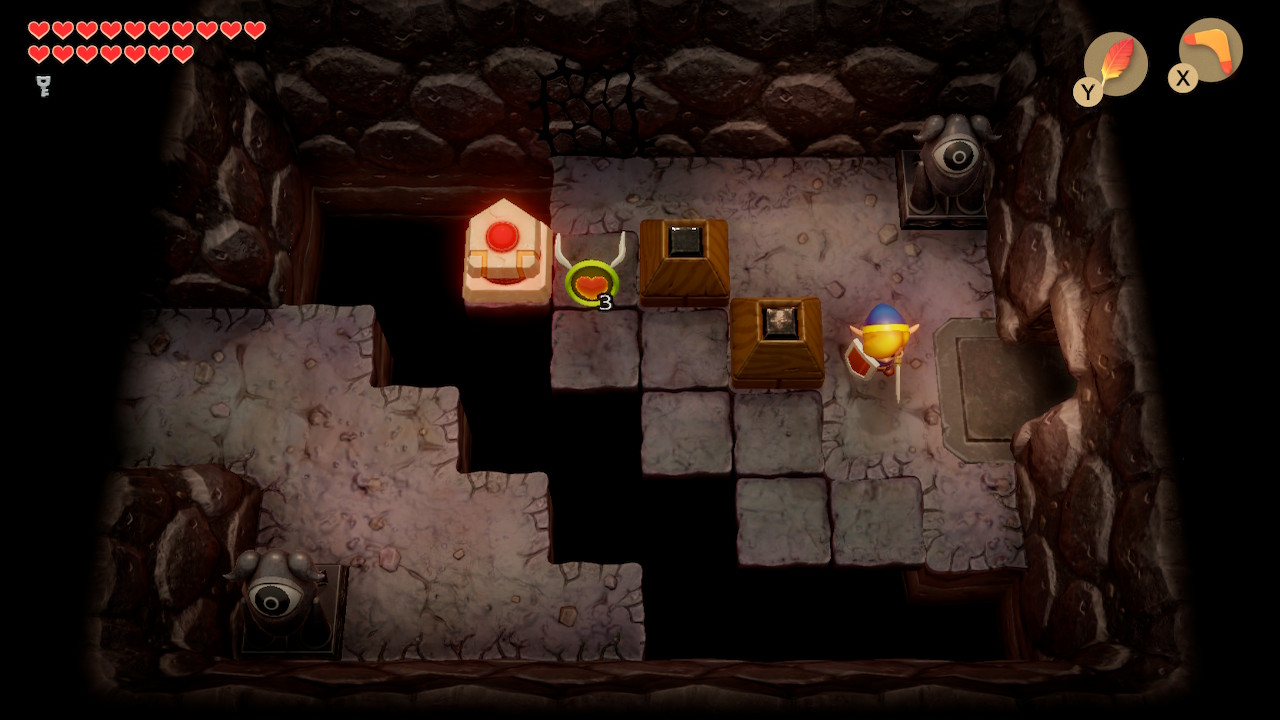
Head left and slash the lone bush here. This will reveal a staircase that you should head down. Place a bomb on the cracked wall to the south here. It'll reveal a new room with a passageway to the right. Here you can collect Piece of Heart #30 that we've been seeing from the other side of the wall for awhile now.
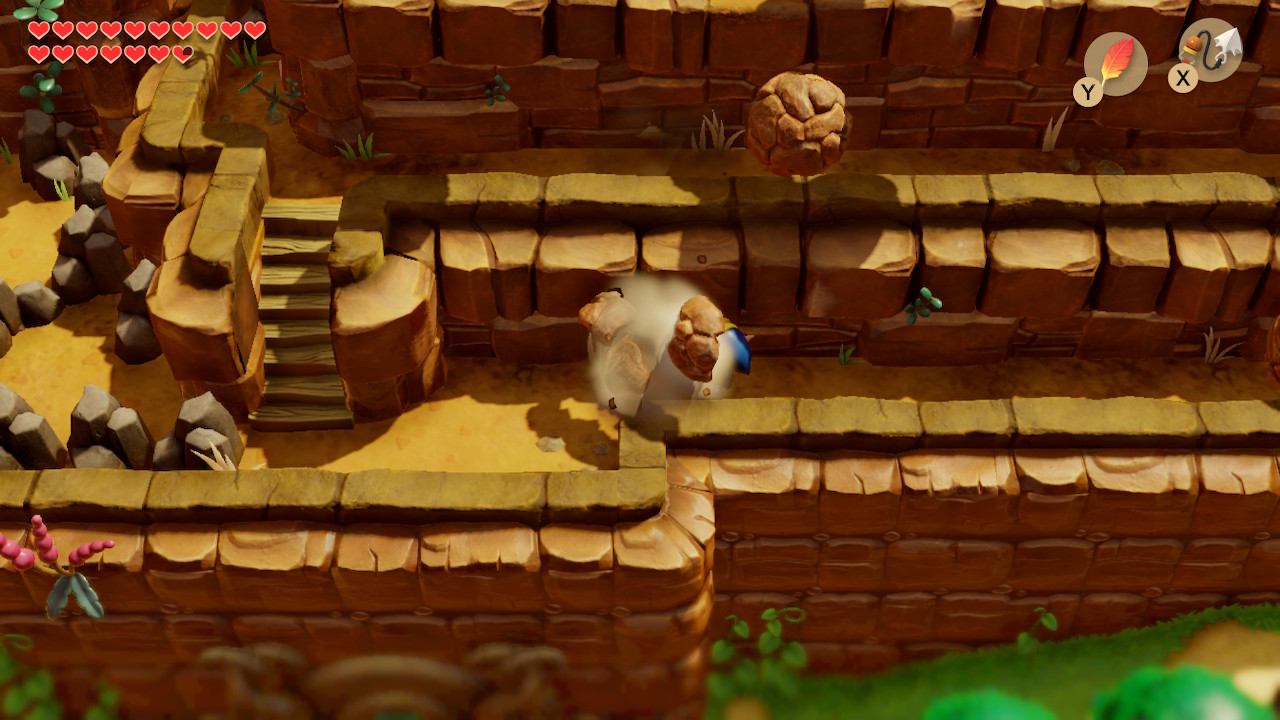
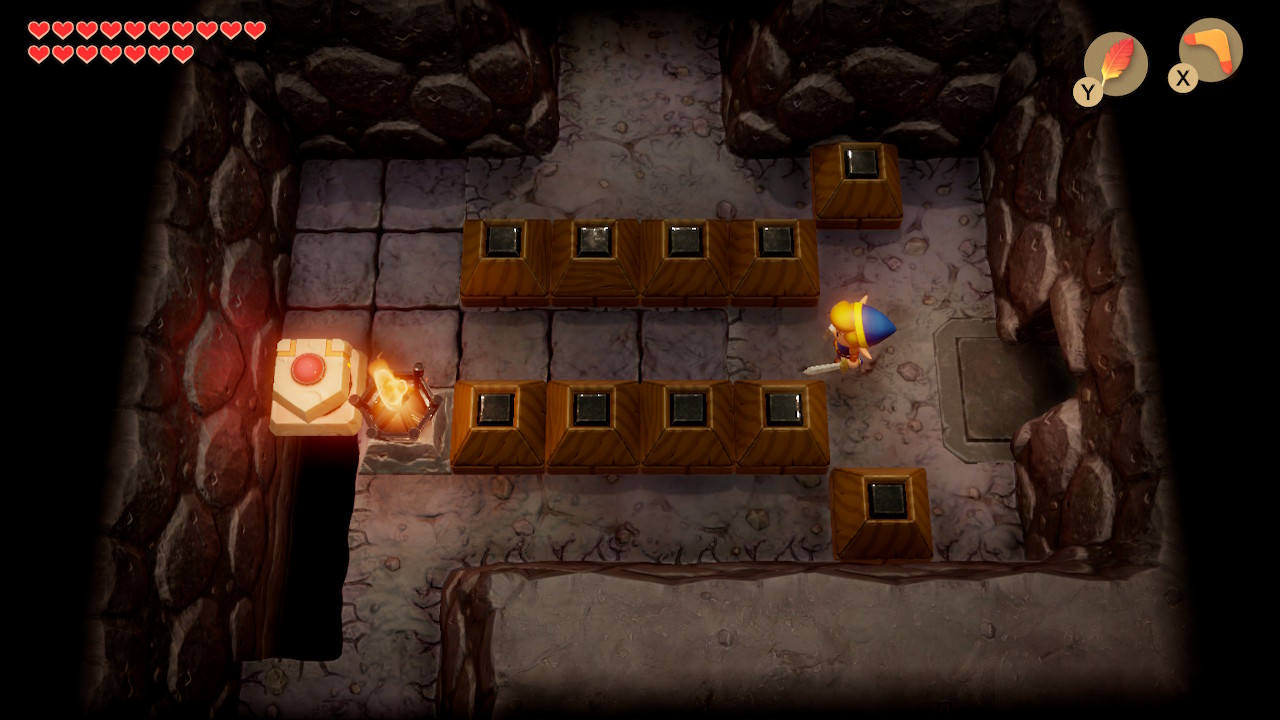
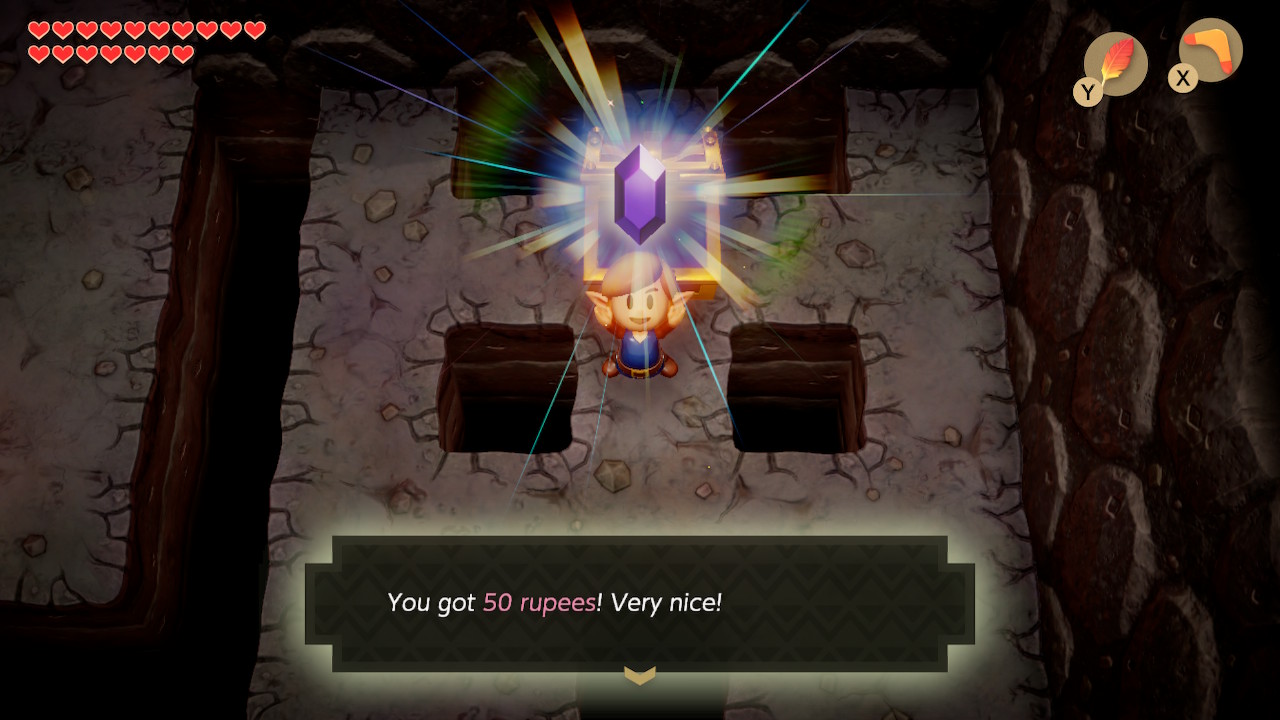
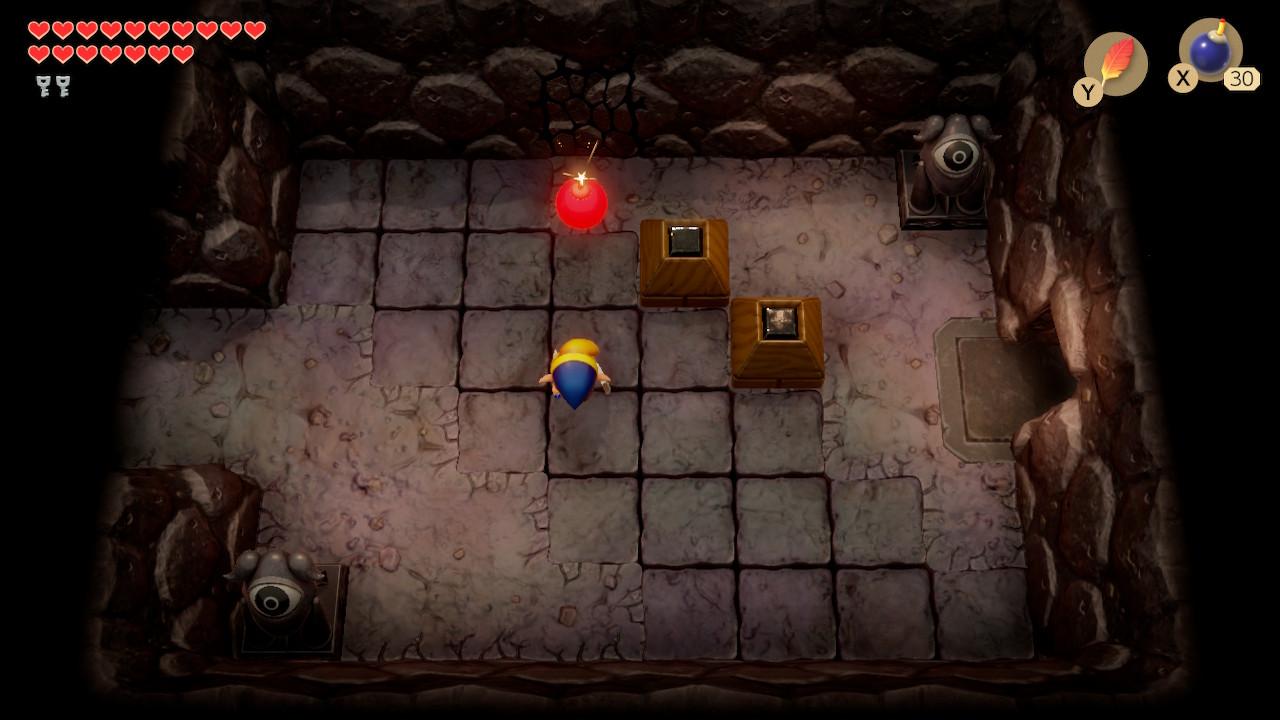
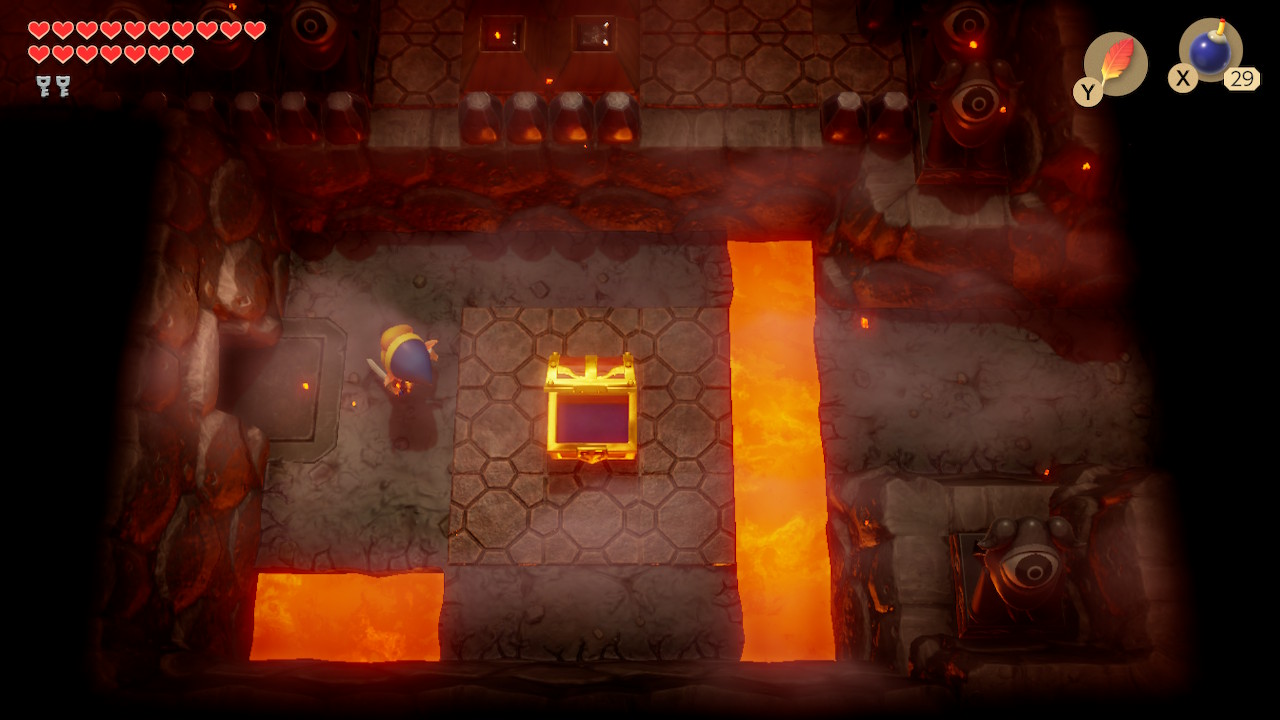
Head left through this cave until you reach a large gap. Hookshot accross here and exit the cave to the left. Outside you'll find a gradual narrow climb complete with falling boulders. Dodge them and continue upwards. Once you reach the top ledge, pick up the boulder in the top-right corner to find Secret Seashell #49. Head left and open up the chest for 50 rupees.
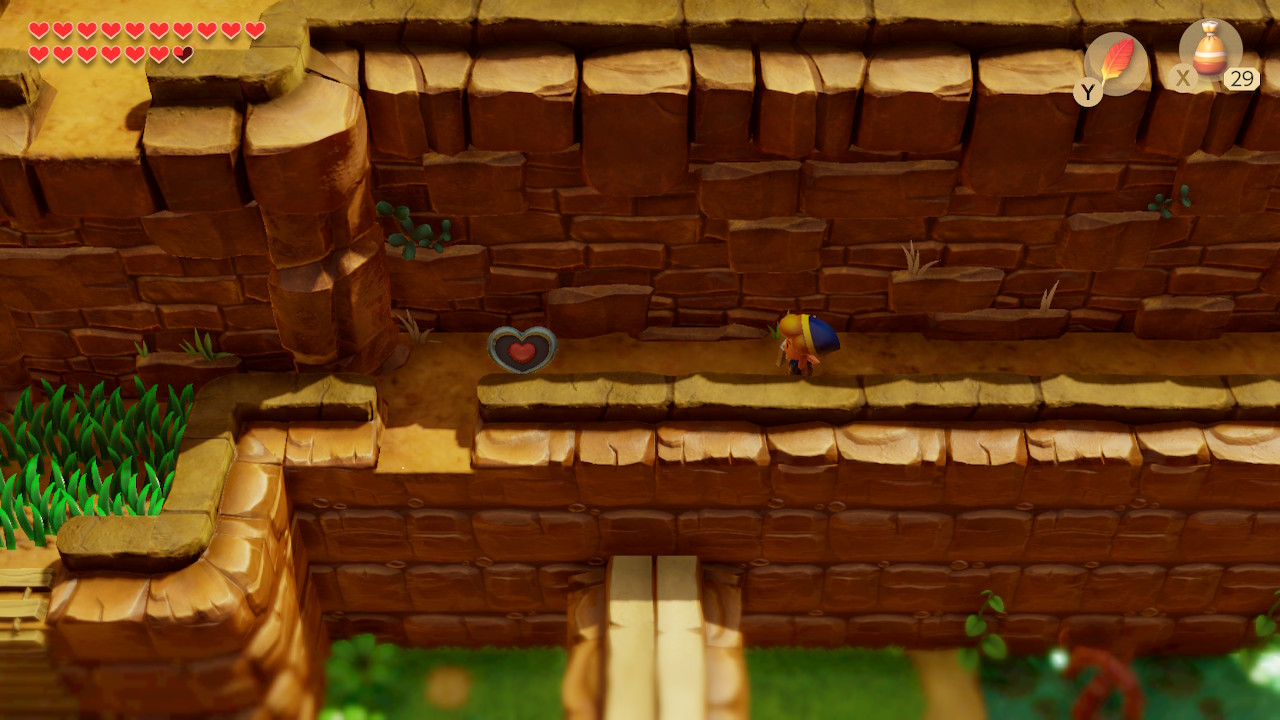
Just below this chest, pick up a stone to reveal a secret staircase. Head down and light the torch to summon the Li'l Devil for a final time. This time around, he'll curse you with the ability to hold 60 arrows. Now, head left across the bridge and then hop down the ledge. Keep going west from here and along the narrow edge you'll find Piece of Heart #31.
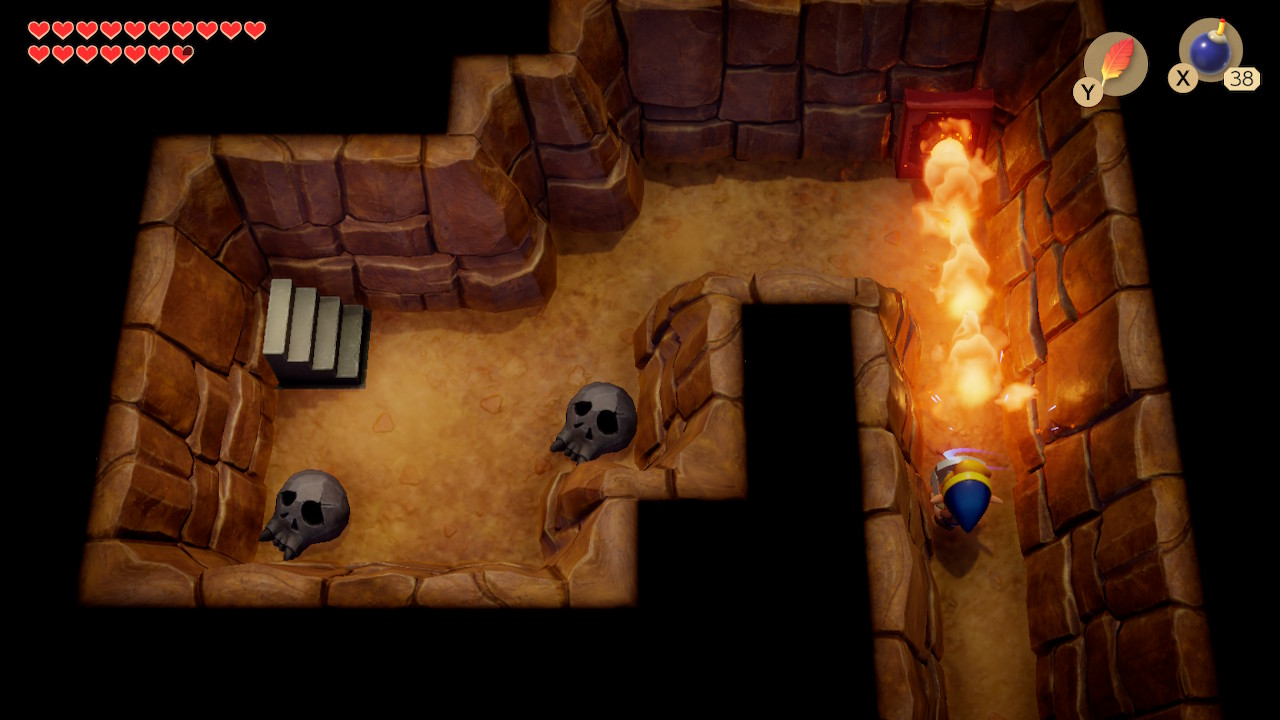
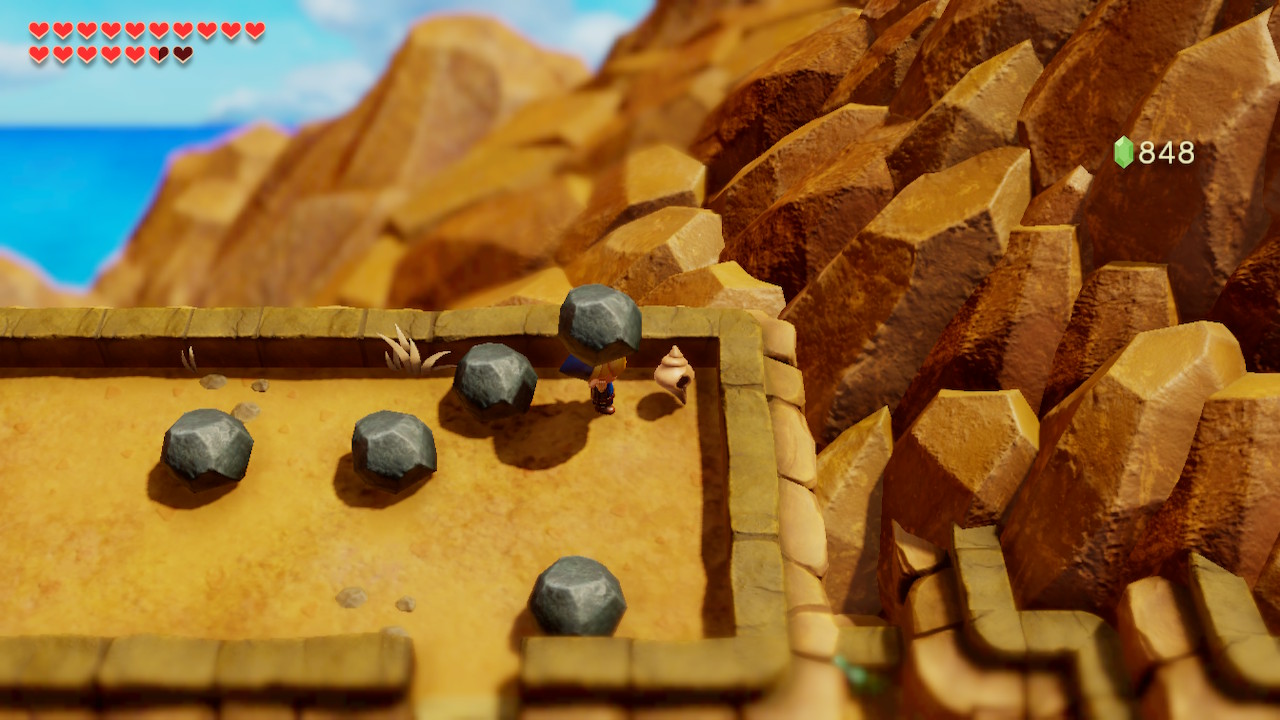
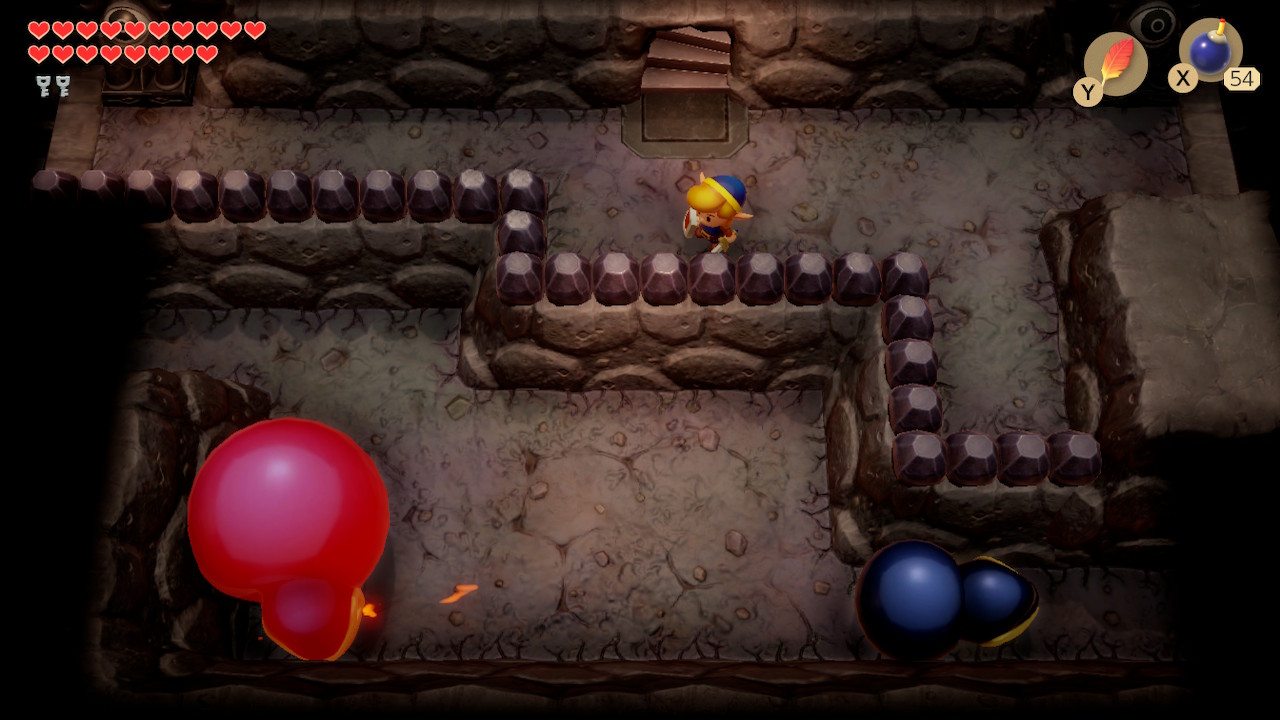
Head back east and place a bomb near the cracked wall to the north. In this cave, you'll need to use your newly acquired mirror shield to reflect the fireballs shot at you. Do this and exit the cave via the staircase. Once outside, pick up the boulder to the right of the cave entrance to activate the warp portal for Western Tal Tal Mountains.
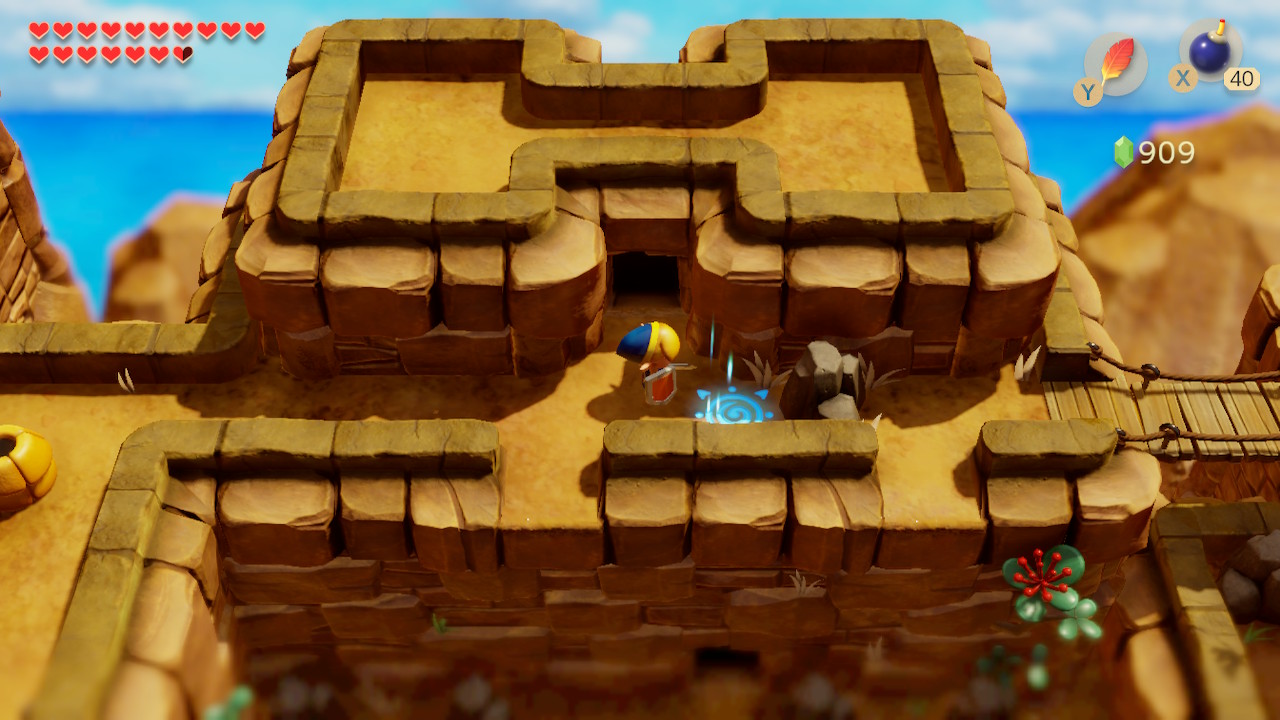
Head west just a little and dig near the bottom-right corner of this area to find Secret Seashell #50. Congrats, you've now collected every shell in the game! Since we are right next to a warp point, it's a good opportunity to warp to Seashell Mansion and collect our reward. Do so to receive a Chamber Stone and many rupees. Now warp back to Western Tal Tal Mountain Range.
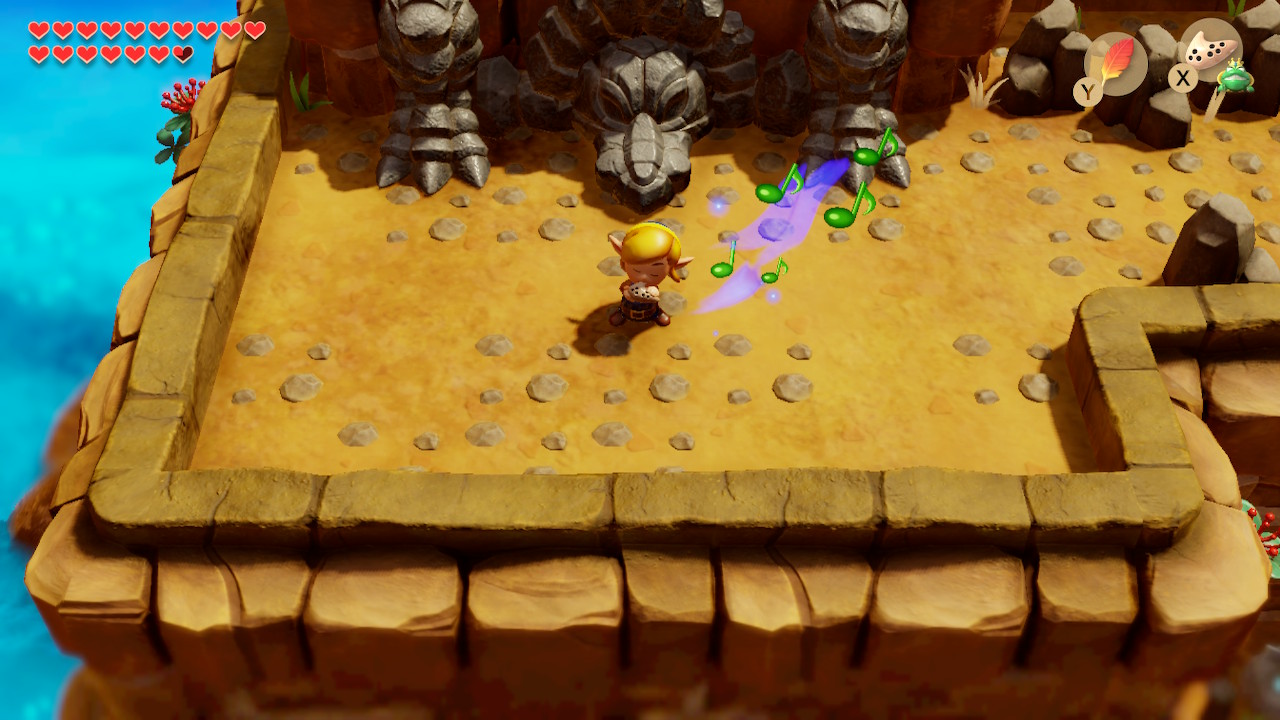
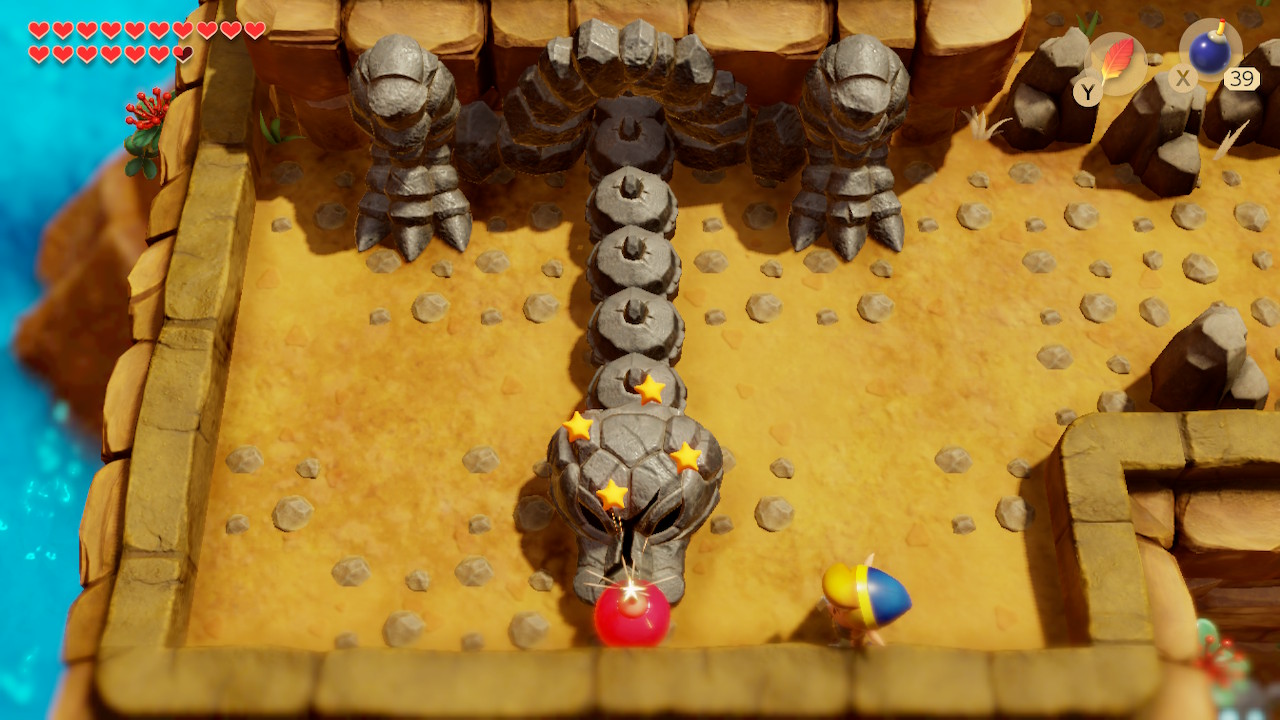
Head west to find the entrance to the next dungeon. There is a large stone face blocking the way, however. Play 'Frog's Song of Soul' to awaken it. It's known as Giant Turtle. Stand around the center along the bottom edge to bait Giant Turtle into attacking you. Jump out of the way at the last second and he'll smash his head into the wall.
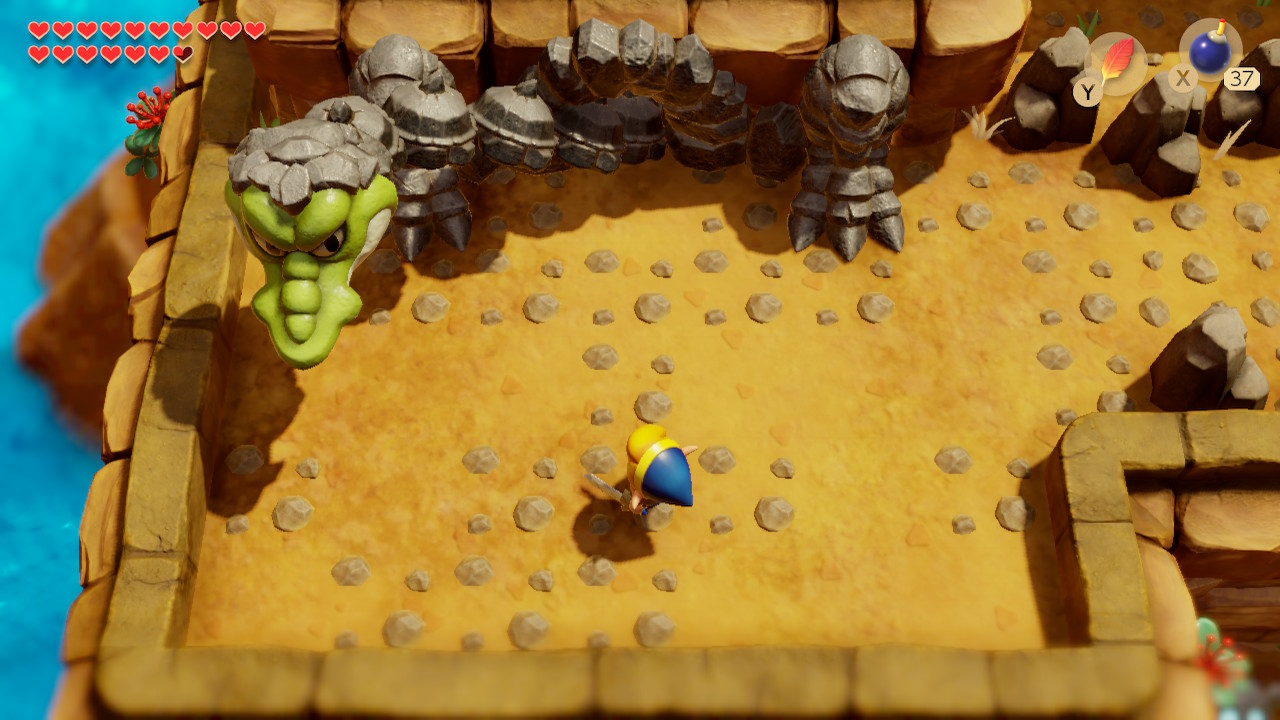
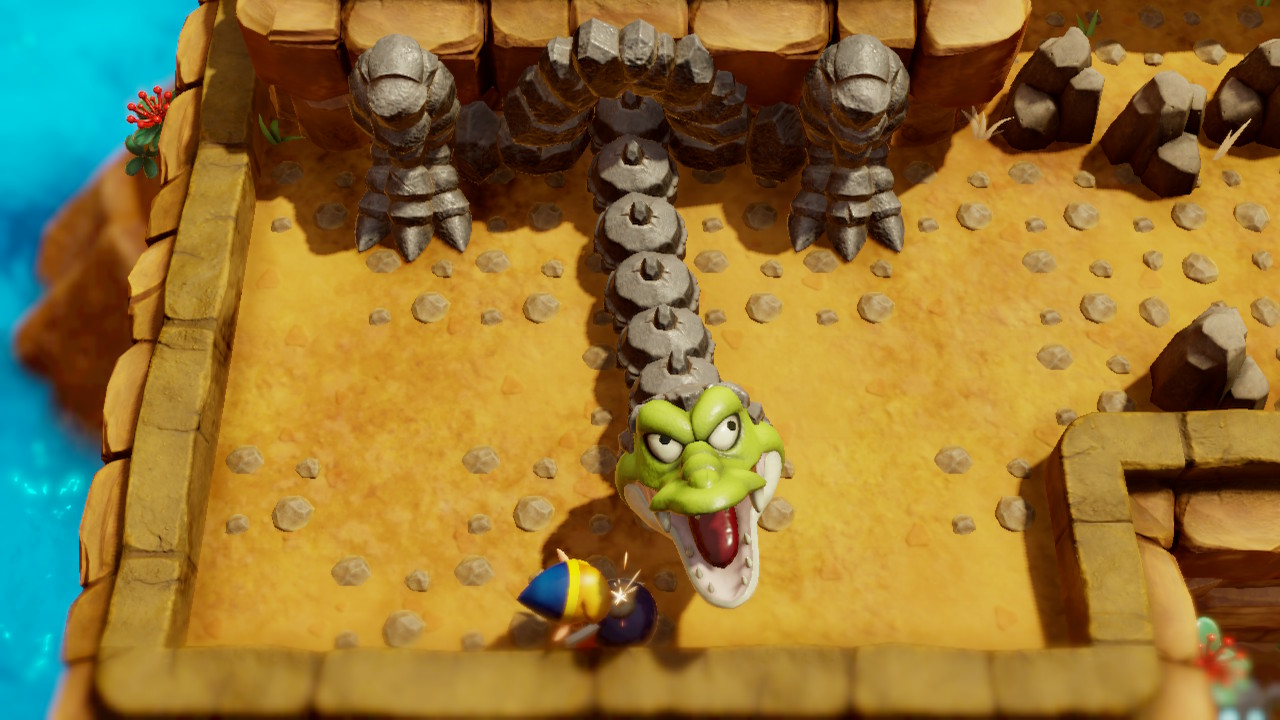
Once stunned, place a bomb nead his head to break away his armor. After three rounds of this, his armor will be gone and he'll begin attacking more quickly. Simply slash away at his exposed face with your sword until he's been defeated. He'll leave behind a fairy and you'll now be able to enter the final dungeon of the game.
Turtle Rock
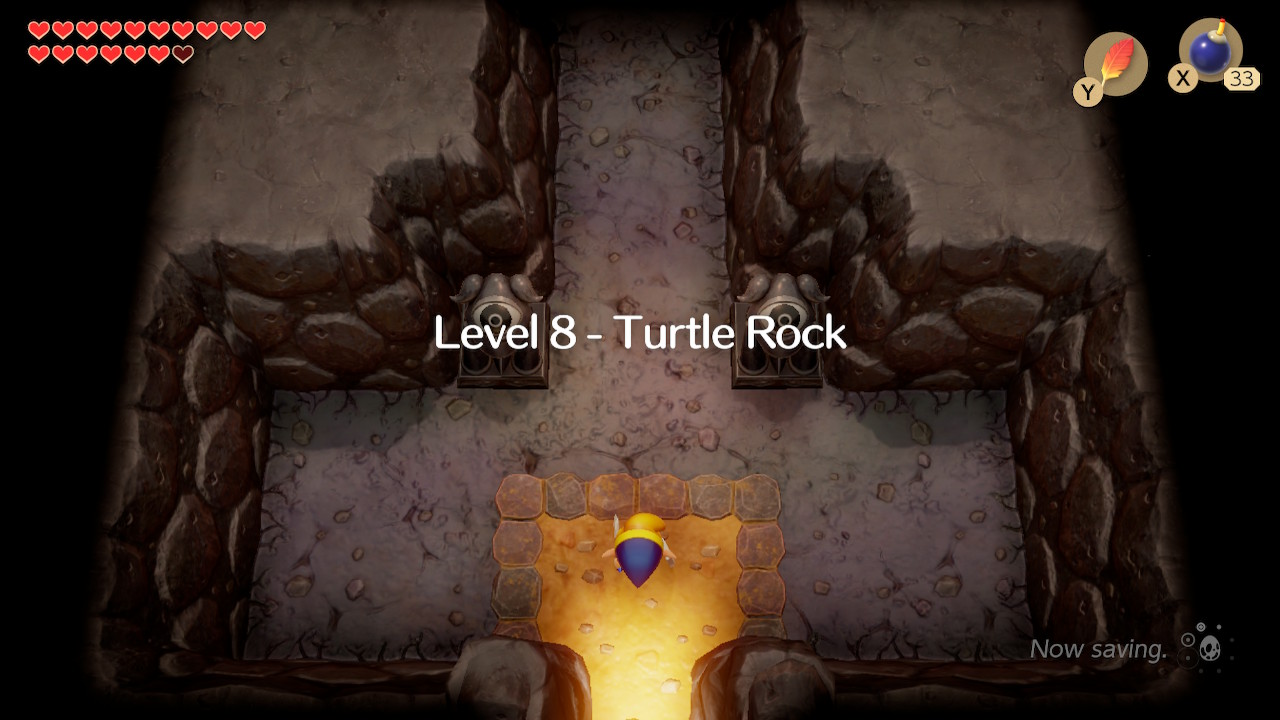
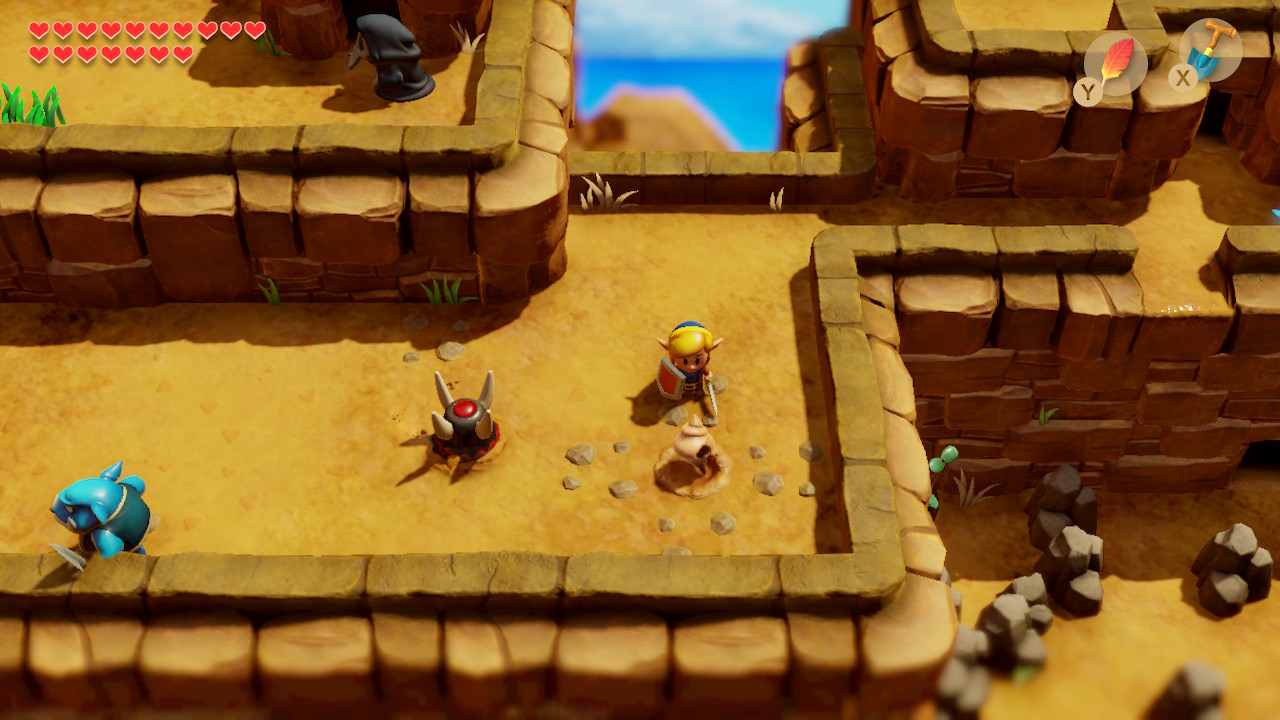
Welcome to Level 8 - Turtle Rock. To start this dungeon, head up into the next room. Here you'll find a new enemy called a Vire. Stun it with your boomerang and then use your sword to defeat it. Go left through the door that opens up. In the next room, defeat all the enemies and head up through the door.
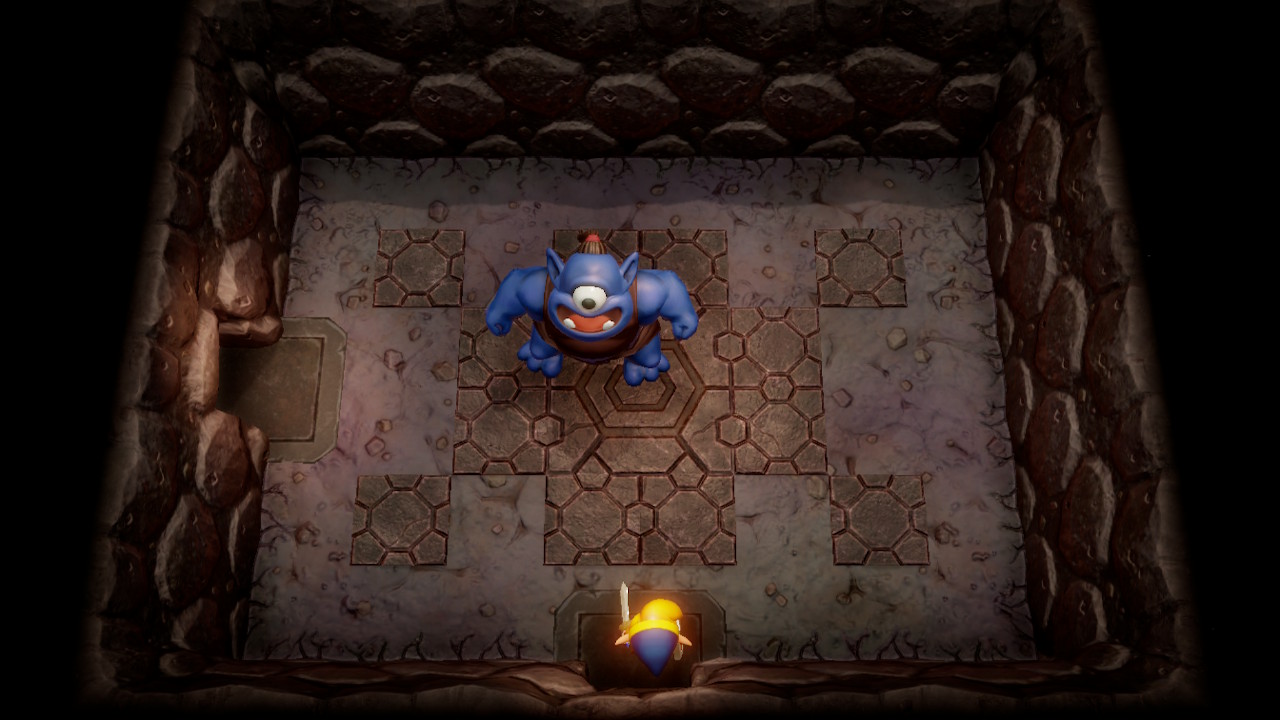
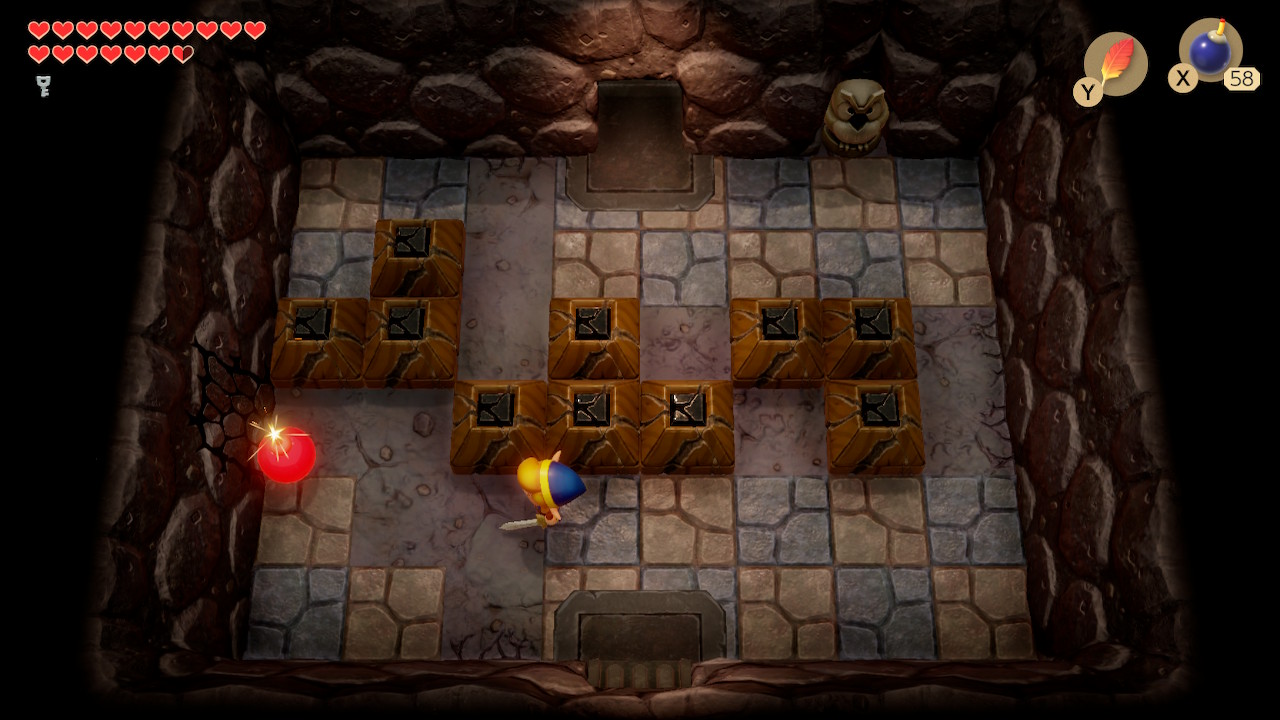
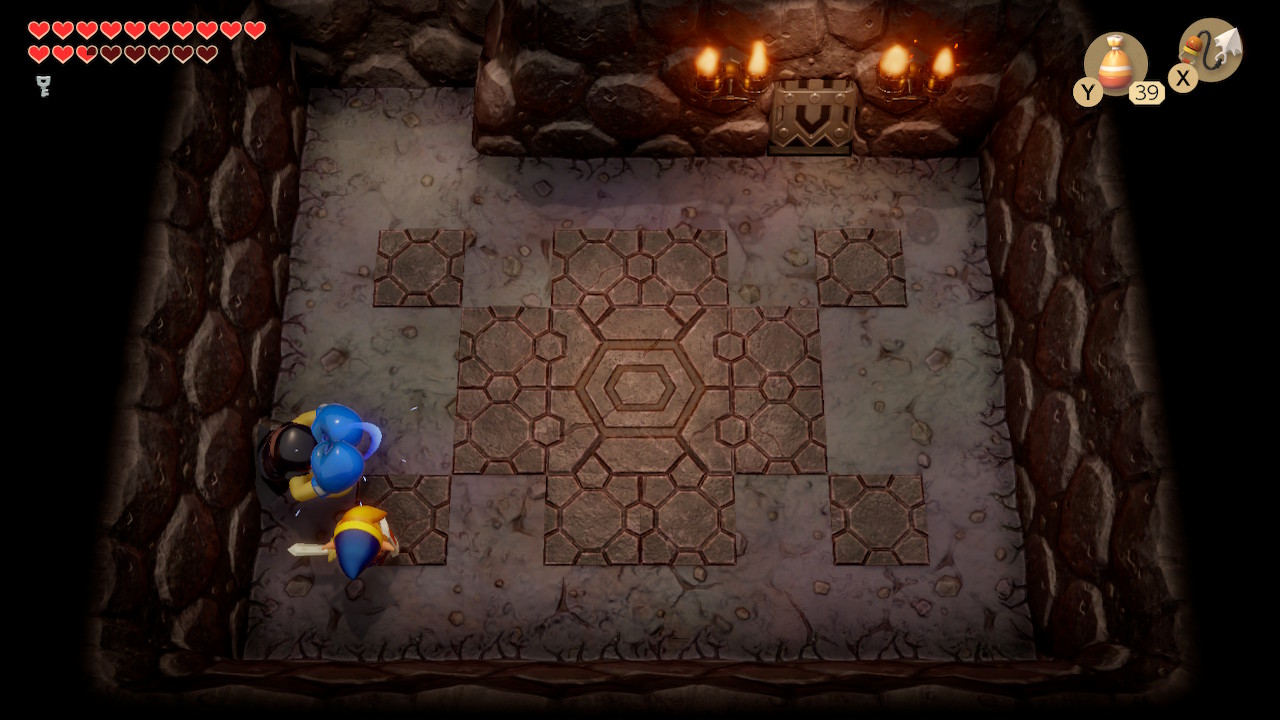
In this next room, you'll find a Blue Hinox. The boomerang will make this fight very quick. Go left through the door that opens up. In this room, there is a block that you can push and then control with your joystick. Use it to fill up the entire floor with tiles and then grab the 20 rupees from the chest that appears.

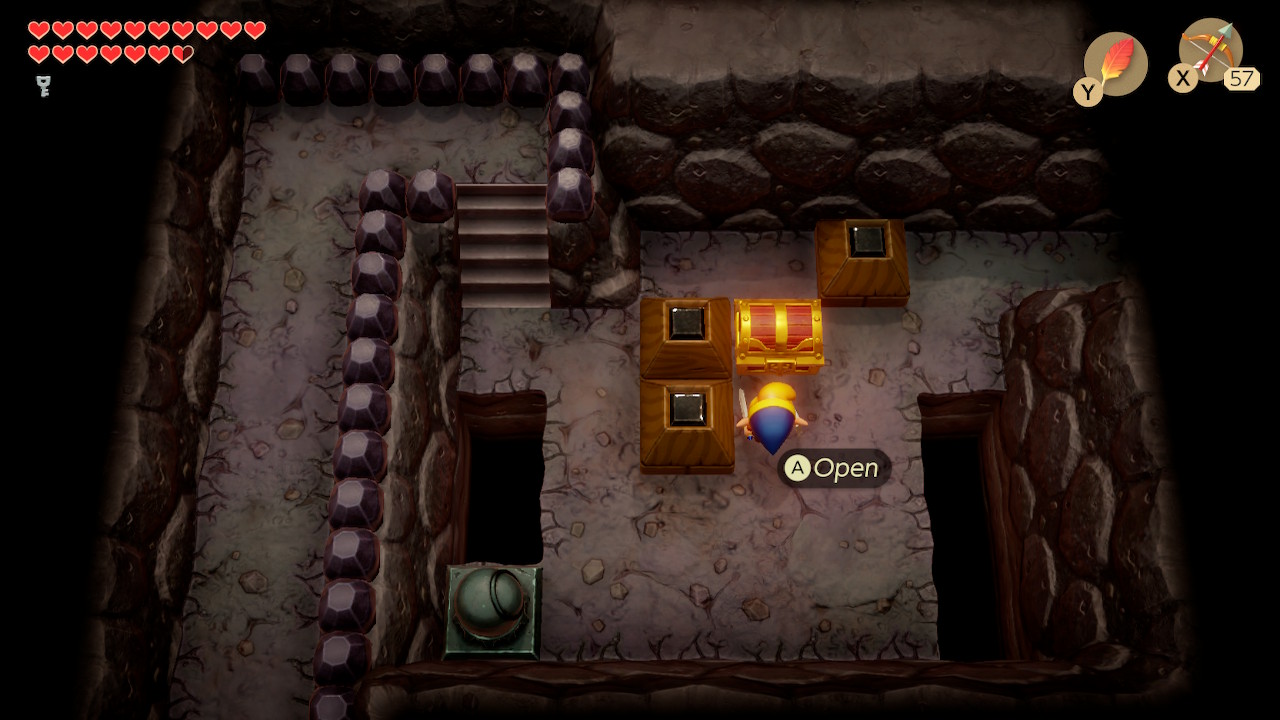
Head down into the next room. Open the chest to get 50 rupees. Head left into the next room to face Rolling Bones again. The fight is the same as before, but you'll only need to hit him with the boomerang a few times. Head up into the next room afterward.
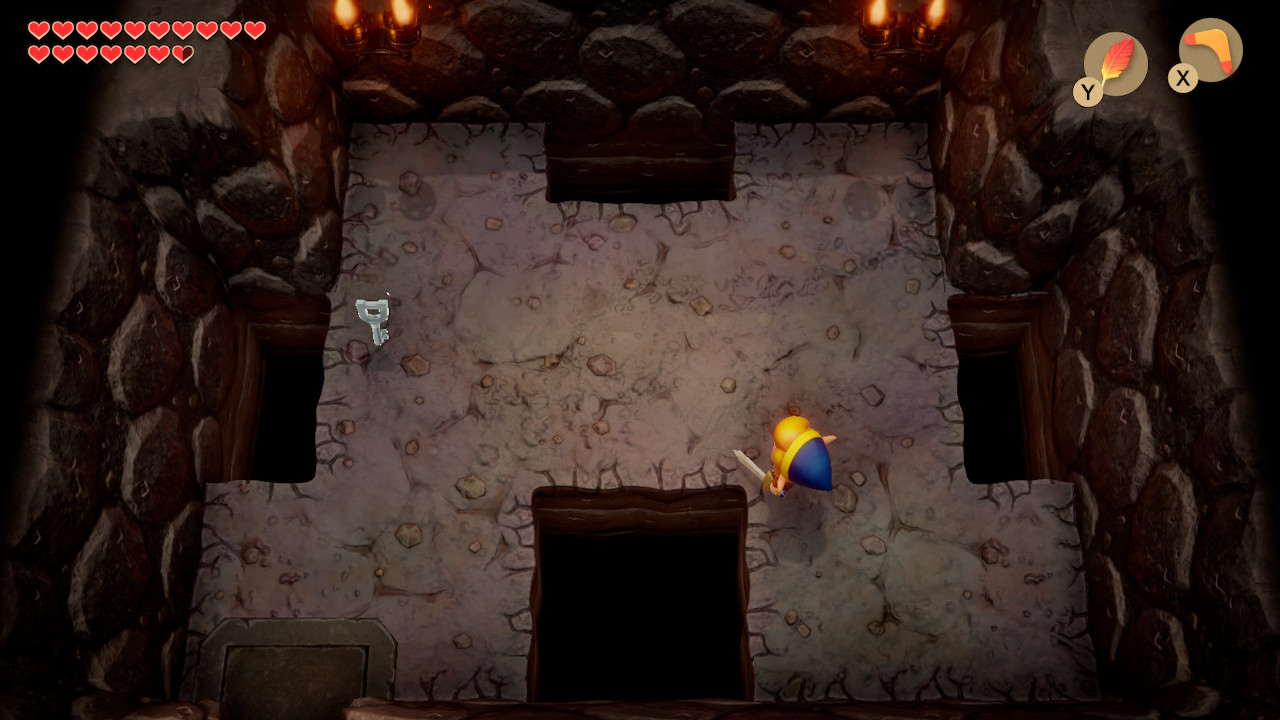

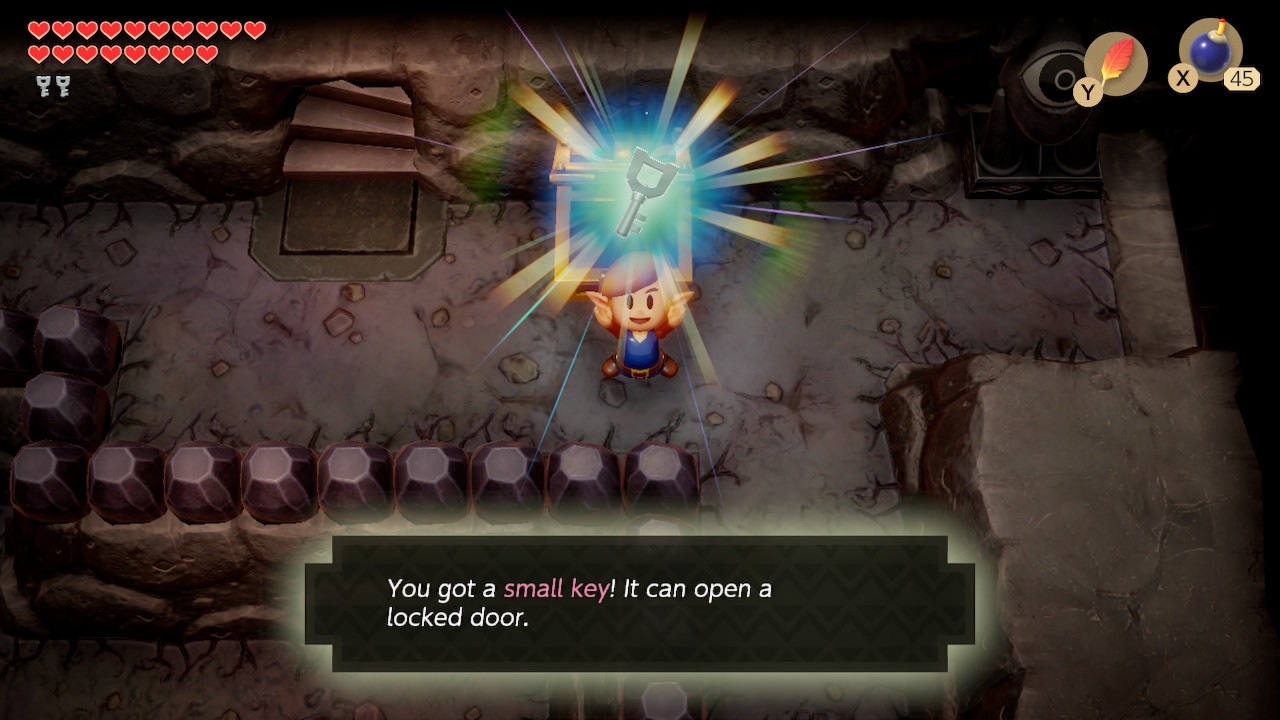
Defeat the Vire in this room and pick up the Small Key that it leave behind. Now head down into the next room and continue down another room. Use the pegasus boots to defeat the black hole here to make your life easier. Open the chest in the center to grab the Compass. Backtrack to the first room of the dungeon, you can play Manbo's Mambo to do this quickly if you'd like.
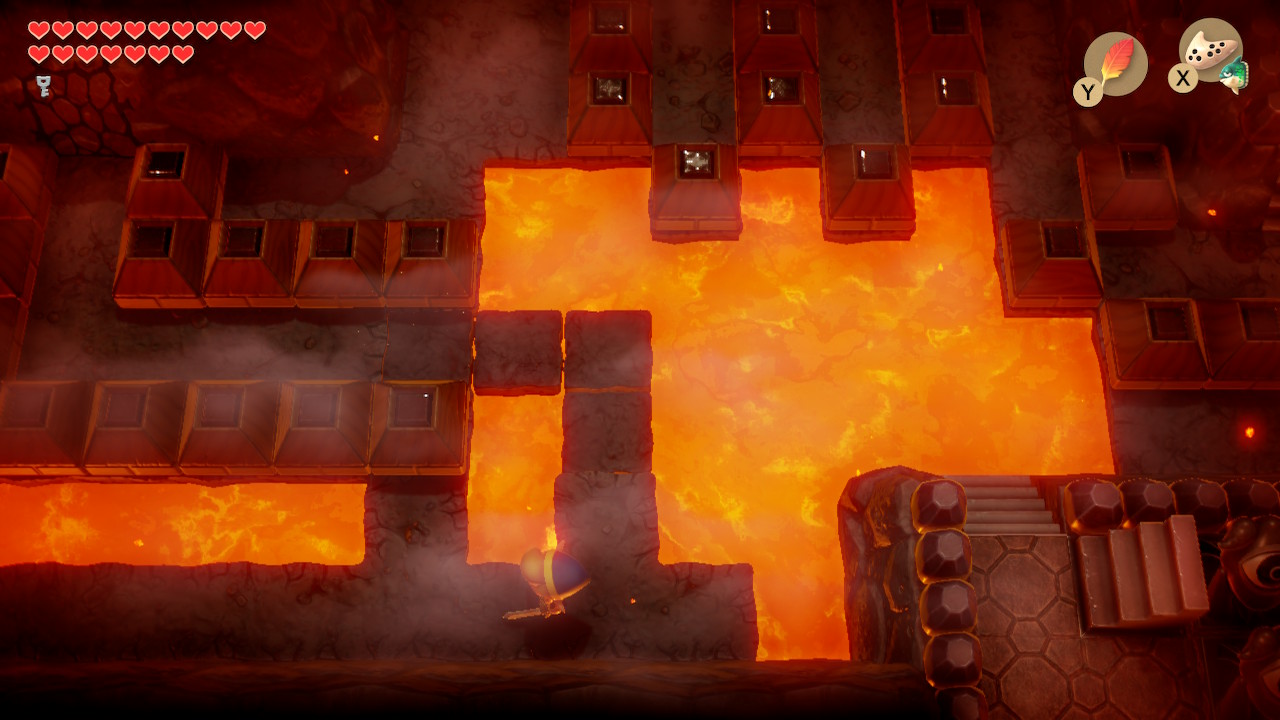
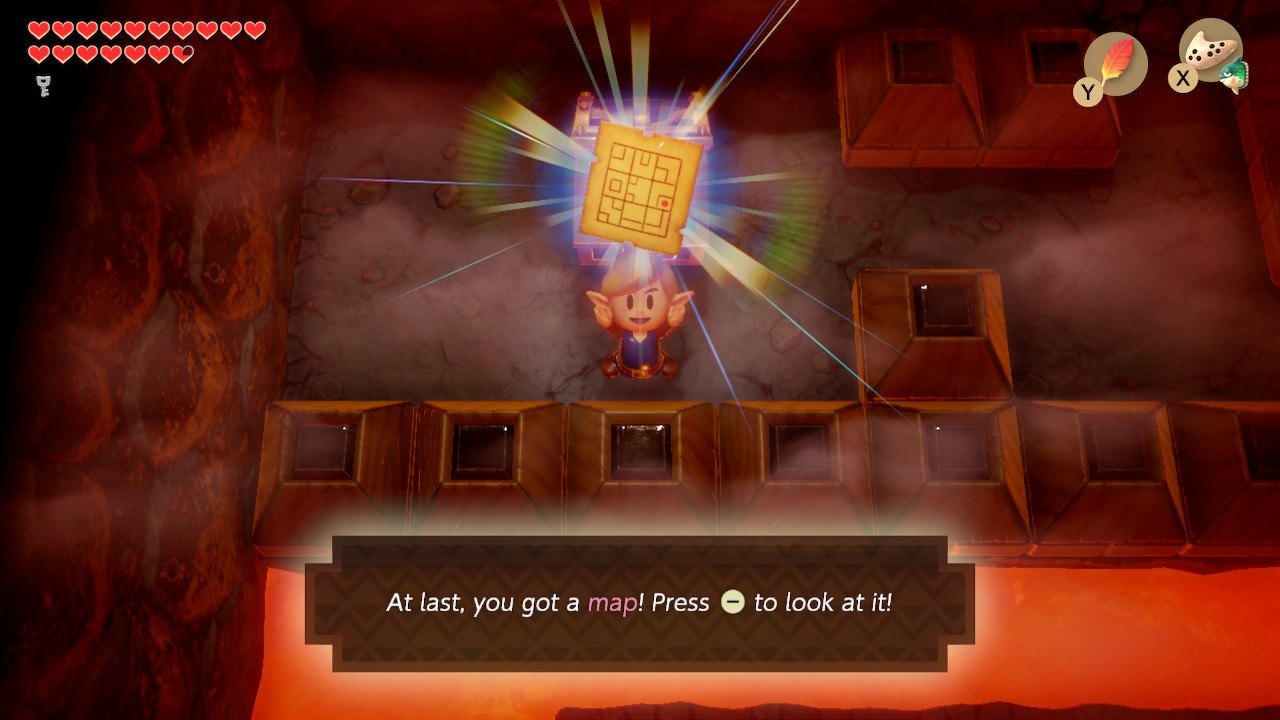
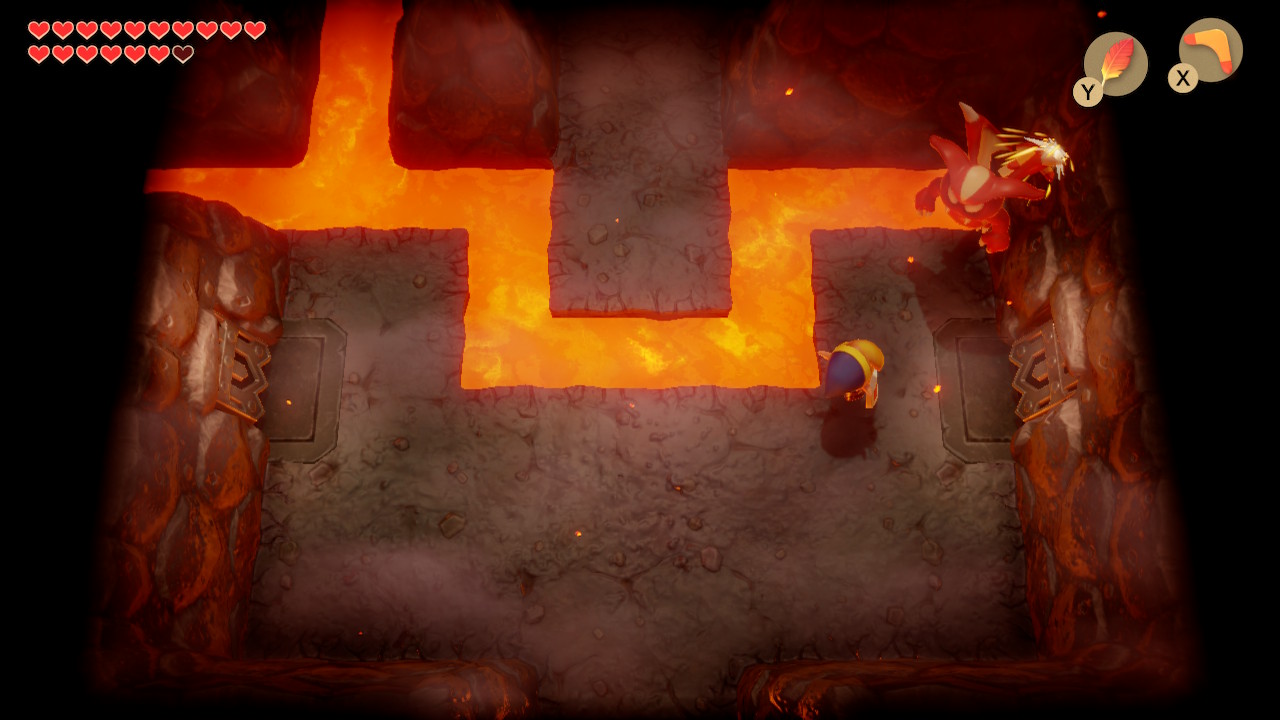
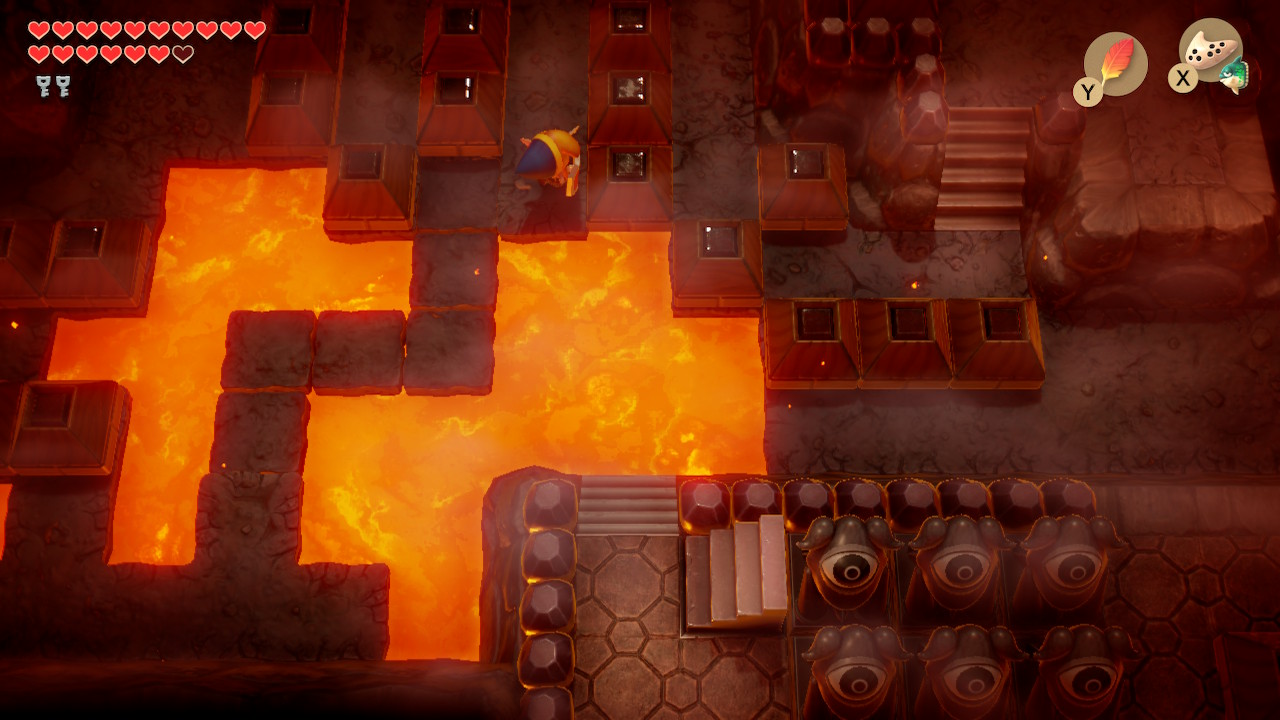
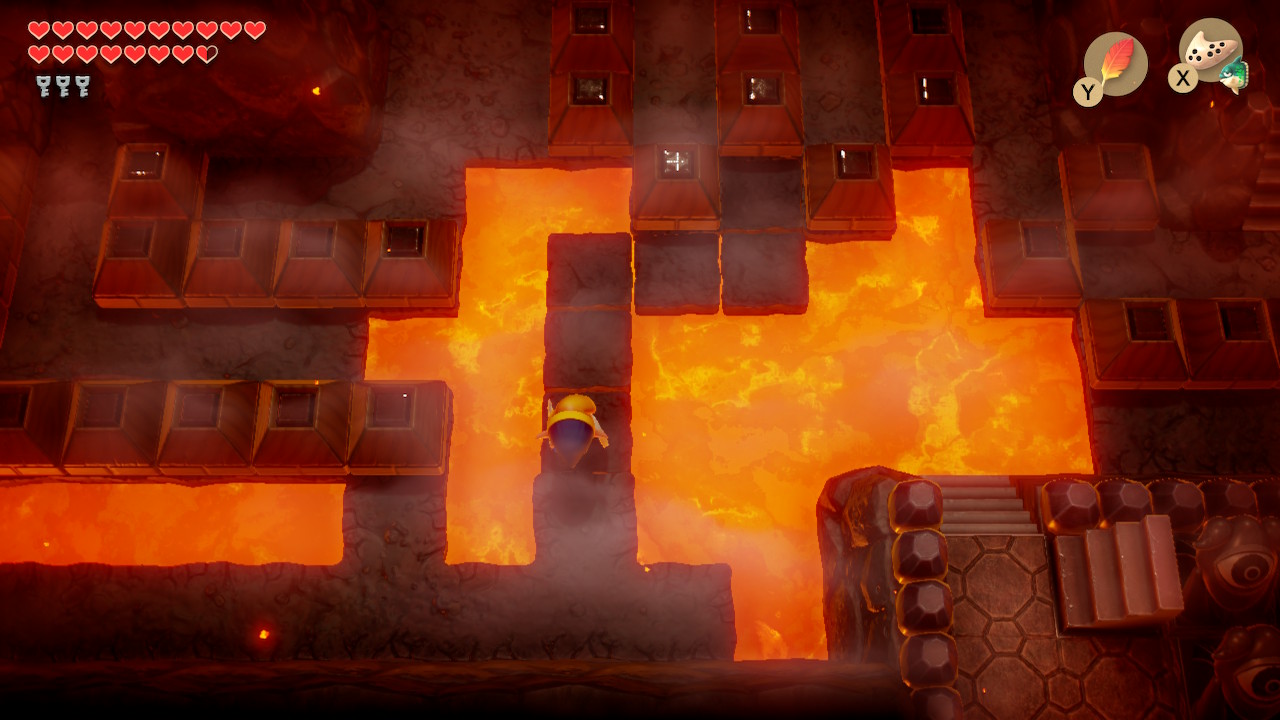
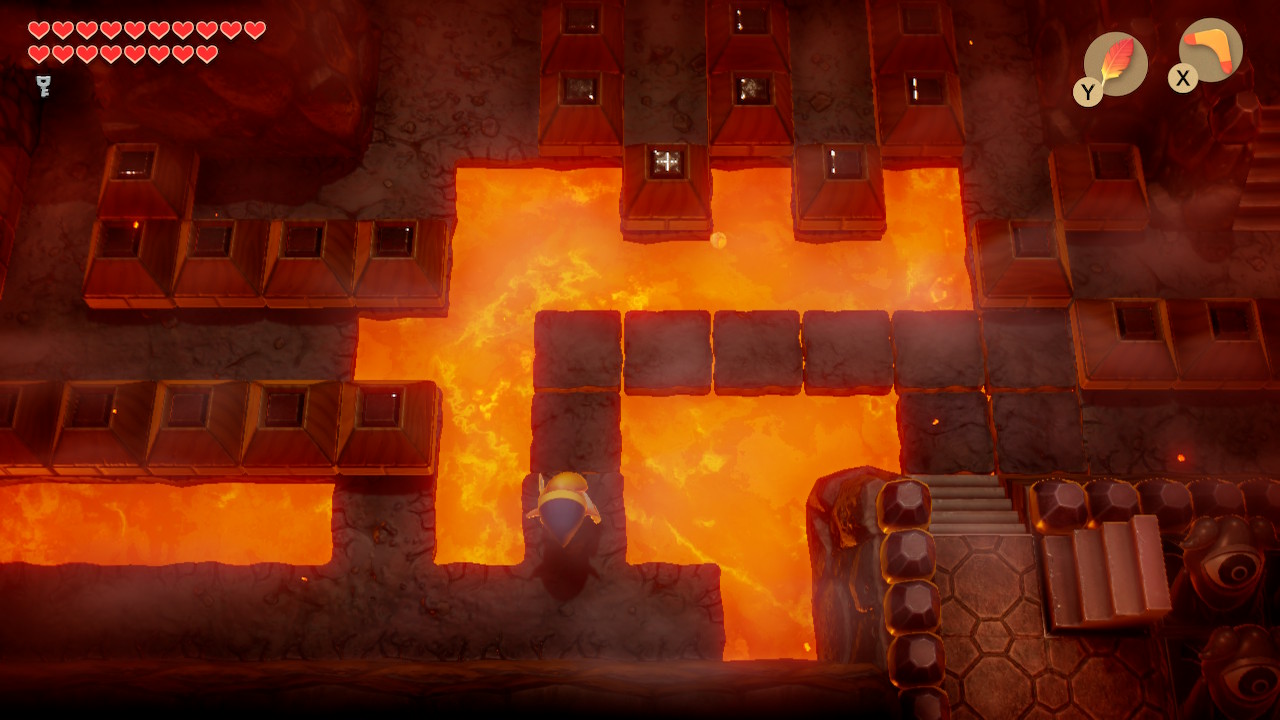
From this room, we want to head up into the next by jumping over the lava. Head to the right and you'll see another direction block you can push. Use it to make a small bridge connecting you to the path to the left. Head left and open the chest to get the Map. Near the blocks you pushed to get to the chest, you'll see a cracked wall. Go ahead and blow it open and head through.
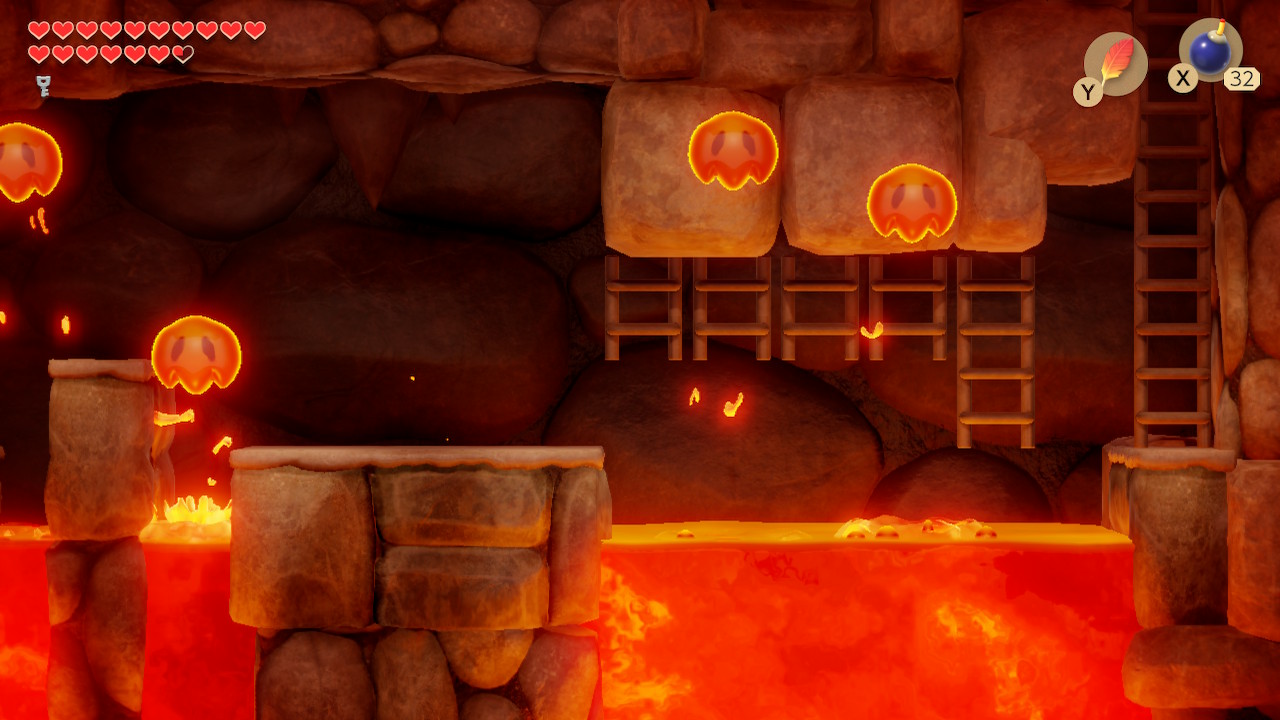
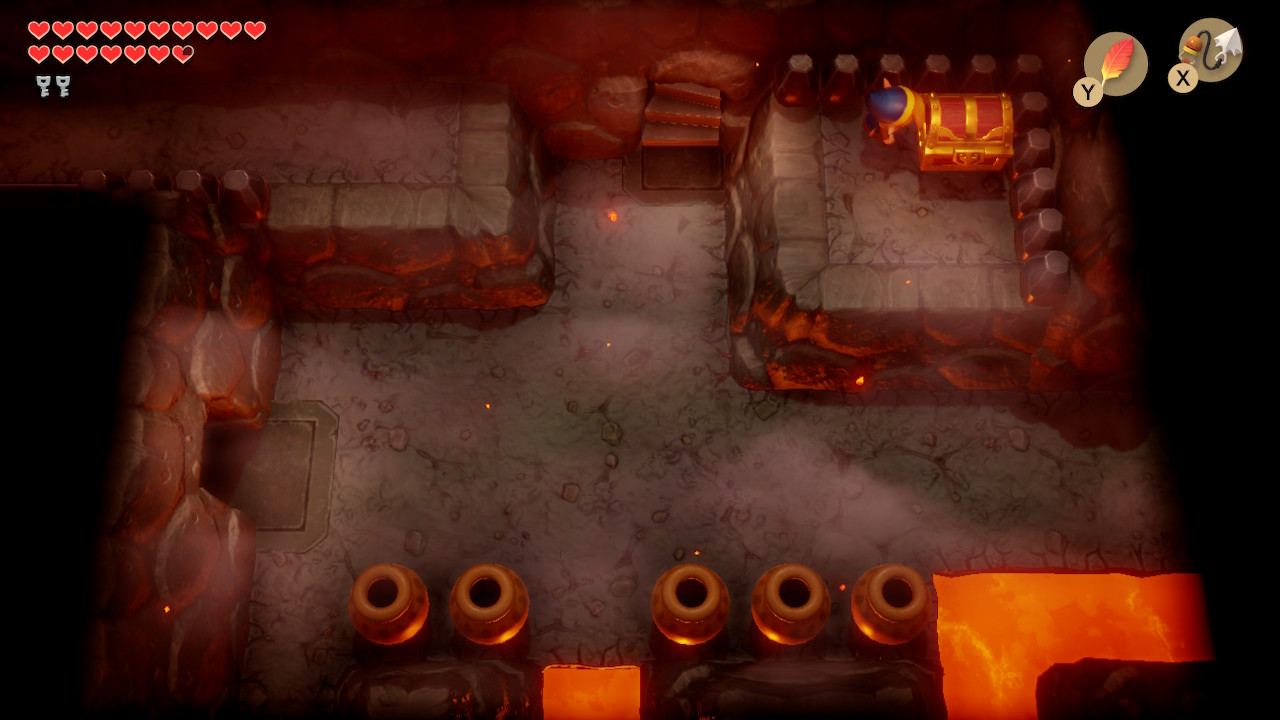
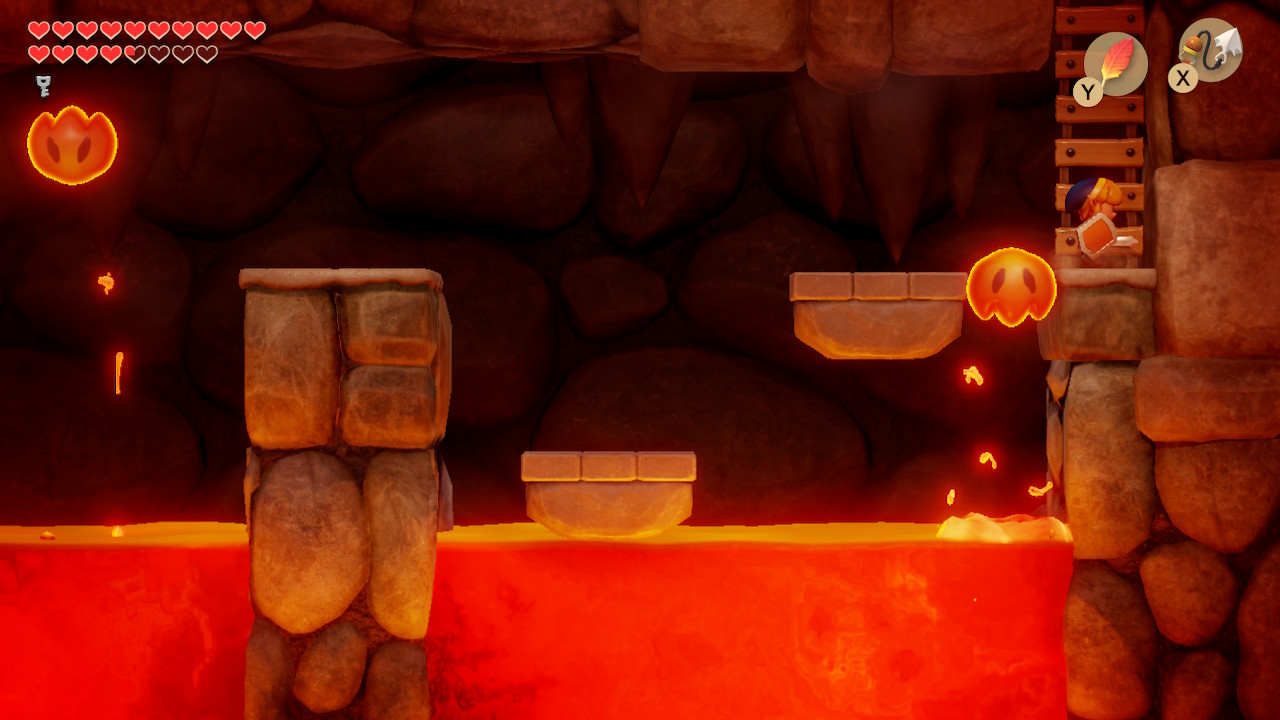
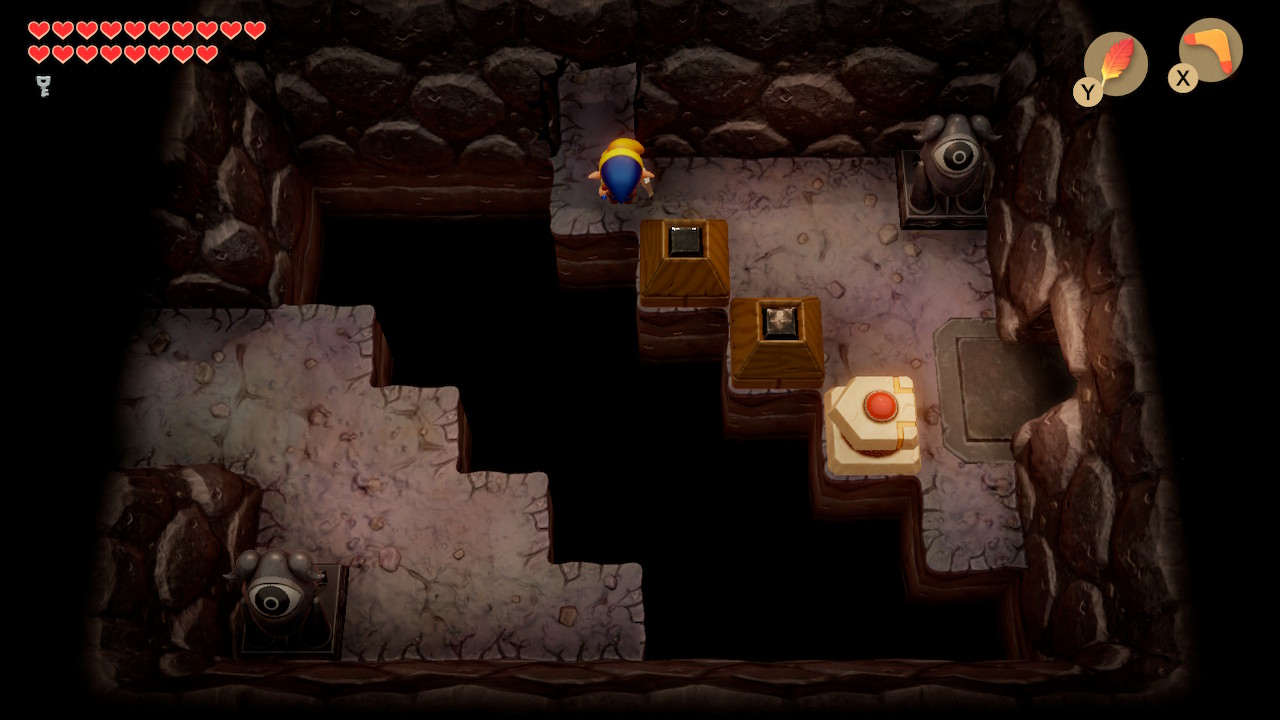
Go left and down the staircase. In the basement, head to the right and jump over the lava. You'll need to time you climb accross the ladders carefully to avoid the fireballs. In this next room, open the chest to get a Stone Beak. Defeat all the enemies and head up into the next room.
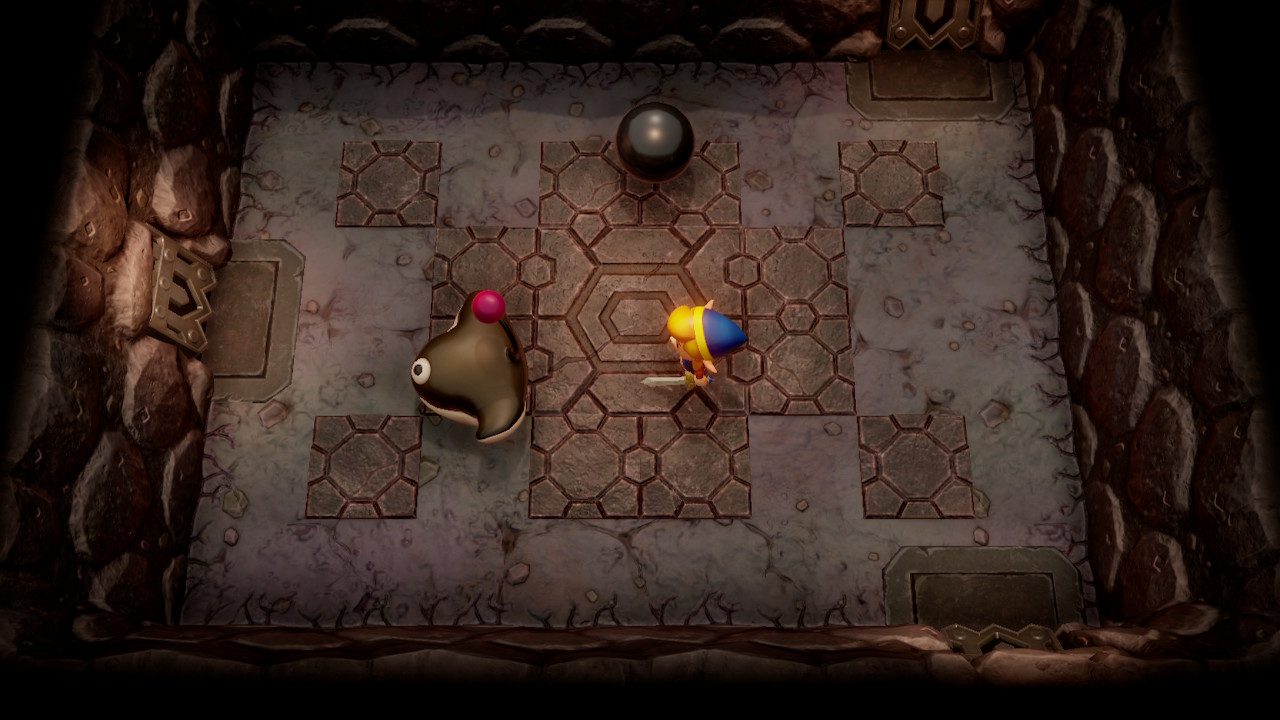
In this room, you'll encounter the mini-boss Smasher for a second time. There's no boomerang shortcut this time. You'll need to dodge his throws and throw his ball back at him four times to defeat him. Head left into another room with a gap and a tile-spawning controllable block. Use it to fill the entire floor by first pushing down, then carefully manuevering first along the right diagonal, then back down along the left. Collect the Small Key that drops when you do.
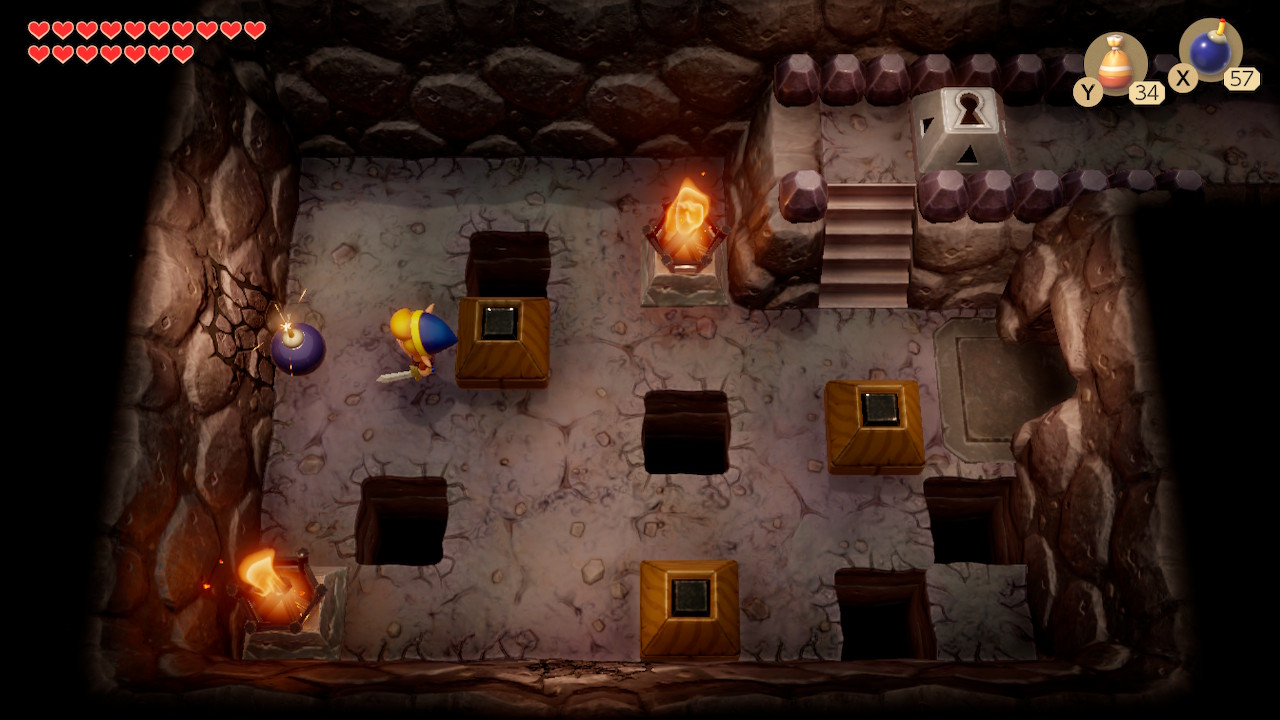
In the same room, bomb the cracked wall above and enter through. There is a crystal switch here, but simply place a bomb next to the other cracked wall on the left instead and go through. Climb up the stairs onto the higher ledge and head down in this room. Hop off the ledge but don't bother opening this chest, since it's a trap. Instead, head left.
You can collect a number of magic powder refills and fairies in this room if you'd like. Otherwise, just head left to find yourself back at the first room of the dungeon. Head up and right back to the controllable block. Use it to make a path to the center between the two blocks and then push them both into the lava. Head up through the right path and unlock the block here.
Head right from here and you a key on the locked door. Go on through but watch out for the blade traps. Head up through the one-way door. In the next room, defeat the enemies to open the door above. Speak to the owl statue if you wish, otherwise head up through it.
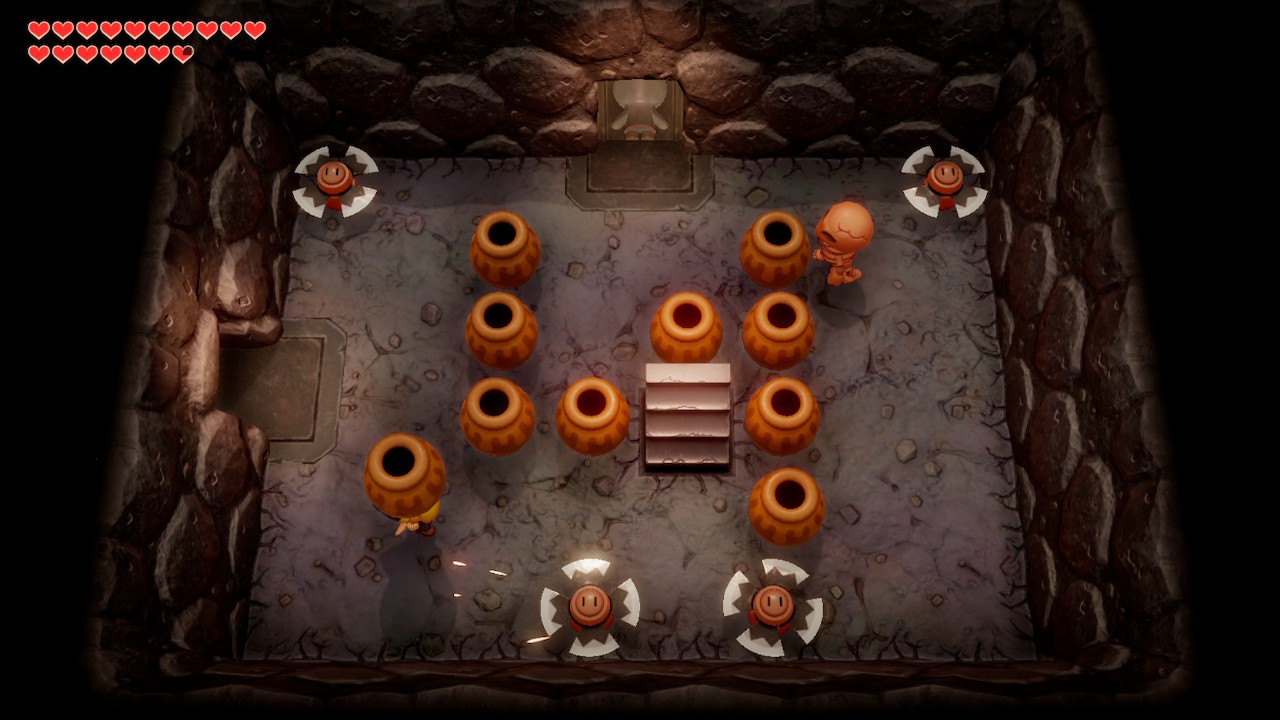
Defeat the two Gibdos here with your boomerang. Don't stand in the same spot too long or you'll fall through the floor. Once they've both been defeated, pick up the Small Key that drops from above. Continue to the left. In the next room, there are two Dodongo Snakes that we will come back and defeat later from the top of this room. Just head left for now.
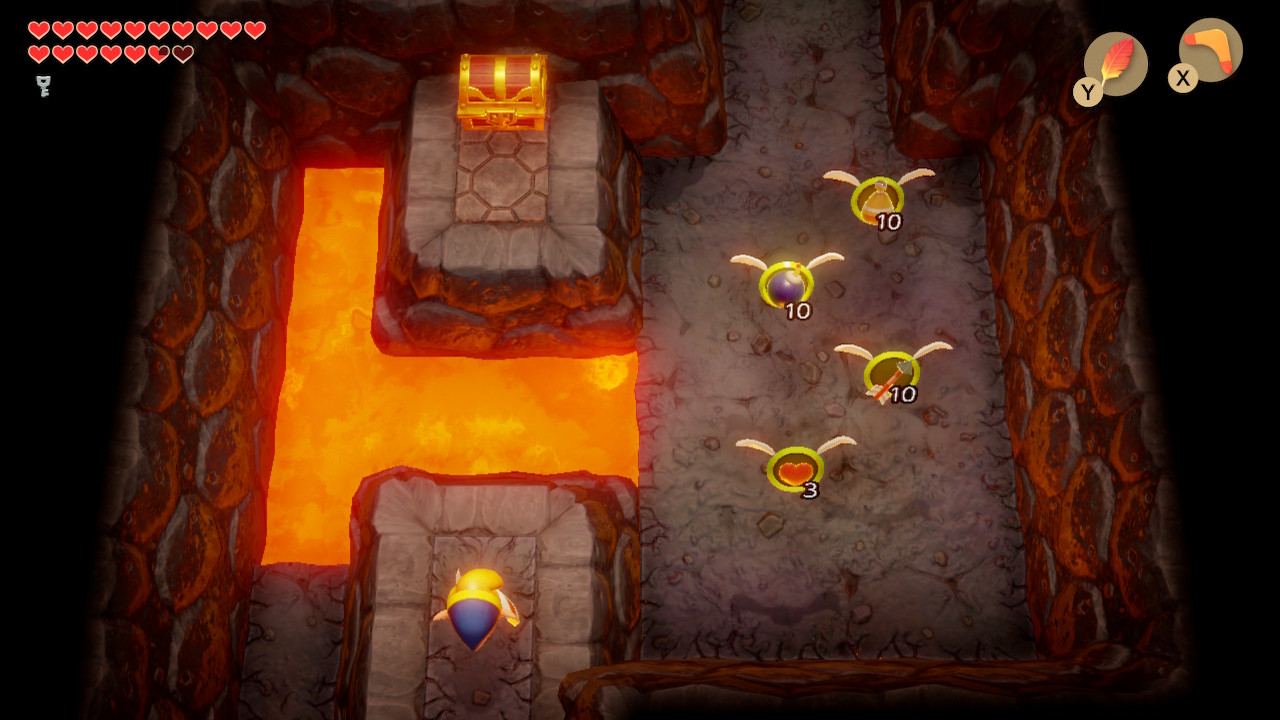

Head up along the higher platform in this room and use your hookshot on the chest here. Open it to get some Secret Medicine. Hop off to the right and take your pick from the available refills. Head up and go up the stairs into a 2D room. Head right through it, using your hookshot up above to cross the lava.
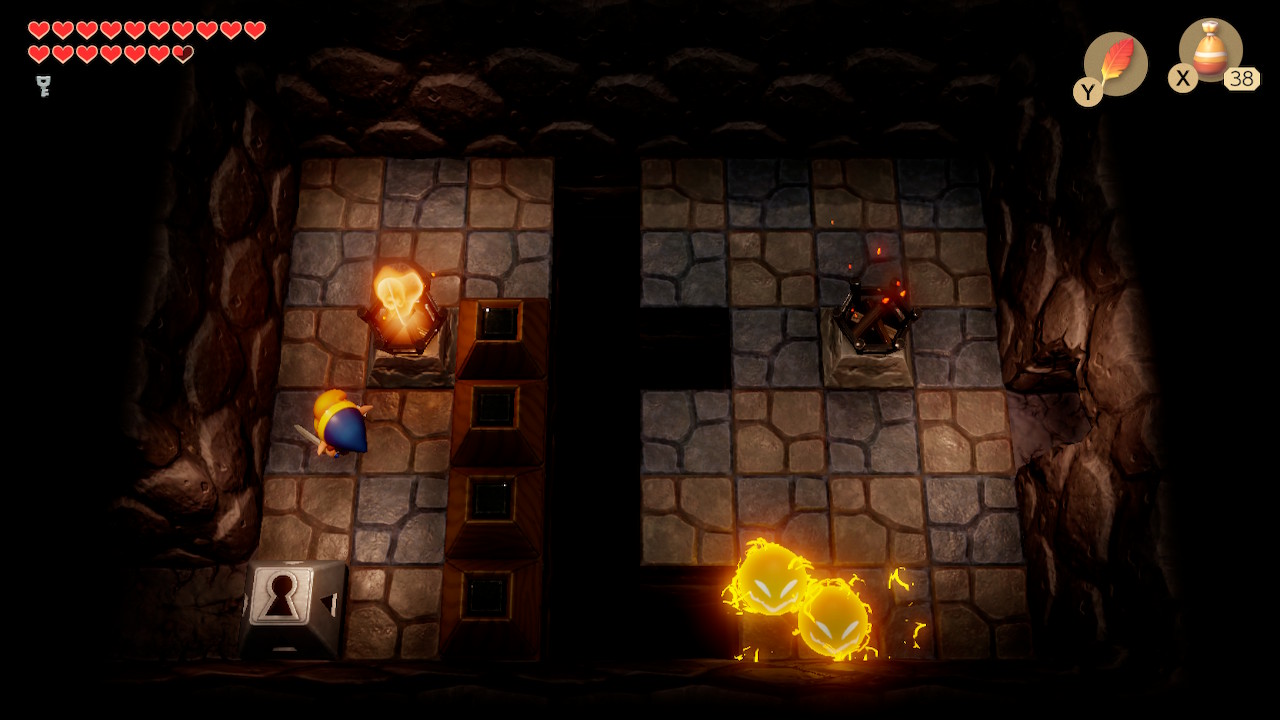
Back in a familiar room, head up through the one-way door once again. Bomb the cracked wall to the left and head on through. The next room is darker, but don't waste your time with the torches. Just open the locked block and continue left. Continue left in this room as well, defeating the lone Rope enemy to open up the door.
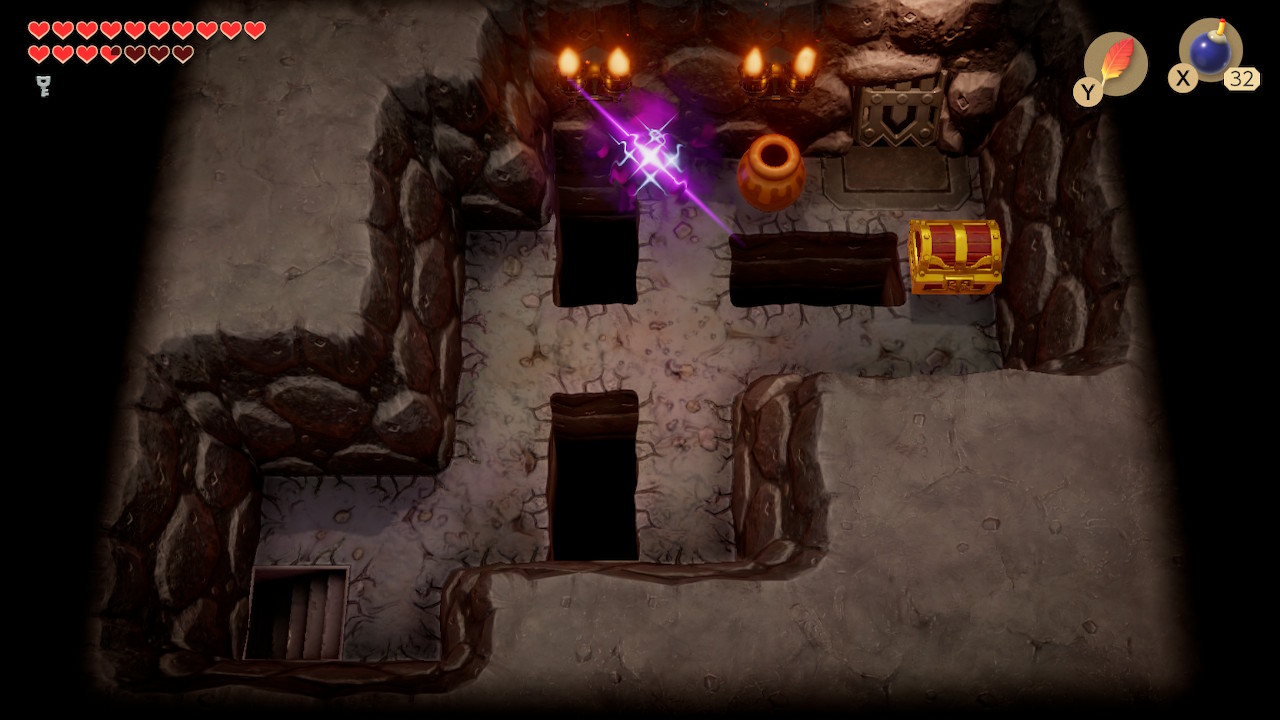
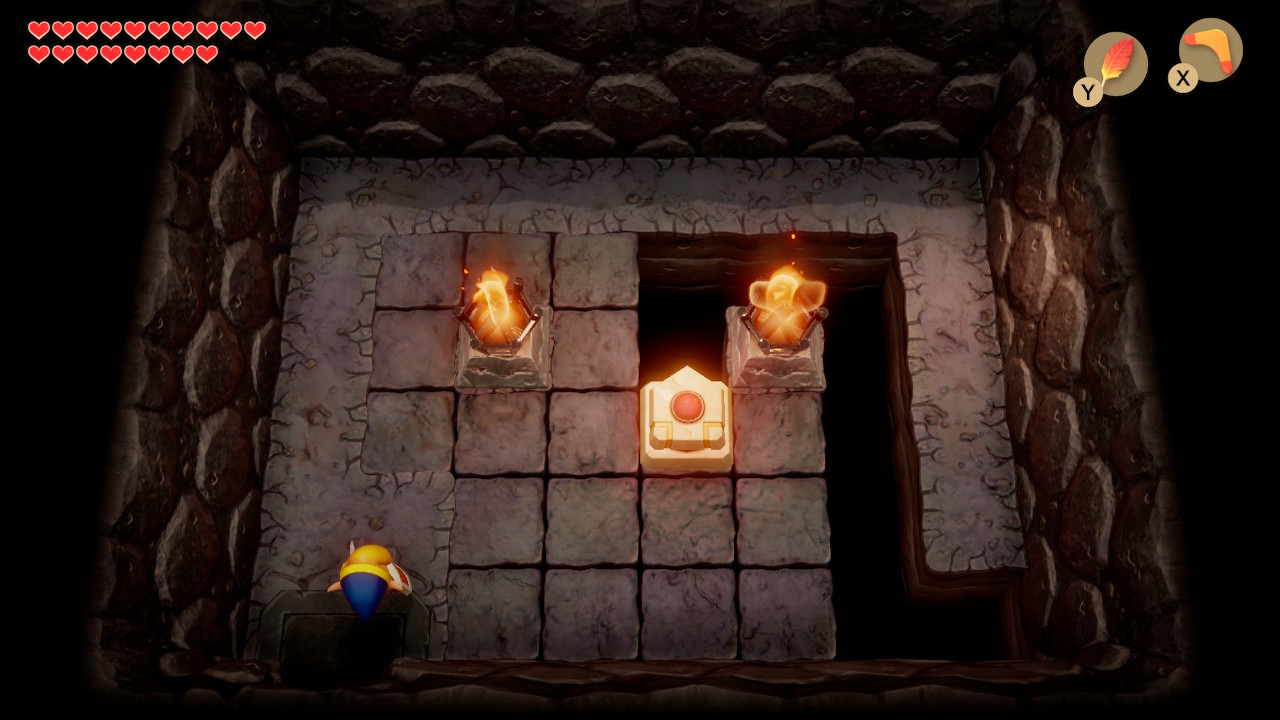
In this third dark room, lighting the torches may actually be helpful. The light may help you see the cracked wall on the left and bottom sides of the screen that we want to blow up. Defeat the enemies to make things easier, then blow up the walls and head through the left exit. In this room, jump up with Roc's Feather and shoot the statue with an arrow. This will make a Small Key appear. Pick it up and head left.
In this room, push the blocks away so that you can open the chest to find another Small Key. Now head back right a room and up a room to a new room with several enemies. Defeat them all and head left through the door that opens up. Go through and then just head up and back into the same room on the upper level. Hookshot across to the chest and open it to get 50 rupees. Jump off the ledge and go up the stairs.
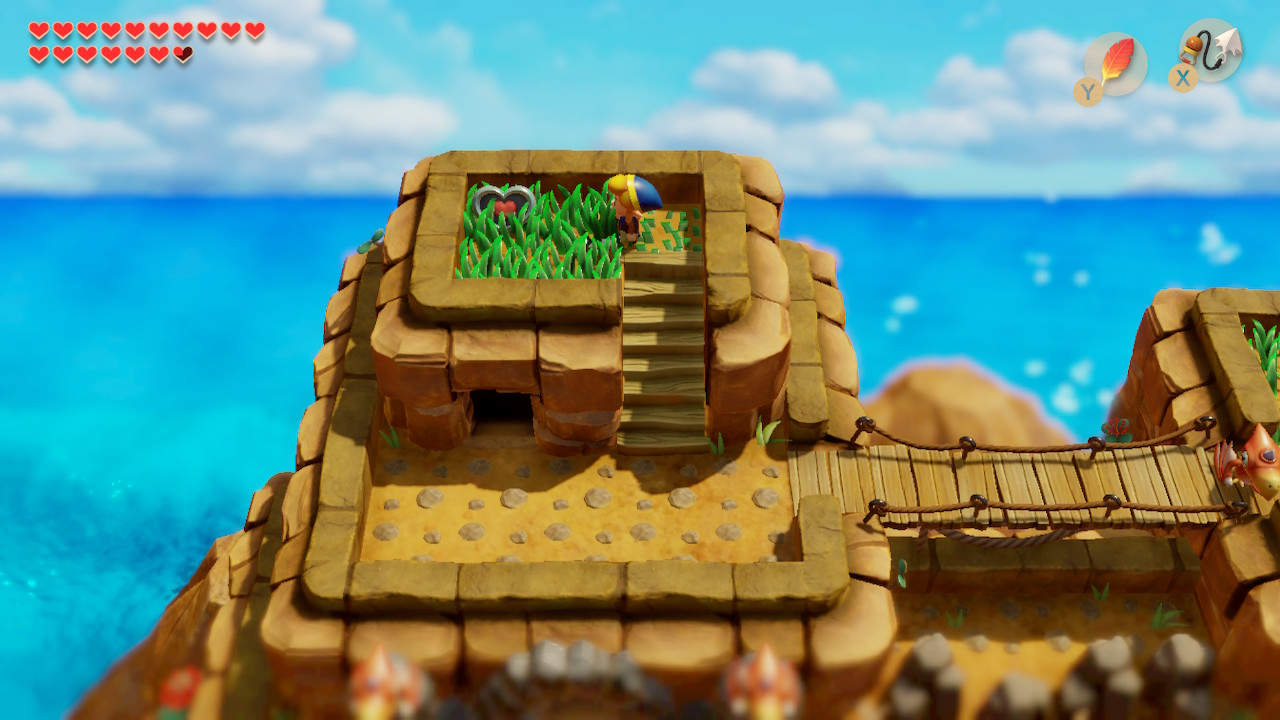
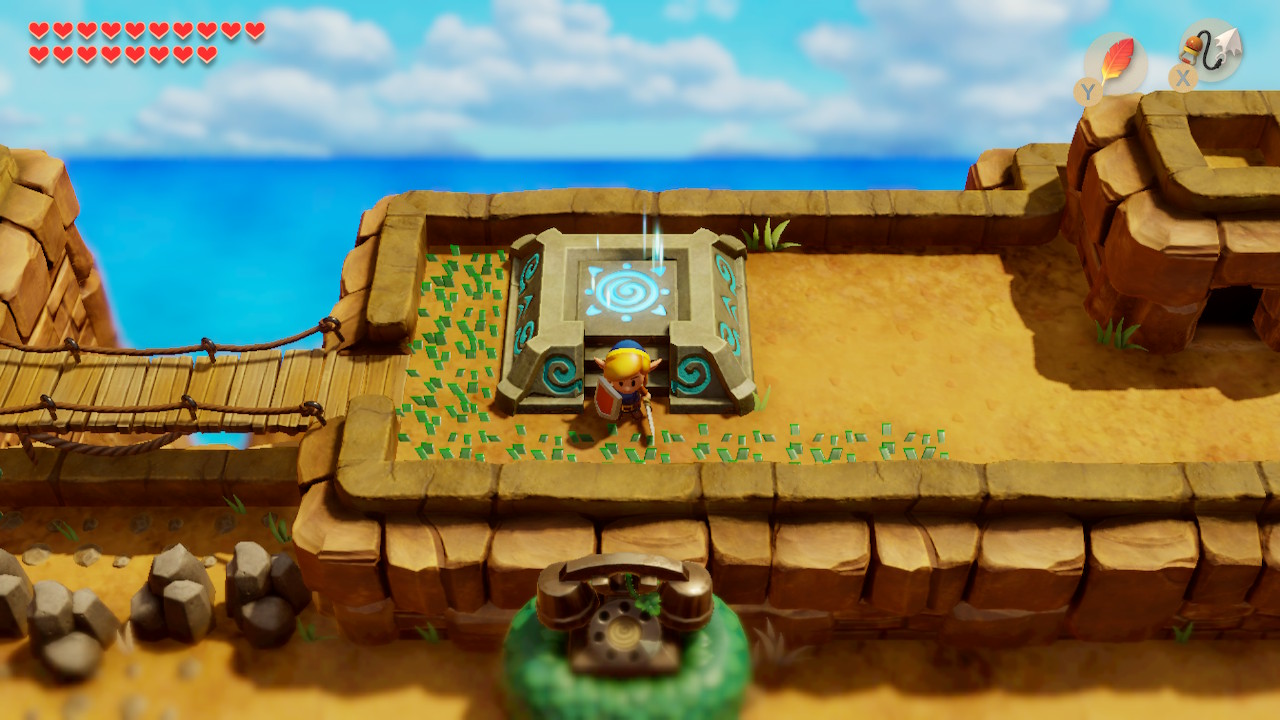
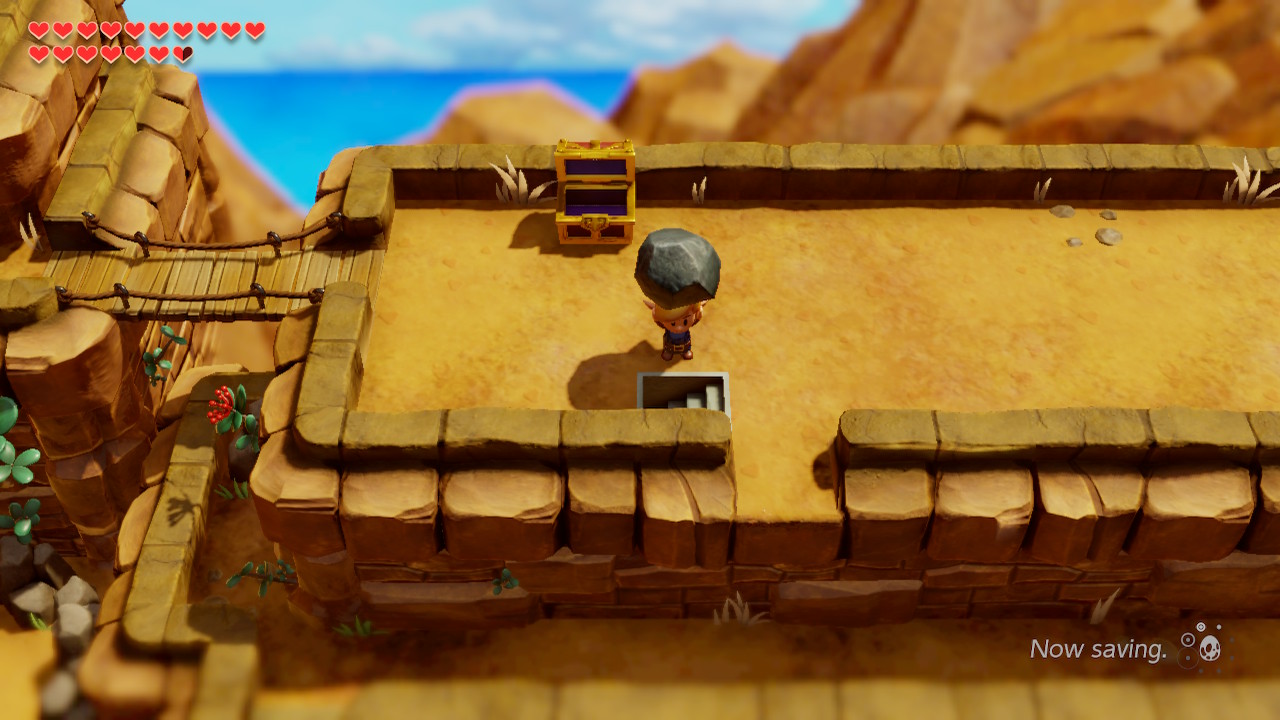
These stairs lead you outside to the top of the mountain. In the grassy area above, you'll find Piece of Heart #32. If you've been following this guide, you'll now have every heart piece there is to find in the game. From here, head east accross the bridge and activate the Turtle Rock warp point. Re-enter Turtle Rock to the right.
Now that we're on the higher ledge, it's time to defeat these Dodongo Snakes. Aim your bombs towards their mouths and eventually they'll each gobble up three and die. Open the chest that spawns next to you for another Small Key. We now want to go back to the beginning of the dungeon, so play Manbo's Mambo to warp there.

From the entrance, head up two rooms and then right back to the control block. Create a path between the two blocks above again and take the right path to head up. Head right into the next room, back to the blade traps. Go up through the one-way door. From here, go left through the three dark rooms. Head up the stairs and use a key on the locked block. Head right and use your hookshot to get to another locked block at the bottom of this room. Go ahead and unlock it and head down.
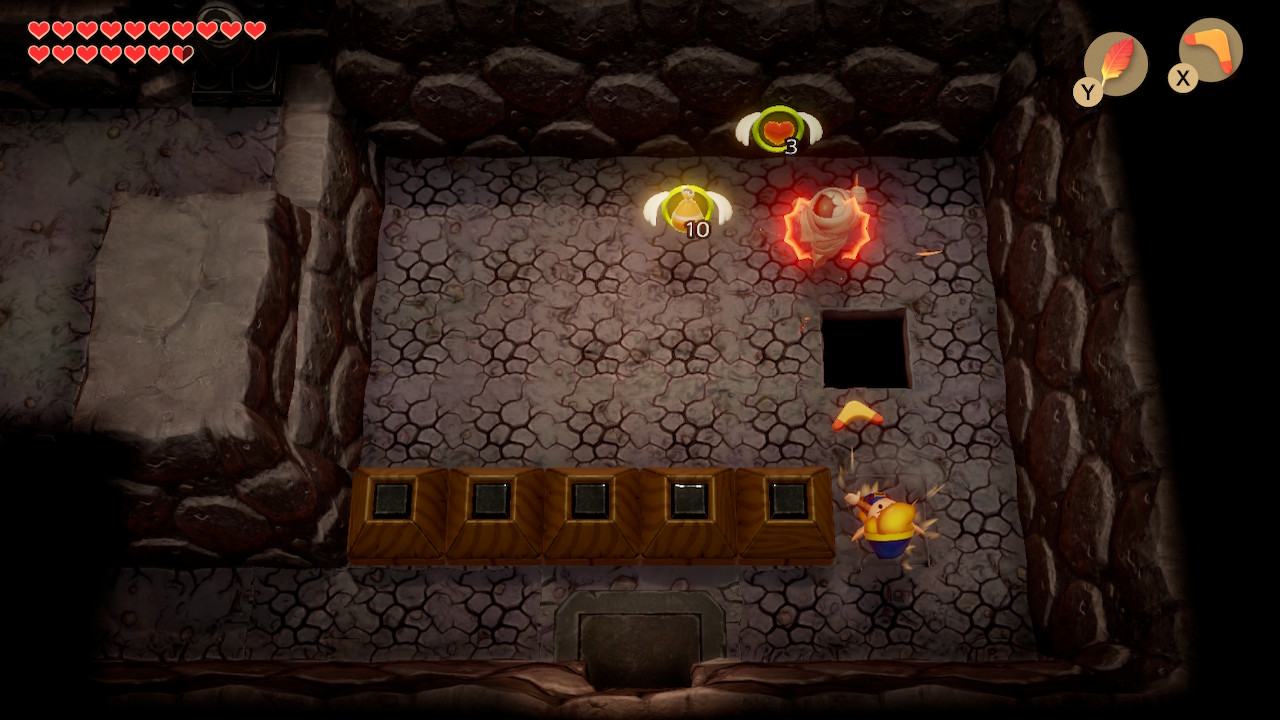
In the 2D basement, head to the right. Carefully dodge the fireballs and head up the ladder to the right. Head down in this room to find the dungeon mini-boss called Blaino. He'll punch you with his boxing gloves, so simply avoid them and attack him from above or below. If you get hit by his really big attack, it'll send you back to the entrance of the dungeon, but it's easy to avoid. After he's defeated, take the warp portal back to the beginning of the dungeon.
From the dungeon entrance, head up and then right three rooms. You'll need to make a tricky jump over the gap here and then head up a room. Whack the crystal switch here so it turns orange and warp back to the beginning of the dungeon. Take the warp portal here to get back to the mini-boss room.
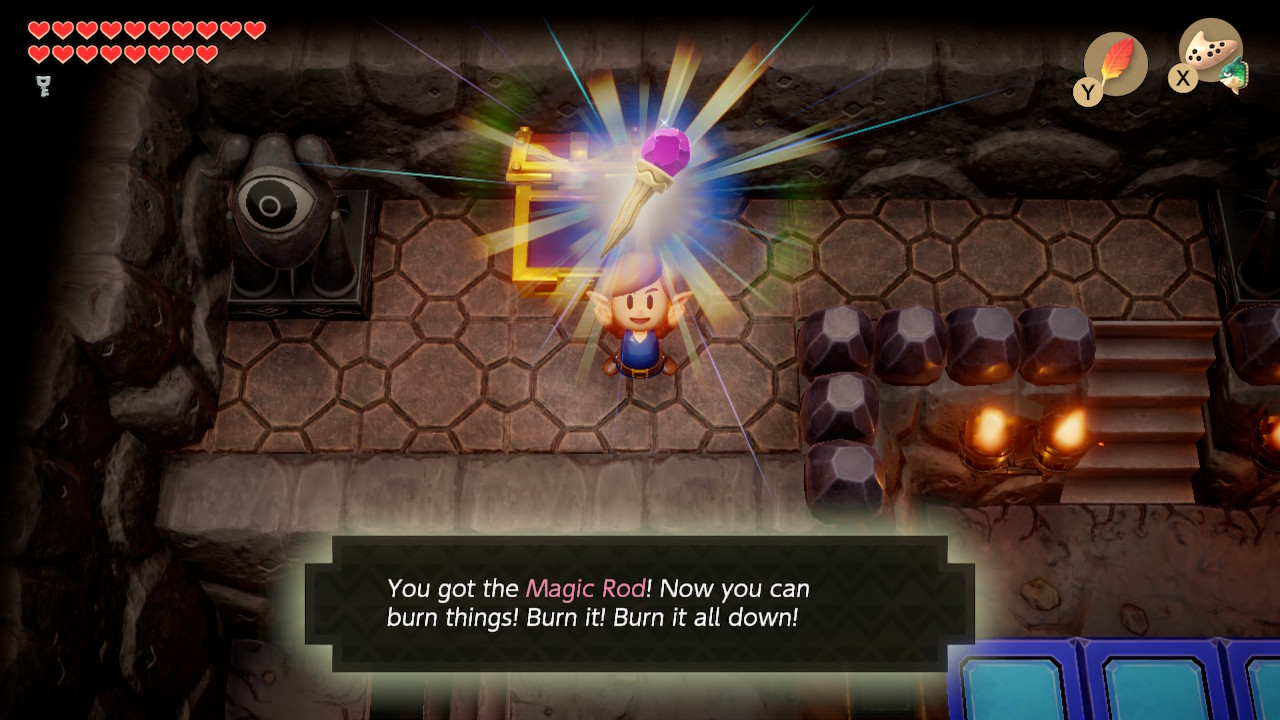
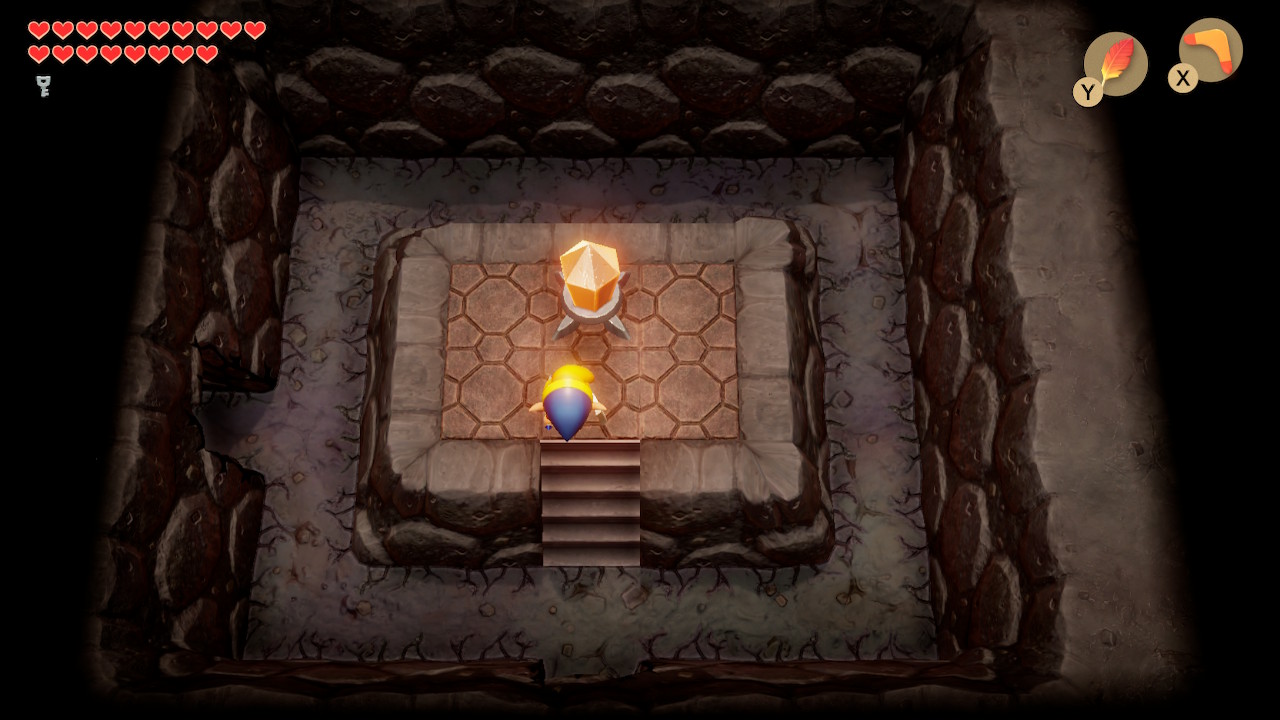
From the mini-boss room, head up and go up the stairs to get to the chest. Open it to get the dungeon item, the Magic Rod. This weapon is quite powerful and shoots purple fireballs. Warp back to the entrance of the dungeon and head up two rooms to get to the control block once again. This time, use it to make a path to the stairs on the right side of the room. Go ahead and head up them.
Use your magic rod in this 2D area to melt the ice blocks and head left. Melt the upper level of blocks in the next room and use the ladder to the left. Go through the locked door to the left here to face another past mini-boss. To defeat Cue Ball again, hop over his head when he approaches you and slash at him from behind. Head up through the door above.
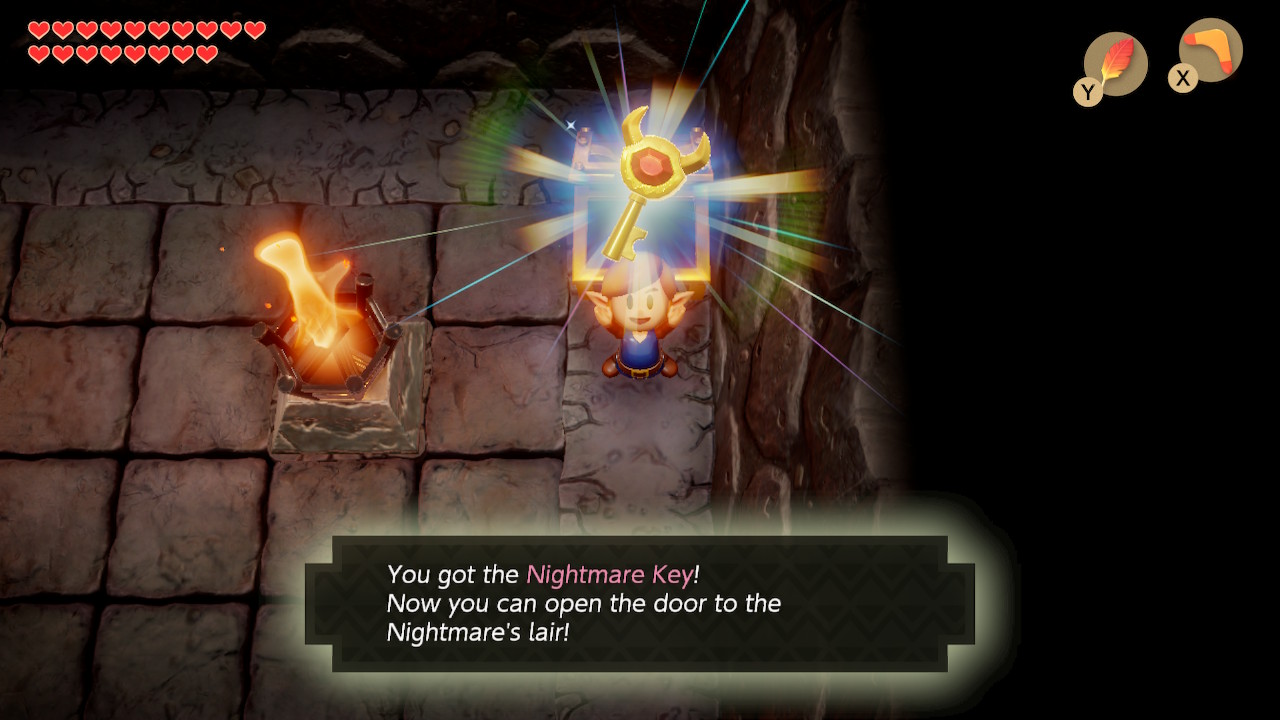
Use the control block in this room to fill up the entire floor. This is a bit tricky, but just start on the left and head down, then go back right and up around the right torch to get it done. A chest will spawn that contains the Nightmare Key. Play Manbo's Mambo and warp to the entrance of the dungeon.
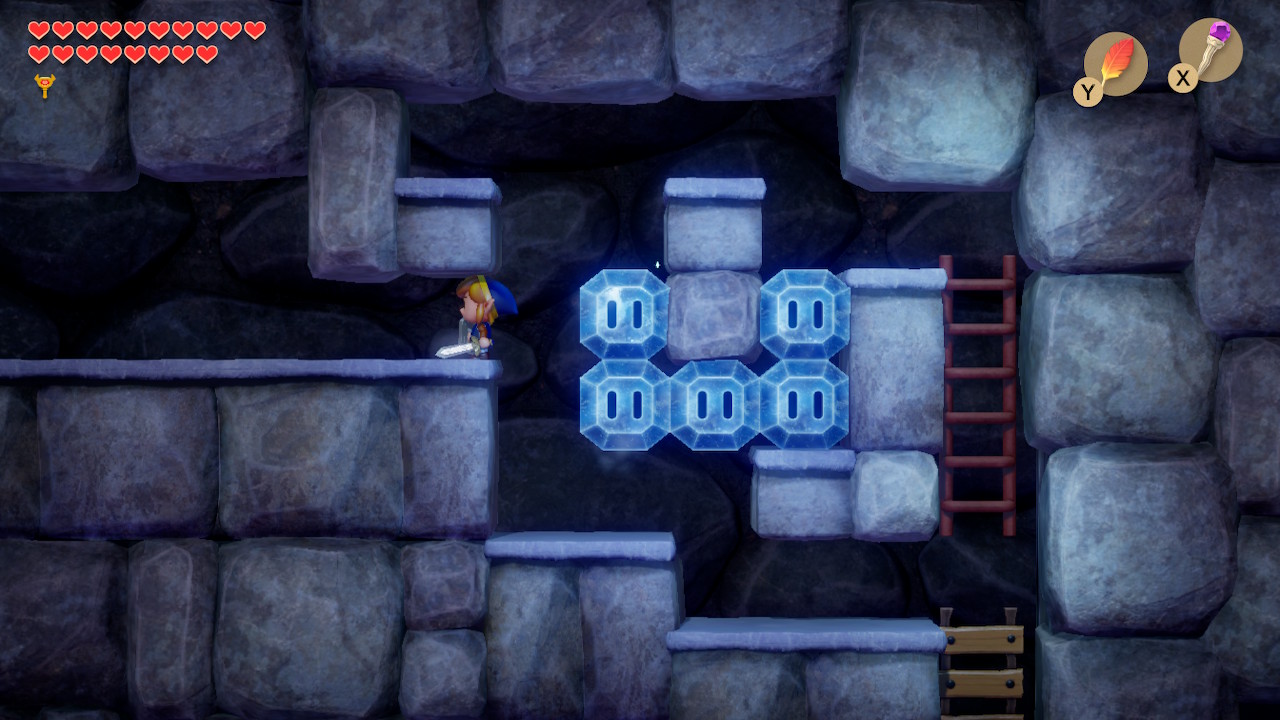
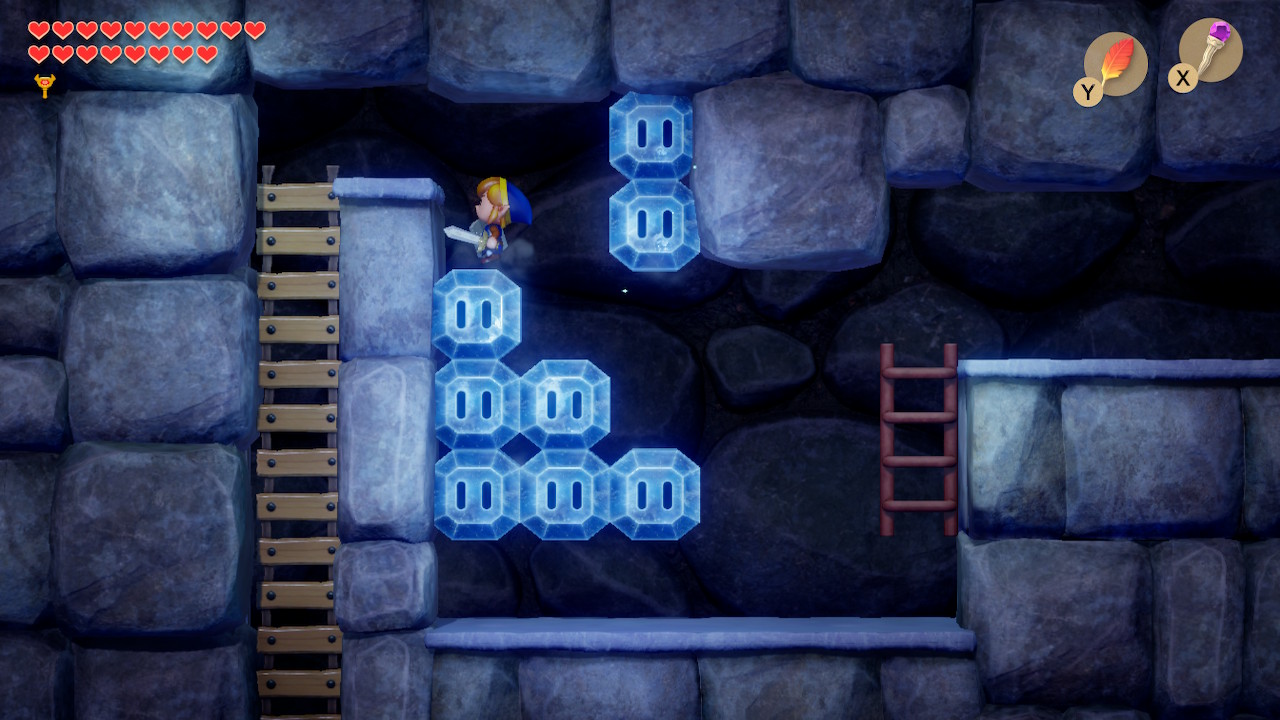
Head up two rooms to the control block and make a path between going all the way right. Take the staircase in the top-right corner of this area. In this 2D area, you'll need to melt most blocks, but leave a column that allows you to make the jump to the left, as pictured. Head left and melt the blocks in a staircase fashion so that you can climb out and head to the left. Enter the boss room when ready.
Hot Head
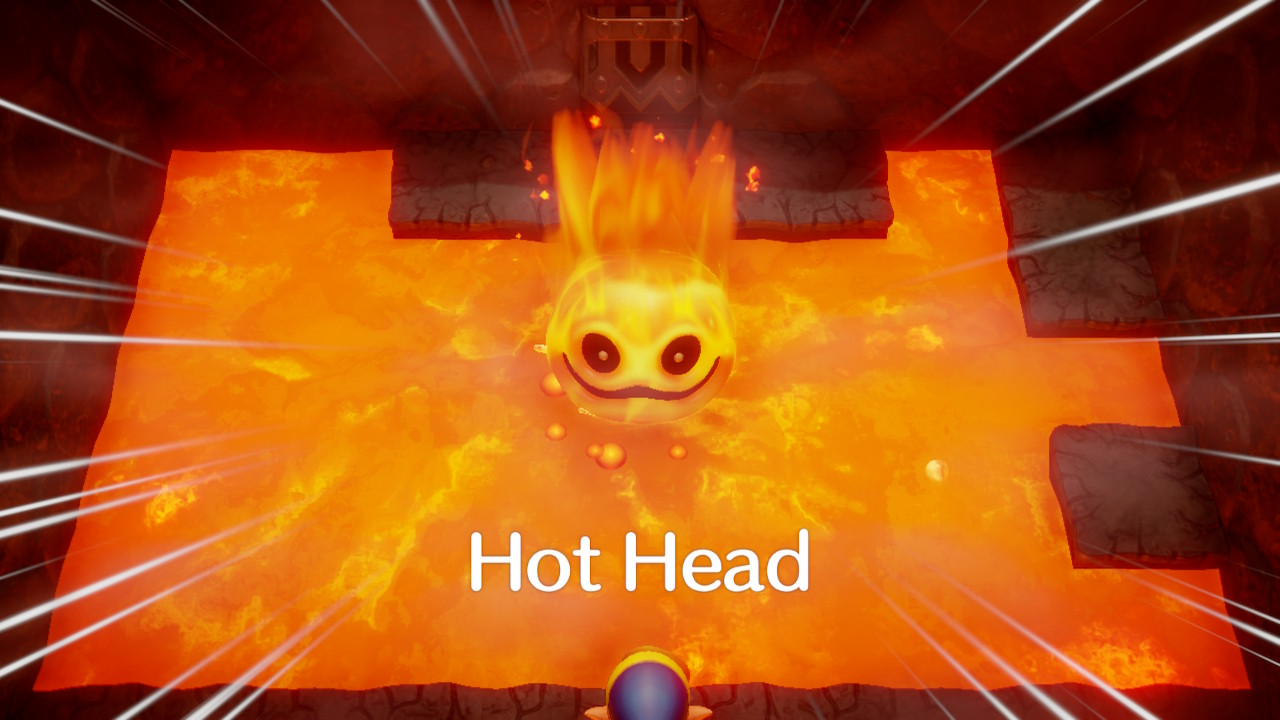
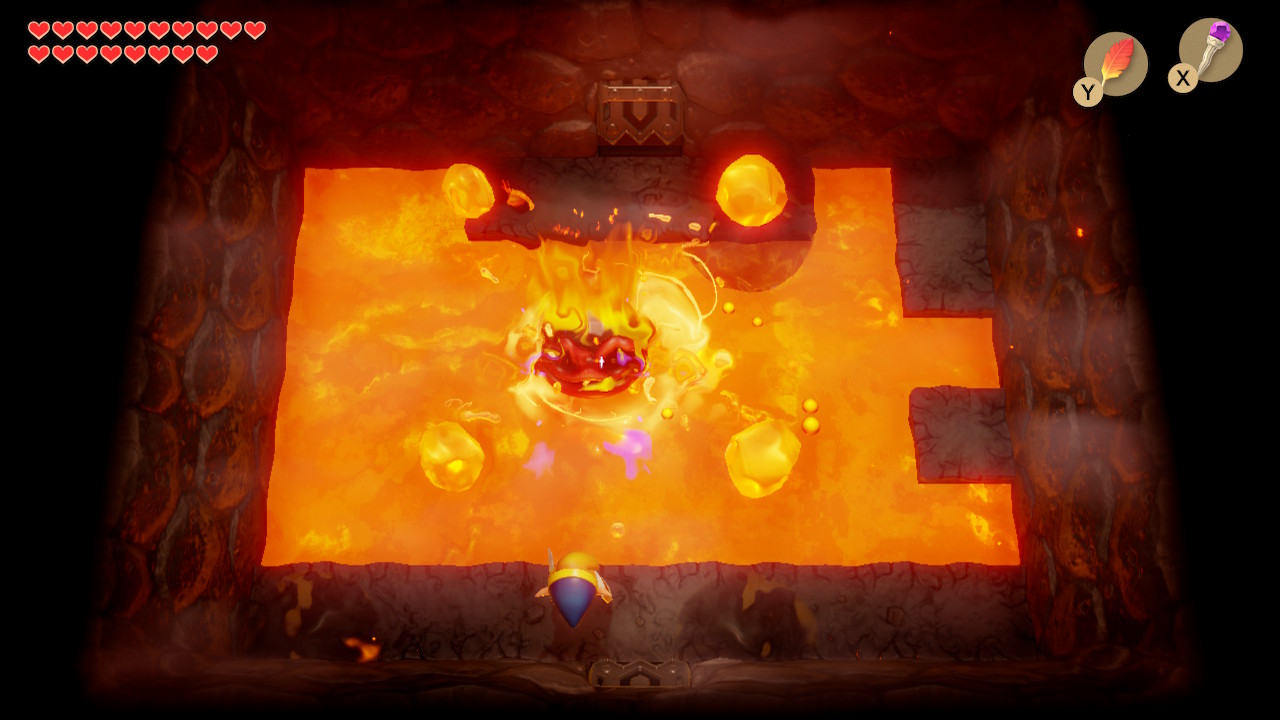
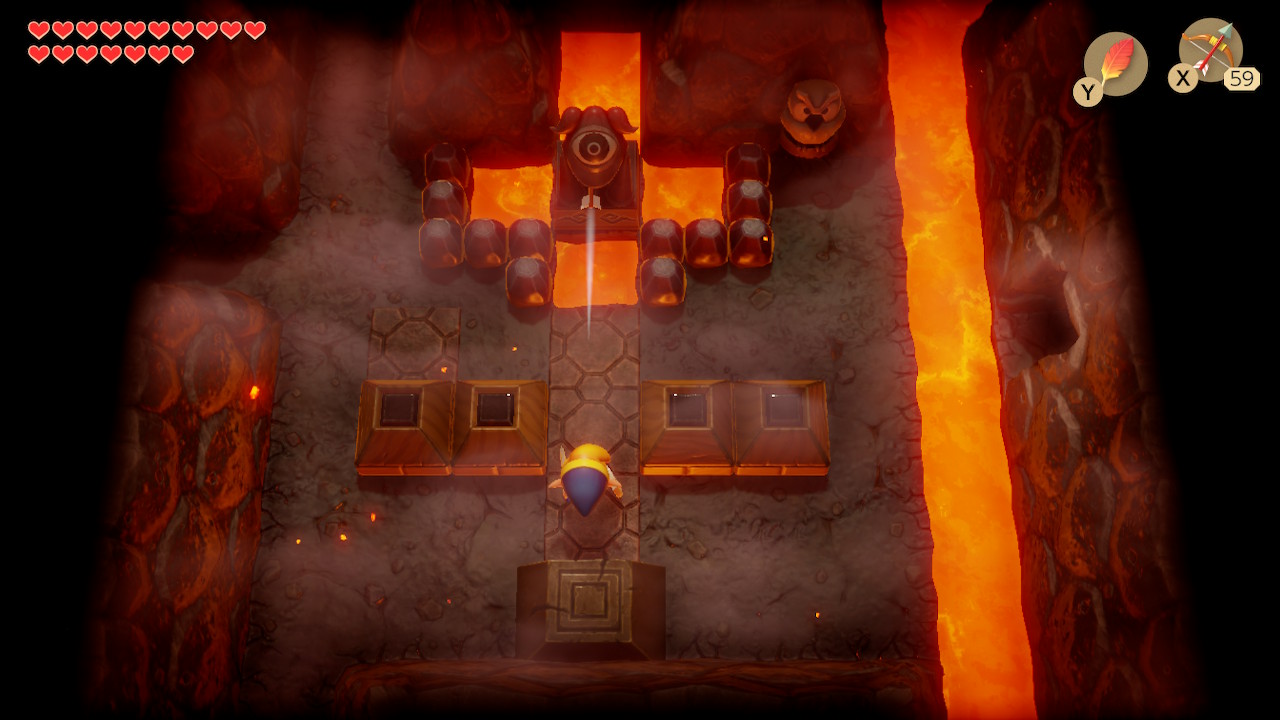
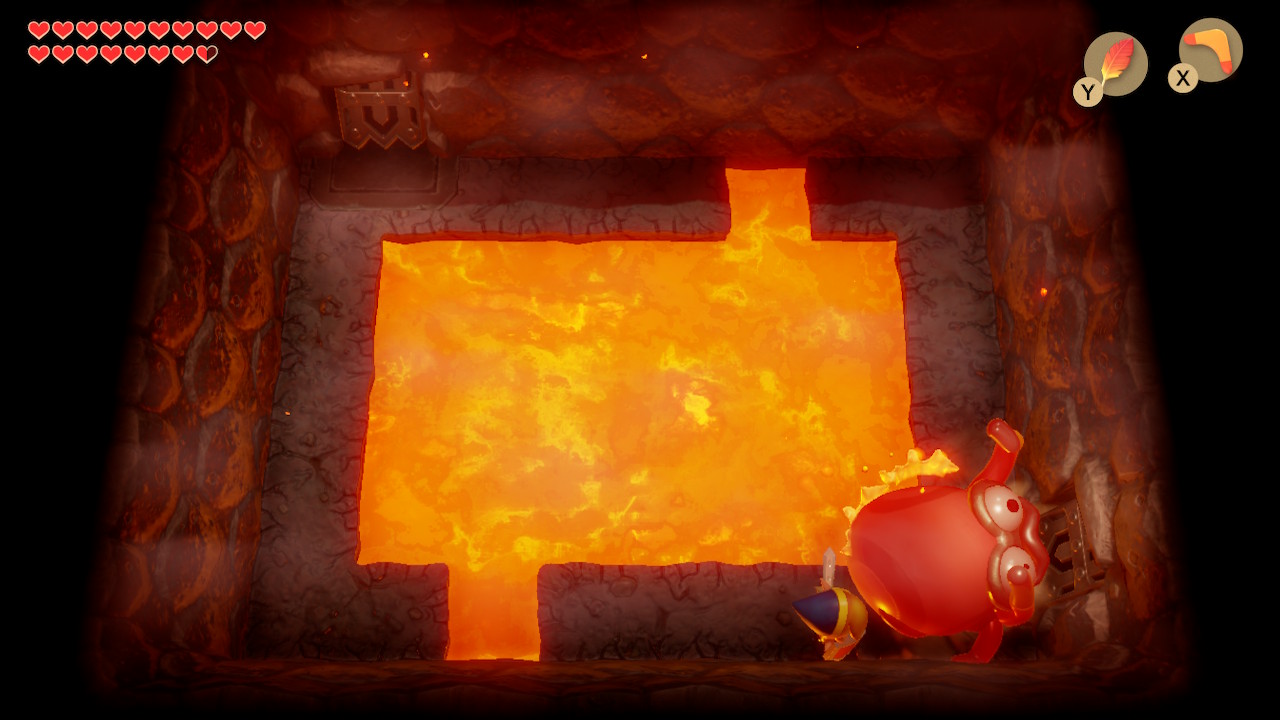
The boss of Turtle Rock is called Hot Head. It's a ball of lava that will quickly leap in and out of the lava, splashing you as it does. Just avoid the diagonal splashes and he can't hurt you. You'll need to use your magic rod and time your shots when he's jumping out. After landing a hit, he'll lose his heat and quickly bounce around the room, just keep firing shots.
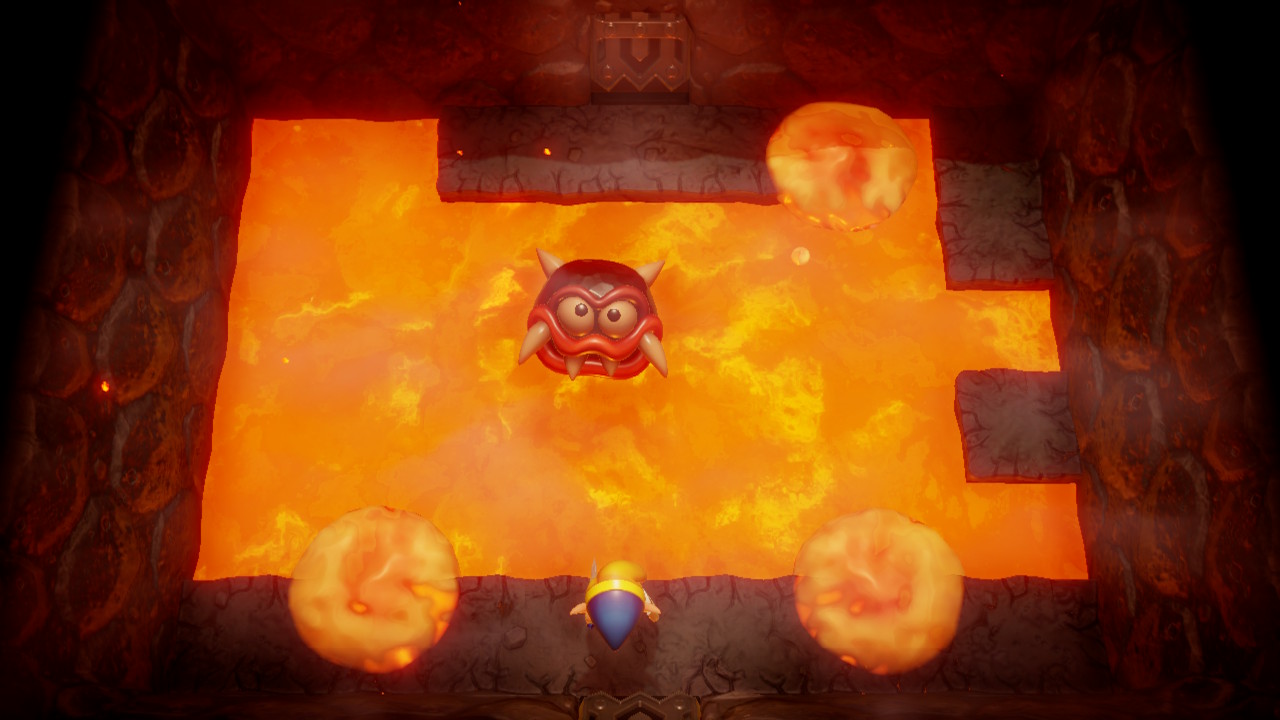
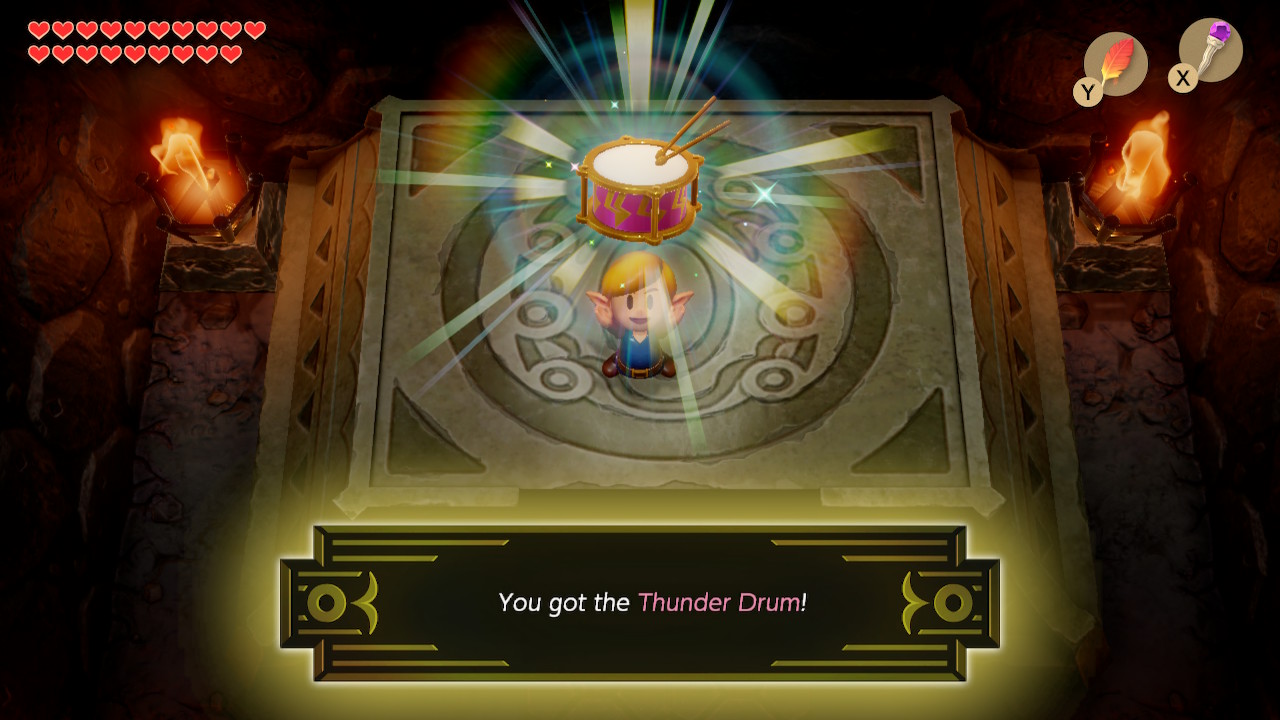
After a few rounds, he'll lose his armor. Just keep firing shots at this point as he more quickly jumps in and out of lava and he'll eventually be defeated. He'll leave behind a Heart Container that will nearly round out our health. Head up into the next room to grab the final instrument, the Thunder Drum.
Back to Eagle's Tower Continue to Wind Fish
