
Part 2: Bottle Grotto
Saving BowWow
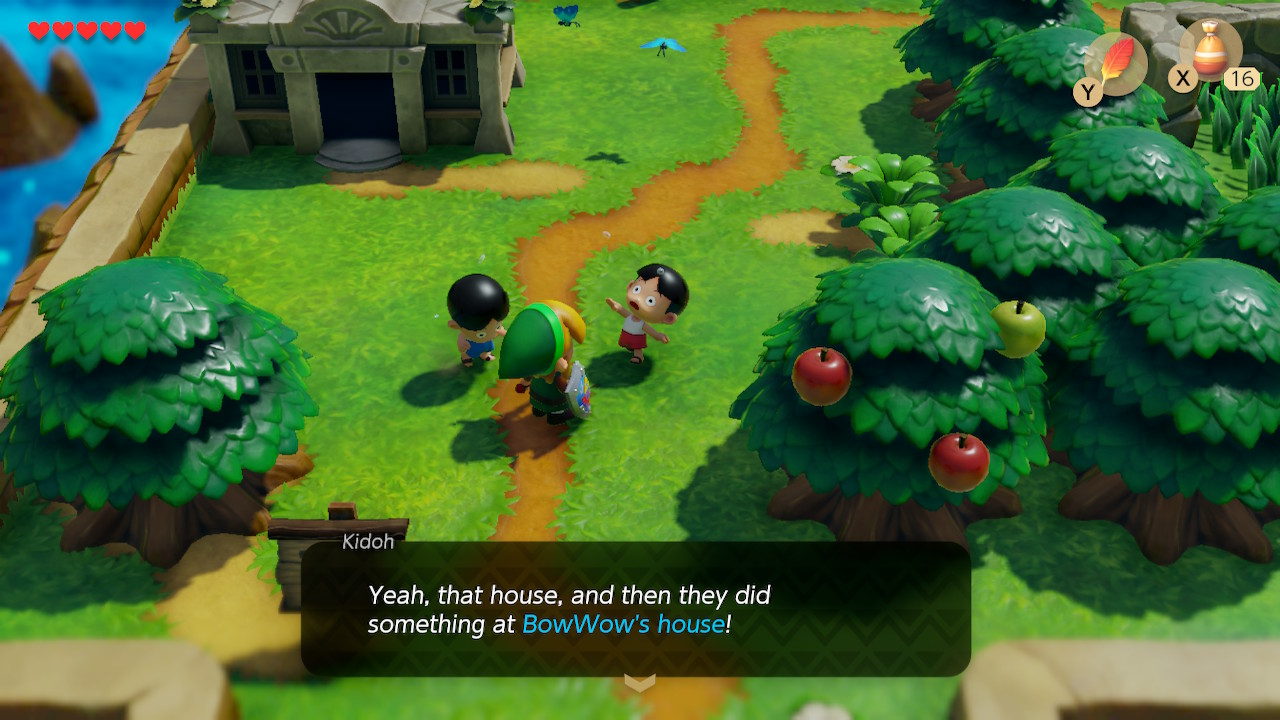
After exiting Tail Cave, head left and you'll be greeted by the owl. He'll tell you that you have seven more instruments to collect. Head back to Mabe Village. Remember that you can now use Roc's Feather to jump over potholes in the ground. Upon entering Mabe Village, two kids will tell you that a gang of Moblins raided the village. Speak to the distressed Madam MeowMeow outside her house to find out that her dog (Chain-Chomp) BowWow was dognapped by Moblins. Exit the village north into Mysterious Forest.
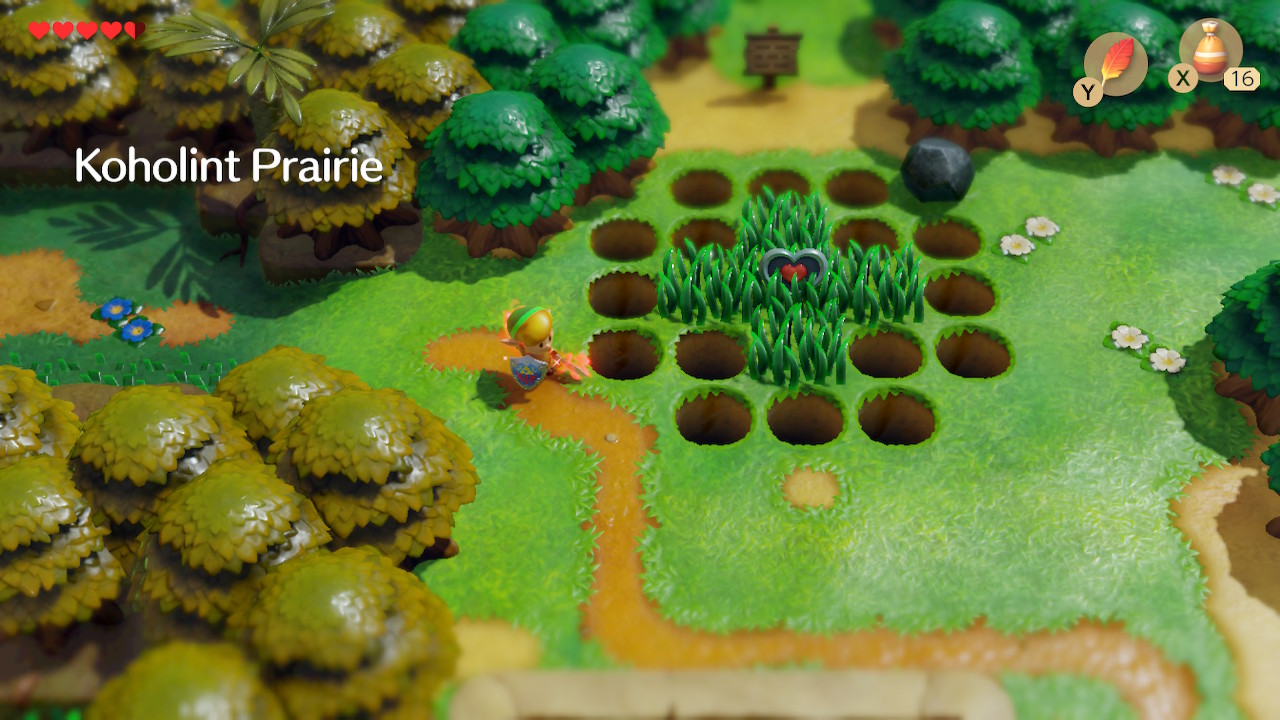
Make your way through Mysterious Forest the same way as before, exiting to the northeast towards the Witch's Hut. You'll find yourself back out on Koholint Prairie. Now that we have Roc's Feather, we can grab Piece of Heart #5 that is sitting in the center of the potholes here. After picking it up, jump over the holes to the north and enter Tal Tal Heights.
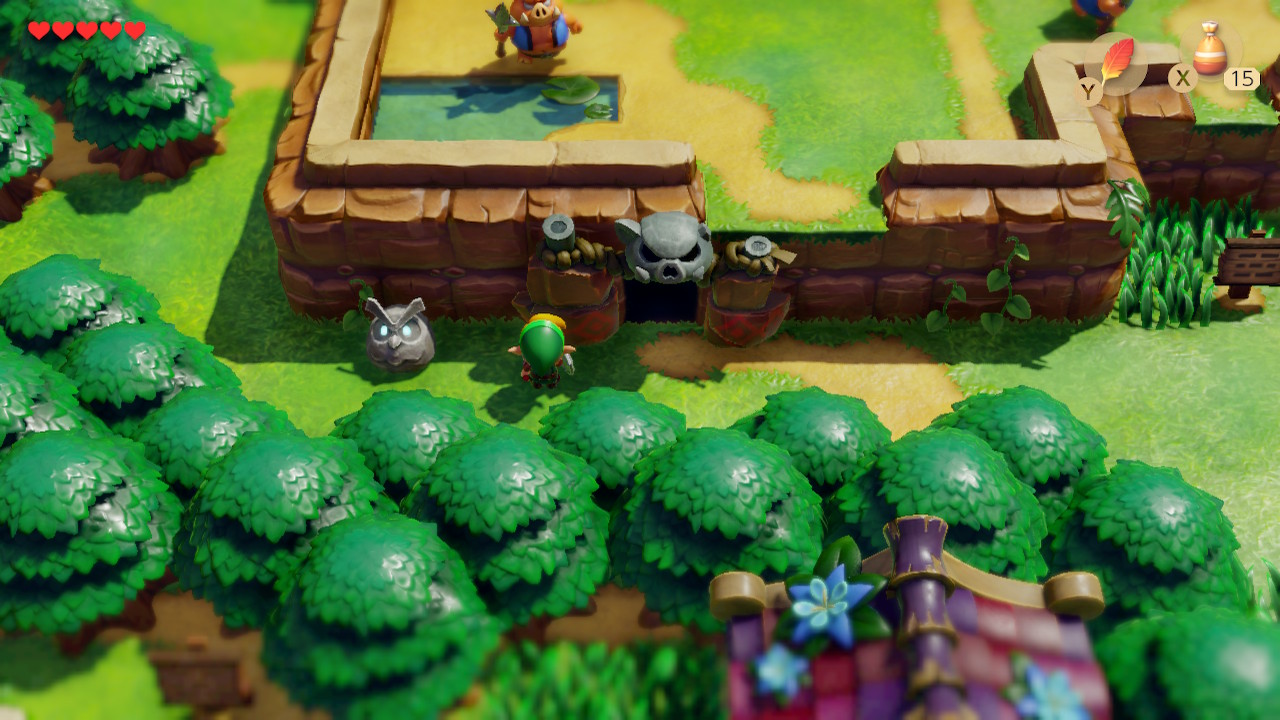
You can head immediately east and find the Moblin's Hideout next to the owl statue. Inside the hideout, you'll need to progress through a series of rooms defeating Moblins. The first room has one sword and shield Moblin. The second has four spear Moblins. The third contains the boss of the hideout, King Moblin. He'll throw spears at you that can be blocked or dodged. Eventually, he'll attempt to ram you. Move out of the way and strike while he is stunned. After a few cycles he will be defeated and drop a fairy.
Goponga Swamp
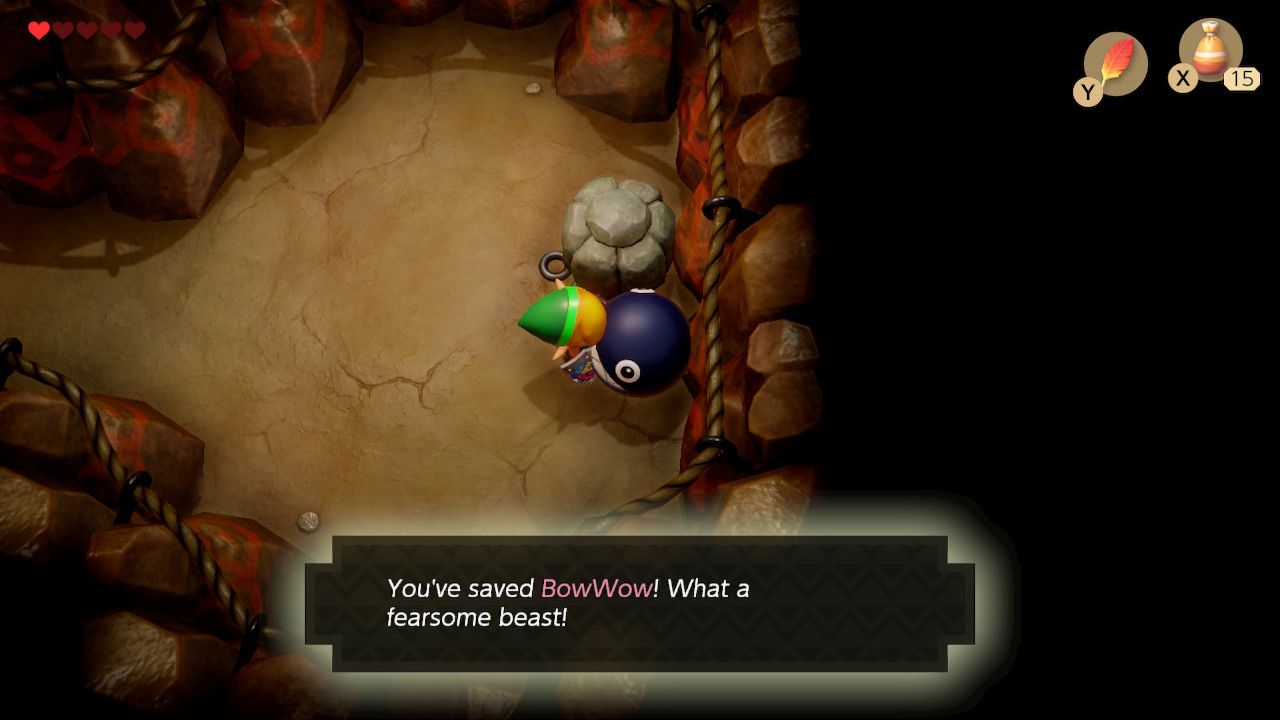
In the next room, you'll find the precious BowWow. Rescue him and then exit the Moblin Hideout. Rather than return him right away, we will use BowWow to reach the next dungeon. Head back to the Mysterious Forest. Upon entering, you'll probably notice that BowWow will chomp enemies in one bite. Nice! Use this to your advantage and make your way to the northwest part of the forest. Exit the forest to the north.
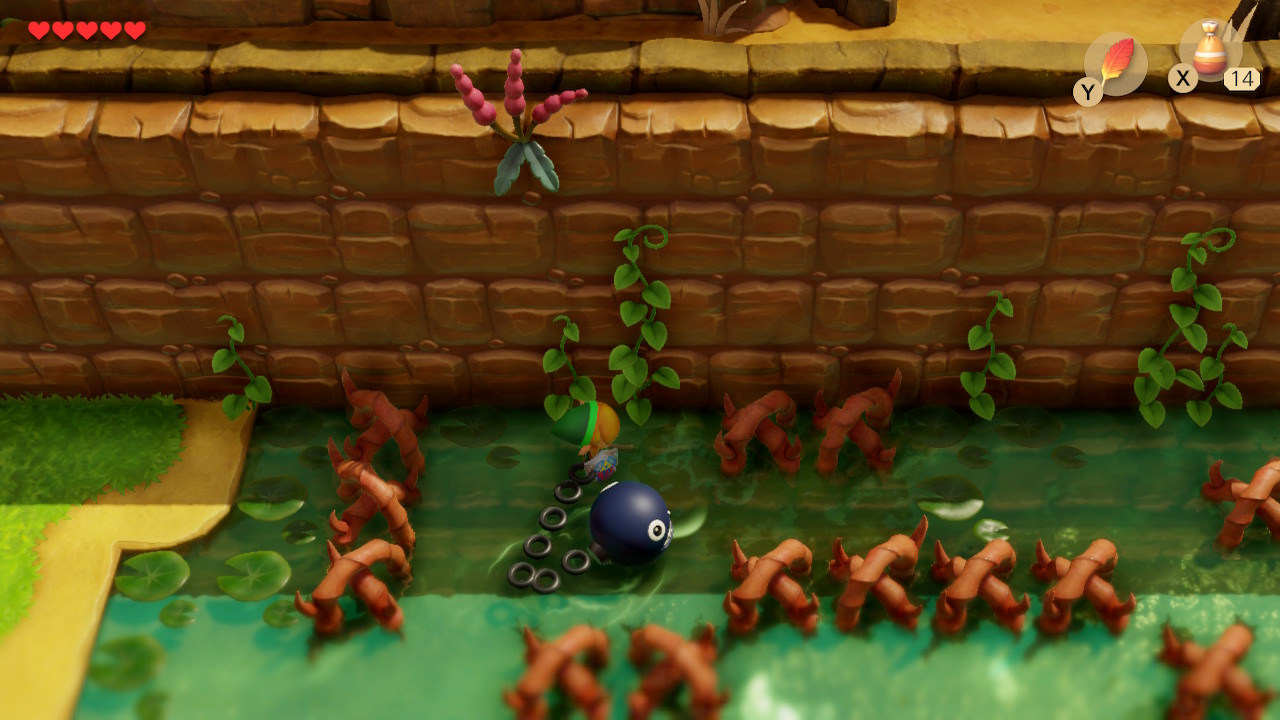
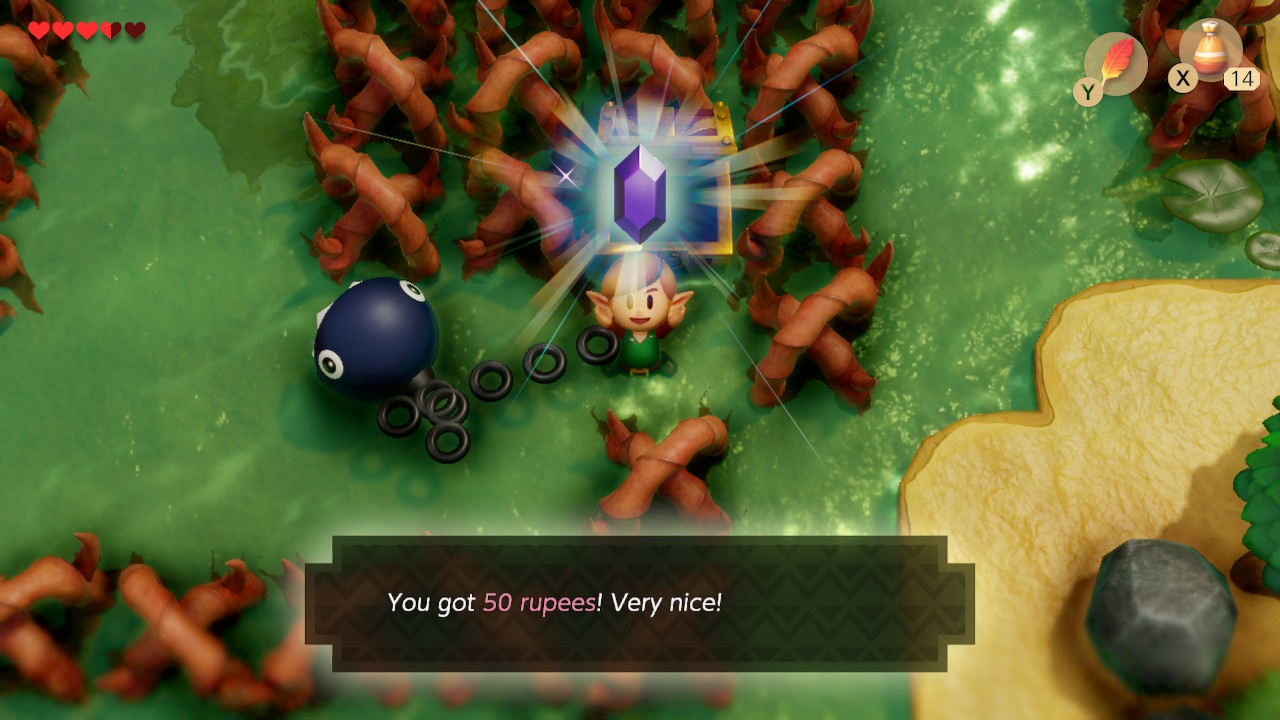
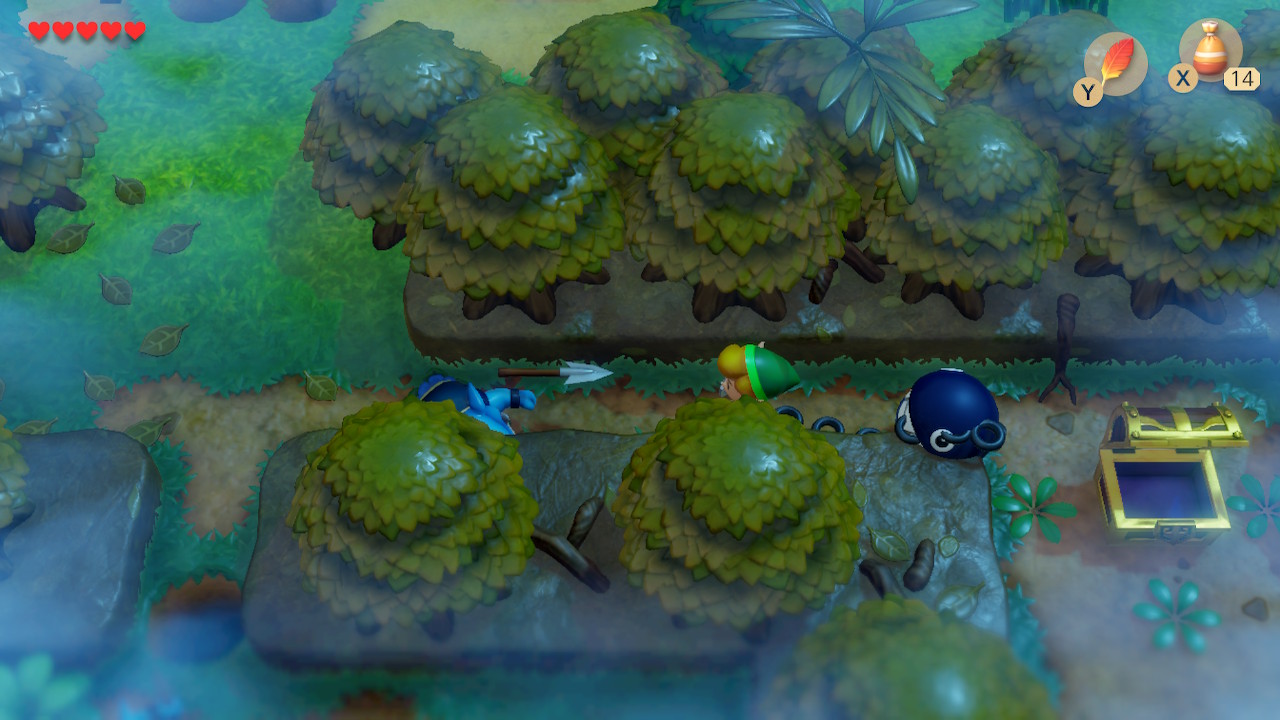
Head right past the phone booth to enter Goponga Swamp. In the swamp maze, you'll find fish enemies and Goponga Flowers. The flowers block your way, but BowWow will eat them to clear the path for you. Make your way east to the center part of the swamp to find a chest containing 50 rupees. On the far east side of the swamp is the entrance to the second dungeon of the game: Bottle Grotto.
Bottle Grotto
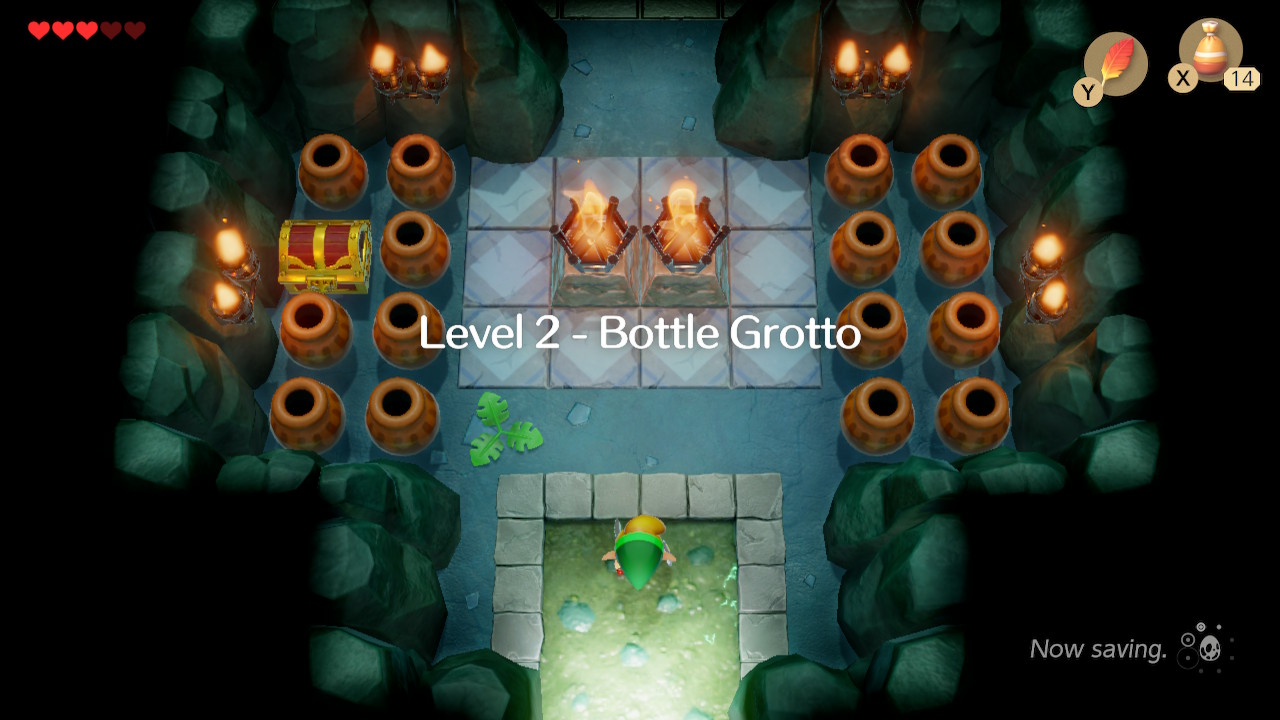
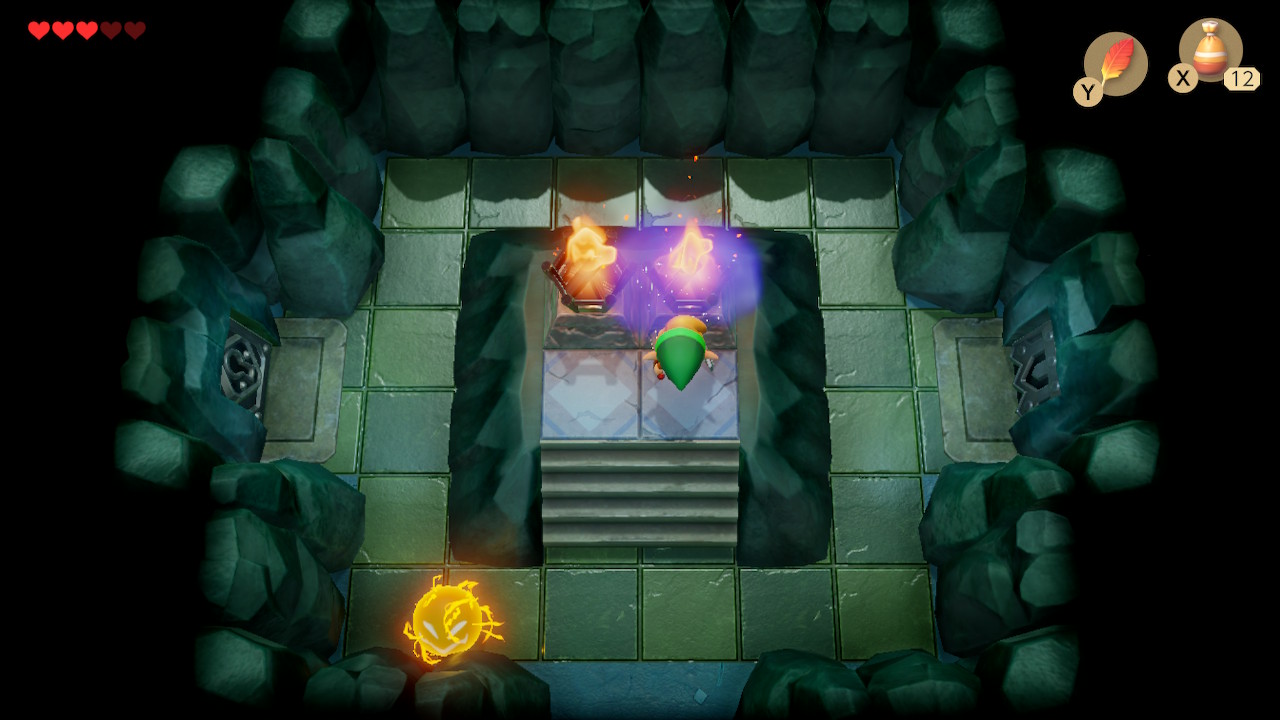
Unfortunately, BowWow can't come with you into this dungeon. You'll see many pots here that Link can't do anything about yet. Head up to the next room that is quite dark. Avoid the spark enemy and light the two torches here using magic powder. This opens the door to the room to your right. Defeat the two Stalfos in this room to make a Small Key appear. Head back left out of this room.
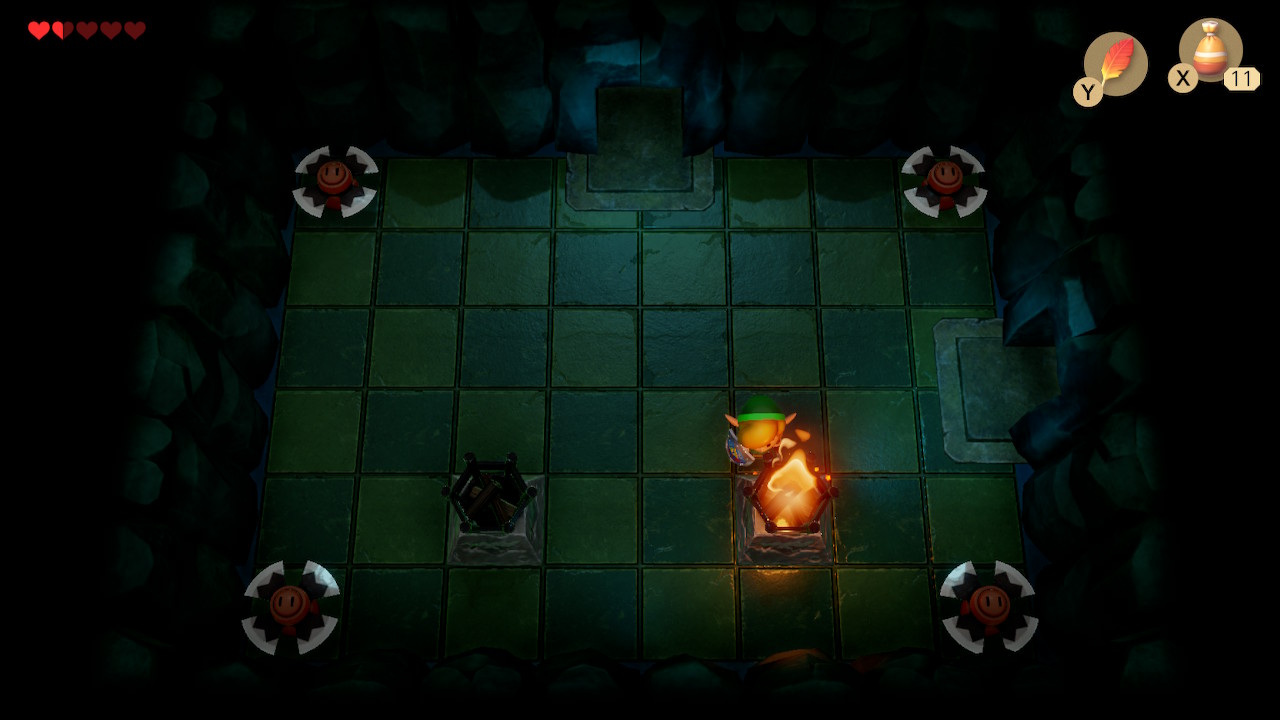
Back in the torch room, use the small key on the door to the left. Watch for the spinning blades near the entrance and take care of the Keese. You can light the torches in this room, but you won't get anything for it. Head up to the next room. Use Roc's Feather to jump the gap and open the chest for a Stone Beak. Defeat the beetle here to unlock the door and backtrack all the way to the room where you defeated two stalfos.
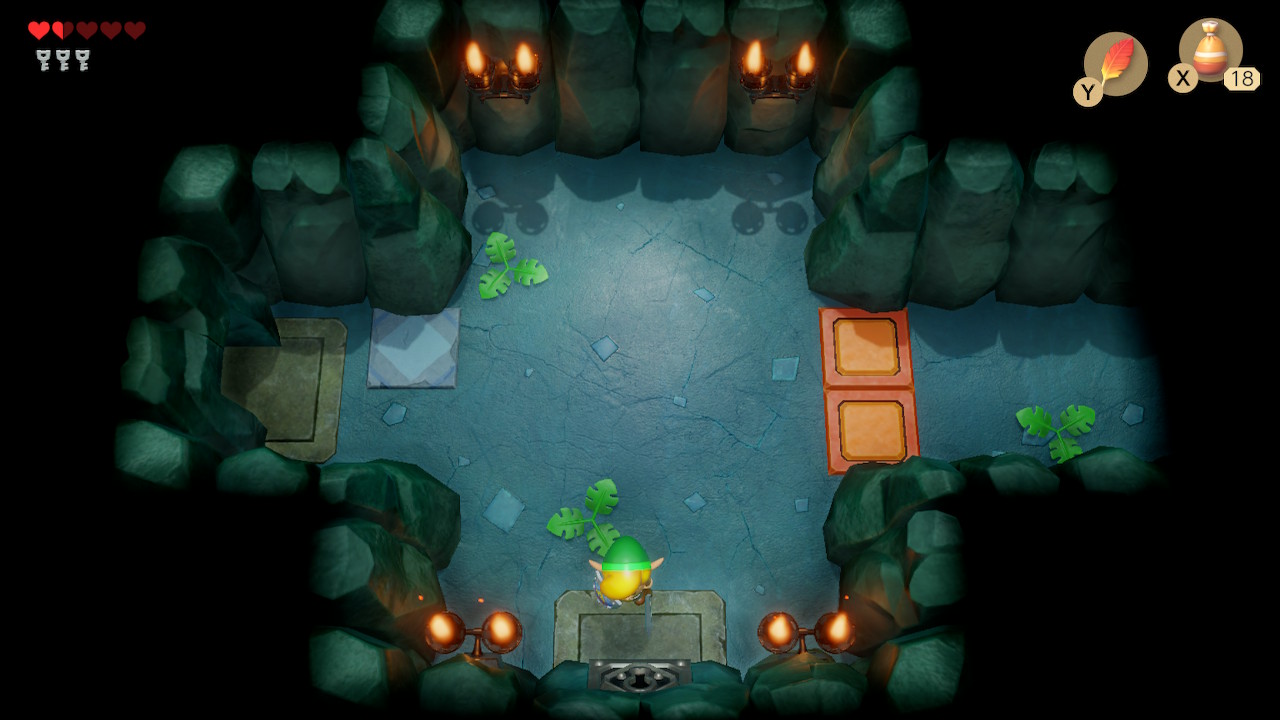
Head right a room to find two statues, an owl statue, and a crystal. Slash the crystal once with your sword to toggle the height of the blue blocks, then head down. There is a Shrouded Stalfos wielding a sword and shield. Defeat it and then slash at the crystal to lower the blocks. Open the chest for a Small Key. Head right into the next room.
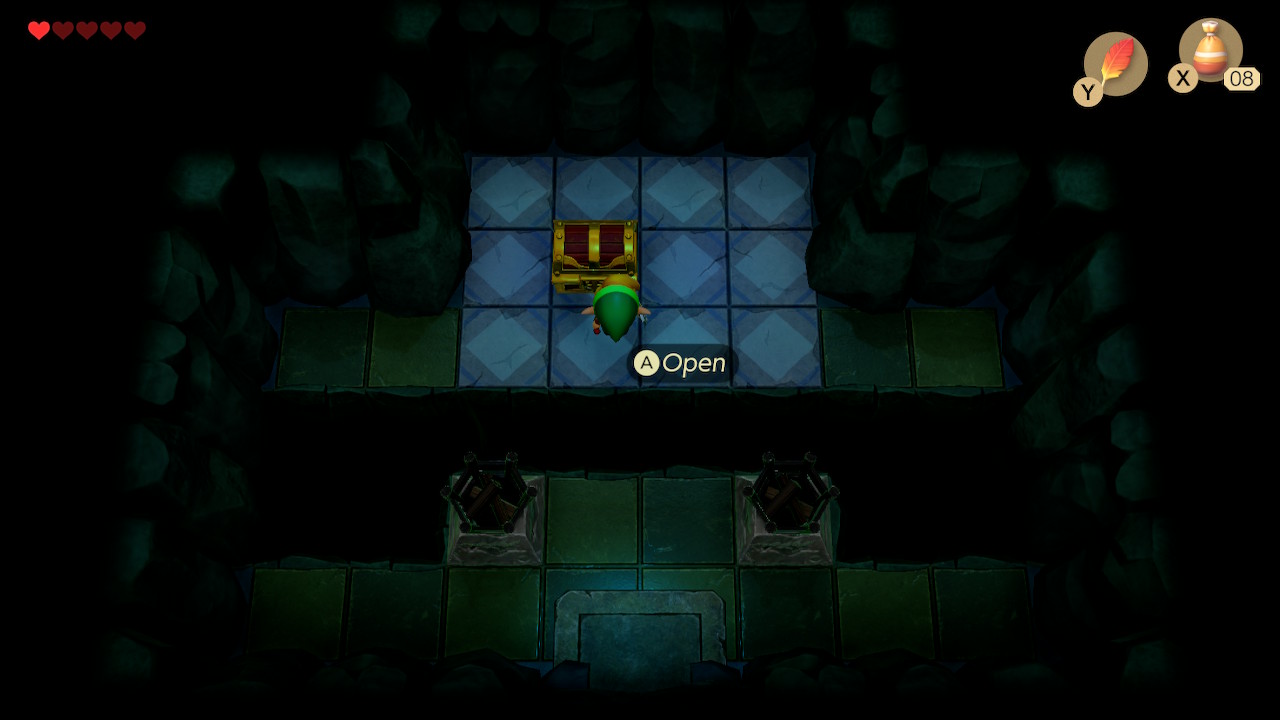
Use Roc's Feather in this room to make your way to the right side, picking up the magic powder along the way. Step on the switch to reveal a chest containing a Small Key. Head up into the next room. You'll see two Shy Guys (called Mask-Mimics in Link's Awakening) that will mirror your every move. The only way to defeat them is to face away and perform a spin attack (hold B and let go). A Small Key will appear on the left side of the room. You'll need to backtrack a bit to pick it up.
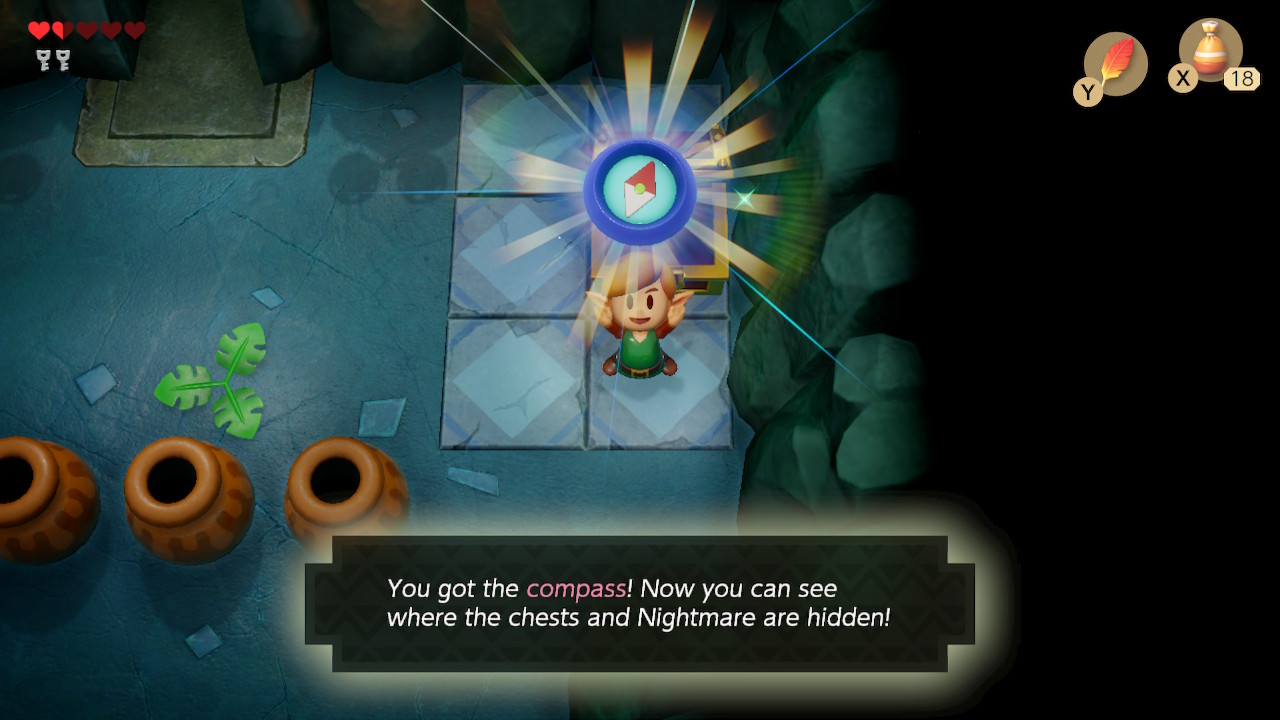
After picking up the key, keep backtracking to the left for two rooms. Use a key on the door below and enter it. Defeat the Shy Guy here and a chest containing the Compass will appear. Pick it up and exit the room above. Make your way back right until you arrive in the room with the first two Shy Guys. Now, head right into the next room.
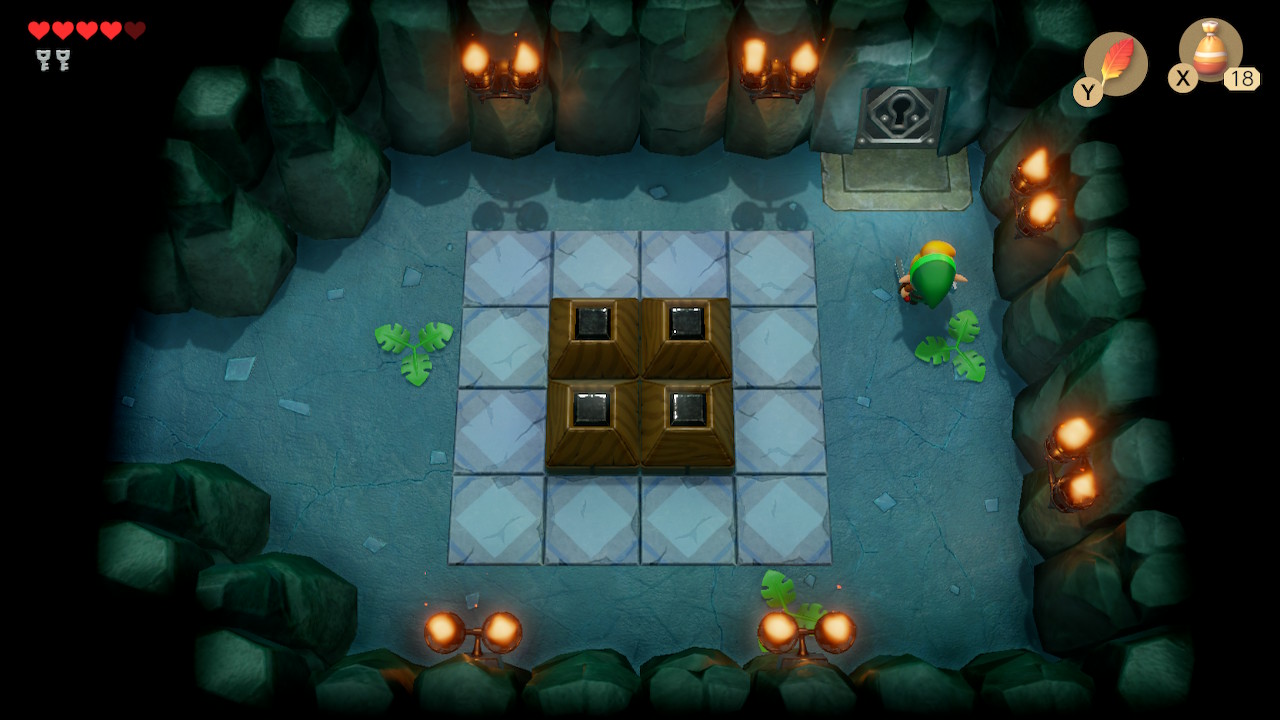
Use your shield to defeat the two Spiked Beetles in this room if you like. Then head up a room through the locked door. Defeat the two Keese in this room while avoid the Spark. Read the owl statue hint if you'd like and then push the two blocks in the center of the room towards each other. This will reveal a staircase: walk down it.
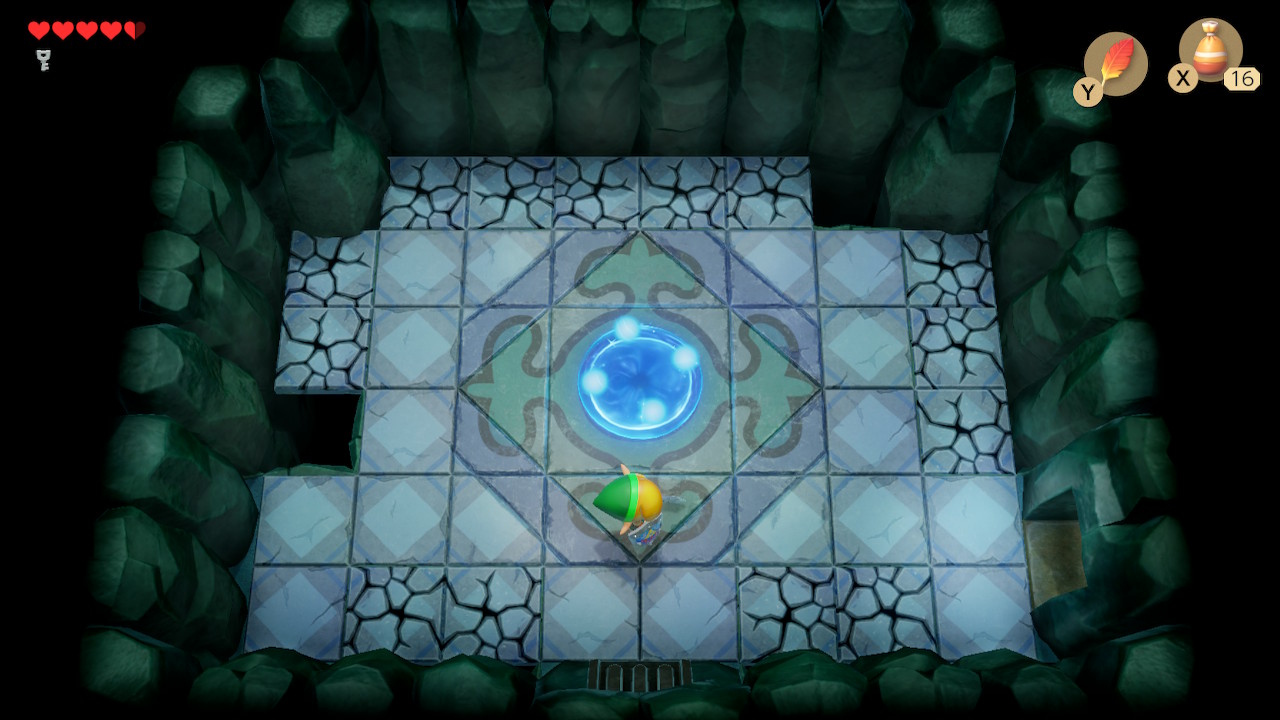
You'll find yourself in the 2D basement of the dungeon. Use Roc's Feather and make your way left and up the ladder. In this room, simply jump to the center platform and pick up the heart refill with Roc's Feather. Use the one-way door at the top to enter the mini-boss room.

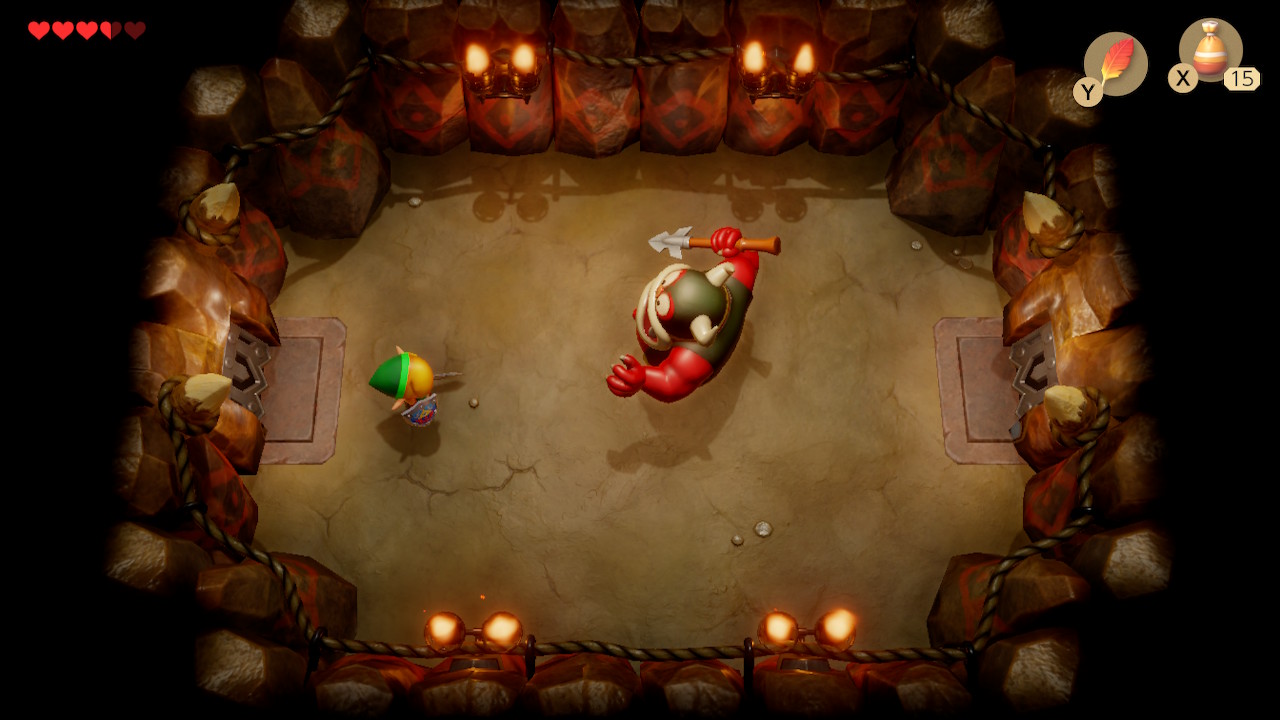
Bottle Grotto's mini-boss is a Hinox. He will quickly lunge at you to try and grab you. If he whiffs, you can slash at him from the side. He'll occasionally throw bombs at you as well. Keep punishing his whiffs and you'll eventually defeat him. He'll drop a fairy when he dies and spawn a warp point to the beginning of the dungeon. Head through the door to the right of the room.
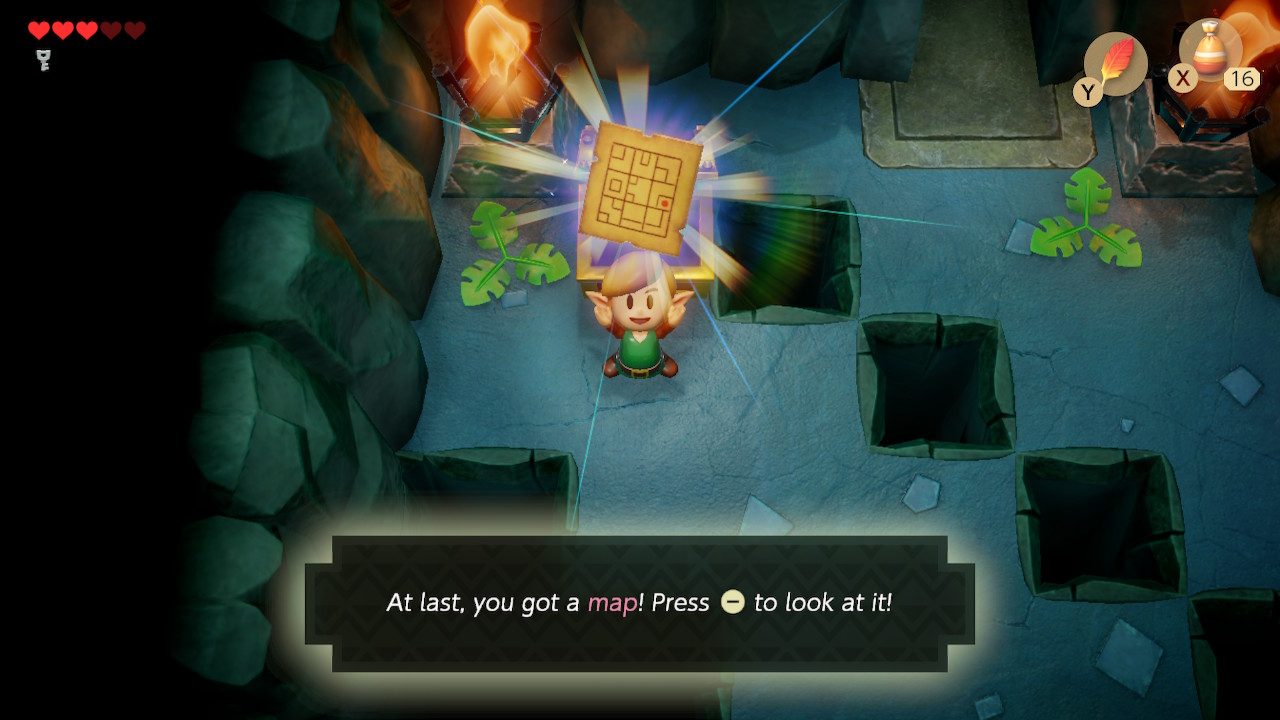
Jump to the right picking up the heart refill and defeating Keese in this room. Head up to the next room. There will be a black hole at the bottom left of the room that will vacuum everything towards it on a timer. Hold up and right to avoid being sucked in and defeat the Keese if you can. Open the treasure chest here to get the Map. Exit this room above.
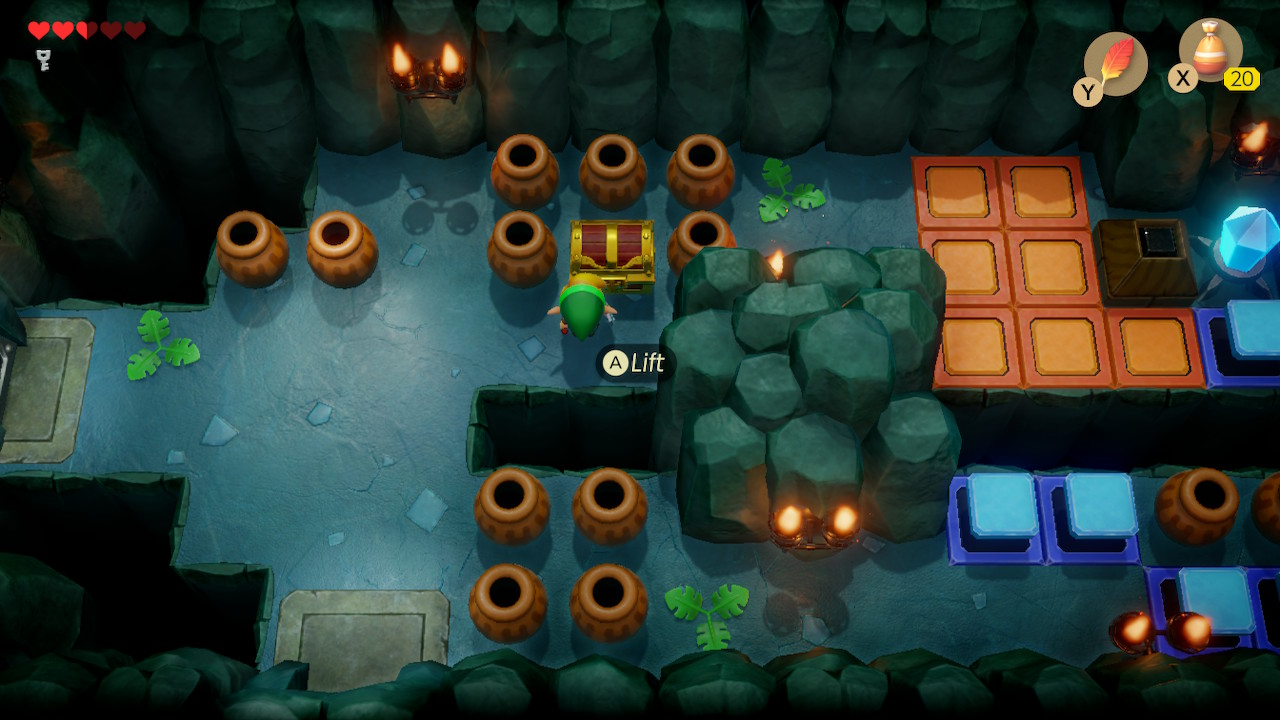
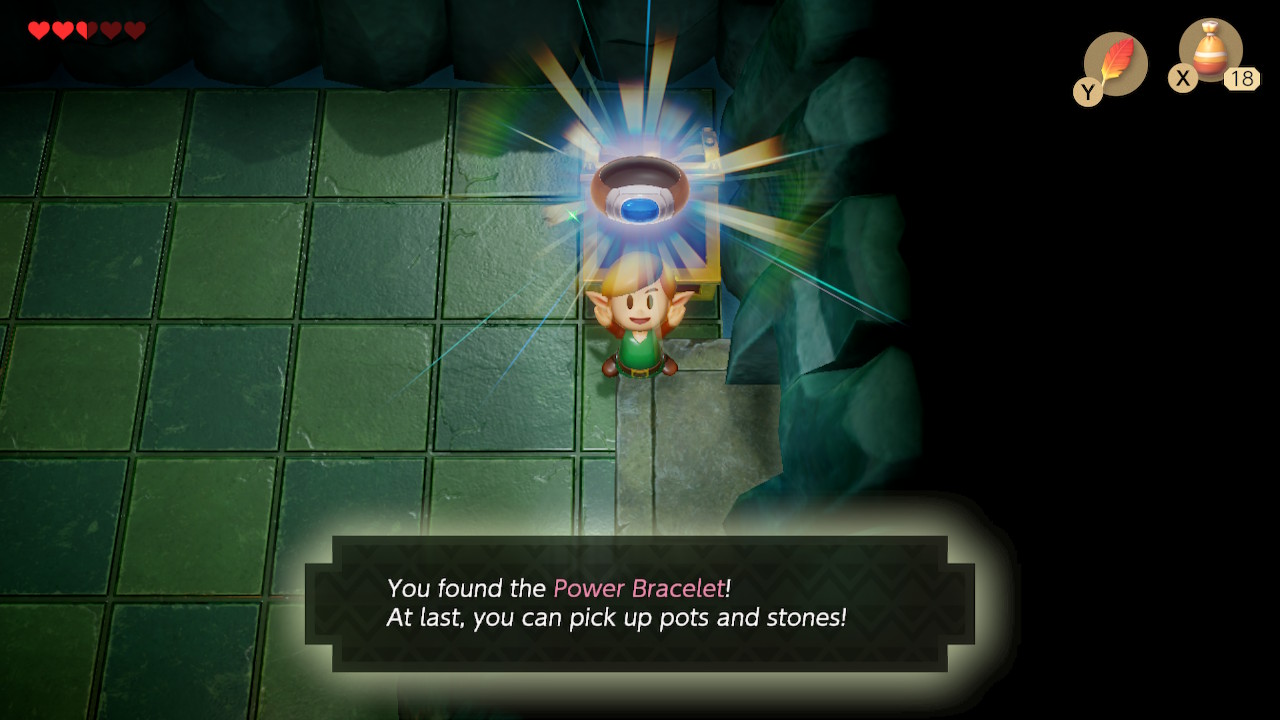
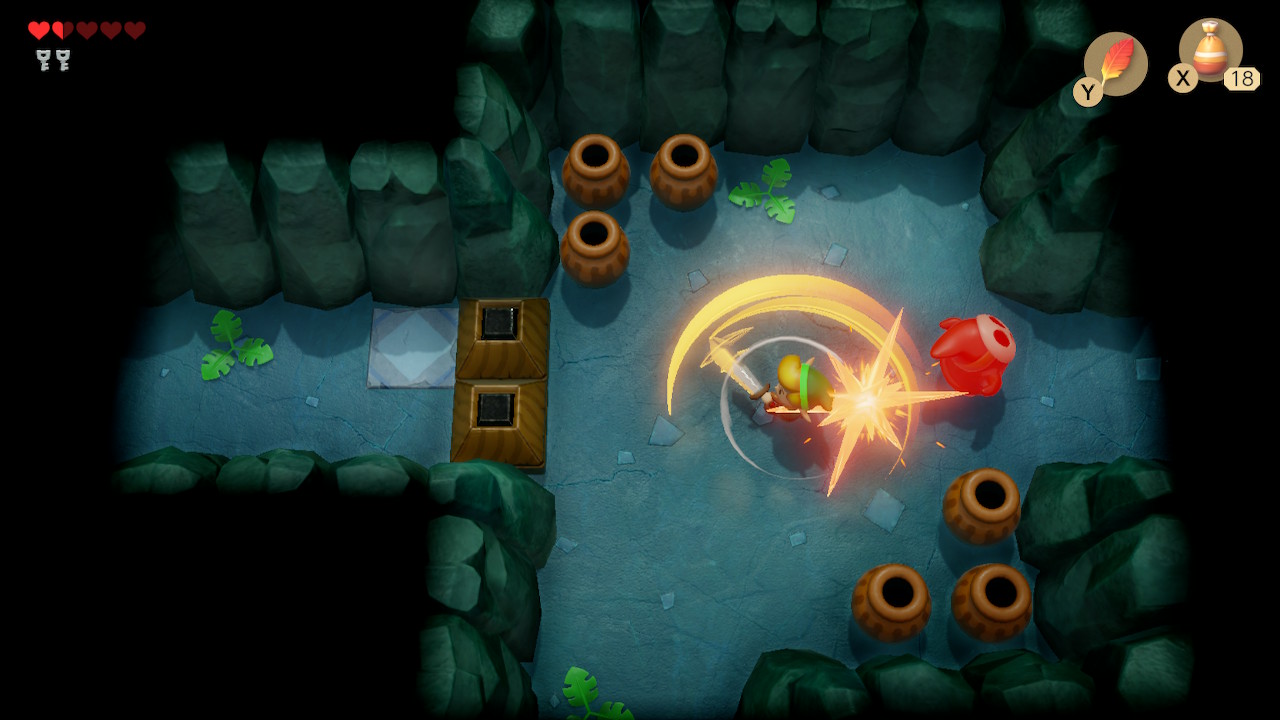
In this room, pick up the magic powder and open the treasure chest to get 20 rupees. Head through the locked door to your left and head through. There are a number of ghosts in this room. Avoid them and light the torches to spawn a treasure chest. Open it to get the dungeon item: the Power Bracelet. This will allow you to pick up and throw those pots that are blocking our way. Head right a room.
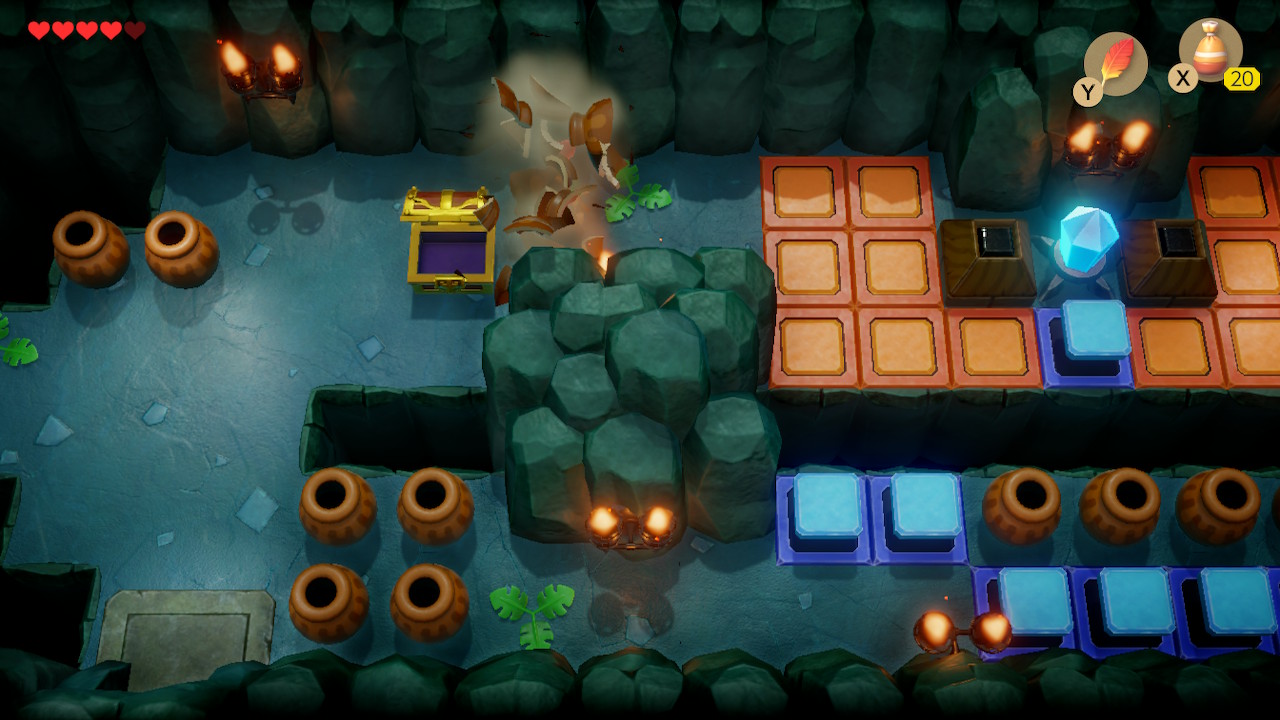
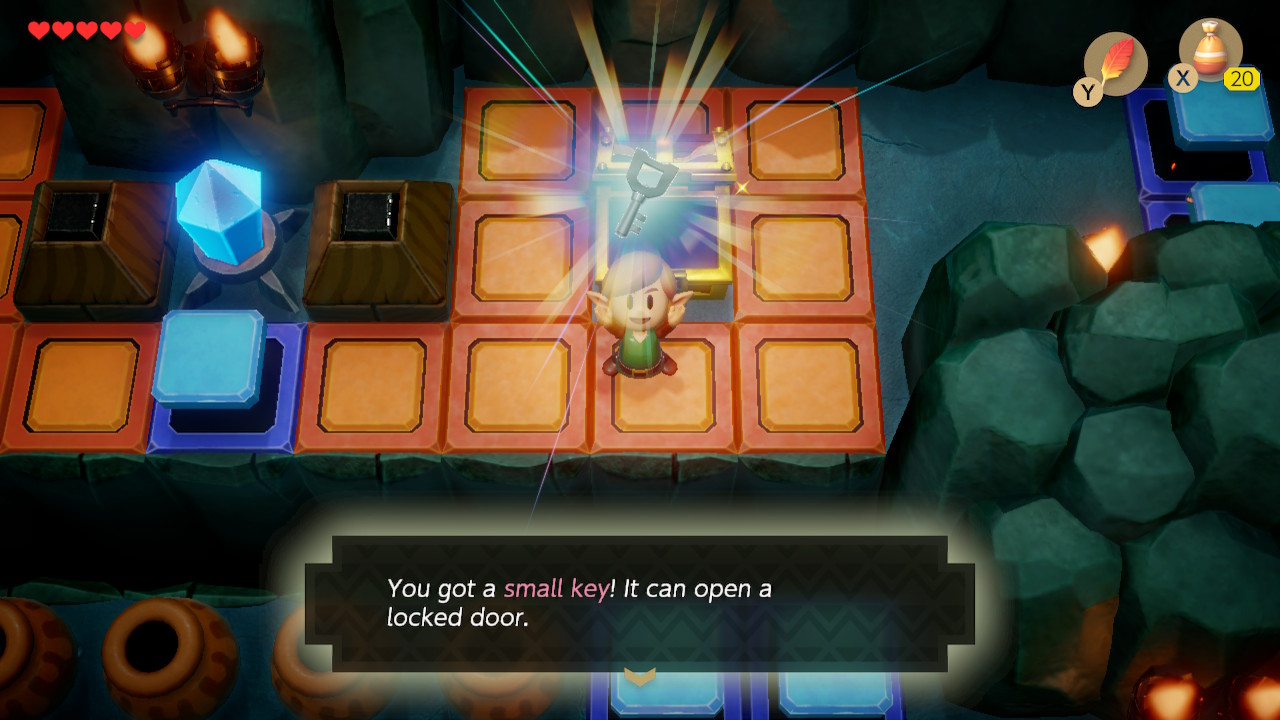
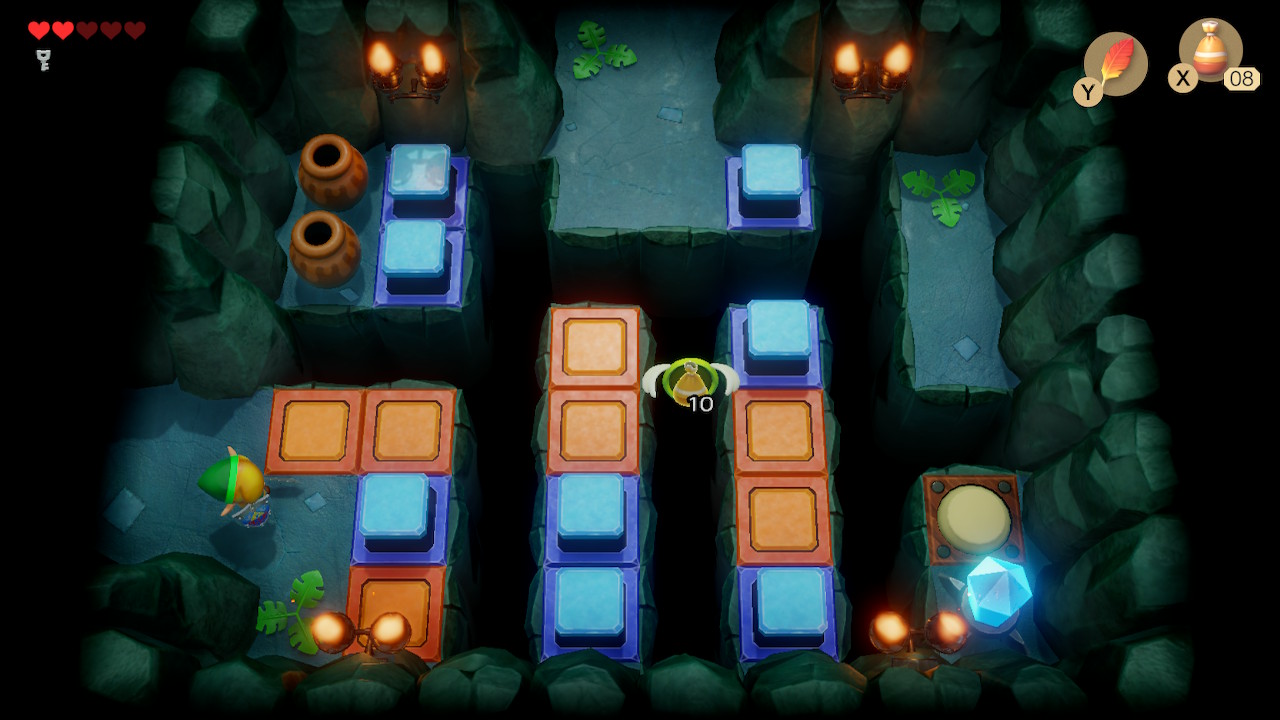
Head right and lift the pots to clear your path on the top part of this room. Continue right, hitting the crystal switch twice to get over the blocks here. Open the treasure chest to get a Small Key. Go back and hit the crystal again so you can head right. Defeat the enemies here if you want, otherwise just head through the door on the bottom of this room.
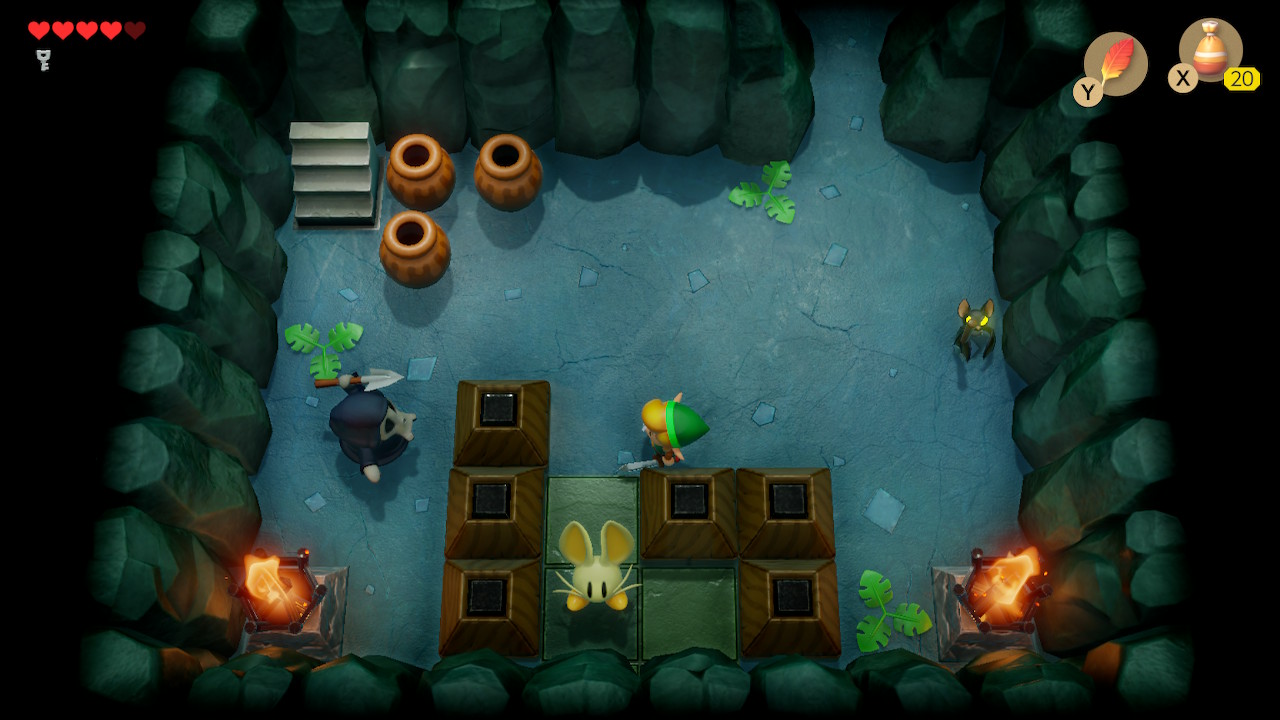
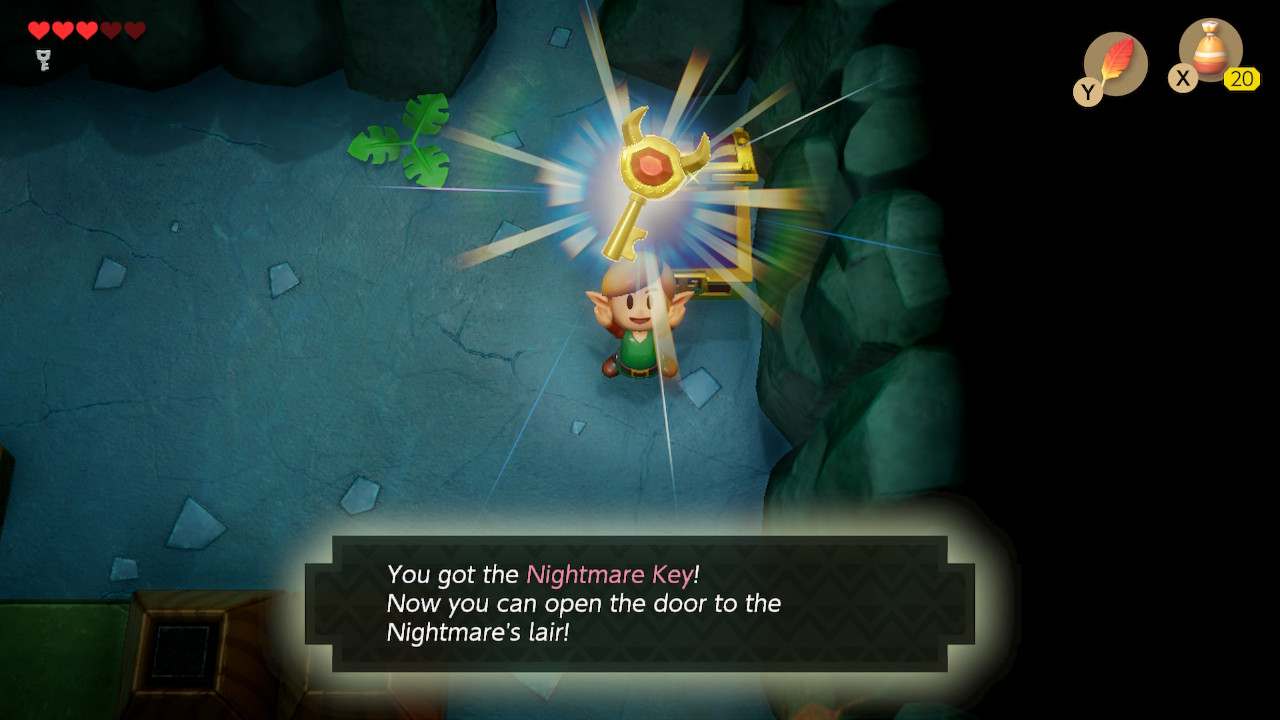
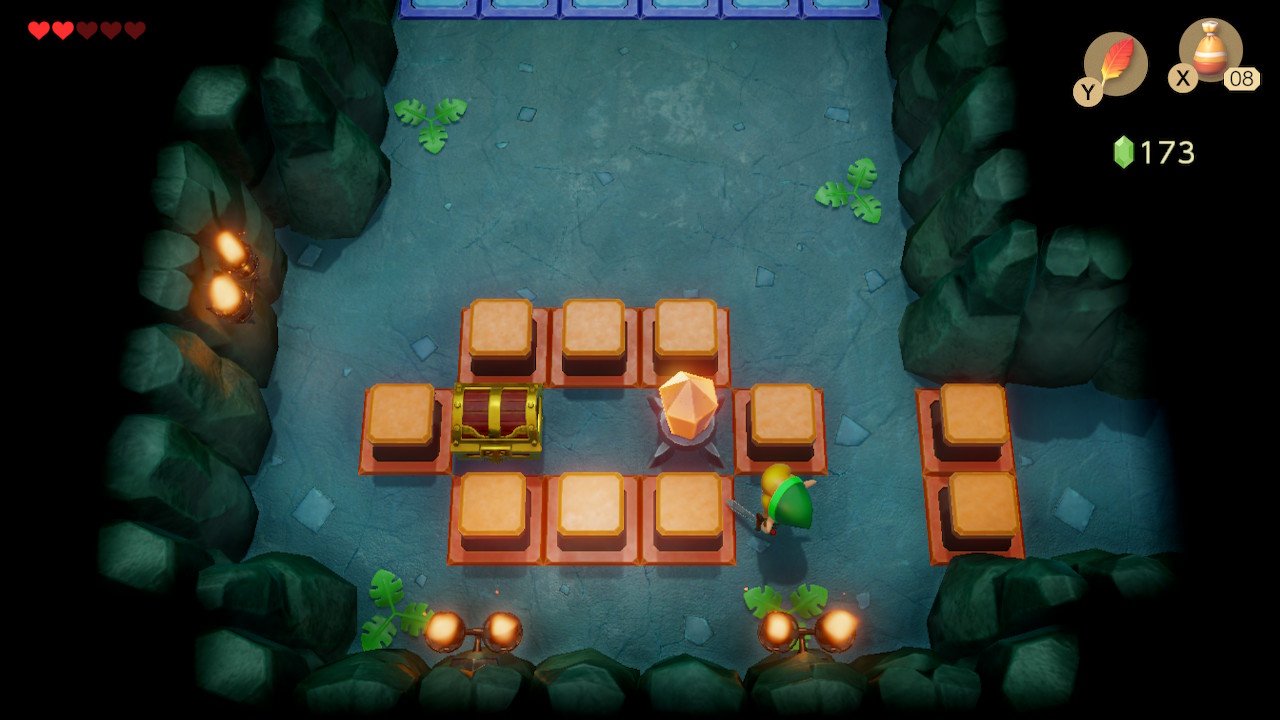
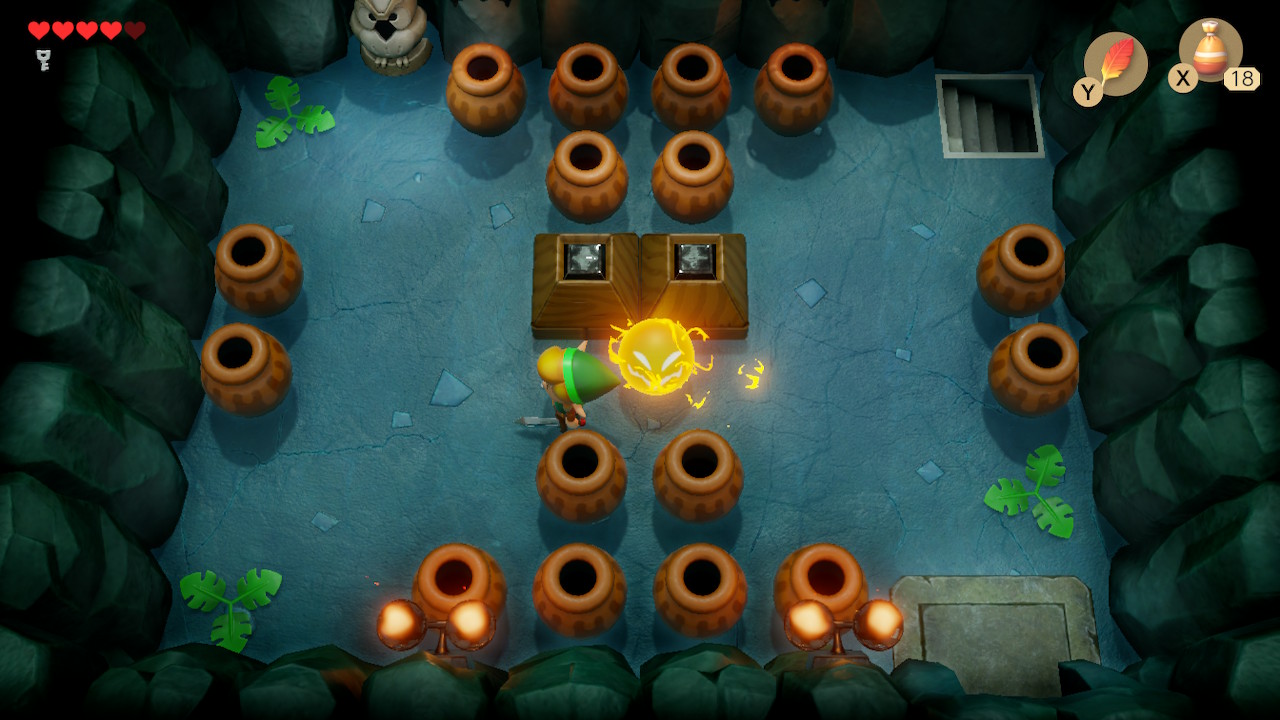
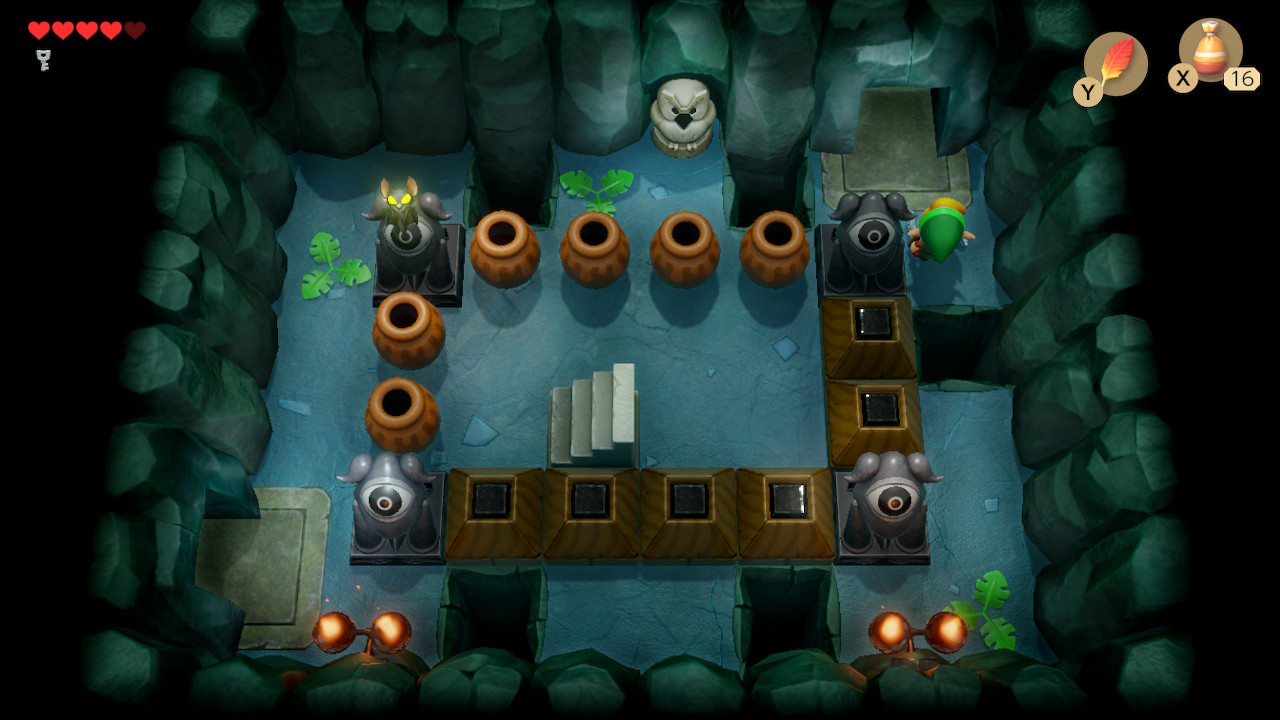
This next room contains three enemies that must be defeated in a certain order. If you take the staircase to another owl statue, a hint will tell you this. First push one of the top blocks down and the other to the left to open up the area where the new enemy called Pols Voice is. Pick up a pot and throw it at it to defeat it. Then defeat the Keese and finally the Stalfos. If you mess up the order leave the room and re-enter to reset. If you do things right, a chest with the Nightmare Key will spawn.
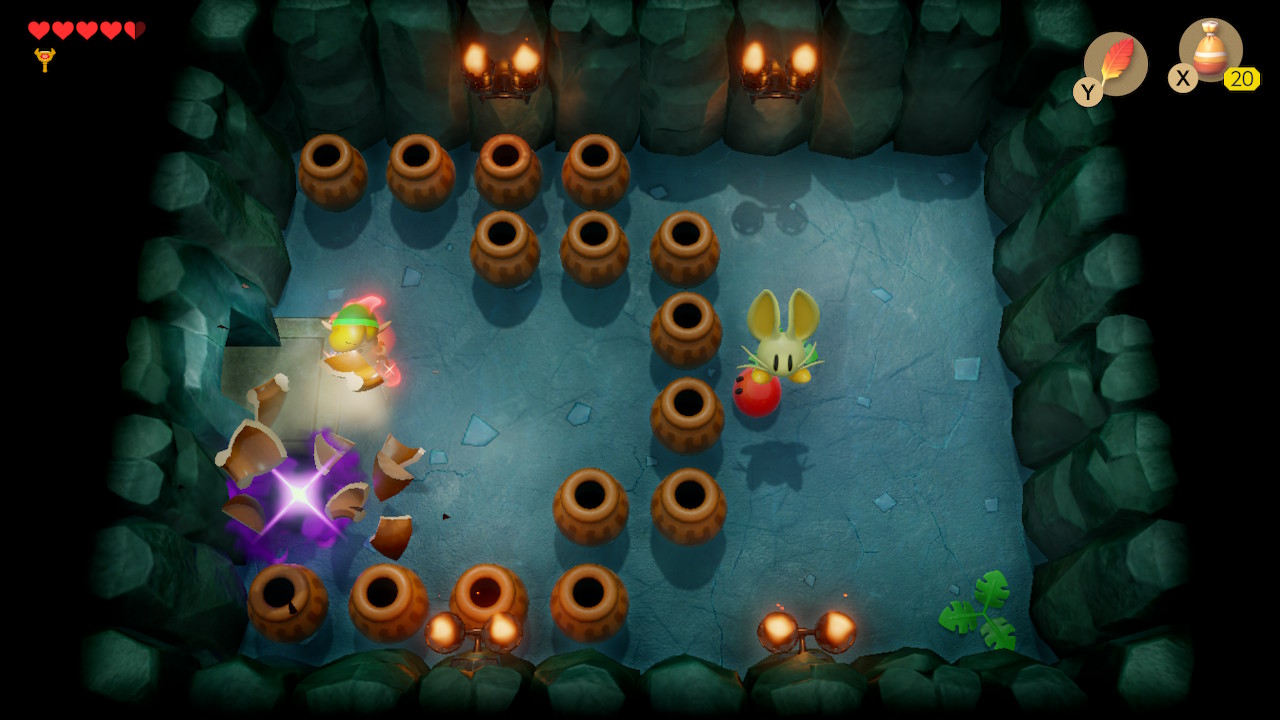
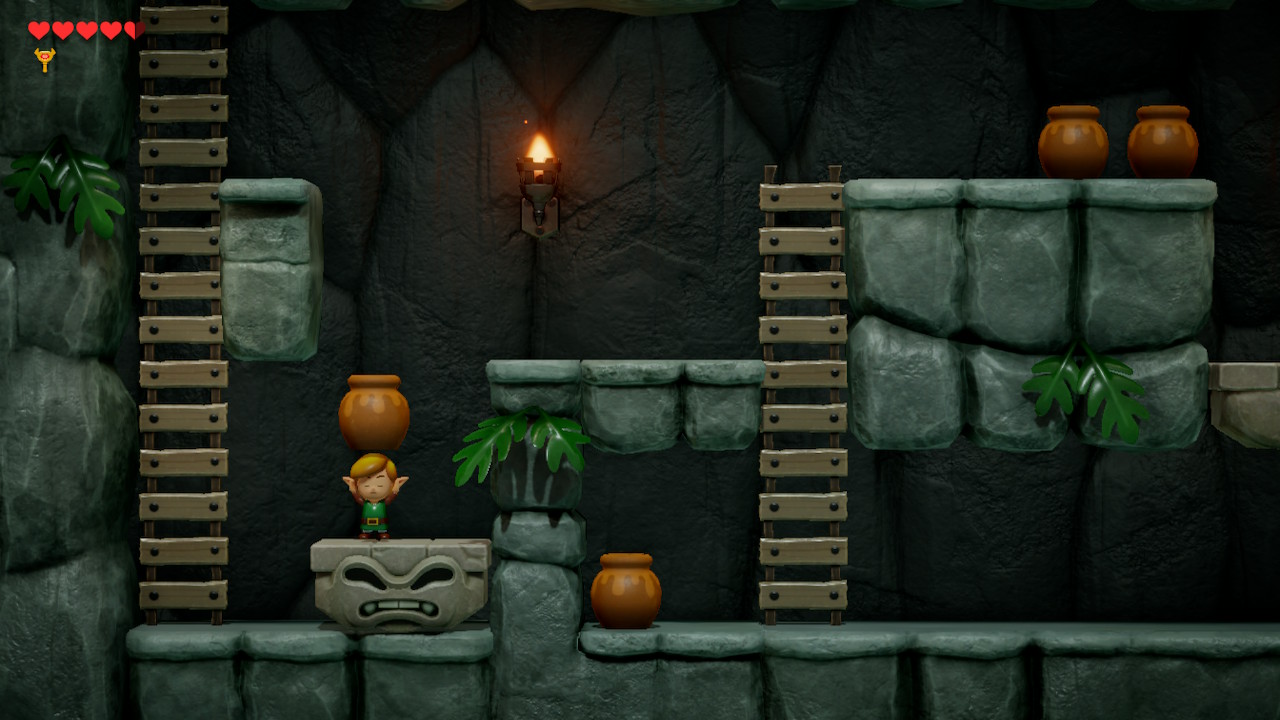
Head up a room, and then use a key on the locked door here. Use the pots to defeat the two Pols Voice in this room and a staircase will appear. You can also find a fairy in one of the pots in this room. Head down the stairs into a 2D basement. Make your way to the left. You'll need to be carrying a pot to make yourself heavy enough to push the left platform down. Head up the ladder.
Genie
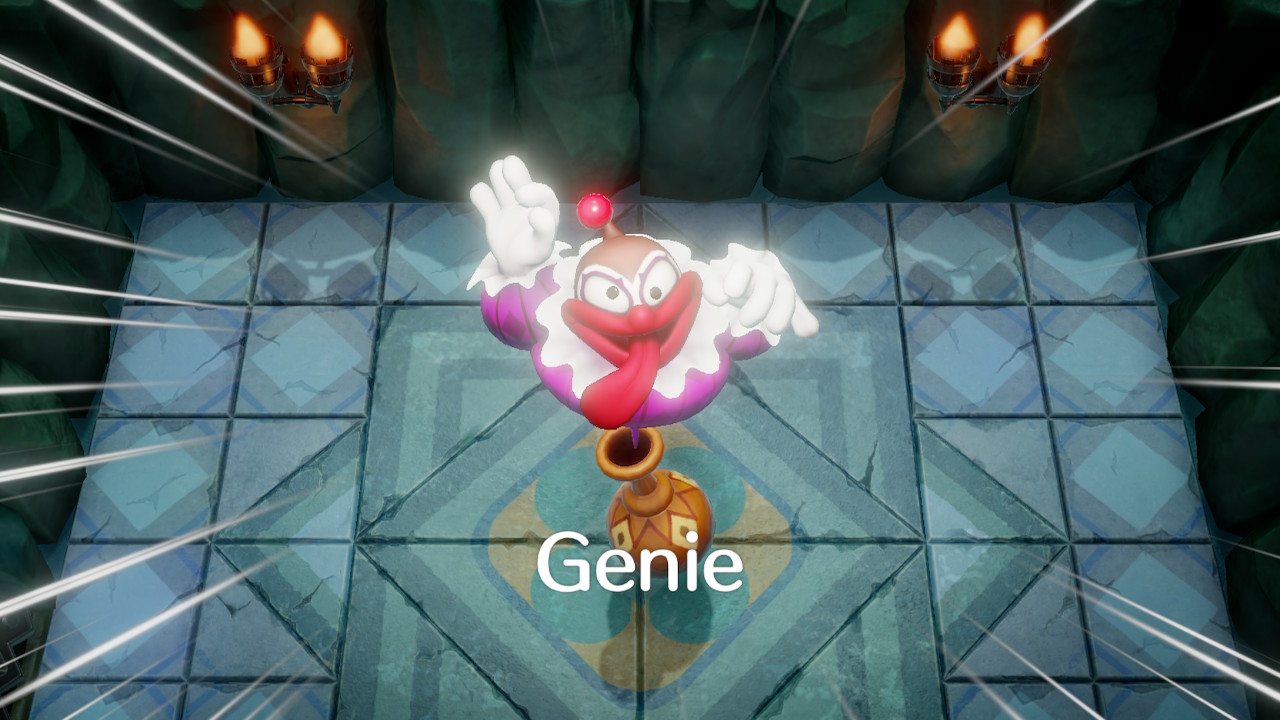
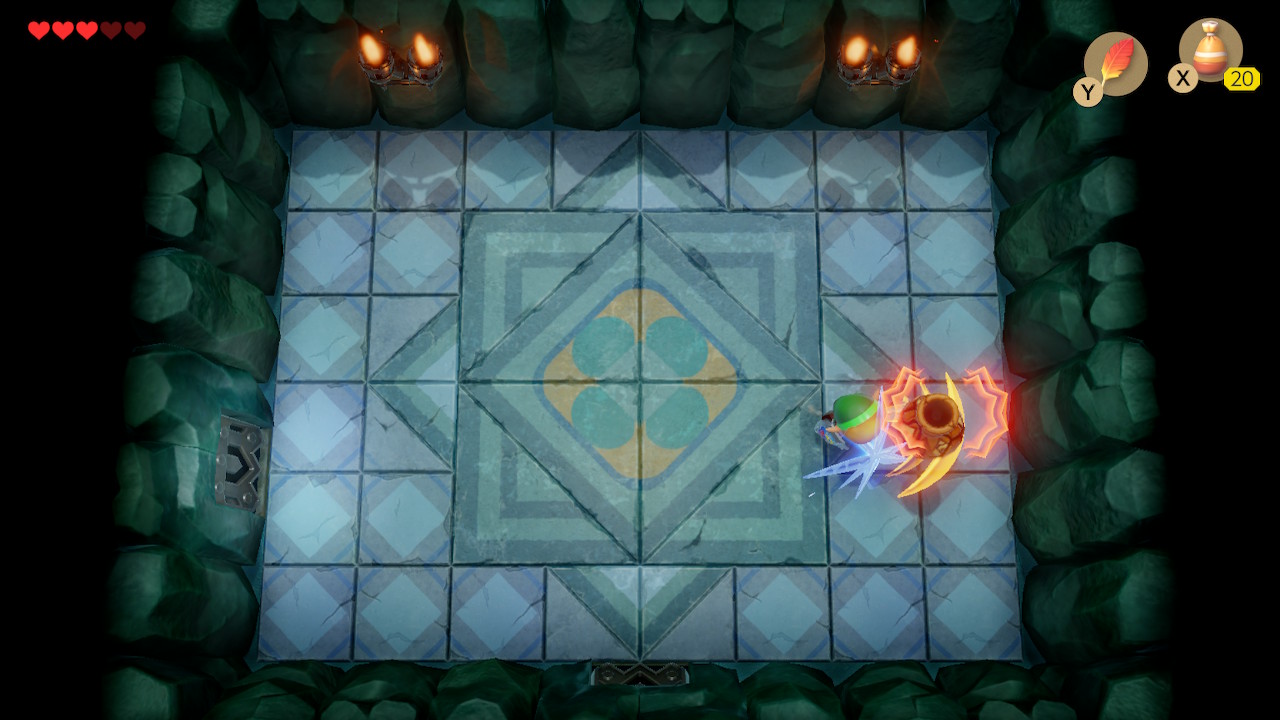
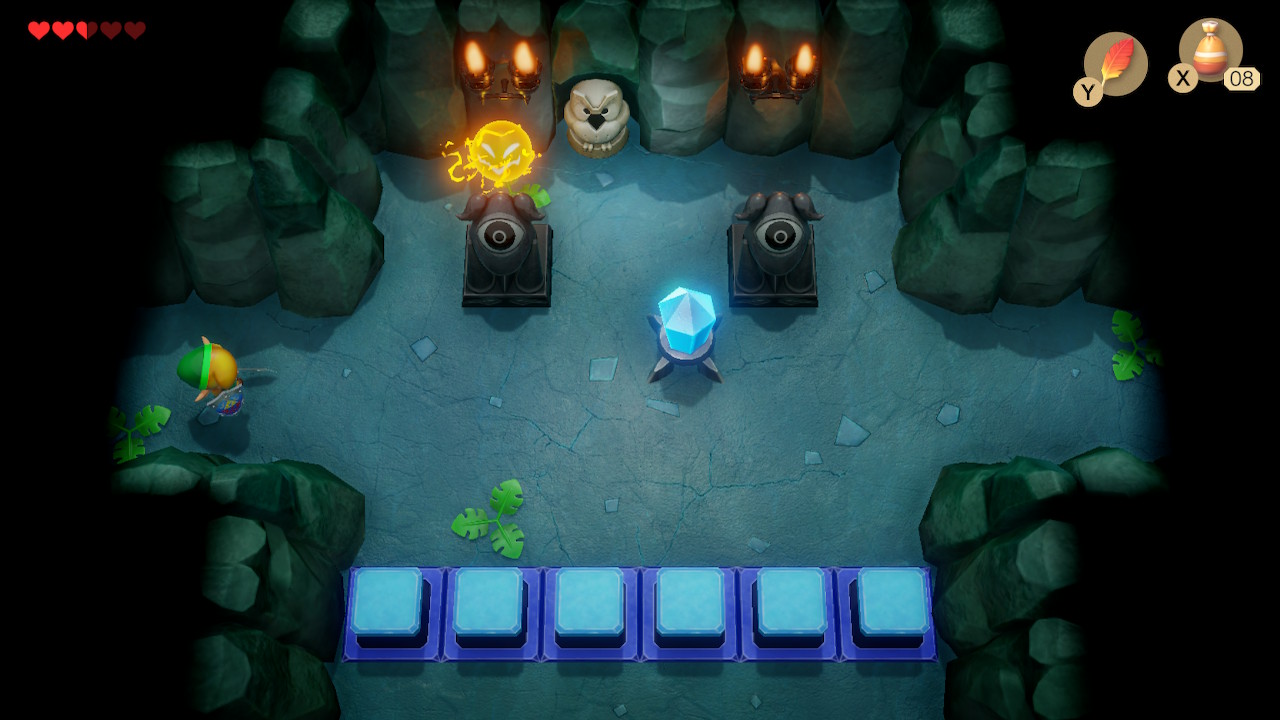
Use your Nightmare Key on the door in the next room to fight the dungeon boss: Genie. He will begin by tossing fireballs at you. You can't hurt him yet, so simply dodge the fireballs. When he retreats to his bottle, slash it once with your sword. You can then pick it up and toss it into the wall. Do this process three times to move on to the next phase.
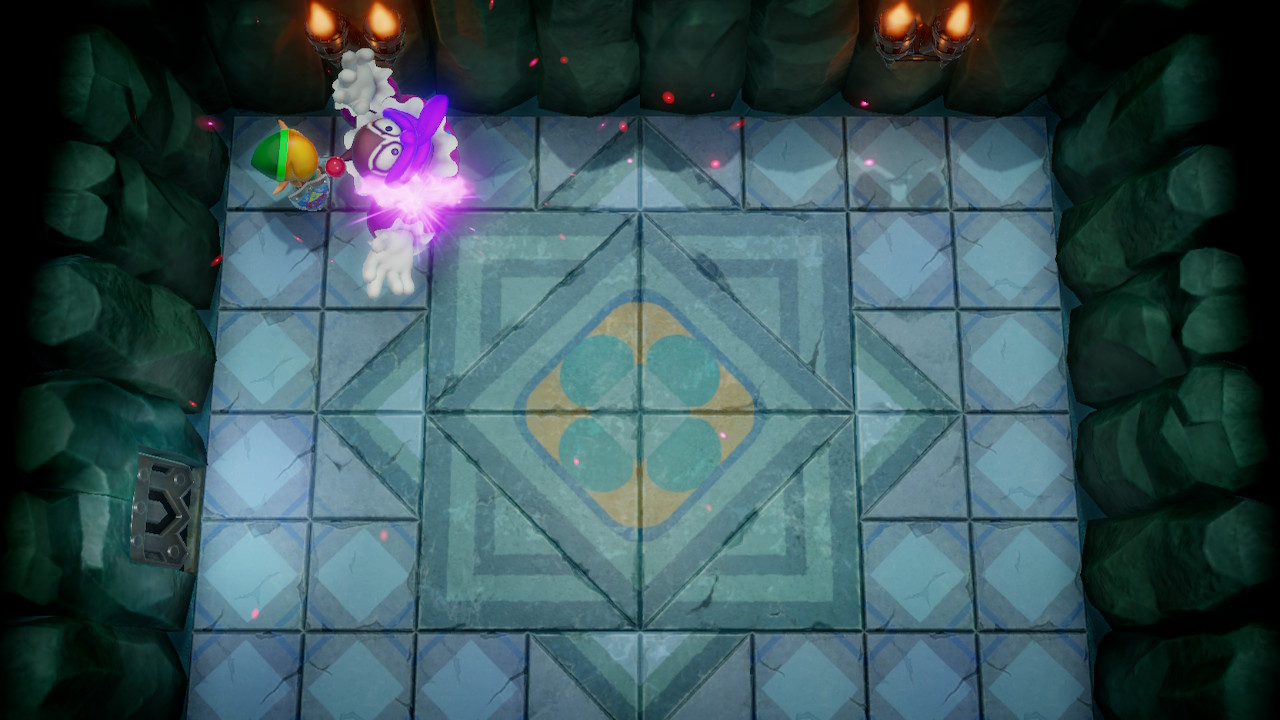
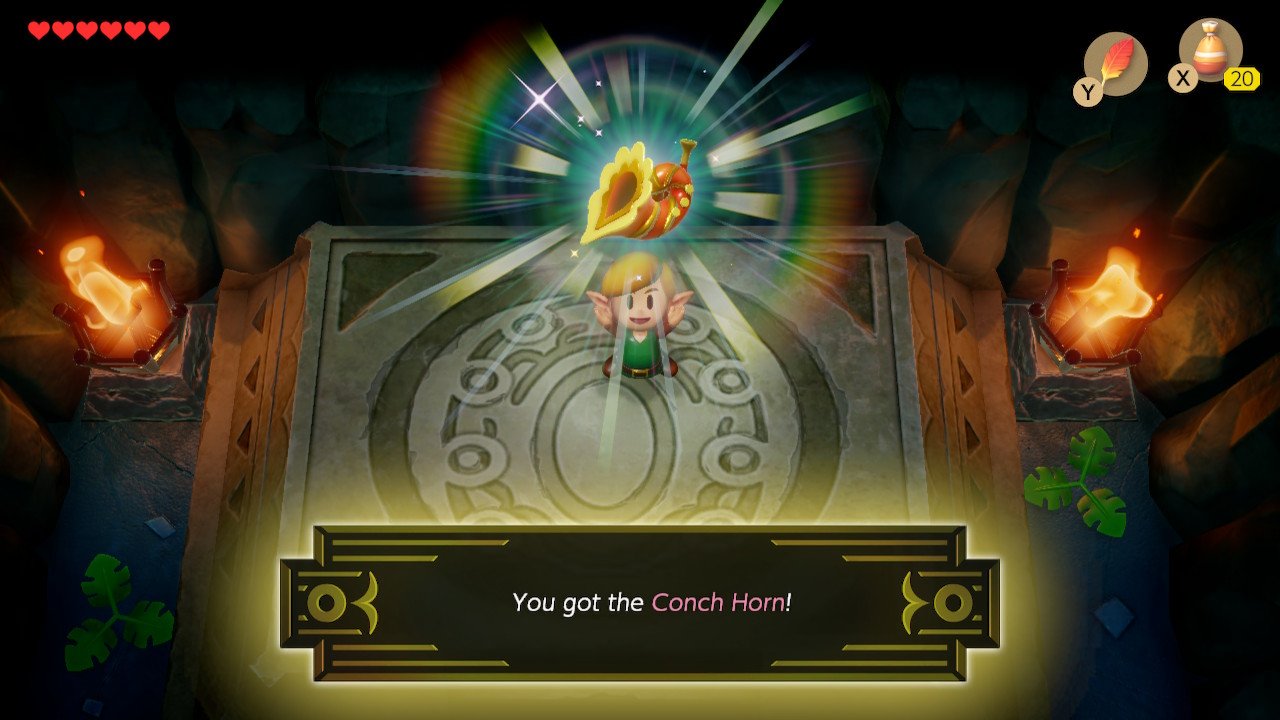
Genie will now spin around the room to confuse you, then continue throwing fireballs. He is now vulnerable to sword slashes after throwing these larger fireballs. Repeat this a few times and Genie will be defeated. He'll leave behind a heart container. Head left into the next room to pick up the next Instrument of Wind: the Conch Horn. As soon as you exit the dungeon, re-enter and lift he pots to get to the treasure chest and pick up 50 rupees.
Back to Tail Cave Continue to Key Cavern
