
Part 9: Wind Fish
Final Heart Container
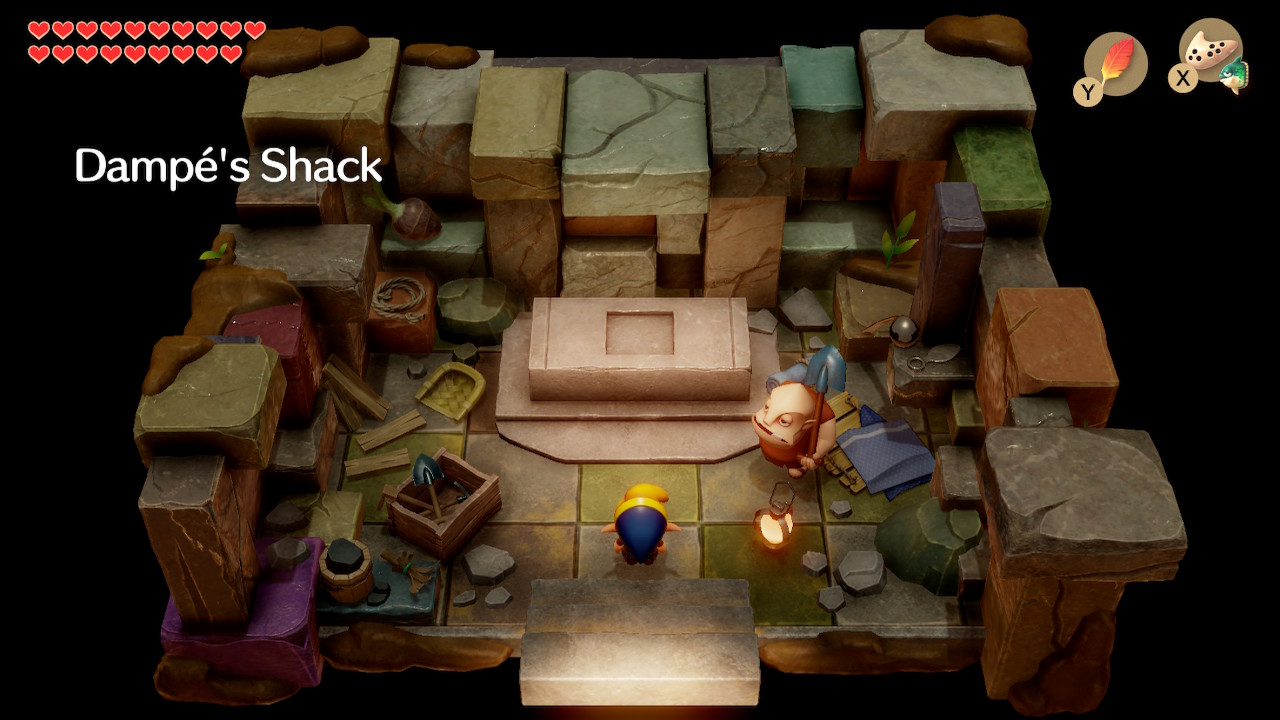
With all eight instruments under our belt, it's time to head for the Wind Fish. Well... almost. You may notice that we've collected every heart piece but we're still missing one container. Let's warp back over to Dampe's Shack and play the Chamber Dungeon one more time to get it.

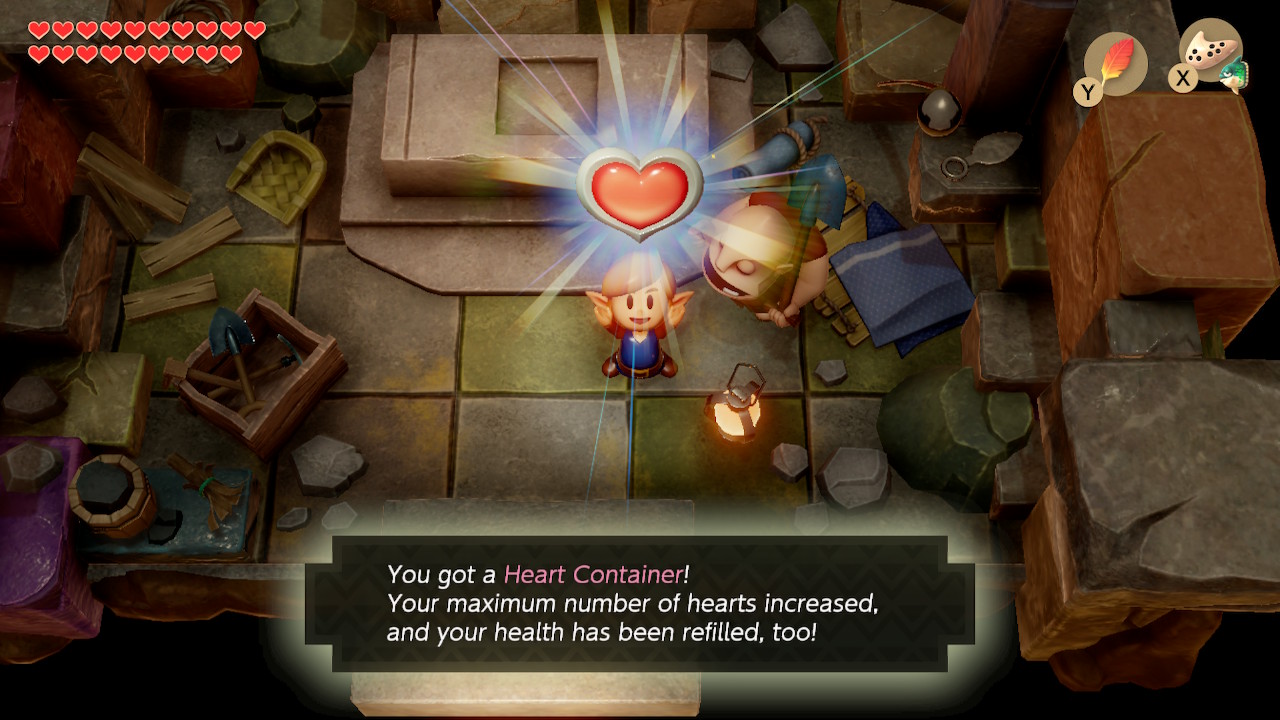
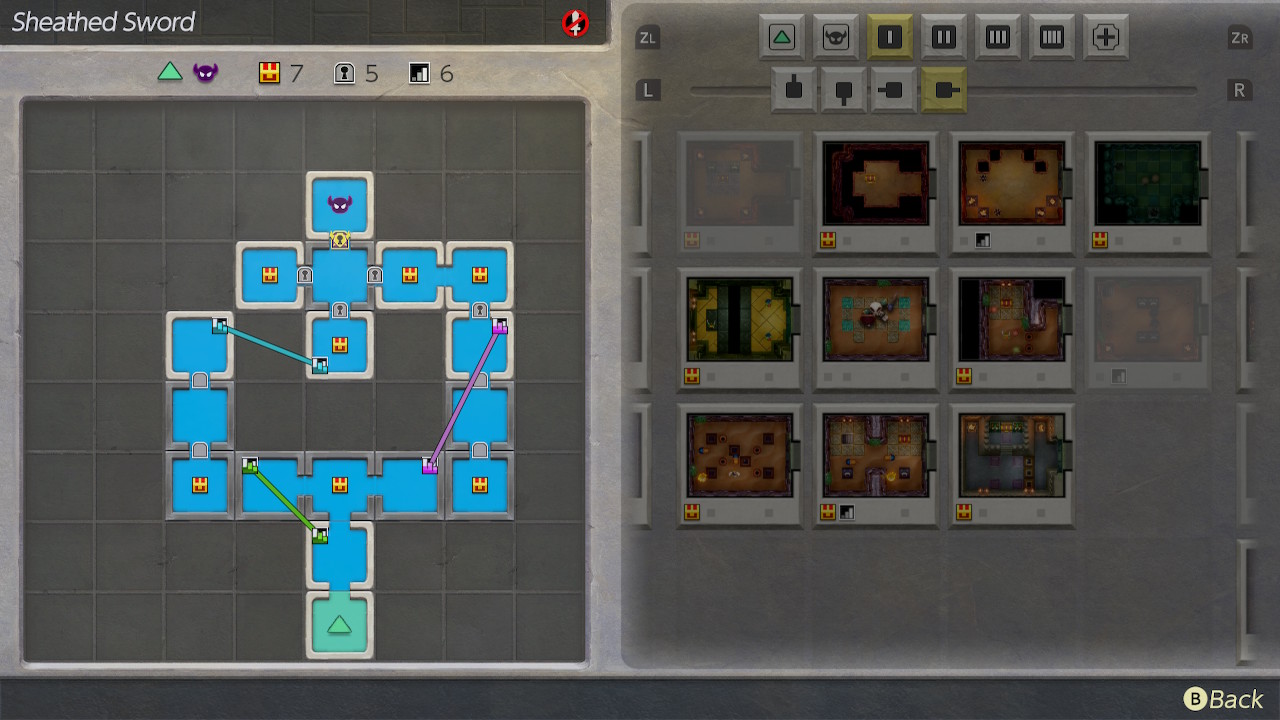
Your task is to now complete all the Three-Shovel difficulty challenges from Dampe. You should have plenty of chambers by now that will make doing this pretty simple. The challenges you need to complete are called 'Stair Decisions', 'Heart Shortage', 'Sheathed Sword', and 'Ticking Clock'. After completing all four, you'll be rewarded with a full Heart Container. Dampe will also open up many new challenges in the Gold Shovel difficulty. You can complete these if you wish, but the only reward for doing so is rupees.
Wind Fish's Egg
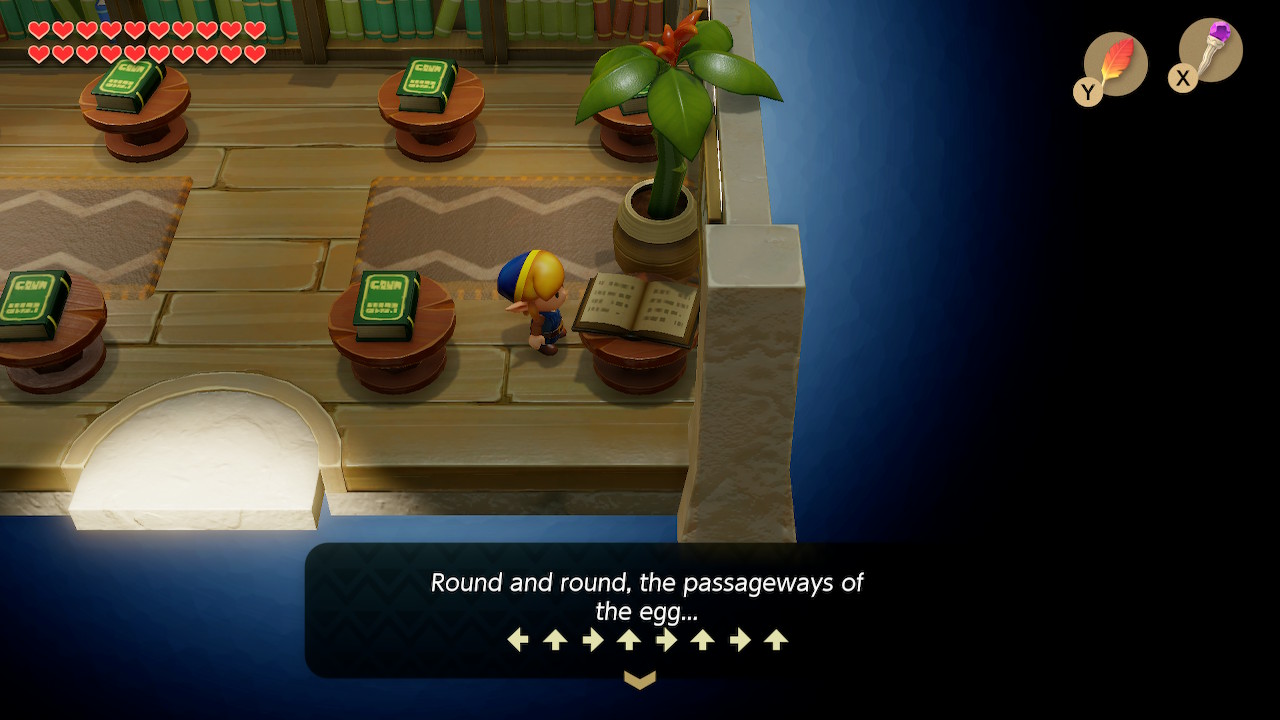
Head to Mabe Village one final time. Our destination is the library on the southwest side of town. There is a dark colored book in the bottom-right corner of the library. Read it to find some directions on how to navigate the passagewaays of the egg. This is random from game to game, so you'll need to take a screenshot or write down the directions.
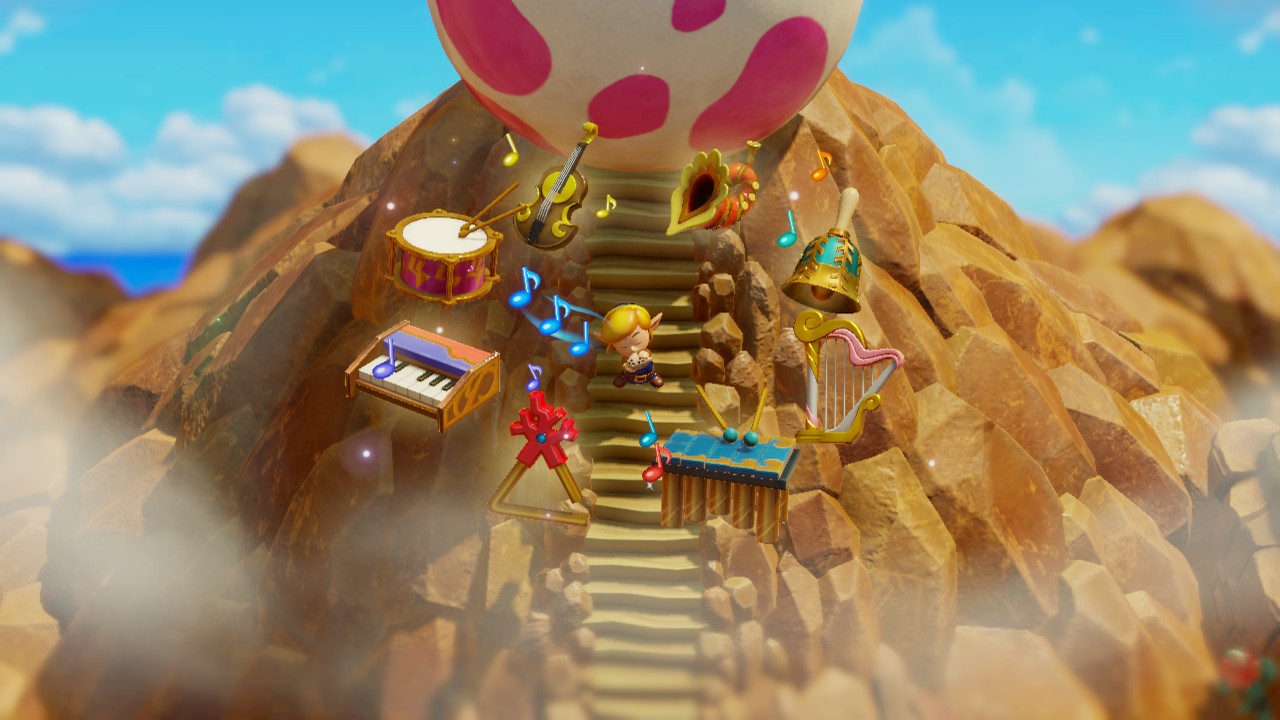
We are now ready to head to the Wind Fish's Egg. The quickest way to do so is to warp to Dampe's Shasck. From here, head north and take the longer left ladder up to Mt. Tamaranch. You'll quickly run into the egg, it's kind of hard to miss. Once up on the mountain, play 'Ballad of the Wind Fish' on your ocarina. A cutscene will play as the egg breaks open. Enter it.
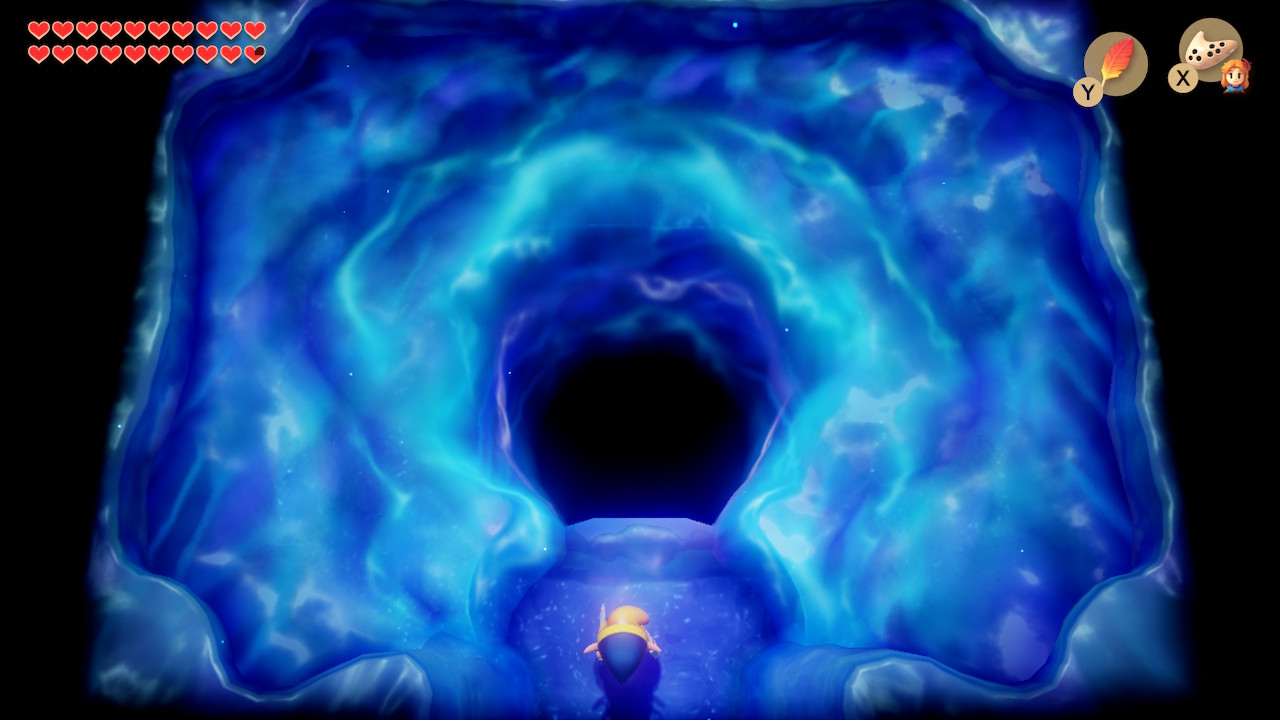
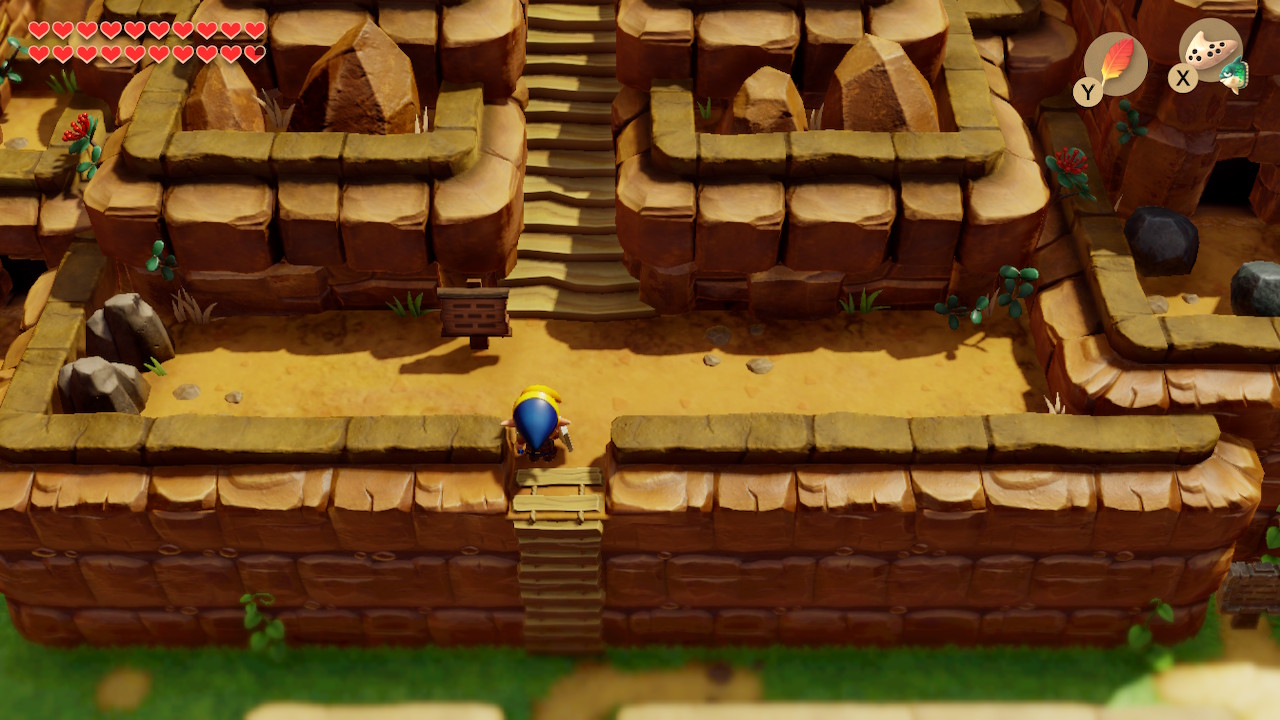
Inside the Egg, head into the next room and take a leap of faith into the abyss. Walk forward a room and you'll find yourself in a maze of sorts. Luckily, if you read the book in the library, you know the path you need to follow. Simply follow the path in your book. Jump down into the pit to face the final boss of the game.
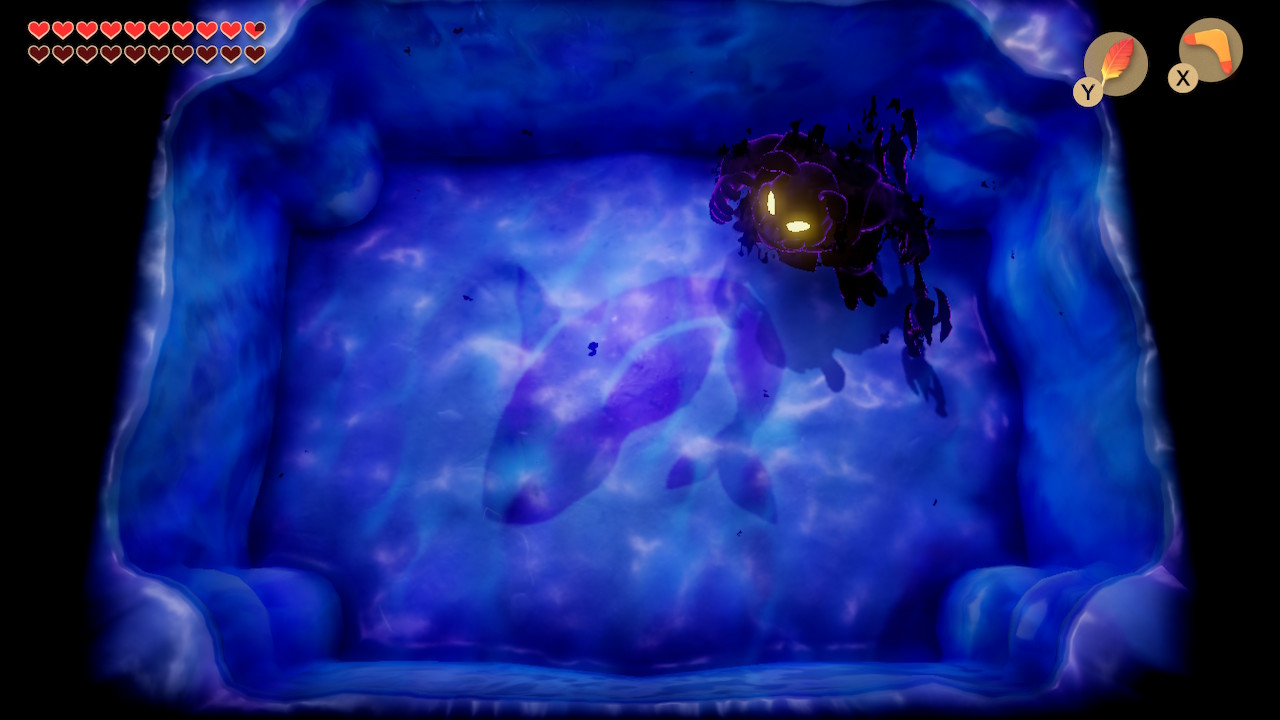
Nightmare
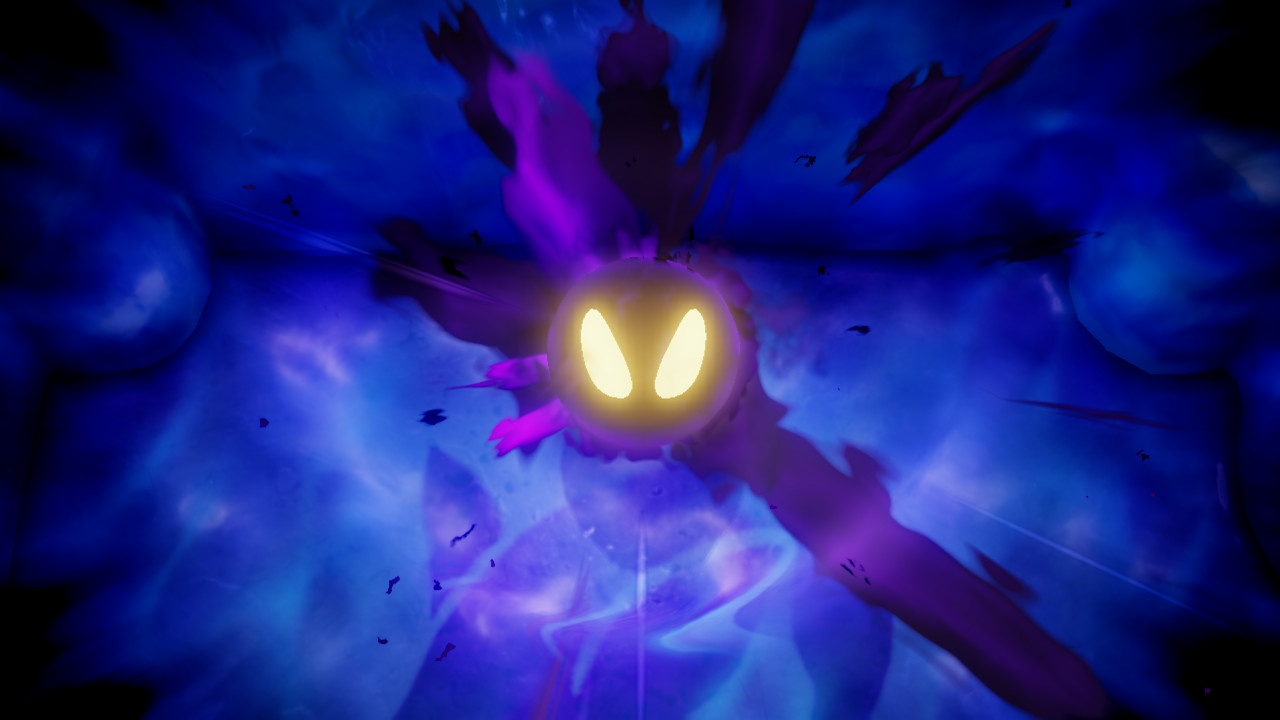
The final Nightmare has a toal of six forms. The first is Giant Blob form. The only way to damage it is with Magic Powder. Use it three times on Giant Blob and it will switch forms to Agahnim’s Shadow. This is a familiar boss form to Zelda veterans. To defeat it, swing your sword at the energy balls that he shoots your way to reflect them at him. Watch out for the non-ball projectiles, as they can't be reflected.
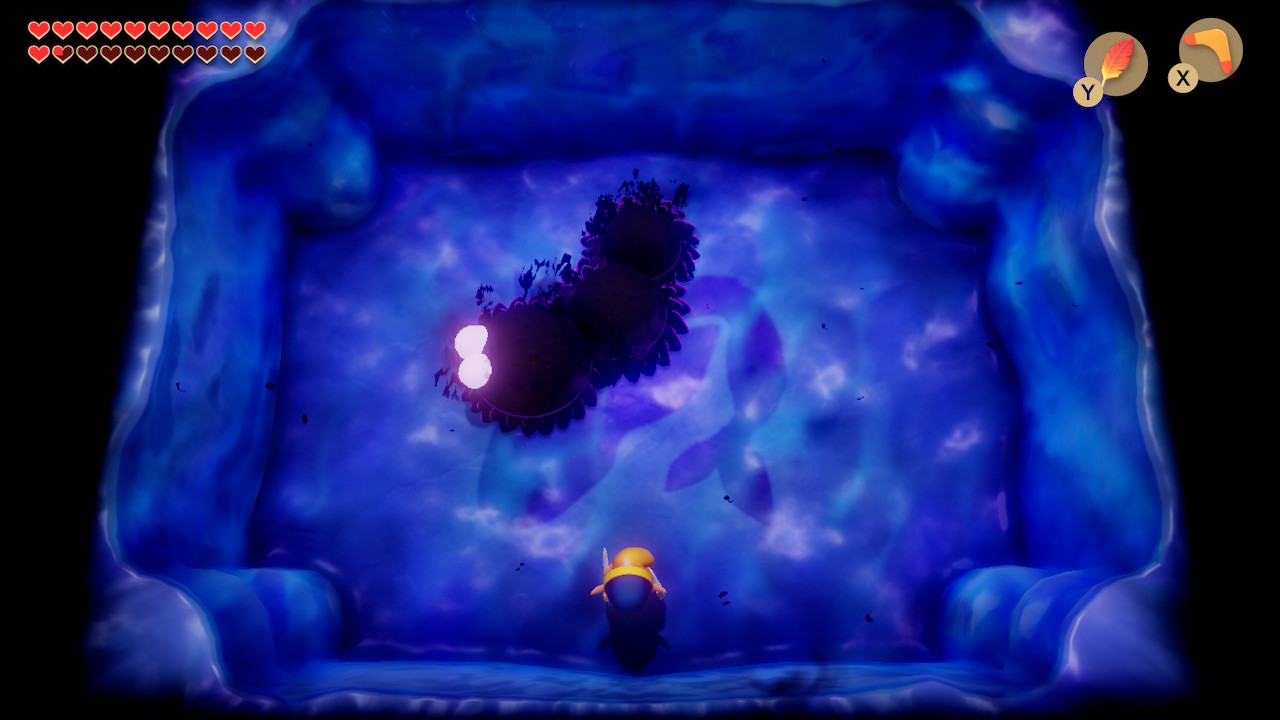
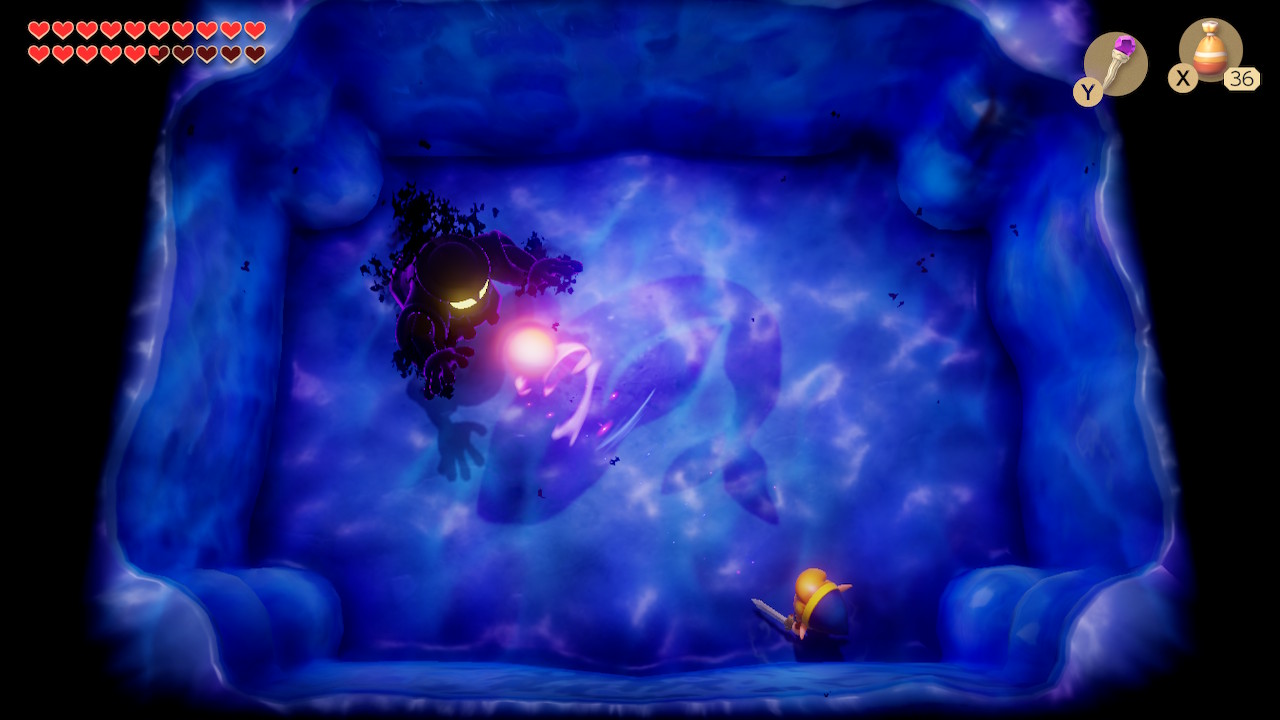
The third form is Moldorm's Shadow. Just like the normal form of Moldorm, you'll simply need to slash at his tail with your sword. This version is a bit quicker, but just as simple to take out. The fourth form is Ganon's Shadow. You'll need to dodge the bats he sends your way. Wait until he throws his trident at you then dash into him with the pegasus boots. This form can be defeated in one cycle if you're quick.

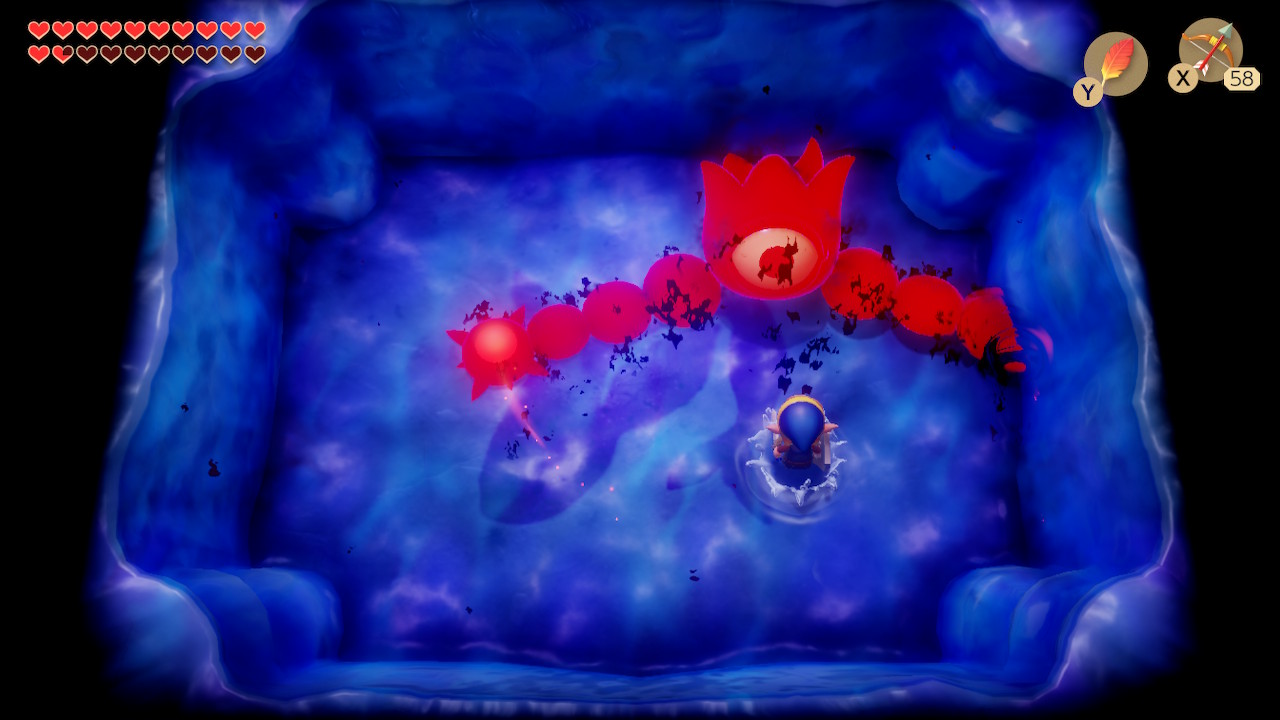
The fifth form is Lanmola's Shadow. It's a worm like form that moves quickly and will follow you around. This one is very easy to take out with a few spin attacks. The final form is Dethl. The key here is to attack the eye with arrows or your boomerang when it opens. Jump up with Roc's Feather to dodge his arms and shoot his eye. It'll take several arrows, but shouldn't be too challenging.
Credits
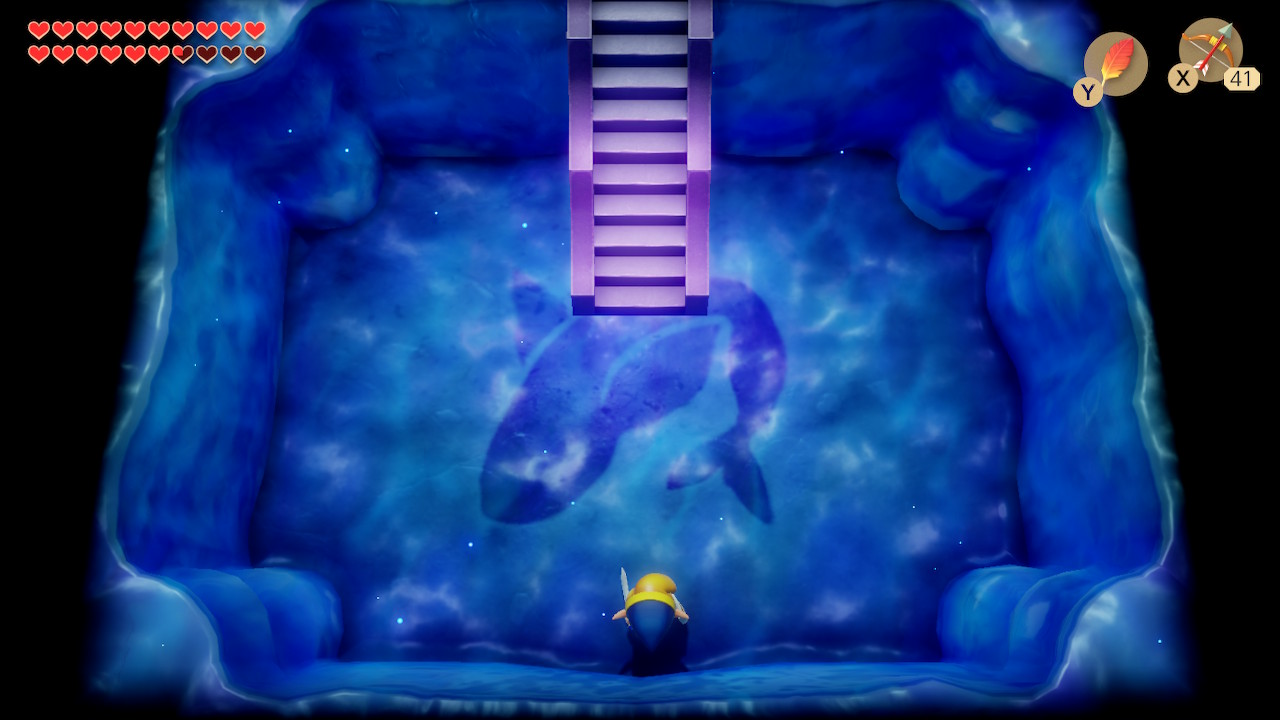
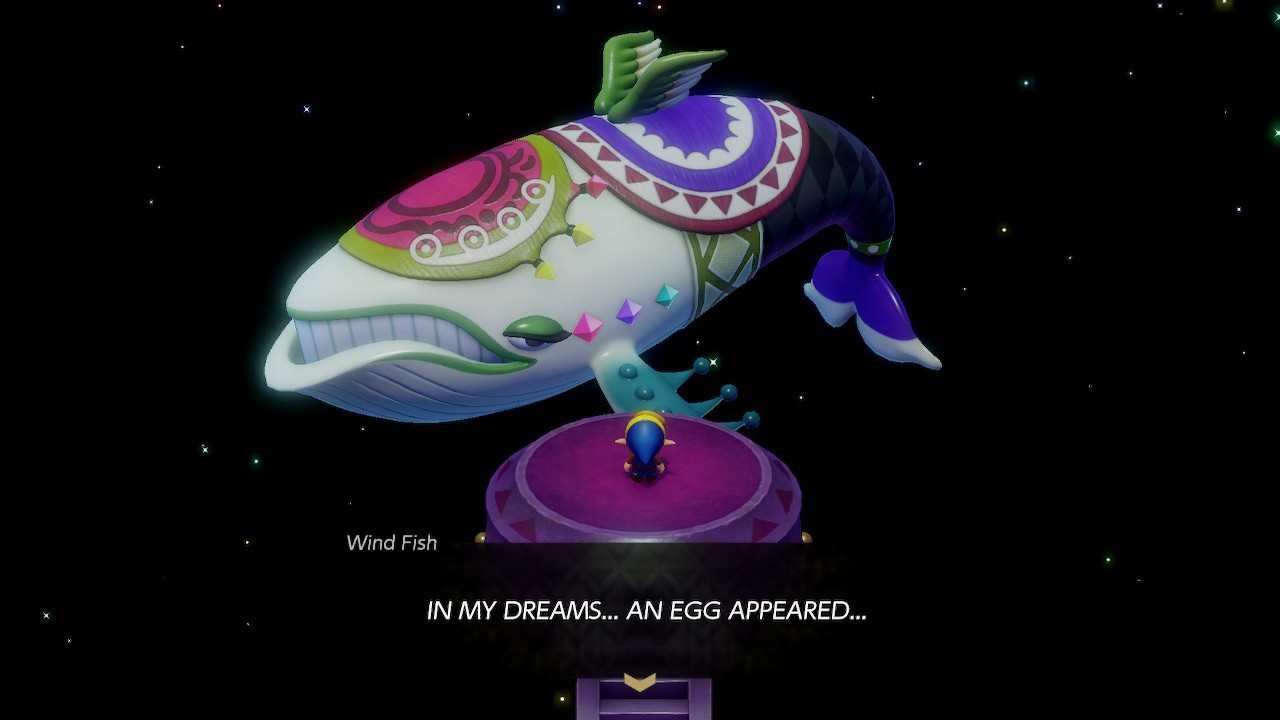
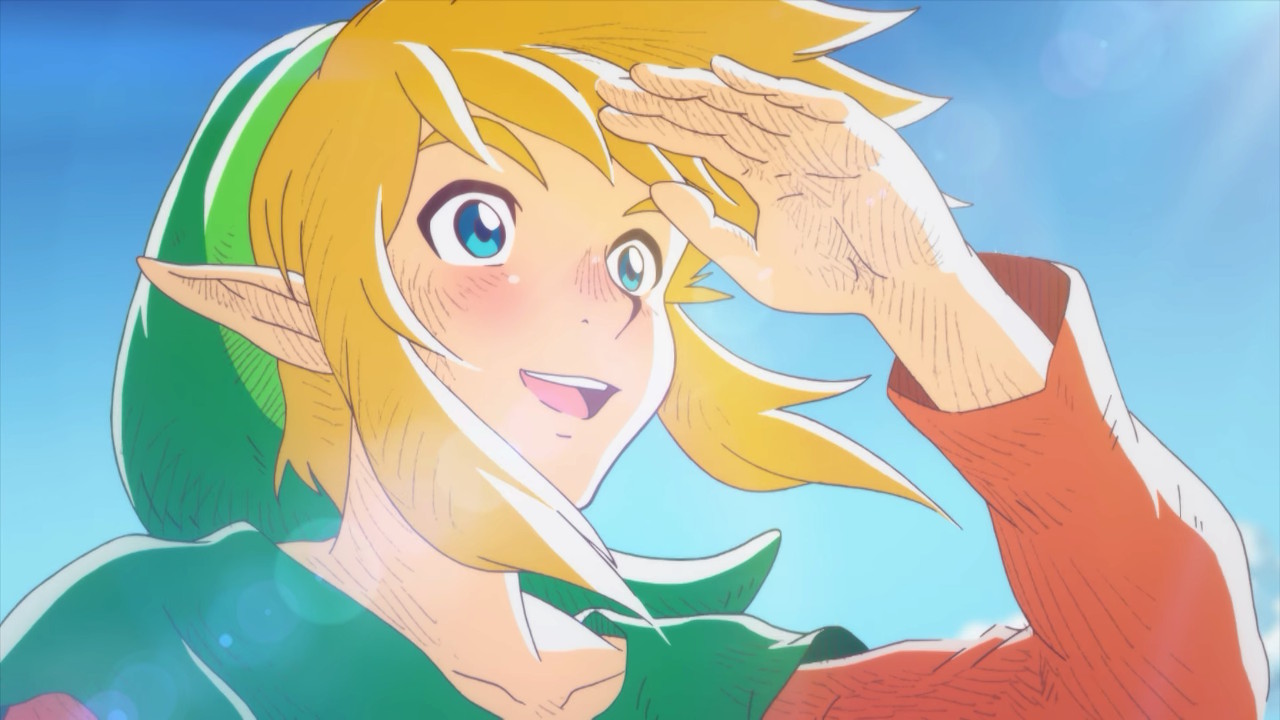
After defeating Nightmare's final form, simply head up the stairs before you. Congratulations on 100% completing Link's Awakening for Switch! The only thing left to do is watch as the Wind Fish awakens and the credits roll...
Back to Turtle Rock
