
Part 11: Lanayru Sand Sea
How to Travel To and Through Lanayru Sand Sea and Find the Sandship
Silent Realm
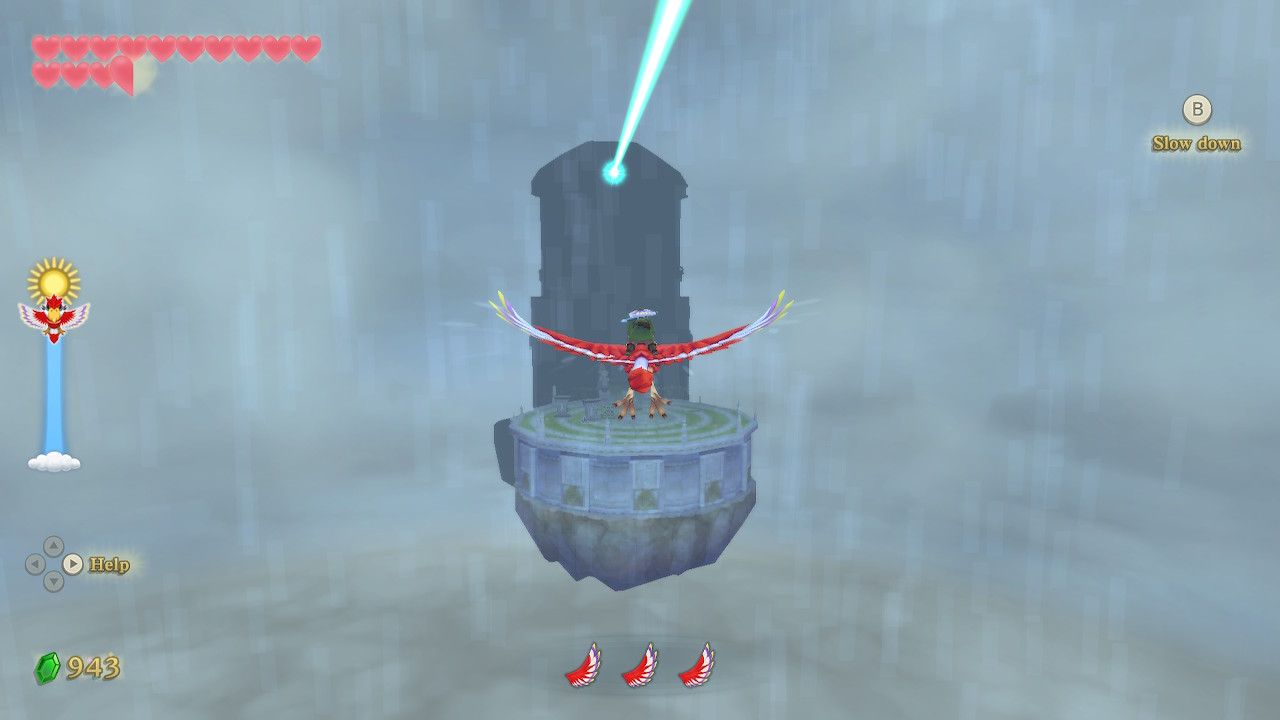
After completing the Ancient Cistern, it's time to take to the sky and head back into the Thunderhead and to the Isle of Songs. Land on the platform of the island and crawl through the small opening into the building. Deliver a Skyward Strike to the emblem once again. You will learn a new harp song, Nayru's Wisdom.


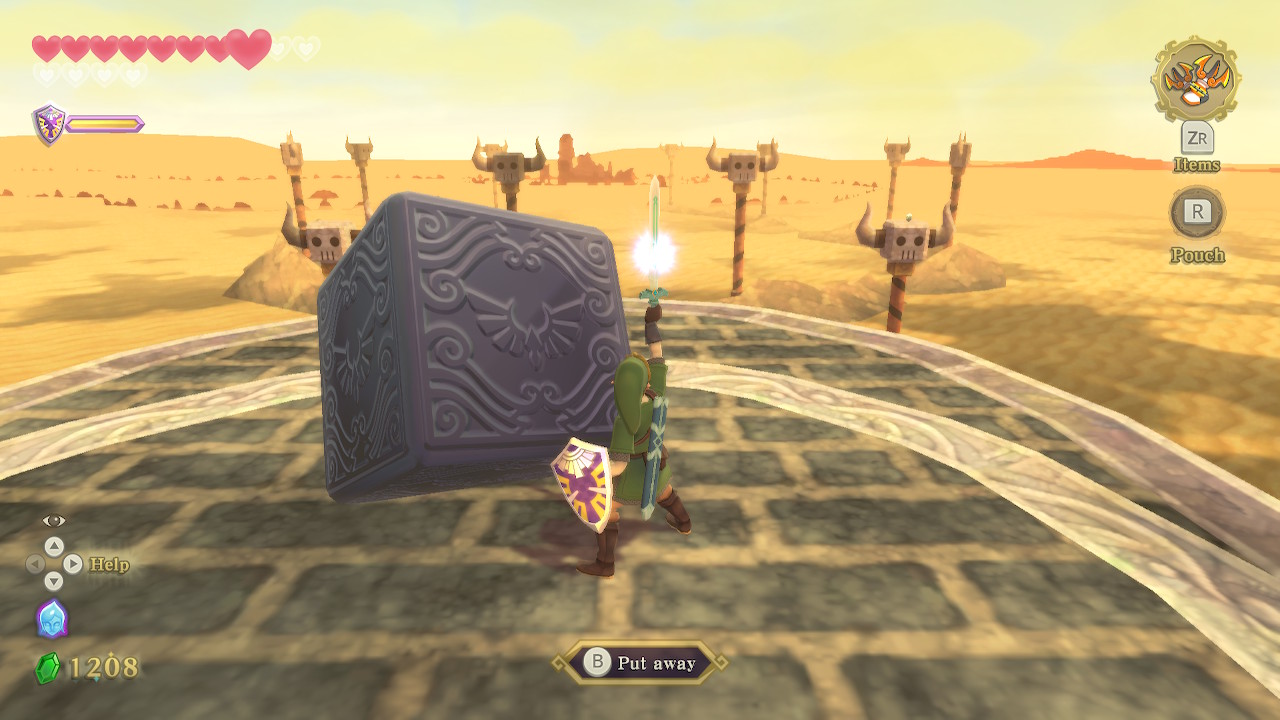
We are now ready to head straight to Lanayru Desert. Fly on over to the yellow beam in the sky and land at the North Desert bird statue. Just to the north of the statue, you'll see some butterflies flying around in the sand. Play your harp here and then stick your sword in the ground to start the Lanayru Desert Silent Realm trial.
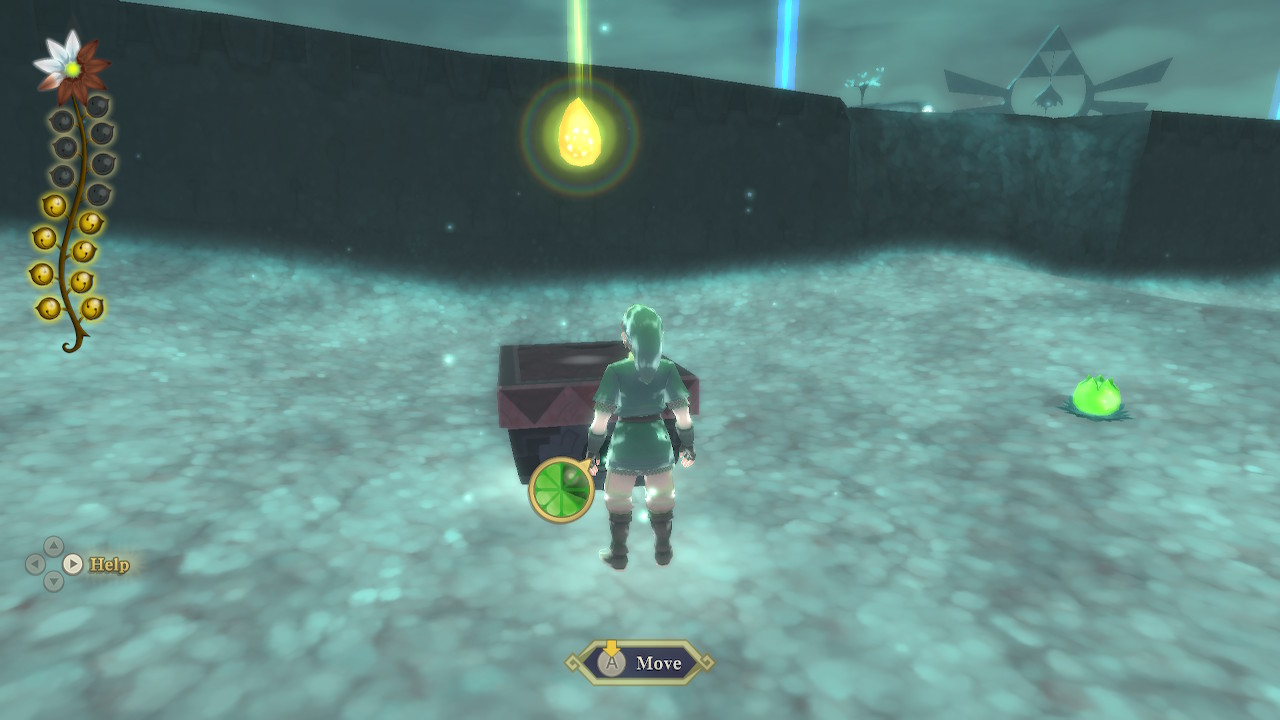
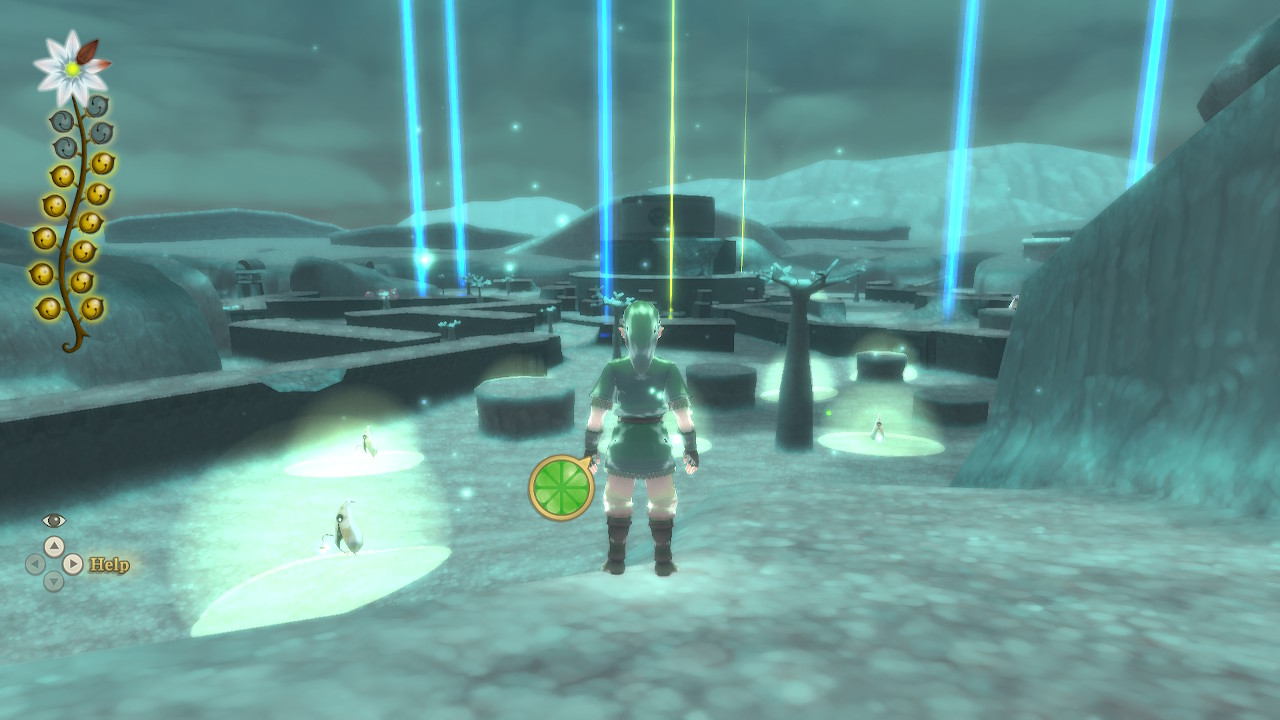
This Silent Realm works the same way that the previous one did. You are given a Spirit Vessel that you must fill with 15 Tears of Nayru. You must avoid being touched by Guardians at any point, or the trial will start over. The Watchers (the guys with the lanterns) will alert Guardians to you if you get close to them. Each tear you collect will give you a 90-second window before the Guardians approach you aggressively. And, you can collect Light Fruit that will reveal the location of all remaining tears.
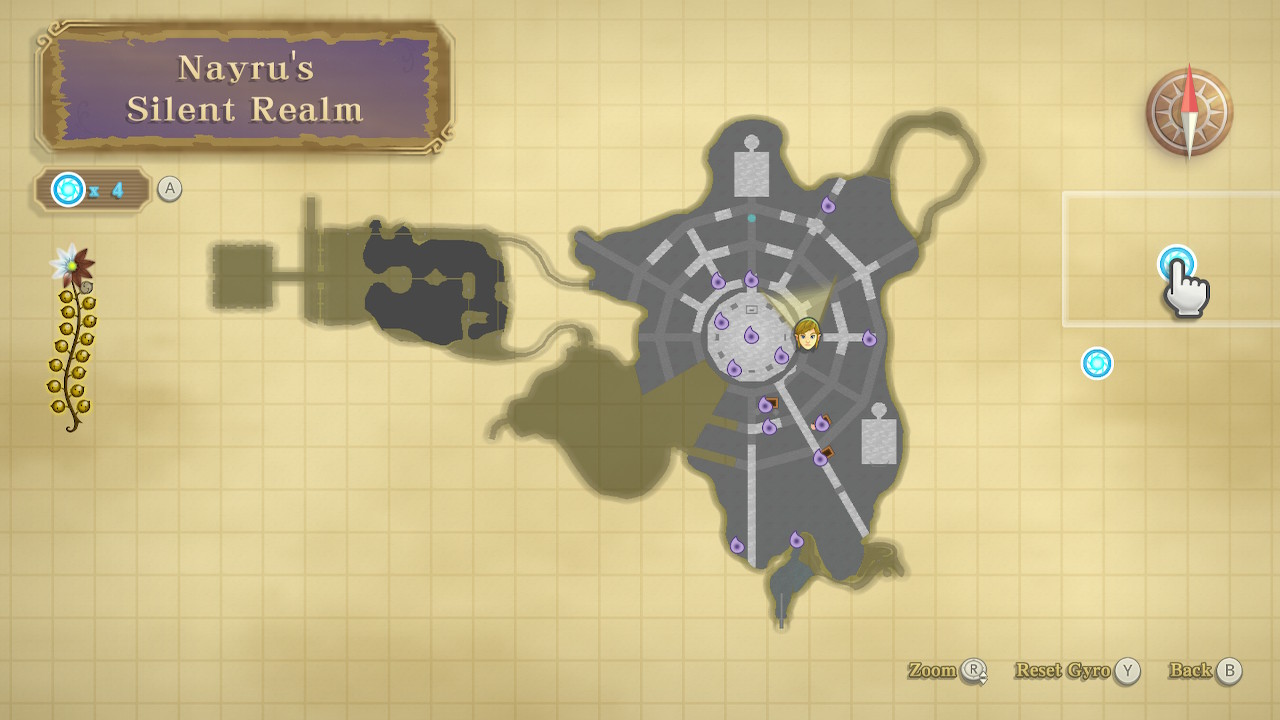
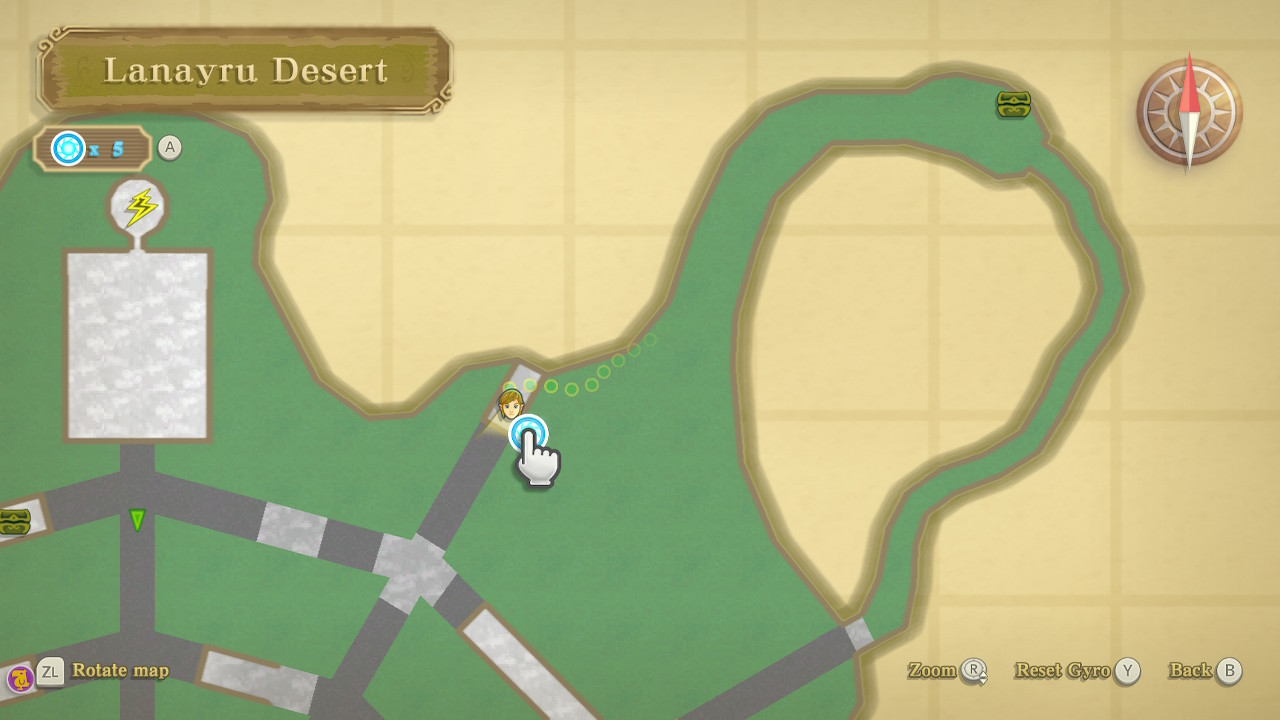
The tricky part about this Silent Realm is that the quicksand covers a large portion of this area. As such, you'll want to keep a careful eye on the safe zones on your map and use markers as needed. The Light Fruit makes it pretty easy to see each location in this open area, and you can also use our map marked with all the locations. You also want to make sure to pick up any Dusk Relics that you see, as they can only be found in Silent Realms.
If you're having trouble, you can also view our video guide to this Silent Realm below.
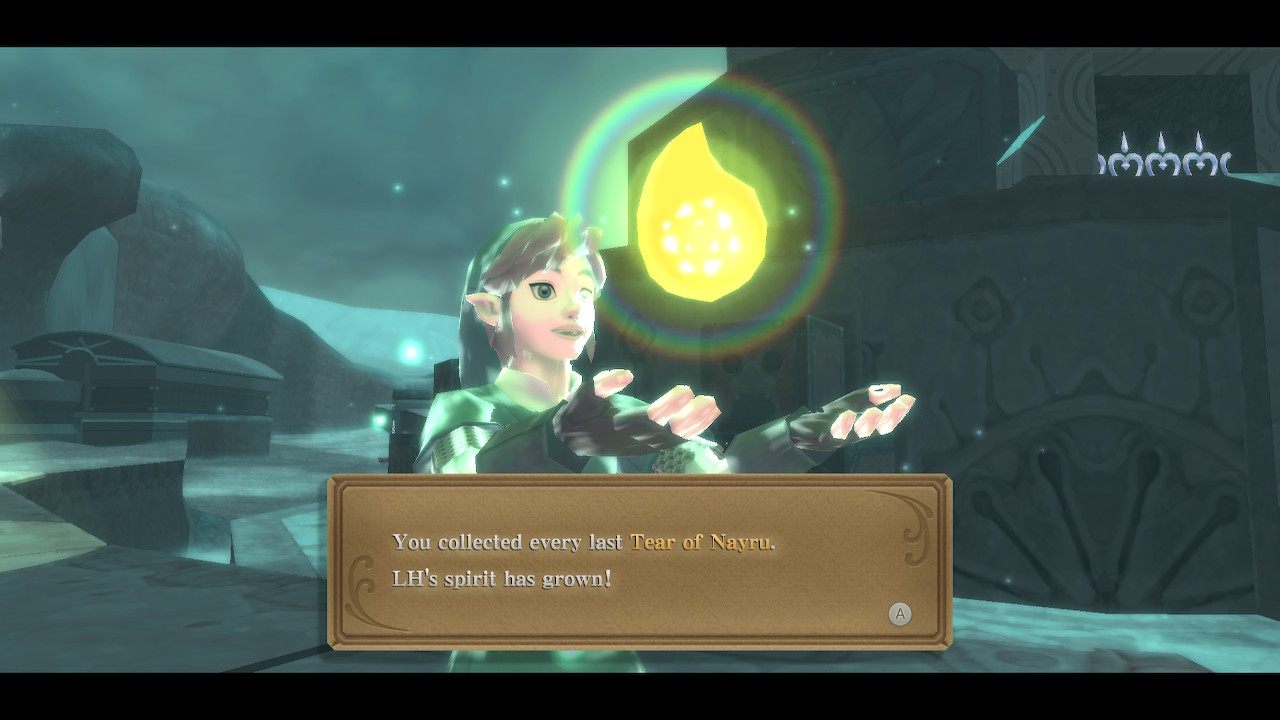
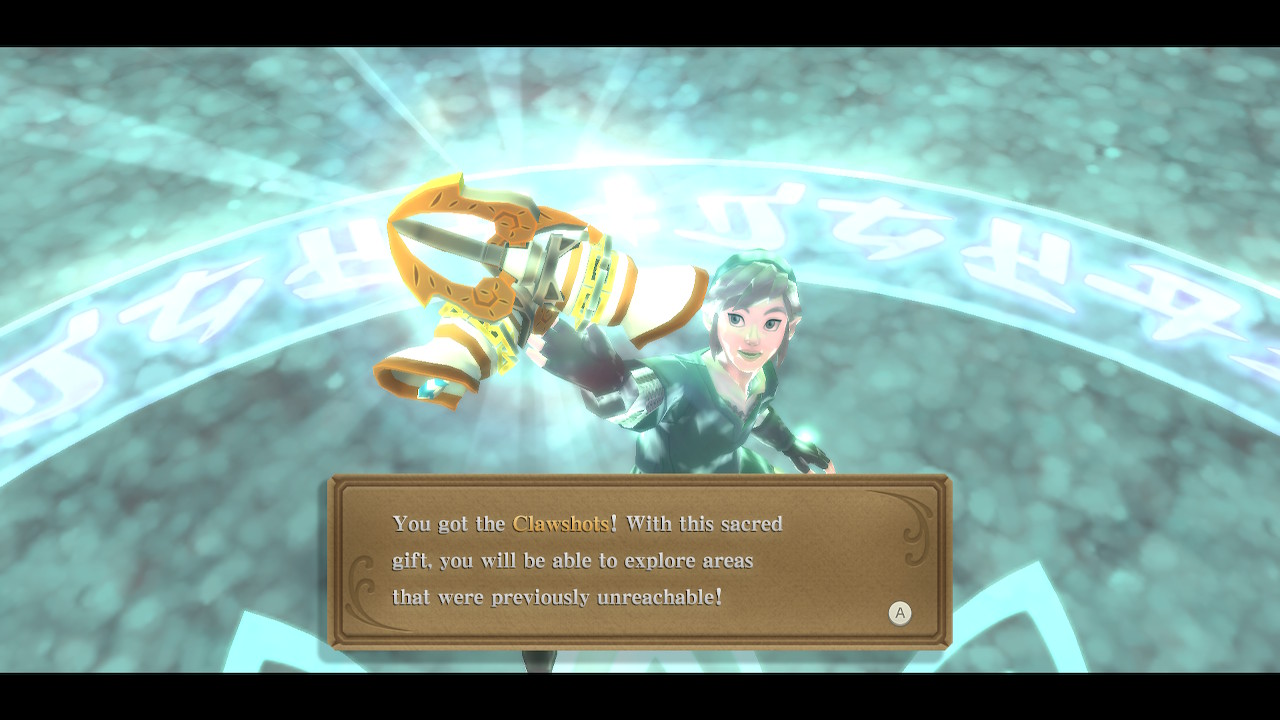
Once you have collected all 15 Tears of Nayru, return to the start of the trial. The reward for completing this trial is the Clawshots. This is a very familiar weapon for the Zelda series, but in Skyward Sword, you get a clawshot for each hand. There are many goodies that we can collect now that we have them, and we will do so at the end of the chapter. But we'll pick up a few from the desert while we are here.
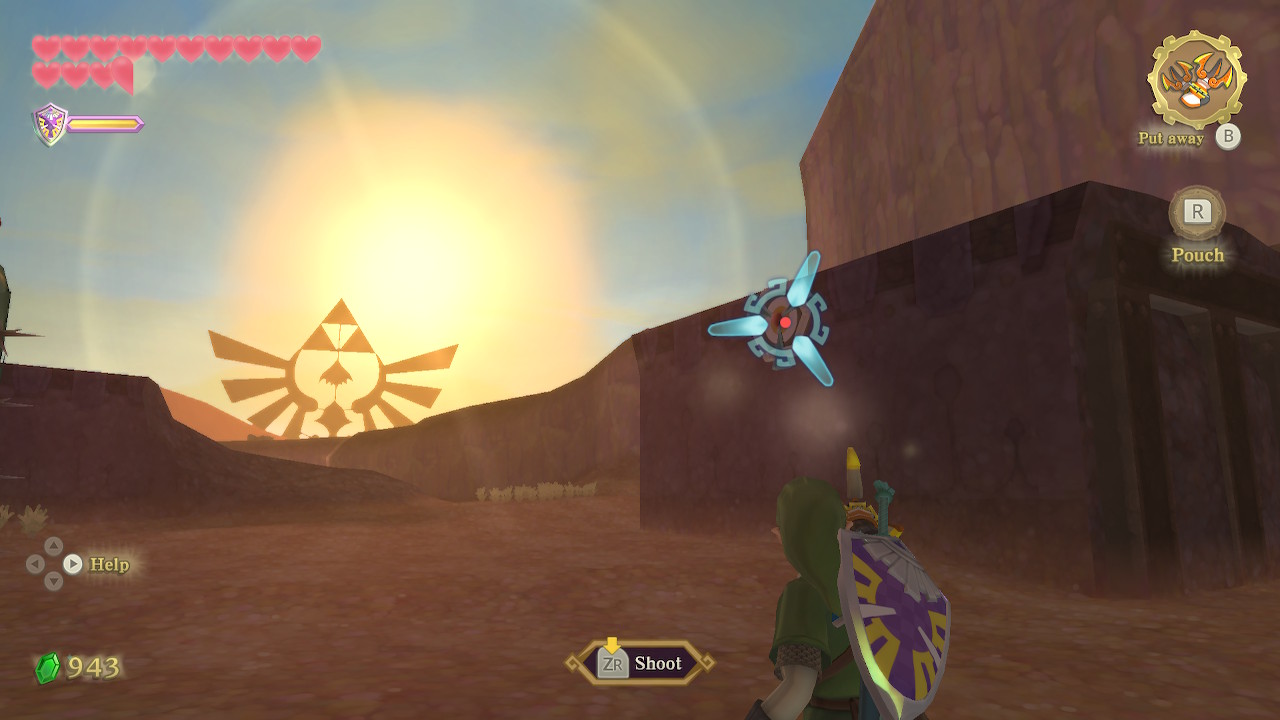
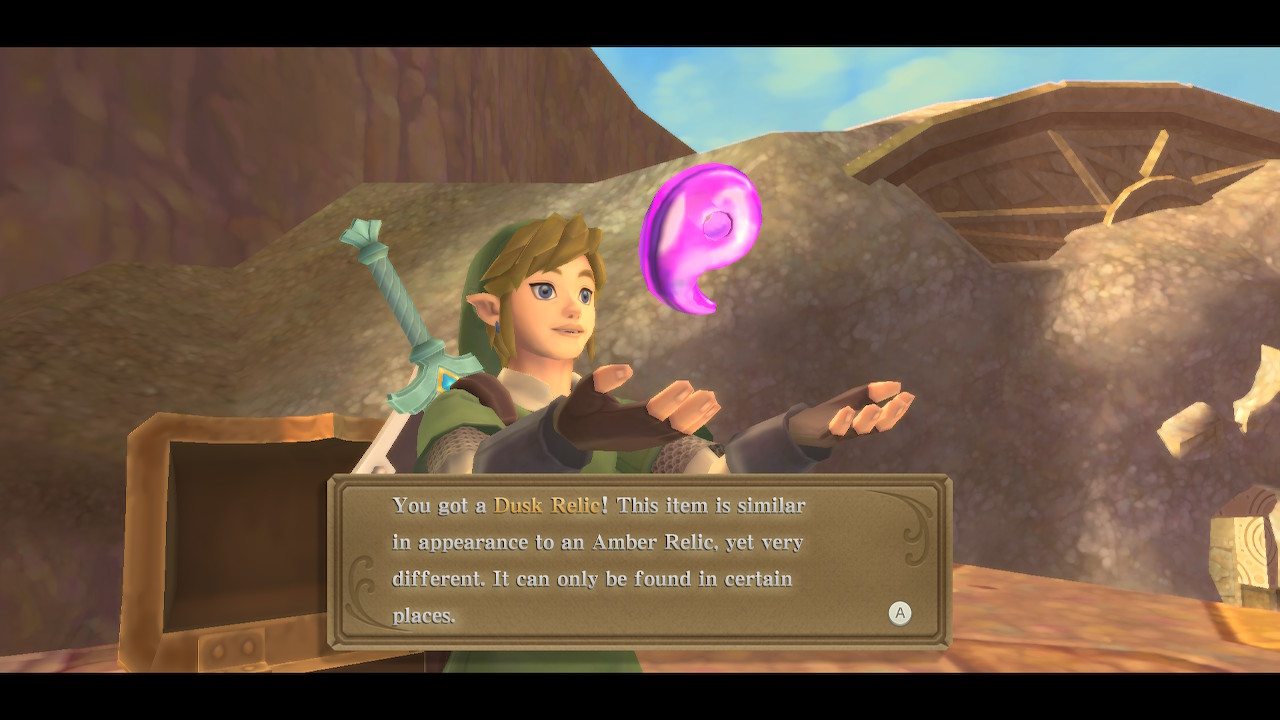
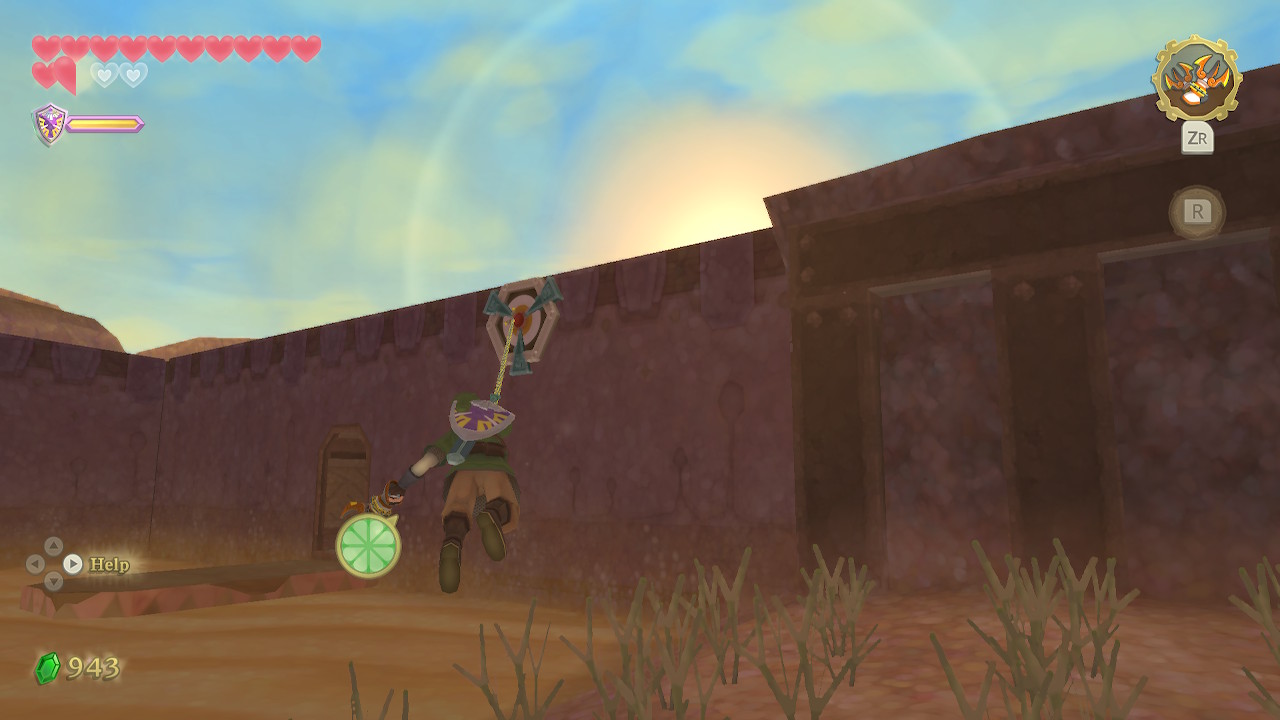
After completing the Silent Realm, turn around and you'll see a target on a platform in the sand. You can use your clawshots on these targets. Do so and you can get on top of the platform. Open the chest here to get a Dusk Relic.
Next head to the narrow loop of land in the northeast part of the desert. This is where we picked up a heart piece a few chapters back. Head back into the cave on the lower end of the loop, and continue forward. When you get to the opened chest, you'll see a target you can clawshot to. There are a series of targets you can navigate that lead out of this narrow strip and onto a platform with Goddess Cube #17.
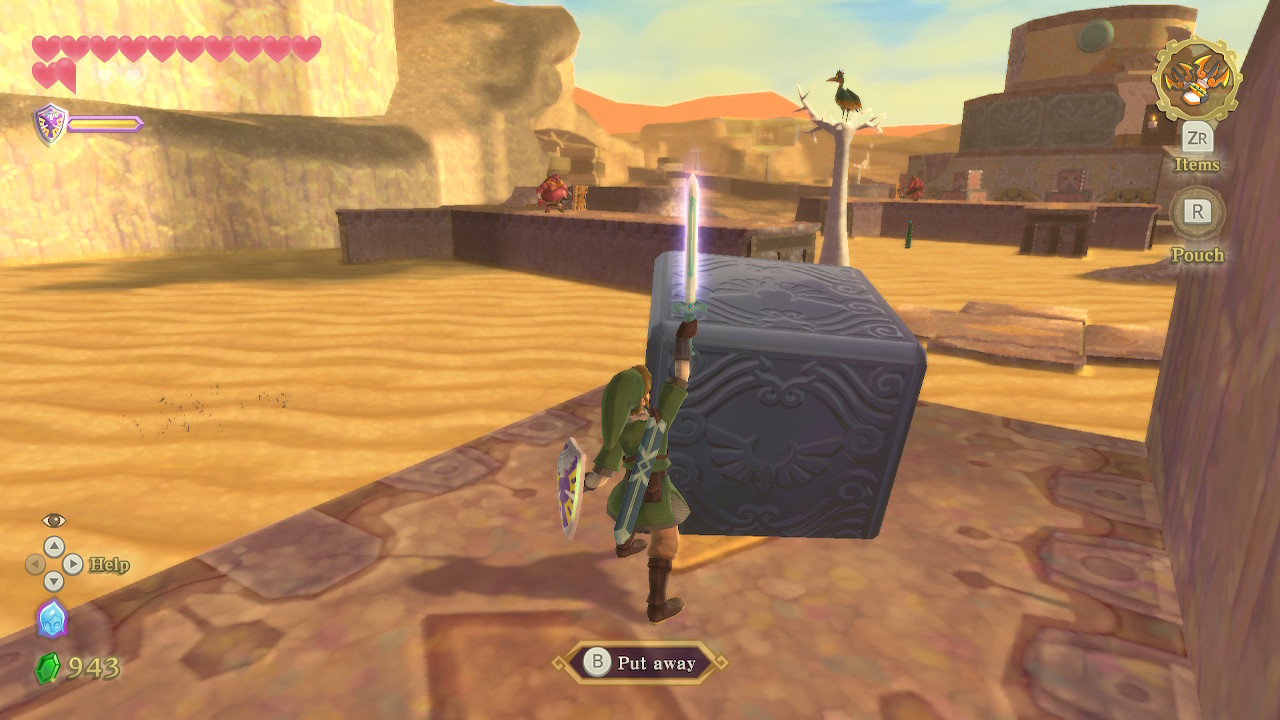
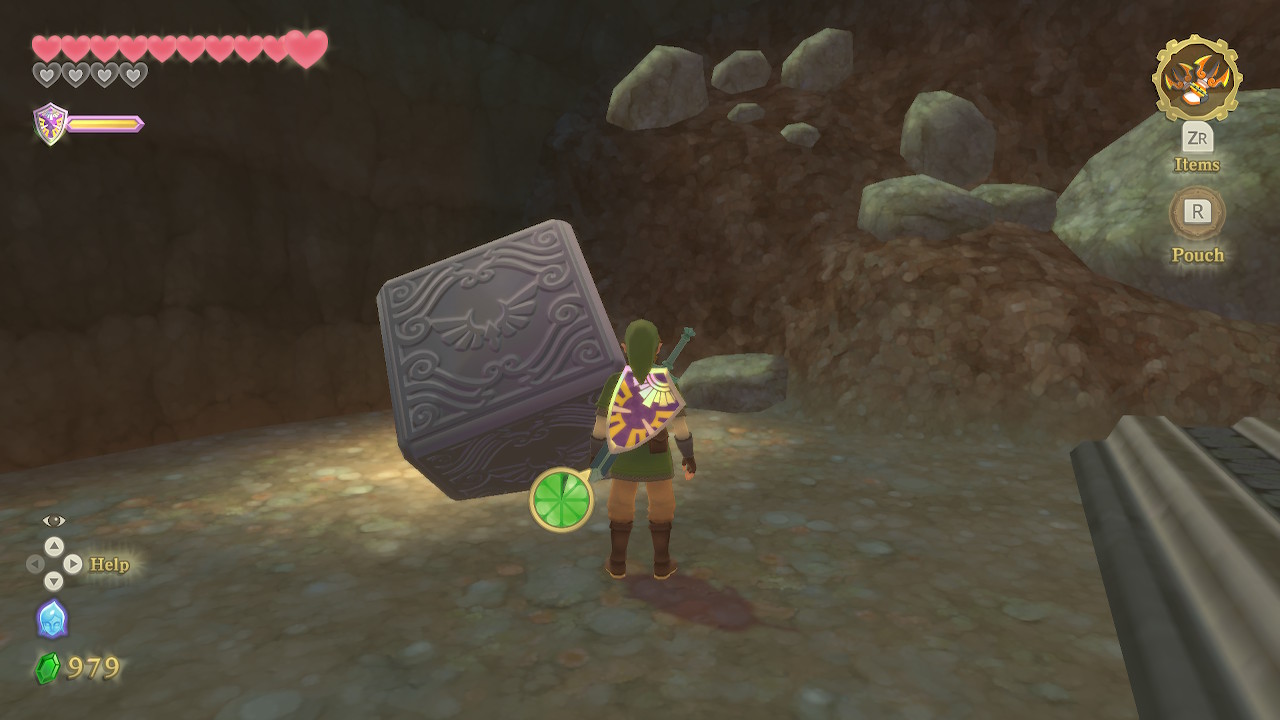
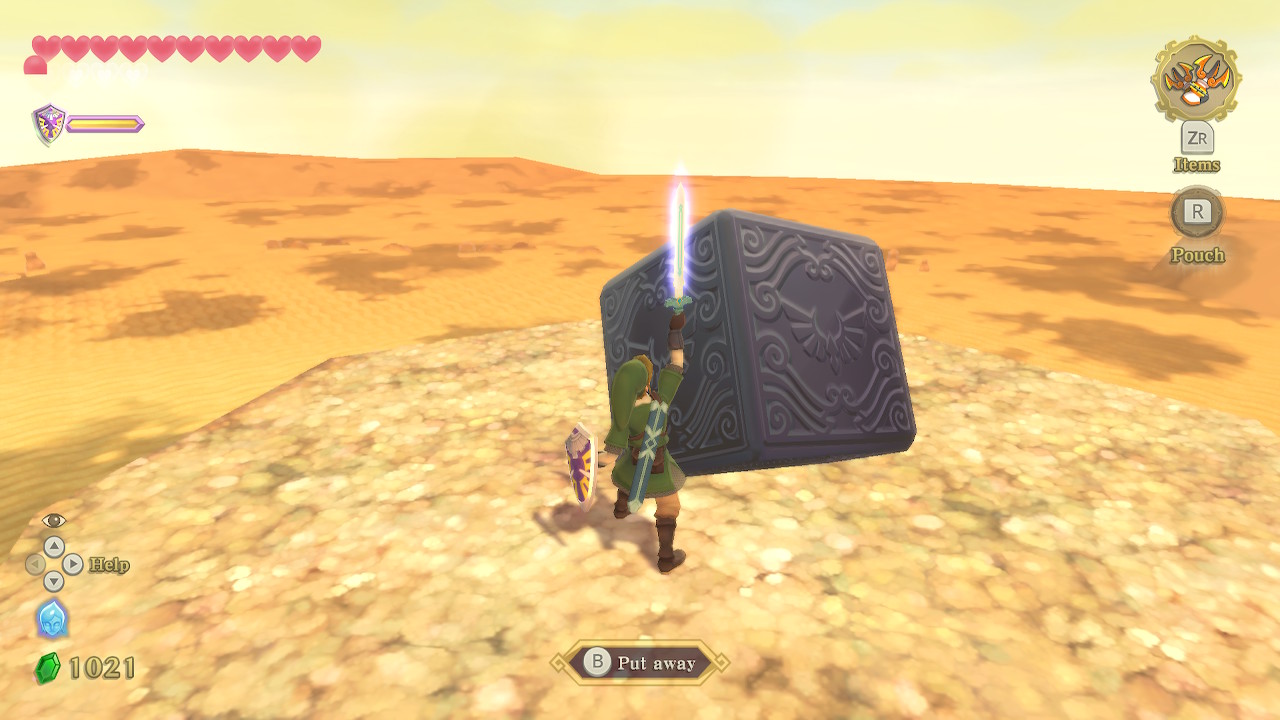
In the southern part of the desert, there is a long raised platform in the sand that we couldn't get on top of before. There are now a few different spots that you can clawshot onto now. Once on top, there is a Goddess Cube #18 on the far east side. Use a Skyward Strike to activate it.
Lanayru Sand Sea
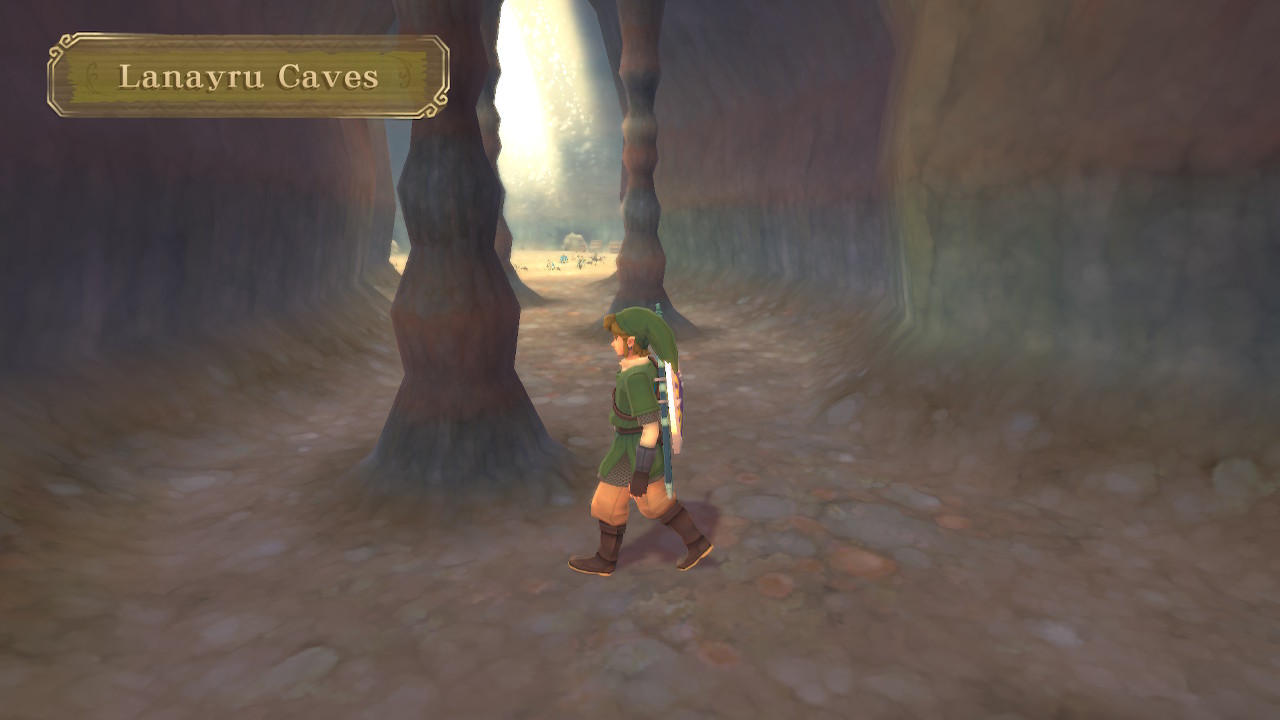
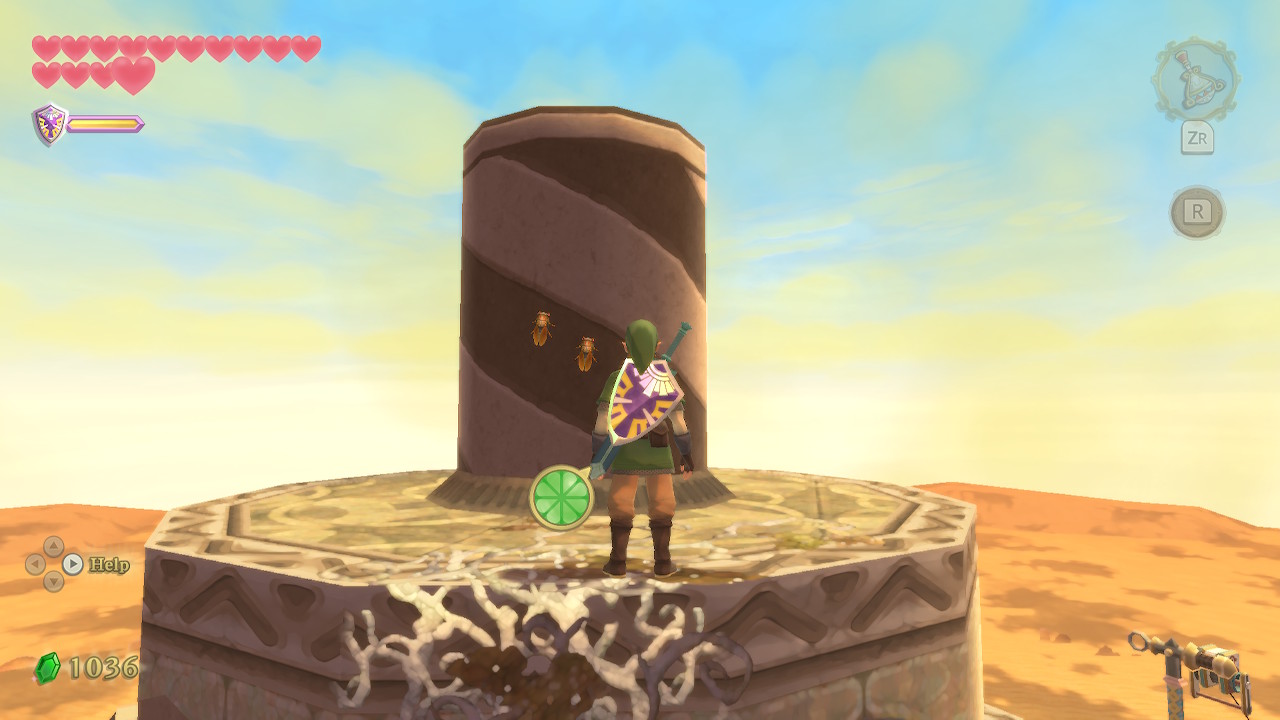
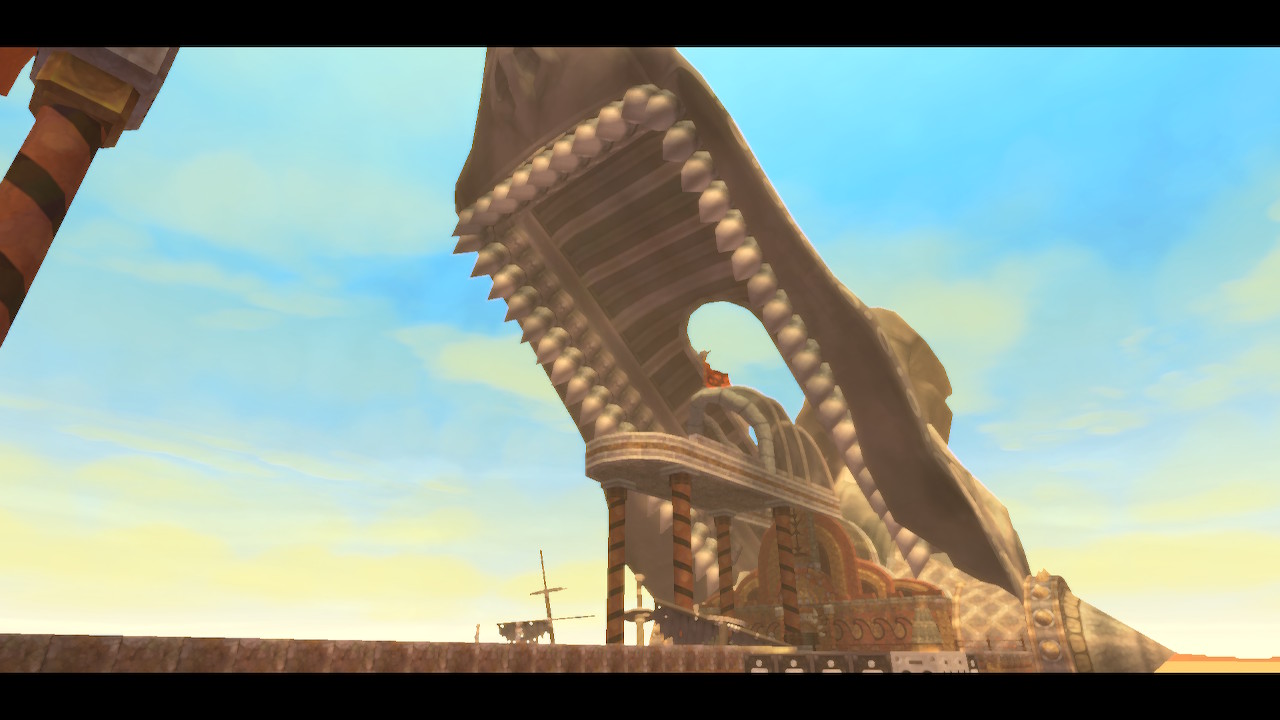
With the desert goodies out of the way, make your way to the west end of the desert. On your map, you can see a ? mark, which is what we are headed towards. Once you are here, climb or hookshot up to the small platforms near the base of the sand waterfall. You can then clawshot into the mouth of the statue above to enter the Lanayru Caves.
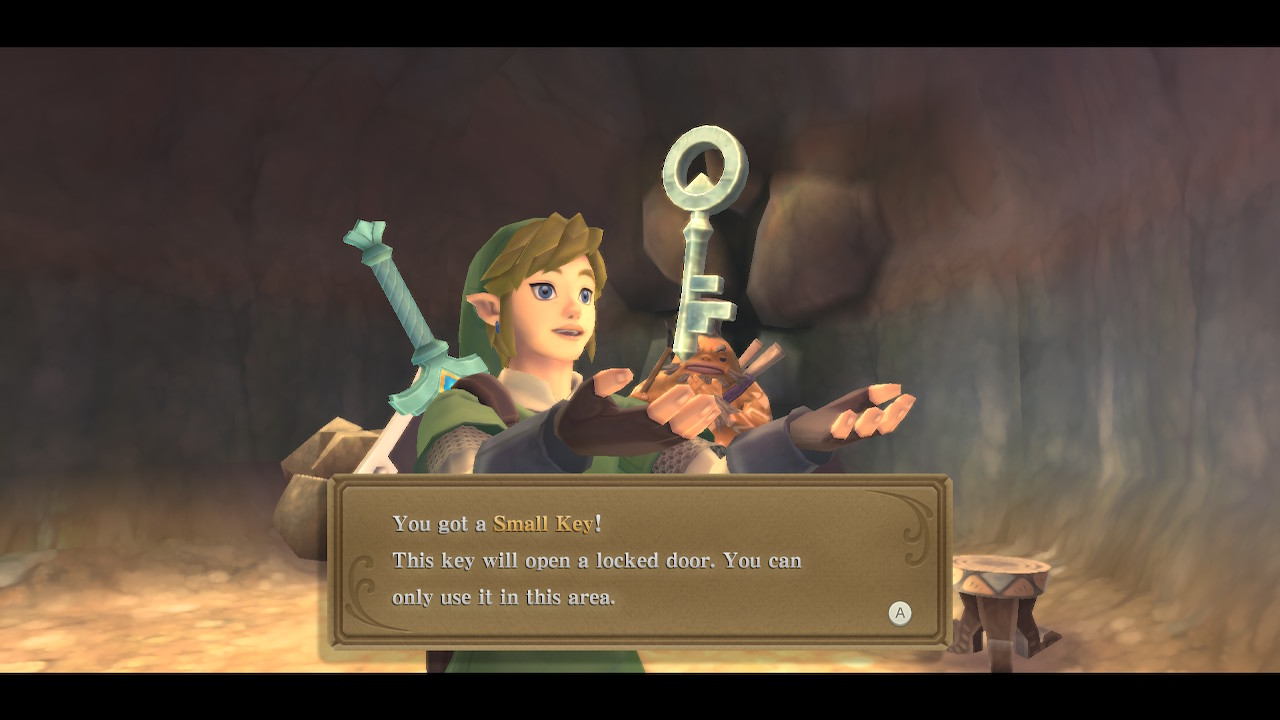
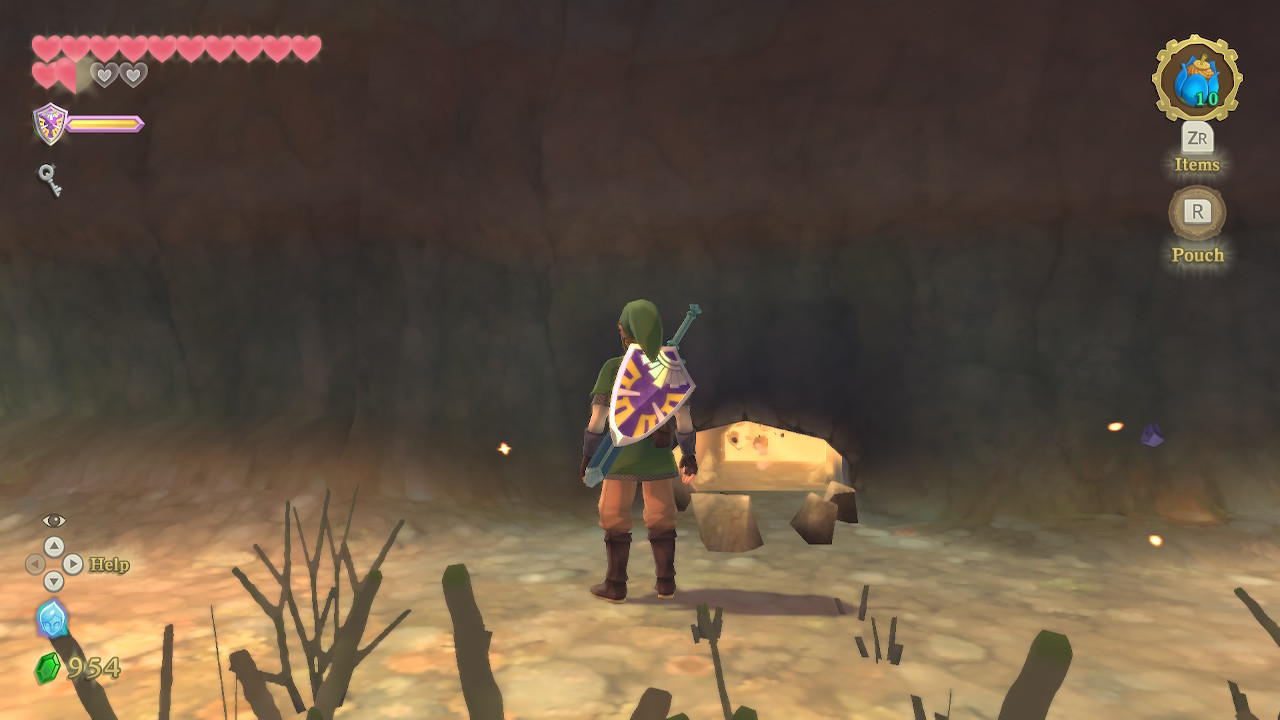
Once inside, you'll meet a Goron named Golo mining away. He points you to Lanayru Sand Sea, but the entrance is behind a locked door. Luckily, he'll give you a Small Key to open it.
While we are here, you can block up the various boulders here to get some rupees. You can also fill up on bombs and open the chest to get a Monster Horn. You can also play your harp in the middle of the bomb ring to spawn a Gossip Stone and get an Evil Crystal. When you are ready, use your clawshot and enter the locked door to the west.
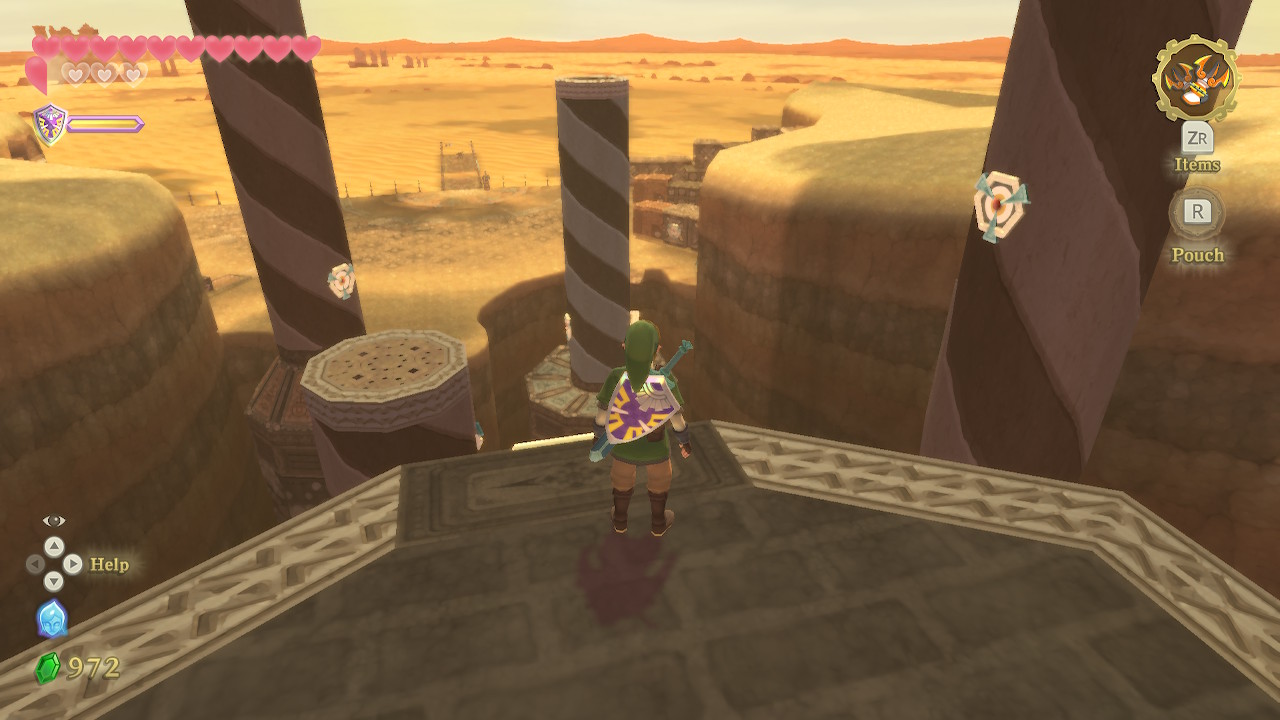
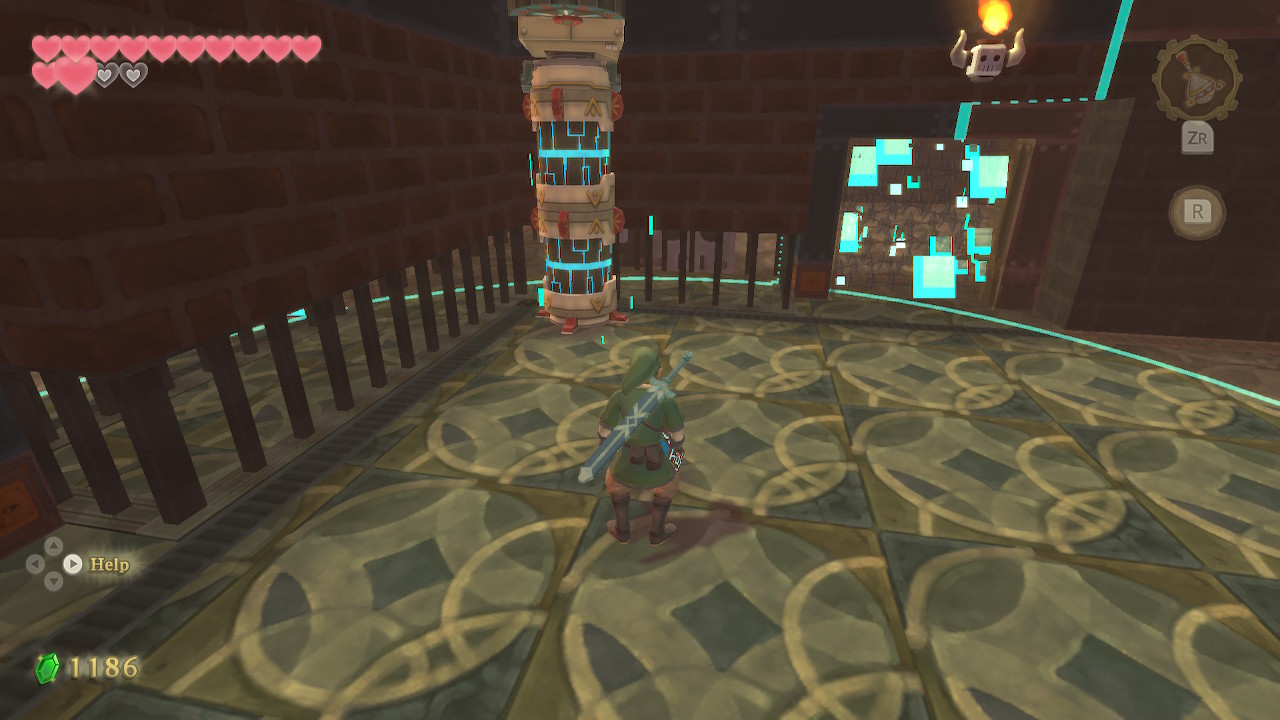
You'll find yourself in Lanayru Sand Sea. Start by clawshotting along these pillars to reach the solid ground ahead.
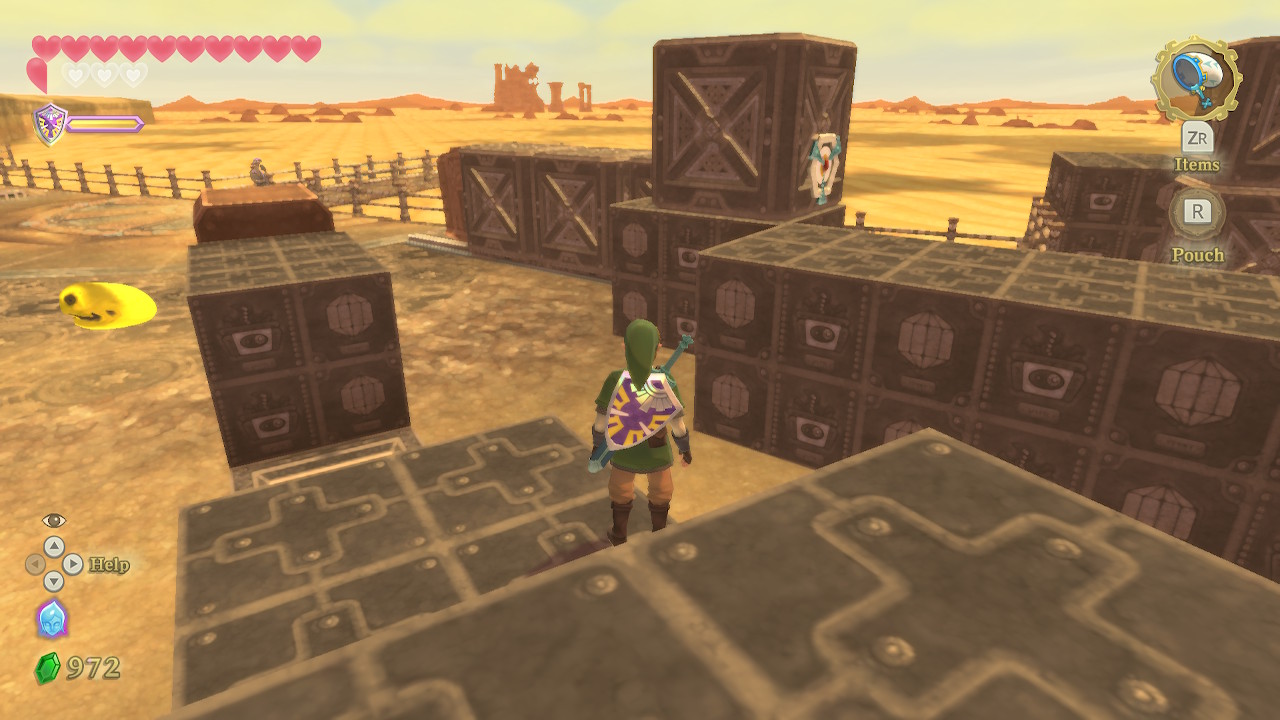
Head to the north area, and climb up the boxes in the middle. Turn left to find a target you can clawshot to. Enter the cave here and you will be swarmed by Aracha. Defeat them and then activate the nearby Goddess Cube #19. Exit this little area and then check out the bird statue before the sea itself.
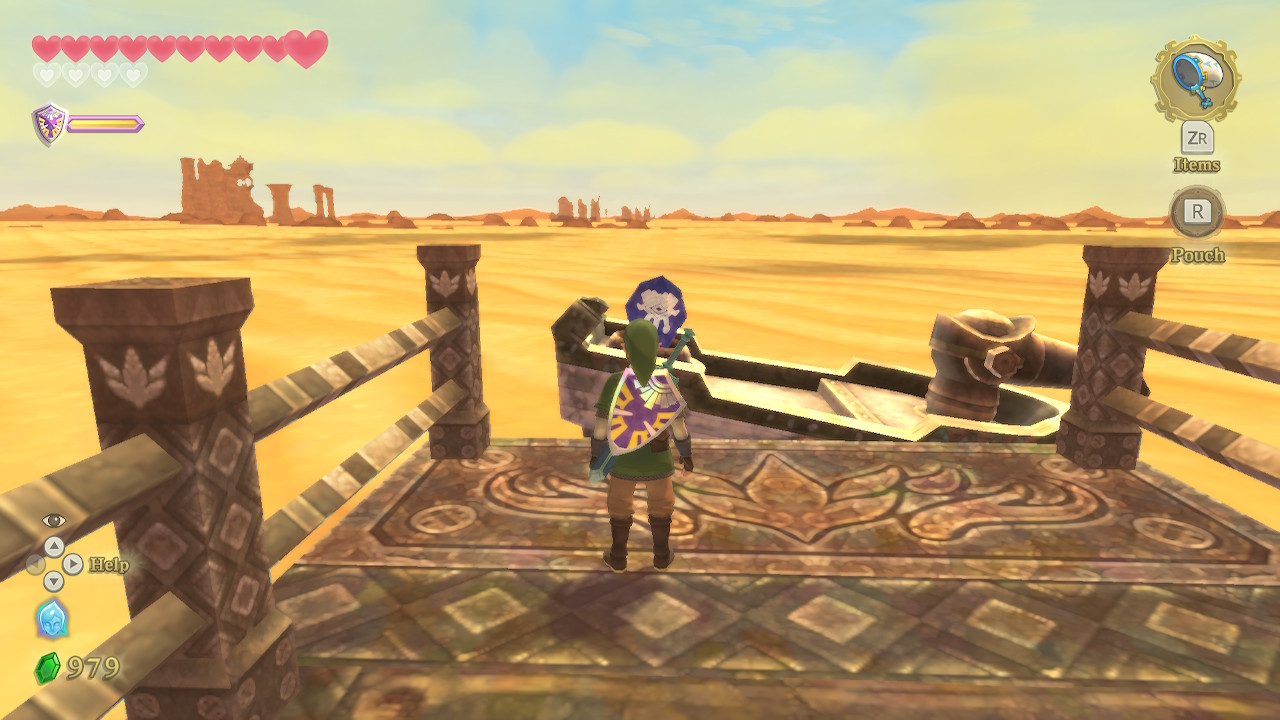
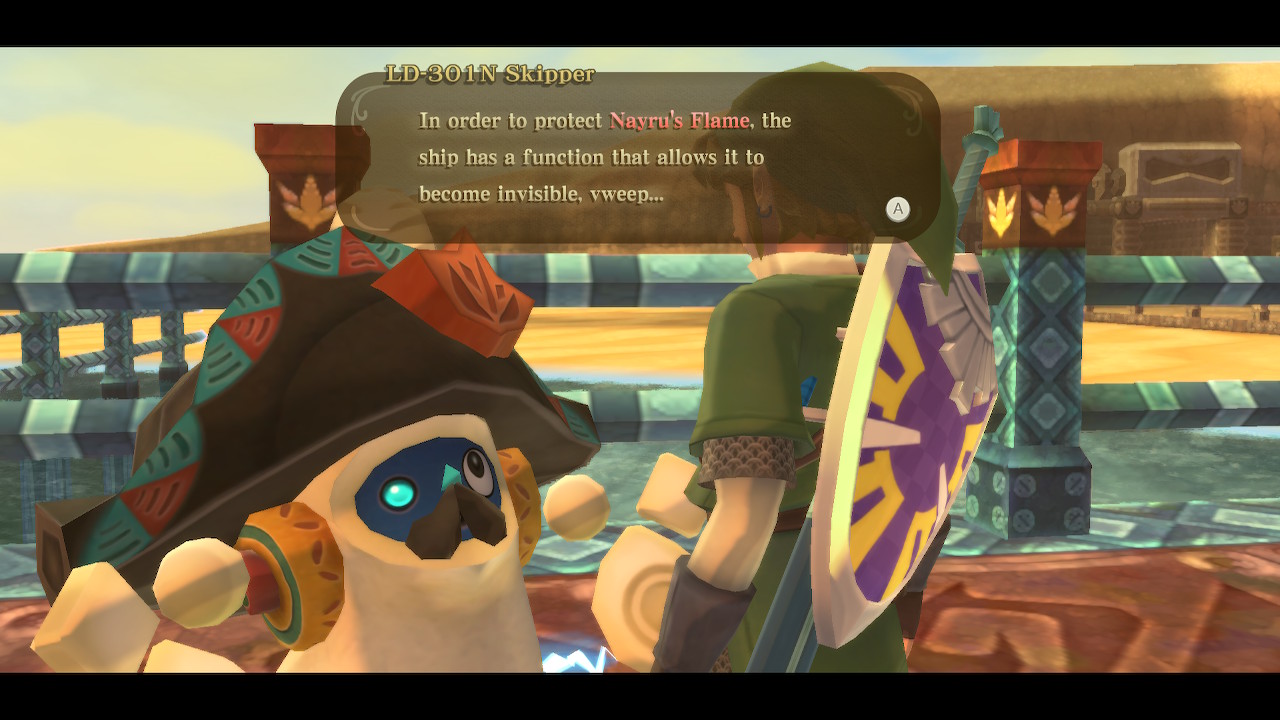
Head out onto the dock and activate the Timeshift Stone on the boat here. The shift in time brings back a radius of ocean around the boat. Speak to the nearby robot named Skipper. He captains an invisible ship that is somewhere in the vast sand sea. That ship contains Nayru's Flame, which is what we need.
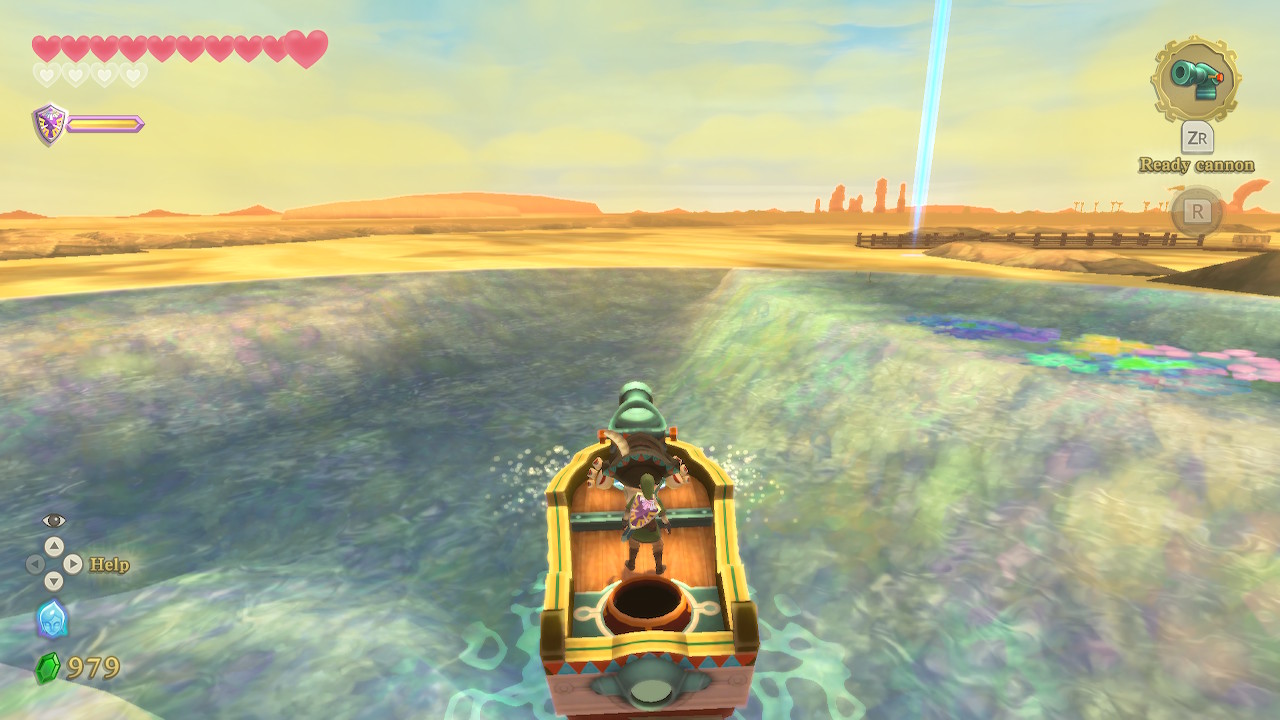
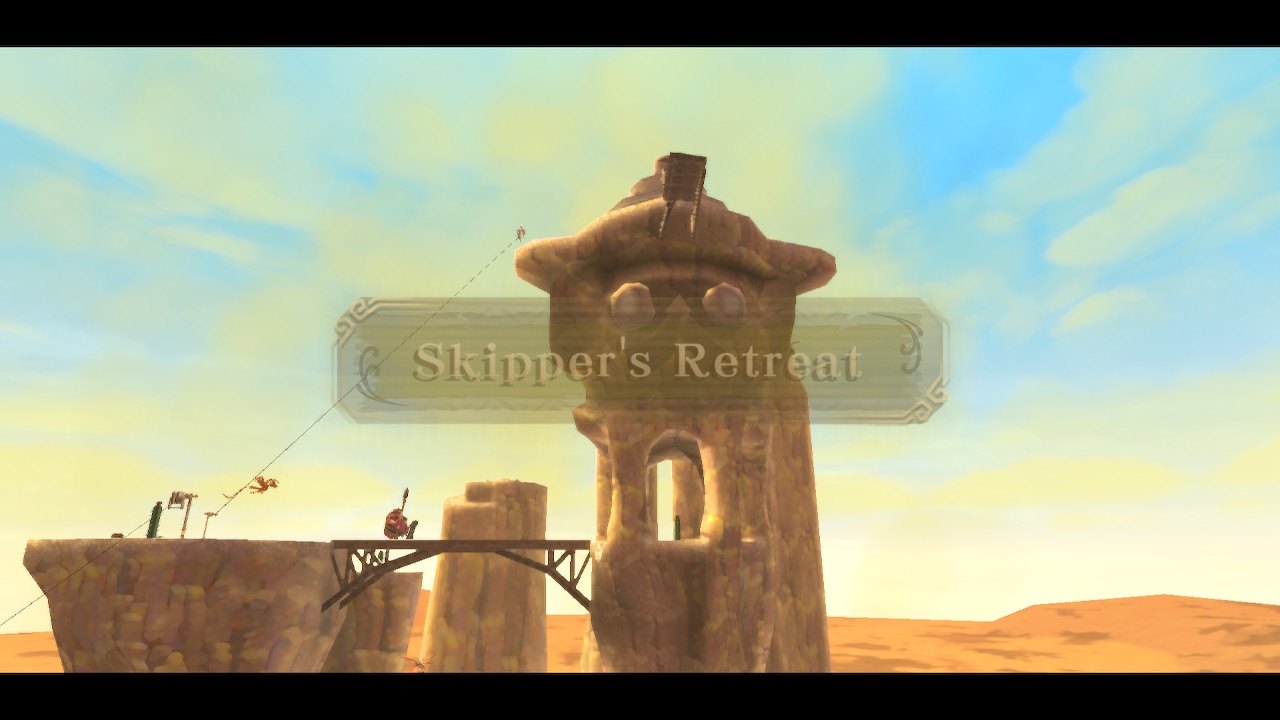
Skipper will agree to take you to it, but we first need a sea chart which can be found on Skipper's Retreat. Hop on this small boat and navigate to where Skipper marks on your map. Get off at the dock here to find yourself on Skipper's Retreat.
Skipper's Retreat
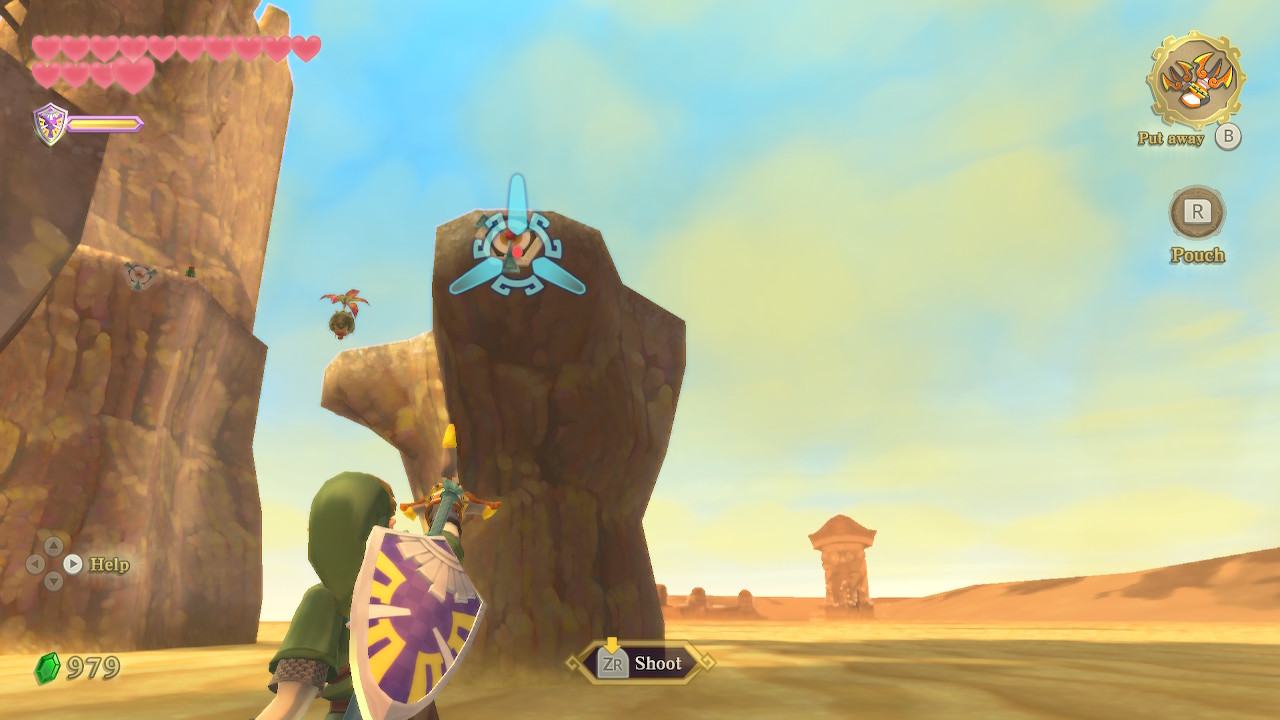
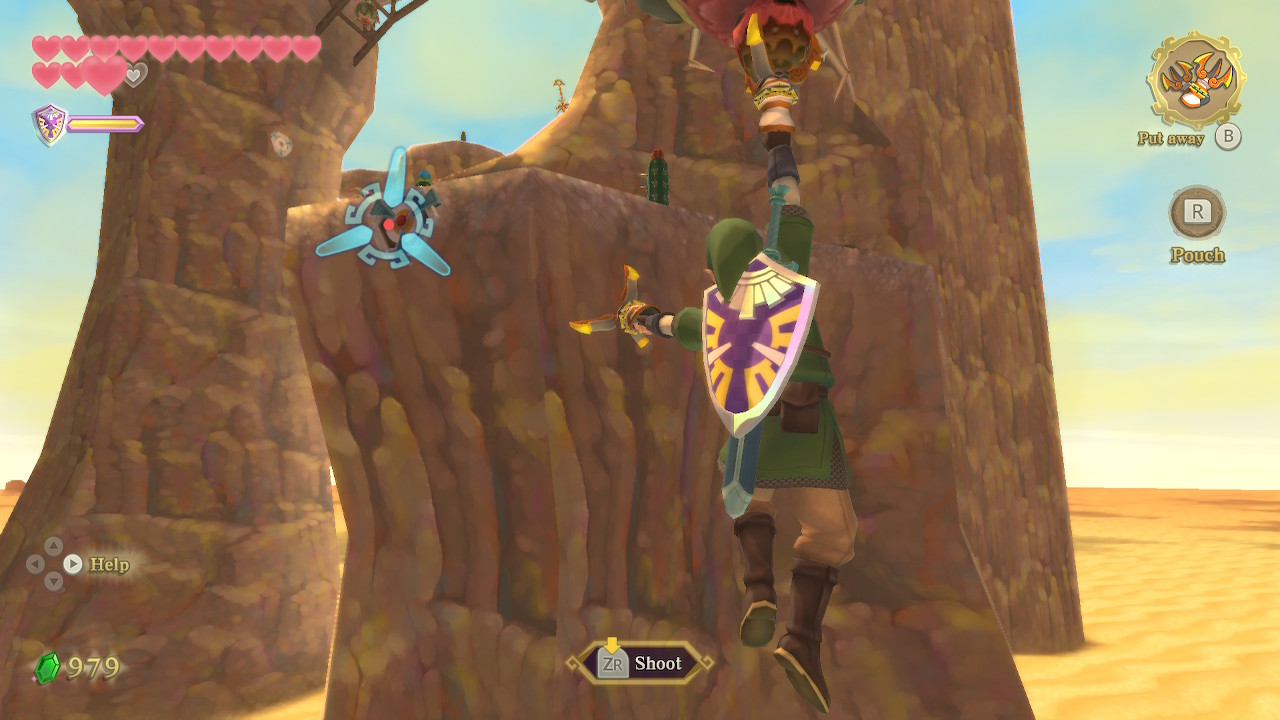
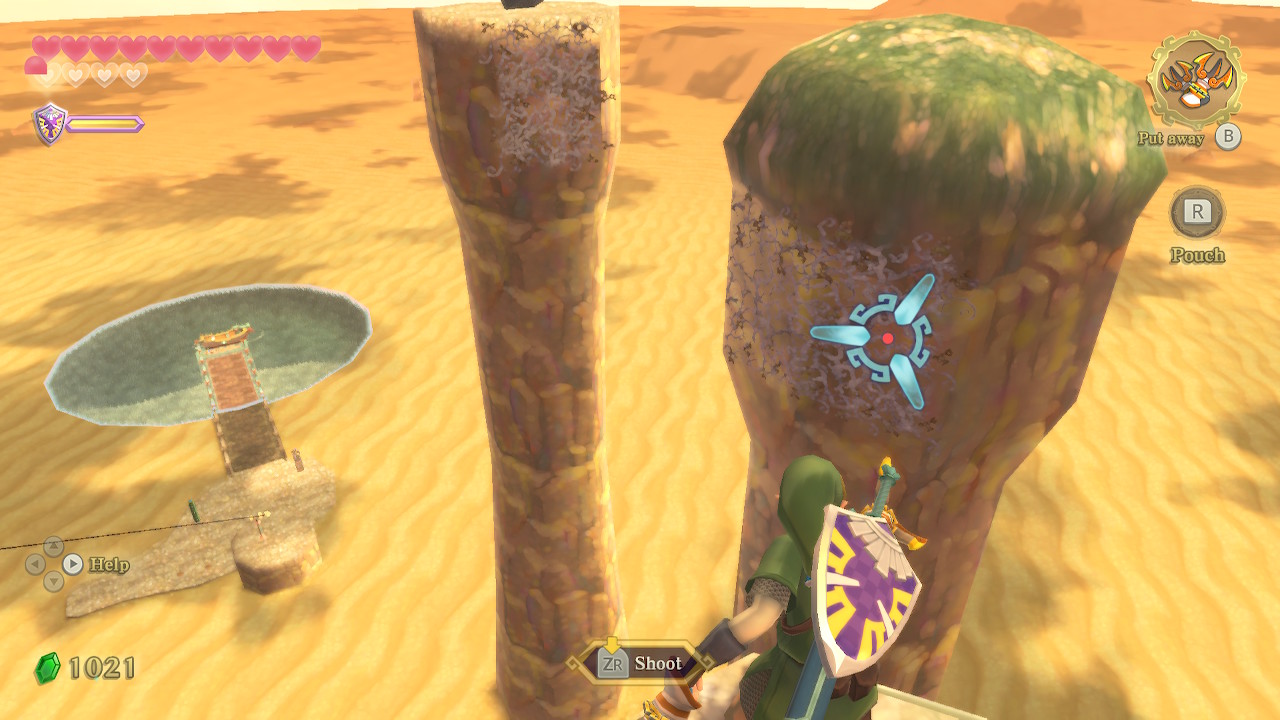
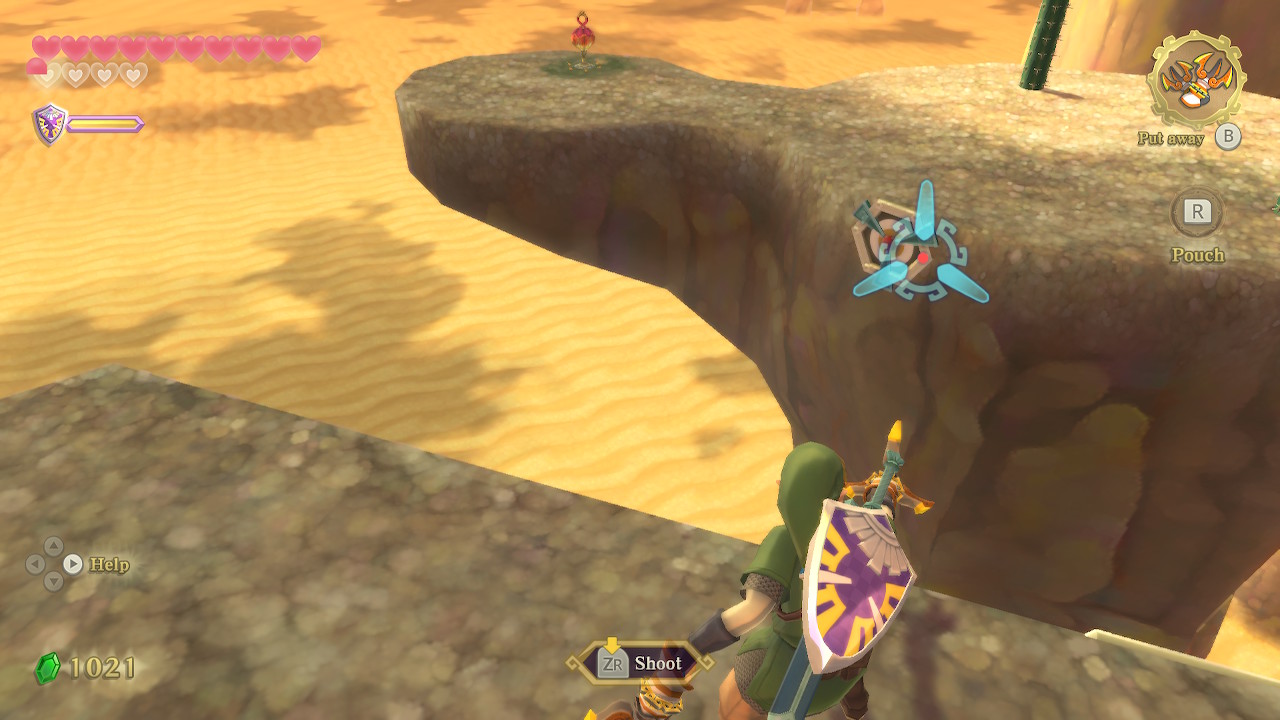
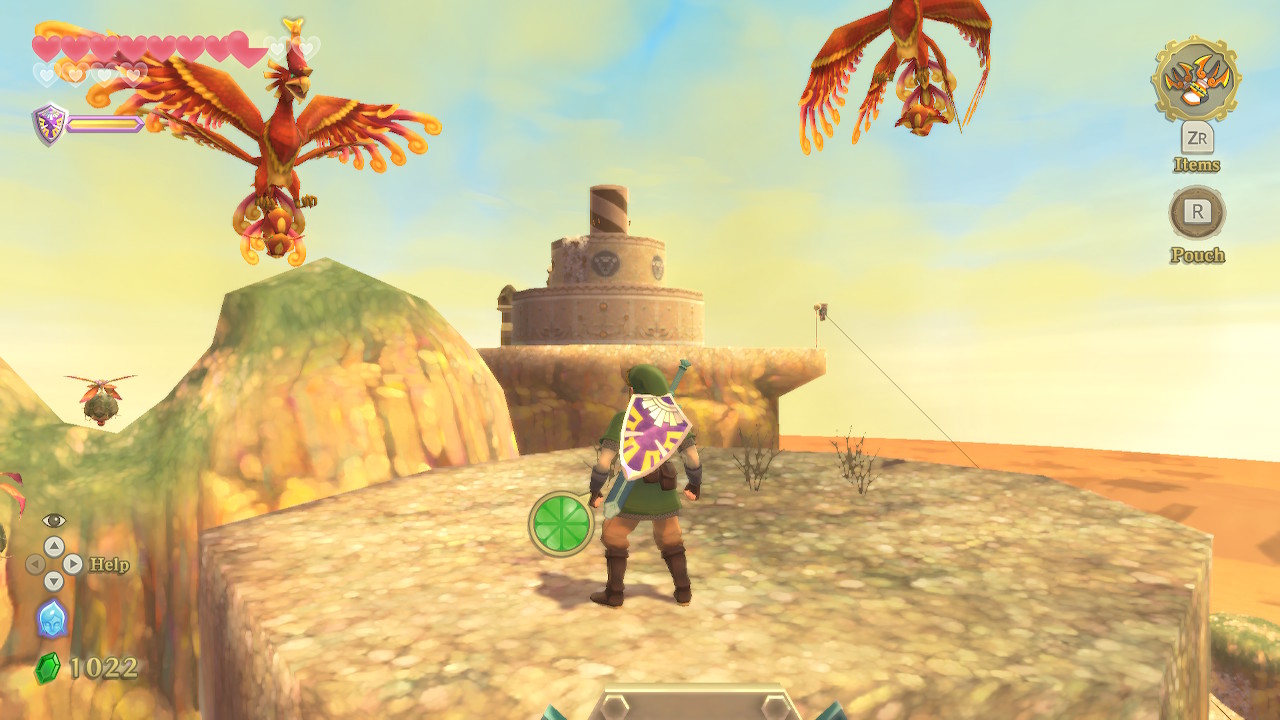
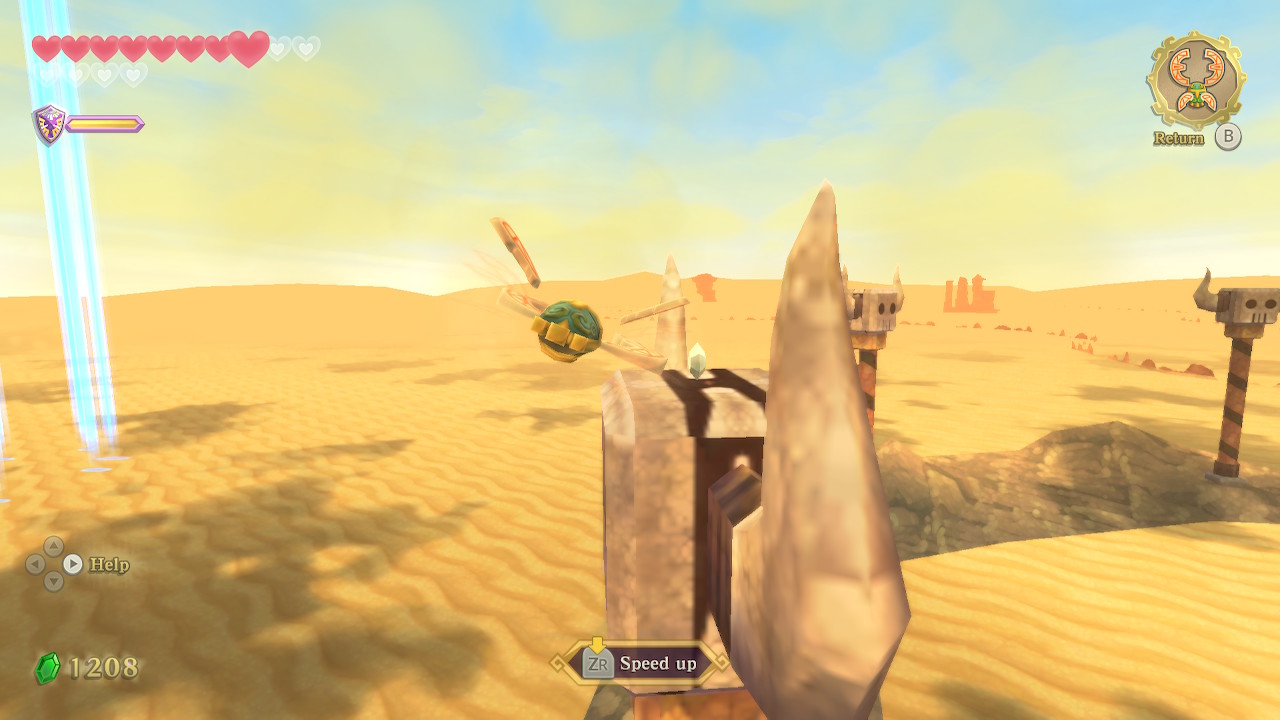
Head down the path to the right. There are a few Electro Spume here that you can defeat with bombs to make your life easier. You'll soon see a tall pillar that you can clawshot up to. Defeat the enemies here and then you'll notice a flying enemy in the sky above. This is called a Peahat and they are actually quite useful, you can clawshot onto them. Do that here and then again onto the next platform.
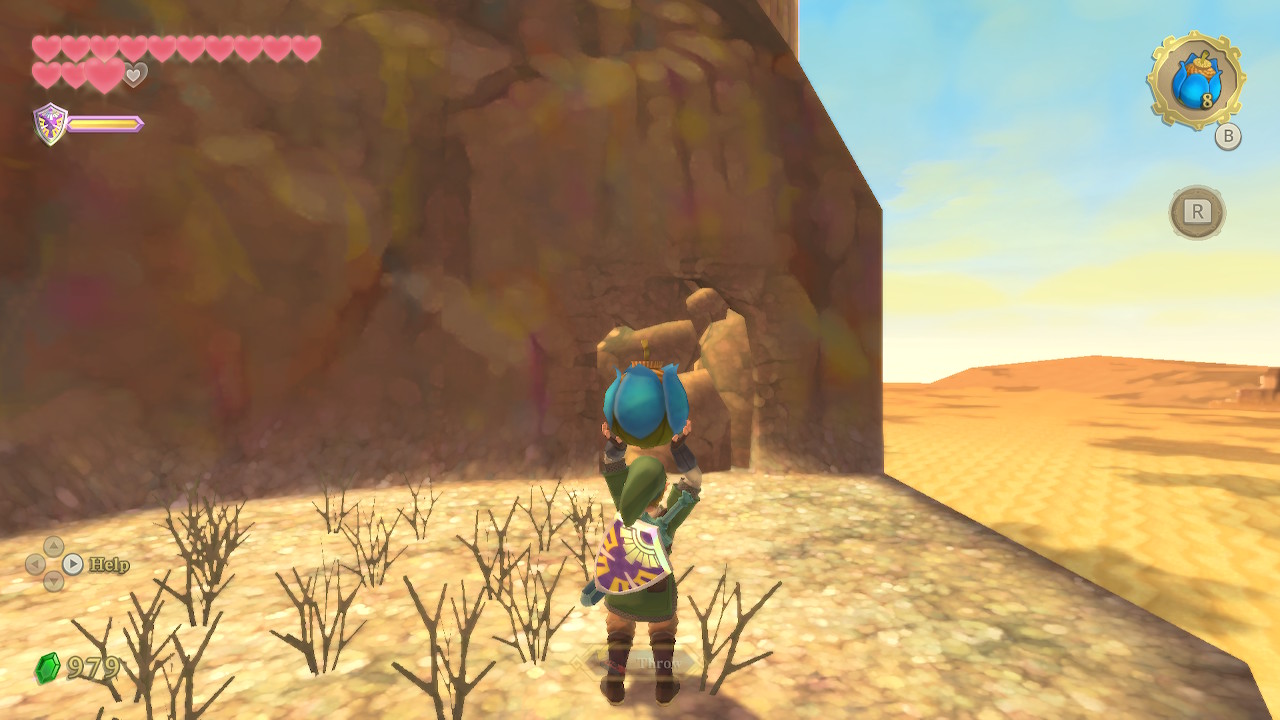
Use a bomb on the wall to the right and there is a little cavern you can navigate. Watch out for the Yellow Chu Chu that will fall from the ceiling. From here, use your clawshots on the series of Peahats and targets until you reach the top of the tall platform with a bridge.
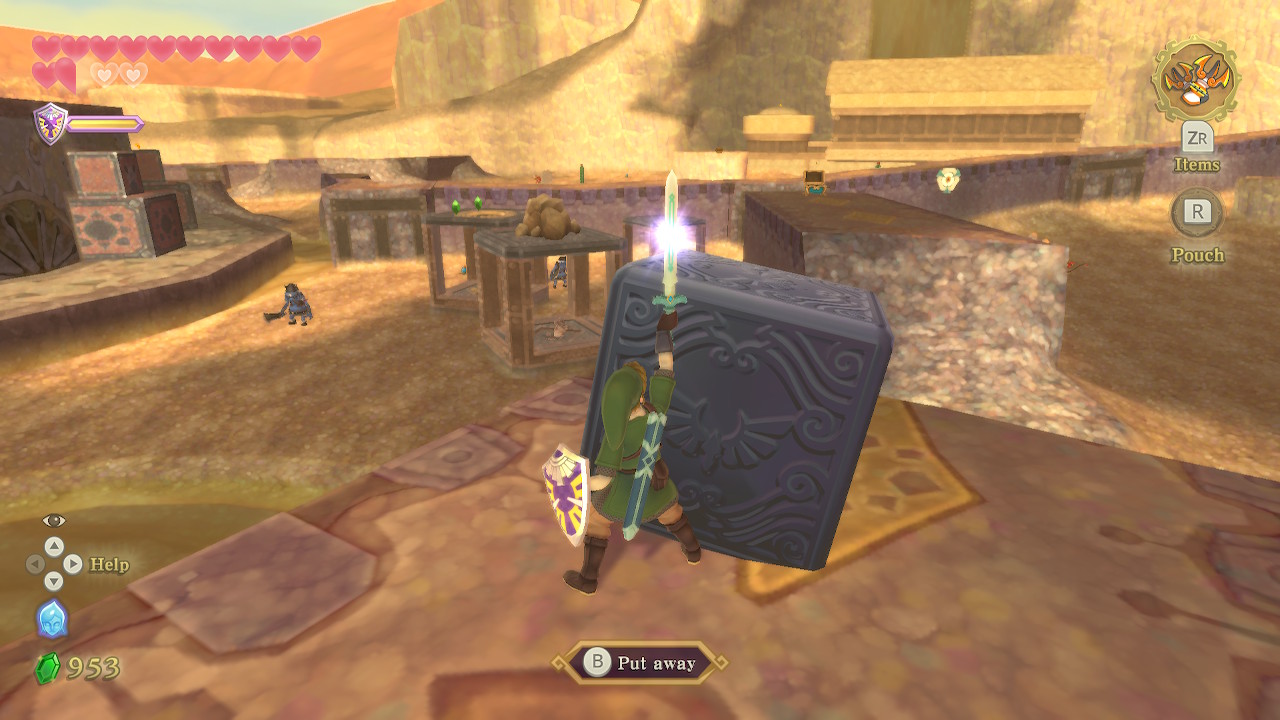
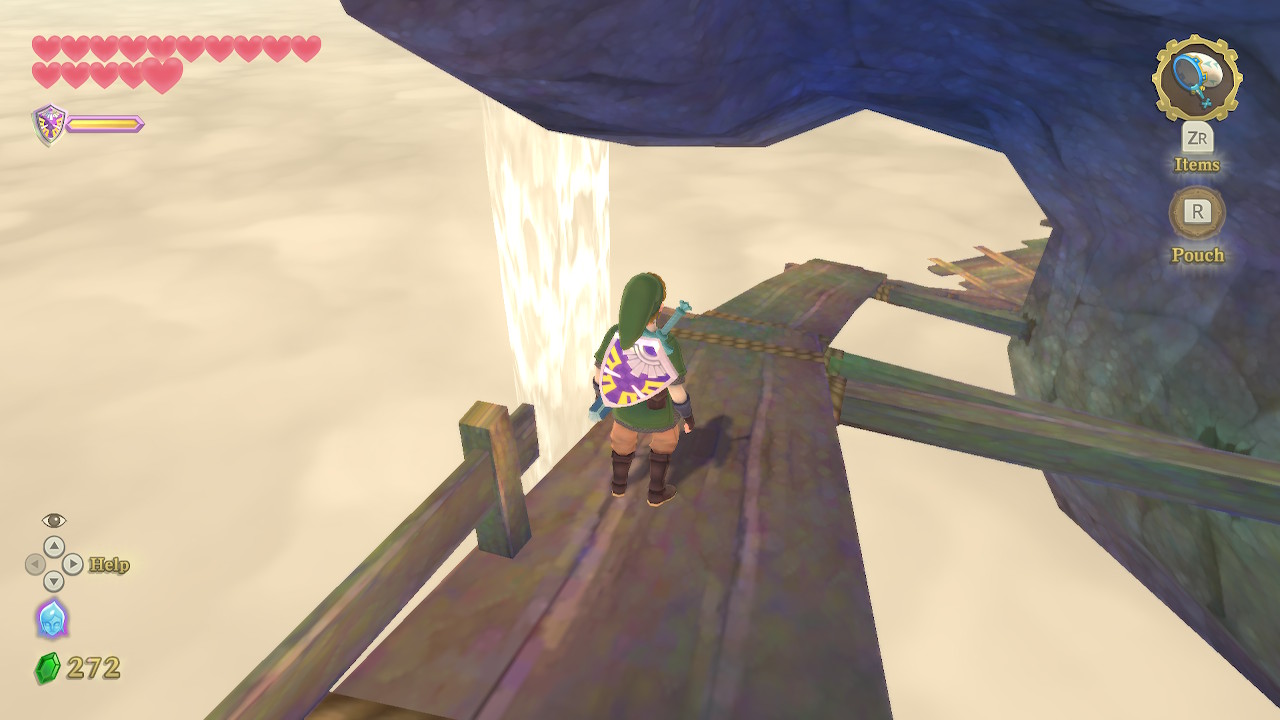
There is a Moblin for you to face on this bridge. It has a large metal shield, so you'll have to attack from behind. Or you can just go around and avoid the Moblin altogether. Across the bridge, you'll find a chest with 20 rupees.
Look to the south and you'll see a pillar with vines on it. These can be latched onto with a clawshot. Do that and then do the same with the next pillar. On top, you'll find Goddess Cube #20 that you can activate with a Skyward Strike. Make your way back to the large platform.
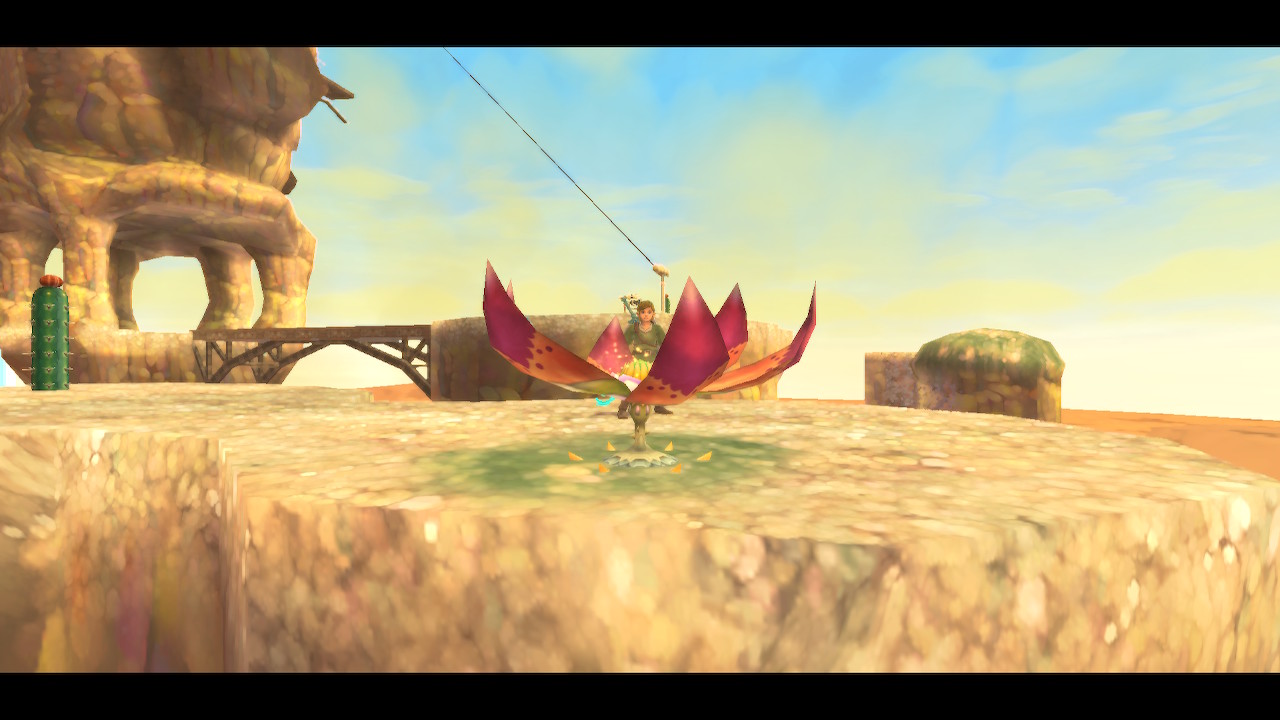
Now look to the north and clawshot over to this next platform. Here you'll start being bothered by Furnix, which you can defeat with your whip. You'll also want to use your whip on the bulbous object here, which is actually a buried Peahat.
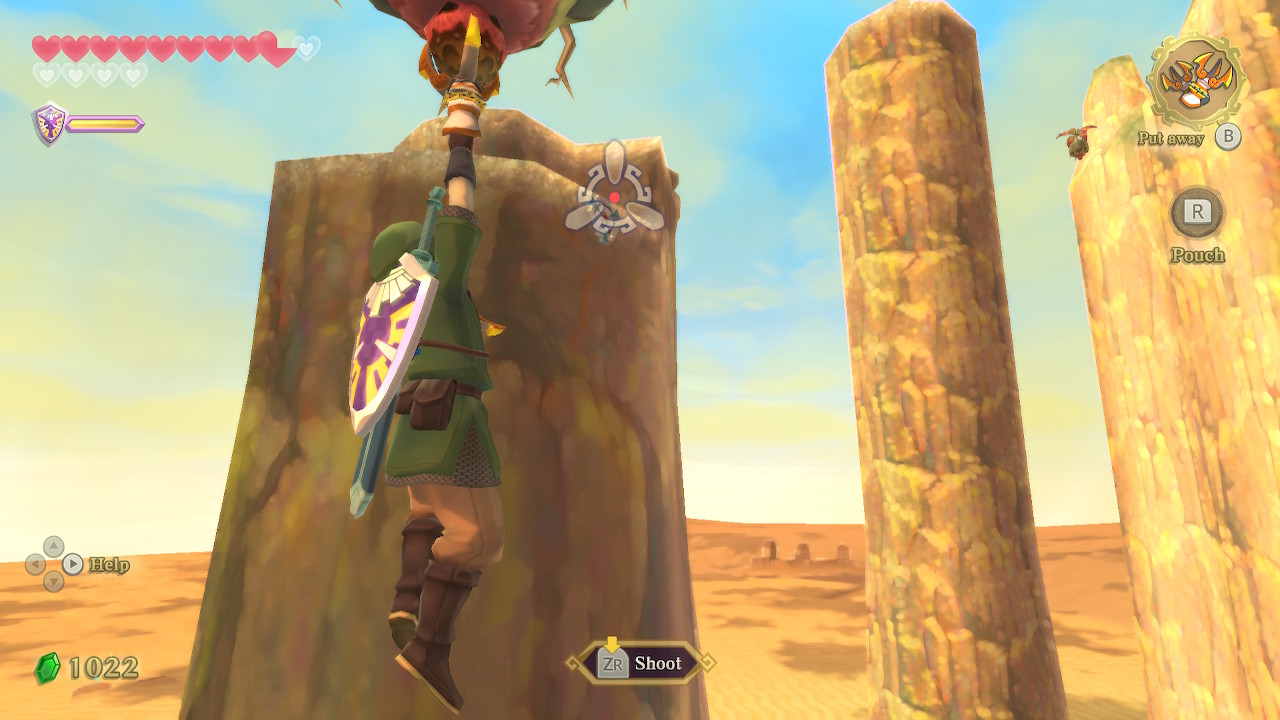
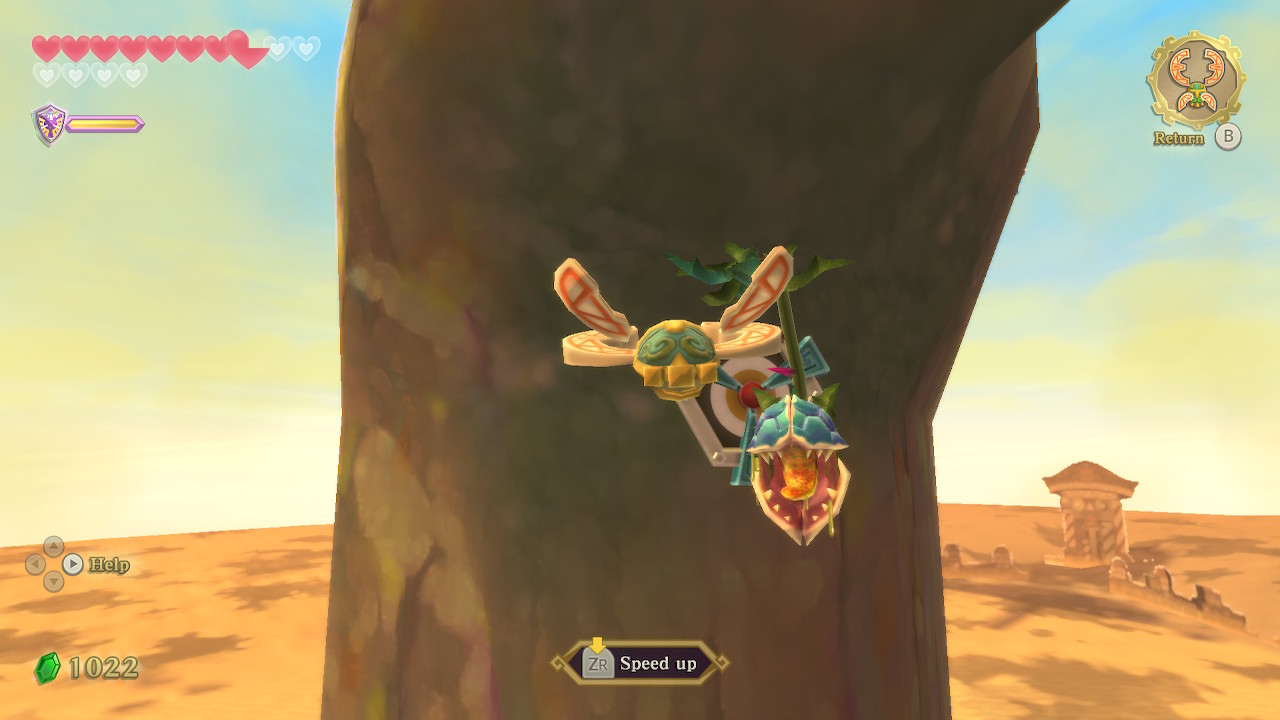
Once you unbury the Peahat you can clawshot on and ride it to the next platform, which you can clawshot onto. Up on top of this platform, you can see another target but it is guarded by a Deku Baba. Send over your beetle to defeat it, then you can clawshot to the target. From here you can clawshot to the next platform.
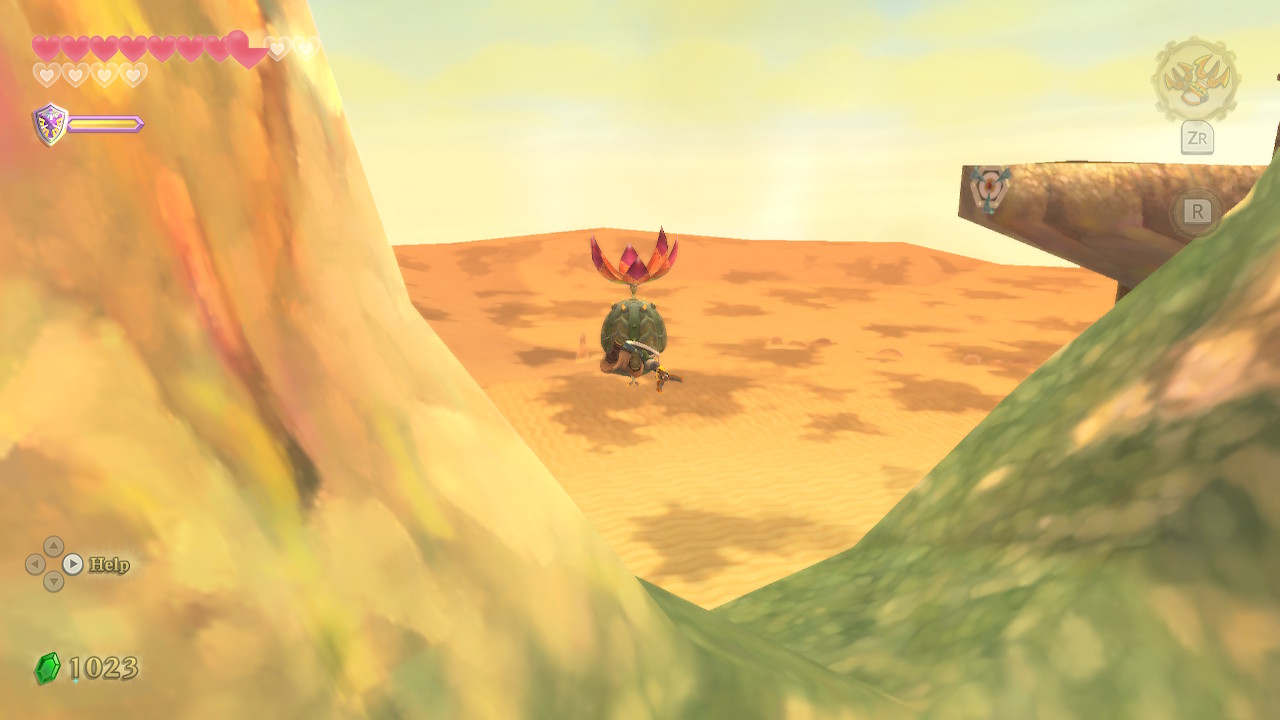
There will be a couple more Furnix to take care of up here. Then clawshot to the nearby Peahat. There is another moving Peahat on the other side of this boulder, you'll need to time a clawshot to when you're lined up with it. Afterward use your new position to clawshot onto the next platform, where you'll find Skipper's house.
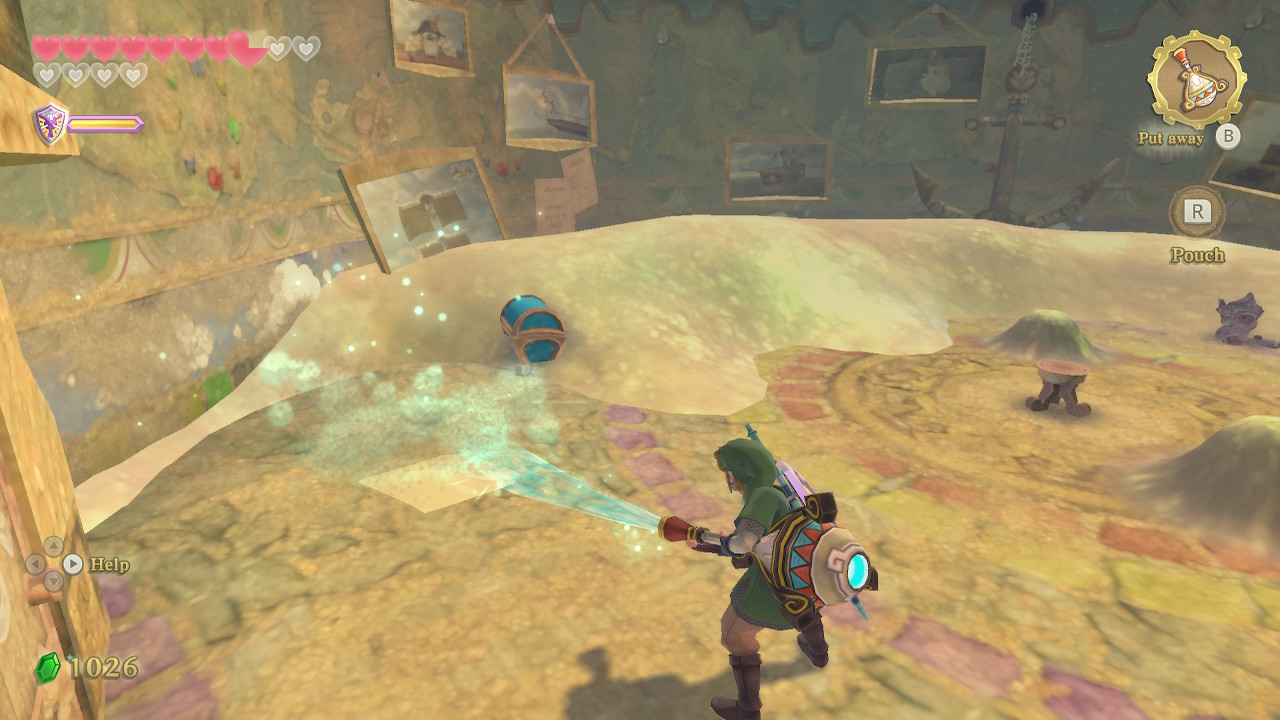

Inside Skipper's place, you'll see that it's a bit worse for wear. Take out your Gust Bellows and clean up the sand. There's a decent amount of treasure and rupees under the sand, so clean it all up if you have the patience. Otherwise what we are really interested in is the chest containing the Ancient Sea Chart. You can also restore your health on the stool here.
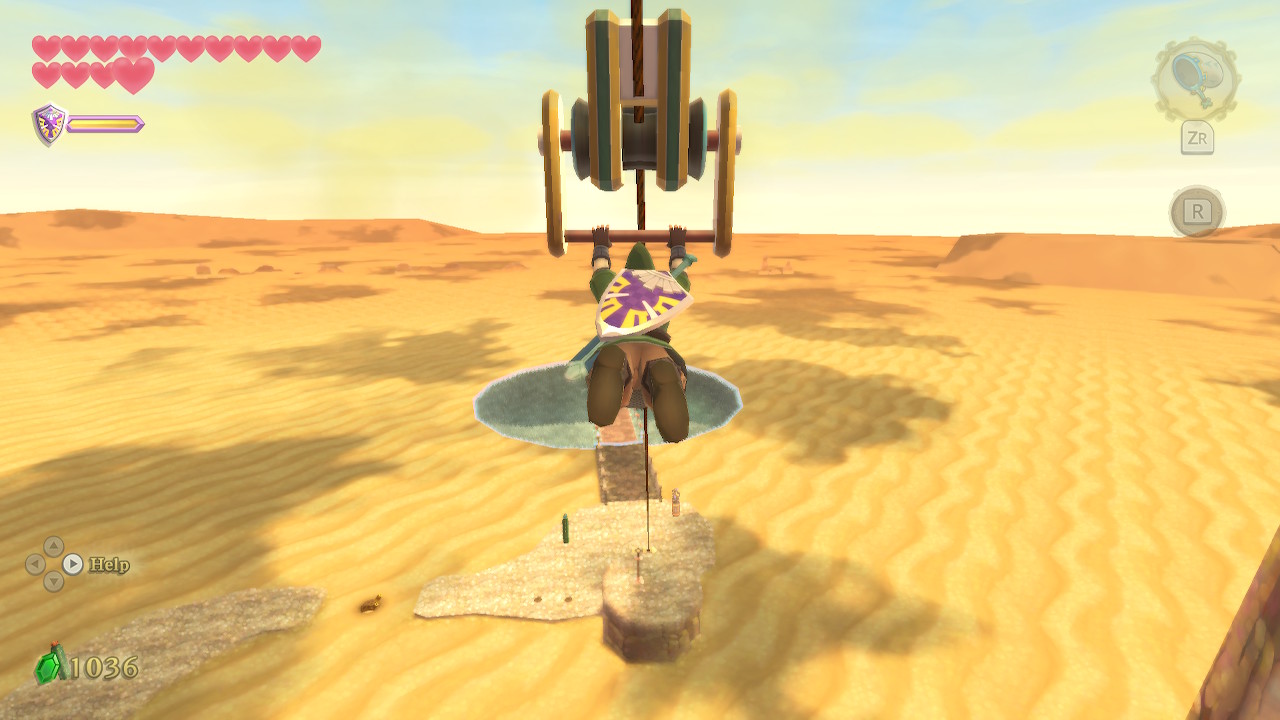
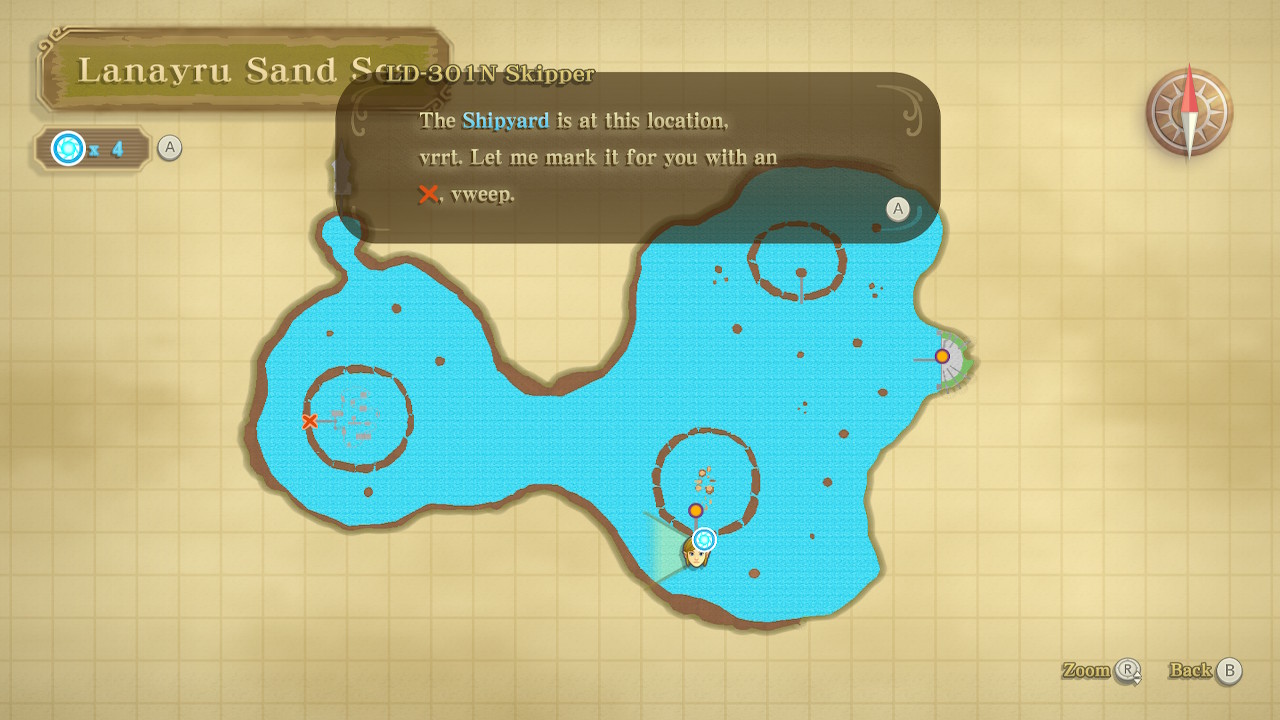
Head outside and climb to the top of the roof. Here you will find some very rare Sand Cicadas. To get down from here, there are a series of ziplines that you can start taking from the west side of this platform. Once you are at the bottom, speak to Skipper and he will mark the Shipyard on your map.
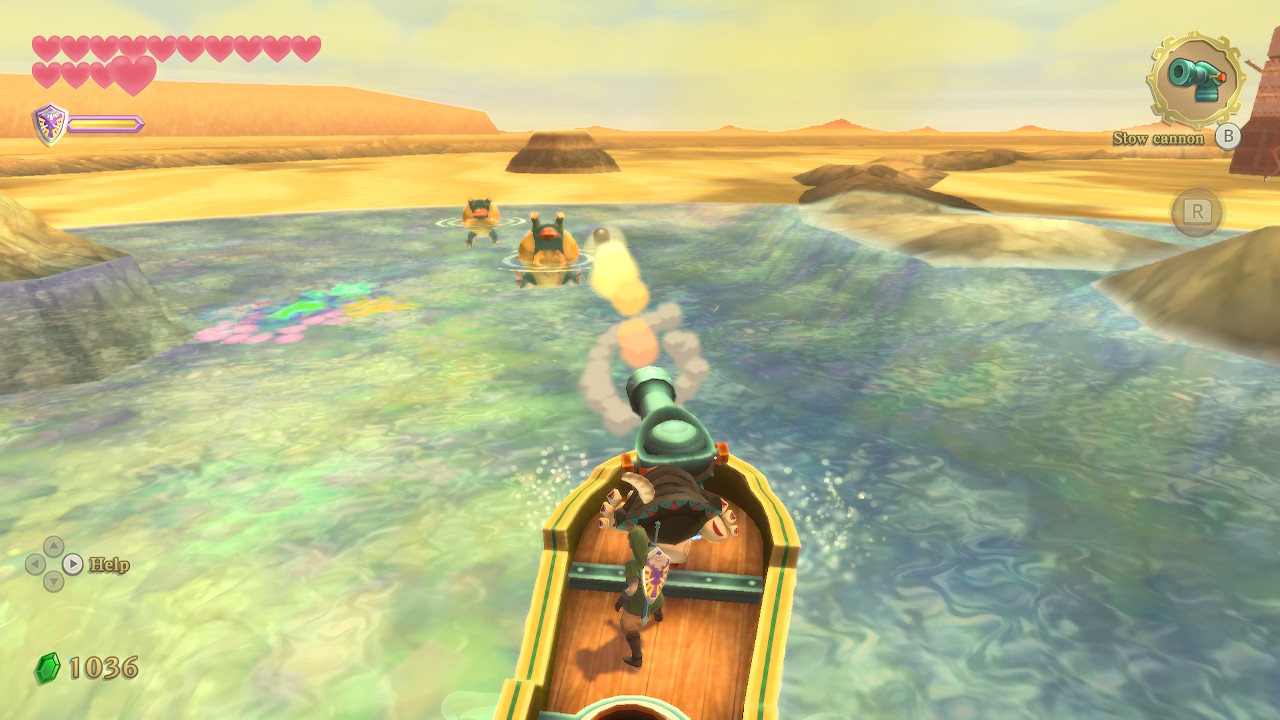
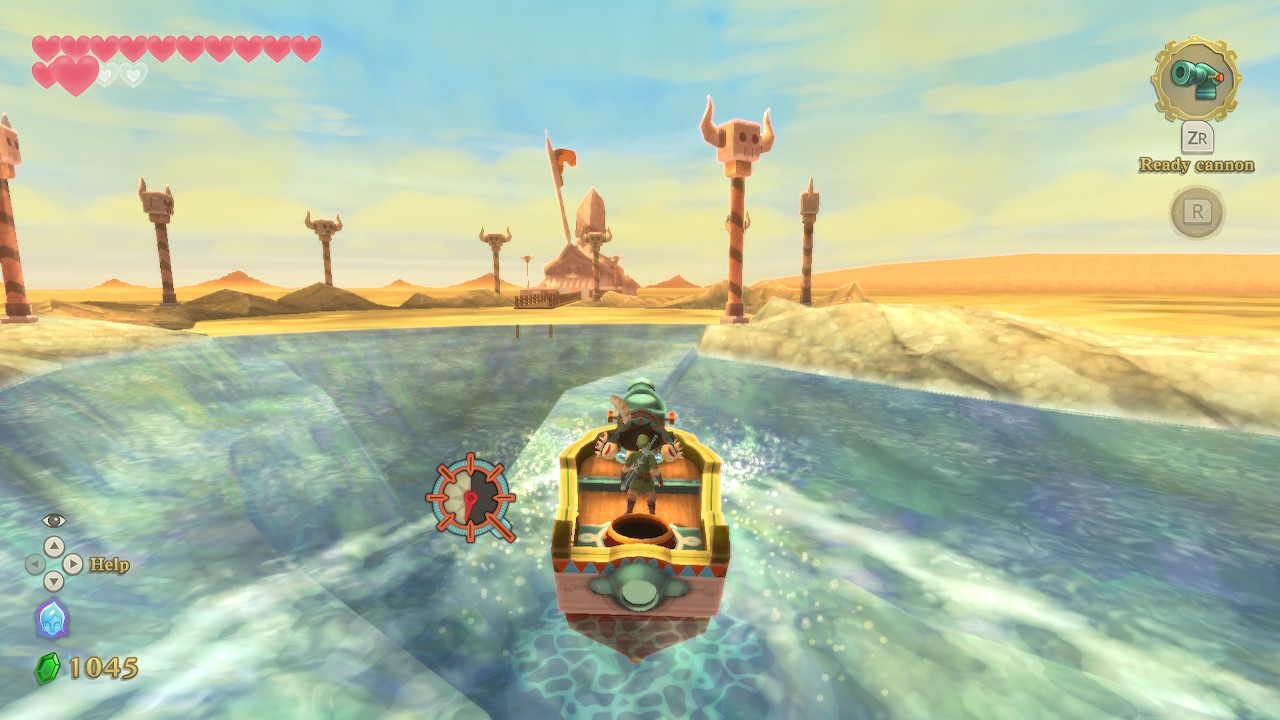
Once you are back aboard the boat, you can make your way straight to the Shipyard. It's a pretty straightforward path. Just weave between the various boulders and take out any enemies along the way with your cannon if you'd like.
The Shipyard
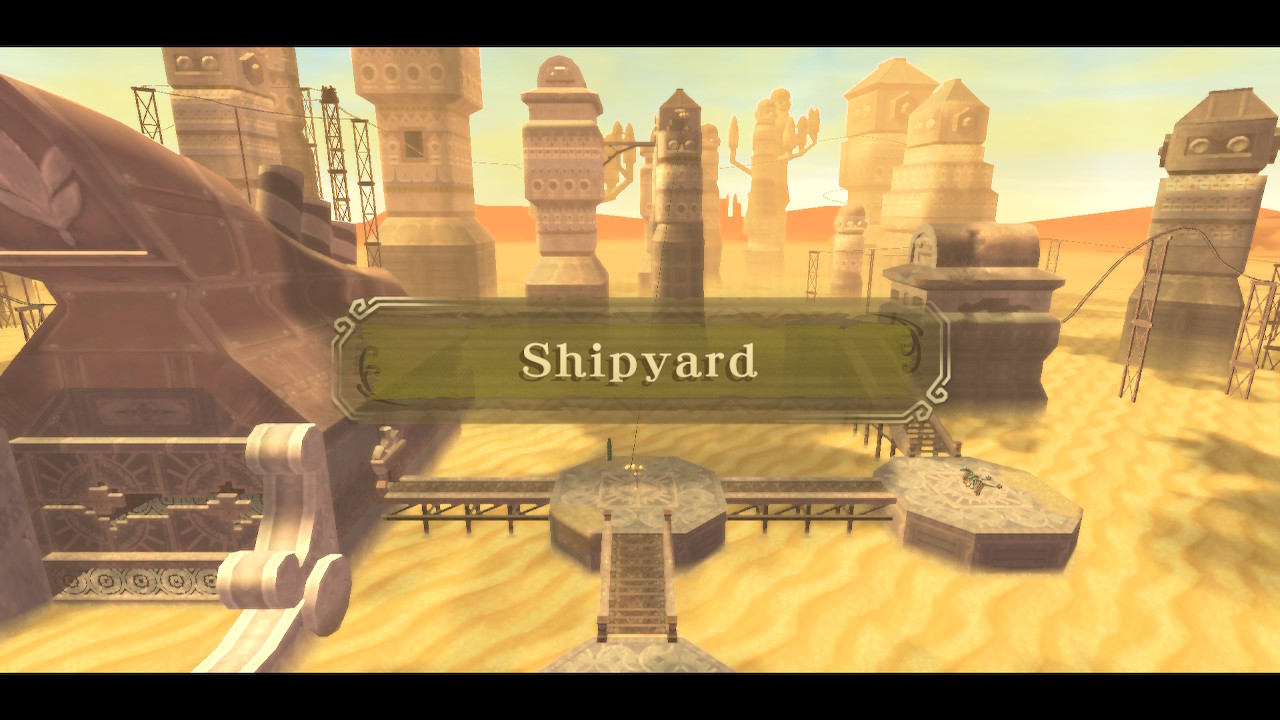
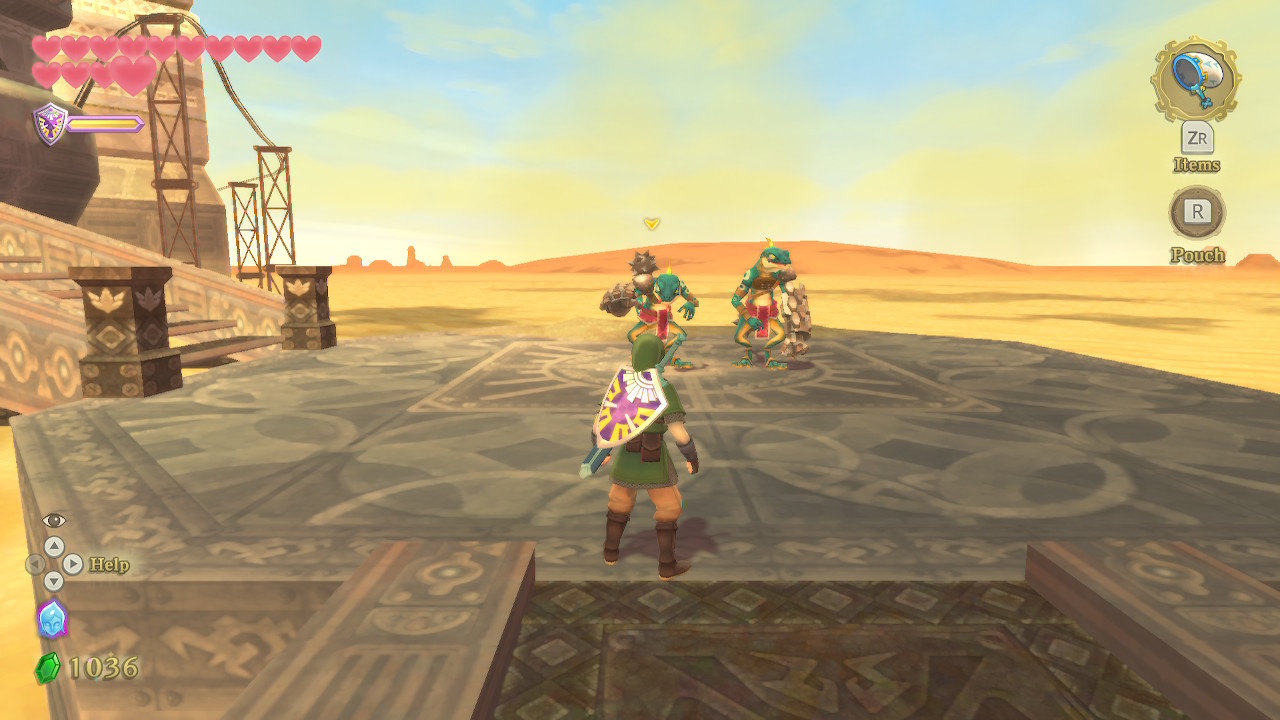
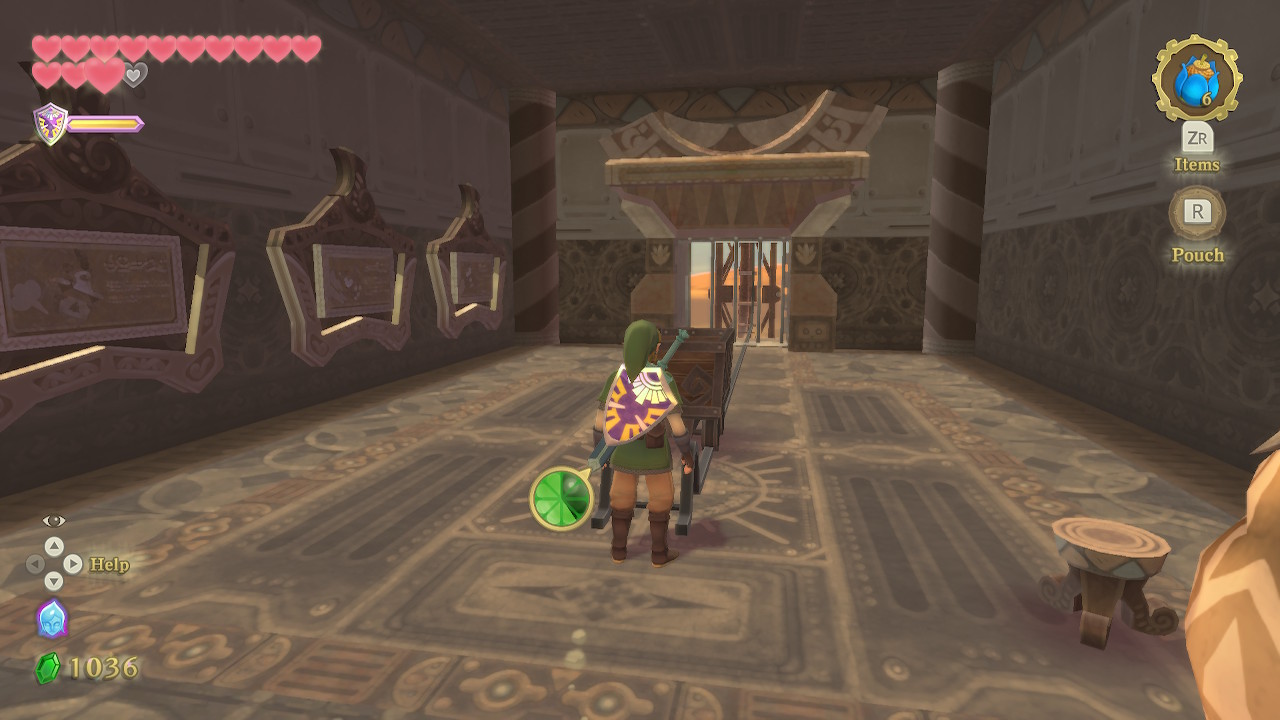
Start off by saving at the nearby bird statue. Continue up ahead and take a right and you'll see two Lizalfos to defeat. Continue up the stairs and enter this room. You can speak to the Goron and read the directions here if you wish. Otherwise, hop into the minecart.
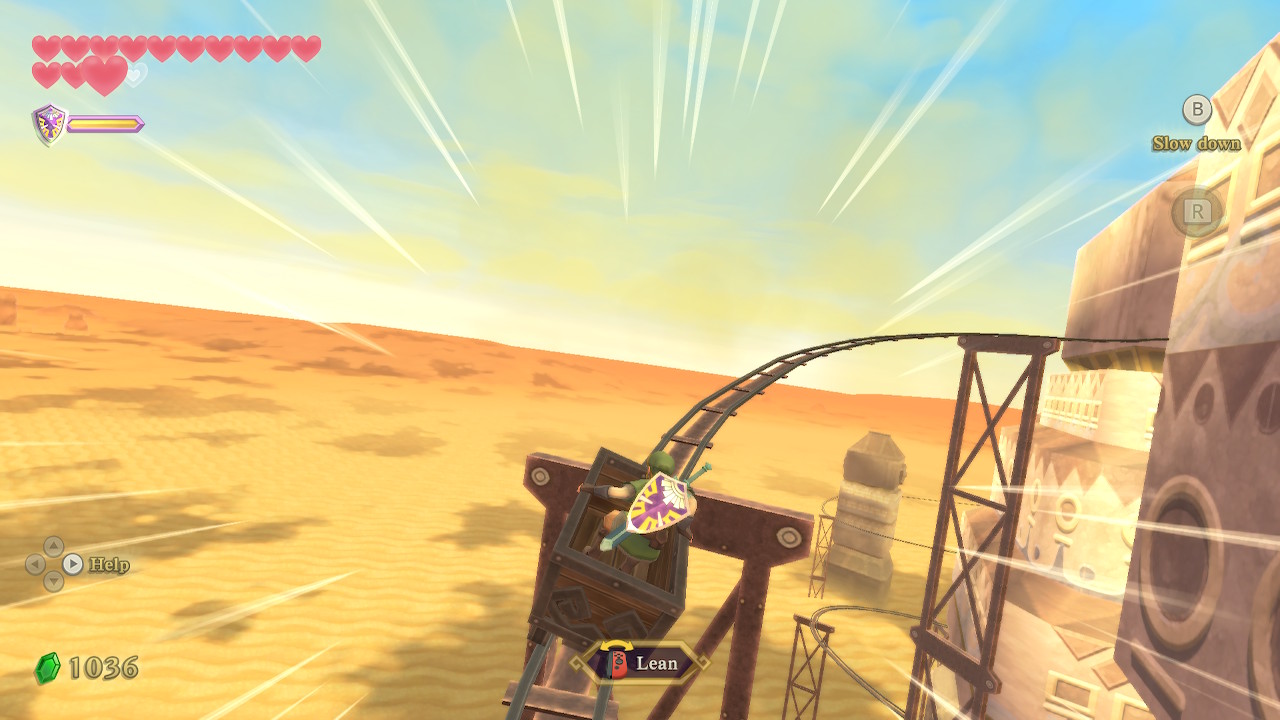
Once on the rails, you'll start going fast very quickly. If you are responsive enough, you can tear through this track at top speed. Otherwise, slow down when needed and counter-balance on the turns to stay in the cart. You'll eventually reach the end of the rail.
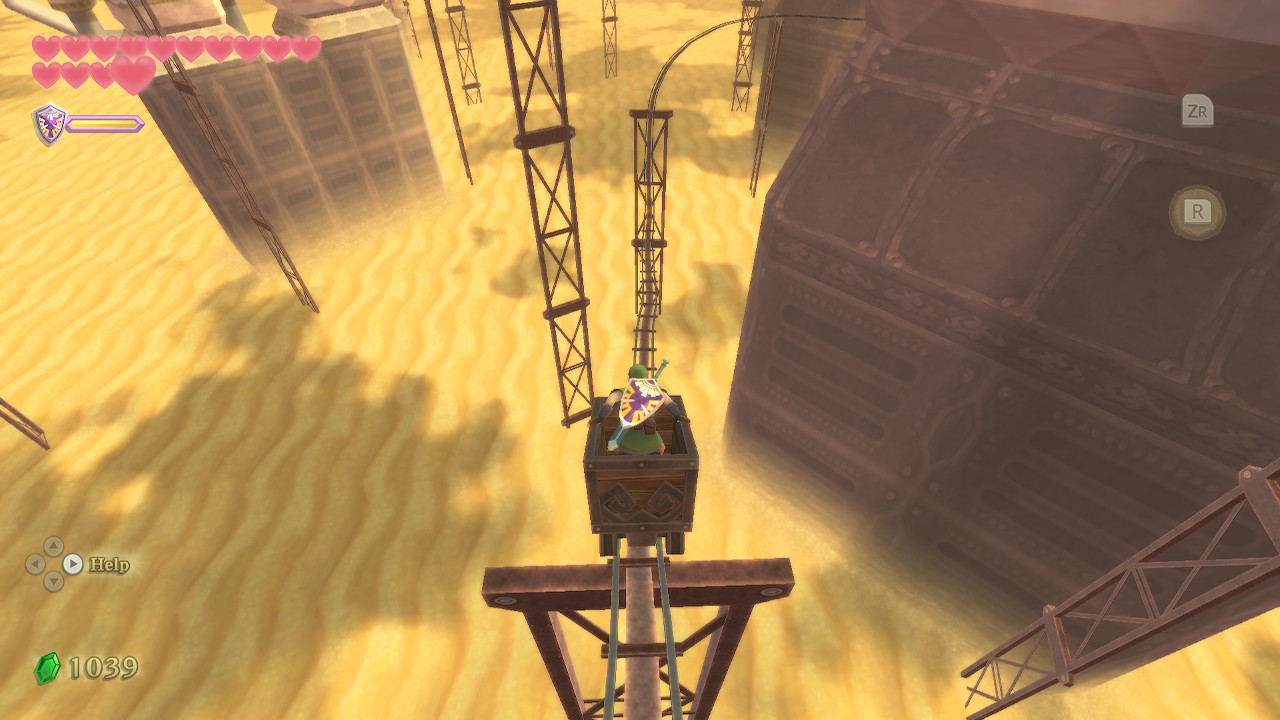
Just continue forward and then take the path to the right to get to the next mine cart. This time, there will be different paths you can take and gaps in the track you'll need to jump. Just lean in the direction of a turn to choose a path. The correct order of forks to take is right, right, left, right, and left. You want to make sure you have a lot of speed when you come up to the jumps, then just balance as you land.
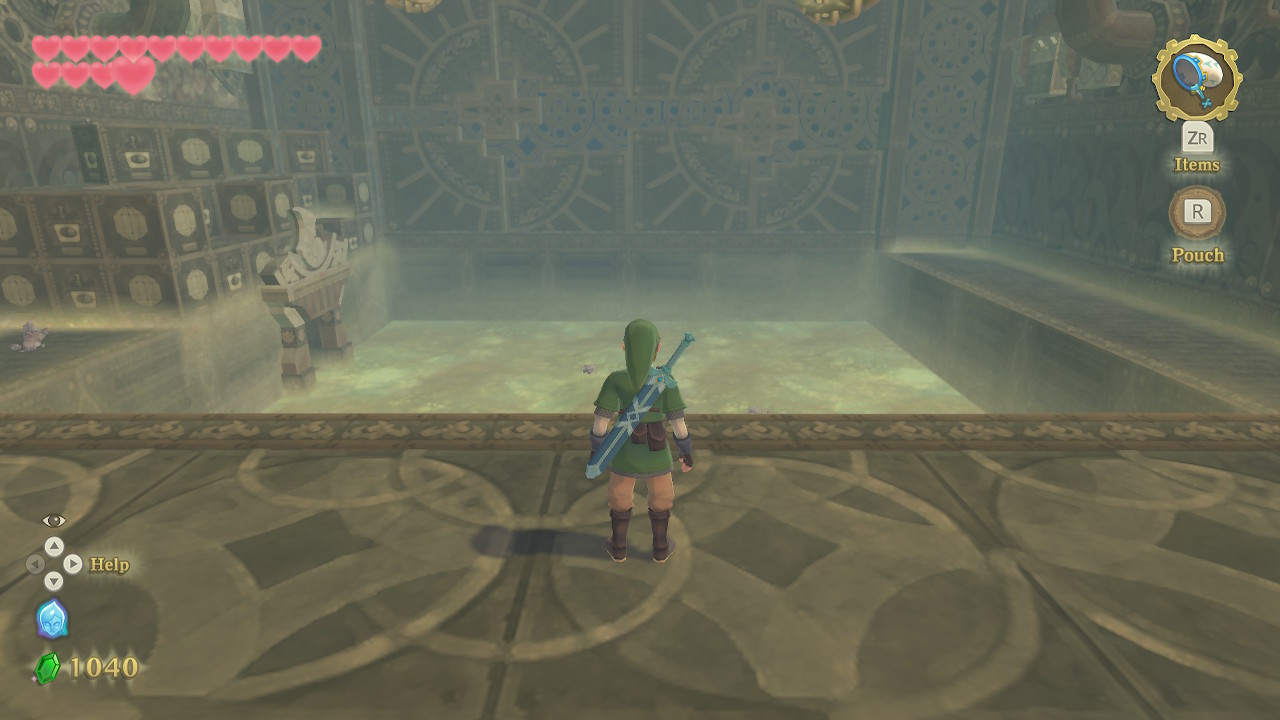
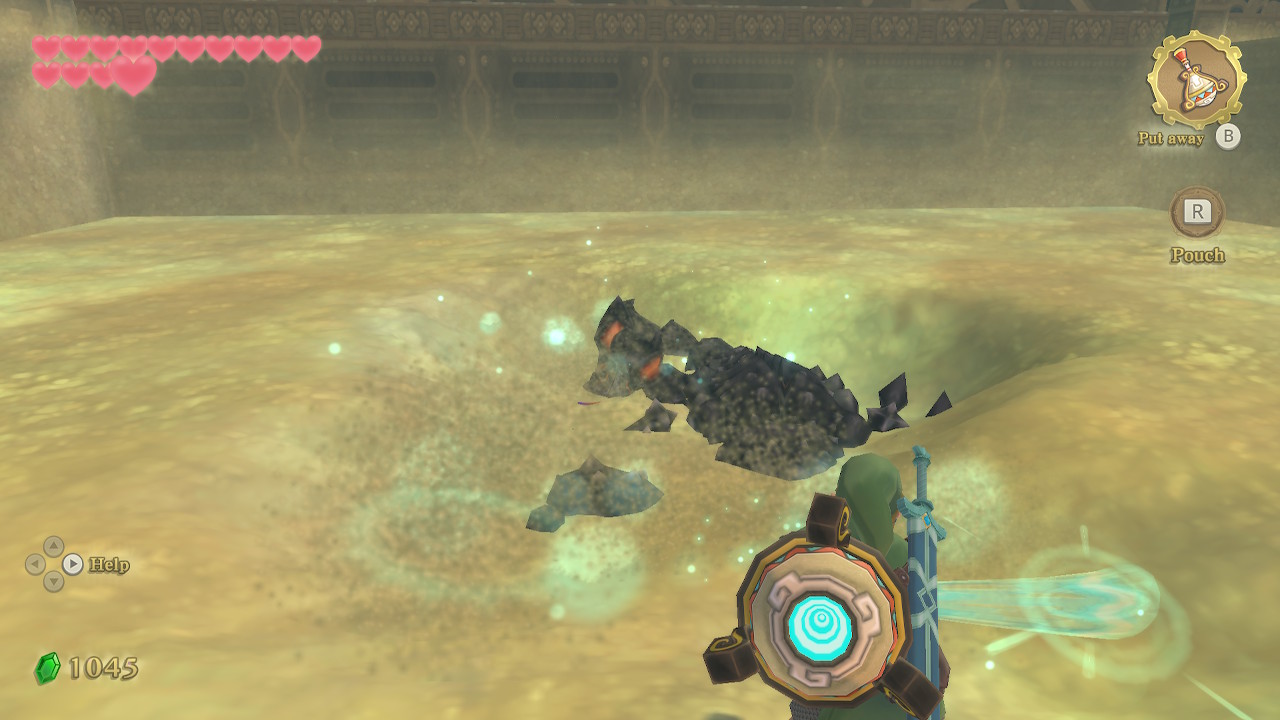
There is a bird statue in the room at the end of this track. Through the door here is the Shipyard Construction Bay. Drop down in the sand here and use the gust bellows to blow off the pile of sand. Here you will actually find a rematch against a dungeon boss, Moldarach.
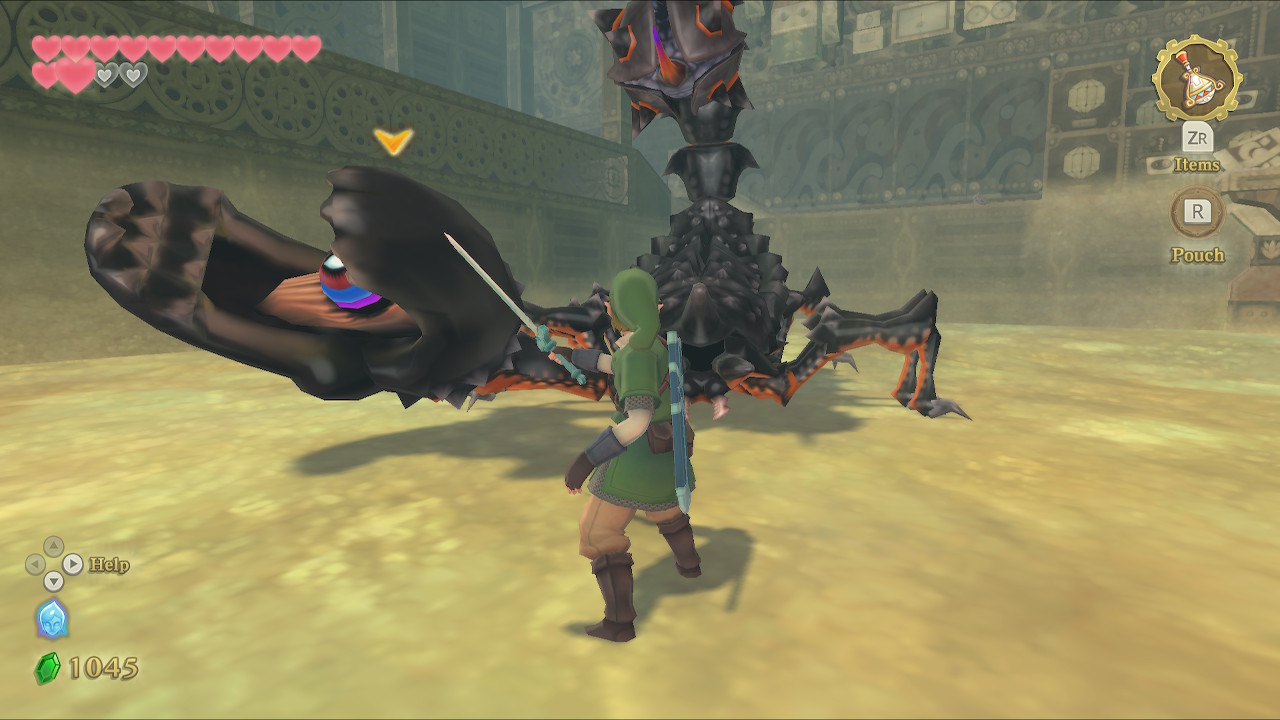
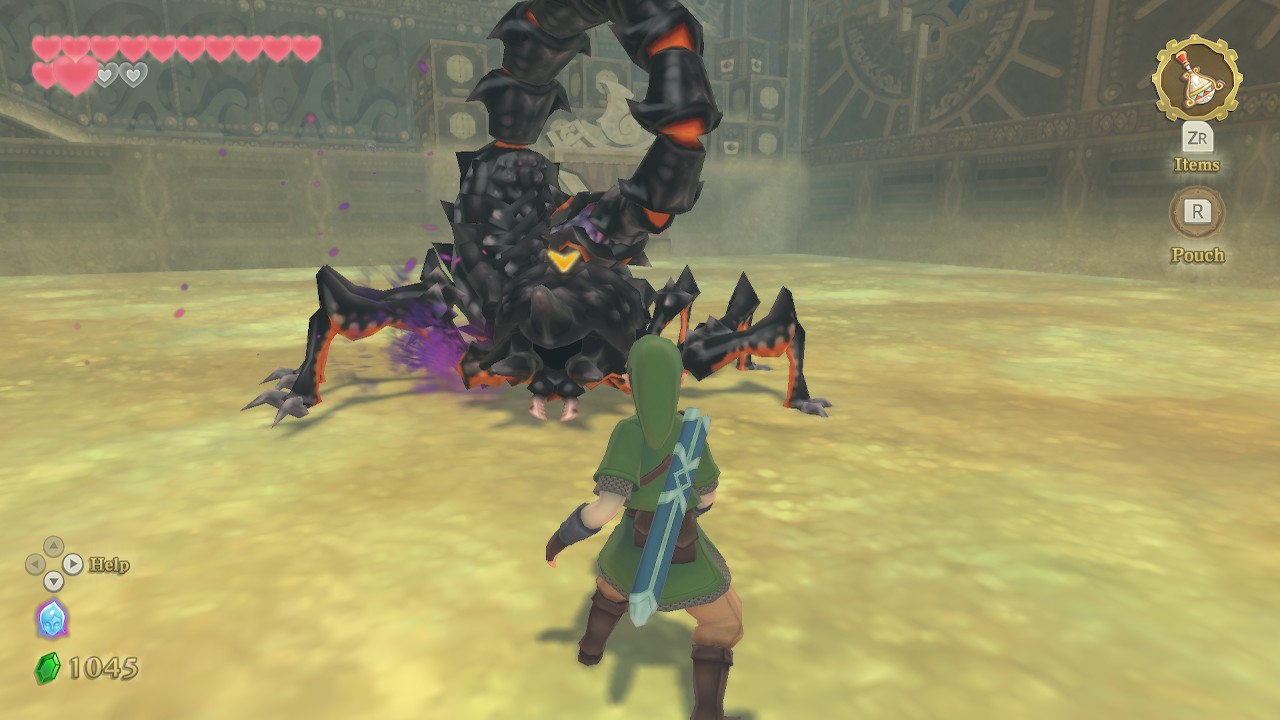
This boss works the same way it did back in the Lanayru Mining Facility. You'll need to perform angled slashes at his two claws until they are gone. During the second phase, he will burrow underground and you'll need to use the gust bellows to unearth him. Then use a thrust attack on his exposed eye and dodge the attacks.
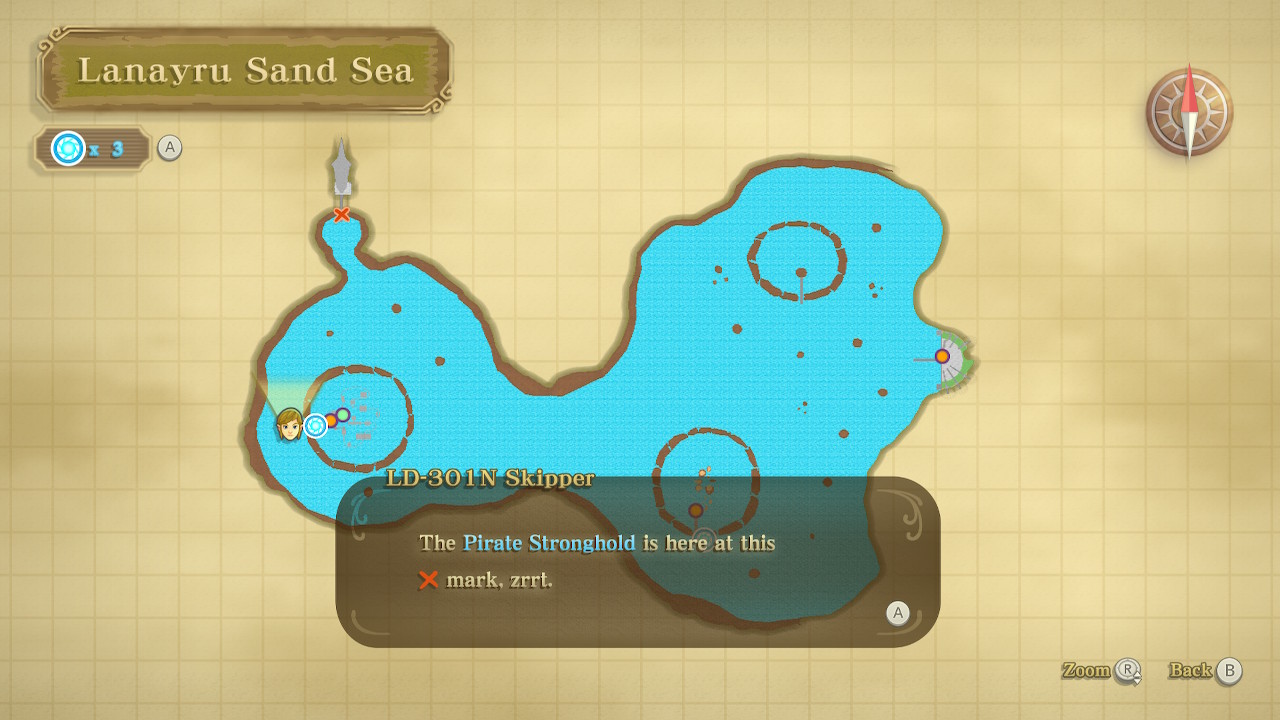
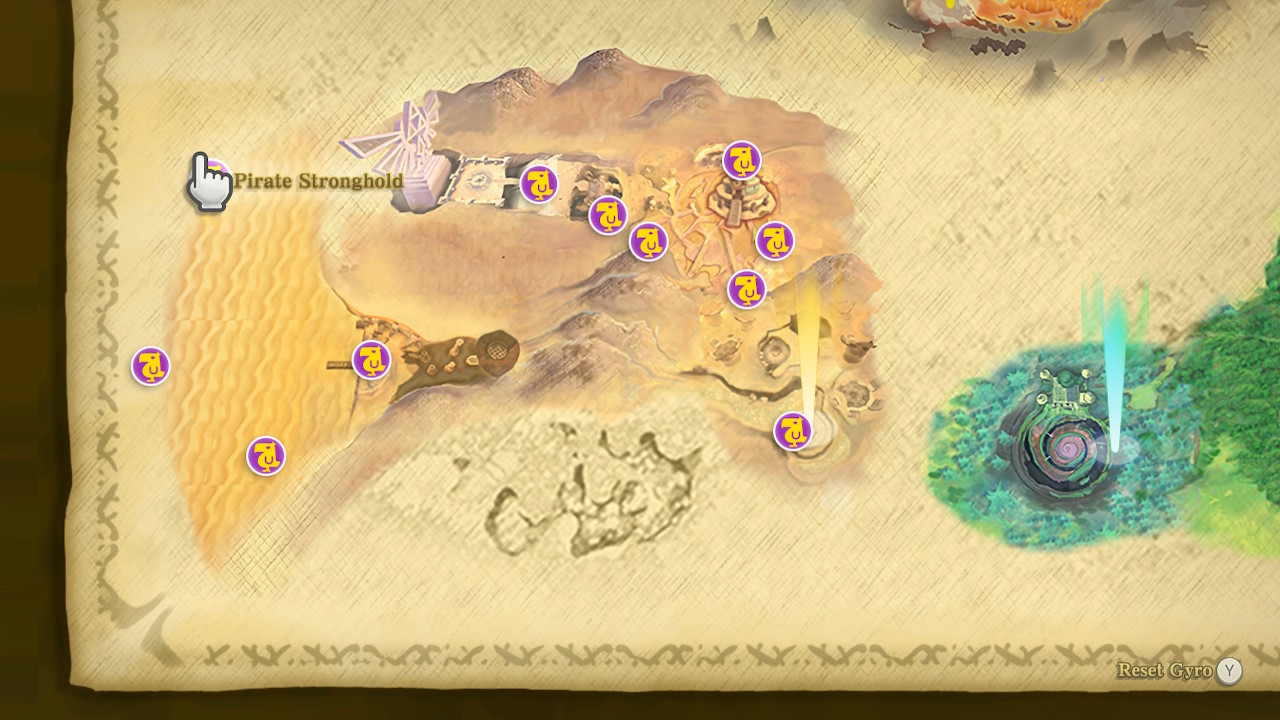
Once defeated, Fi reports that there actually isn't anything for us to find here. So exit the door here and you'll find yourself back near the dock. Speak to Skipper and he'll mark the location of the Pirate Stronghold on your map. Go ahead and sail on over there. It's a short trip straight to the north.
Pirate Stronghold
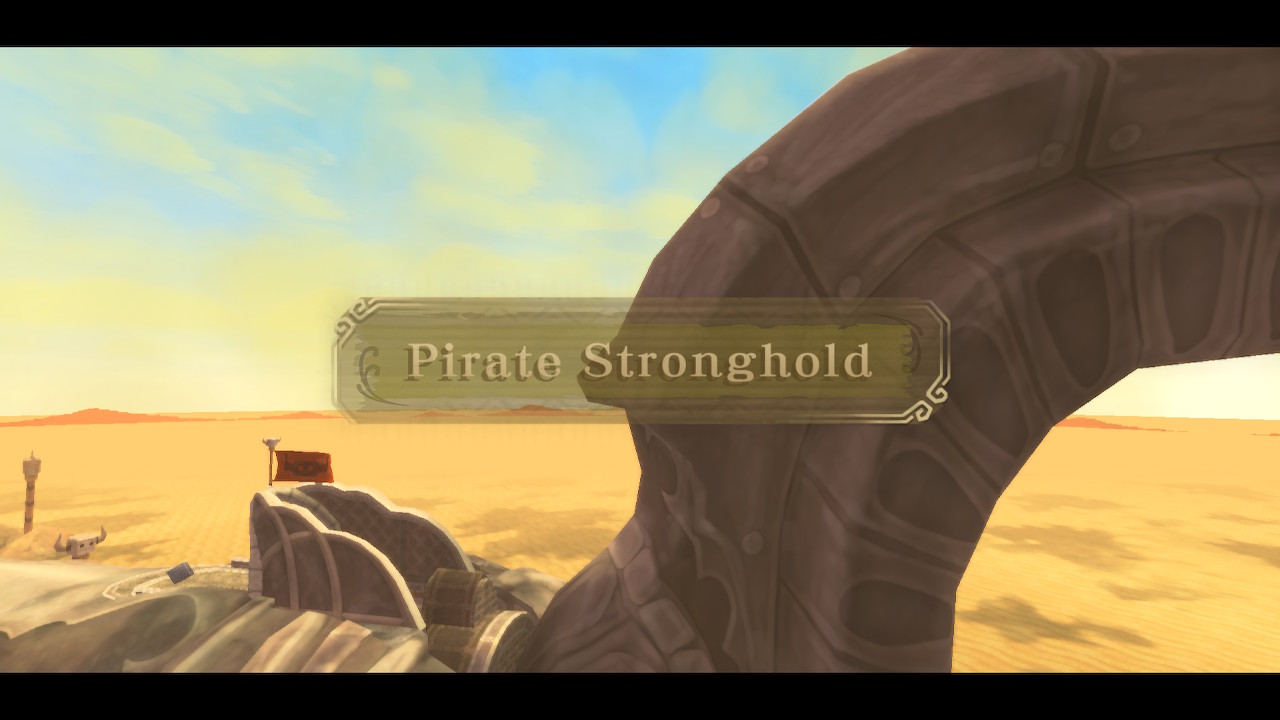
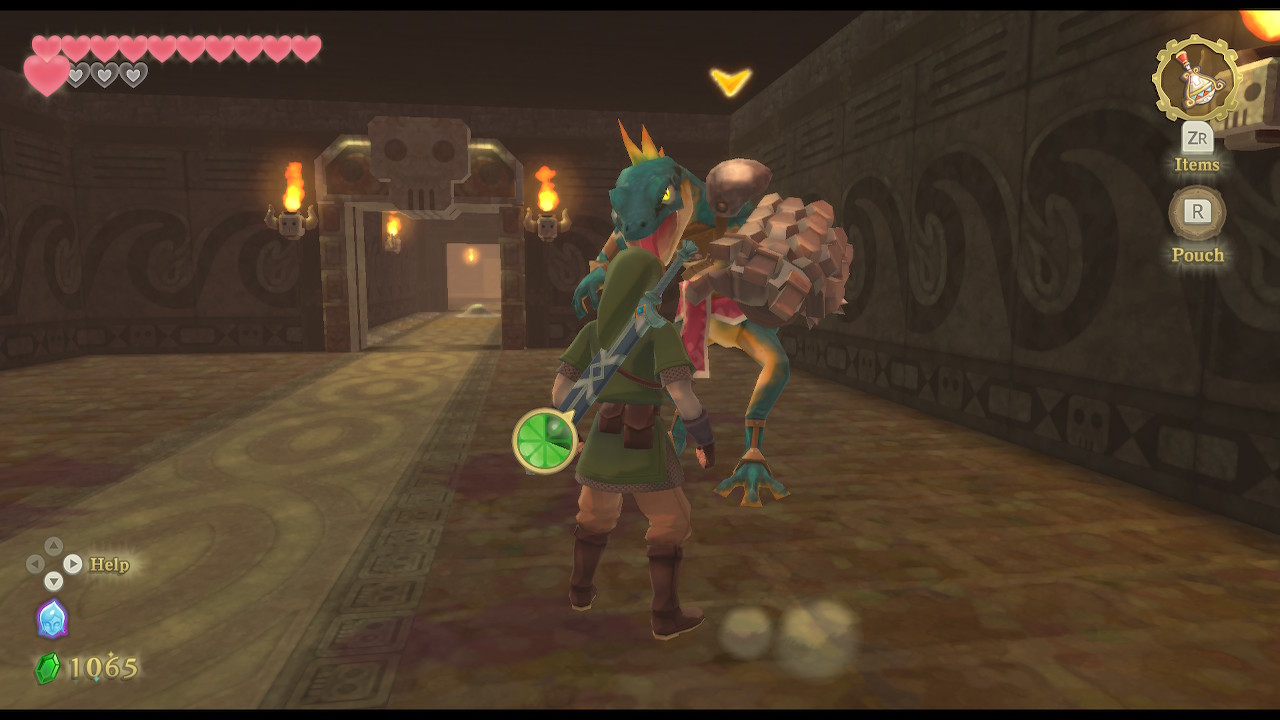
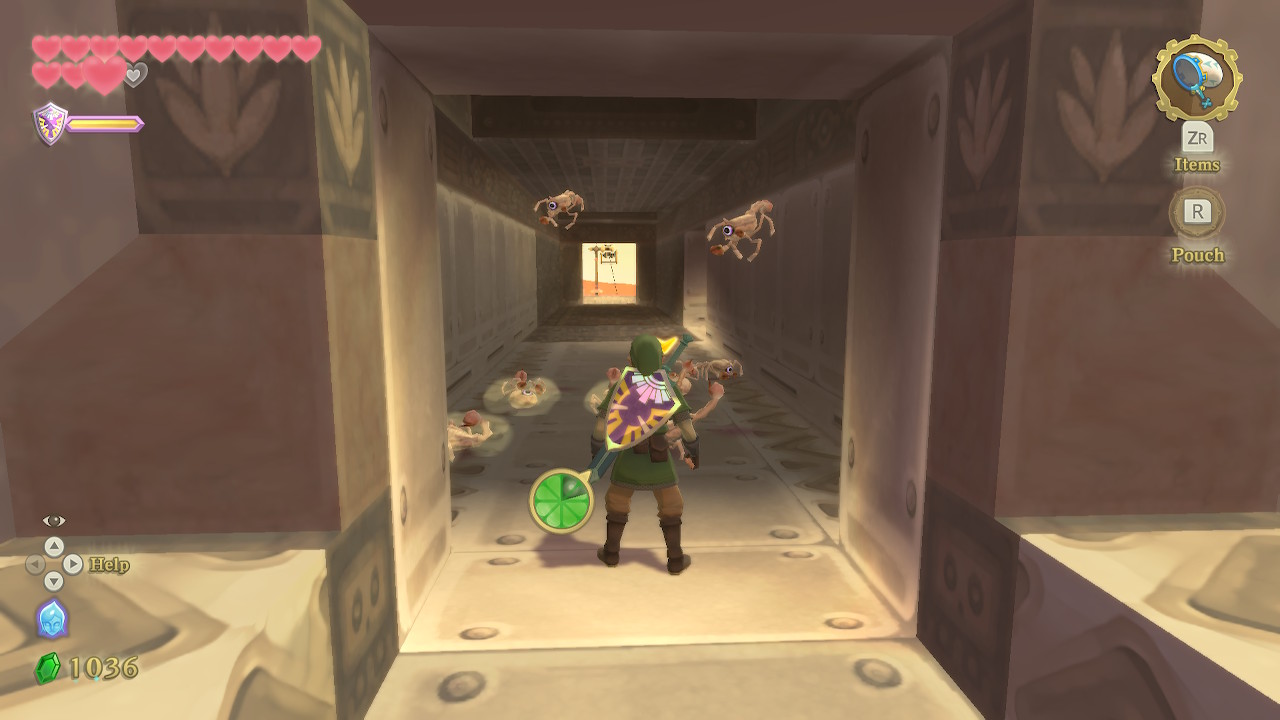
There is a bird statue just ahead past the dock. Head to the right and you'll come across a door that enters into the Pirate Stronghold. Go through the door in the northwest corner of this room. In this corridor, there are some rupees under the piles of sand and a couple of Lizalfos to beat up ahead.
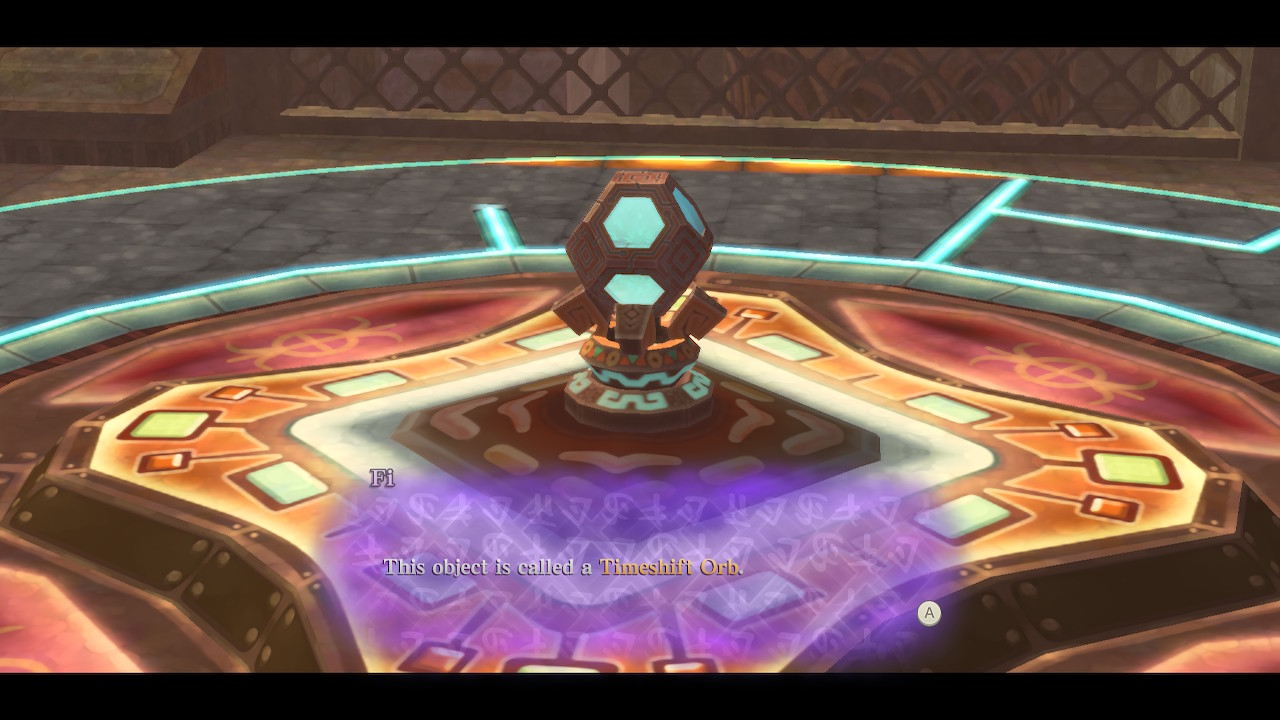
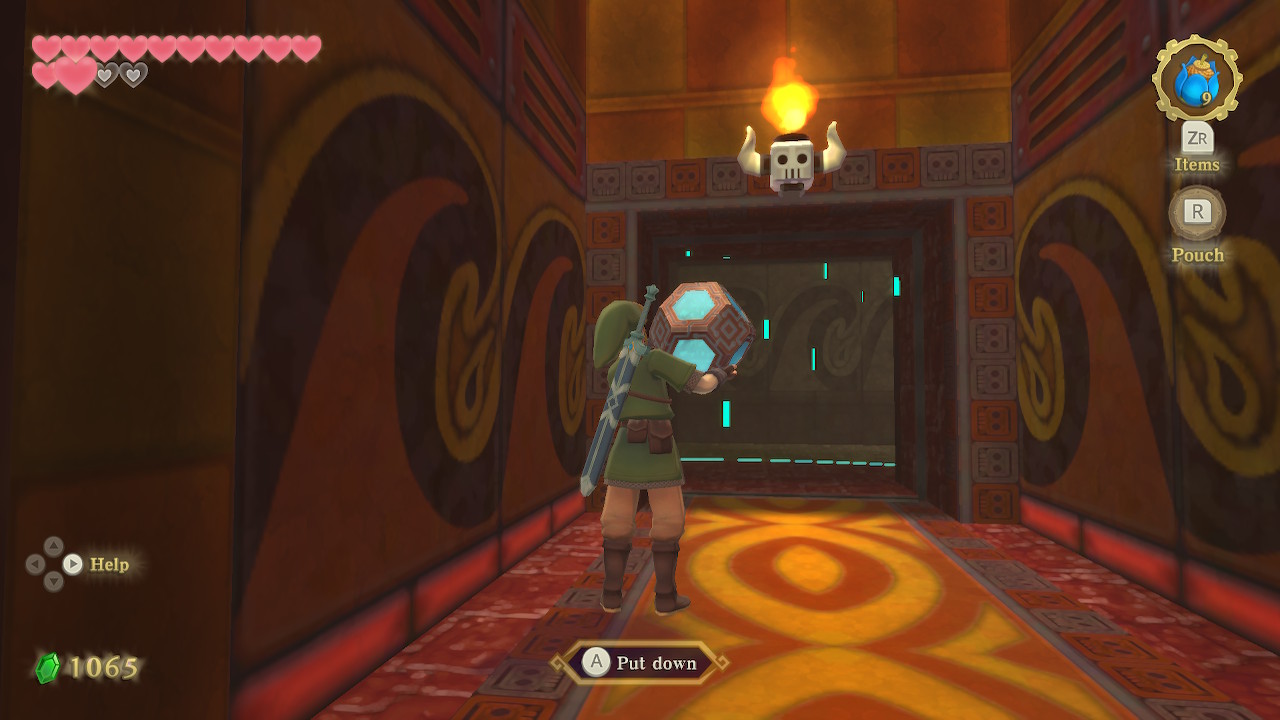
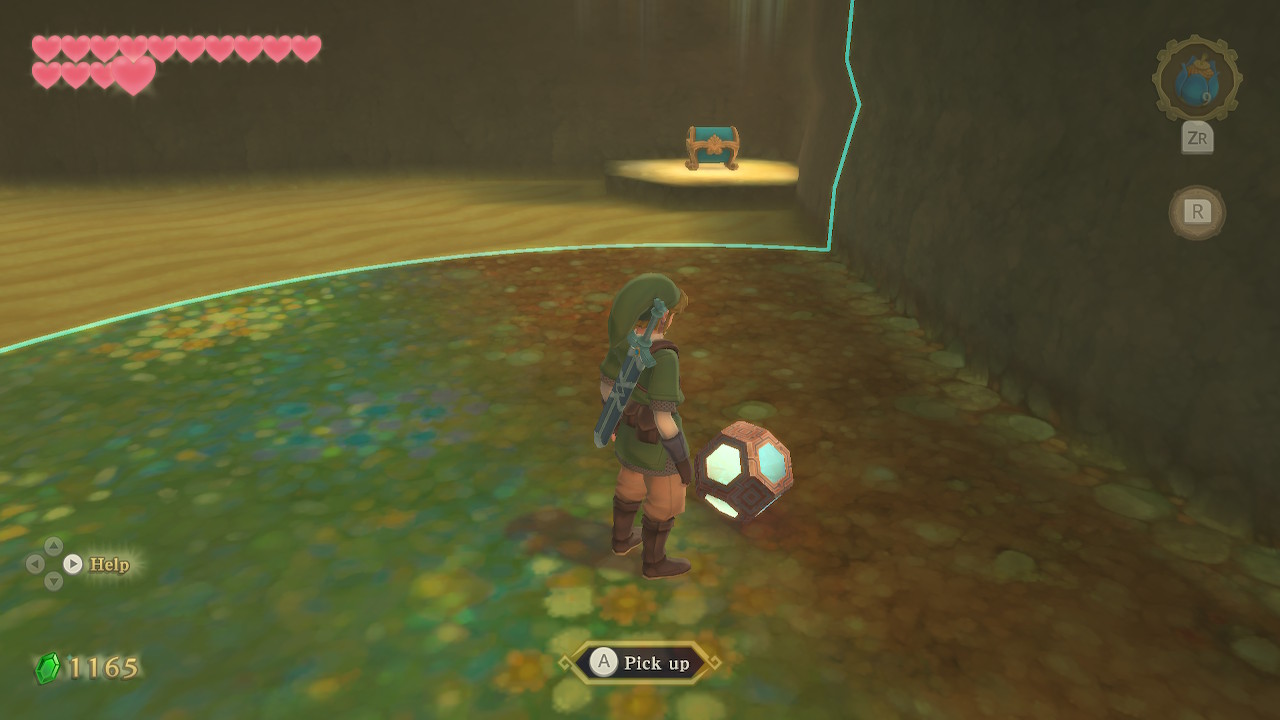
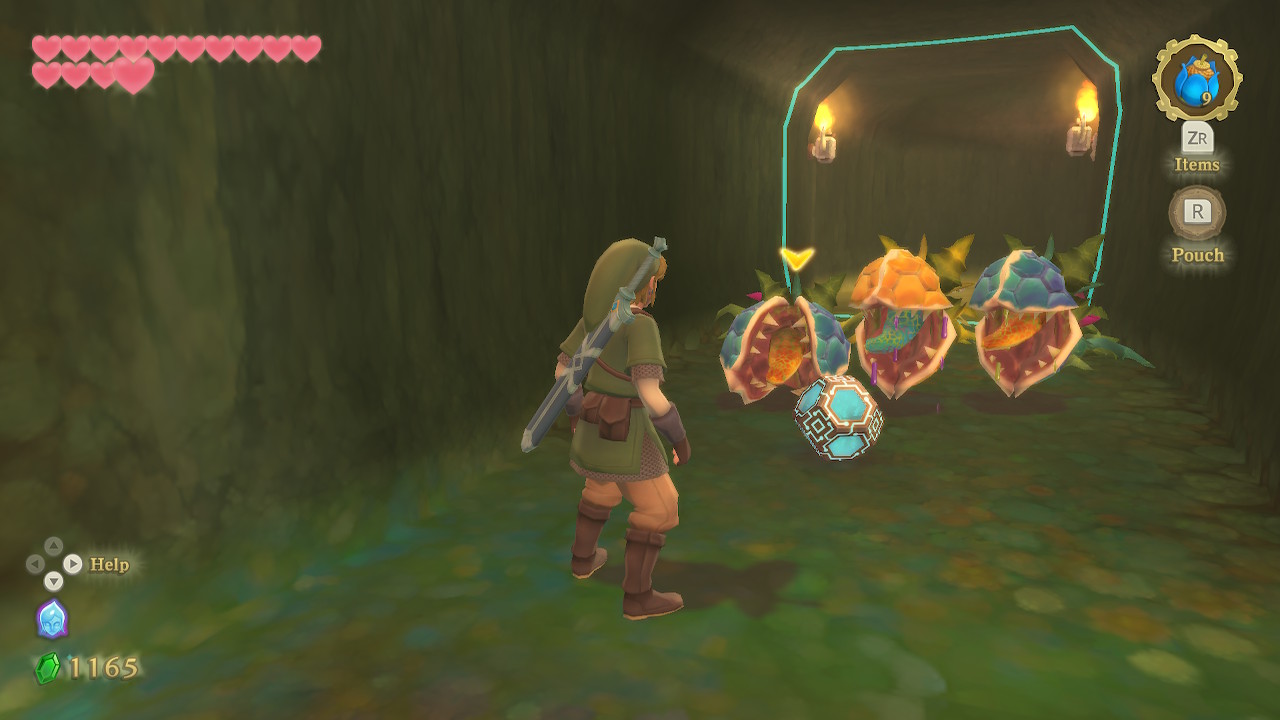
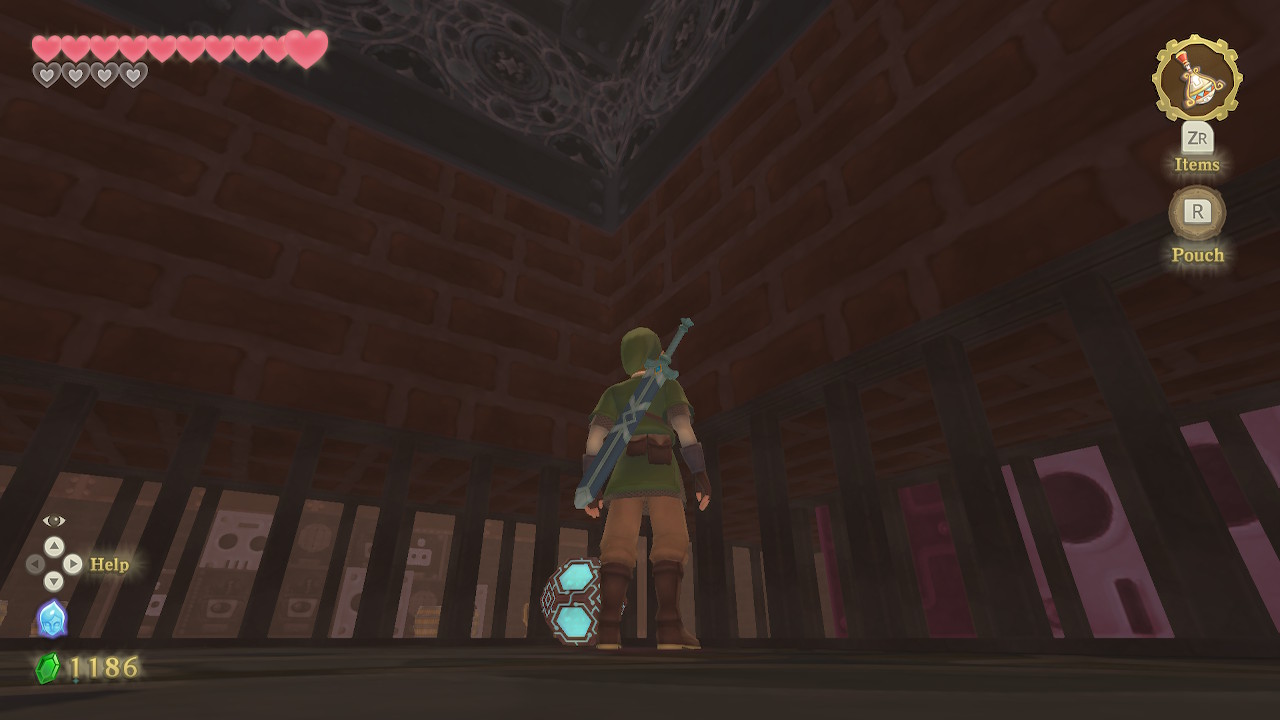
Continue forward after beating the Lizalfos and enter through this door after the sandpit. In this next room, you'll find a Timeshift Orb. This is basically just a mobile Timeshift Stone. Pick this stone up and head through the door covered in spikes, which will disappear when you get close.
Continue down this hallway with the orb and eventually it will cause a few Technoboblins to spawn. Make quick work of them and head through the next door with the orb. A Beamos will guard the door in the next room, so defeat it. There is a chest containing 100 rupees in a small alcove, but you'll need to keep the orb away from the door entrance to get in there.
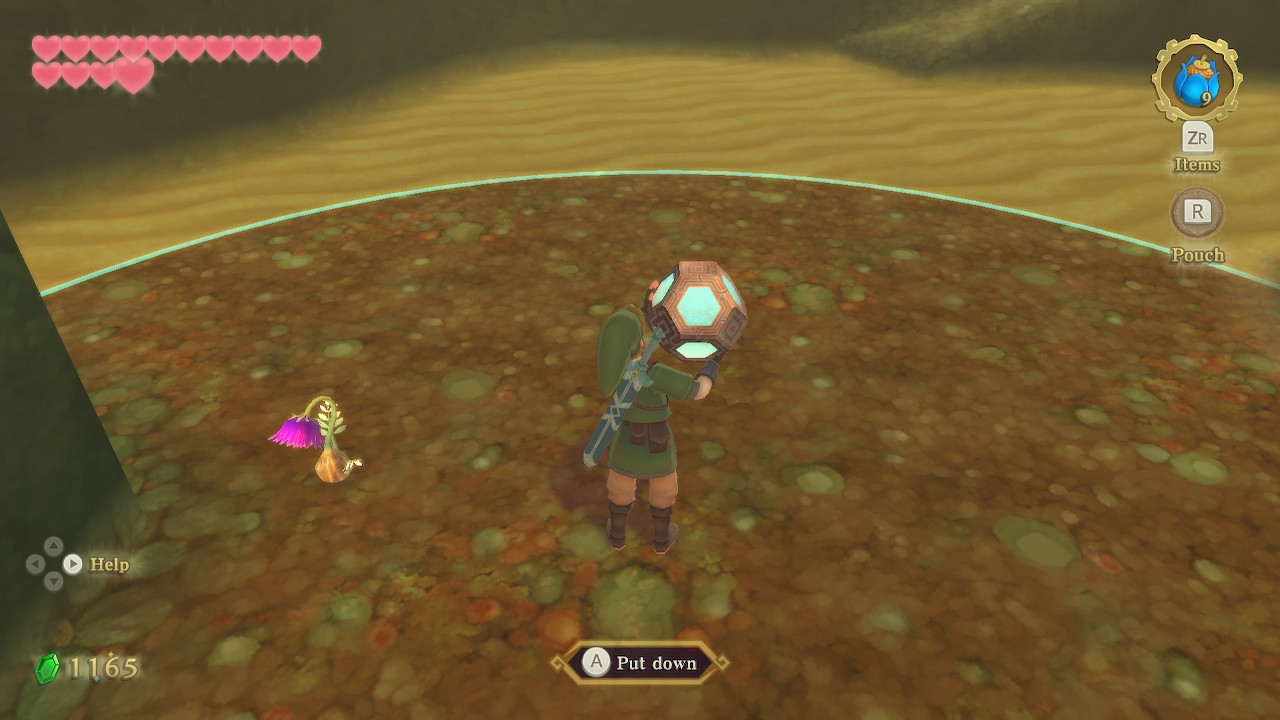
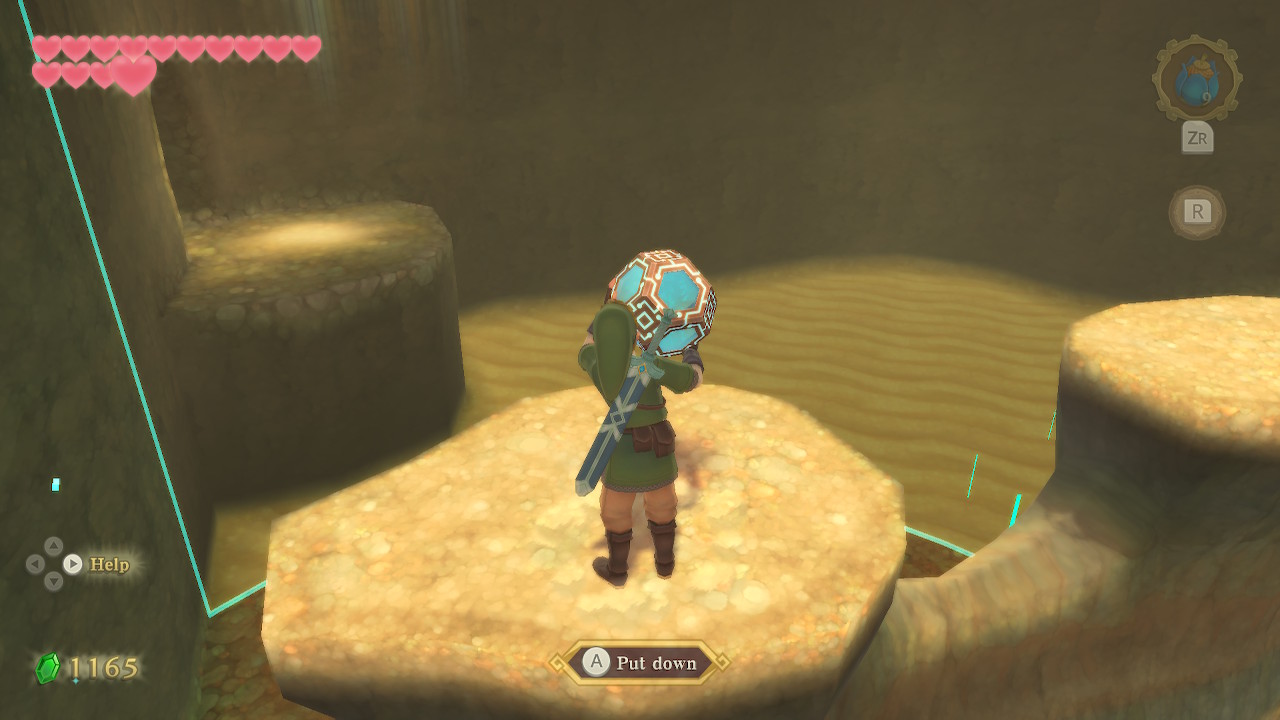
In this room, the orb will cause the quicksand to turn into solid ground and large platforms will appear. First, look around on the ground to find a couple of Ancient Flowers. Then go up the ramp and use the platforms to hop across and exit this room to the north.
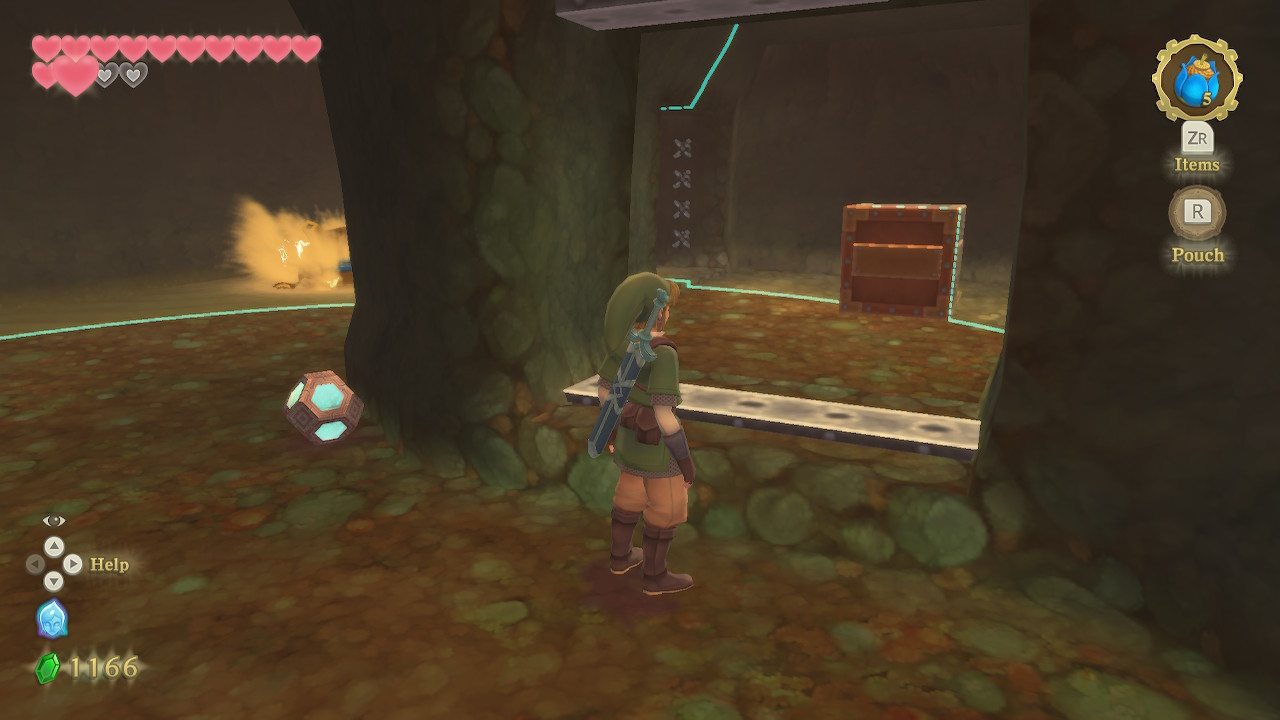
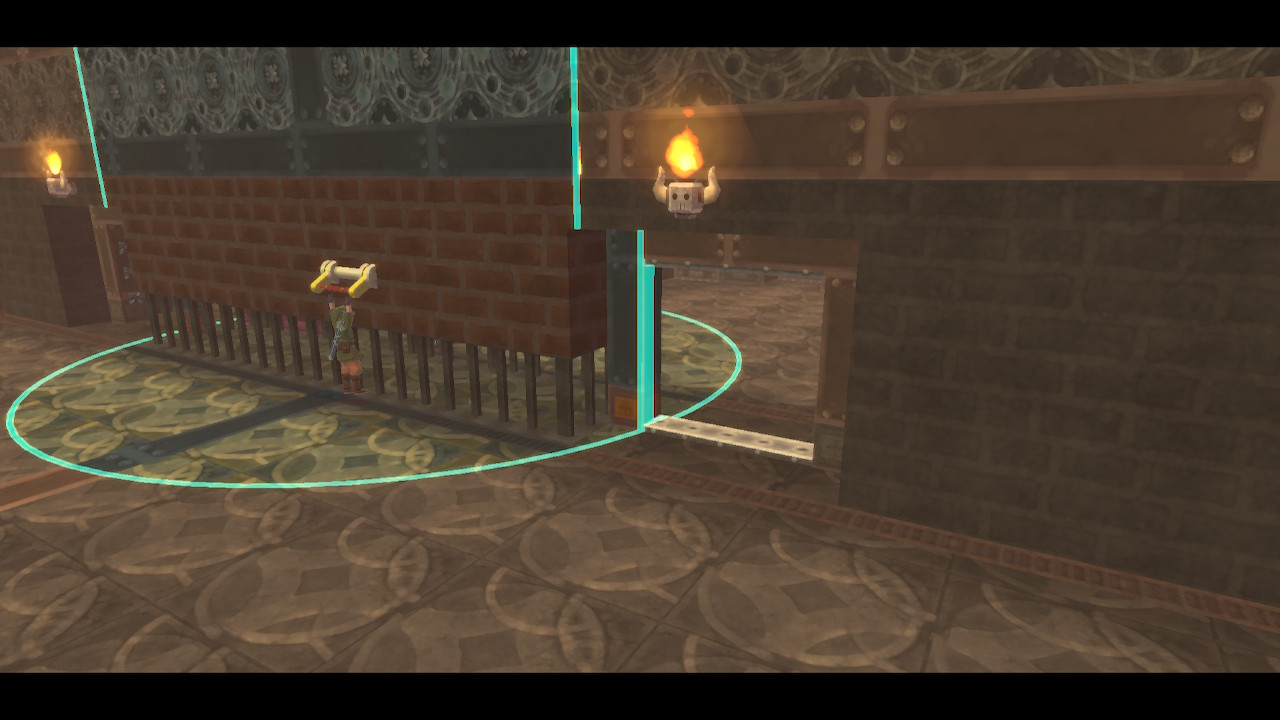
In the next room, drop the orb early on and take the left path around where you'll see a lever. Pull this down to open the gate, which will let you bring the timeshift orb through. You'll then enter another quicksand room. Bring your orb close enough to the chest in the corner that pillars don't spawn around it. Then run across the quicksand and open it to get an Evil Crystal. There's nothing else to do in this room, just avoid the Deku Babas and exit to the south.
Several enemies will spawn in the next hallway as you are walking through. Remember, you can use bombs to quickly defeat Deku Babas. In this next room, place the orb in the corner outside of the small room so that the electrical waves don't spawn. Then enter the small room and push the block onto the switch. You can then exit the large room with the orb.
You can head through the opening without the orb and open the chest you see to get a Monster Horn. There are also red rupees under the sand piles here. Then head back to the next room and carry the orb through the opening. Defeat the two Beamos that spawn here. Then, place the orb in the northwest corner of this room.
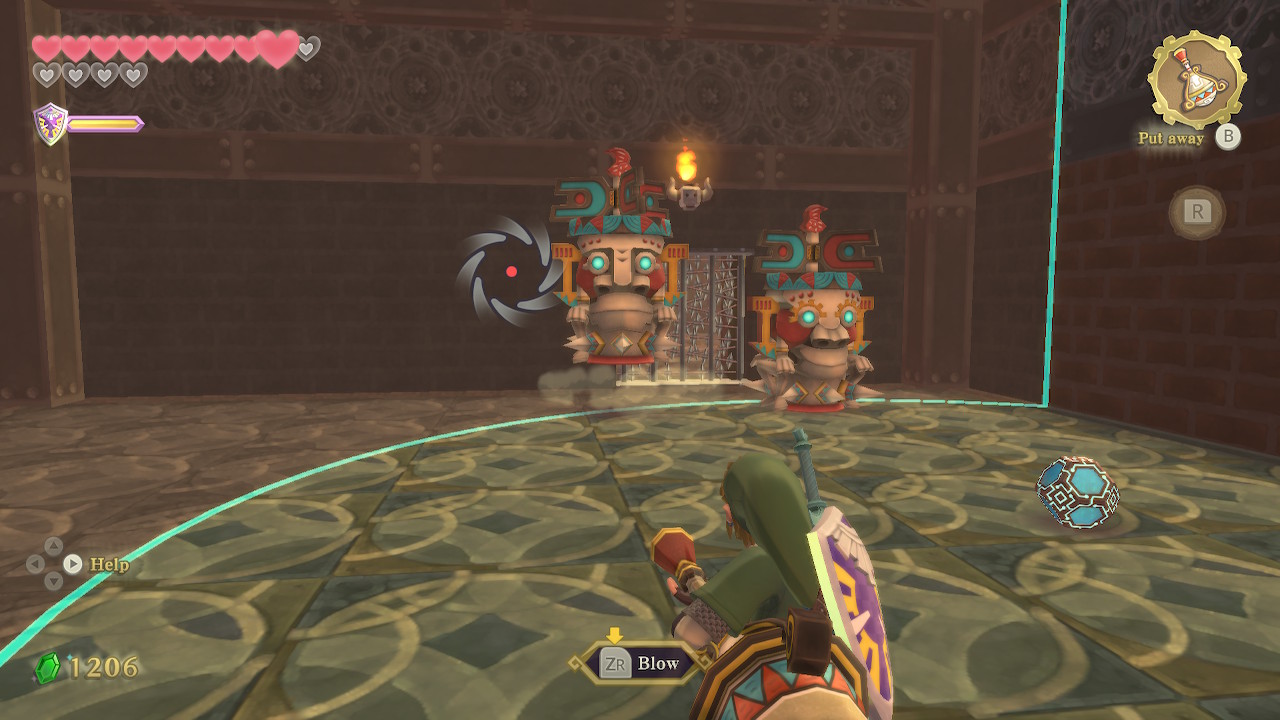
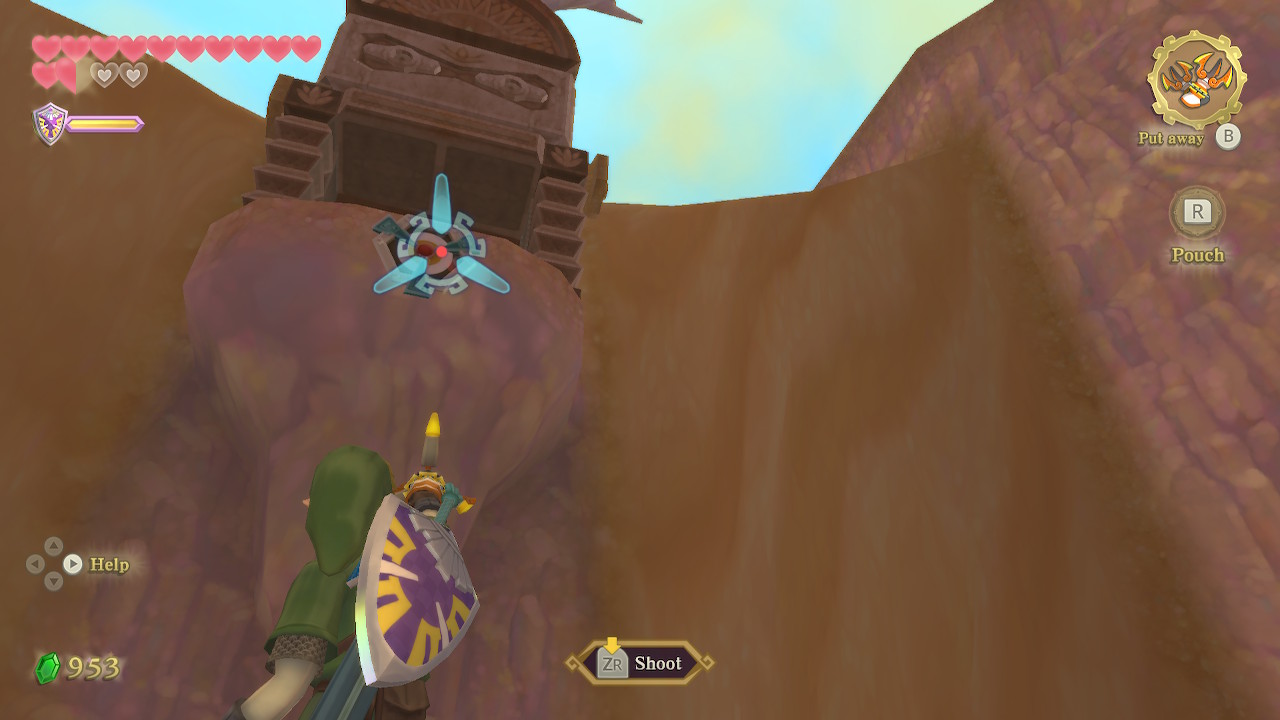
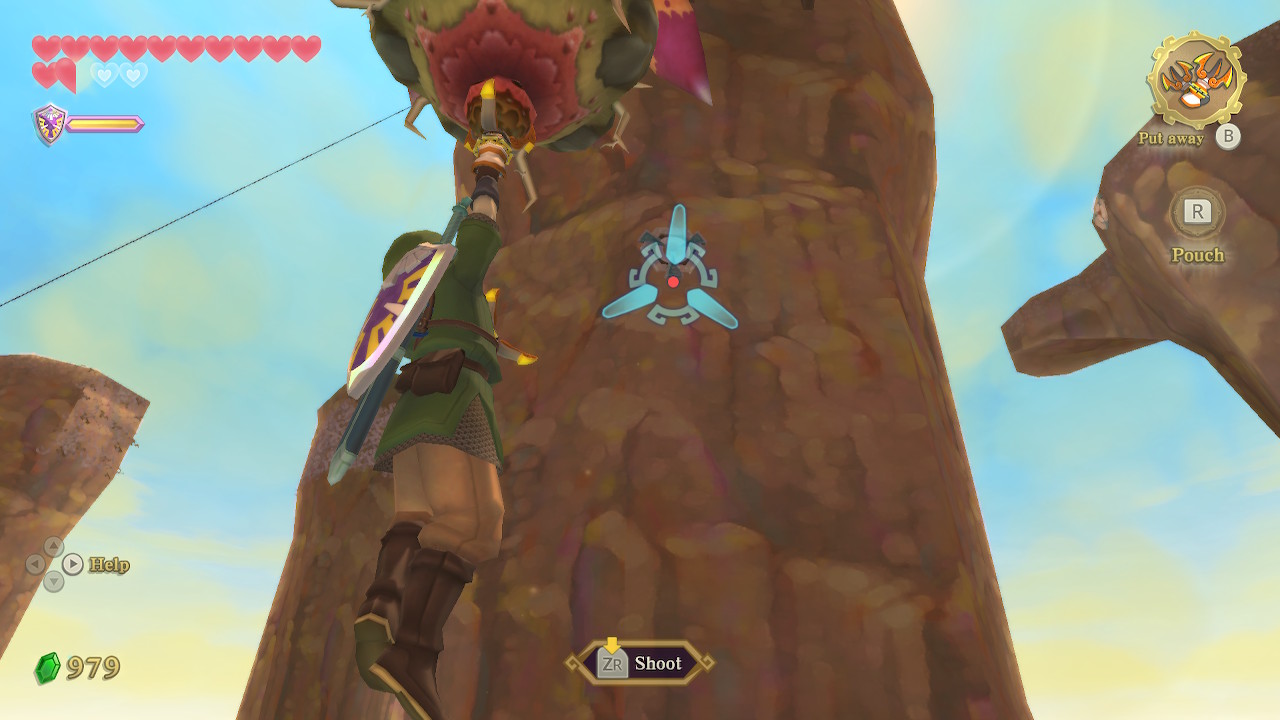
Enter the large room and you can now pull the lever, opening the gate. Walk close to the door to activate the two Armos here. Defeat them by using the gust bellows on their top propellers and then slashing the crystals in their mouths. Defeating them opens the gate, so pick up the timeshift orb and walk through.
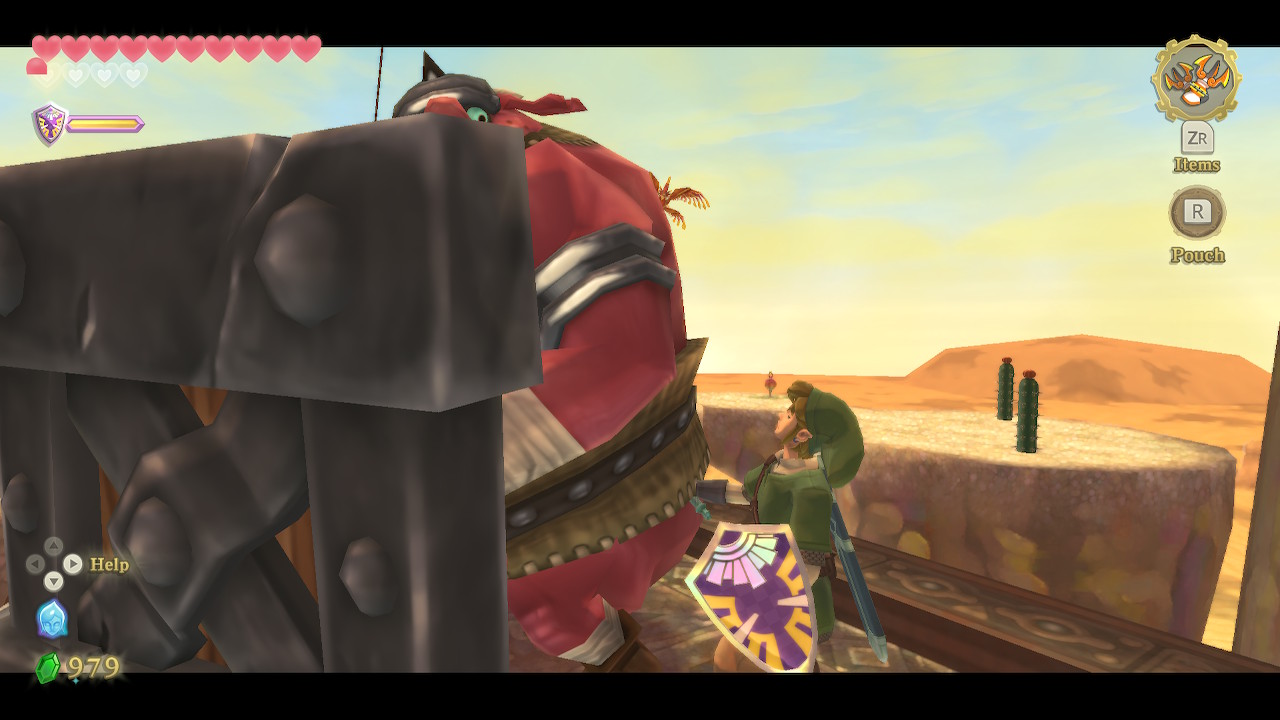
Place the timeshift orb on the pedestal here. This will cause the building to change outside, and the large mouth will open up. You can then head through the door in this room that just opened up. Outside, you'll find a target above the door. Clawshot up here and then onto the next target to get on a small roof. Here you'll find Goddess Cube #21 that you can activate with a Skyward Strike.

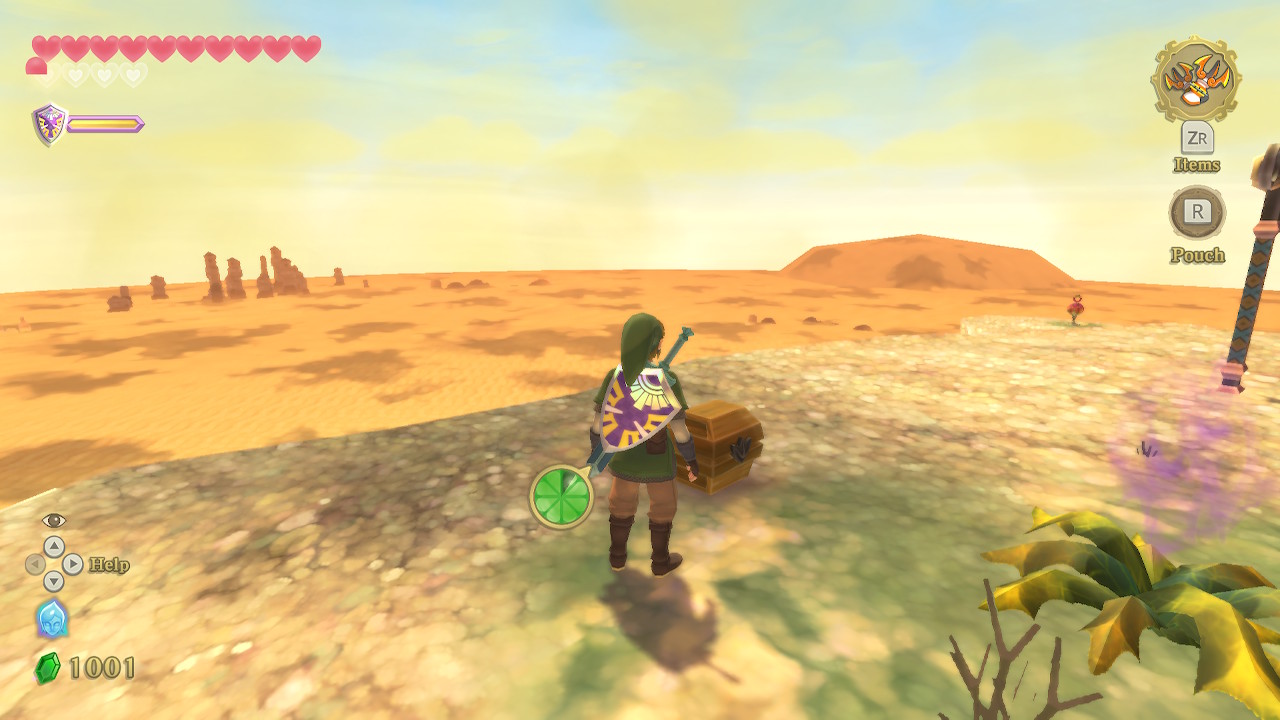
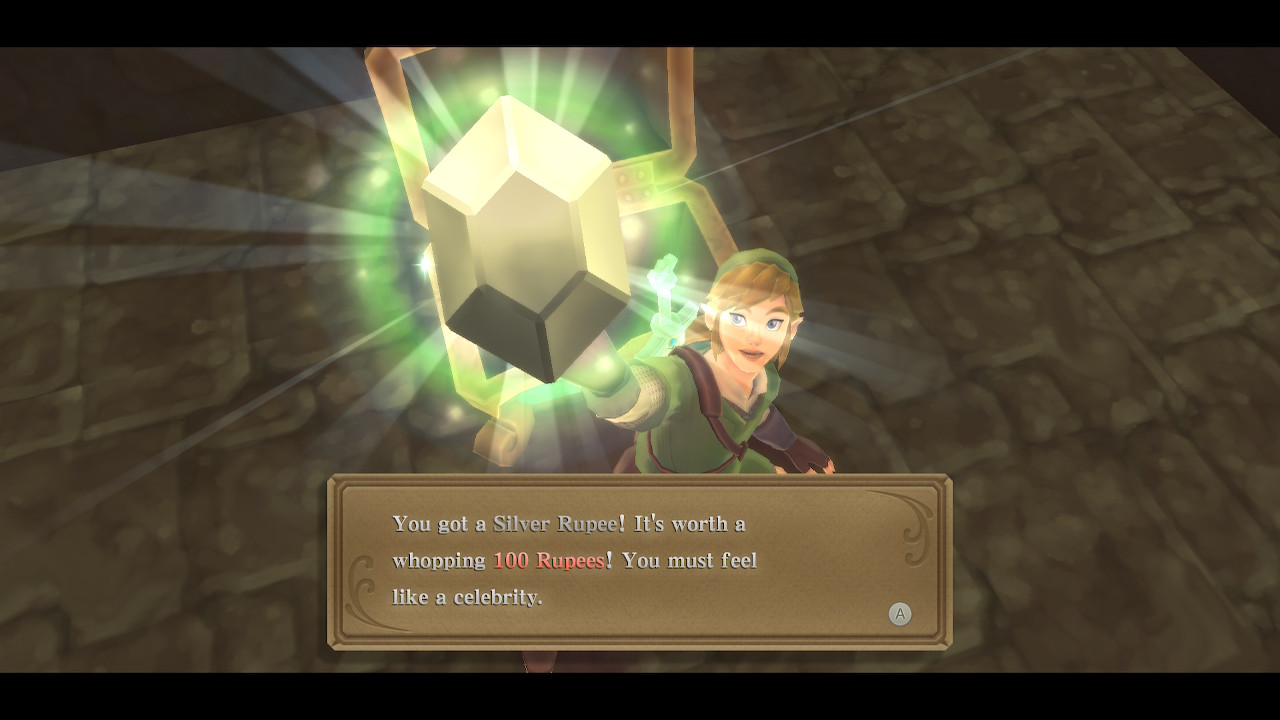
From up here, you might notice that there are three silver rupees on top of the large skull pillars in the distance. You can send out your beetle and reach all three of them from here (you may have to move a bit closer if your beetle isn't upgraded yet). This will net you a cool 300 rupees. Hop down and cross this bridge so that Fi can register the ship to your dowsing ability. At this point, we can find the Sandship and enter the next dungeon. However, there are many things to do and goodies to collect up in Skyloft that this guide will cover. Feel free to skip the next section if you aren't interested.
Skyloft Collectathon
Goddess Chests
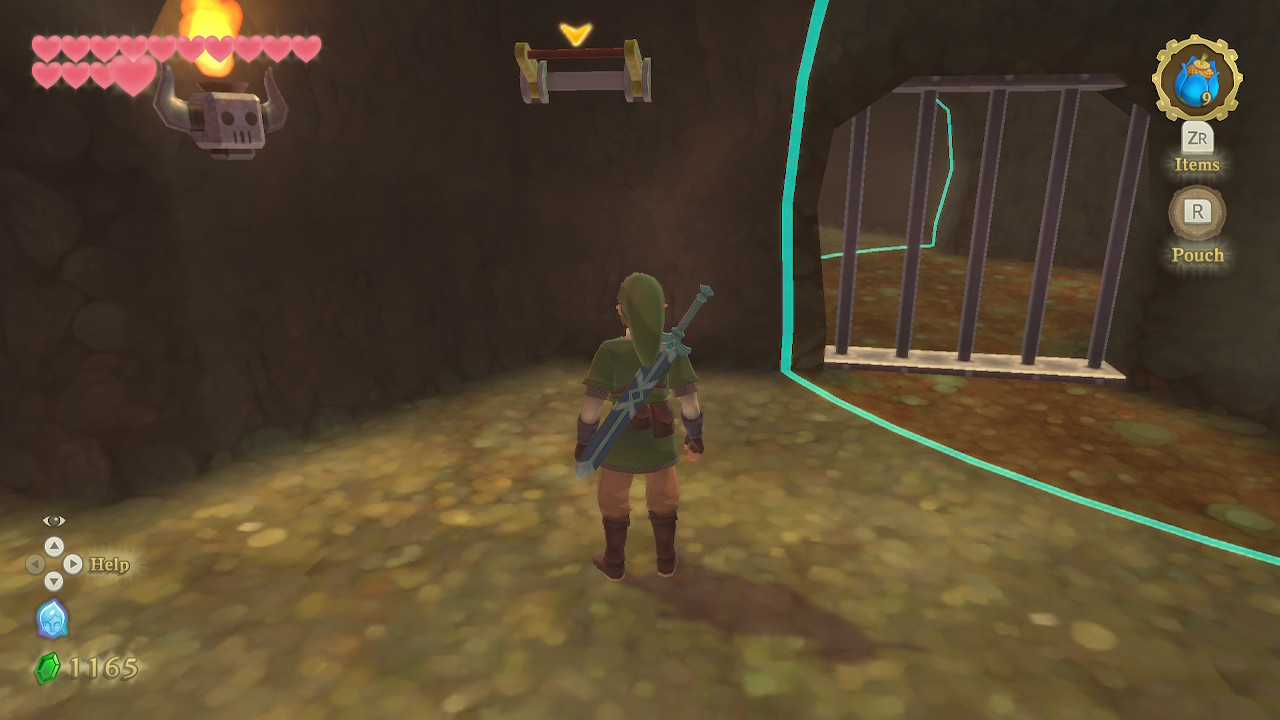
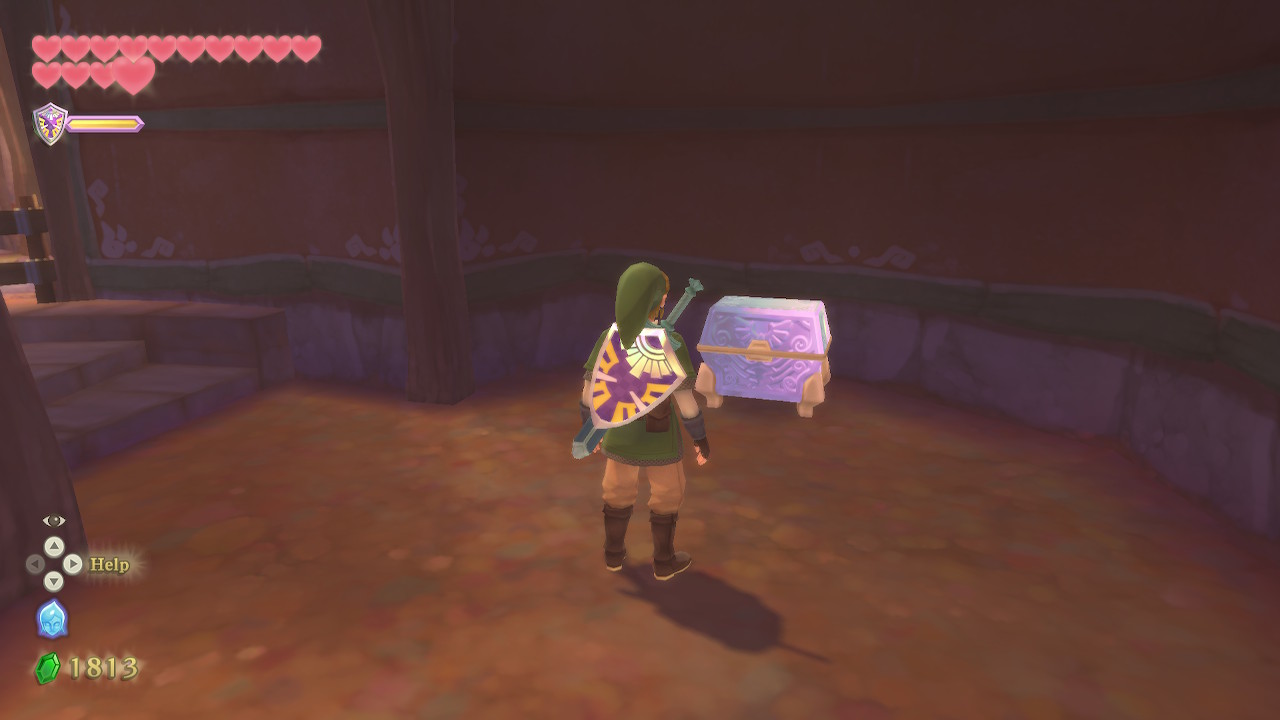
Use the nearby bird statue to take to the sky. While we are flying around up here, there are several Goddess Chests to find and open. First, head to the small island northwest of Fun Fun Island. There are two chests for us to open here.
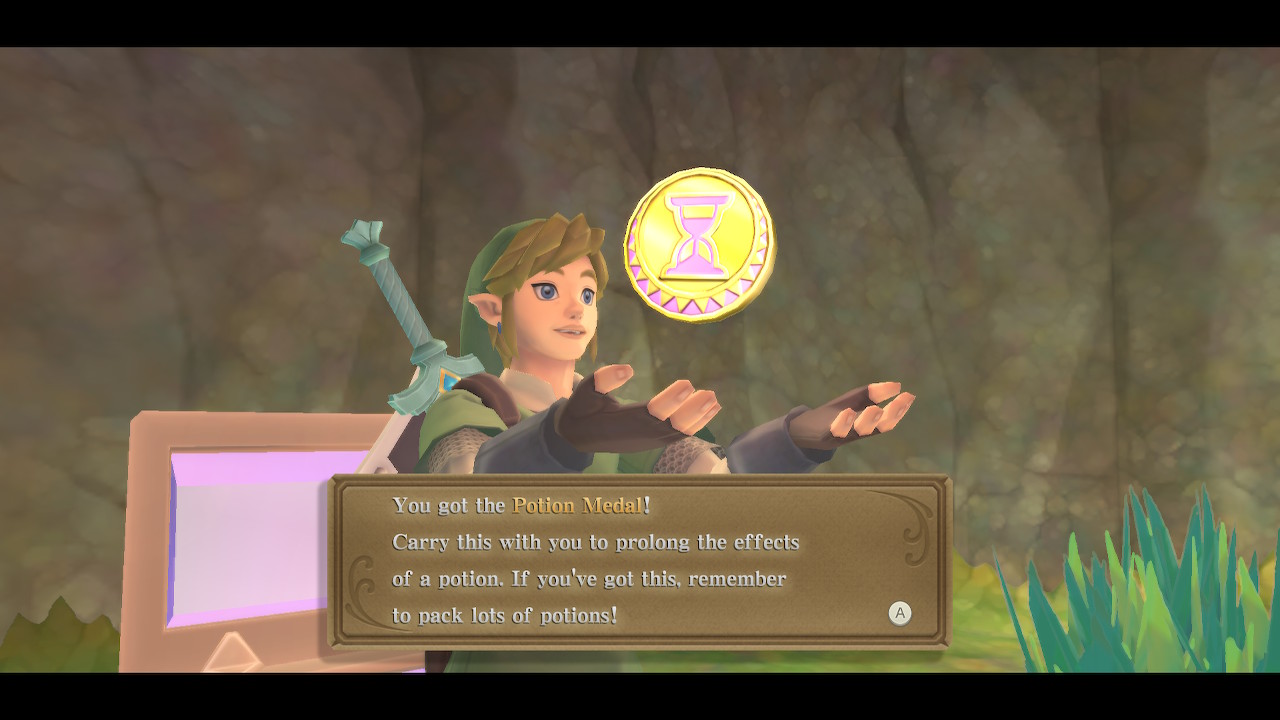
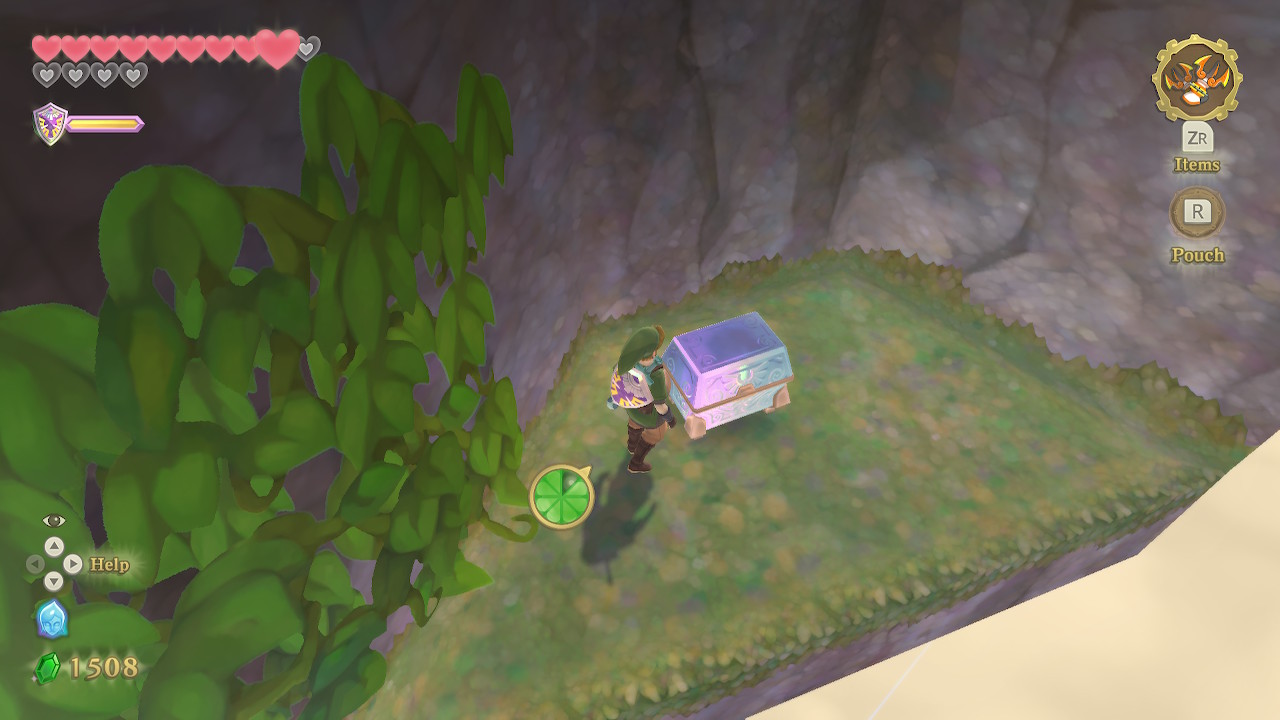
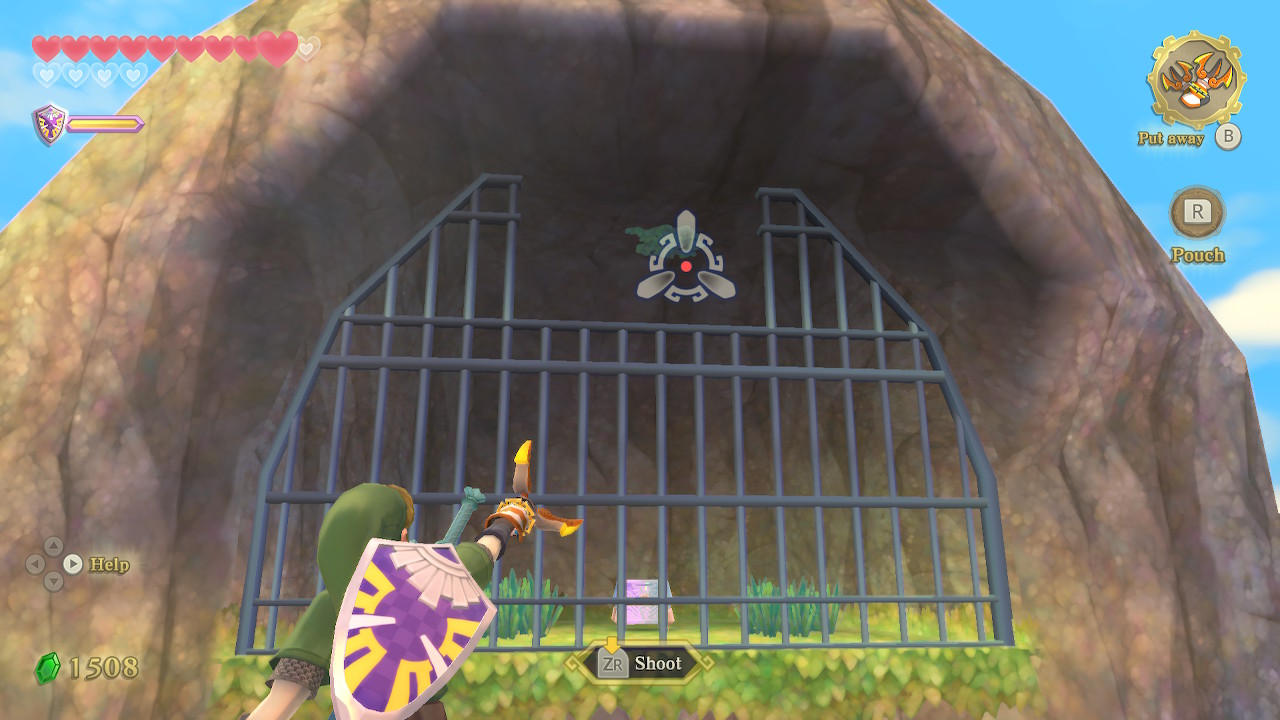
First, use your clawshots and you can latch onto the vines to reach the Goddess Chest behind the cage. Open it to get the Potion Medal. Clawshot back out of here to the other side. You can then climb down the vines to reach a small platform below. Open this Goddess Chest to get a second Life Medal.
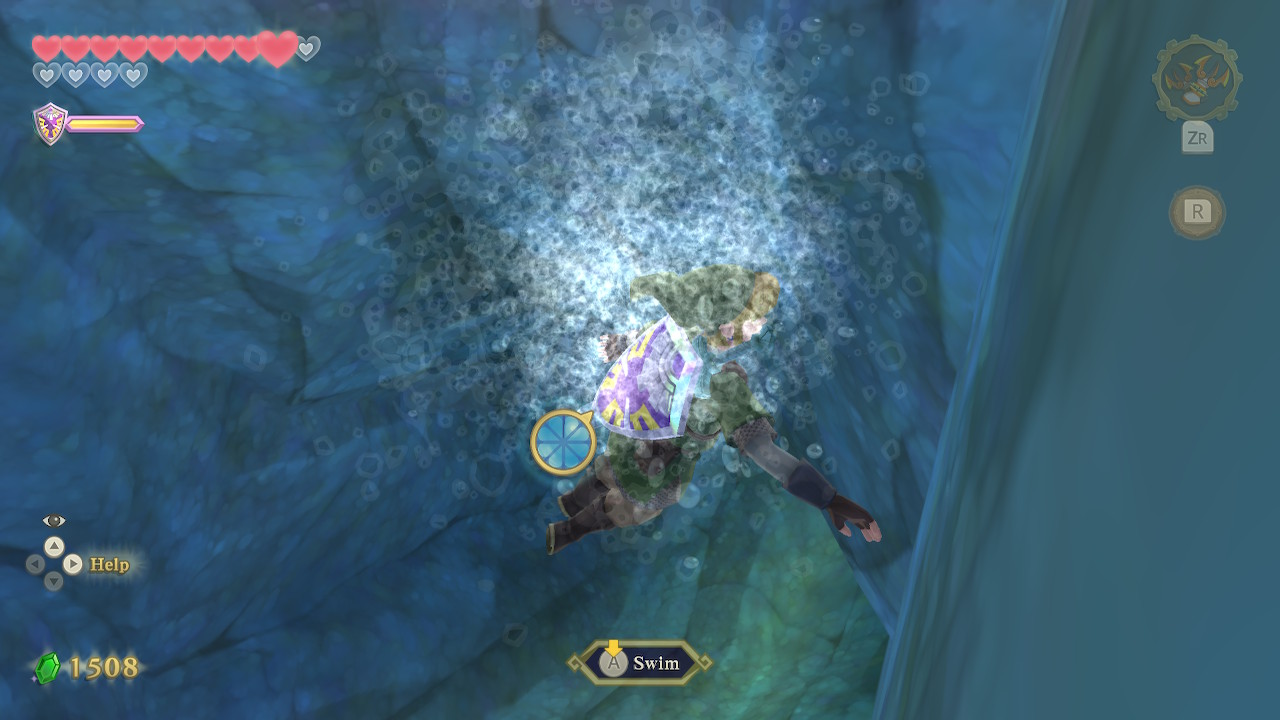
Now fly all the way across the map to the northeast section of the sky. We're looking for a tiny island, it's the furthest north on your map. Land on the lower platform here and dive into the water. Swim through the small cavern and spin jump out of the other side. Here you'll find a Goddess Chest that contains another Heart Medal.
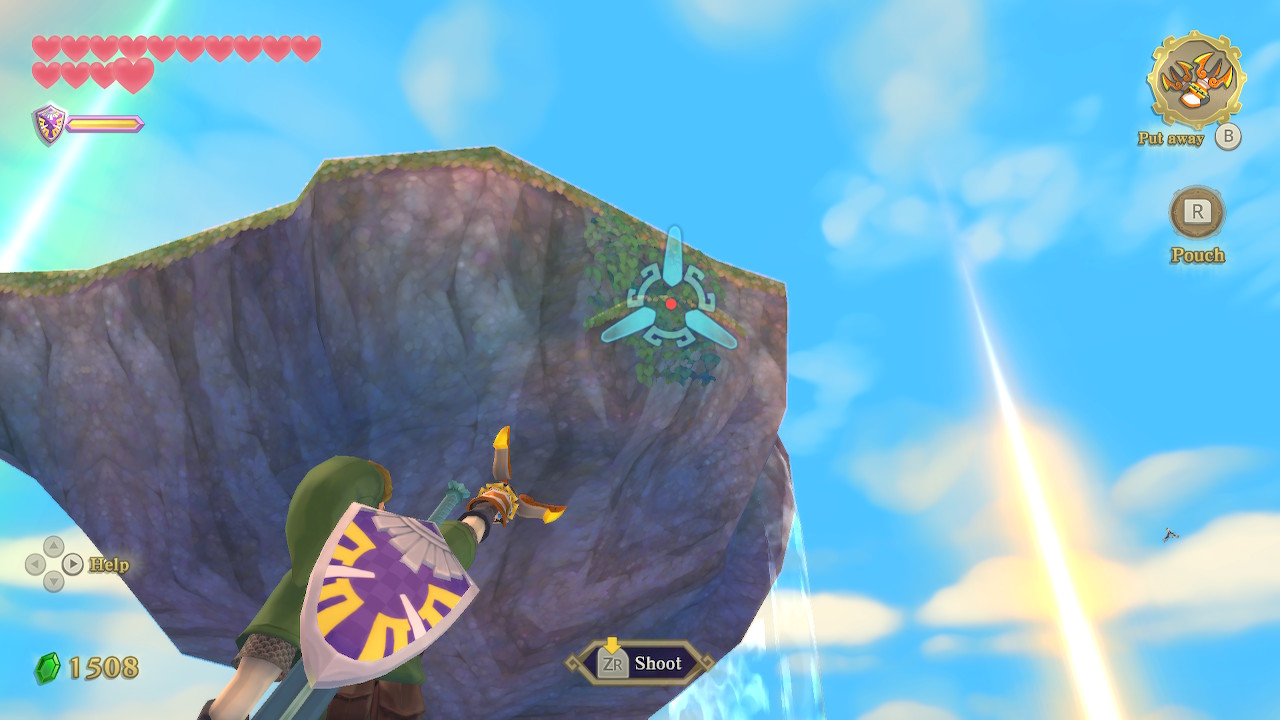
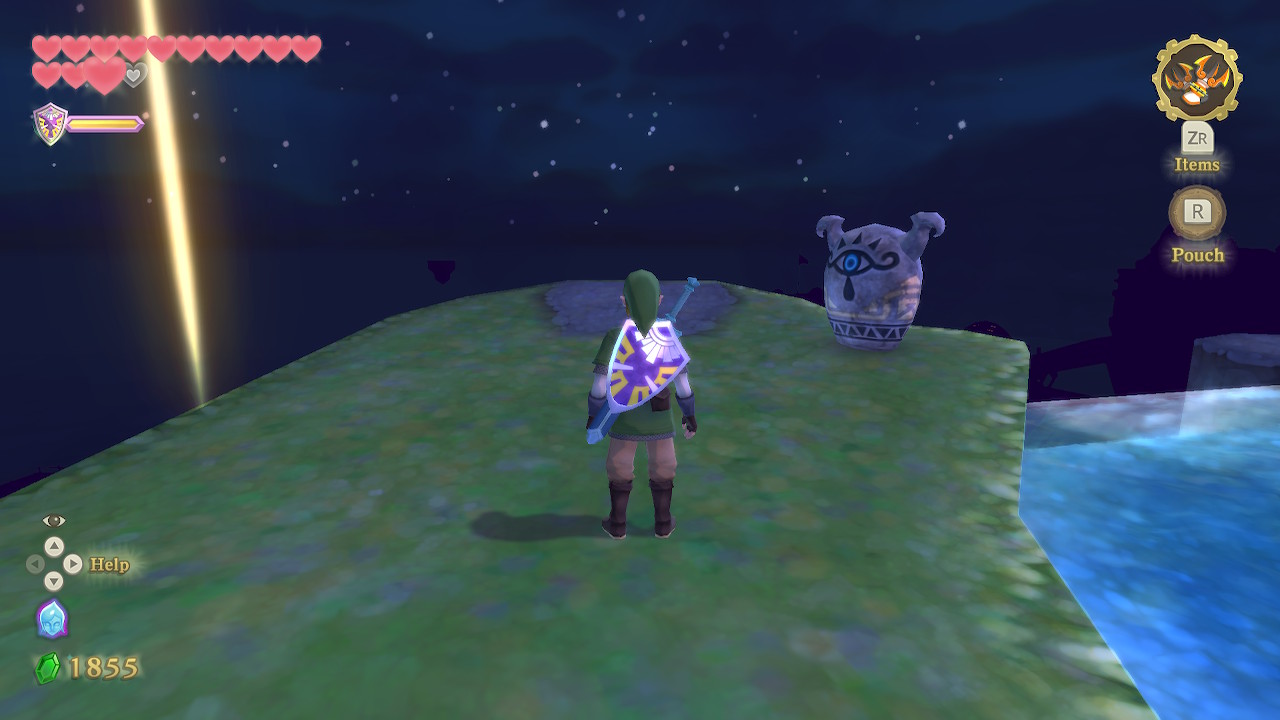
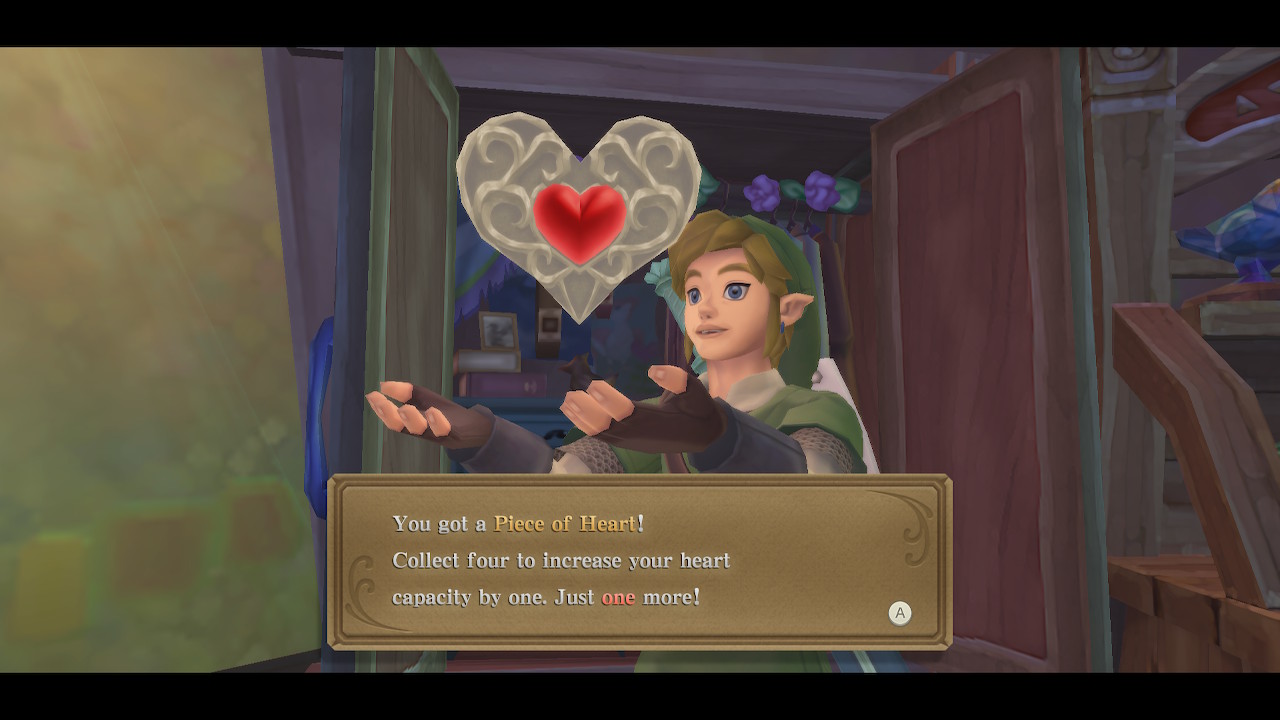
The next three chests can all be found in Skyloft, so head back there. Go to the area just north of the waterfall, near the cave entrance. From here you can clawshot onto the vines of the platform above. Use the clawshots again to reach the larger platform above the waterfall. Inside the Goddess Chest here you will find Heart Piece #14.
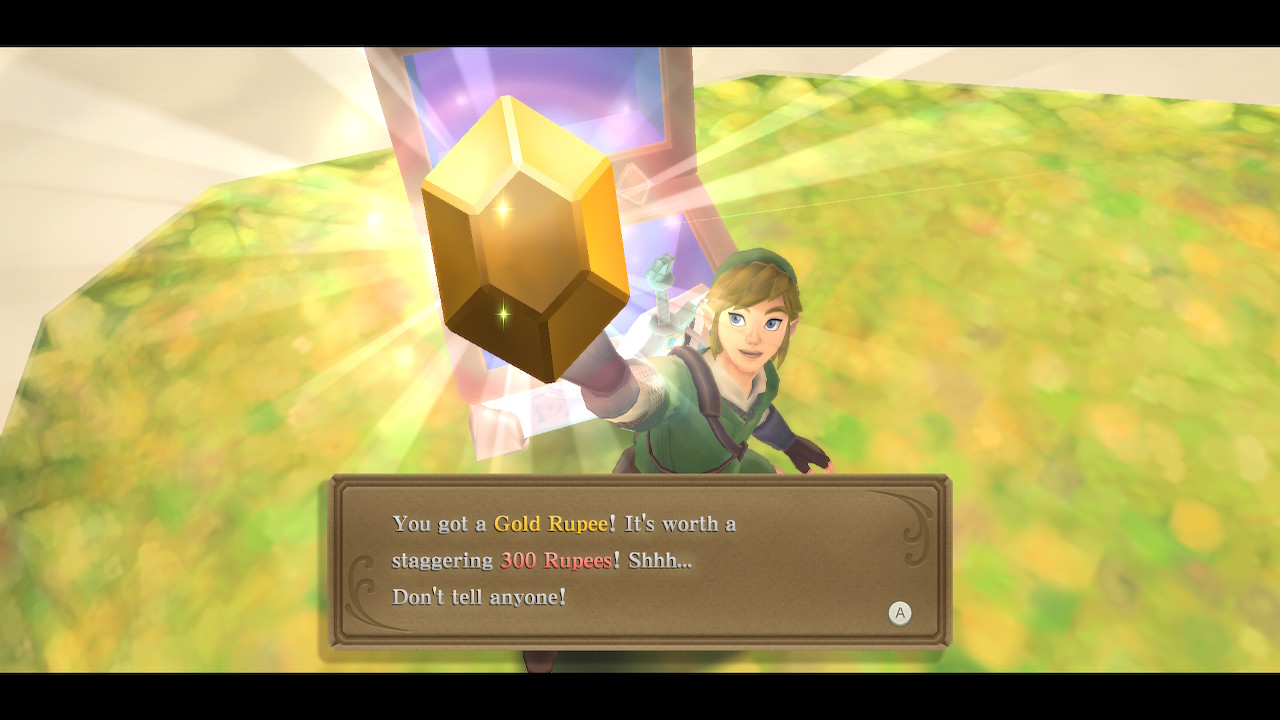
While we are up here, you can head to the nearby butterflies and play your harp to spawn a Gossip Stone. It will drop a Goddess Plume. Now go to the eastern ledge of this platform and jump off. You can land on the small platform here, which has another Goddess Chest. Open it for 300 rupees. There are some vines you can clawshot to and get back to Skyloft proper.

The final chest, for now, can be found in the Bazaar. It's simply sitting in the corner near Gondo's Scrap Shop. It contains another 300 rupees. If you already have more than 1600 rupees, it's best to wait to open it until after we spend some shortly. While you are here, you might as well speak to Gondo and make any upgrades to your gear that you are able to.
Missing Baby Rattle Quest
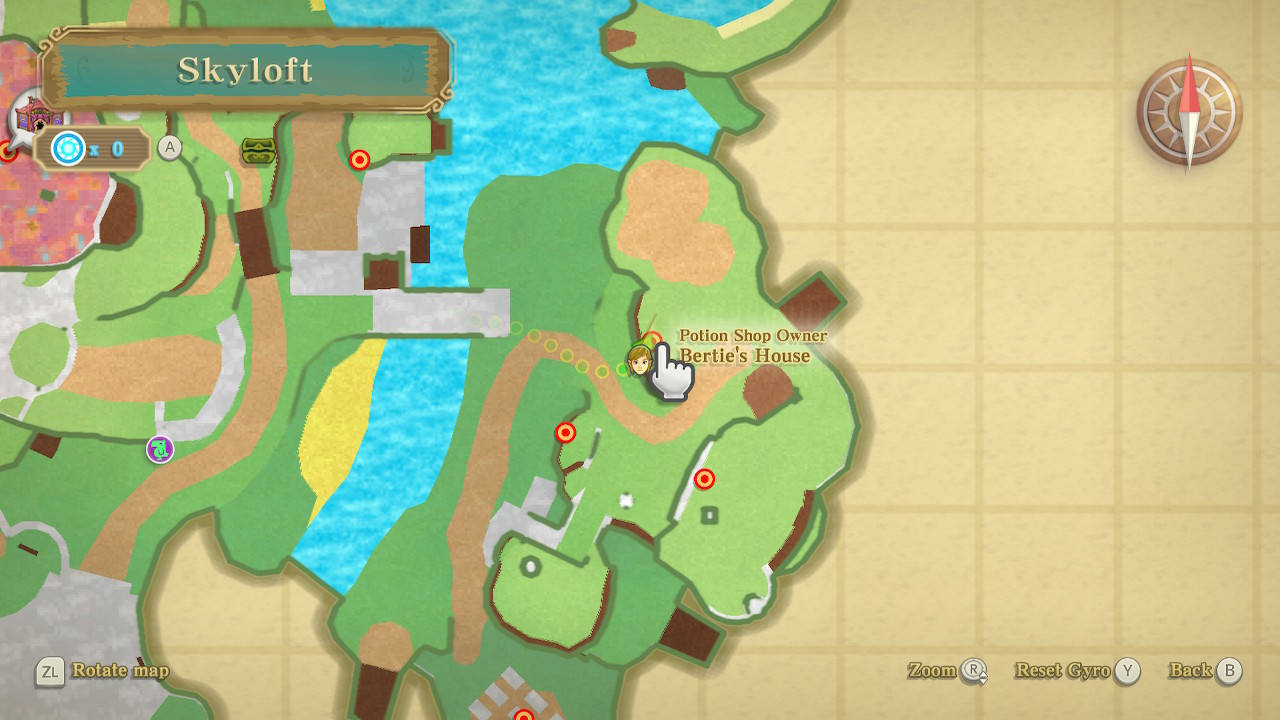
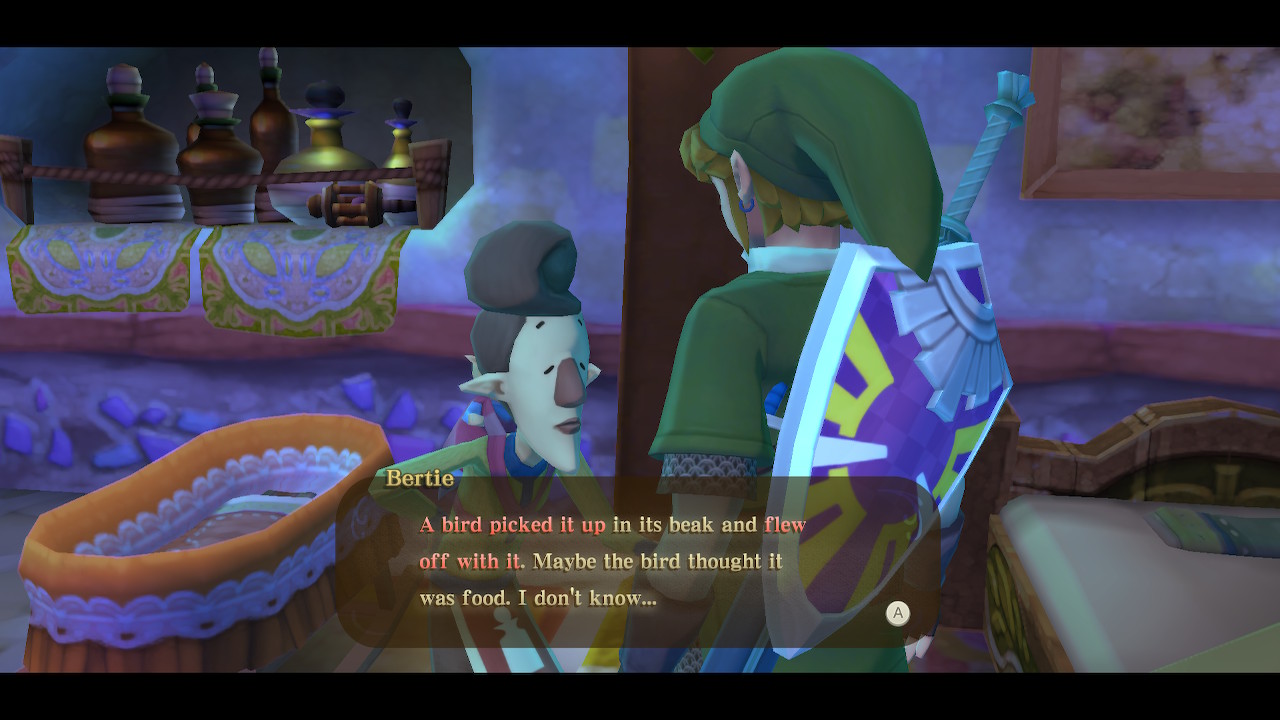
Find a bed and sleep until nighttime so we can start the next Gratitude Crystals quest. Once it is night, head to Bertie's House on the east side of Skyloft. Speak with Bertie here to learn that his baby's rattle is missing.
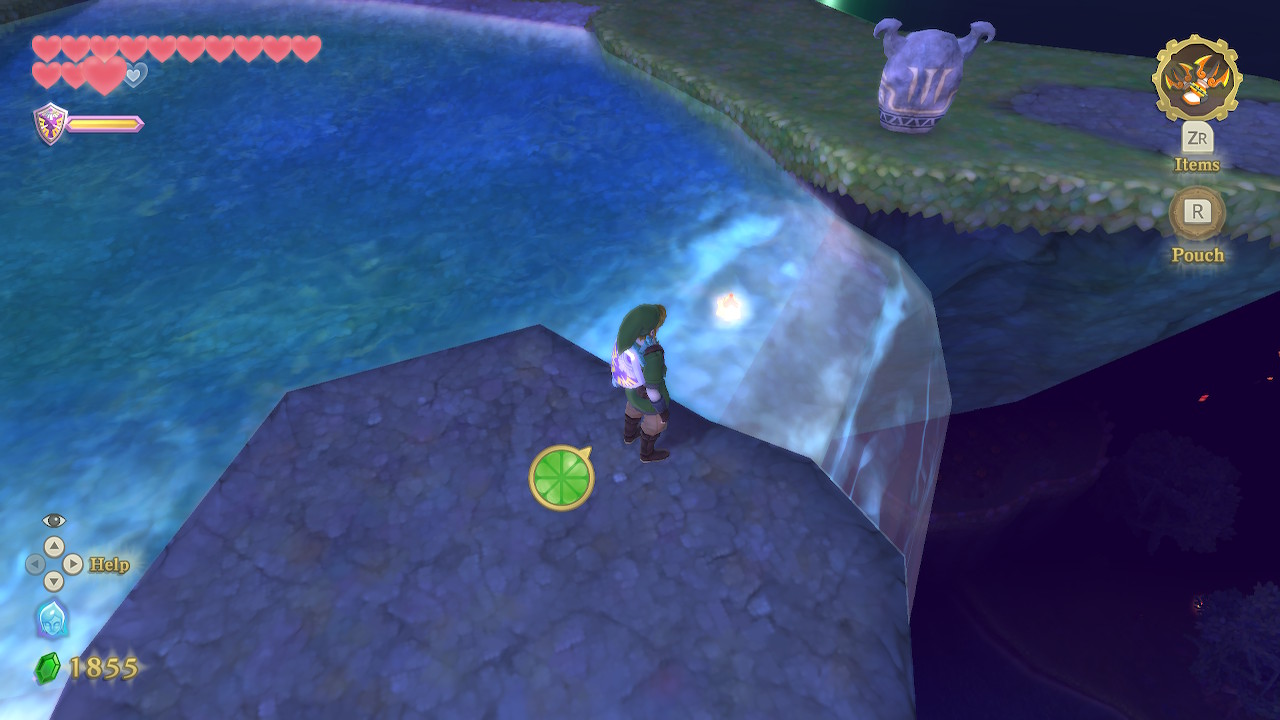
While still nighttime, make your way back to the top of the waterfall using the clawshots. While you are up here, you will find an individual Gratitude Crystal in the water at the top of the falls.
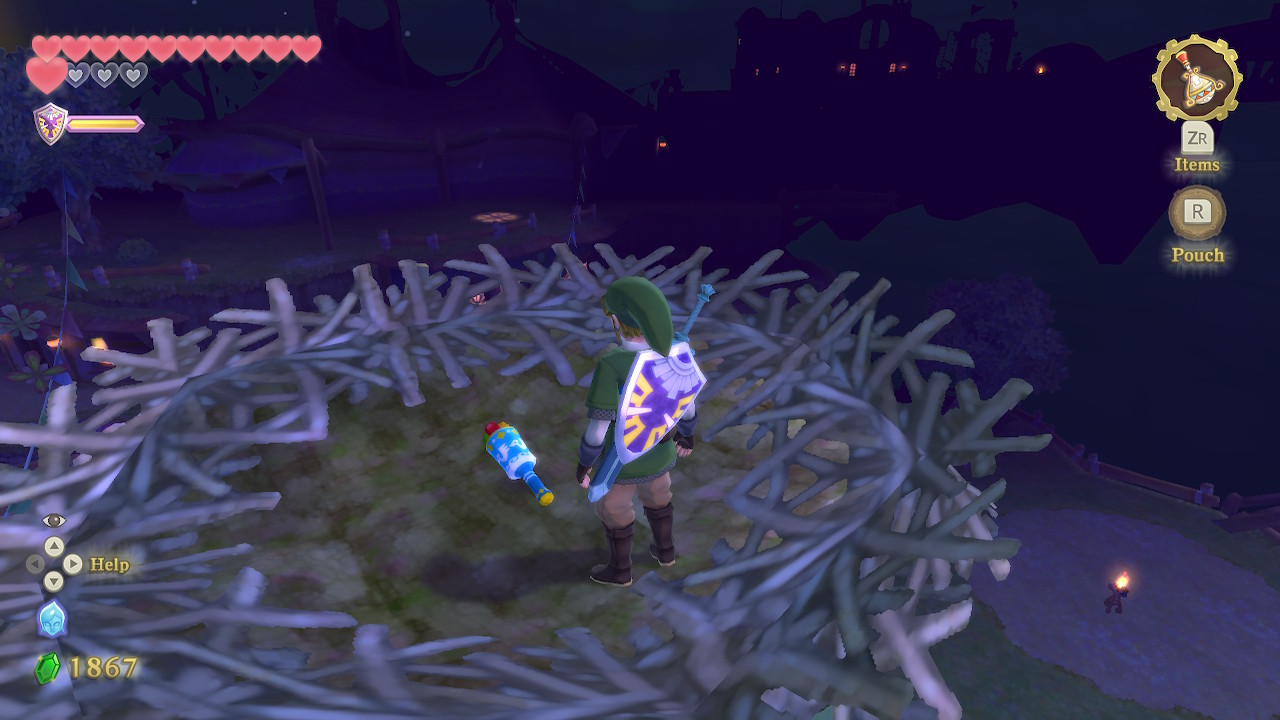
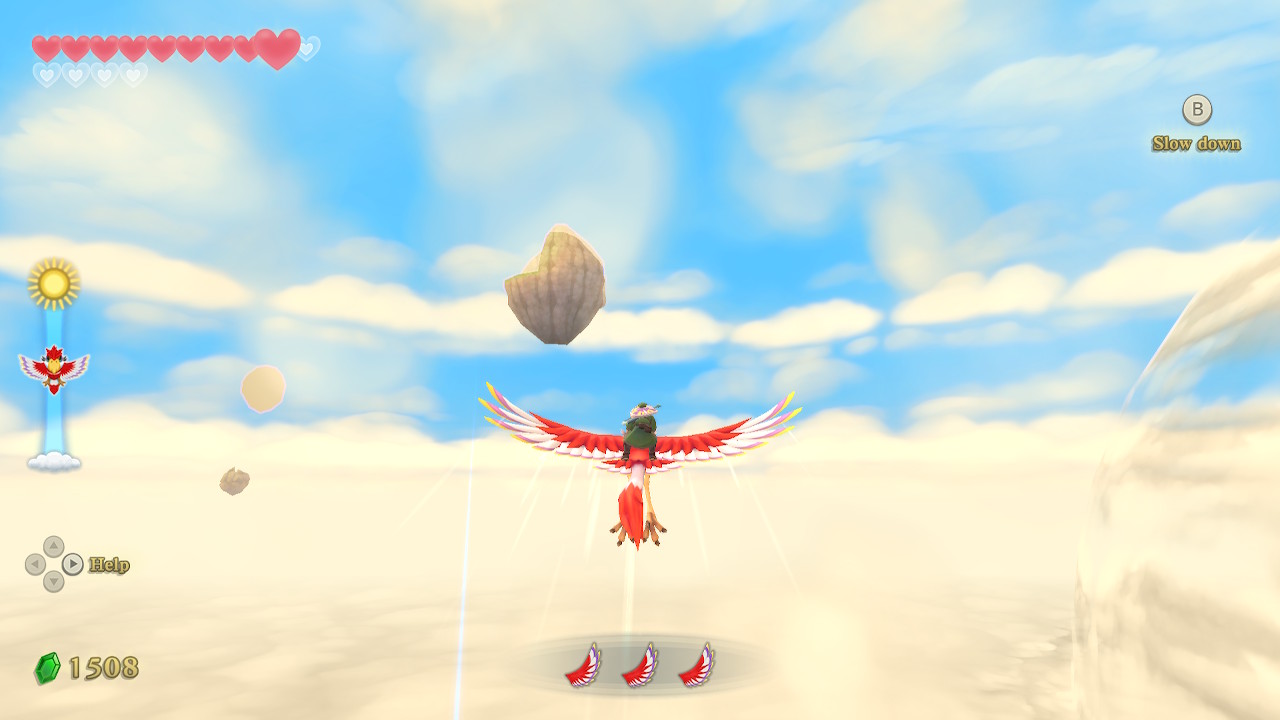
After collecting that, get a running leap from the stone platform here and glide on over to the bird's nest on top of the windmill. Use your gust bellows to uncover the object here. You will find the Baby's Rattle. Make your way back to Bertie's House afterward.

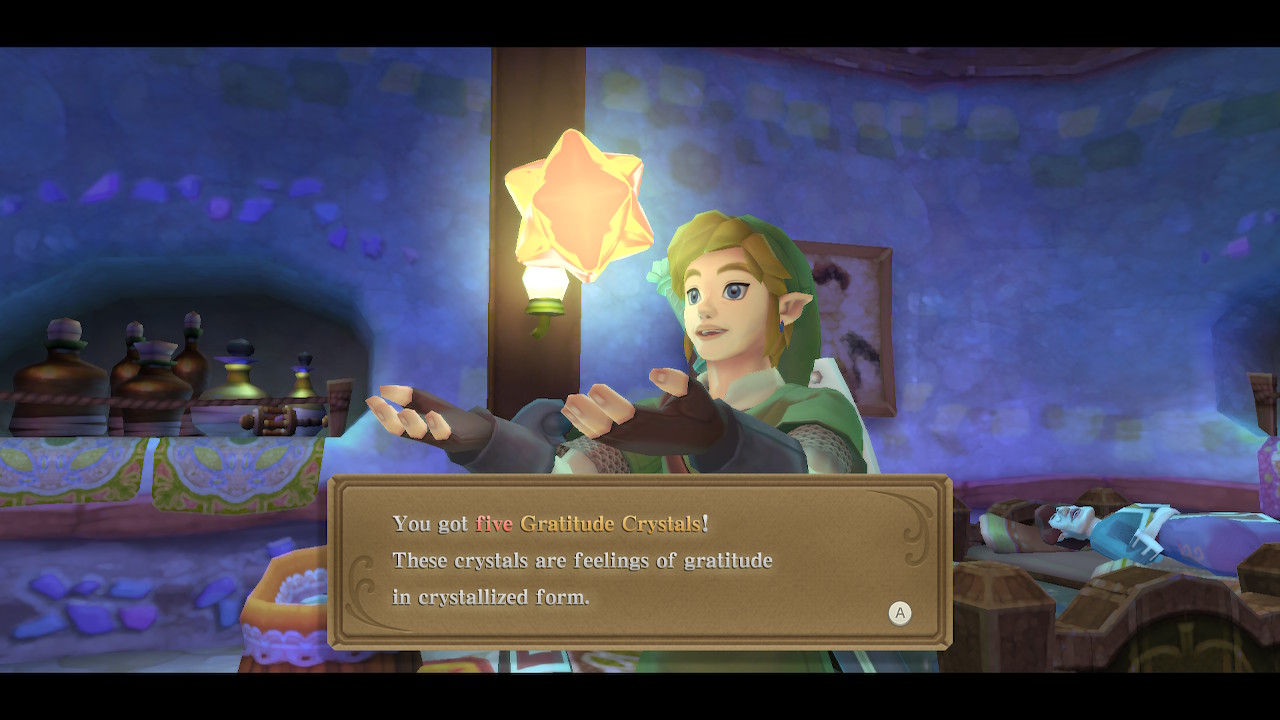
Speak to Bertie again and the rattle will calm his baby down, allowing him to get some sleep. He will be very grateful and reward you with 5 Gratitude Crystals. There are a couple more individual Gratitude Crystals for us to pick up, so head towards the Knight Academy while it is still nighttime.
Gratitude Crystals
Climb to the top of the Knight Academy roof at night. Take the same route you did at the very beginning of the game when you were looking for the Headmaster's cat. Once at the top, you will find a chimney that you can clawshot into.
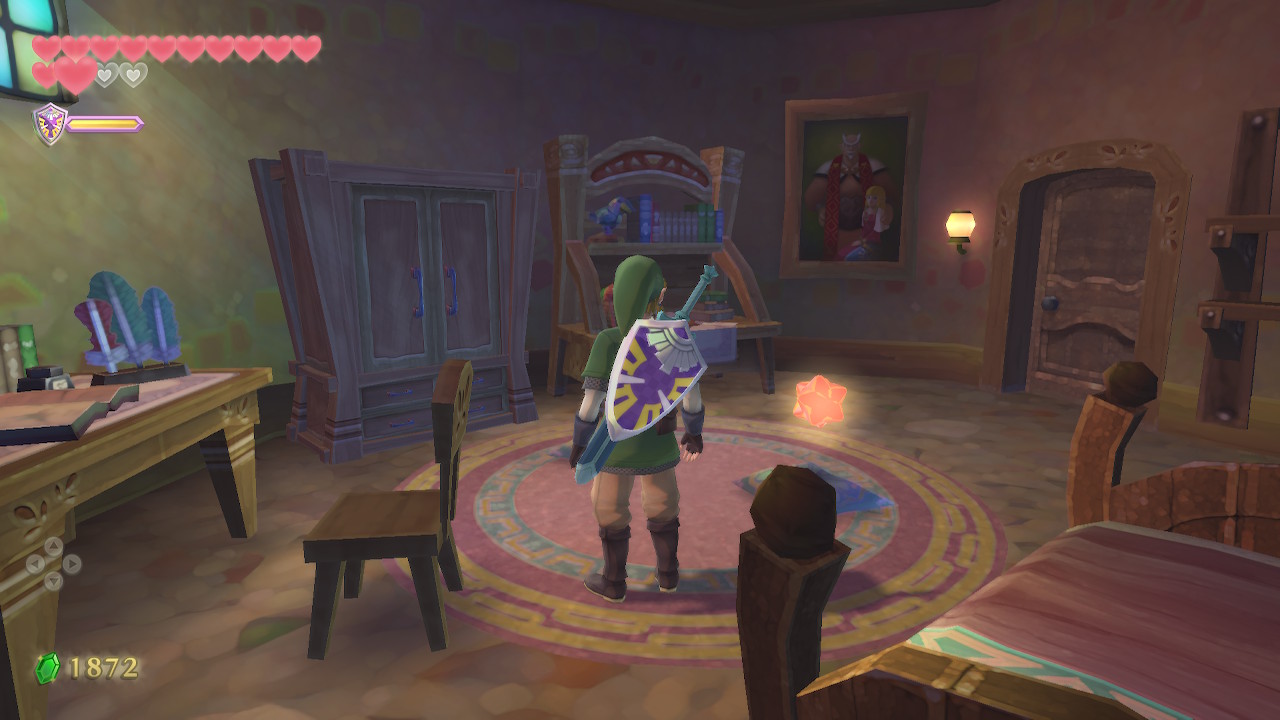
Crawl through the small opening here and drop down into Zelda's Room. Here you will find a solo Gratitude Crystal on the ground. While we are here, open up her dresser and you'll find Heart Piece #15. If you are really nosey, you can even read her diary on the desk. Sleep in the bed here until morning.

Next, you'll want to find Beedle's Air Shop and enter it. You should have at least 1600 rupees at this point, so it is finally time to buy Heart Piece #16 here. This should complete a heart container if you've been following along.
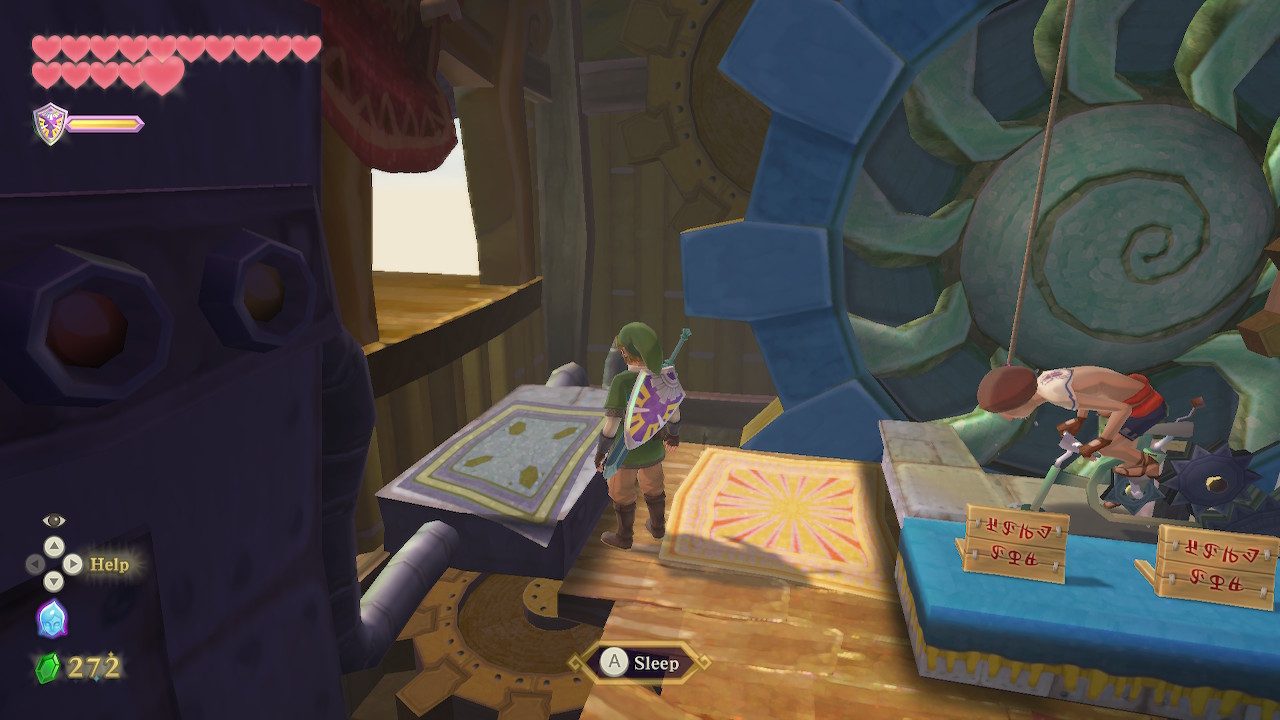
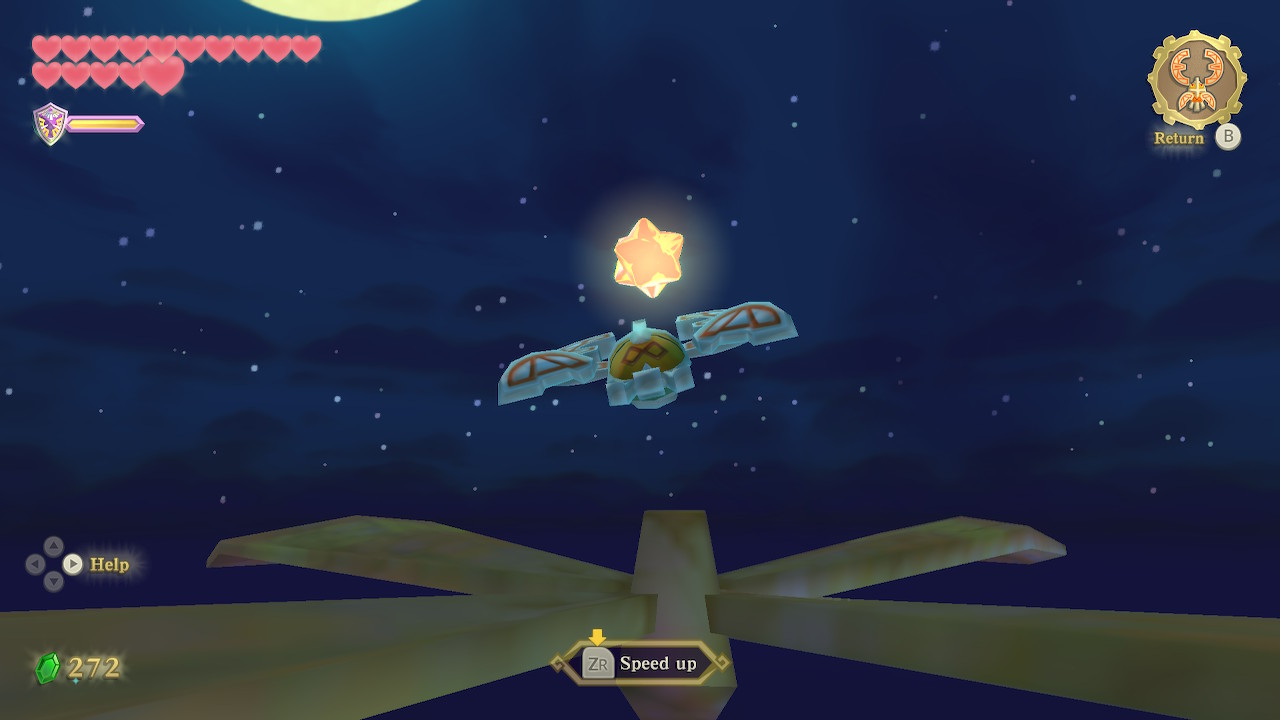
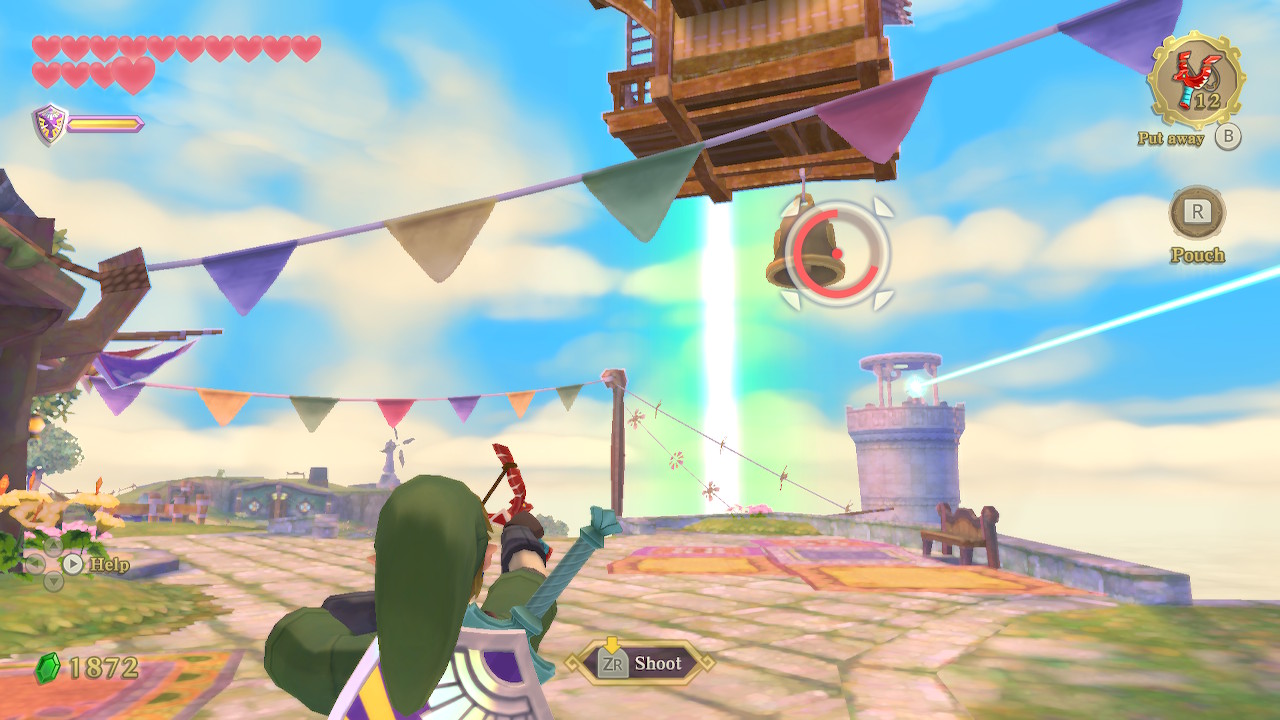
While you are in Beedle's Air Shop, sleep in his bed until night. Exit the shop to find yourself at Beedle's Island. Climb up the ladder on his shop and look up at the top of the propeller. Here you will see an individual Gratitude Crystal, which you can pick up with your Beetle. While we are here, you can collect some of the nearby Starry Firefly. Go ahead and sleep in his bed again until morning to arrive back at Skyloft.
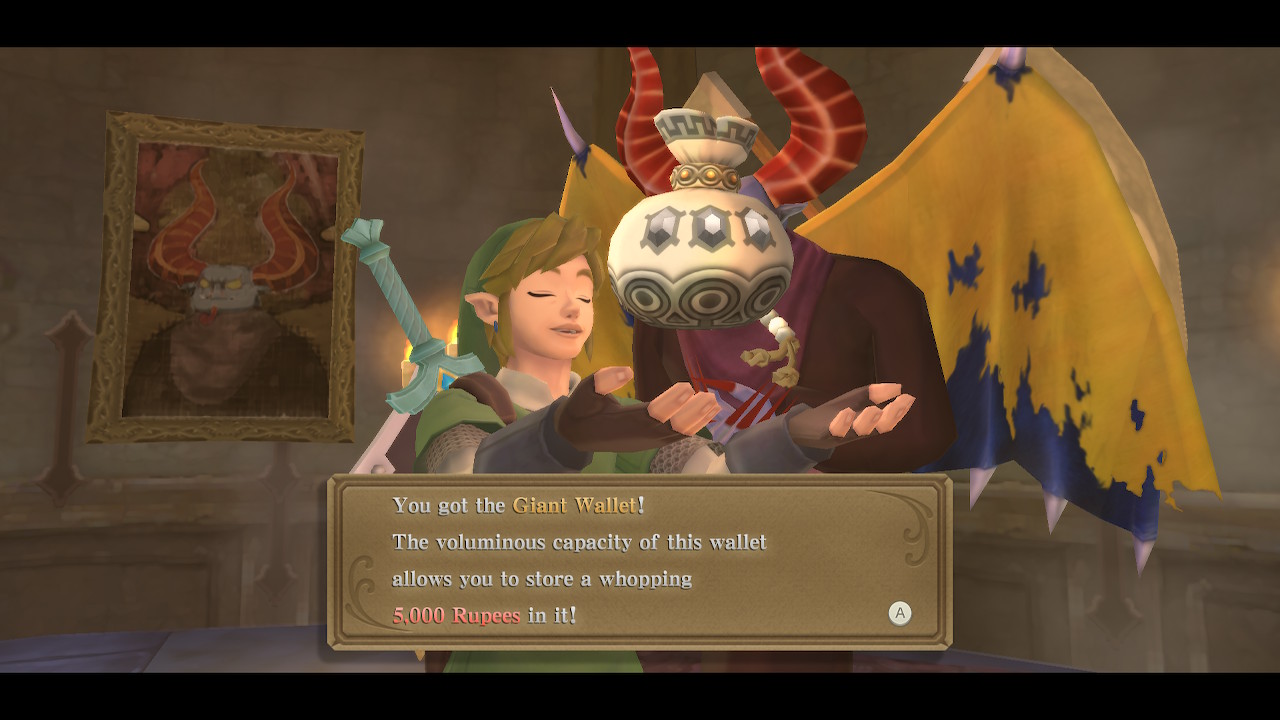
If you've been following along, we now have 50 gratitude crystals. This means it's time to collect an award. Head to the Graveyard and follow the path to Batreaux's House. Speak with him here to get the Giant Wallet. This can store an incredible 5,000 rupees.
The only thing left to do before heading to the next dungeon is visit the Item Check again. Now that we have another Life Medal you may want to carry that instead of an empty bottle. But you can choose whatever loadout you'd like. When you are ready, take to the skies and fly back to Lanayru. Choose to land at the Pirate Stronghold bird statue.
Finding the Sandship
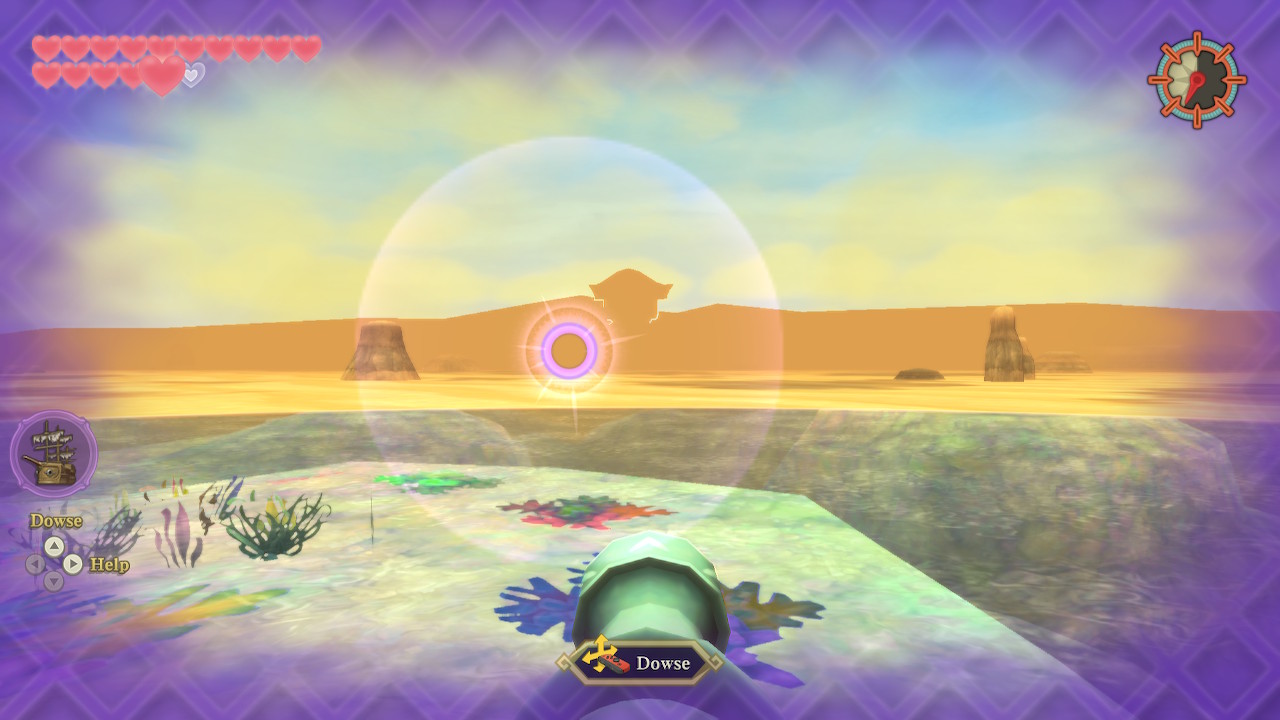
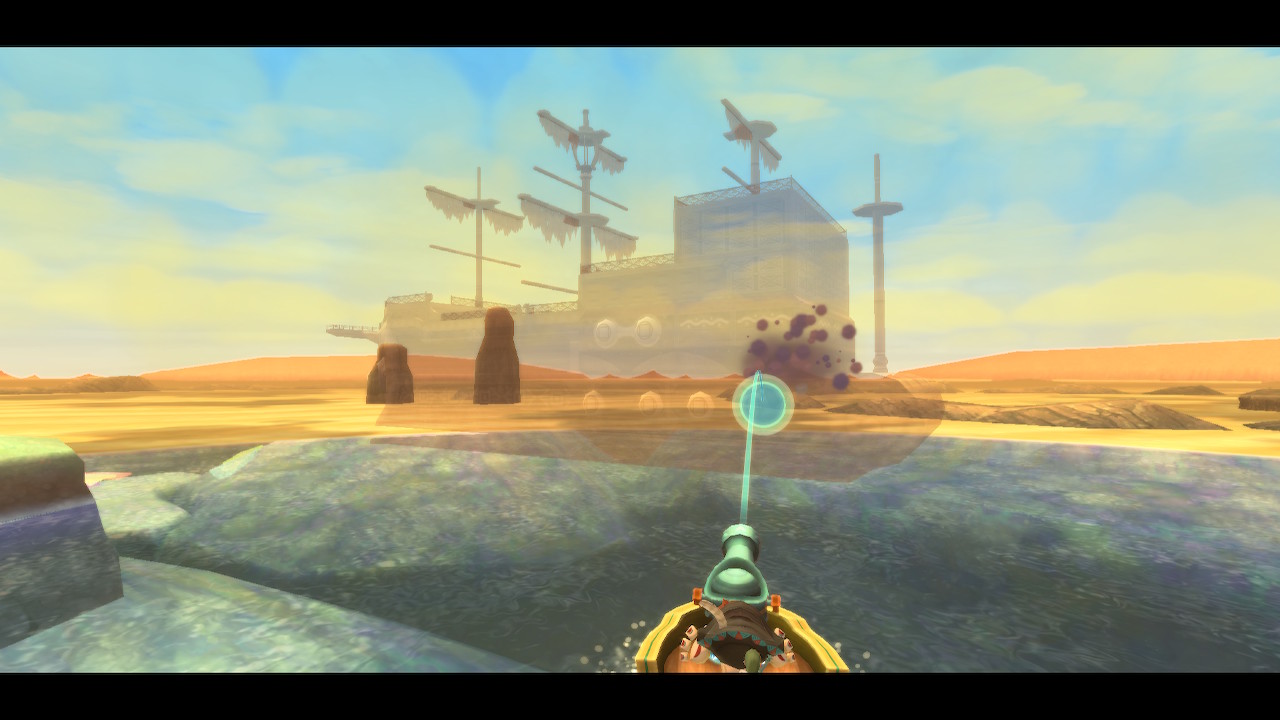
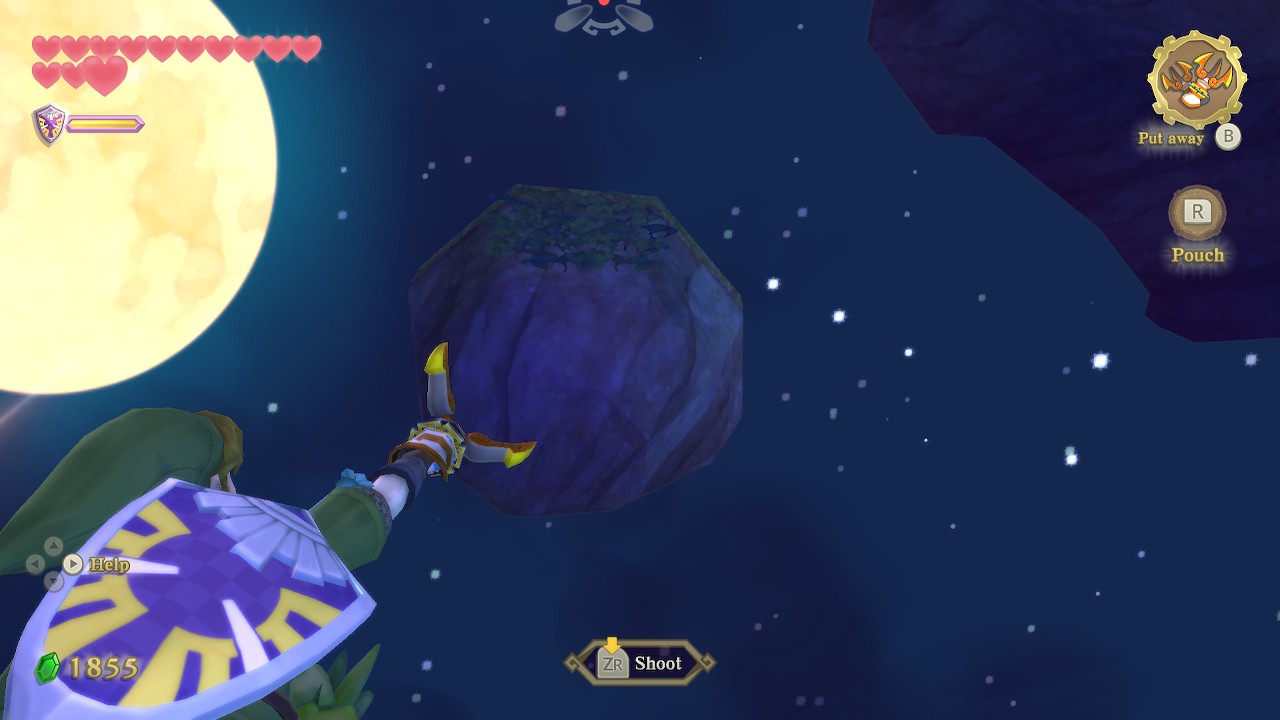
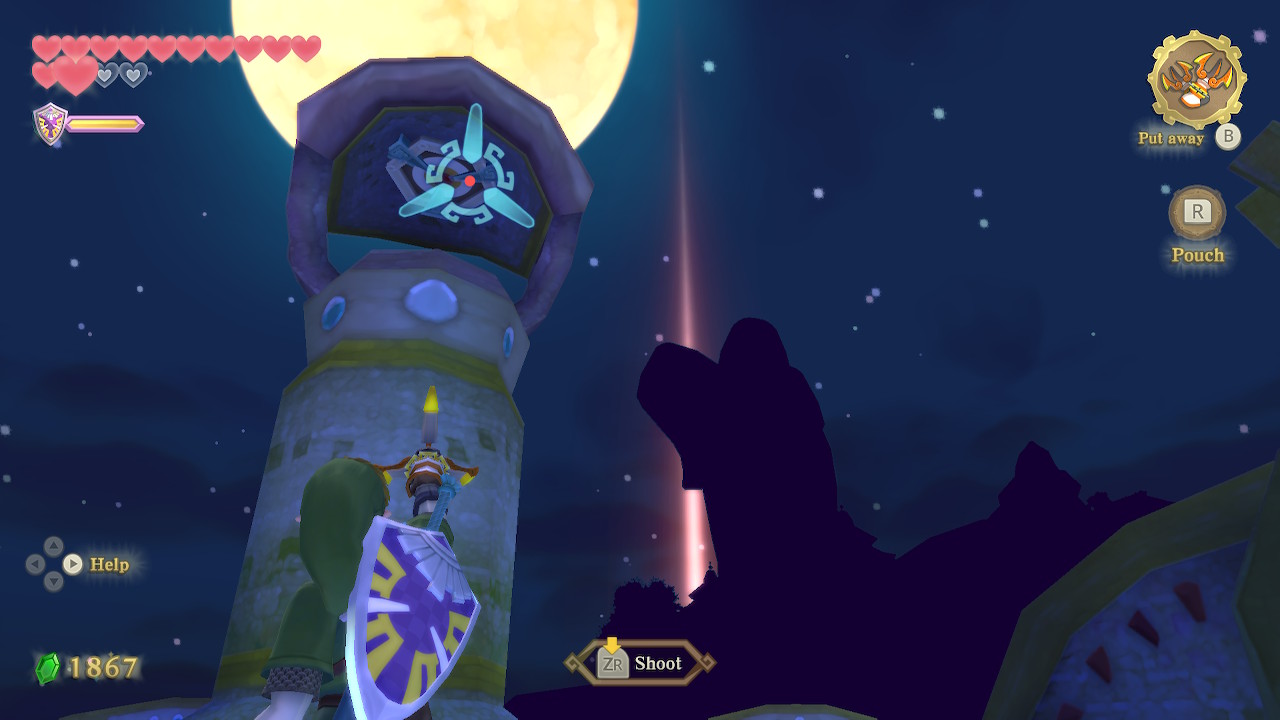
From the Pirate Stronghold, speak to Skipper again and hop on the boat. From here, you'll need to use your dowsing ability to find the invisible ship while you are sailing around. Once you get a strong dowsing reading, use your cannon to shoot the ship. You'll need to shoot the ship three times, and then it will finally appear. You will automatically climb aboard, entering the fifth dungeon of the game.
Back to Ancient Cistern Continue to Sandship
