
Part 10: Ancient Cistern
How to Complete the Ancient Cistern Dungeon
Dungeon Item: Whip
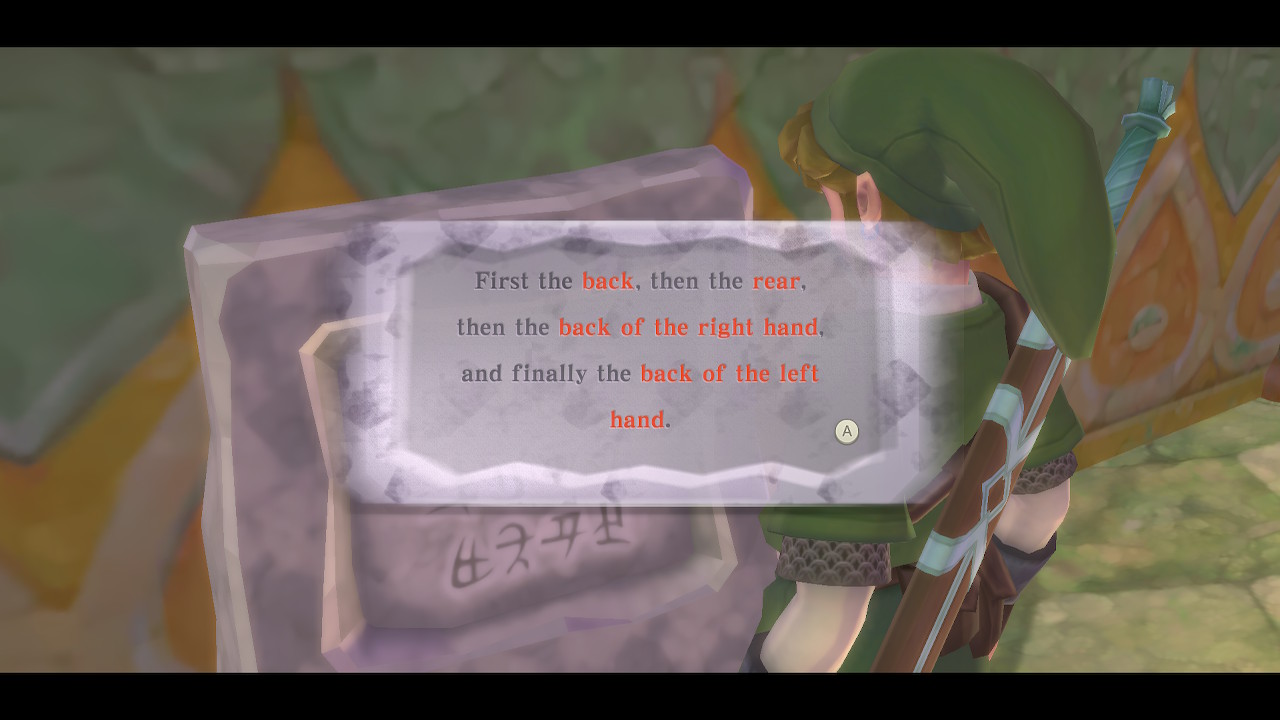
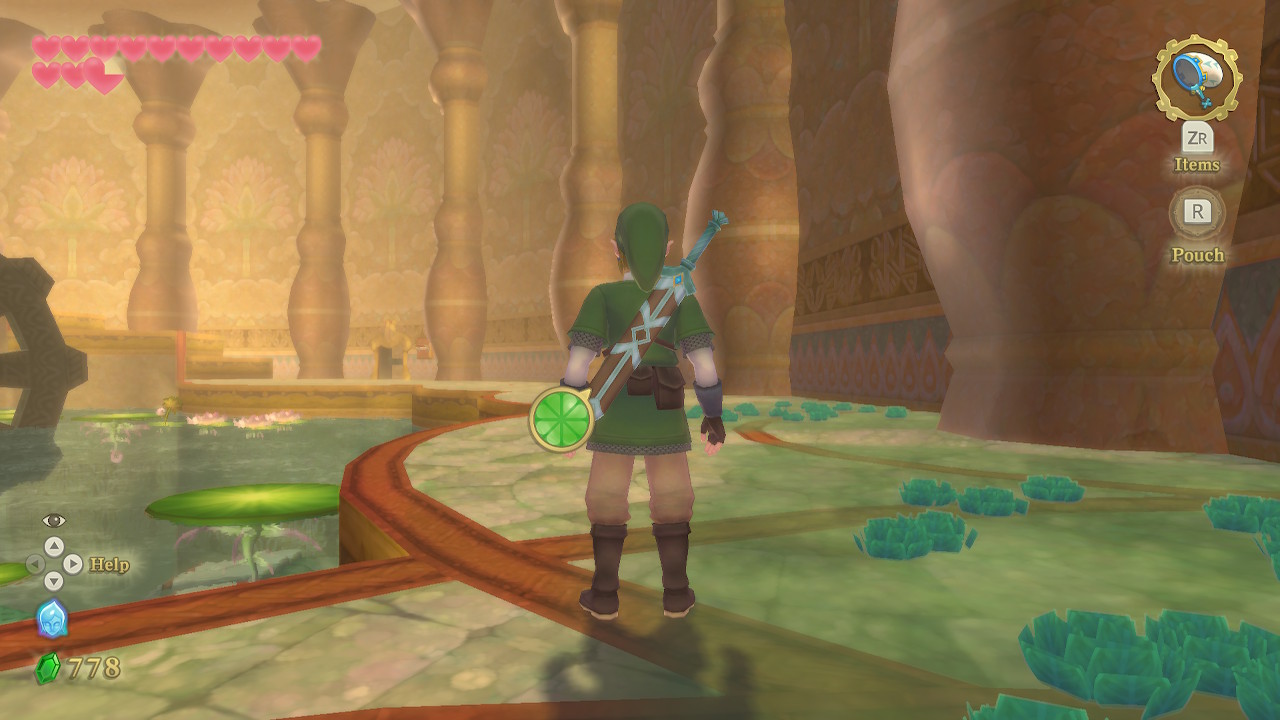
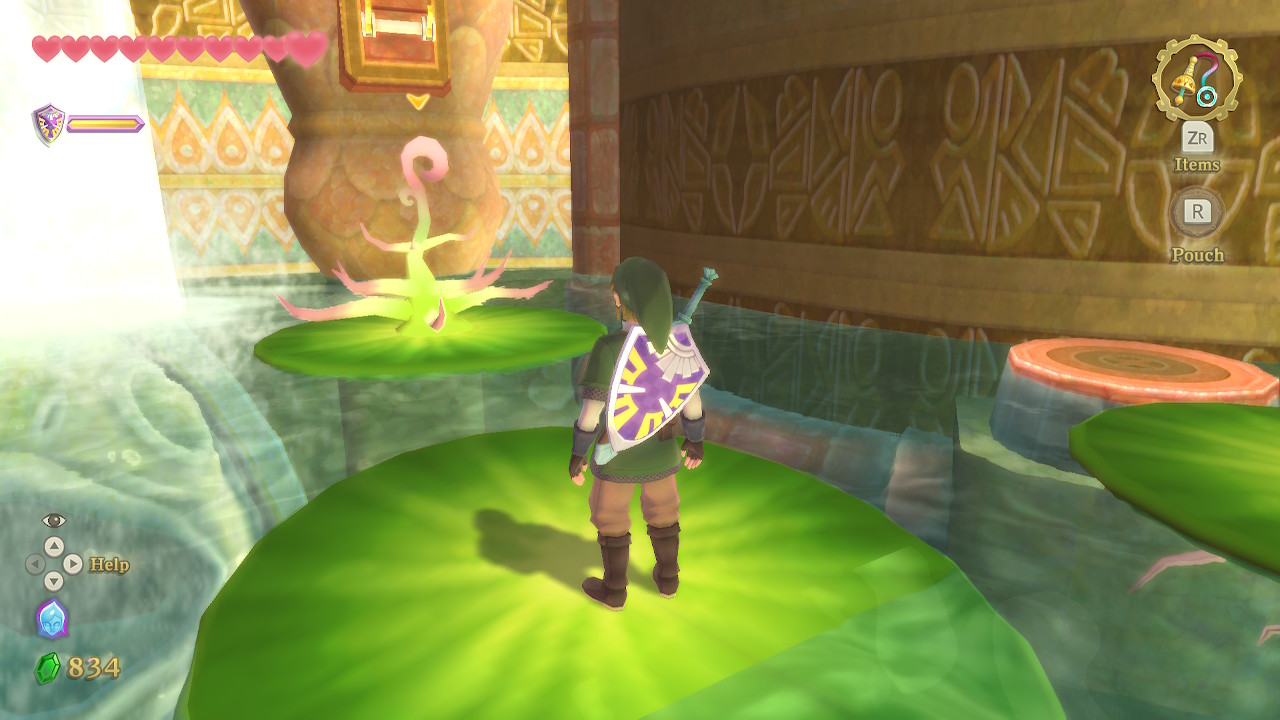
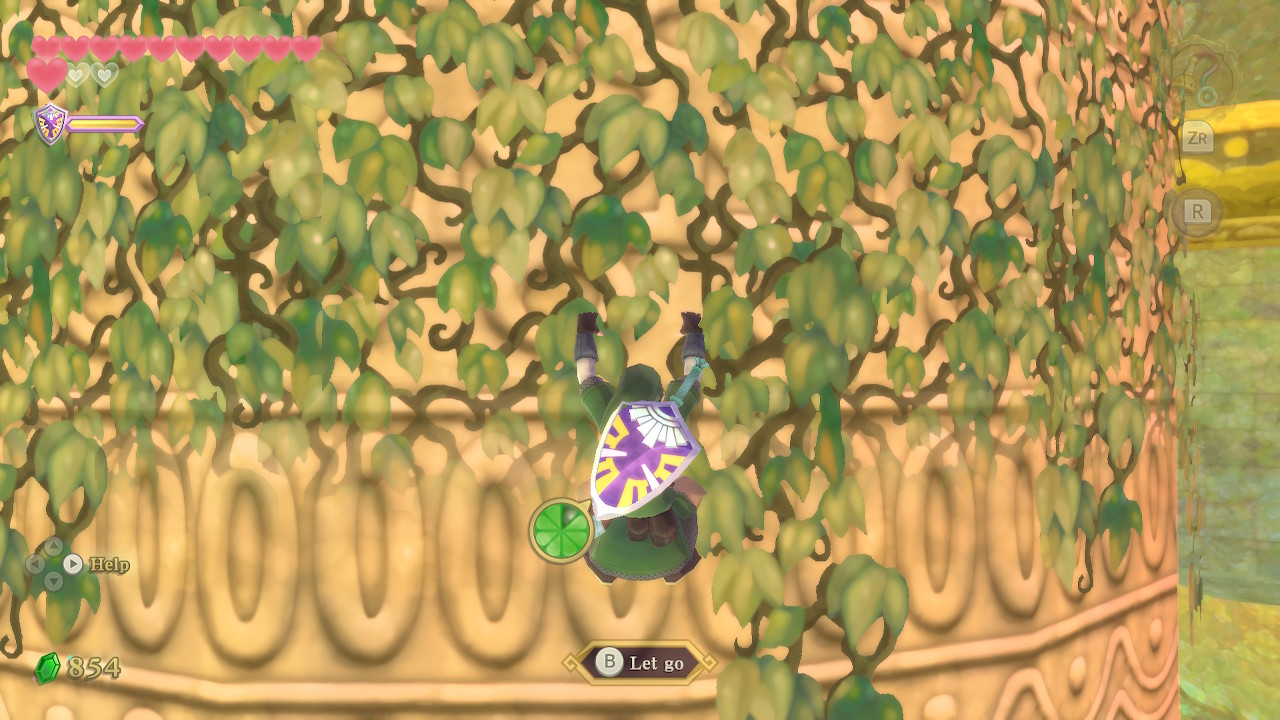
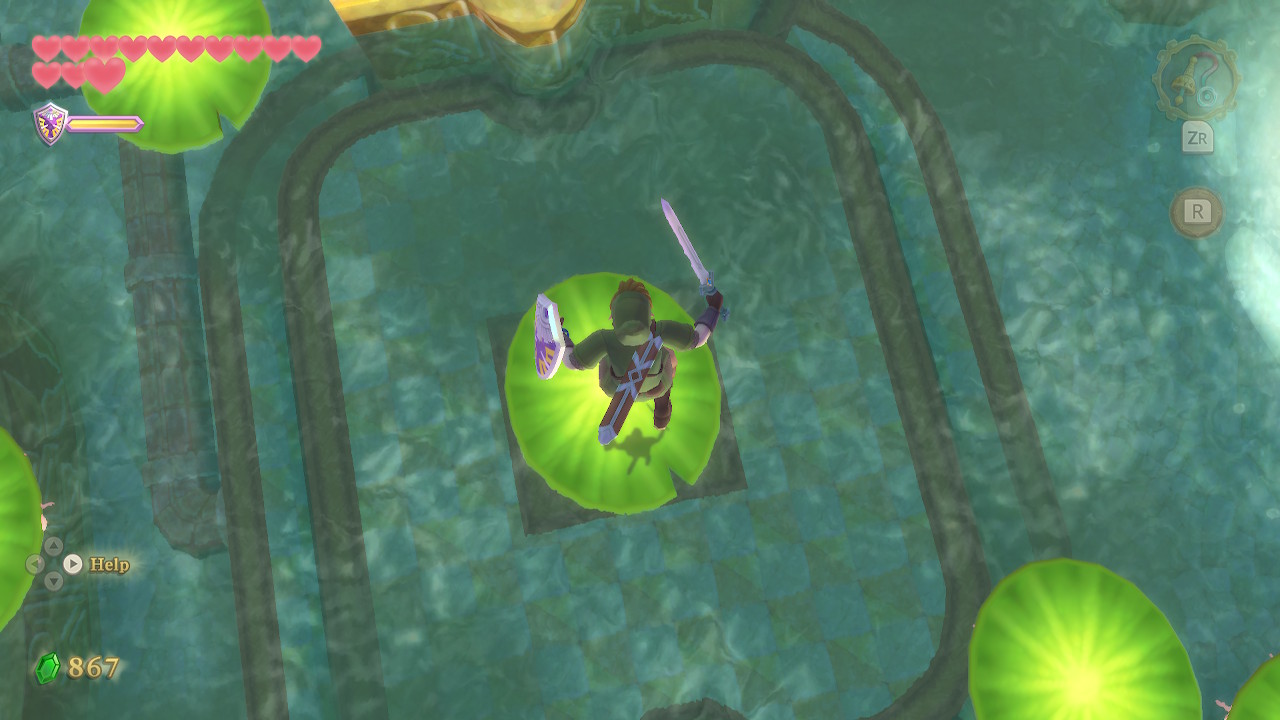
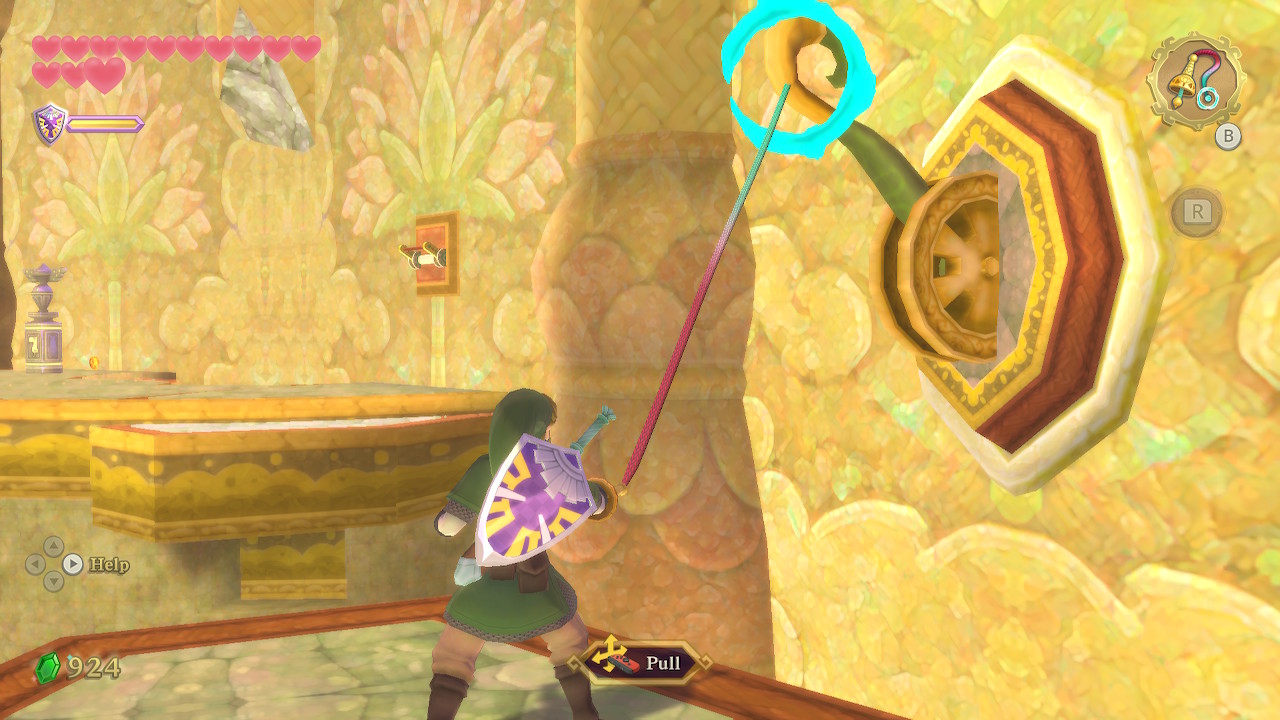
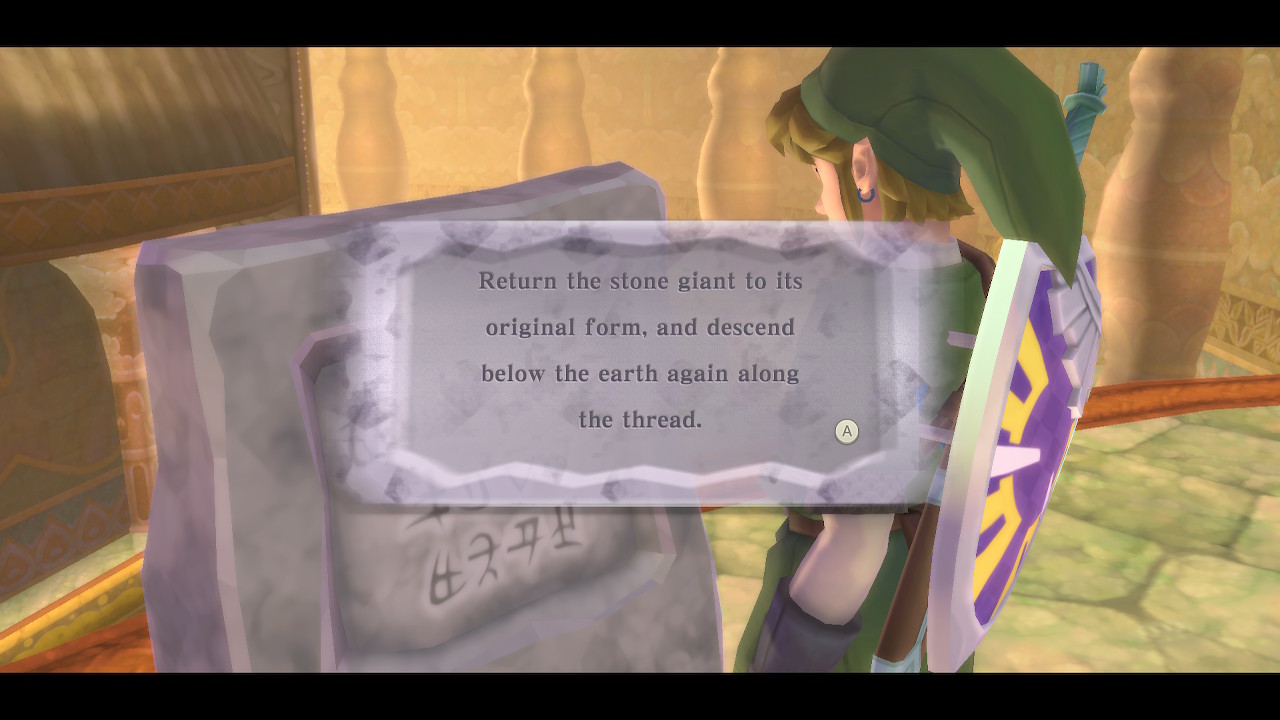
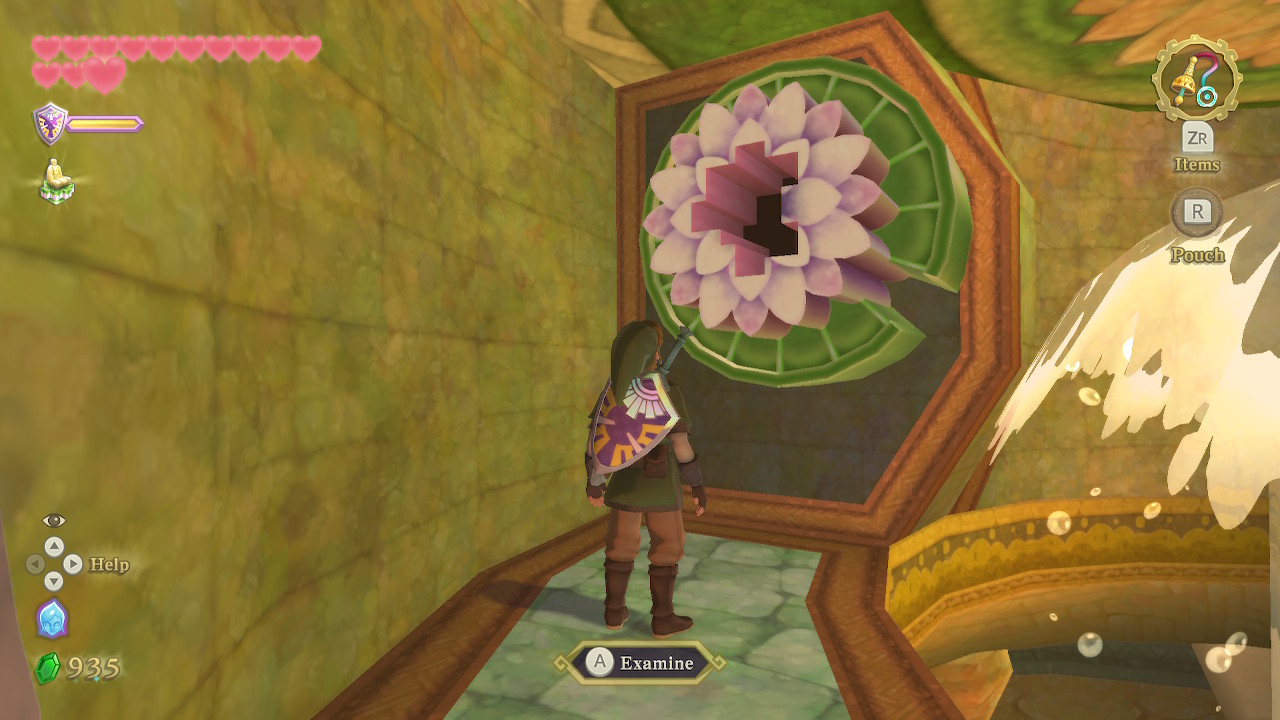
Welcome to the fourth dungeon, the Ancient Cistern. Cross the lilypads straight ahead and read the stone tablet for a hint about a puzzle in this dungeon. The secret order is "back, rear, back of the right hand, back of the left hand". This corresponds to the body parts of the giant statue in this room.
If you go around to the back of the statue above water you will see a symbol filled in at the top. If you then go underwater to check out the "rear" of the statue, you'll see it filled at the bottom. Head to the right hand, and spin through to get 100 rupees, and the hand will close revealing a symbol filled to the left. Then go to the left hand and repeat the same process for another 100 rupees, revealing a symbol filled to the right.
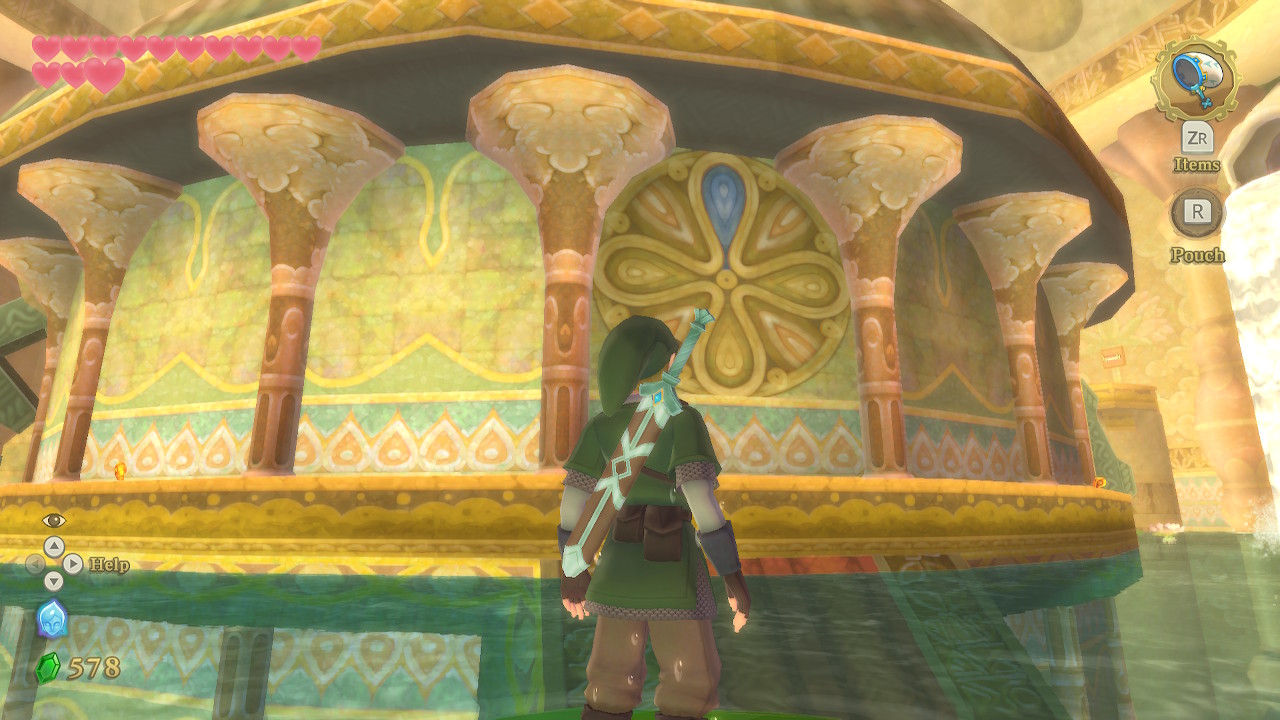
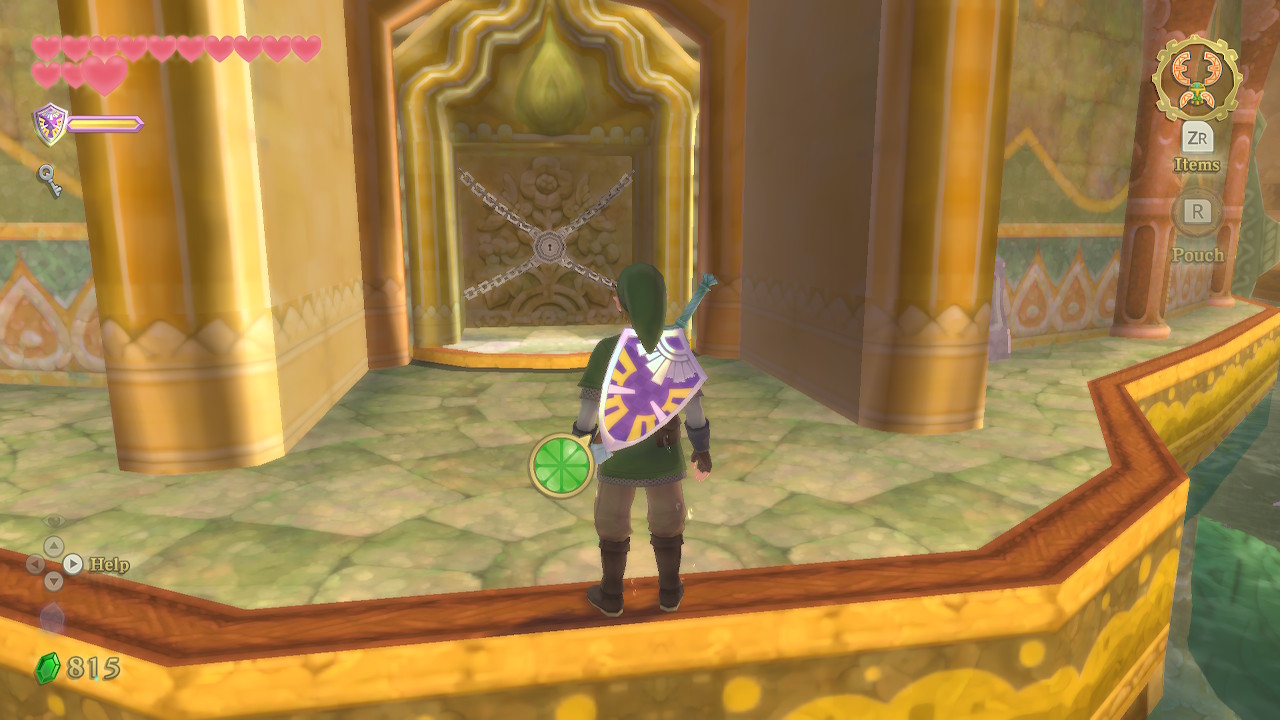
When converted, the new solution is "top, bottom, left, right". With that out of the way, we can properly get started on this dungeon. Begin by using the door on the right side of this circular room. You'll need to pull down the nearby lever to unlock it first.
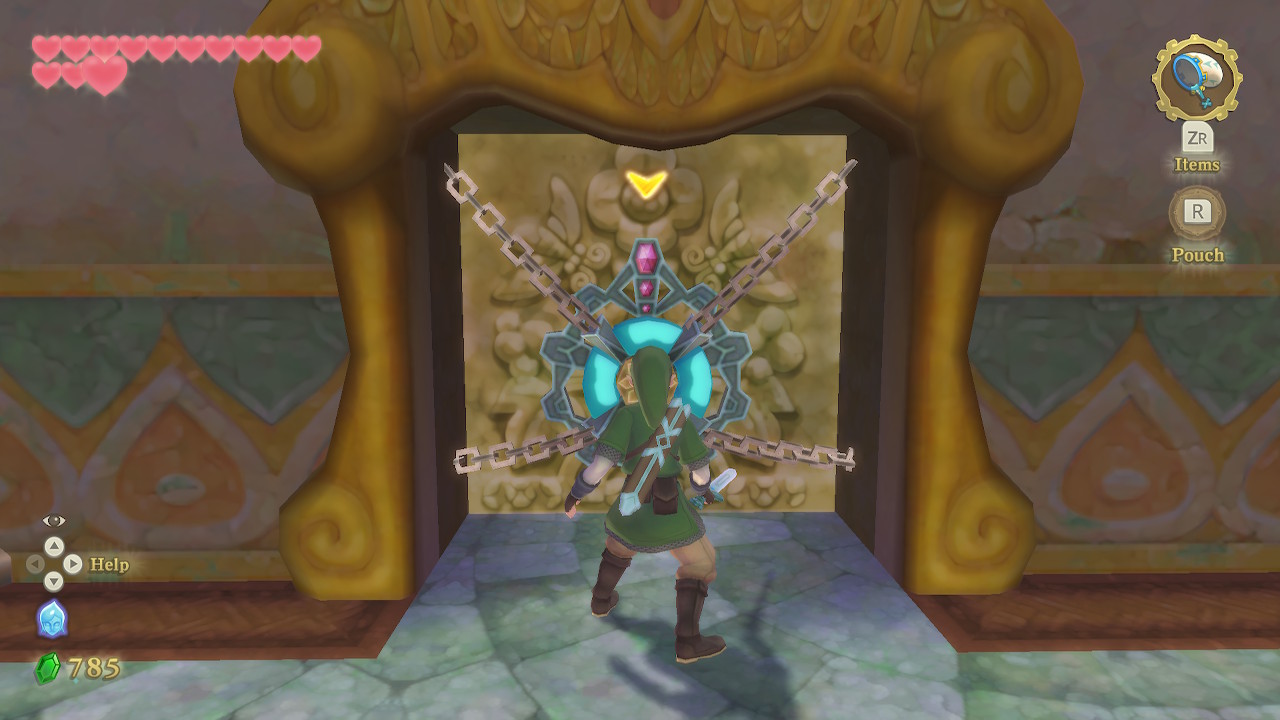
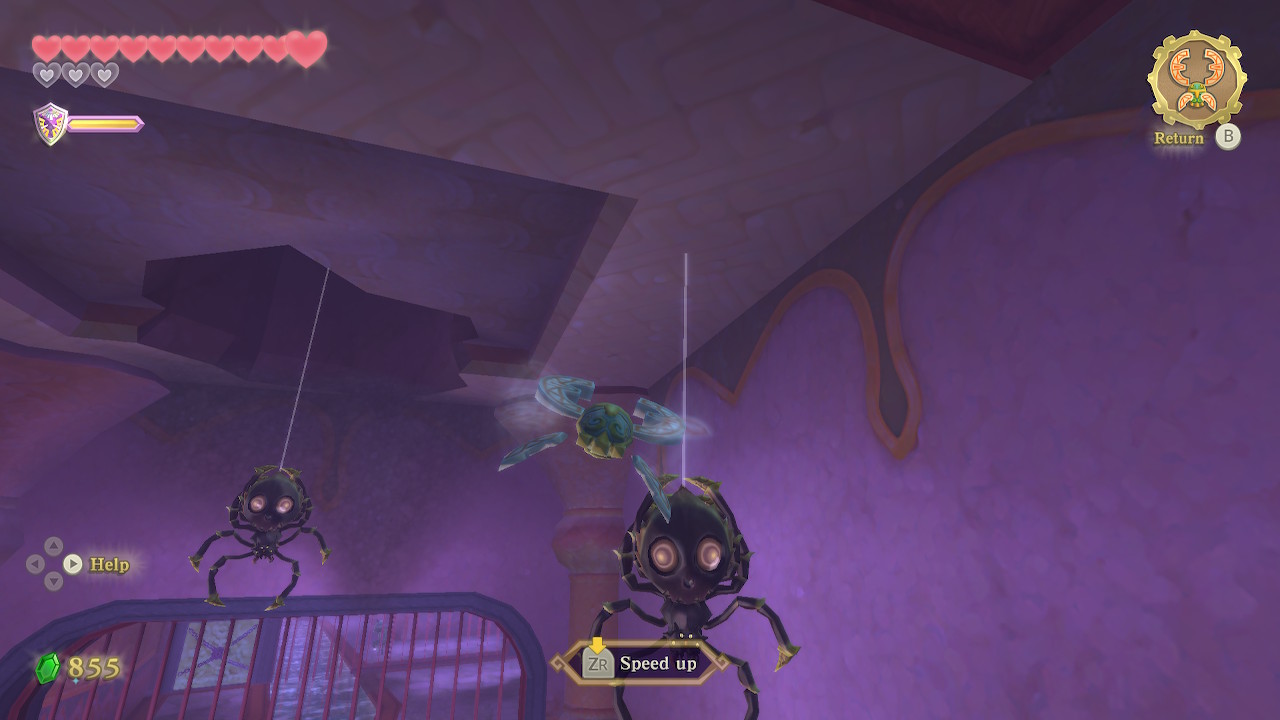
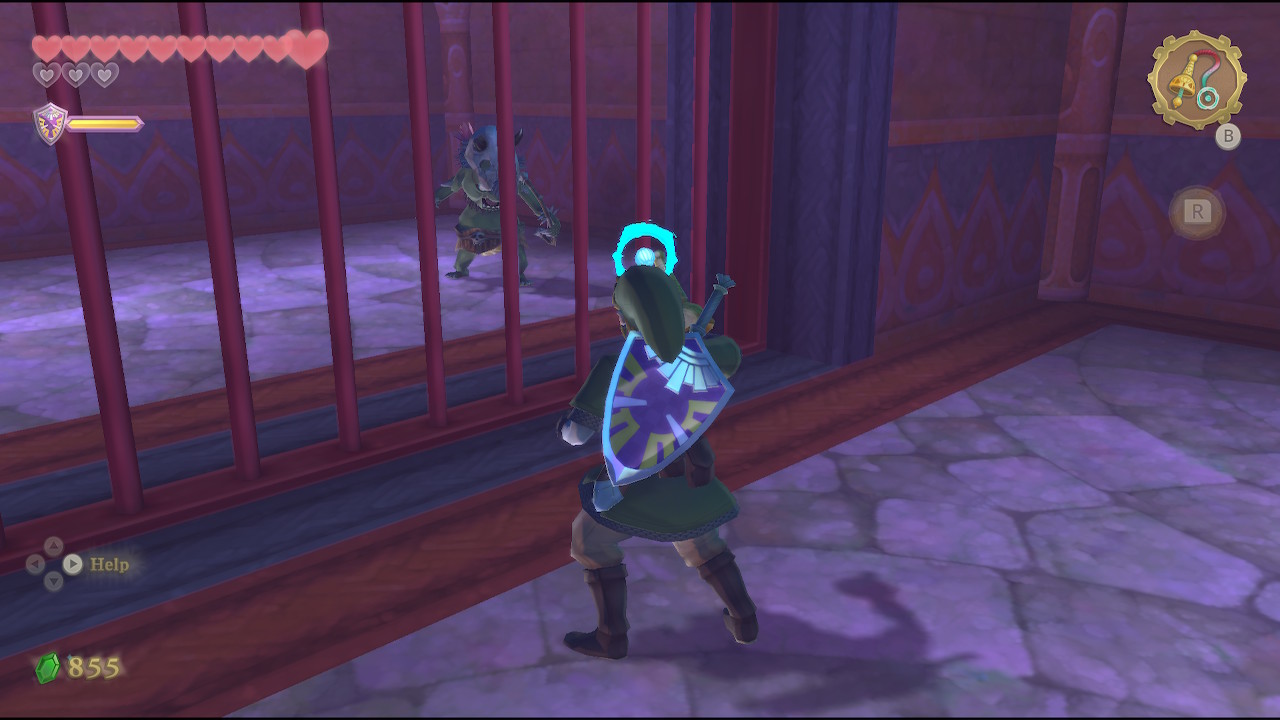
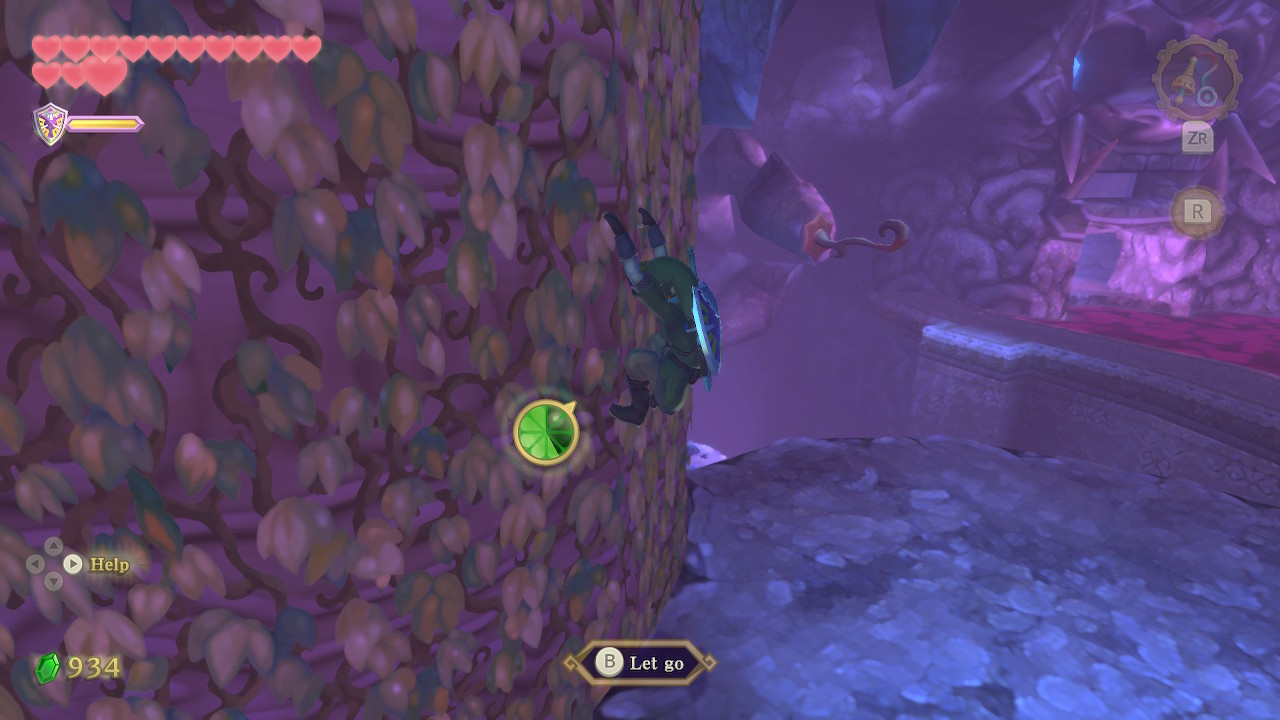
Hop down and continue through this room. There will be some spiderwebs you need to cut through and some Skulltulas to defeat. Remember that when the Skulltulas are grounded, you need to slice upward to flip them over. When you get to the door here, strike the lock in the secret order: "top, bottom, left, right". Head through the now open door.
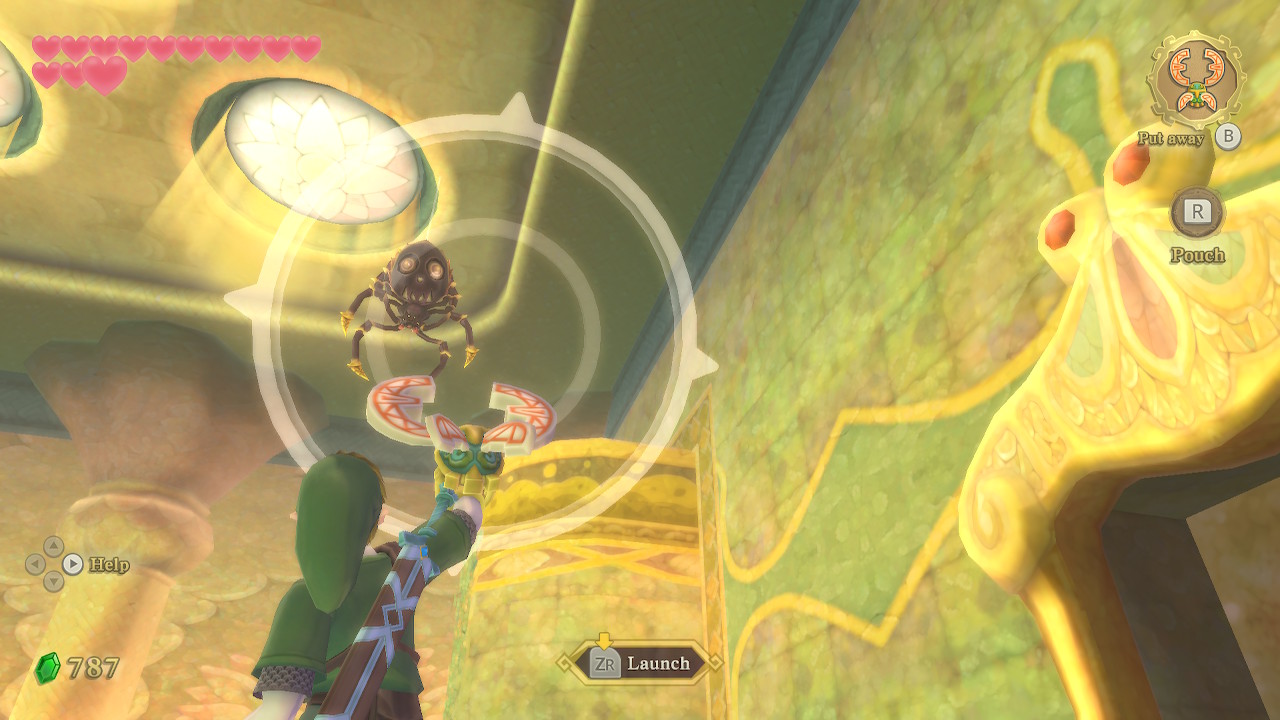
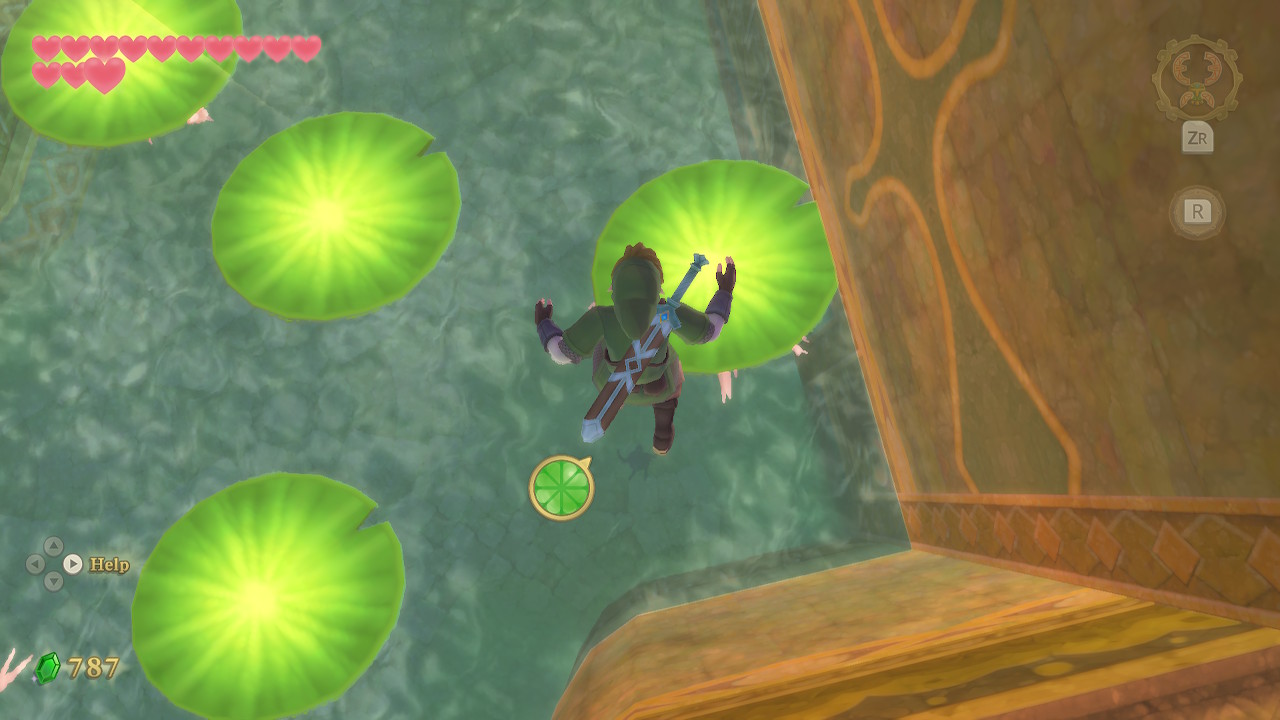
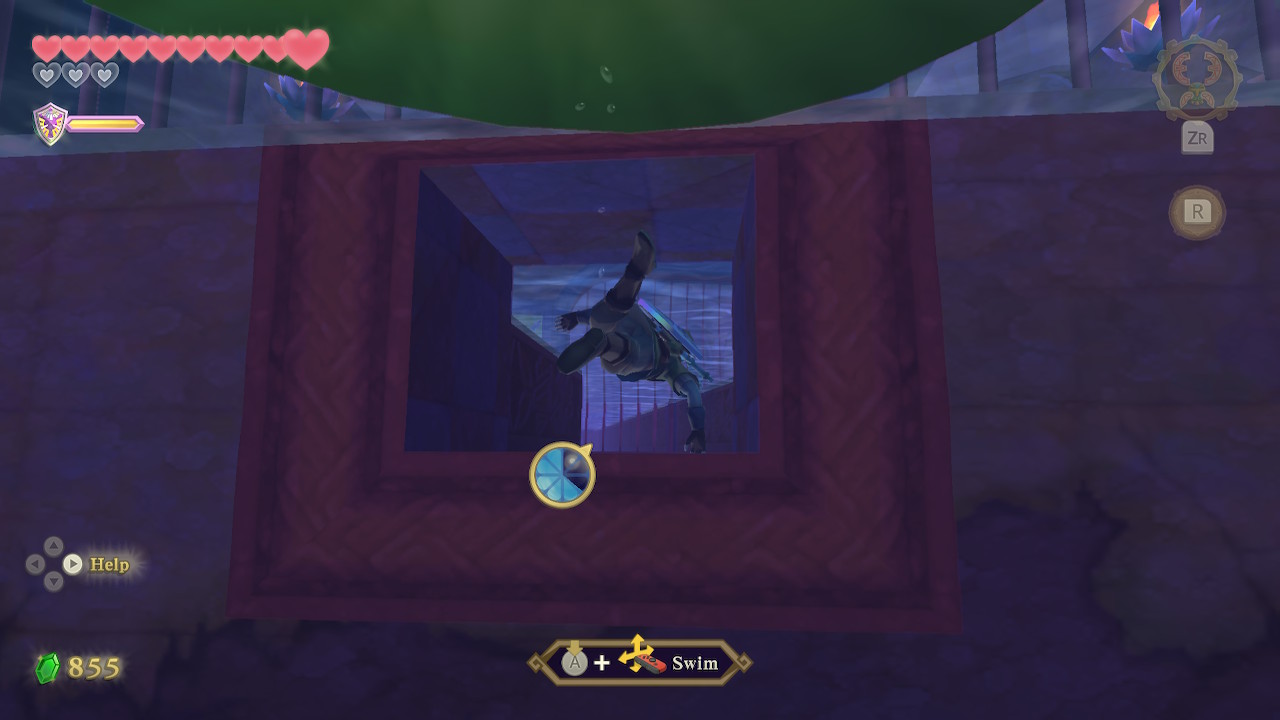
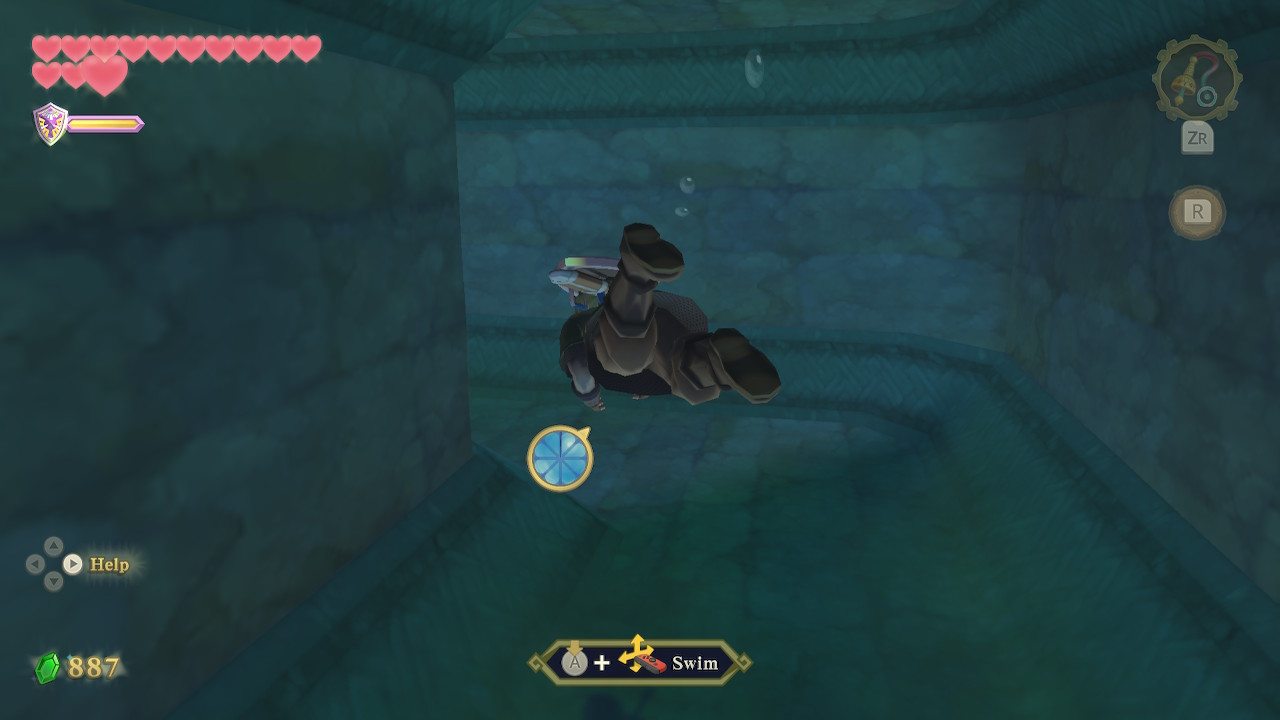
In this room, start off by cutting down the two Skulltulas with your beetle, drowning them. Then kill the Walltula on the vines and climb up them. From here, jump onto the lilypad on the east side of the room. This will flip it over, allowing you to enter the small passage beneath it.
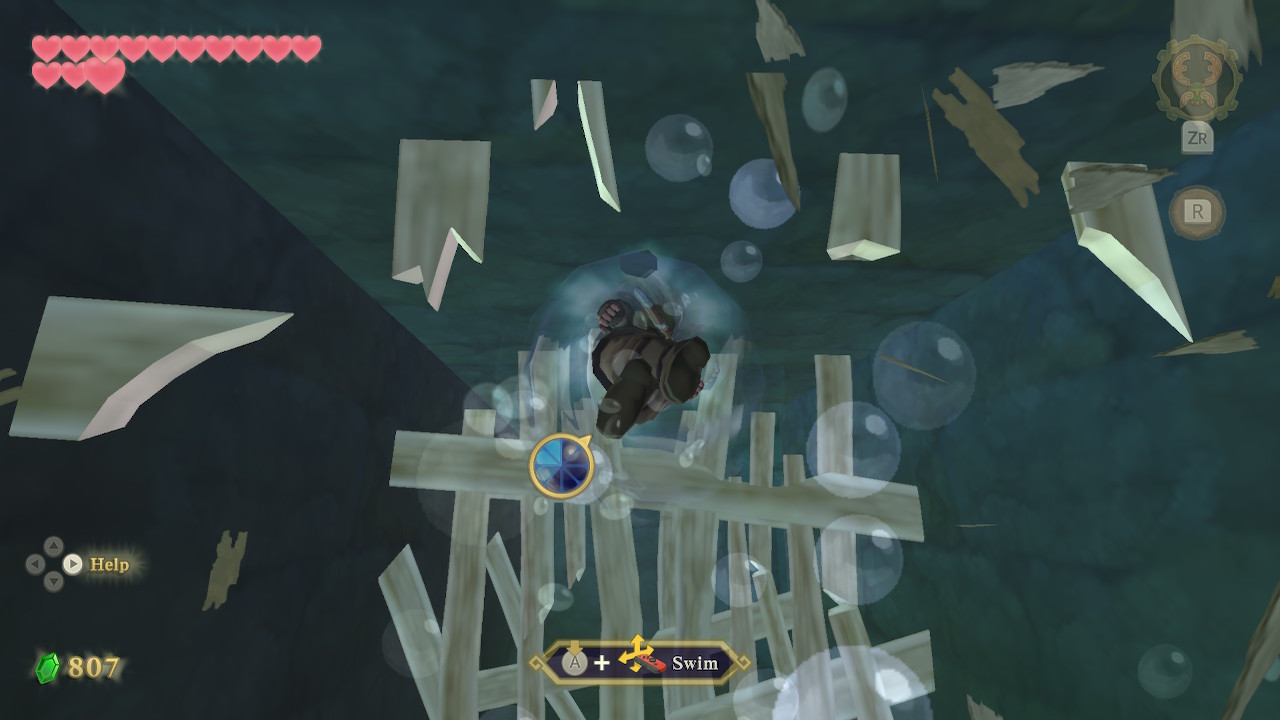
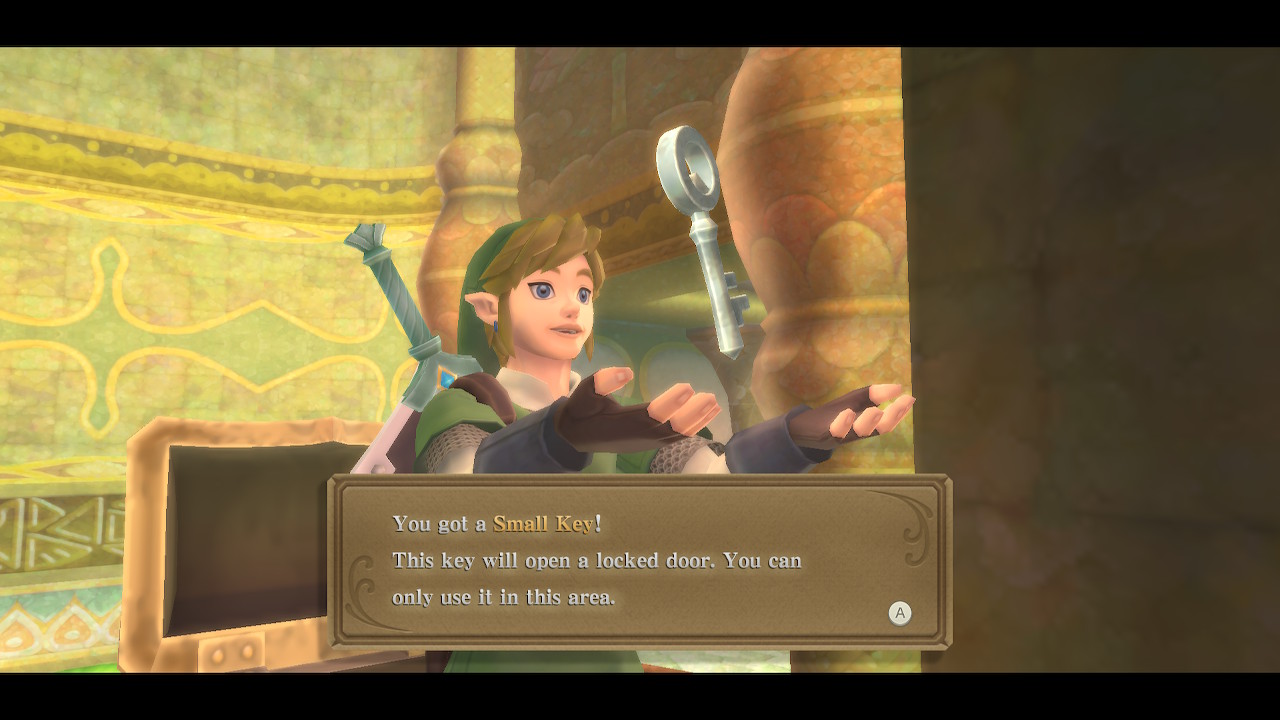
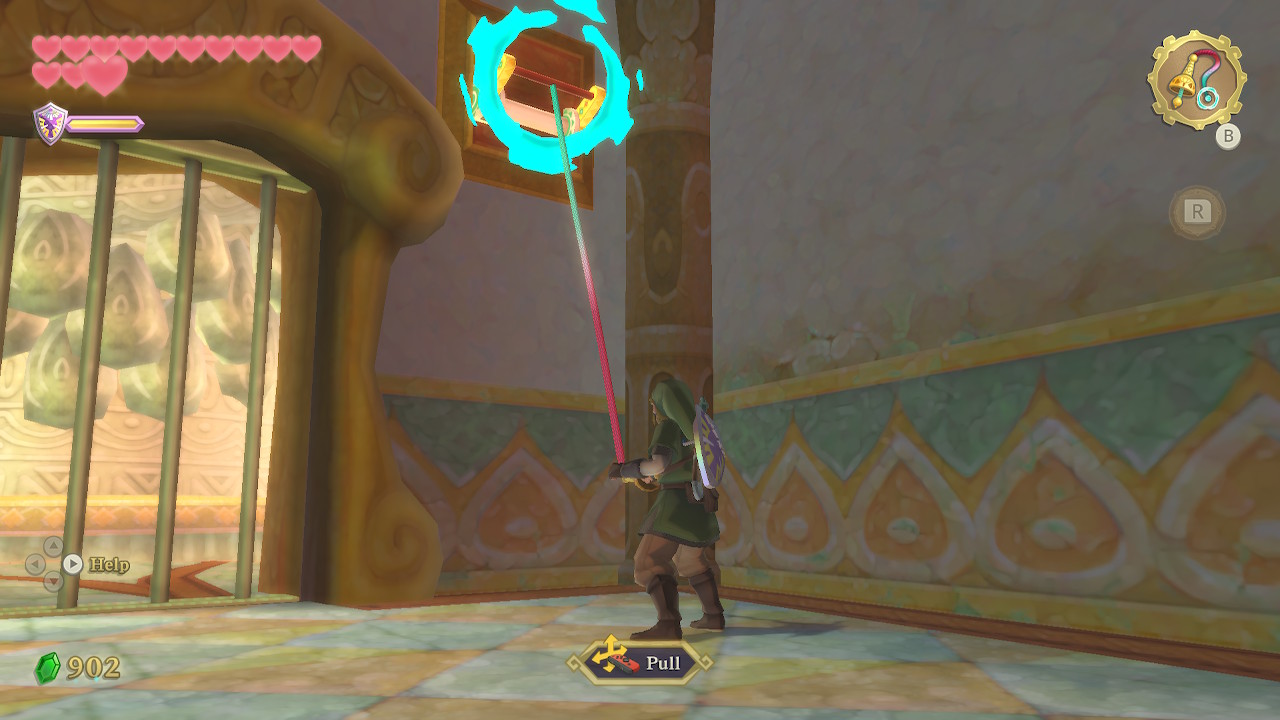
Go through this underwater passage and blast through the wood with a spin attack. Go through the door here. Open the chest to find a Small Key. We now want to head back to the main room. Do so by hopping off the ledge and taking the water spout up. Exit through the door here.
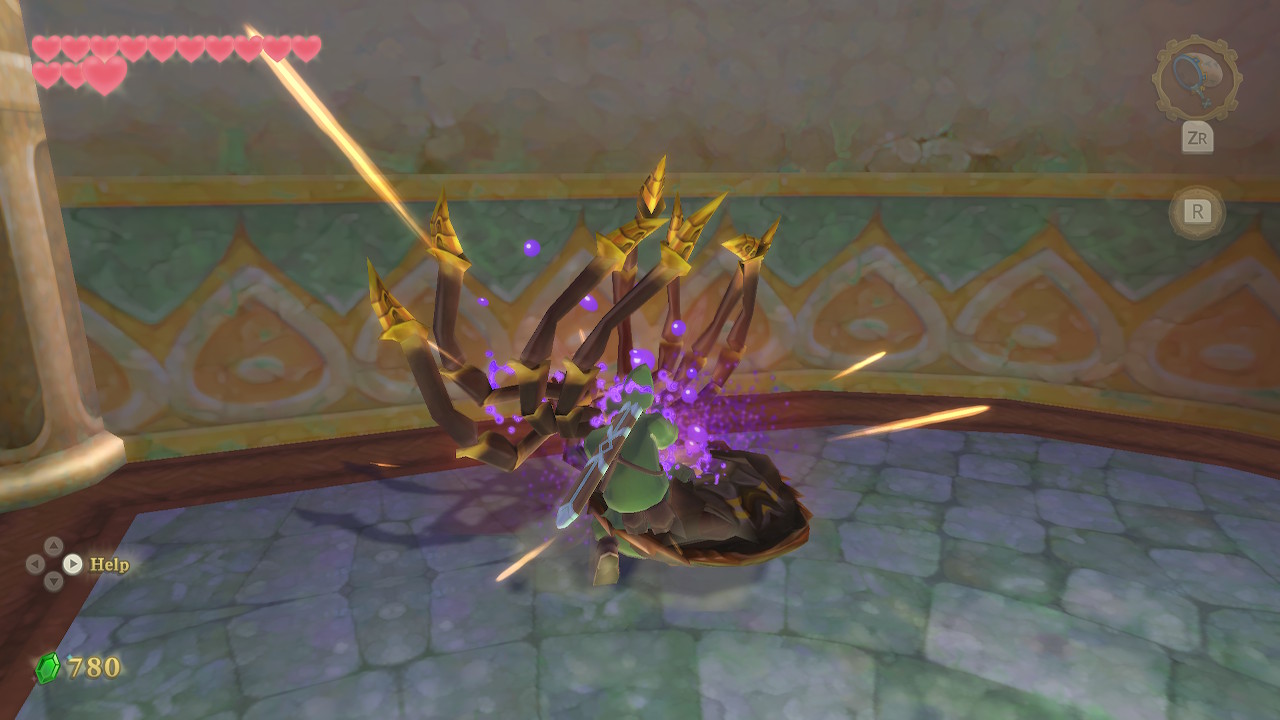
Make your way to the locked door in the center statue. Head through it and then jump down to the bottom floor. Here you will find the dungeon's mini-boss, a Stalmaster.
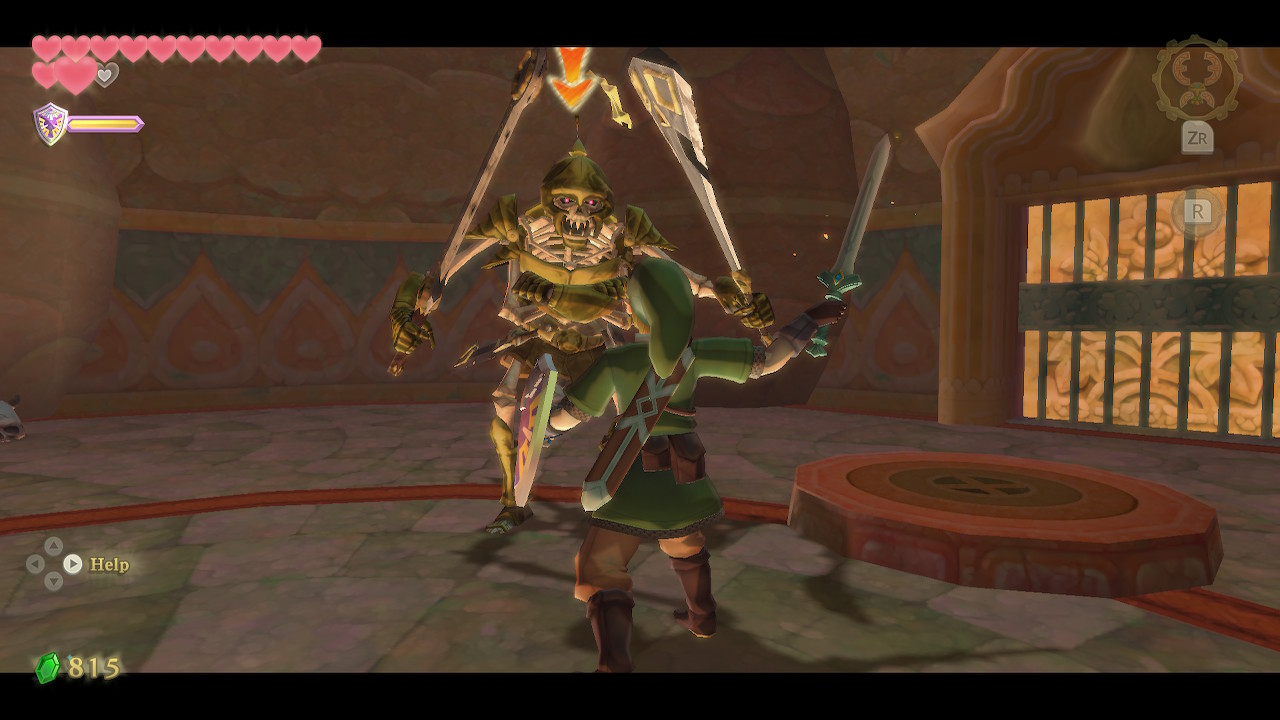
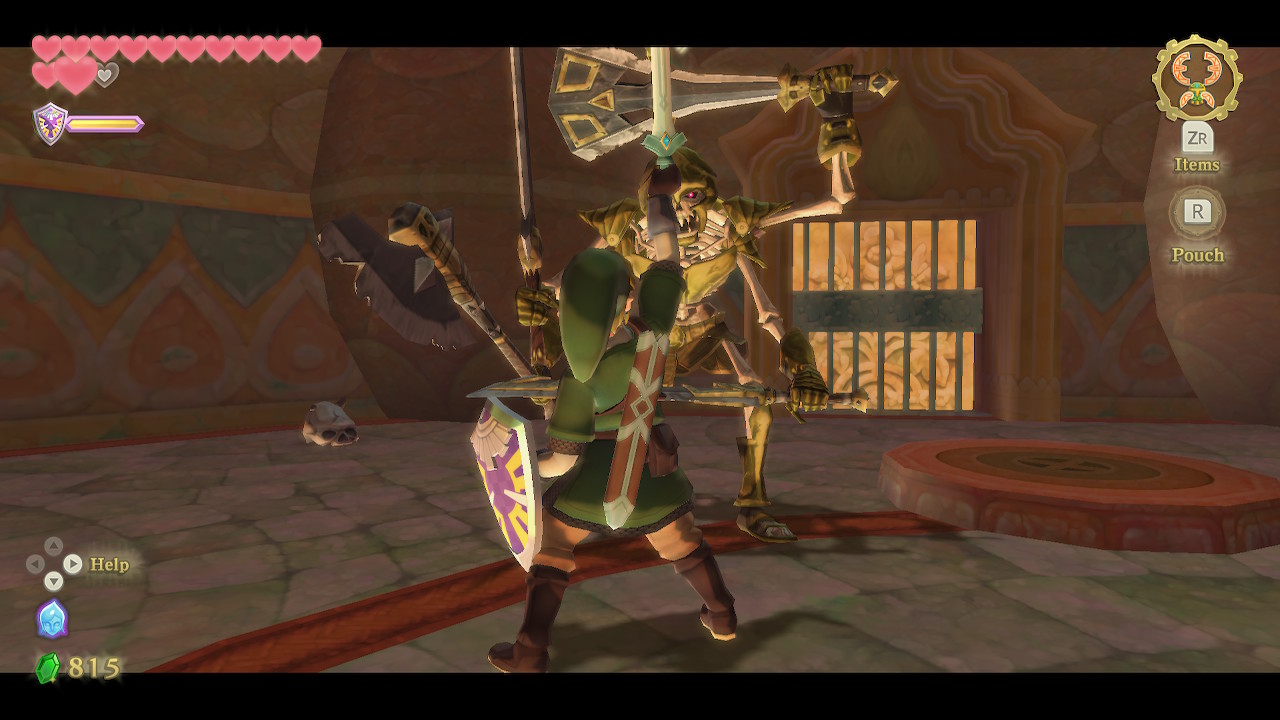
This fight is very similar to a Stalfos, but he has much more health. During the second phase of the battle, he will also have four arms that each wield a weapon. Just slash in the exposed direction (you can sometimes thrust if he is blocking all directions) and quickly move back when he is charging up an attack. There are plenty of recovery hearts around the room if you need them.
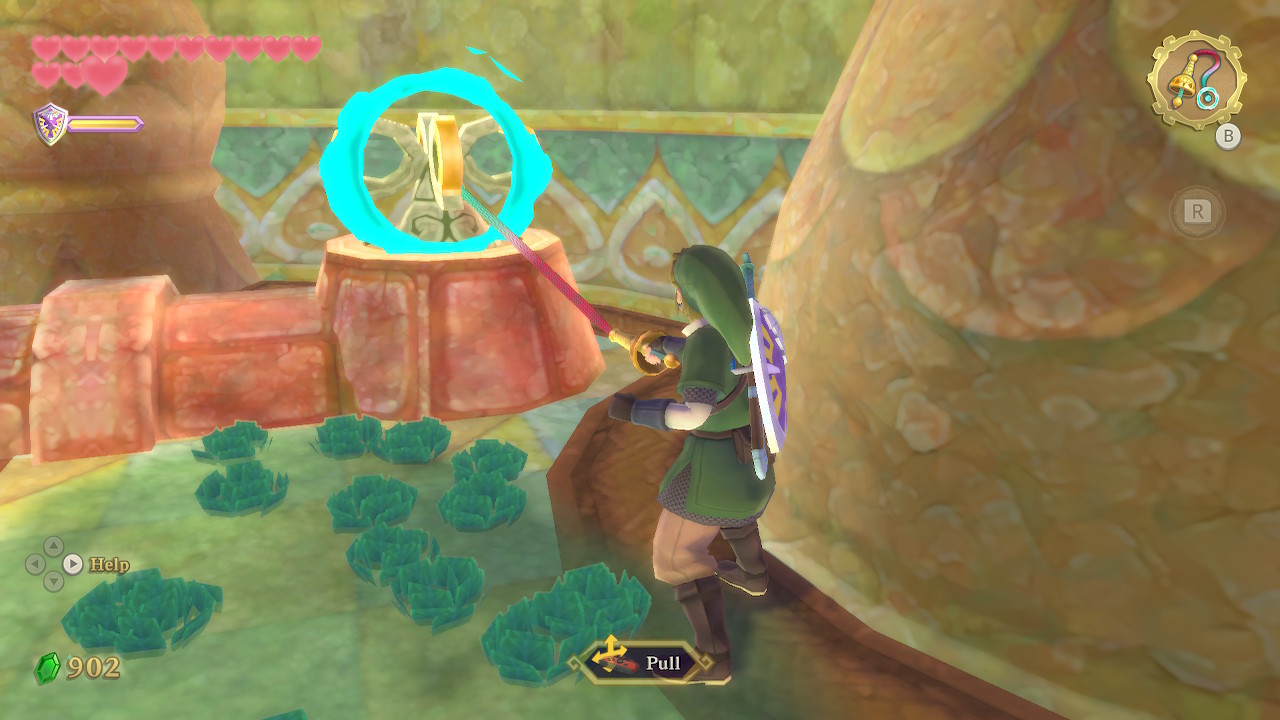
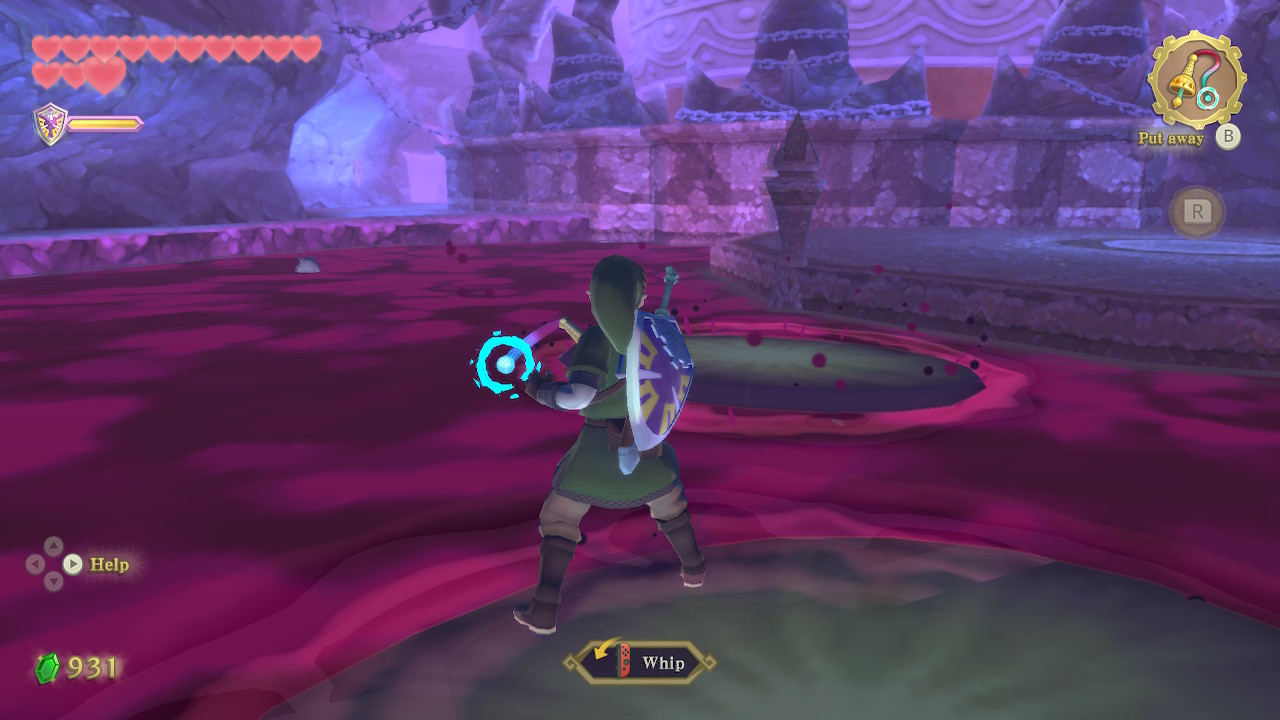
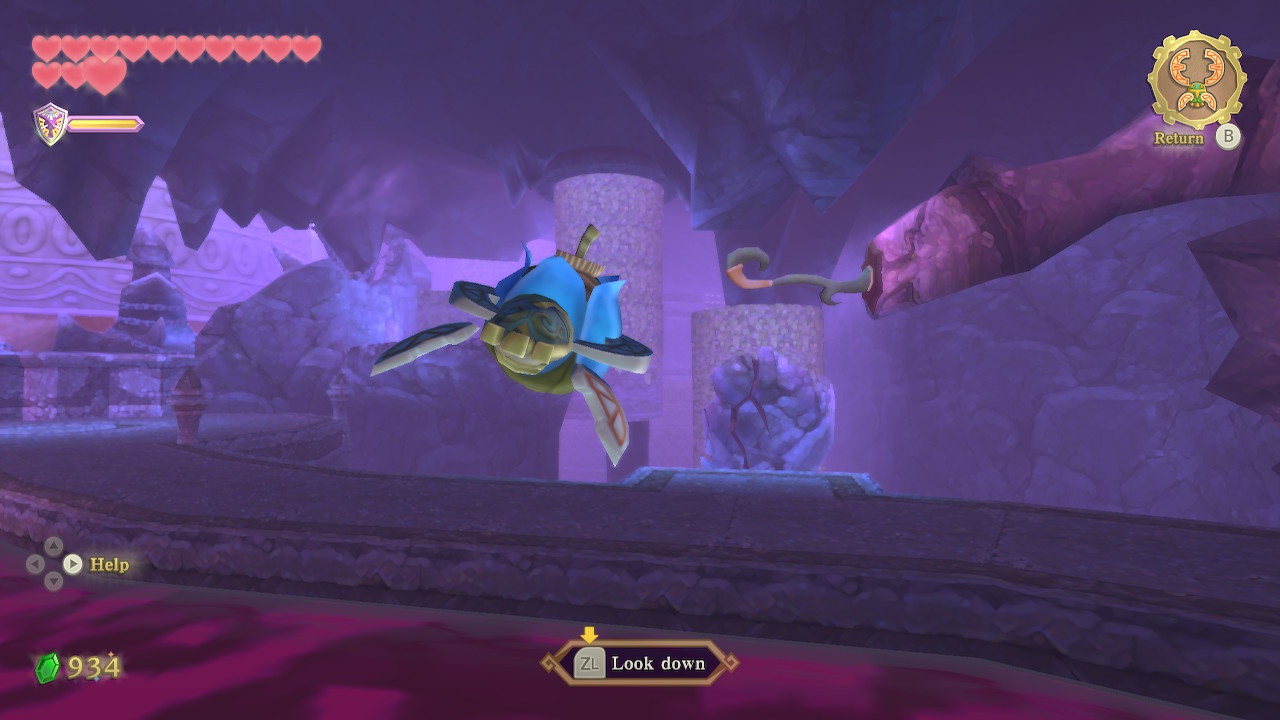
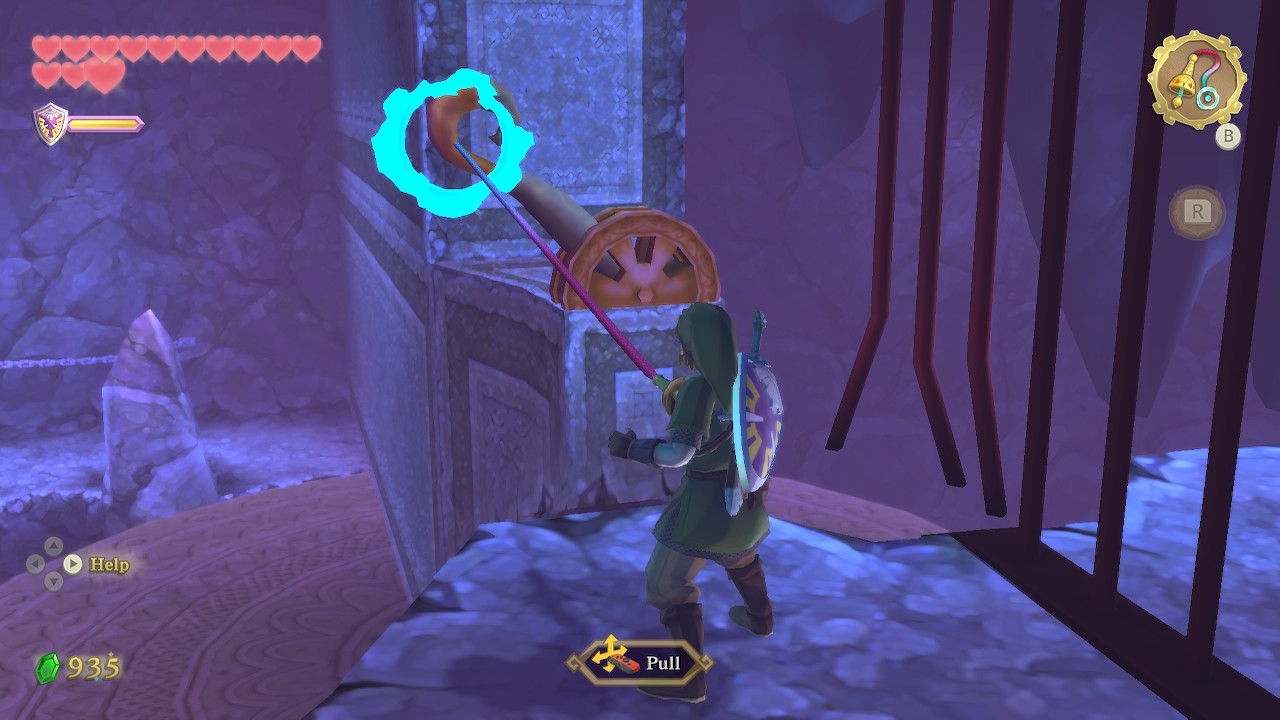
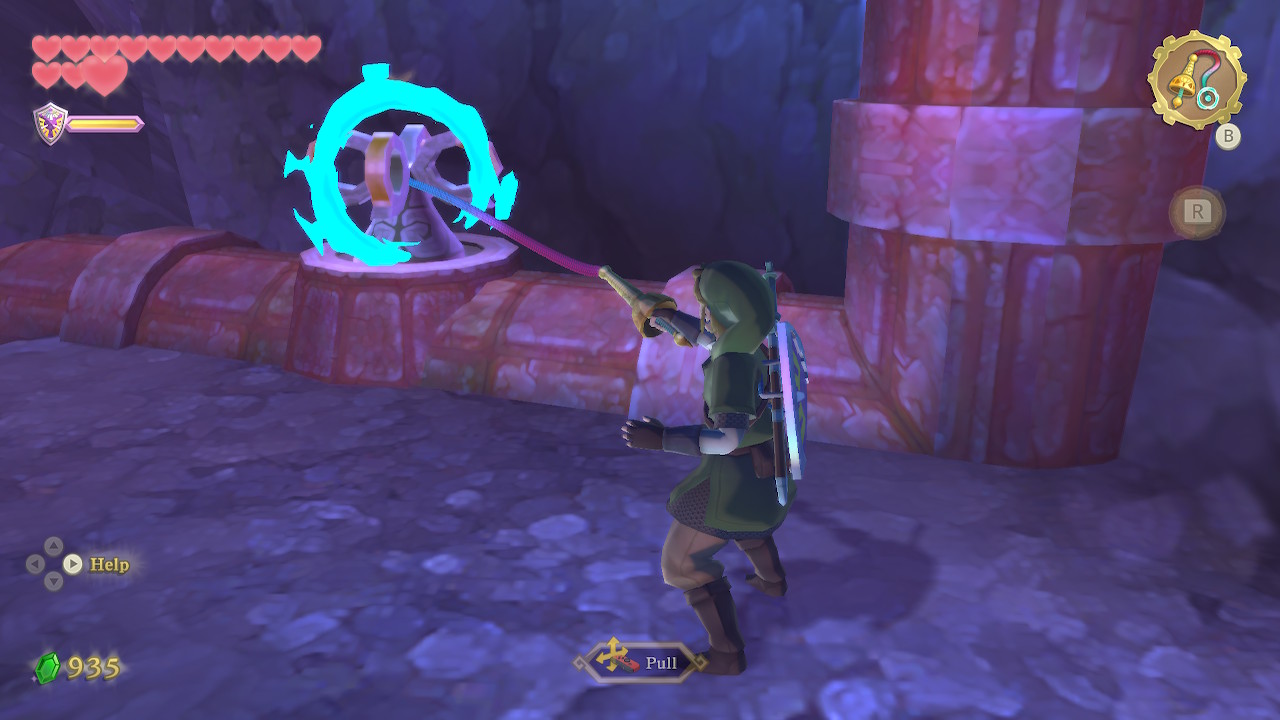
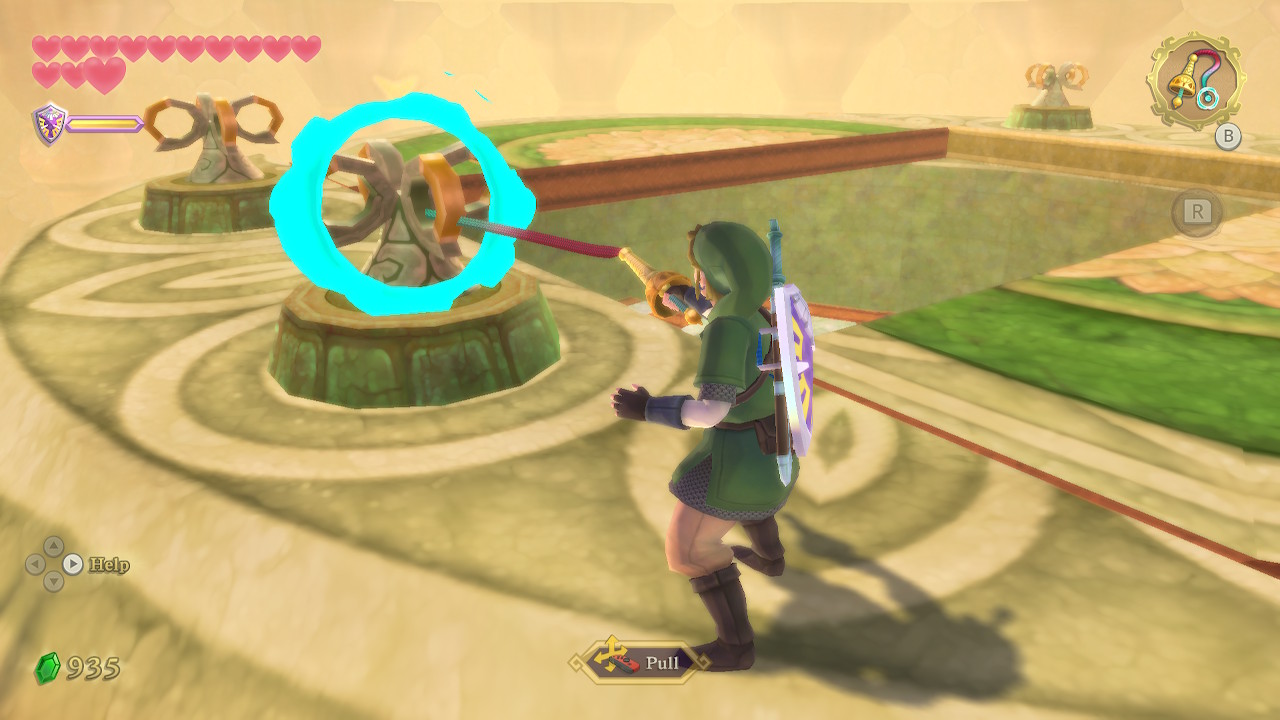
After the Stalmaster is defeated, head through the door. Inside you'll find a chest with the dungeon item, the Whip. This item allows you to turn the propeller-like valves that you've seen around the dungeon. It also allows you to latch onto things and swing from them.
Dungeon Map

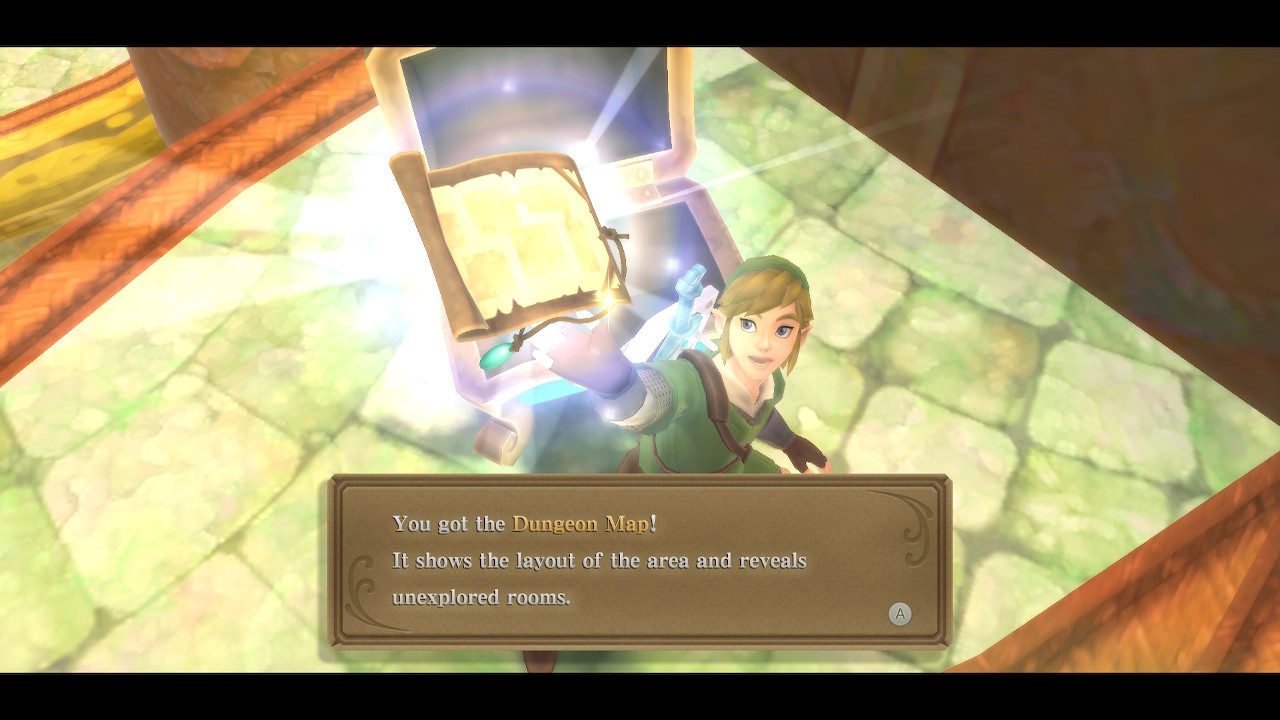
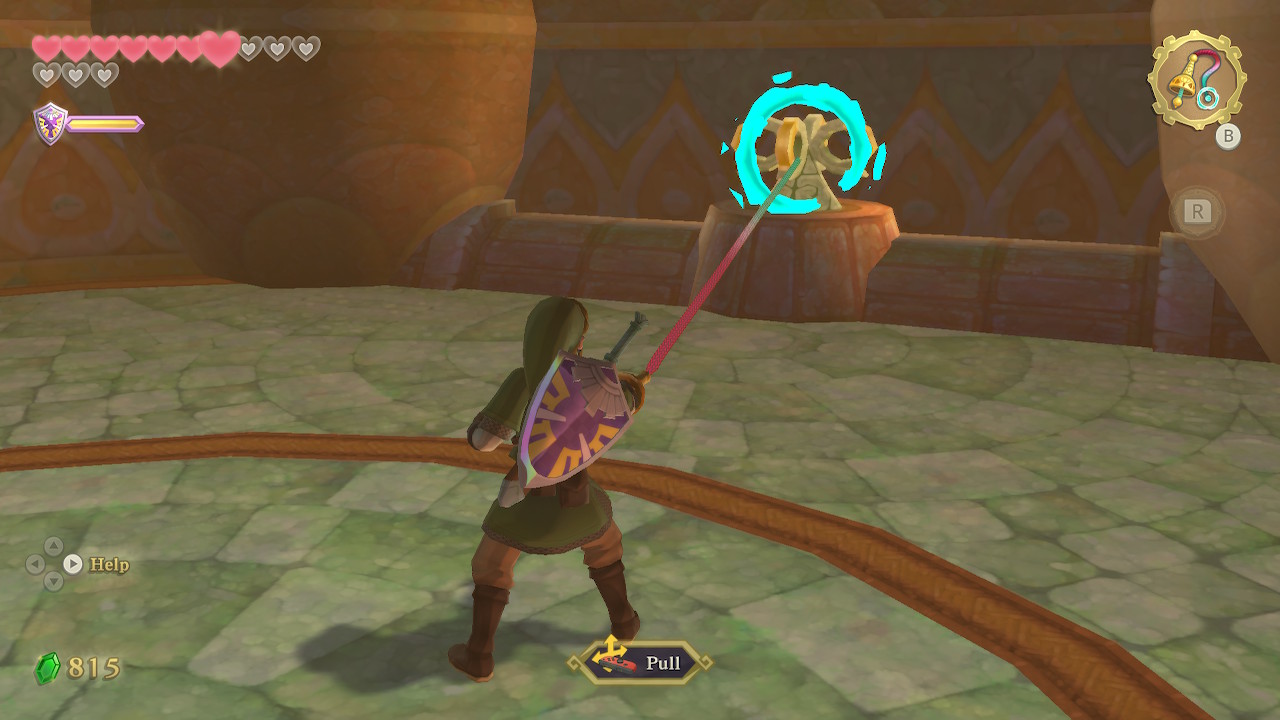
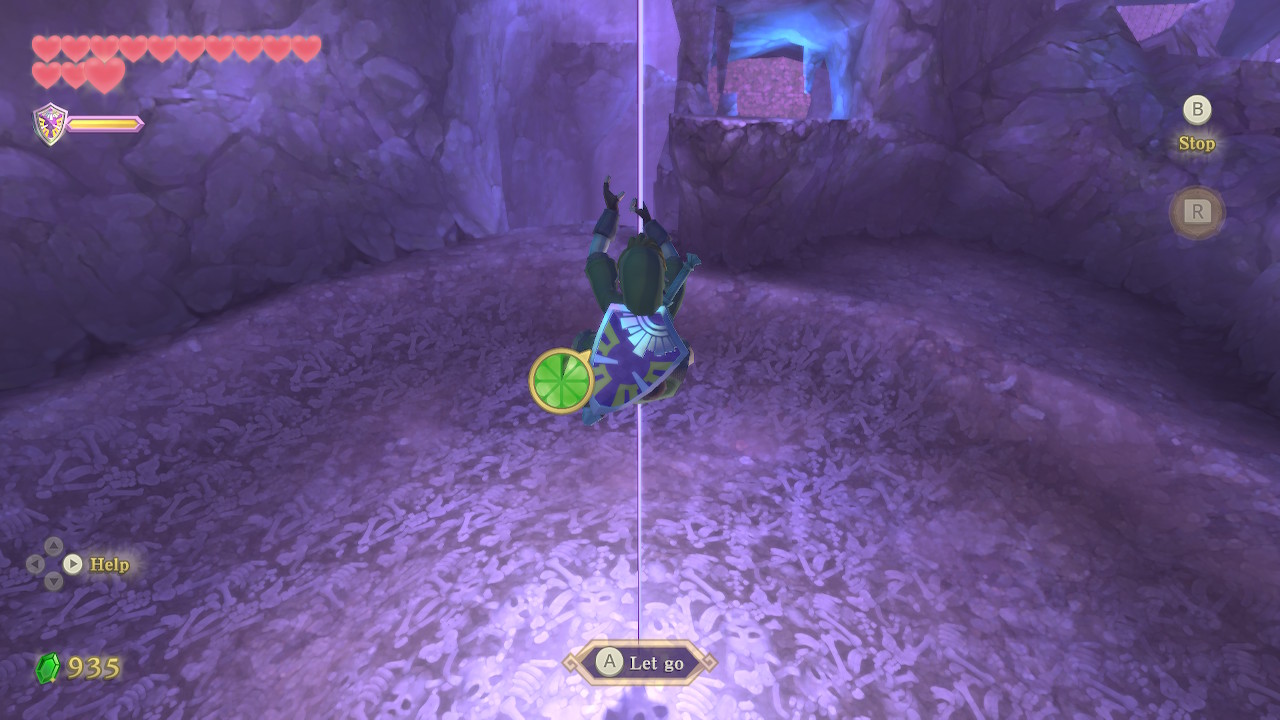
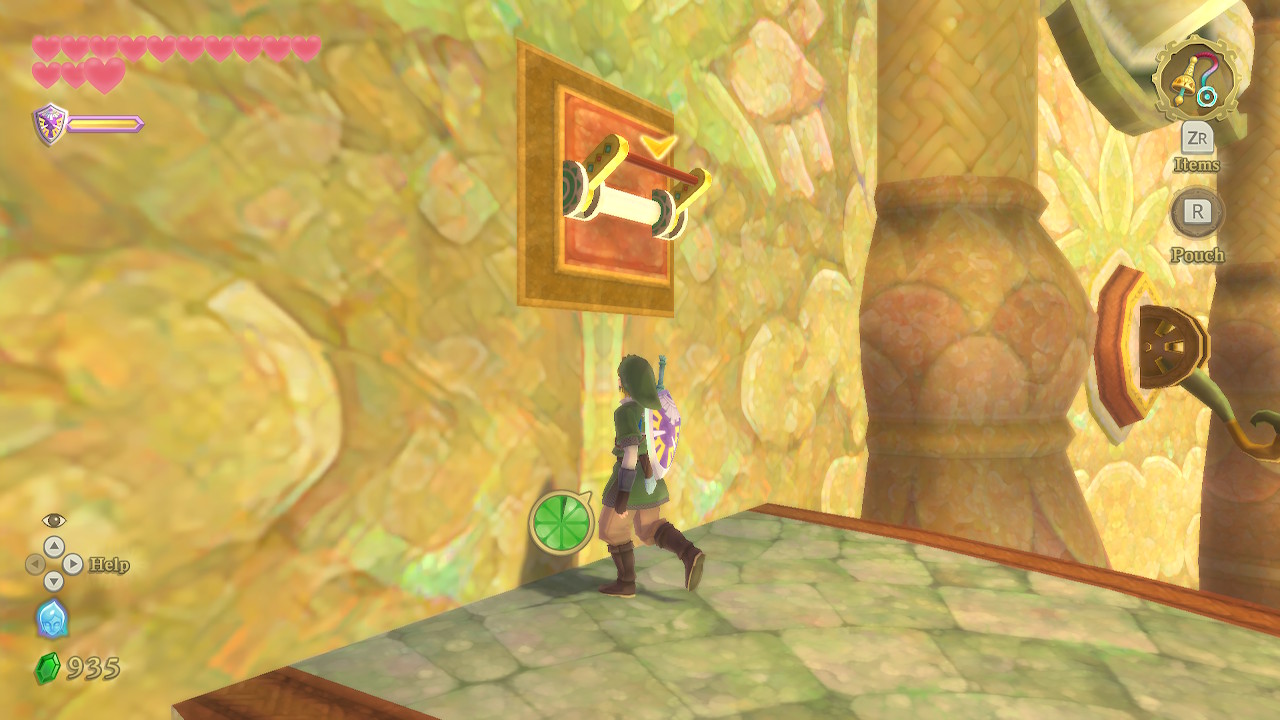
In this room, go ahead and use your whip on the valve here to turn on a water spout in the floor. Ride this up to the floor above. Exit back into the main room from here. Leave the center platform and head to the outer ring. Follow the path up a couple of platforms here and you'll see some poles that you can latch onto with your whip. Do this to swing across these gaps. On the highest platform here you can open a chest containing the Dungeon Map.
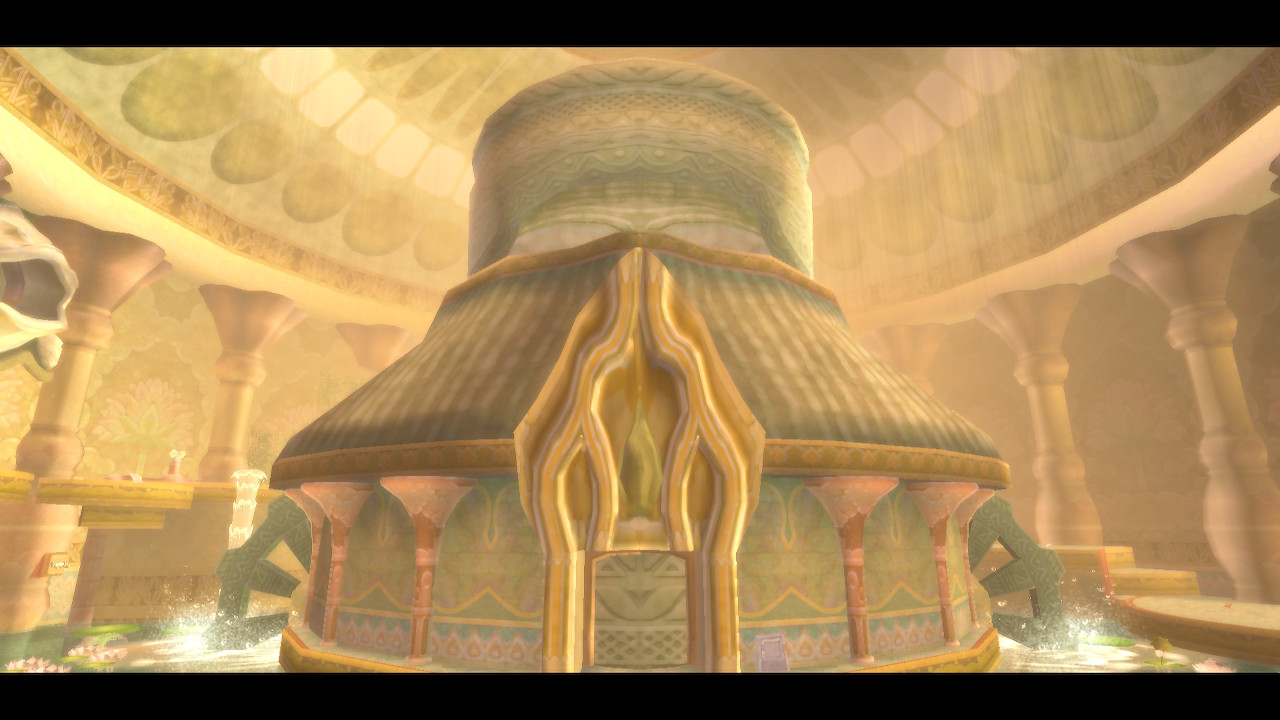
Central Room
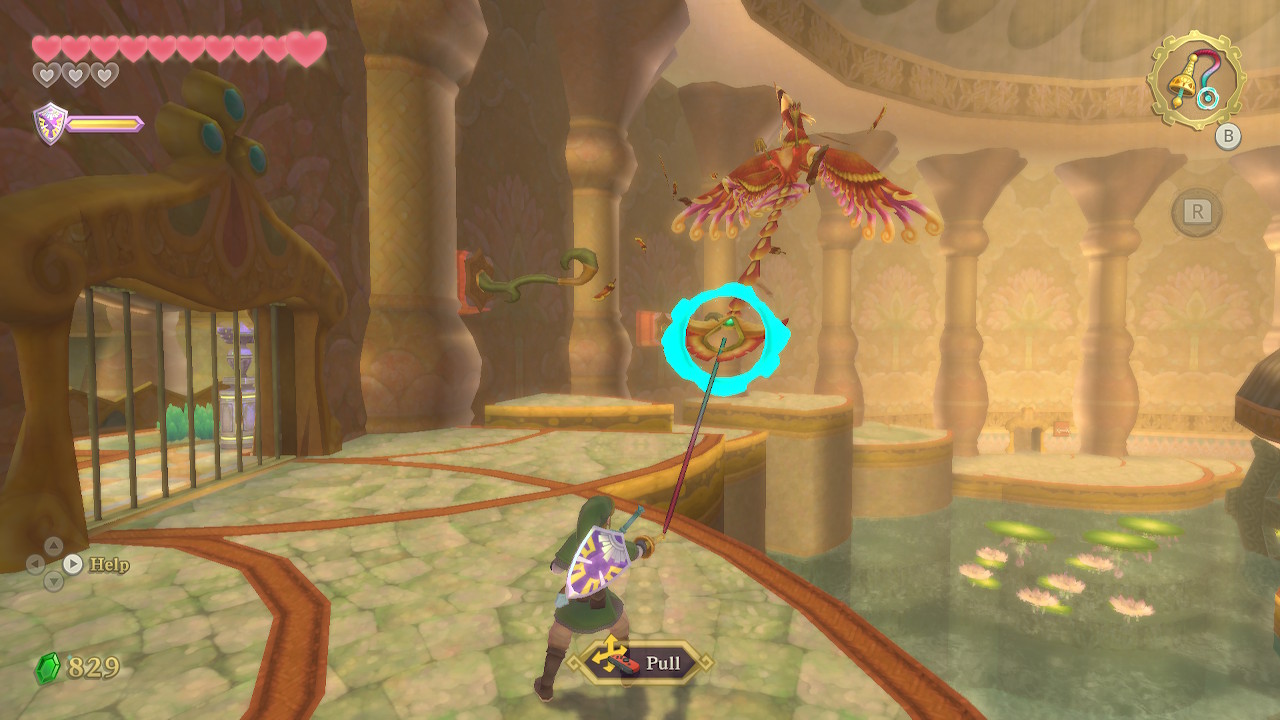
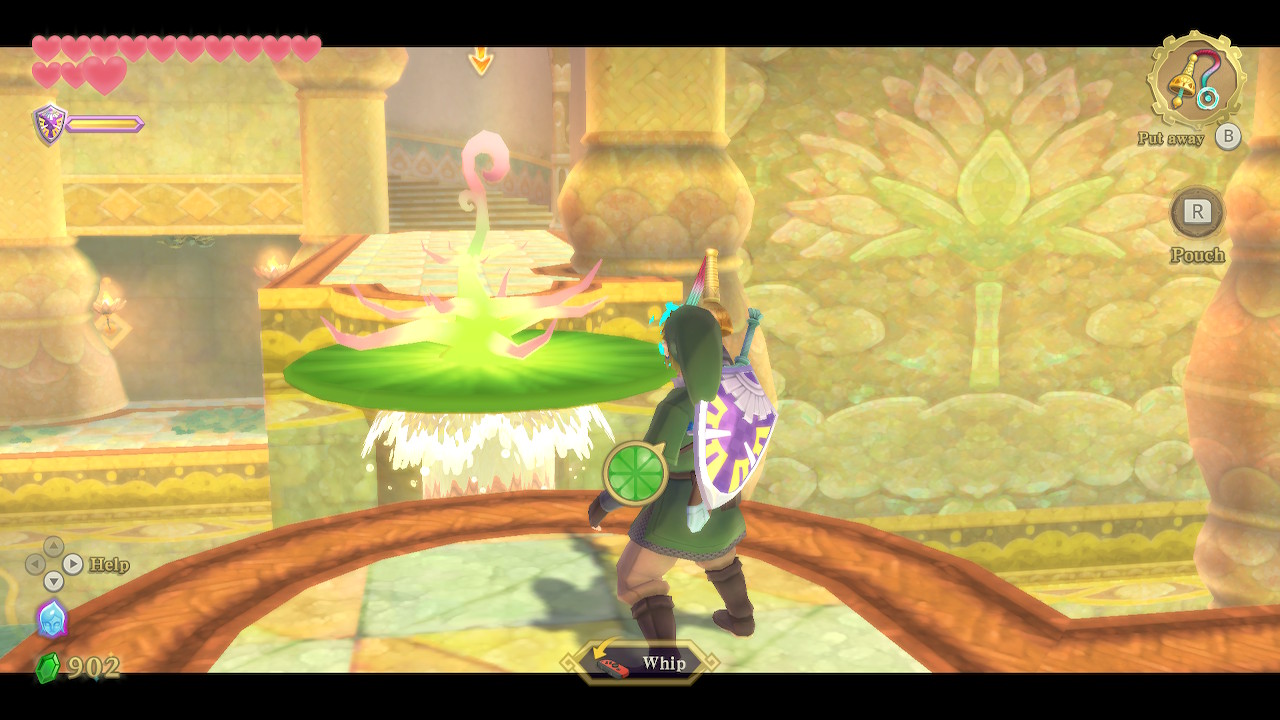
While you are up here, you'll probably run into a new red bird enemy called Furnix. You can latch onto its tail with your whip to pull it in and defeat it from there. Hop down into the water and get on one of the lilypads here. You can use your whip to latch onto the roots that are sticking up on the nearby lilypad and flip it over. Then you can use your whip on the lever here. This will stop the flow of water from above.
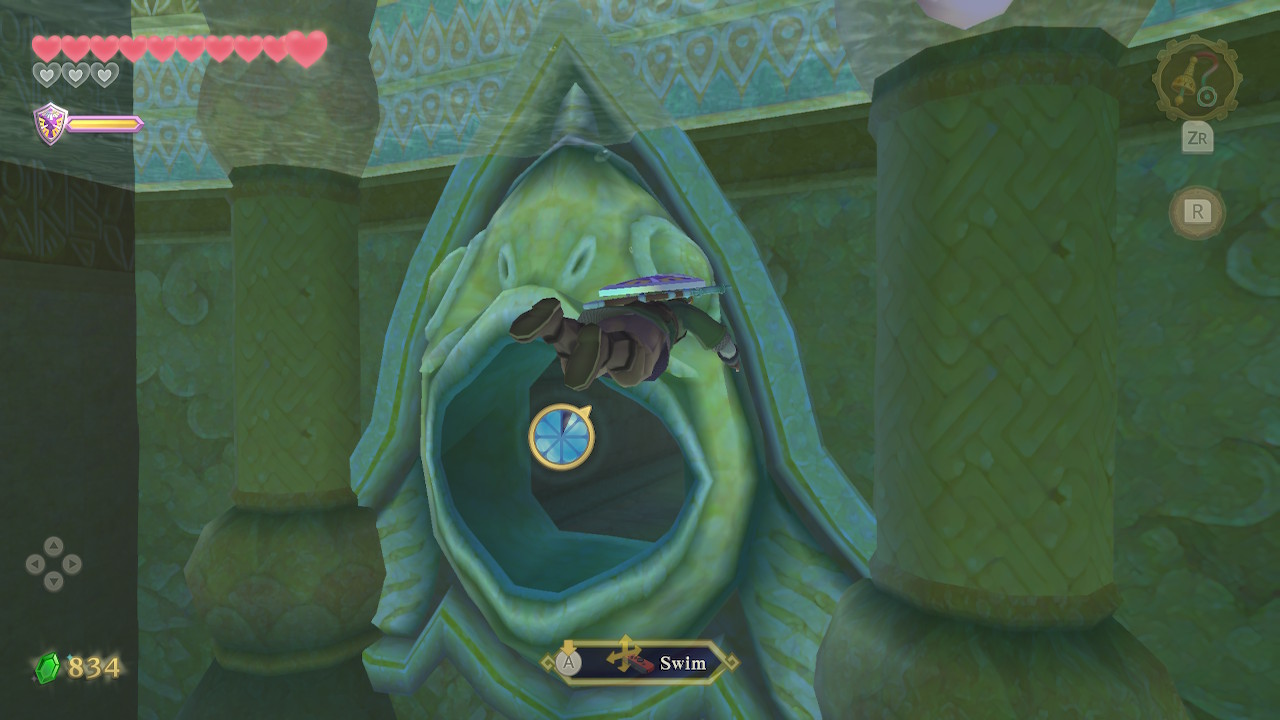
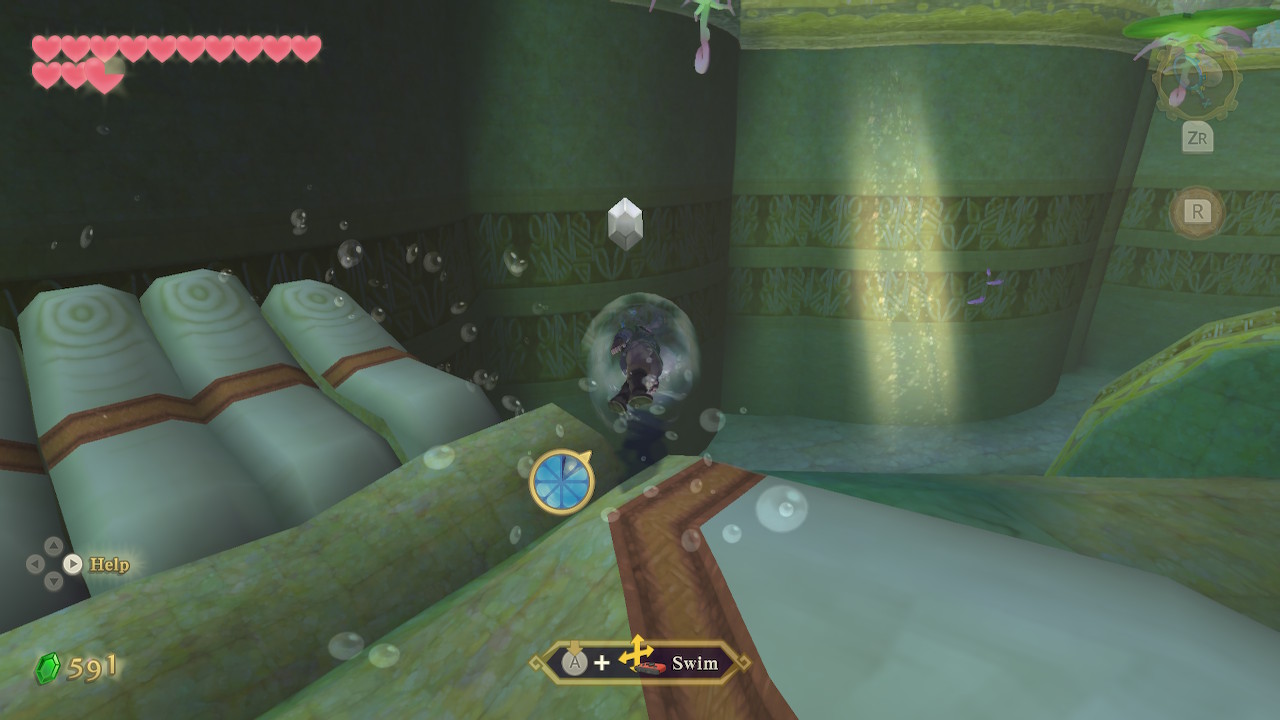
Go underwater and swim into the hole in the fish statue's mouth. Continue through this underwater corridor until you resurface. In the back of this room is a chest containing 20 rupees. You can open the gate here by using your whip through the gate and grabbing the lever on the other side.
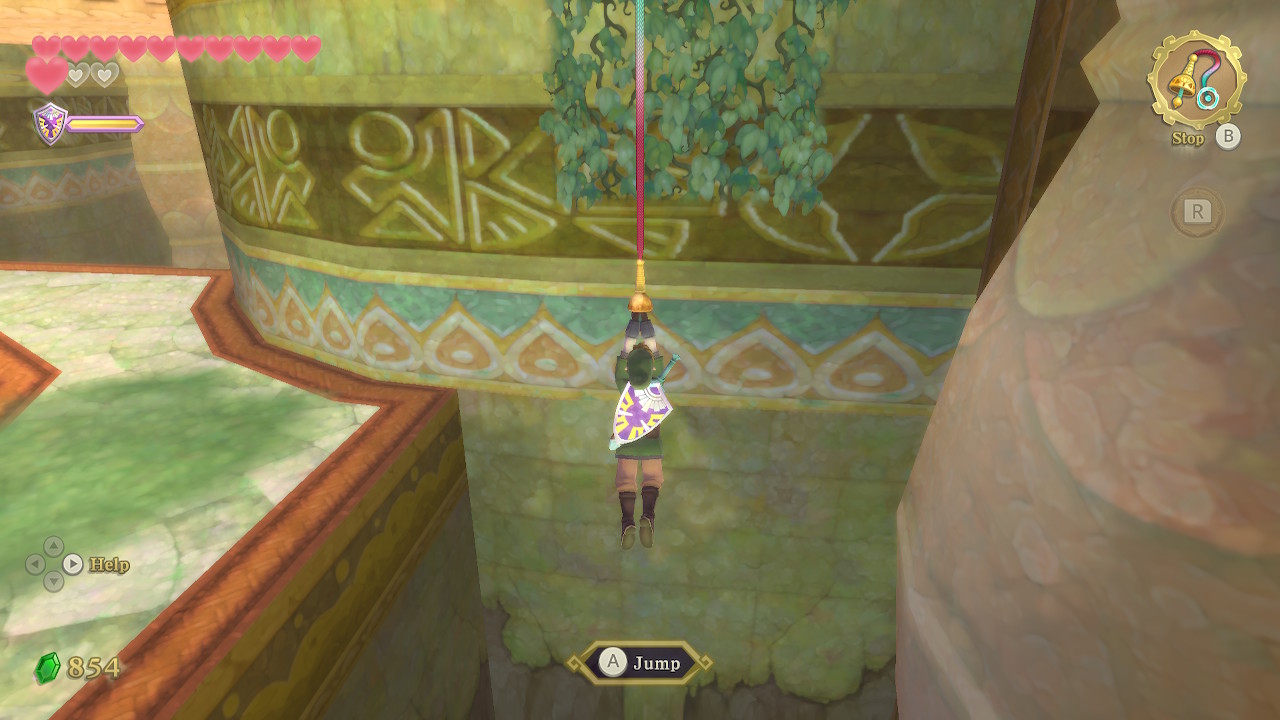
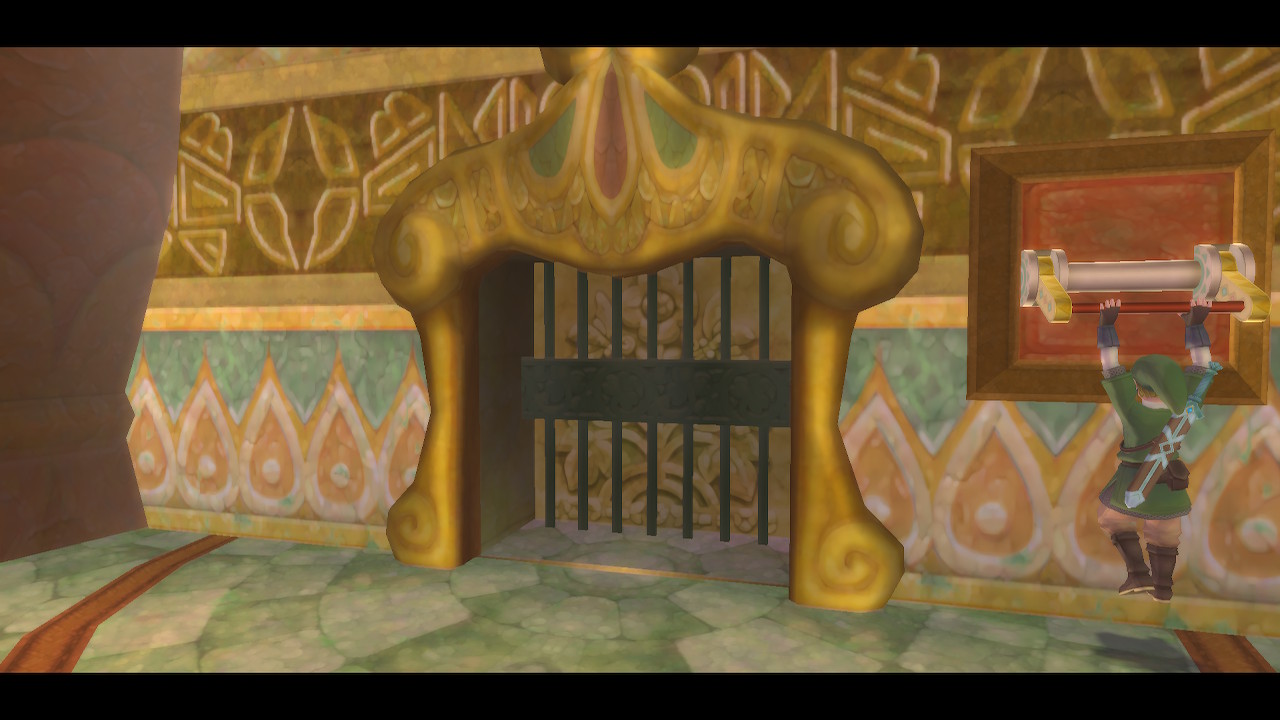
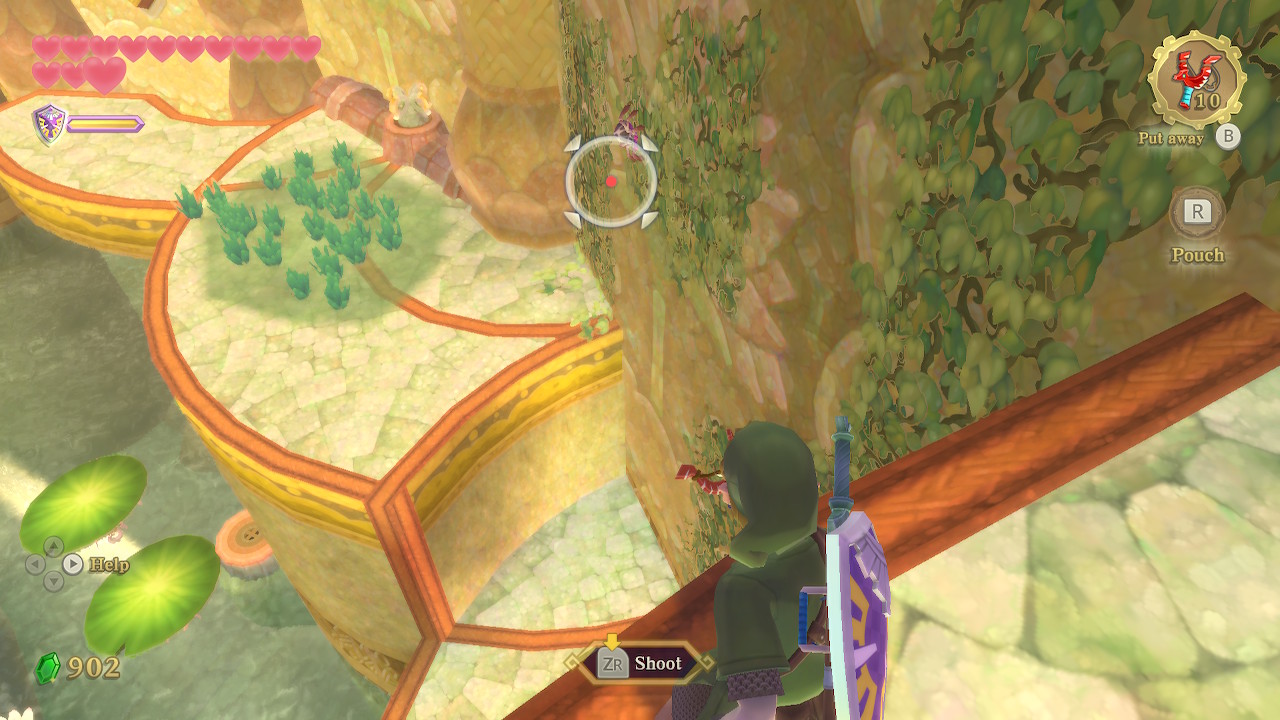
Defeat the enemies in this room when you get here. Then latch onto the pole on the right side of the room and swing onto the vines. Climb up the vines and defeat the enemies on this platform. Hop onto the vine-covered rotating cylinder to reach the platform on the other side, where you'll find a Bokoblin Archer.
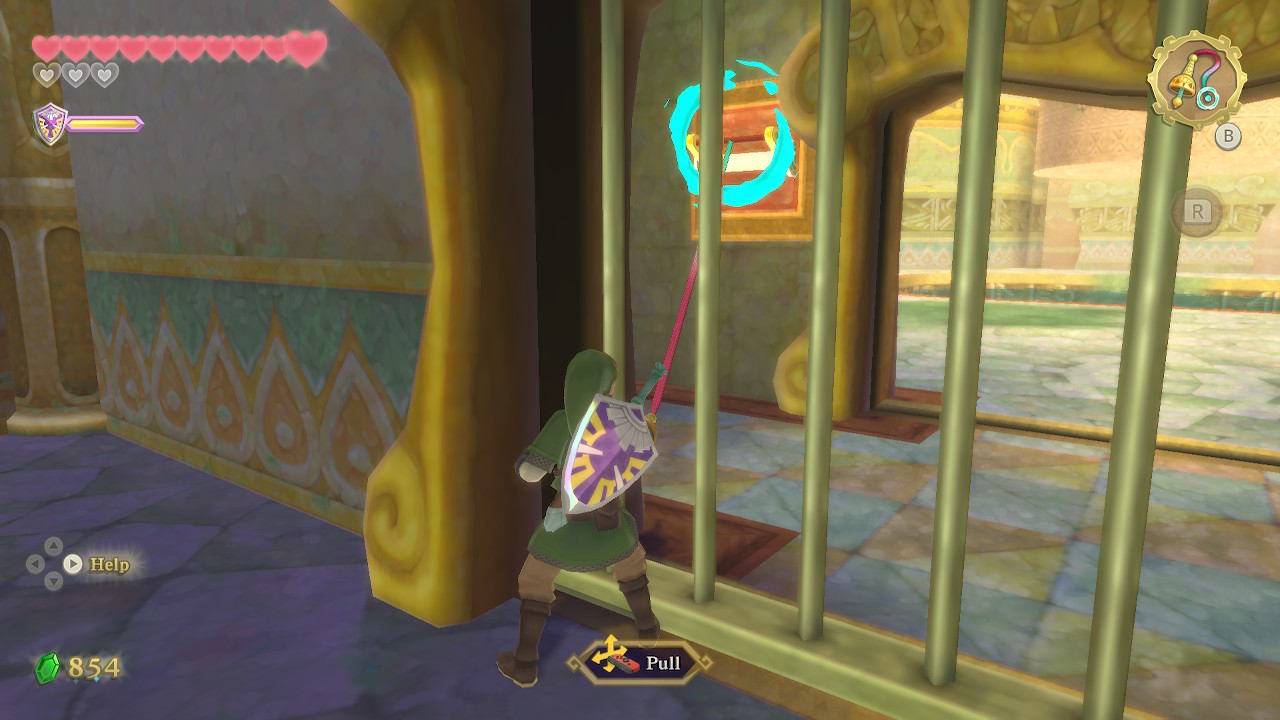
From this platform, shoot down the Walltula on the opposing vines. Then latch onto the pole above. Adjust yourself slightly to the left so that you can jump off and grab onto the lever as you fall. This will open the gate above. Then climb back up to this platform and swing across. Defeat the Deku Babas here and use your whip on the valve. This creates a whirlpool in the center of the room.
Take a leap of faith into the whirlpool. It will suck you into a basement area. Use your beetle to cut down all of the Skulltulas in here. They will land on the lilypads, flipping them over. Head through the opening underwater into the next area.
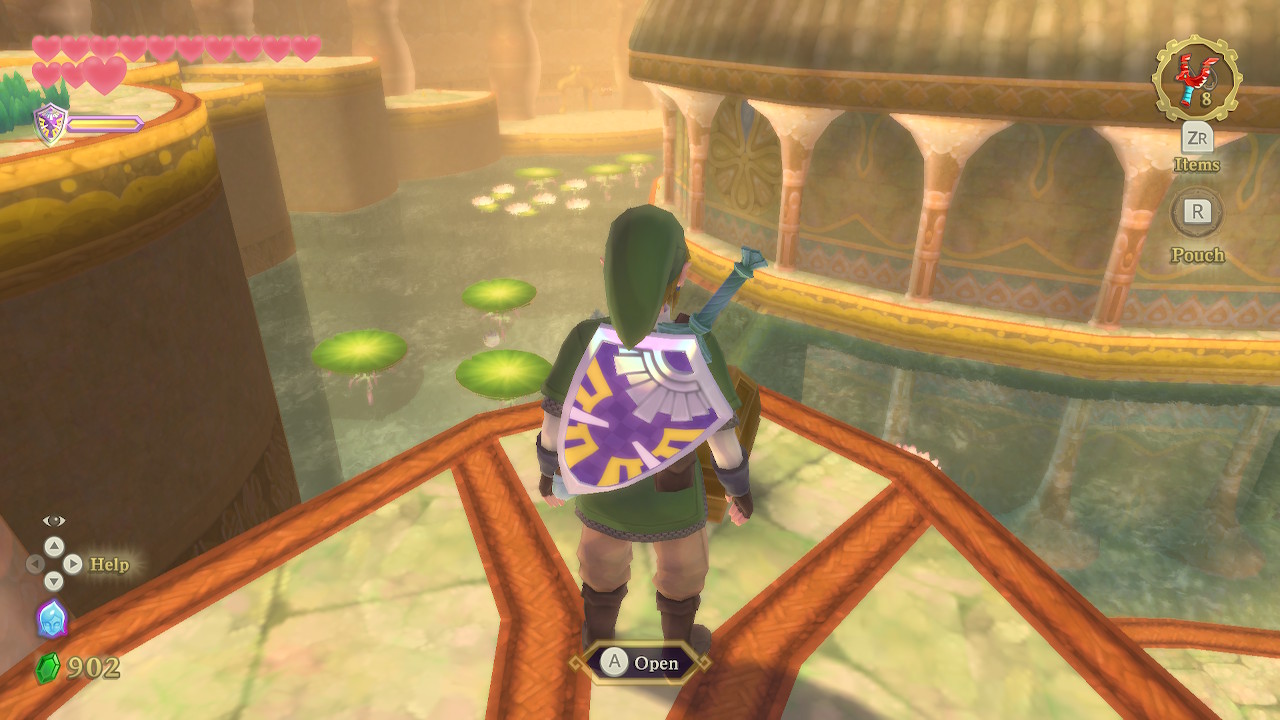
There is nothing but a locked door here, but we don't have a key. Luckily there is a Bokoblin patrolling on the other side of the gate that is carrying one. Use your whip to steal it from him. Head through the locked door. You will get a glimpse of a chest here, but we can't reach it yet. Just hop into the water and you'll be taken away to the main part of the dungeon.
Swim over to the platform on the left and use a spin jump to get up. Use your whip to flip over the nearby lilypad. Use it to climb up the vines and continue along this platform. Jump down off the platform to the lilypad below, flipping it over and revealing a passageway underwater.
Head through this passage underwater and spin attack into the Froaks. Once you resurface you'll find yourself on the west side of the room we were just in. Here there is a valve you can use your whip on. It raises the lilypad we recently flipped, creating a path across.
Repeat the recent process to get up the vines and then use the whip on the lilypad roots to flip it over so you can use it as a platform to jump across. Continue down this path and you'll reach a gate with a lever to the right. Pull the lever with your whip to open the gate.
You'll now be back in the main room, but higher up. Shoot the Walltulas from the vines here and then use them to climb down and to the right. You'll find a chest with 20 rupees here. Then use the same vines to reach the platform on the left. You may need to stop for a stamina break on the small platform.
On the larger platform to the left, use your whip on the valve here. This creates a water spout that serves as a shortcut. Now pull the large green lever on the wall here. This lowers the central statue in this room. You can now head over to the center and enter once again.
Boss Key
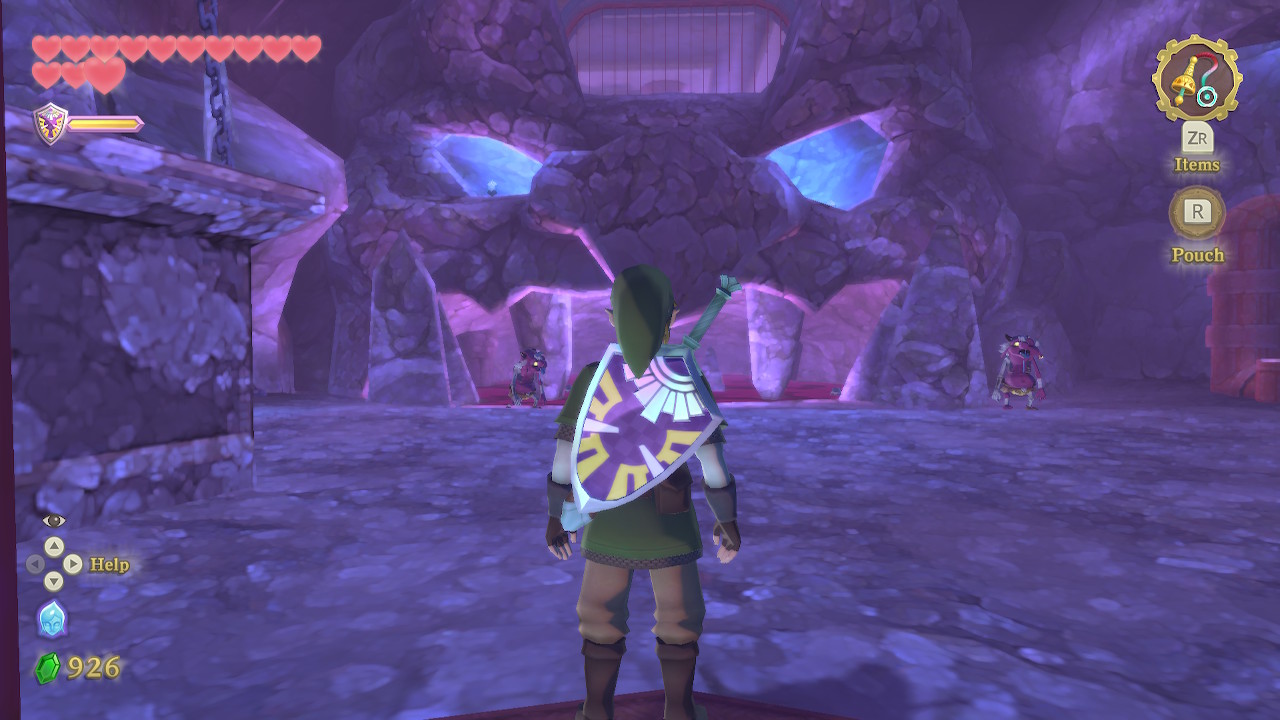
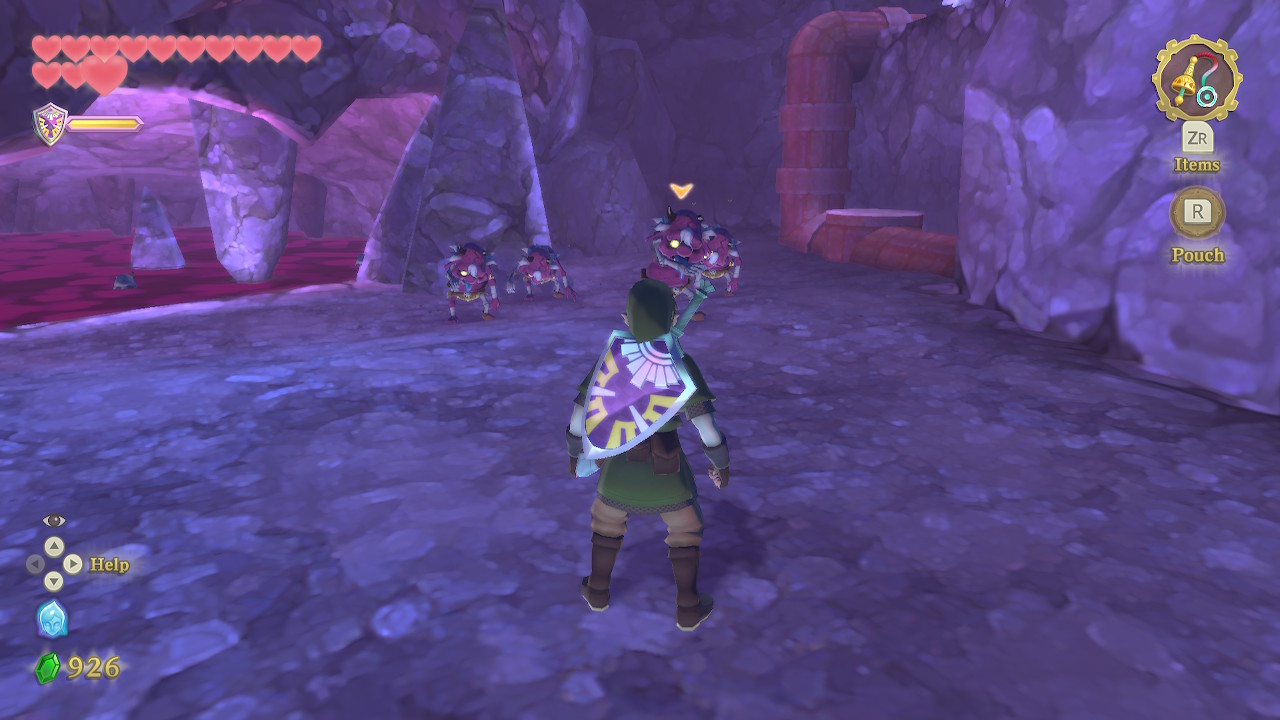
Once inside, drop all the way to the bottom of the tower and exit the door. You'll find yourself in the underground area that we got a sneak peek of before. There are Cursed Bokoblin here, but they are pretty easy to take care of. Make sure to do a fatal blow to finish them for good.
Now follow the path to the east until you get to a series of three lilypads. Hop across them, using your whip to flip over the third one. From this circular platform, send your beetle out to the eyes of the face statue that is spewing out red liquid. There is a crystal switch behind these eyes that will stop the flow of this liquid when hit.
Head back across the lilypads and take a left through the caverns. Watch out for the Fire Keese along the way. Here you'll see a bomb that you can pick up with your hook beetle. Carry it over to the large boulder to the right. Now head back to the circular platform and head over to where the boulder just was.
Use the whip to swing across the gap here. You'll see two large, rotating, vine-covered cylinders. Hop onto the first one and climb to the top. Then hop onto the second one and ride it past the first platform and hop off at the second platform. Jump across the gap to the stationary vines and then use your whip to pull the lever here.
The direction of rotation for all the cylinders will be reversed. You can now safely hop down onto the fast cylinder. Head up the ramp and jump onto the next cylinder. Ride this to the next platform, where you can hop across another gap to climb more vines. You'll be on the other side of the gate, where you can also reach the lever with your whip. Reverse the direction once again.
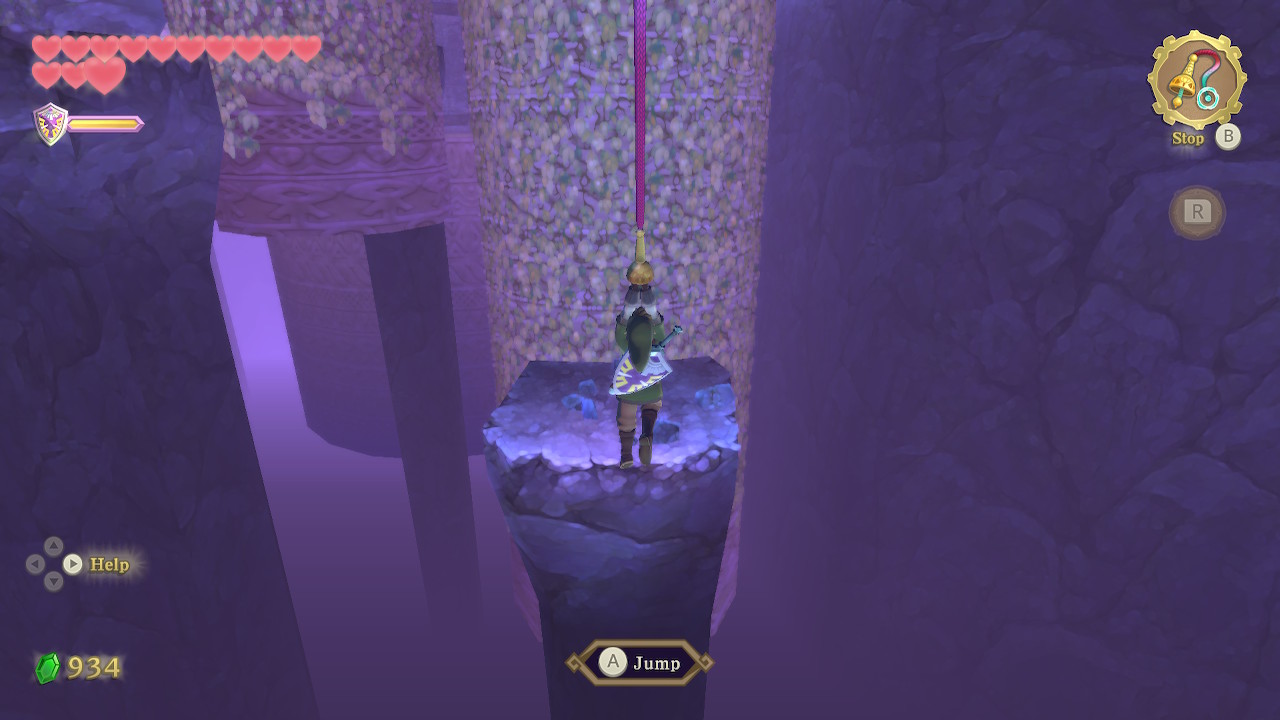
Now you can hop onto the rotating cylinder one more time and it will bring you to a large area. Climb up the rope here and some Cursed Bokoblin will begin to follow you up. Just keep climbing and shake them off if they grab onto you. At the top, you'll find yourself in the main room. The stone tablet here tells you exactly what to do.
Pull the red lever to create a shortcut back here. Then use your whip to pull the large green lever and raise the center statue once again. You can then slide down the rope we used to get up here. Head over to the valve and use the whip on it to create a water spout up to this platform.
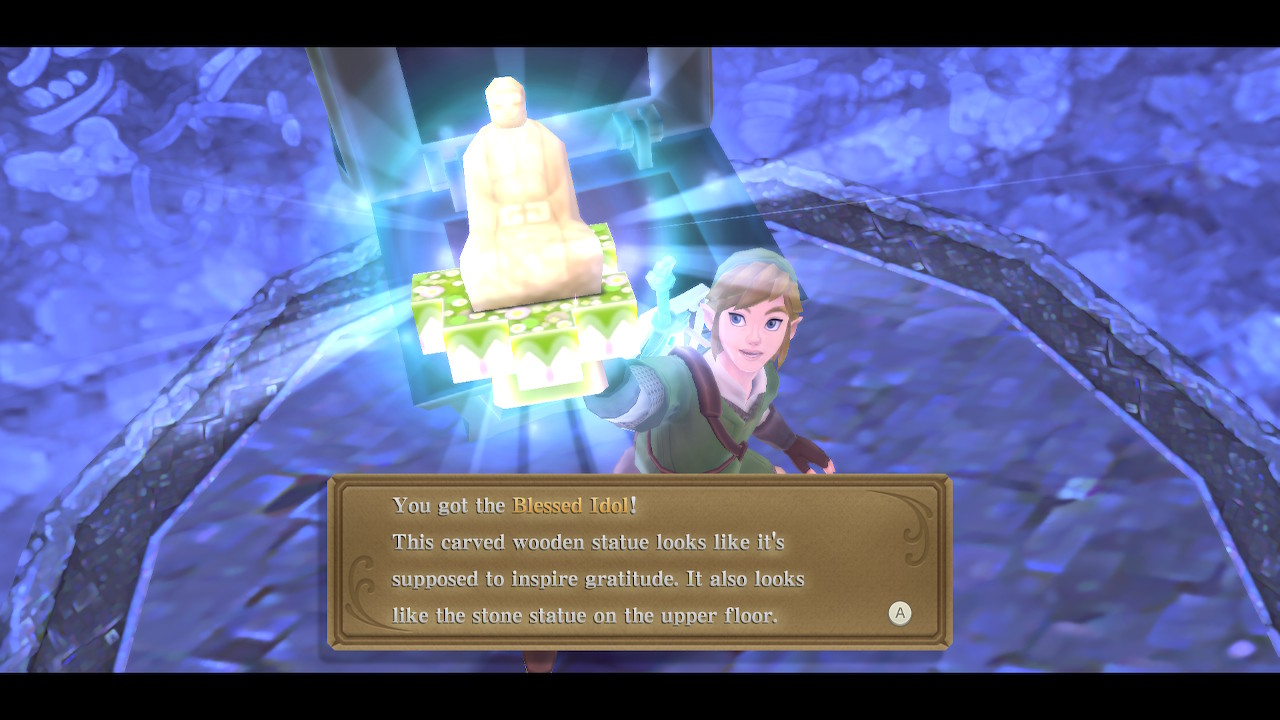
You can now run over to the large circular area and open the chest. It contains the boss key of this dungeon, the Blessed Idol. When you open the chest, it will summon a bunch of Cursed Bokoblins and the statue above will start closing in on you. Just avoid them and run to safety.

You can now enter the door on the statue that just fell in place. You'll want to use the water spouts here to reach the top of the statue. Just use your whip on any valves that you haven't already to activate the spouts. You can then place the boss key into the door here, and the ceiling will open up.
Once on top, use your whip on the four valves and it will rise up into a room before the boss's chambers. Use the bird statue to save here and fill up on recovery hearts before entering the next room to tackle the dungeon boss.
Dungeon Boss: Koloktos
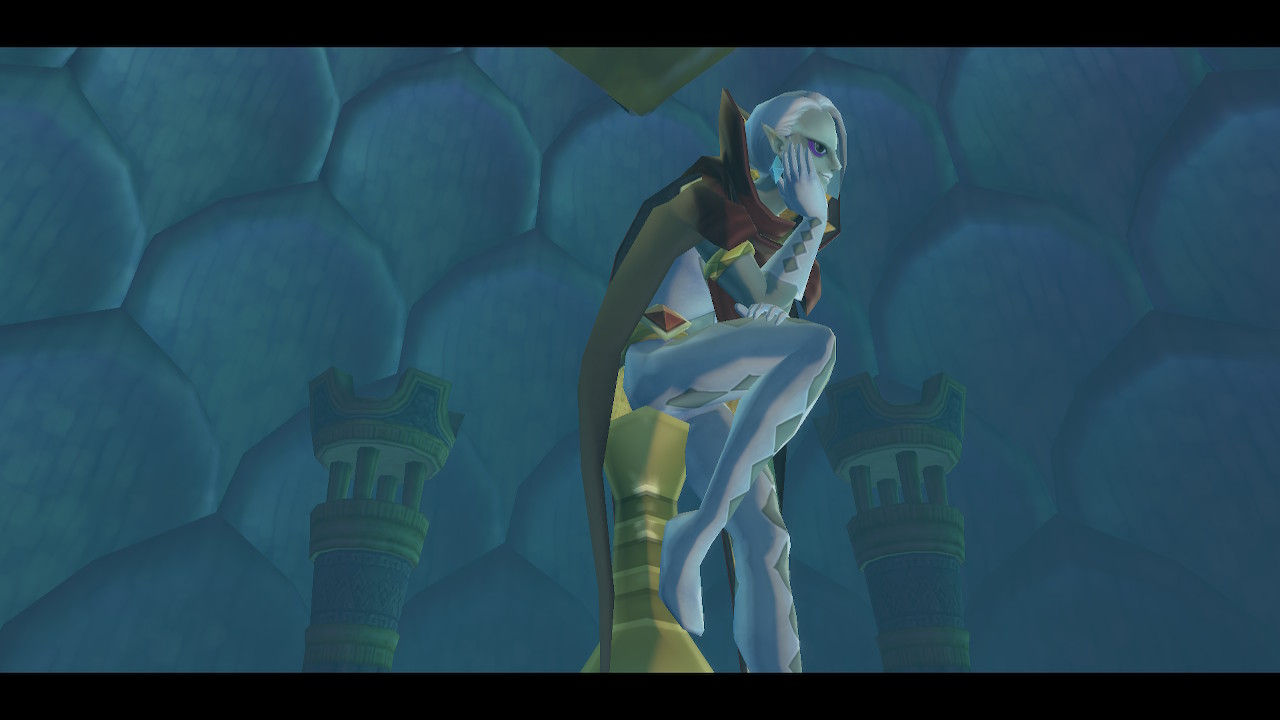
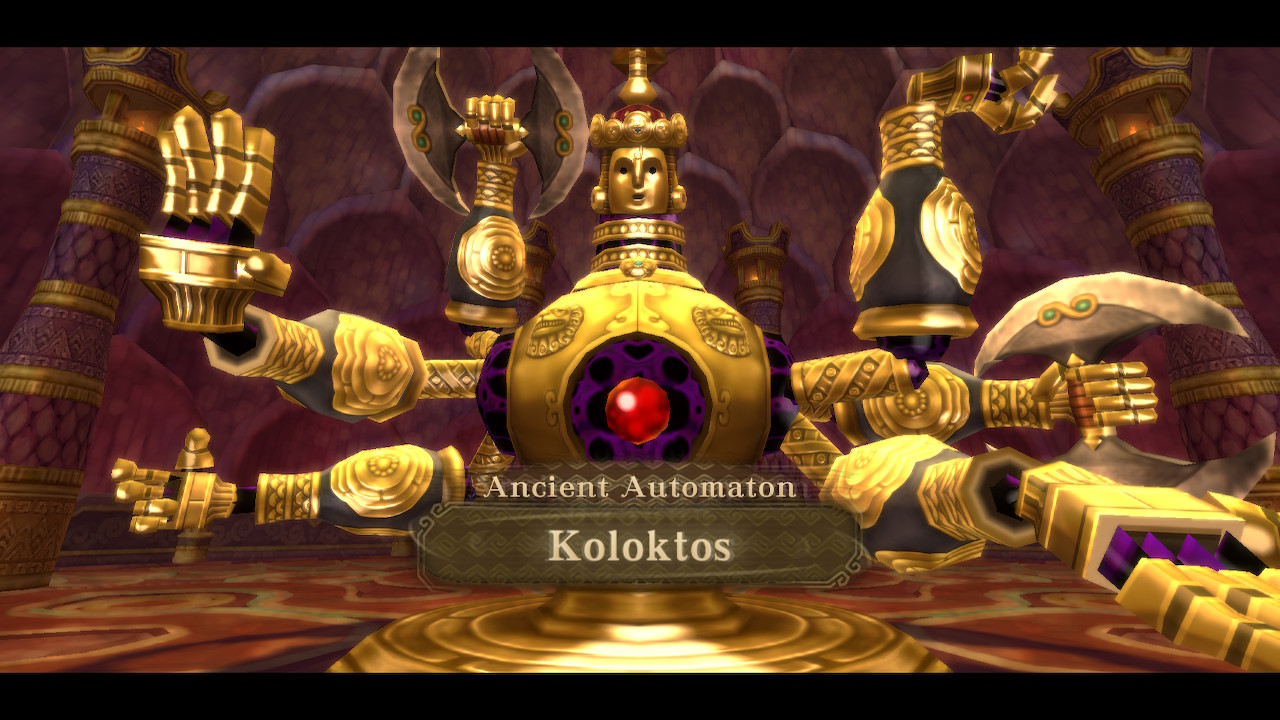
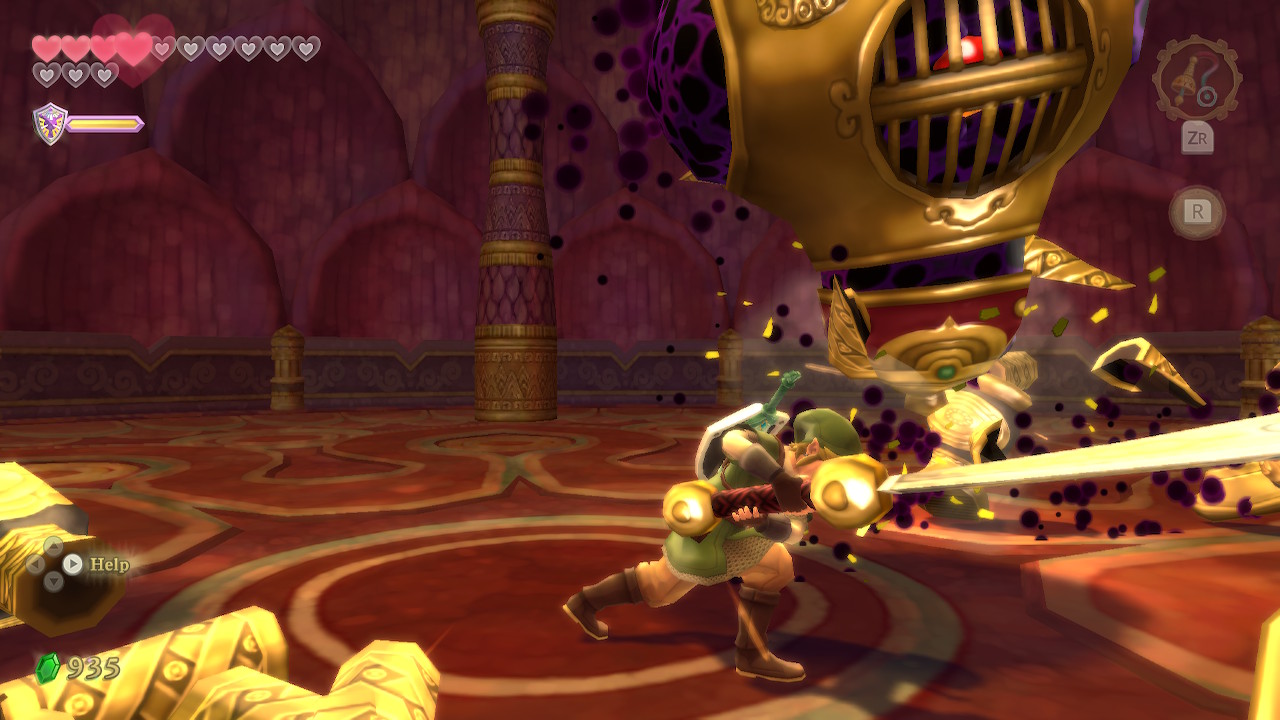
Enter the boss's chambers and you'll be greeted by Ghirahim once again. He will summon the dungeon's boss, Ancient Automaton Koloktos. During the first phase, Koloktos will do a slow arm smash attack. After he does this, use your whip to rip the limb off his body. He will also send his blades after you, which you'll need to run to avoid.
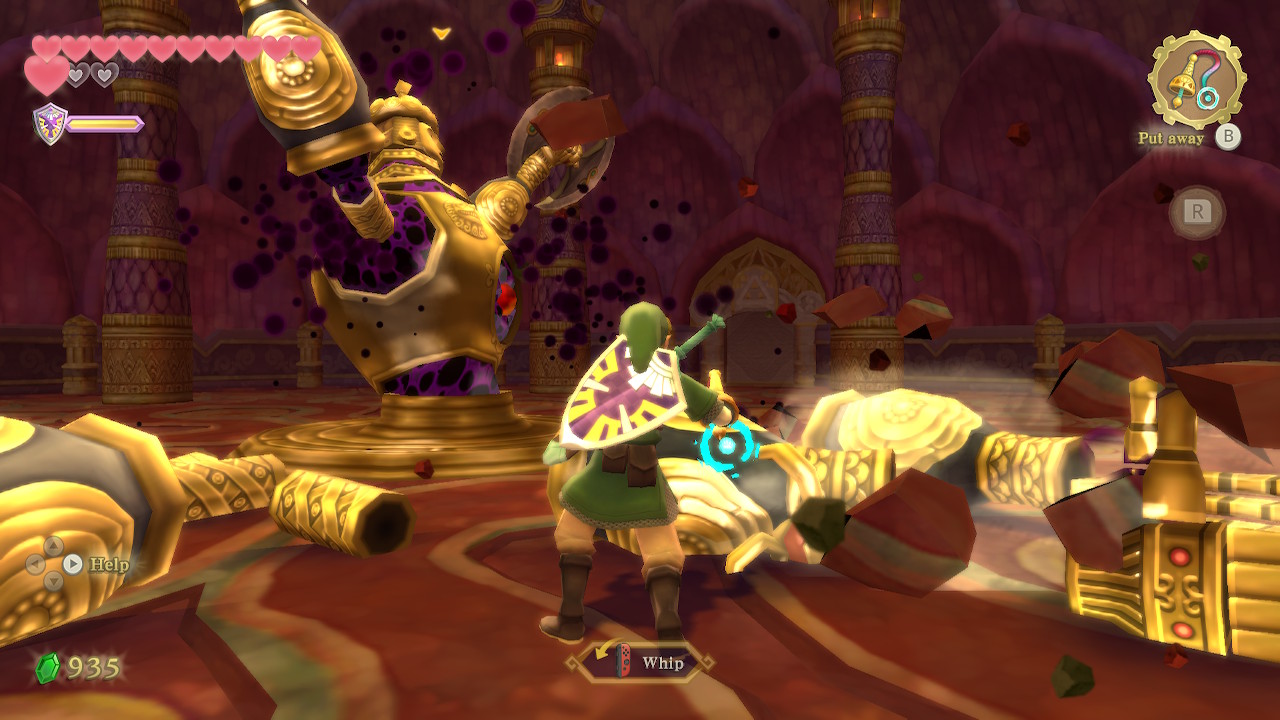
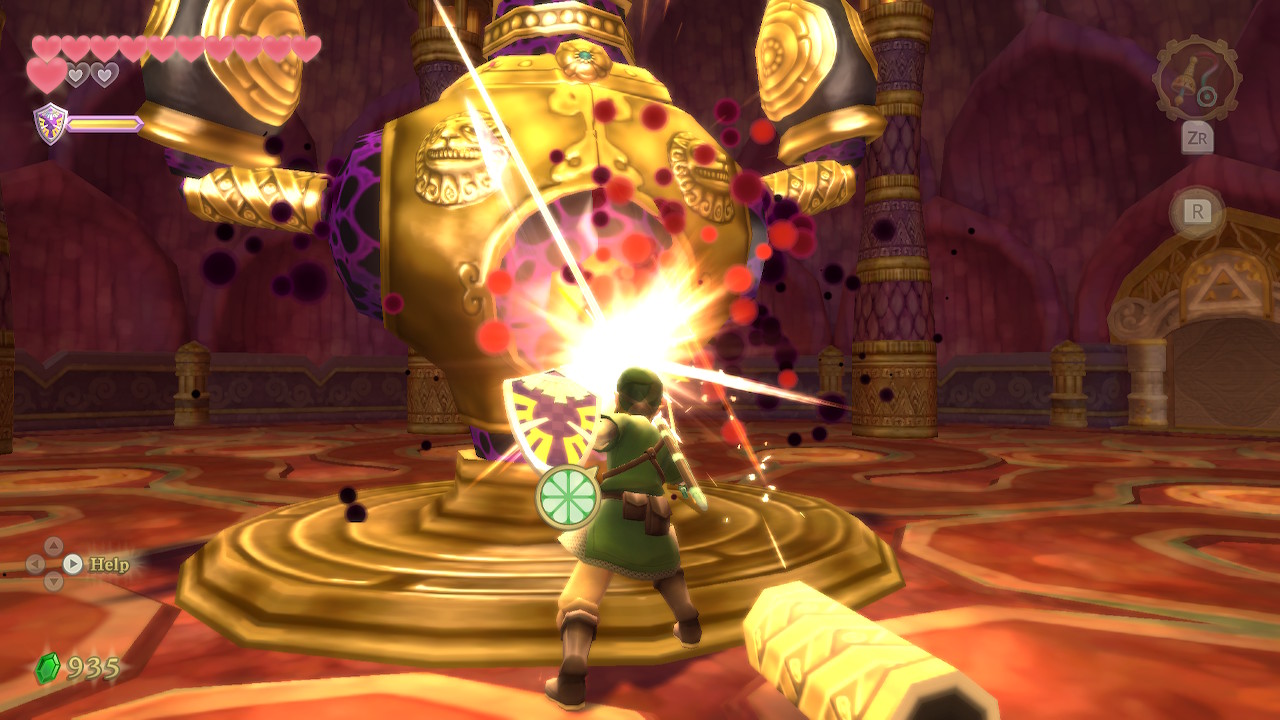
Once you rip all his limbs off, a red weak spot will be exposed in his chest. Run over and slash it a bunch of times. After you do this once, he will reattach his limbs and grow more. Rise and repeat this phase one more time.
In the second phase, Koloktos will grow legs and wield six huge swords at once. He will attack you with several at once, and they will briefly get stuck in the ground. Pull one of his limbs out, and then you can pick up the giant sword that falls.
Once you have a giant sword, you can use it against him and chop off his other limbs. When all his arms are chopped off, use a horizontal slash to chop his legs off too. Then just slash at the middle of his body to do damage.
During the third and final phase, Koloktos will have six swords again, but he will now move and swing very quickly. He will also summon Cursed Bokoblins, which can be defeated easily with the giant sword. Otherwise, this works the same as phase two. Cut off his limbs and then aim for his weak spot.
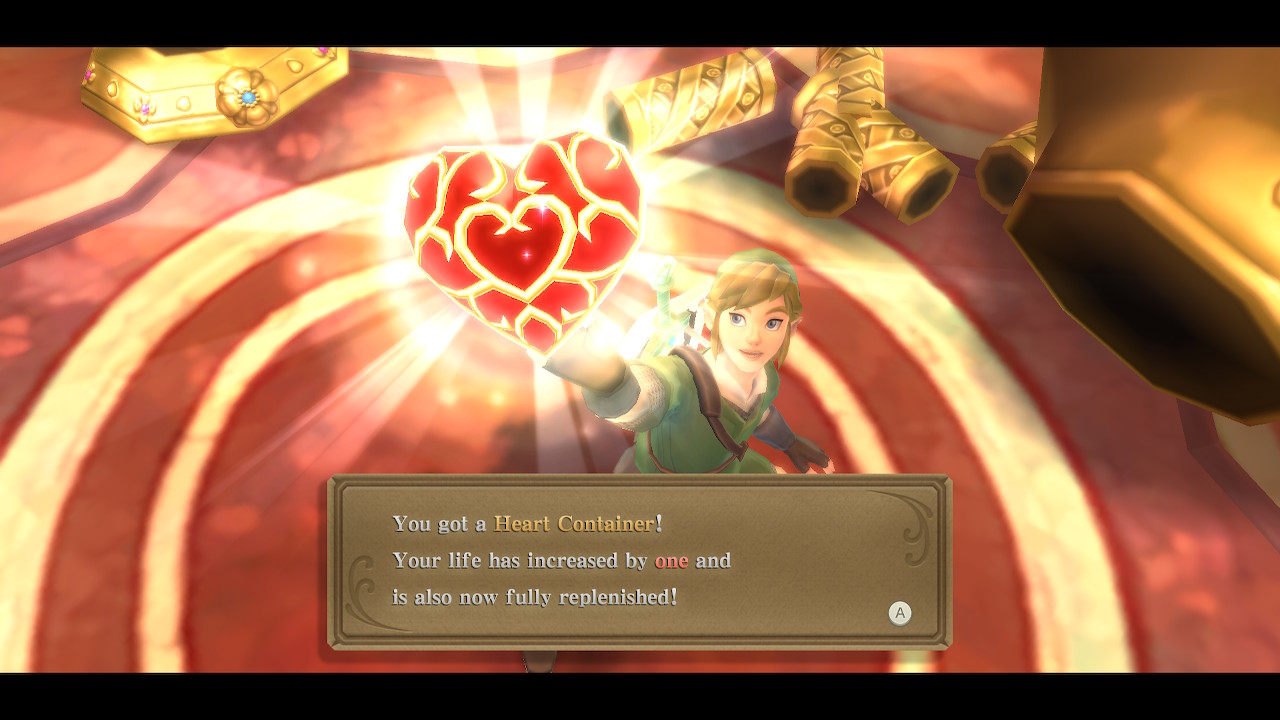
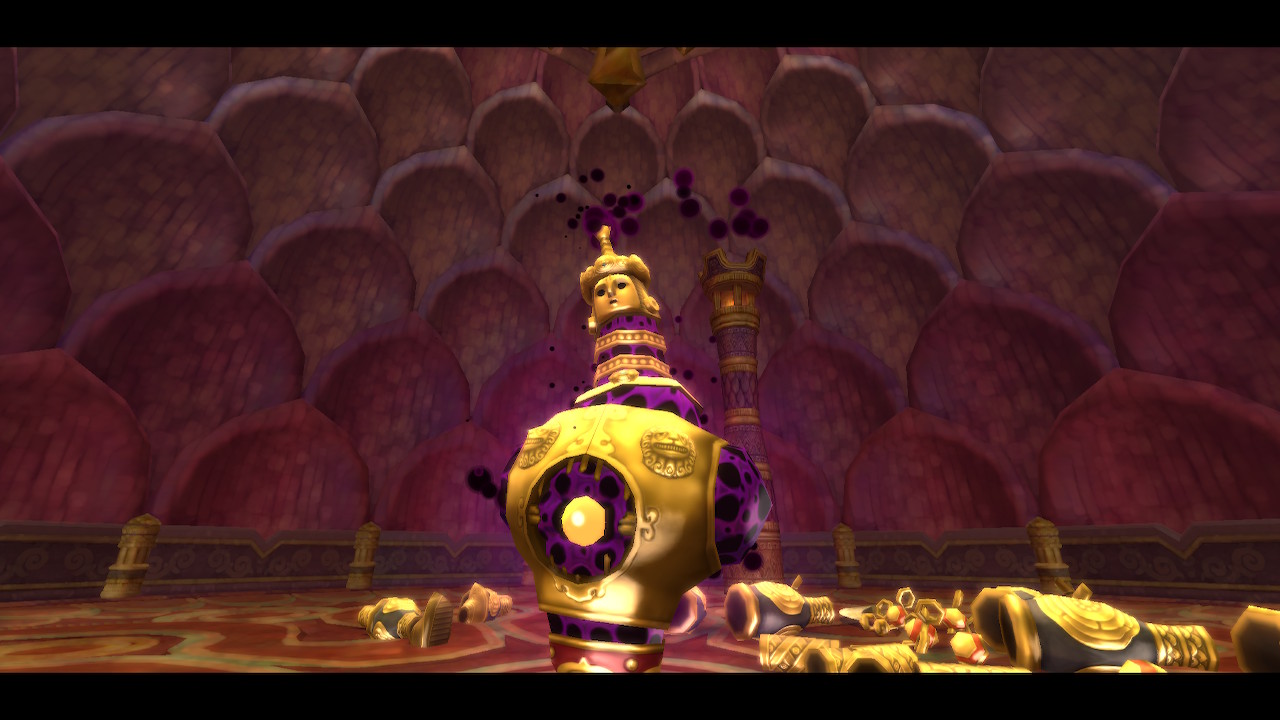
After a couple of cycles of the final phase, Koloktos will be defeated. Make sure to pick up the Heart Container and then exit through the glowing door.
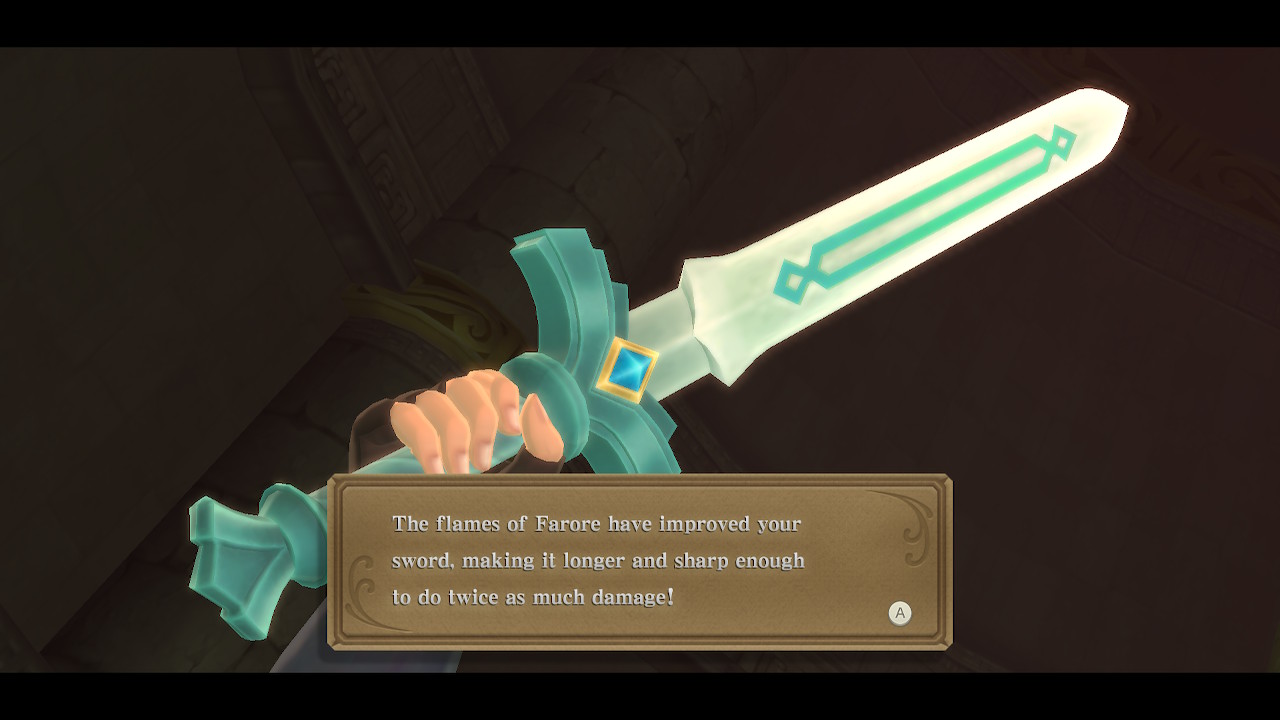
Give the emblem in this next room a Skyward Strike. Fi will then use the green Sacred Flame to power up your sword. It will be upgraded to the Goddess Longsword. It will do more damage and have a longer reach. A brief cutscene with Fi and Faron will continue to play, pointing us back towards the Isle of Songs in the next part of our adventure.
Back to Lake Floria Continue to Lanayru Sand Sea
