
Part 6: Lanayru Desert
How to Travel To and Through Lanayru Mine and Lanayru Desert
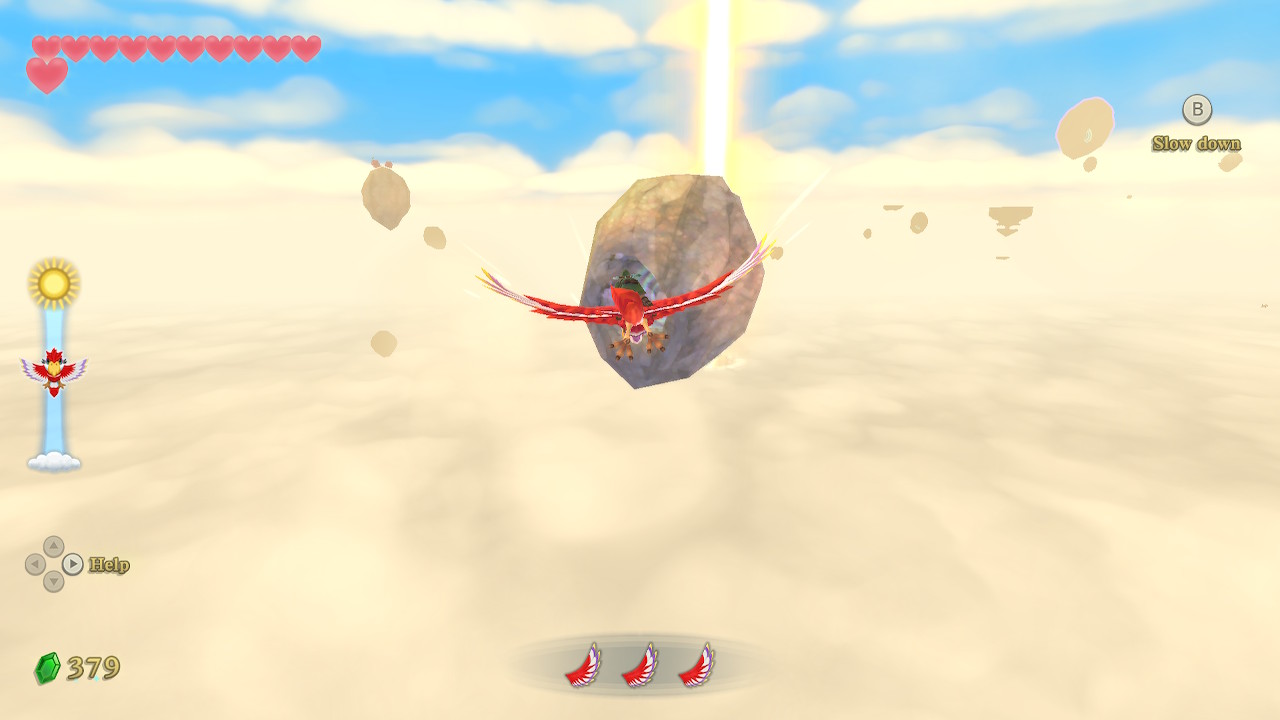
Skyloft Collectathon

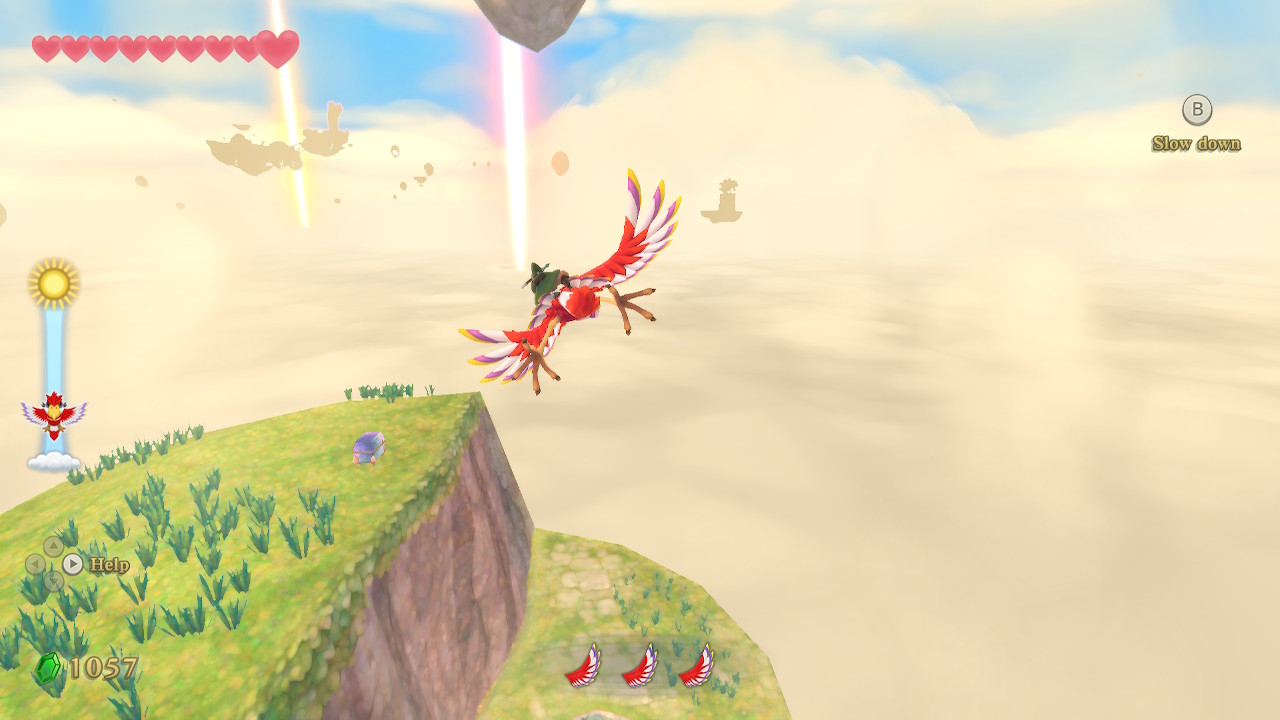
After finishing the Earth Temple, head back to the sky via the nearby bird statue. Head to the Goddess Statue so that we can place our newly acquired Amber Relic. This will shine a golden beam in the sky and open the way to the next area, the Lanayru Desert. You can head straight there if you want, but there are several collectibles up in Skyloft that this guide will cover first.
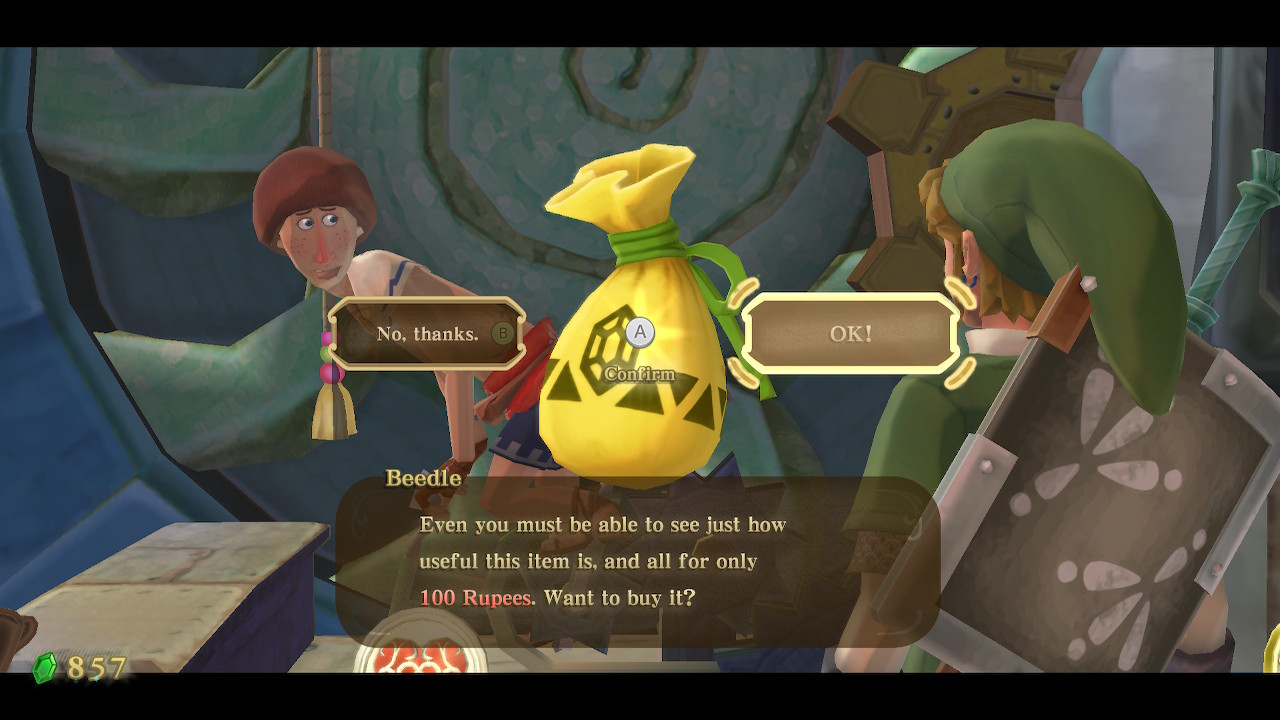
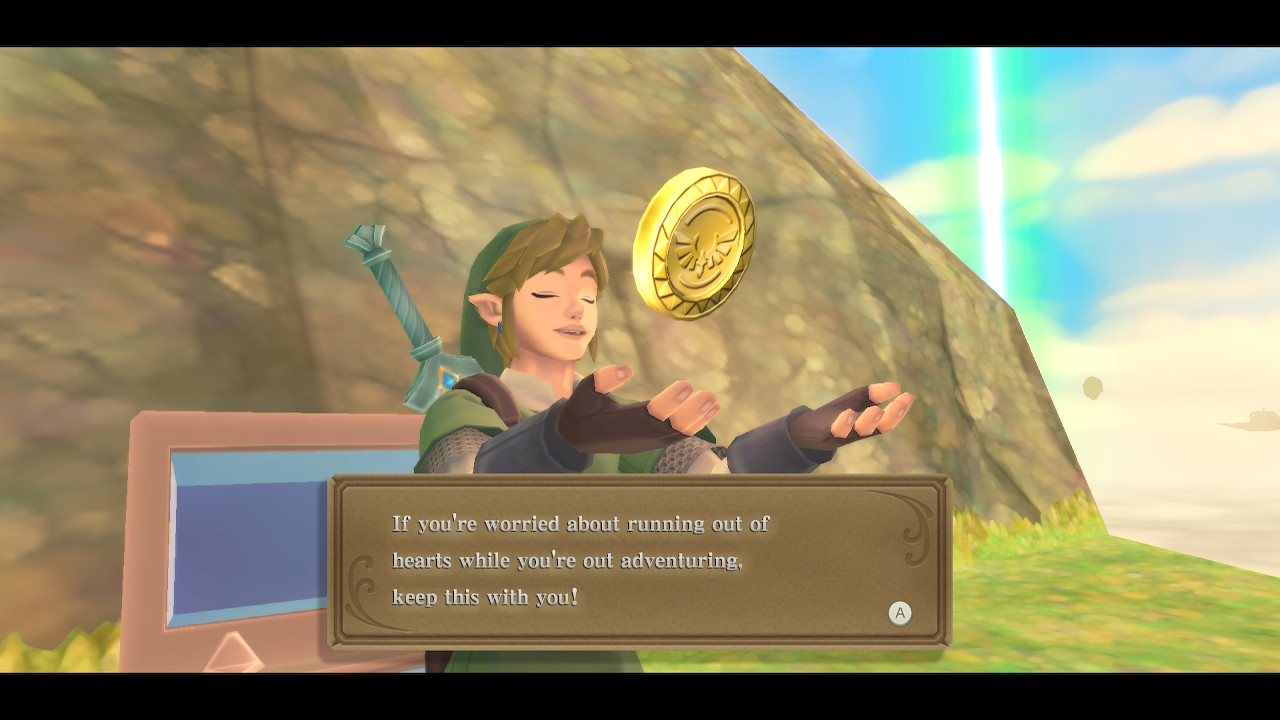
Go ahead and find Beedle's Air Shop and shoot the bell to gain access. We are about to get 400 rupees from Goddess Chests and don't want to fill our wallet, so buy another Extra Wallet for 100 rupees. You should be able to hold 1400 rupees now. We also want to pick up the Life Medal here, so if you still have 800 rupees go ahead and pick it up now. Otherwise, we'll come back for it after visiting some Goddess Chests.
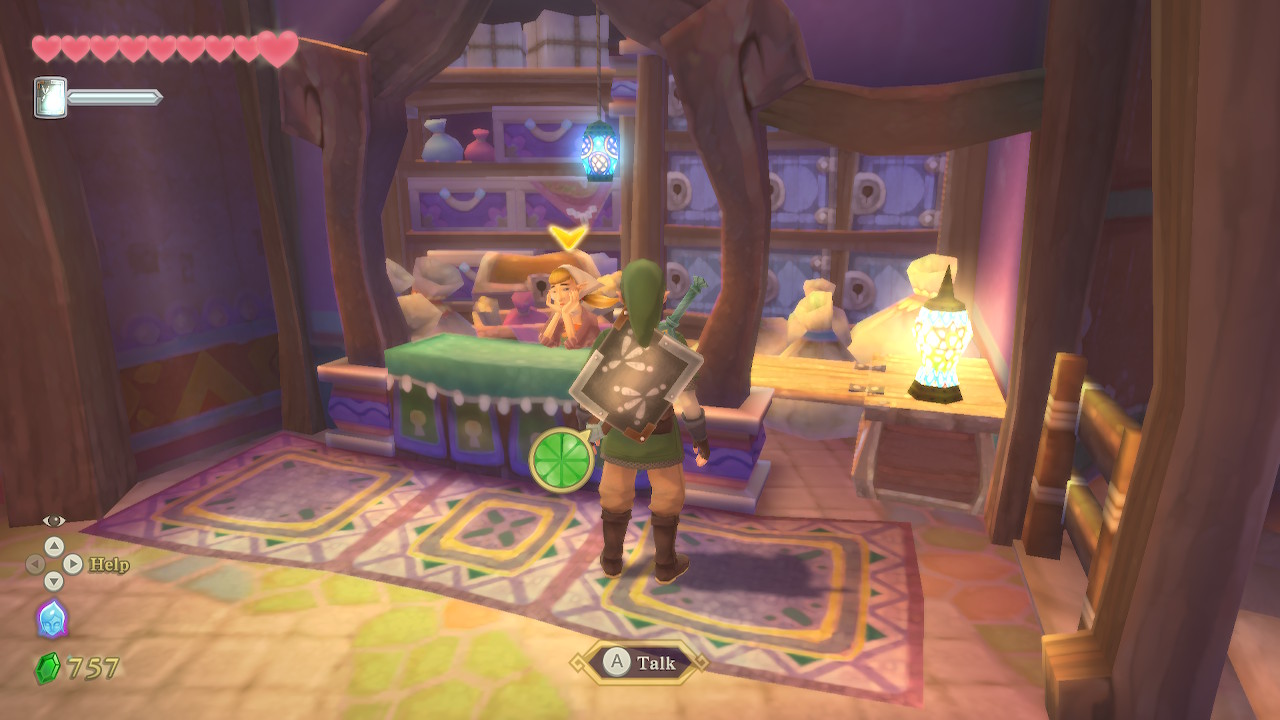
Head to the Bazaar and speak to Peatrice at the Item Check stand. We want to deposit our iron shield and small seed satchel and take out the banded shield. The next area is filled with electric enemies that a metal shield is not suited for.
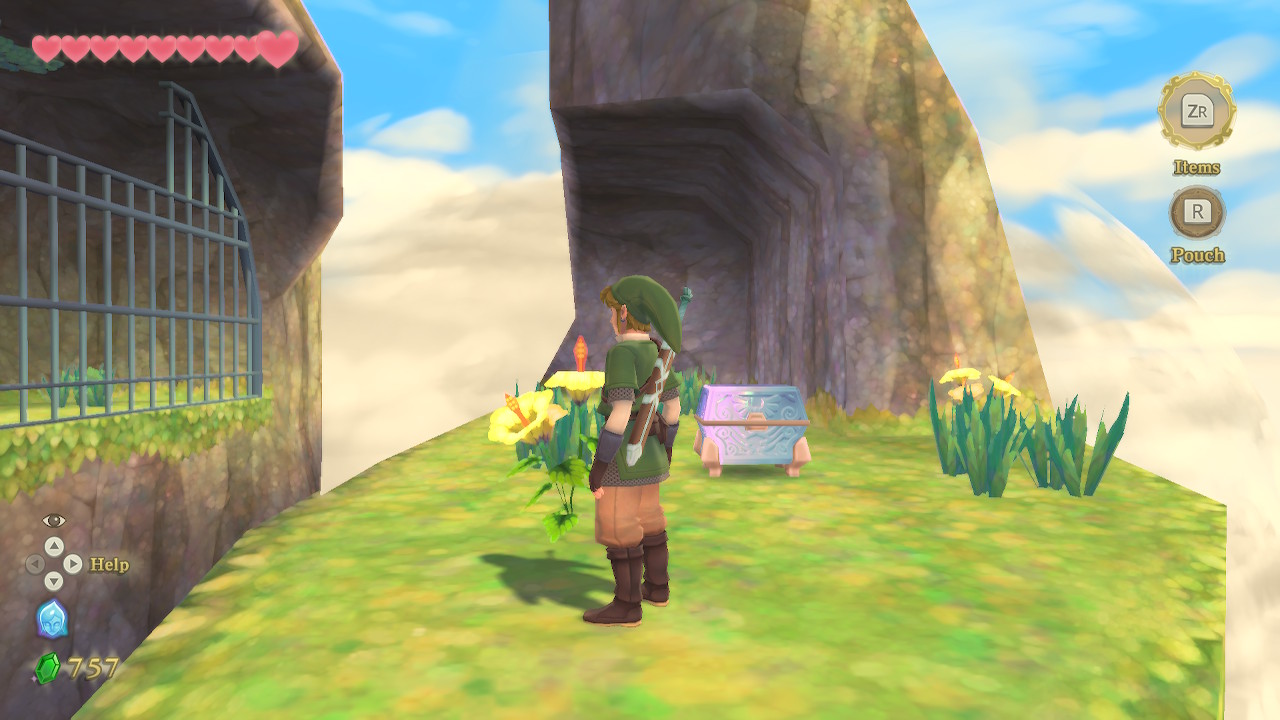
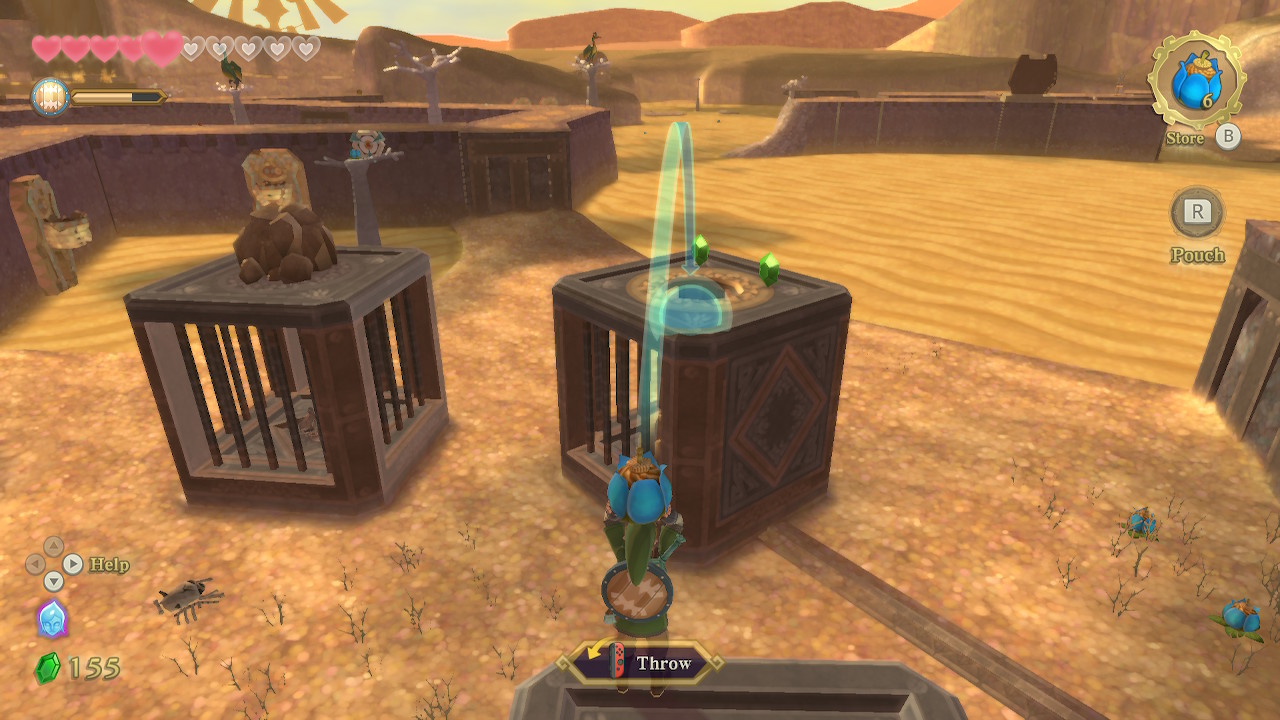
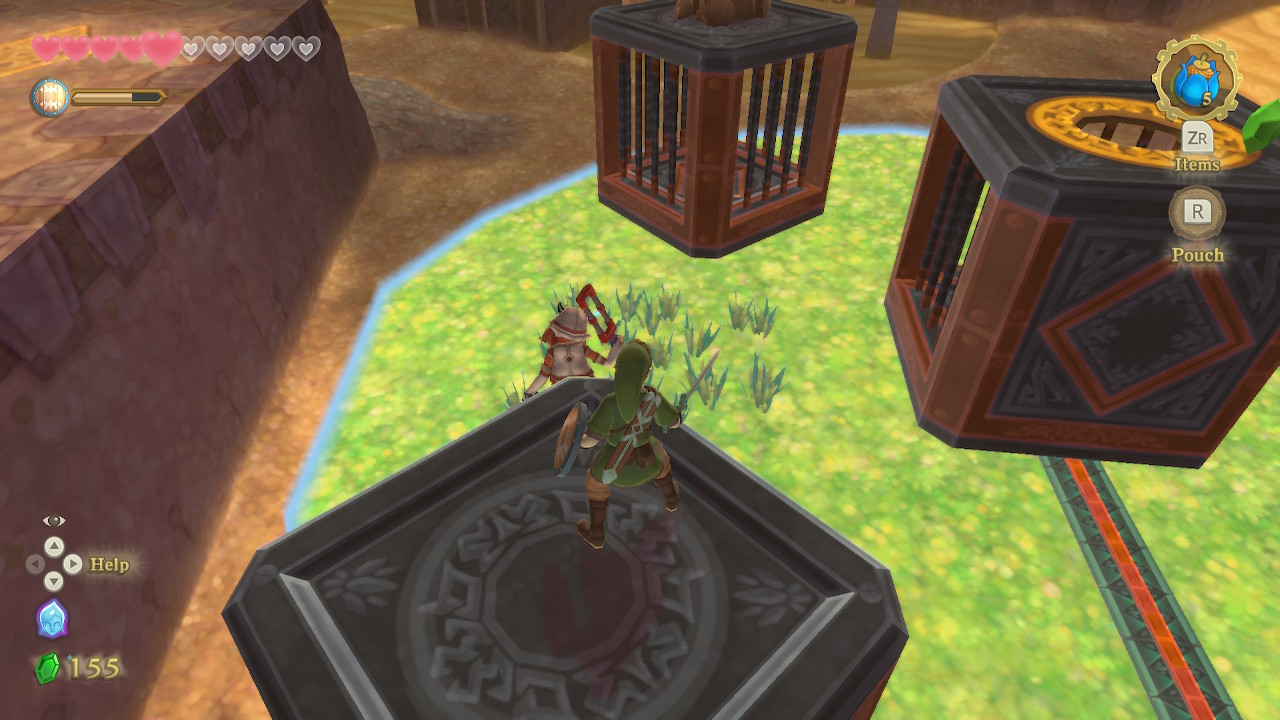
Now it's time to go find all the Goddess Chests from all the Goddess Cubes we activated in the last area. All activated chests are marked on your map, so use that to aid your navigation. First, head to the chest on the west side of the map on a small island. Open the chest here to get a Small Seed Satchel.
Next, fly to the marked chest that is on Bamboo Island, almost directly north of Skyloft. Inside this chest, you'll find 300 rupees. Next up is an island just east of Bamboo Island. Make sure to land on the higher section of this island. Open the Goddess Chest to get 100 rupees.

The final Goddess Chest that we can access now is even further east on the map. Land on the higher part of this small island. There are some vines you can climb down near the dirt patch that leads to a small alcove. Here you can open the chest to get a Treasure Medal.
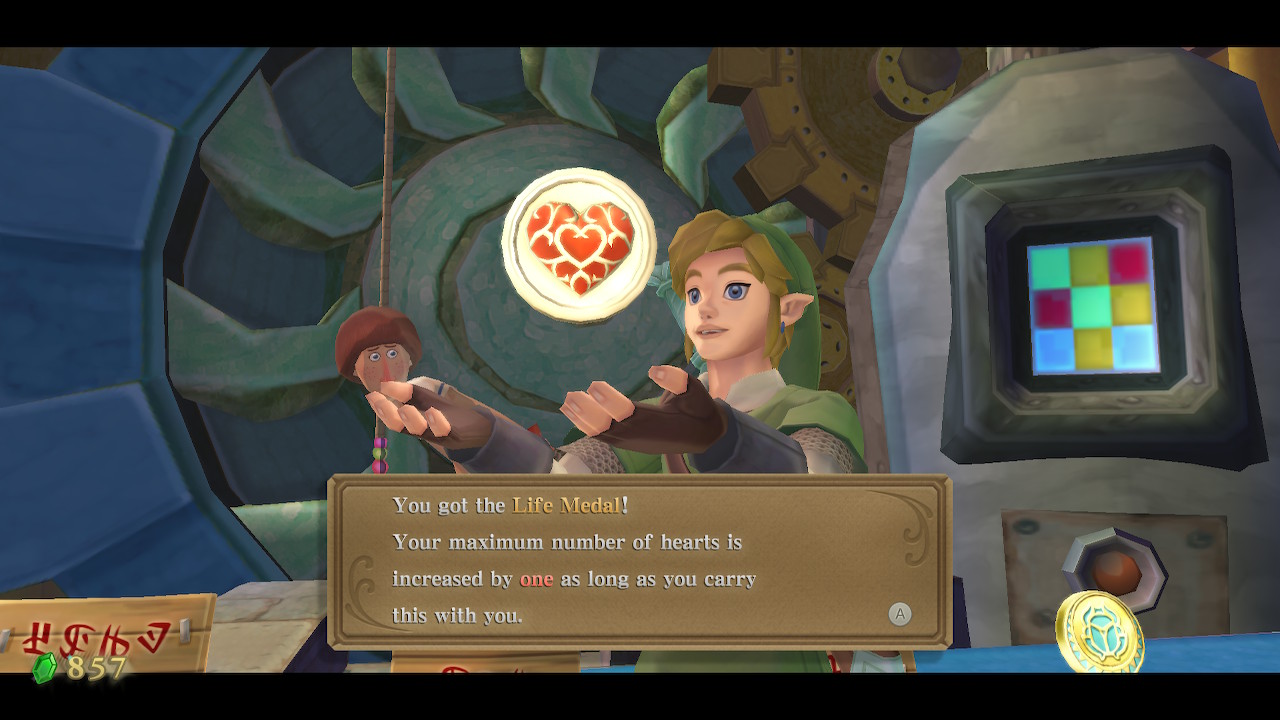
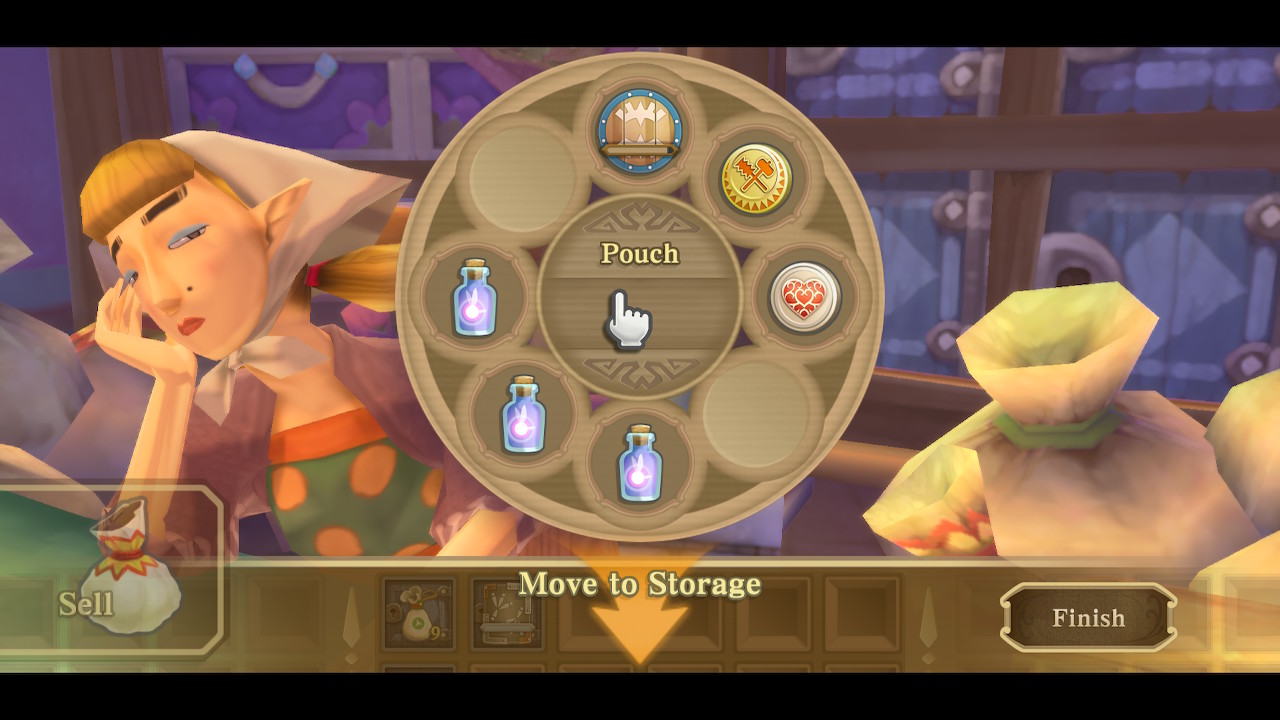
Now that we are plush with rupees, it's time to head back to Skyloft for another shopping trip. Find Beedle's Air Shop once again. If you have 1,100 or more rupees, you should buy the Adventure Pouch and then the Life Medal. Otherwise, just buy the Life Medal for 800 rupees. It increases your total heart capacity buy one when you have it with you. So if your adventure pouch was already full, you might want to visit the Item Check and swap out a small seed satchel or empty bottle for it. If you have six adventure pouch slots, my recommendation is to carry the banded shield, treasure medal, life medal, and three empty bottles right now.
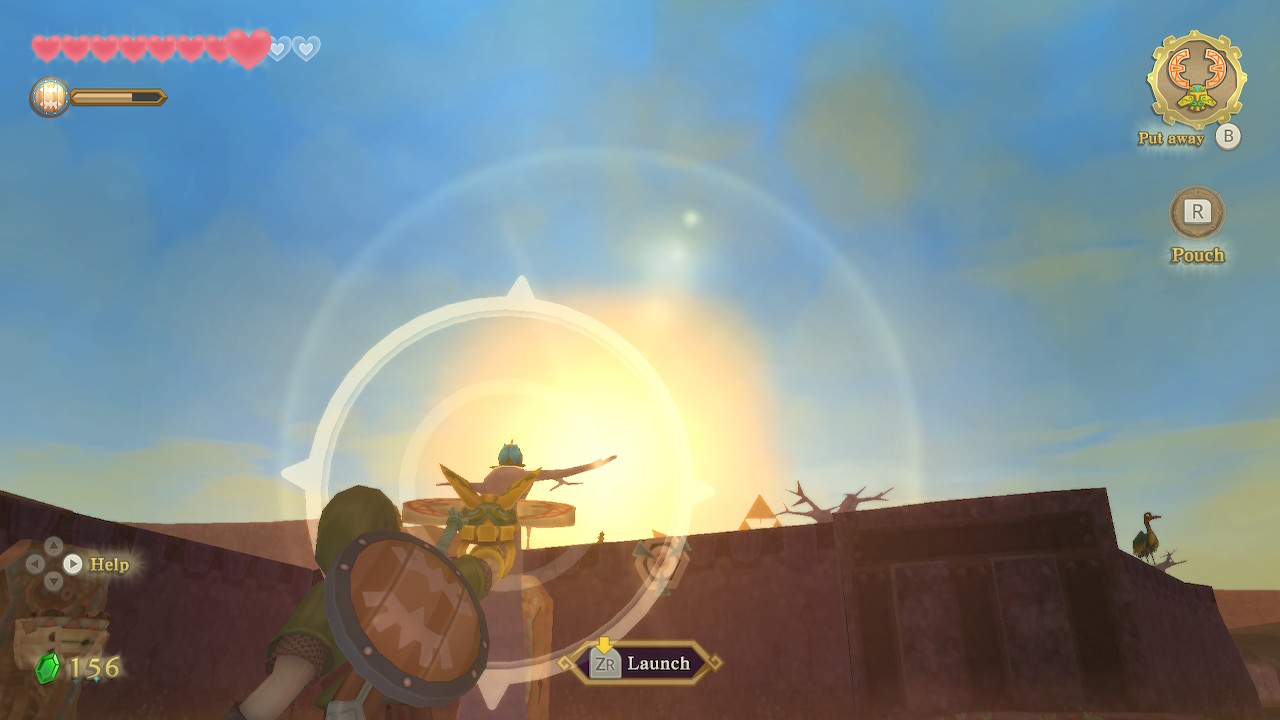
Now that we're all stocked up, it's time to head for the next area. Take to the skies and fly to the golden beam in the southwest of the sky.
Lanayru Mine
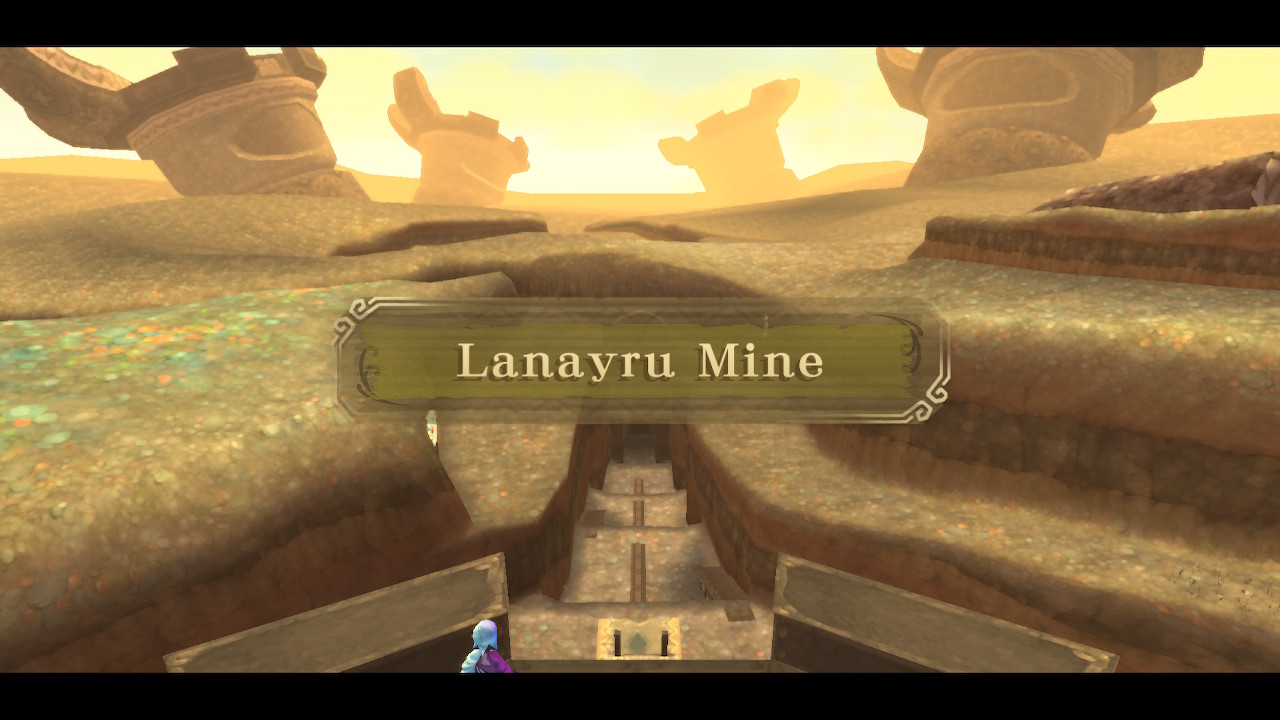
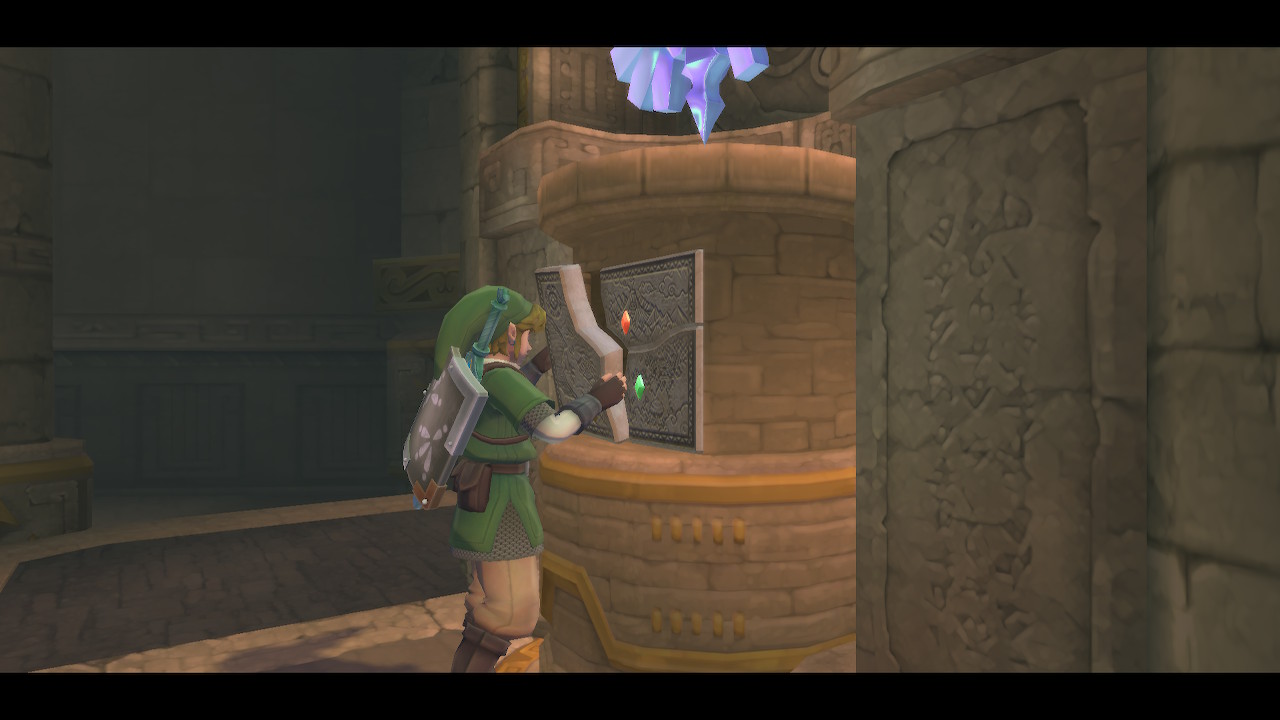
You will arrive in this area in the midst of Lanayru Mine. Get started by jumping off the platform you are on to find Goddess Cube #10 behind it. Activate the cube and fill up on bombs here. Use the bird statue and then run ahead into the mine.

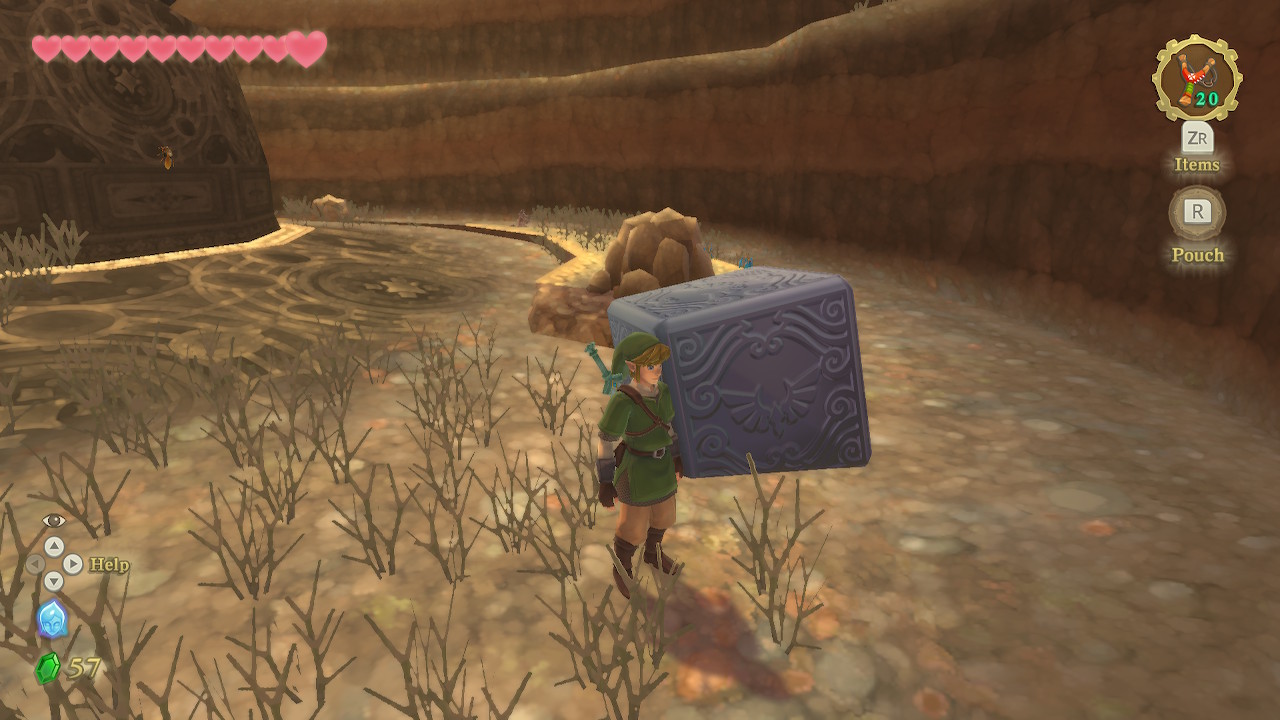
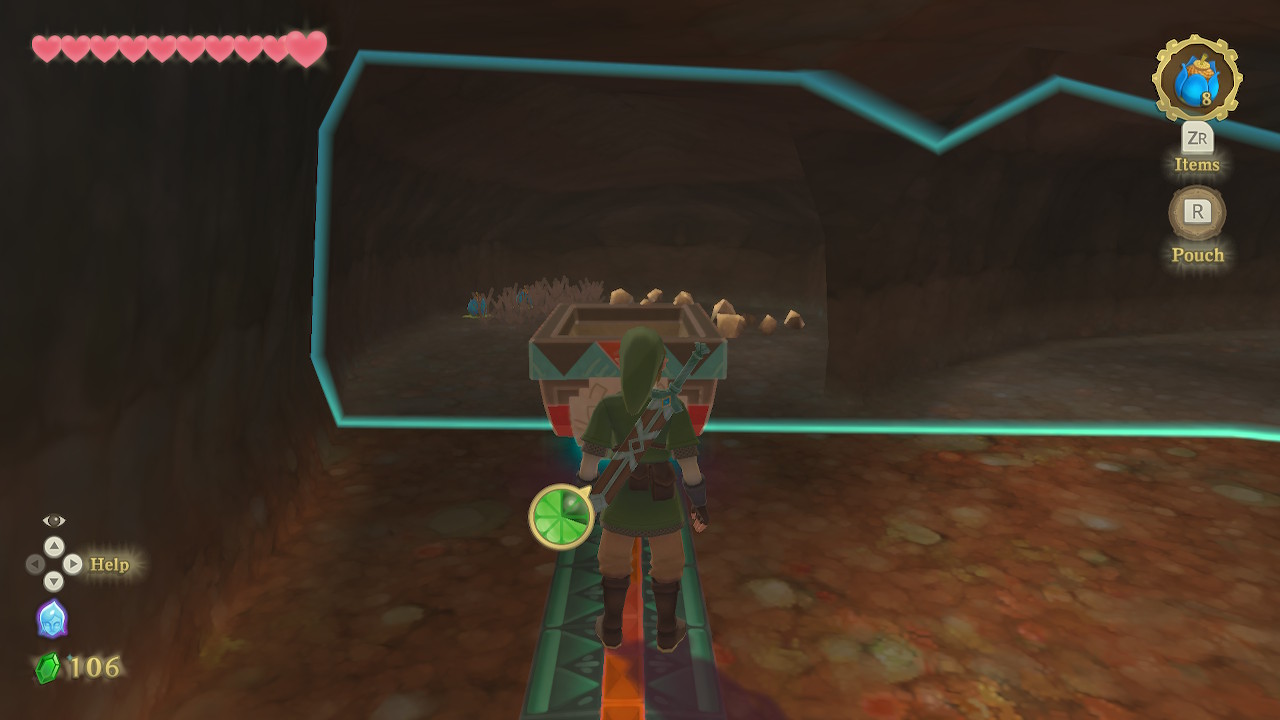
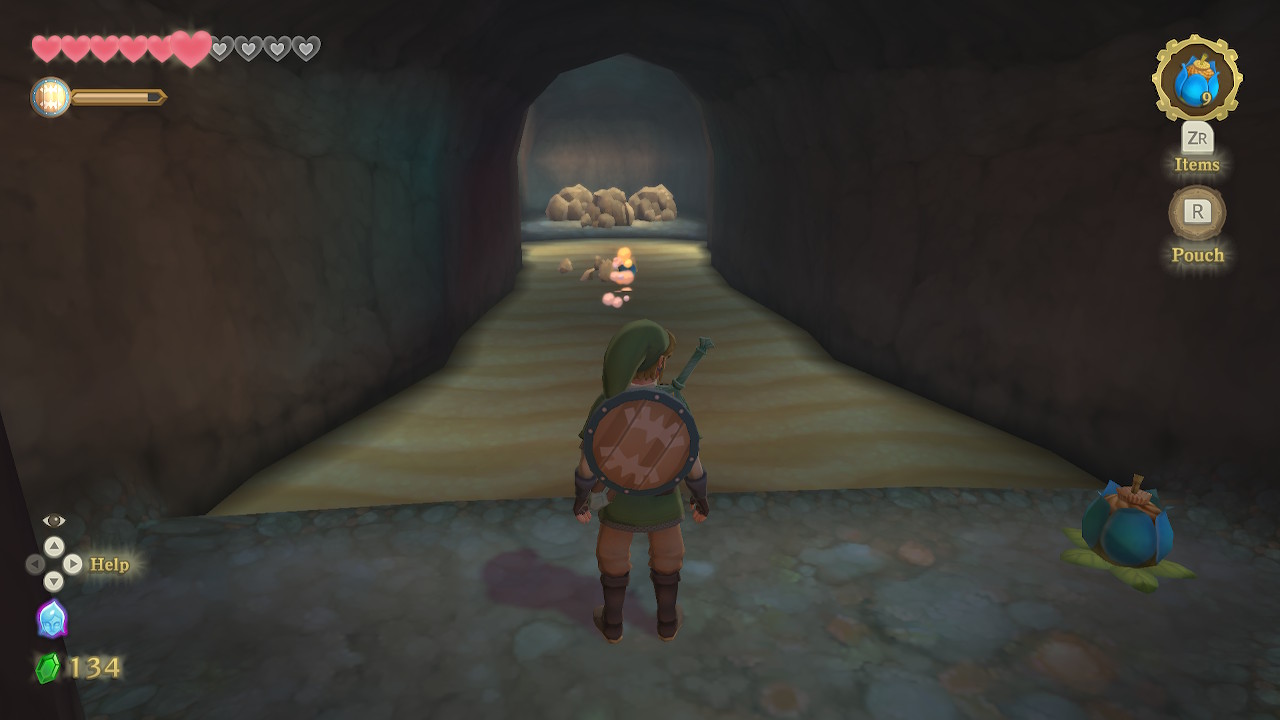
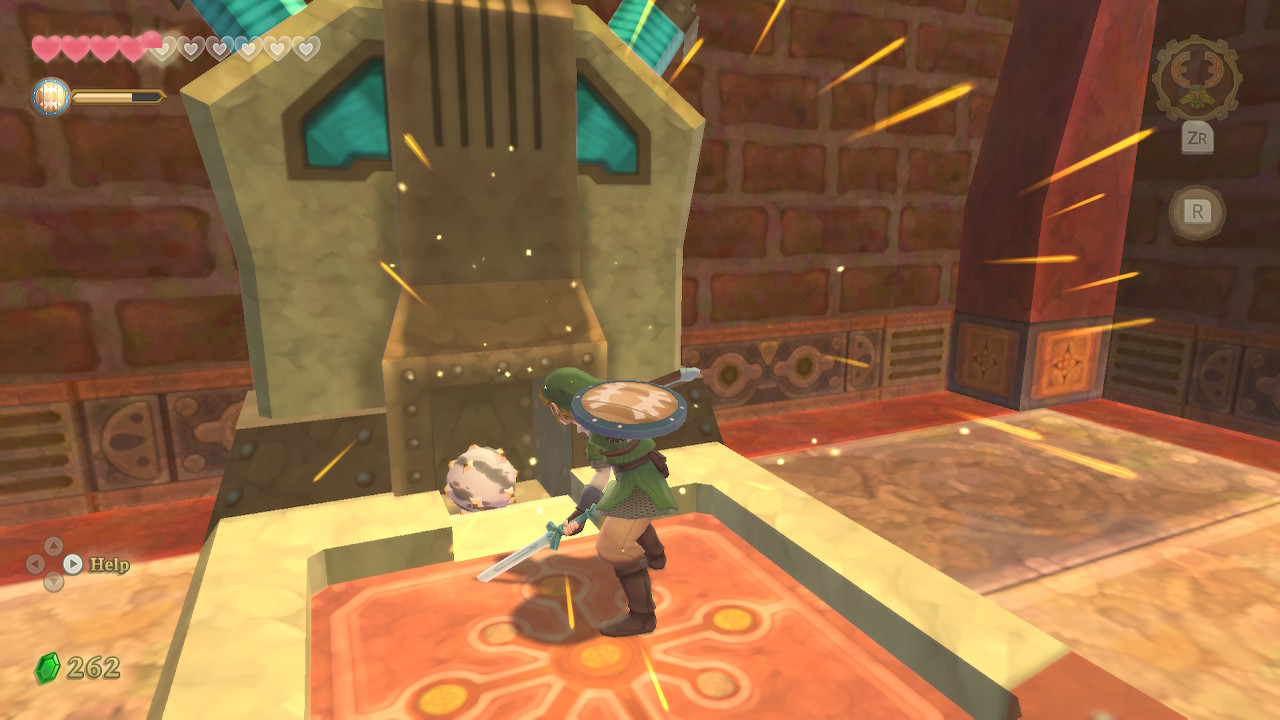
Run ahead and your path will be blocked by a minecart. Push it along its track and even over the ledge. Drop down into this area where you'll find some Yellow Chu Chu, the first of the electric enemies in this region. Avoid slashing them when their electricity is active. Pull and push this cart to the opposite wall, and then use it to climb up and continue forward.
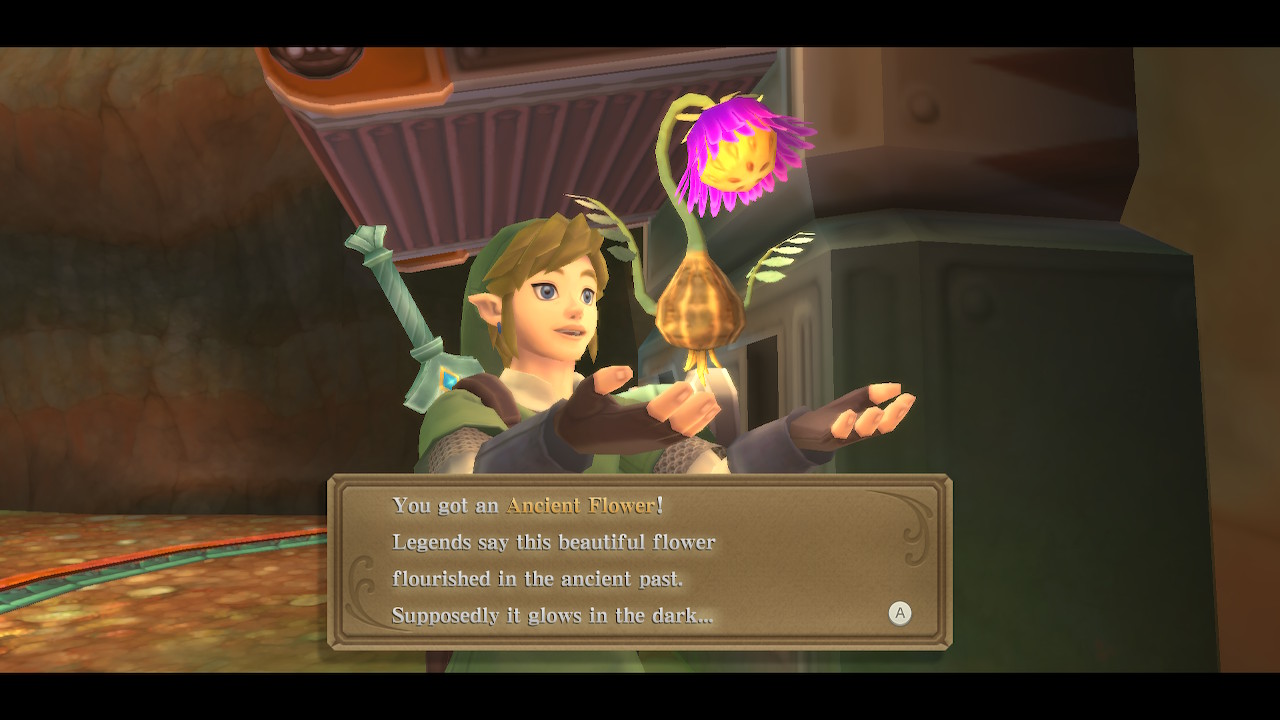
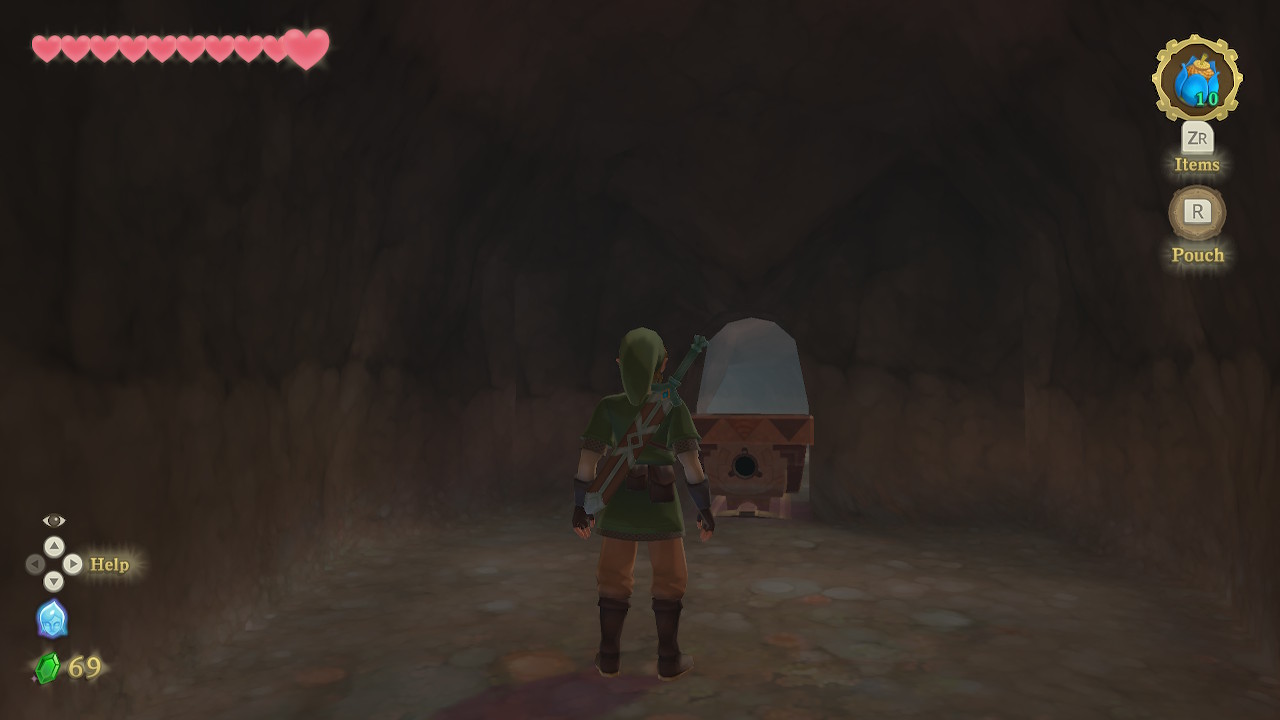
Continue to the open circular room. Here there is a Timeshift Stone in the center of the room. Slash it to travel back in time to when this mine was active, complete with Ancient Robot workers that you can speak to. There is an Ancient Flower treasure on the ground in this area. Hop into the minecart here and it will take you into a cave. Open the chest here for 20 rupees. Then head back into the open area via the minecart.
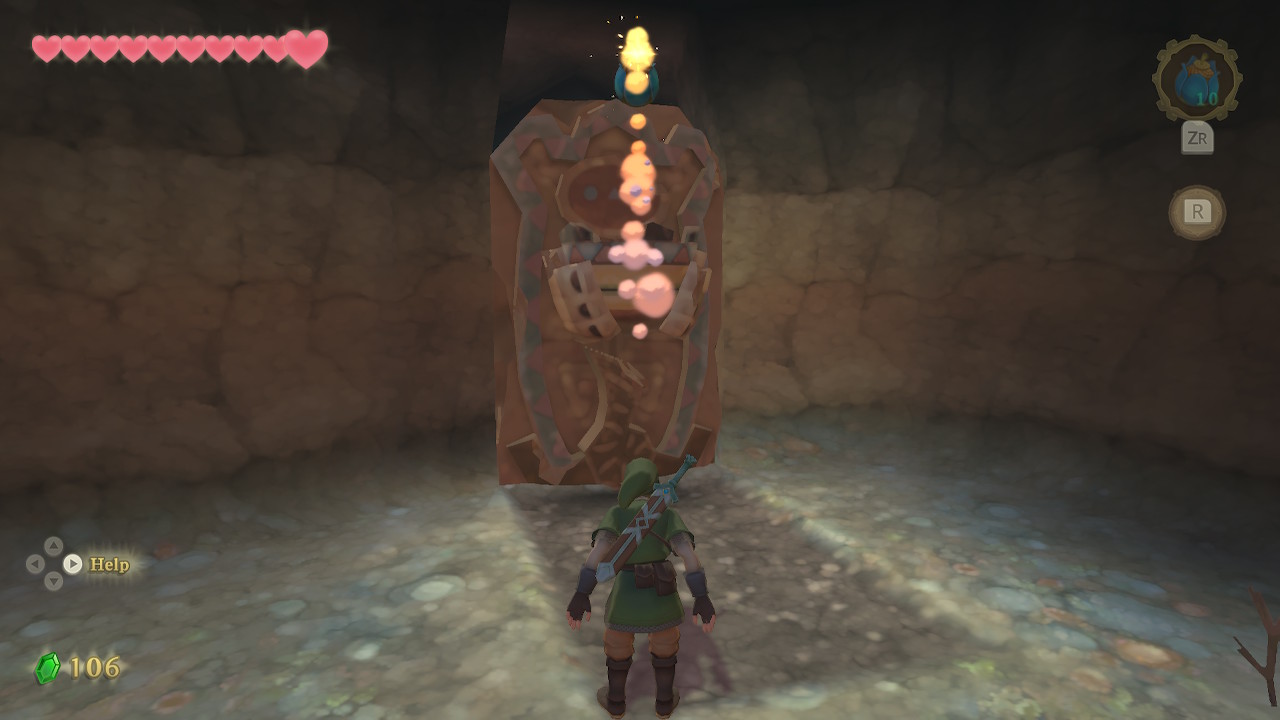
Push the minecart from the previous cave into this time-shifted region. You can then hop into it and it will take you into another room. Here, pick up the ancient flower in the corner and then throw a bomb into the basket of the stone carving ahead. It will be knocked down revealing the path forward.
Continue forward into the next area and you'll find a pit of sand. You can run through this but it will quickly drain your stamina and pull you under if you run out. The trick here is to throw a bomb in each basket as you progress to knock the stones down, adding some platforms to the sand. On the first platform to the right, you can crawl through a small opening to find a chest containing 20 rupees.
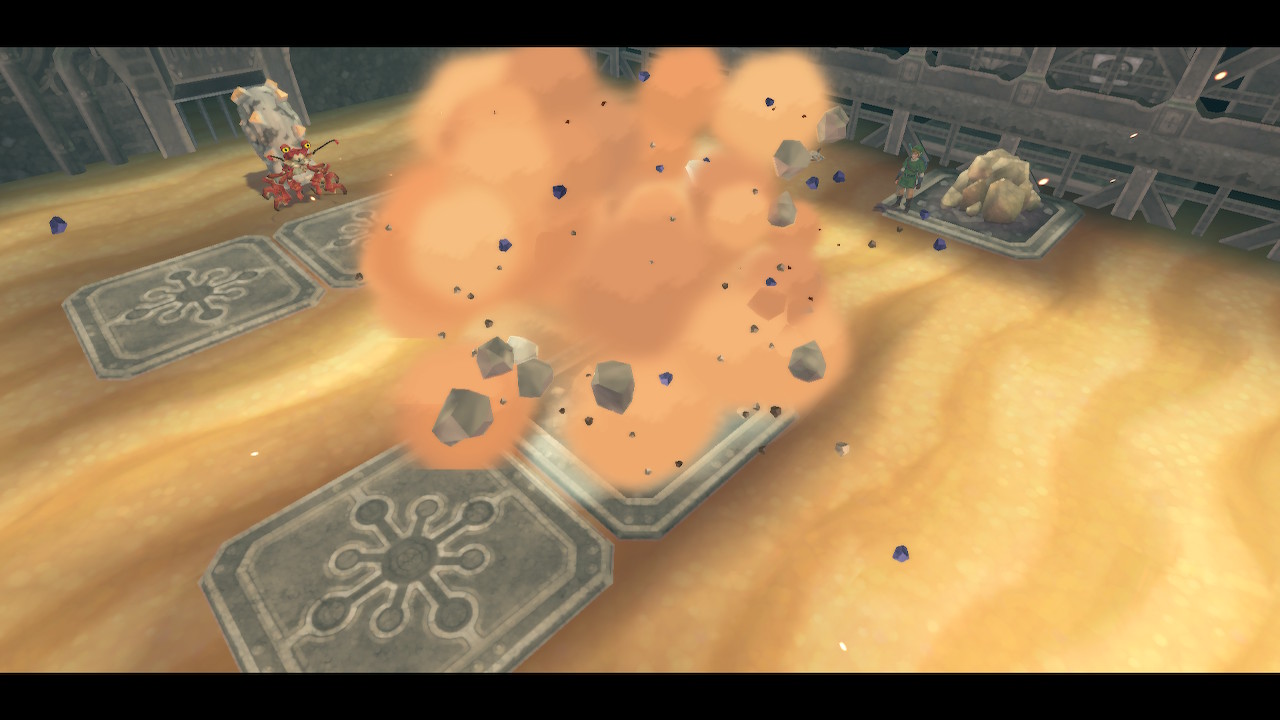
There are Electro Spume in the sand in this next room, they can be defeated with bombs. Use the platforms in the sand here to cross to the other side of the room. Continue into the next room and blow up the boulder that is sitting on the minecart tracks. Then look left towards the narrow sand area. First, blow up the boulder in the sand. Then roll a bomb far across the sand to blow up the boulders at the end. Then roll a final bomb to hit the Timeshift Stone, changing this region to the past.
Continue down this path now that the quicksand is gone. You can now use bombs to defeat Deku Babas, just toss one their way and they will happily chomp it up. Follow the path to the end to find a treasure chest containing a rare treasure.
Head back to the room with the minecart track. Follow it to a minecart outside the zone of the past. Simply push it into the zone and ride it through the next door, which is an exit of the mine.
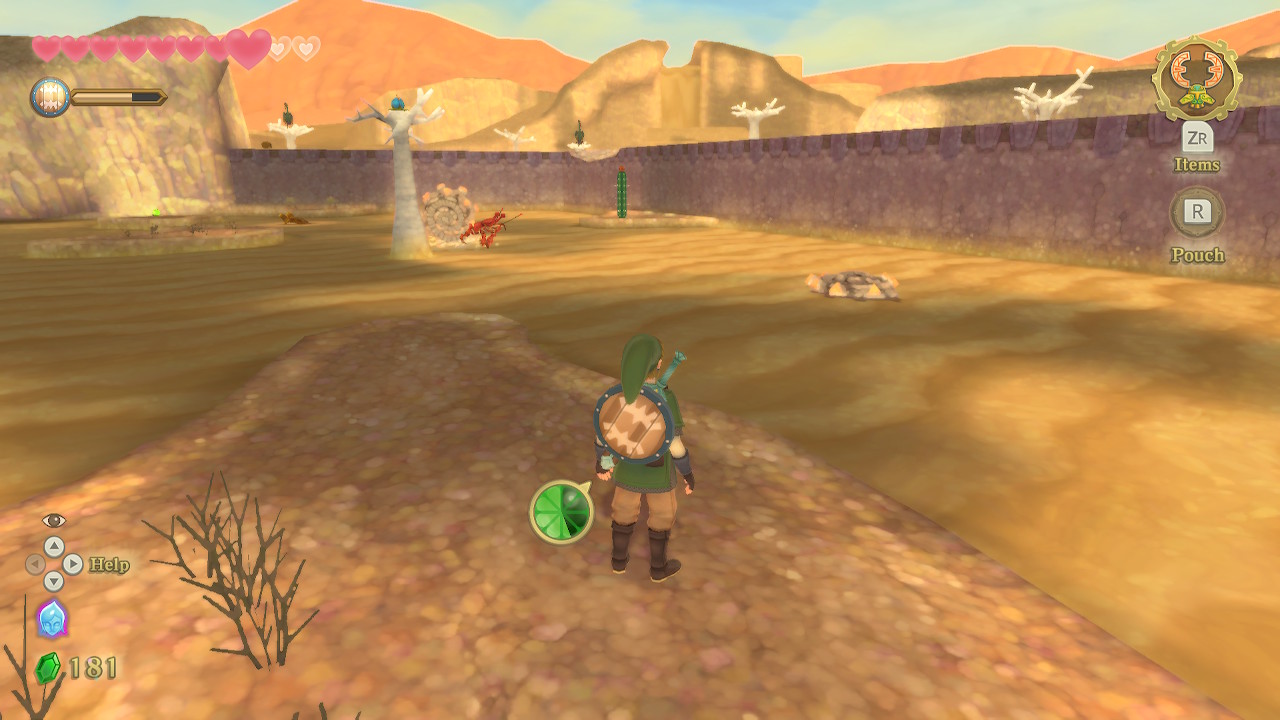
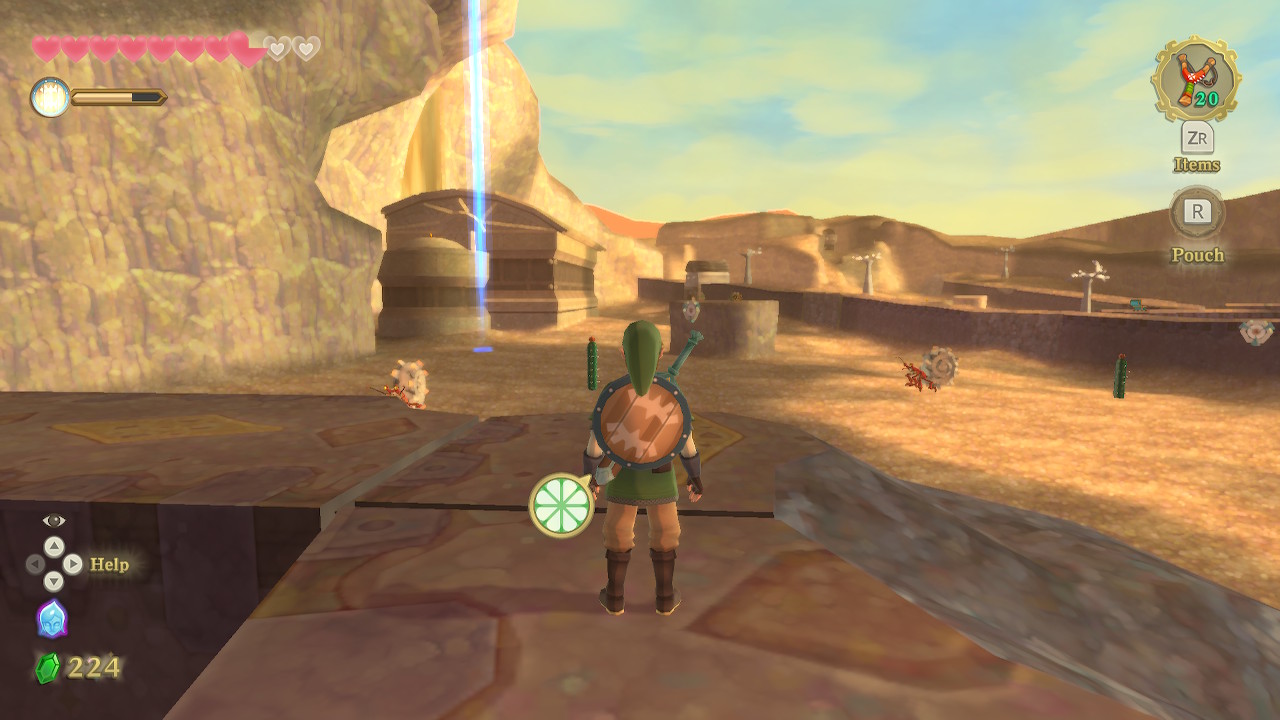
Lanayru Desert
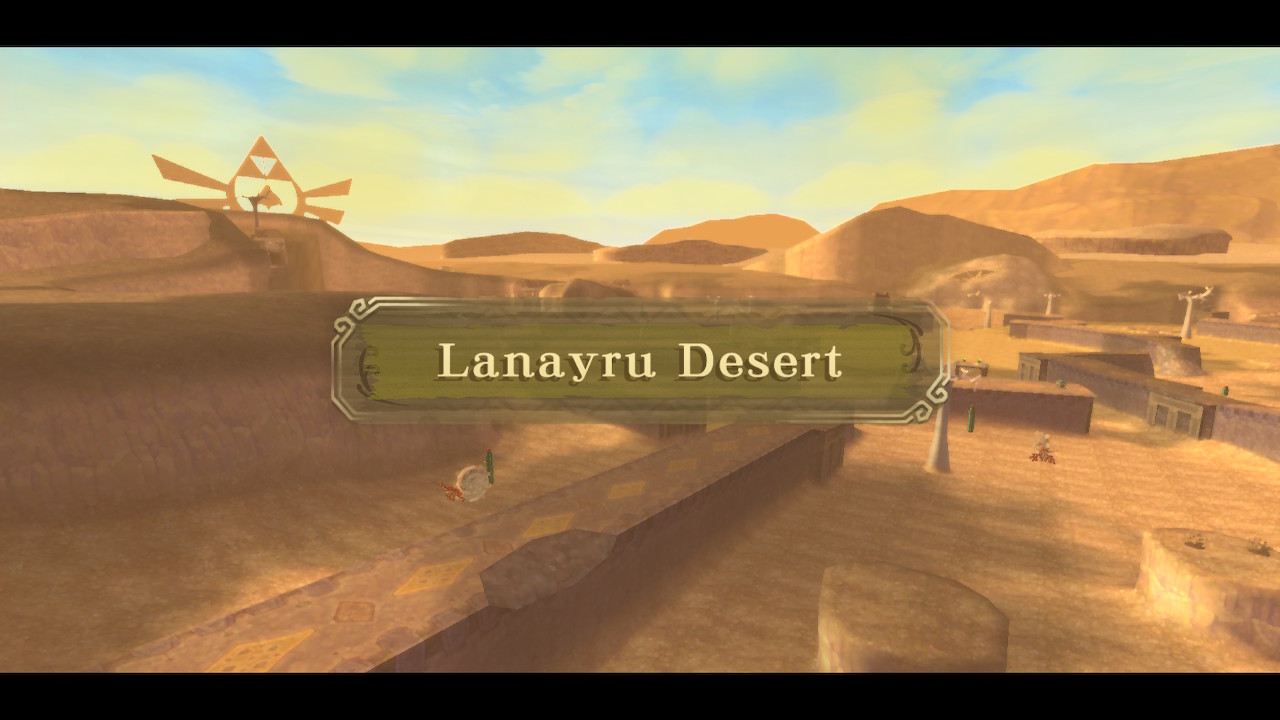
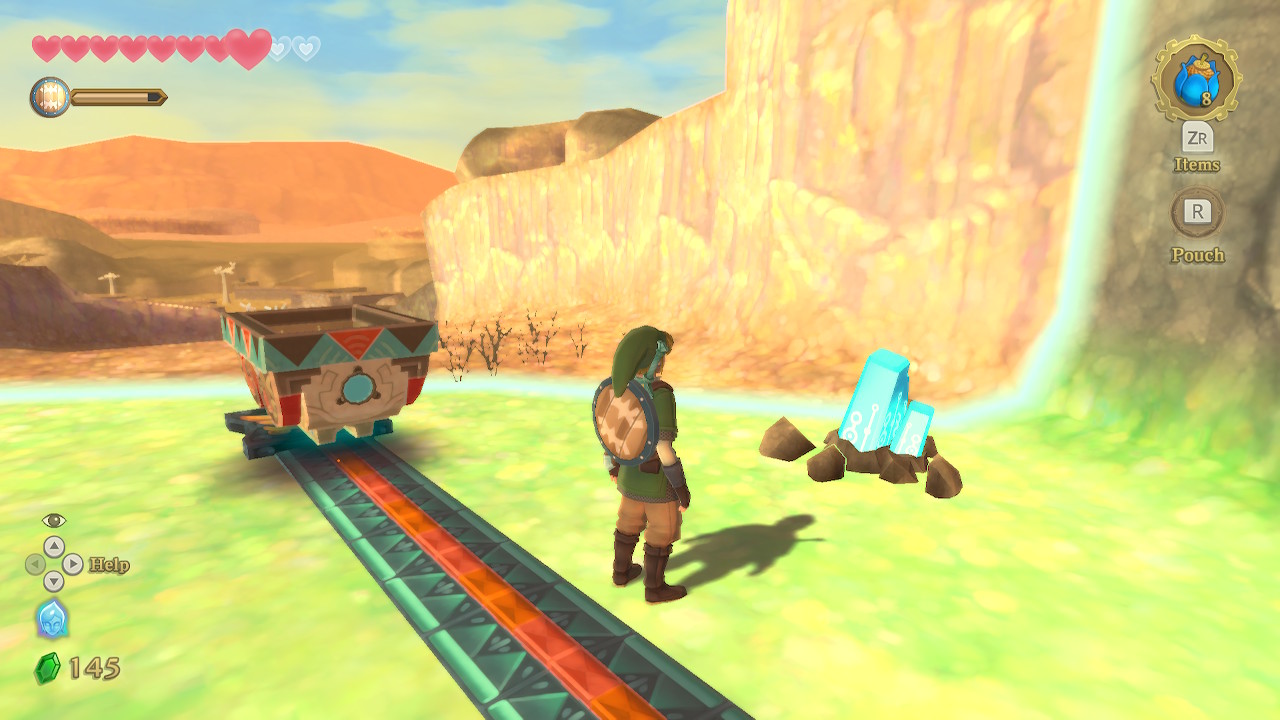
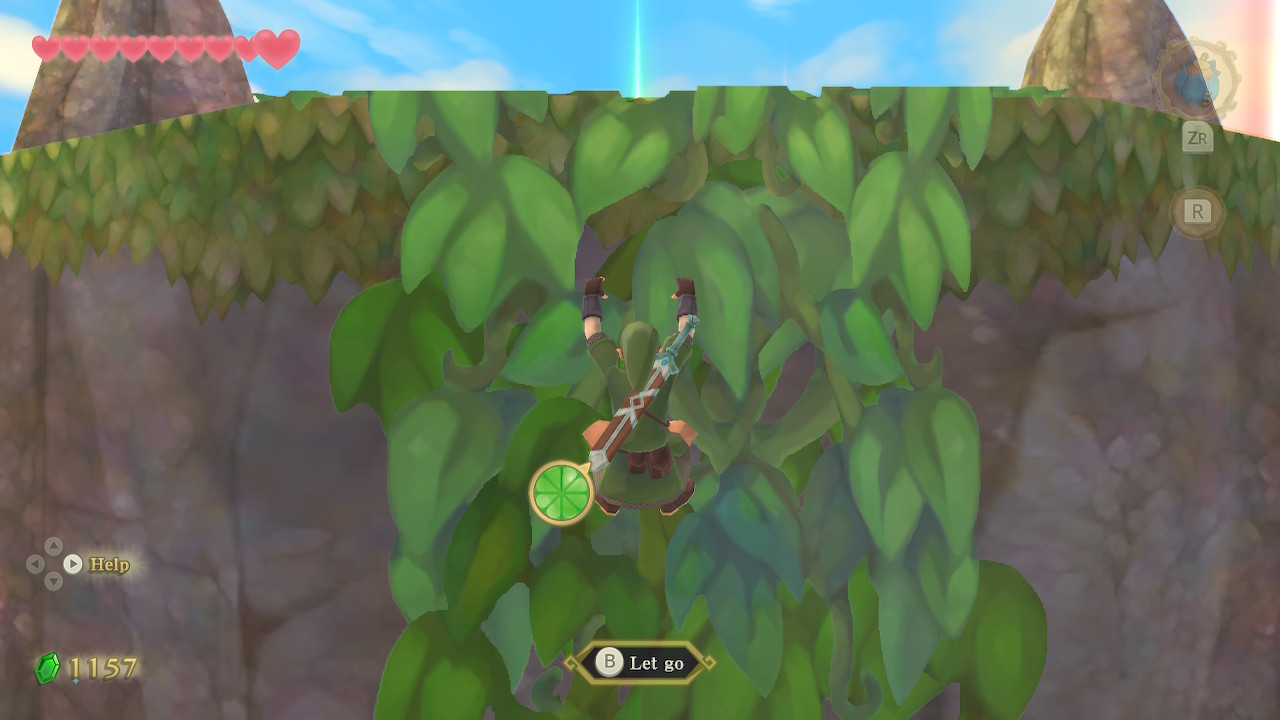
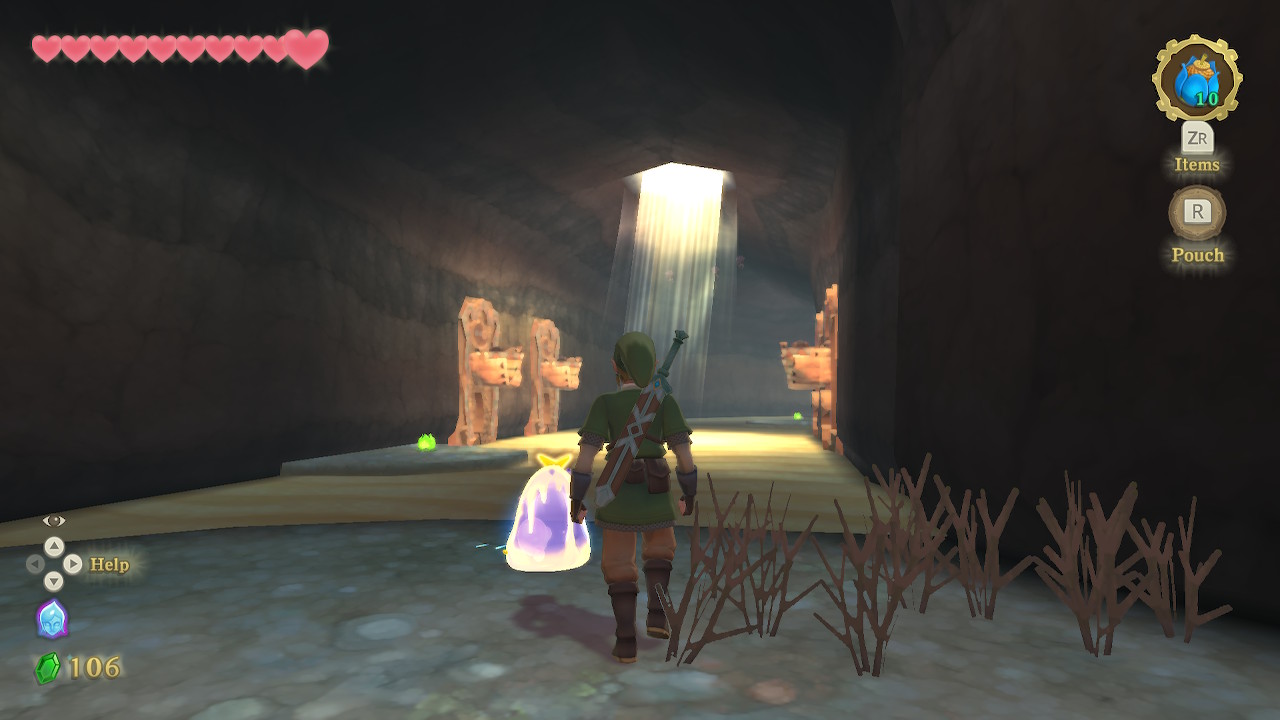
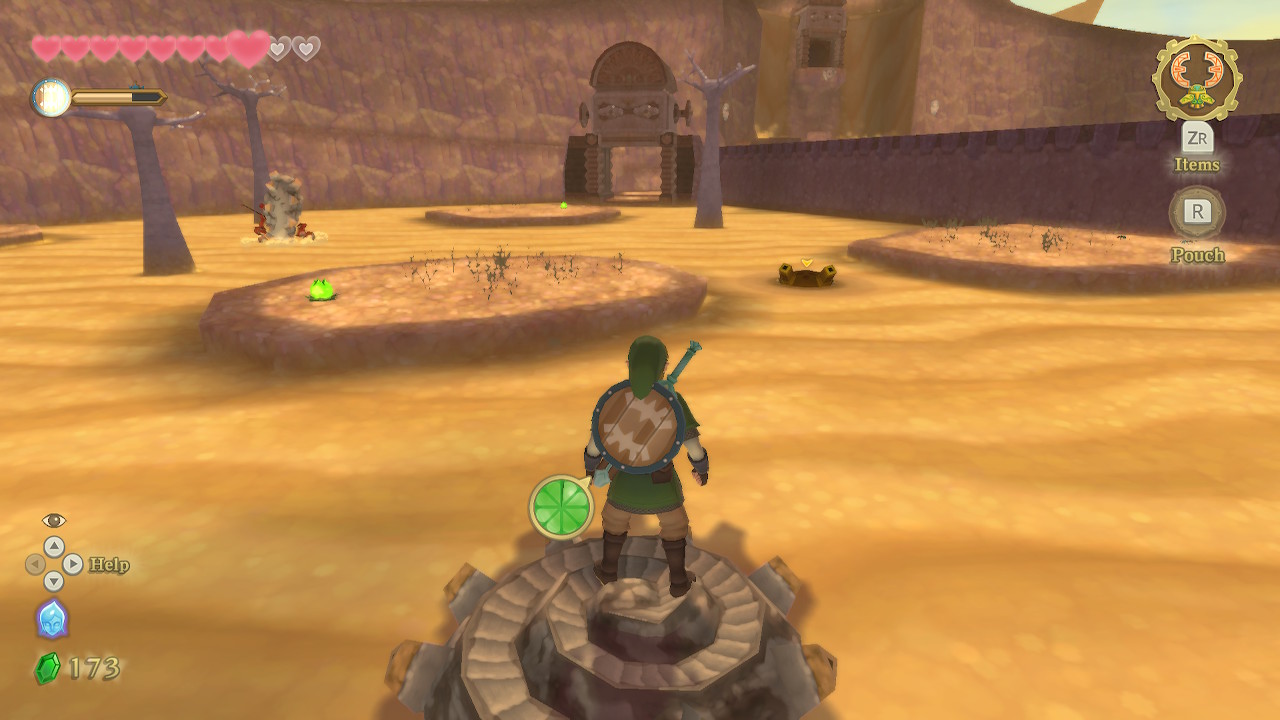
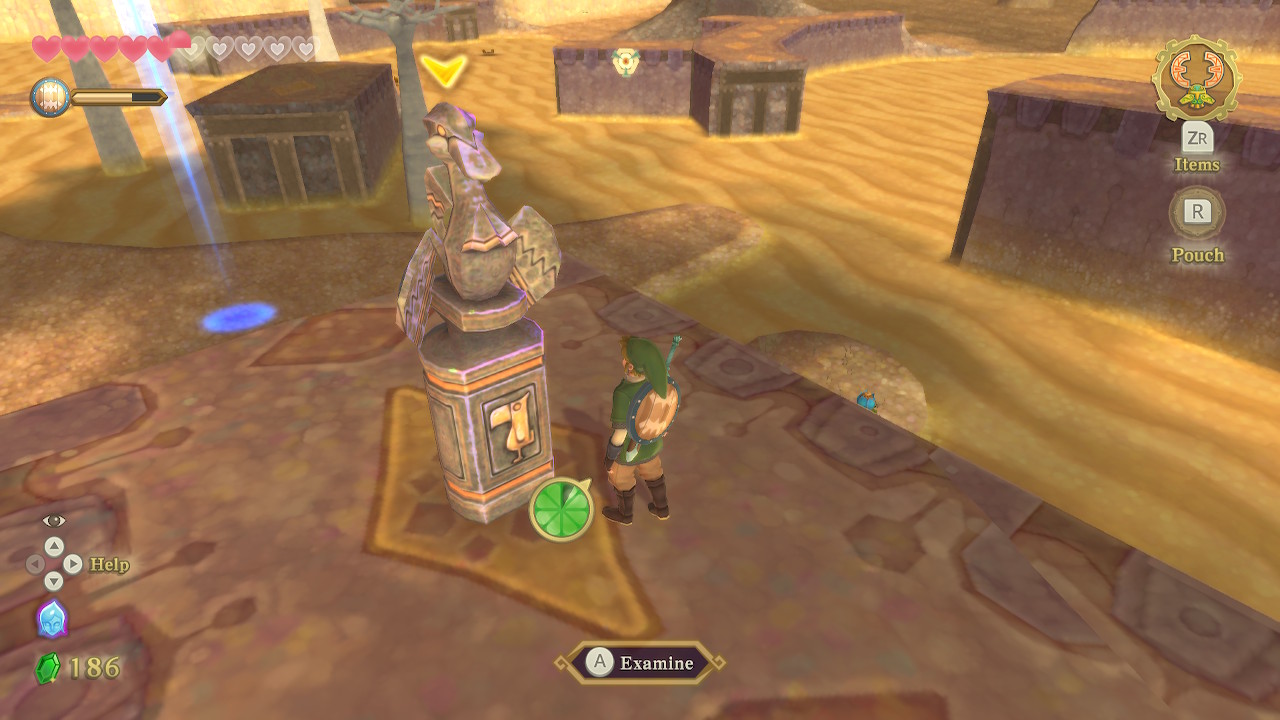
We have now entered into Lanayru Desert proper. Use the bird statue up ahead, and then blow up the boulder on the right of the cart. This reveals another Timeshift Stone, go ahead and give it a whack. You can now climb up the vines on the right to get an Ancient Flower treasure.
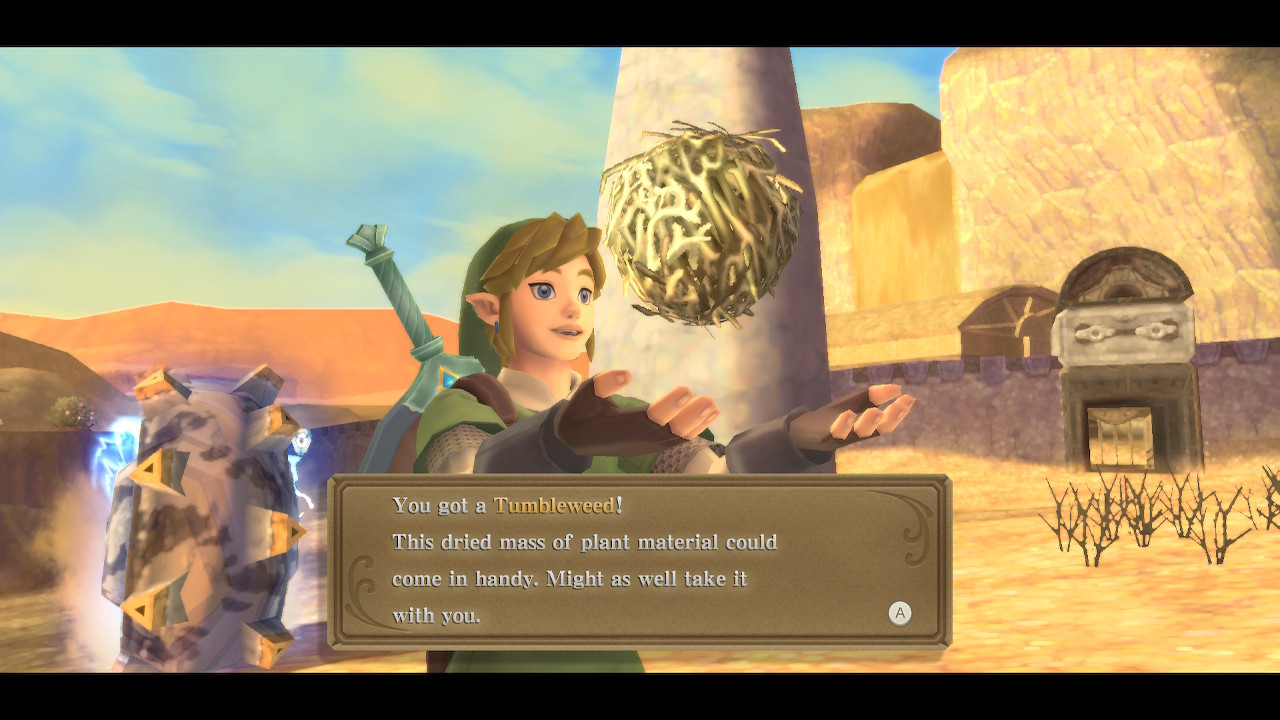
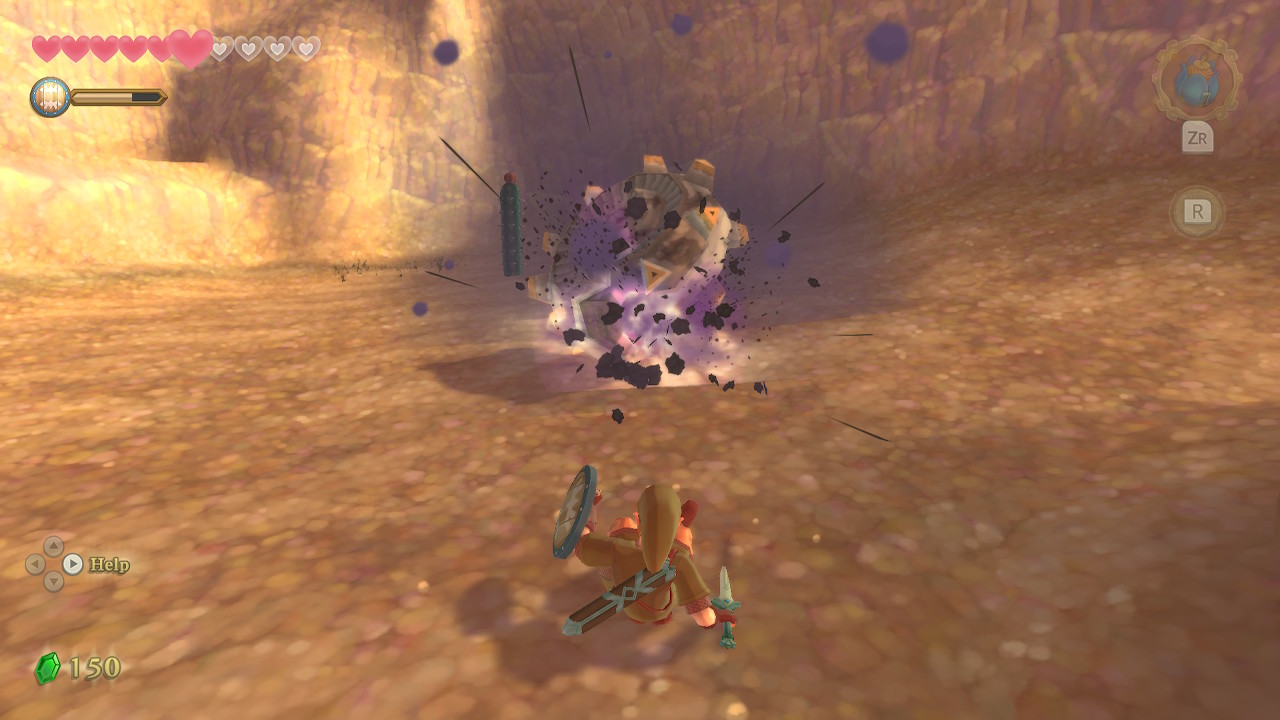
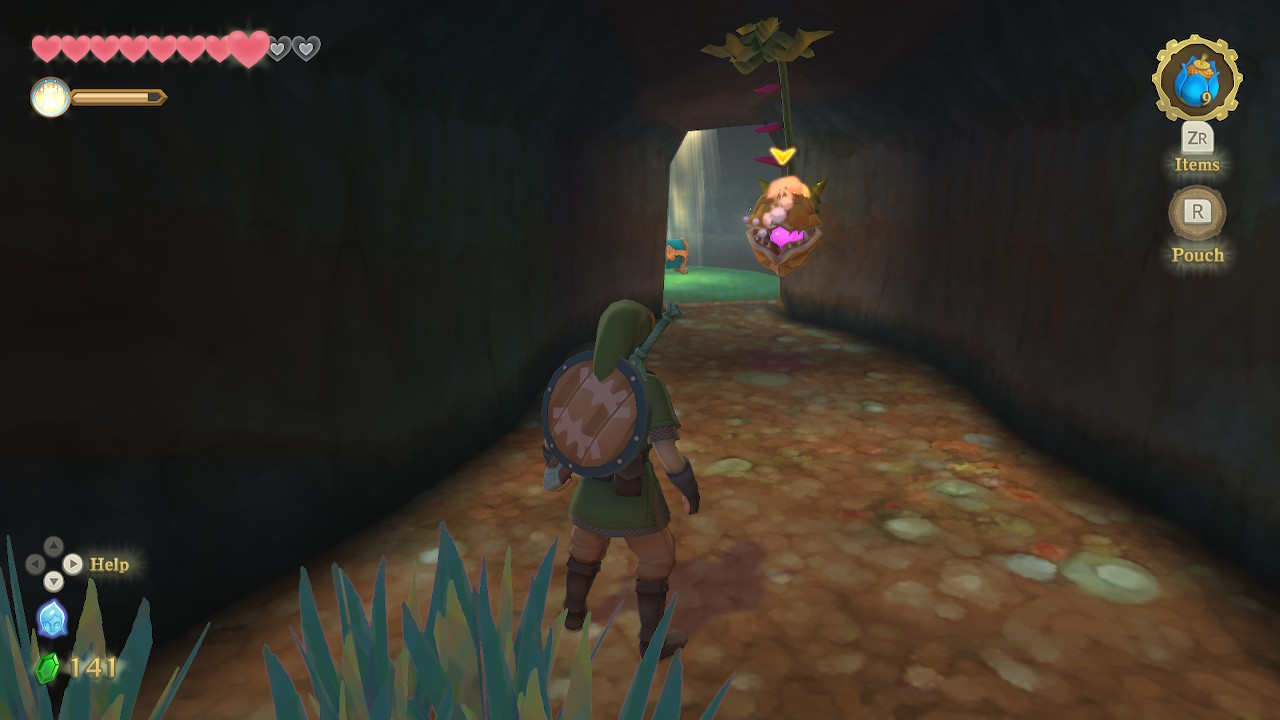
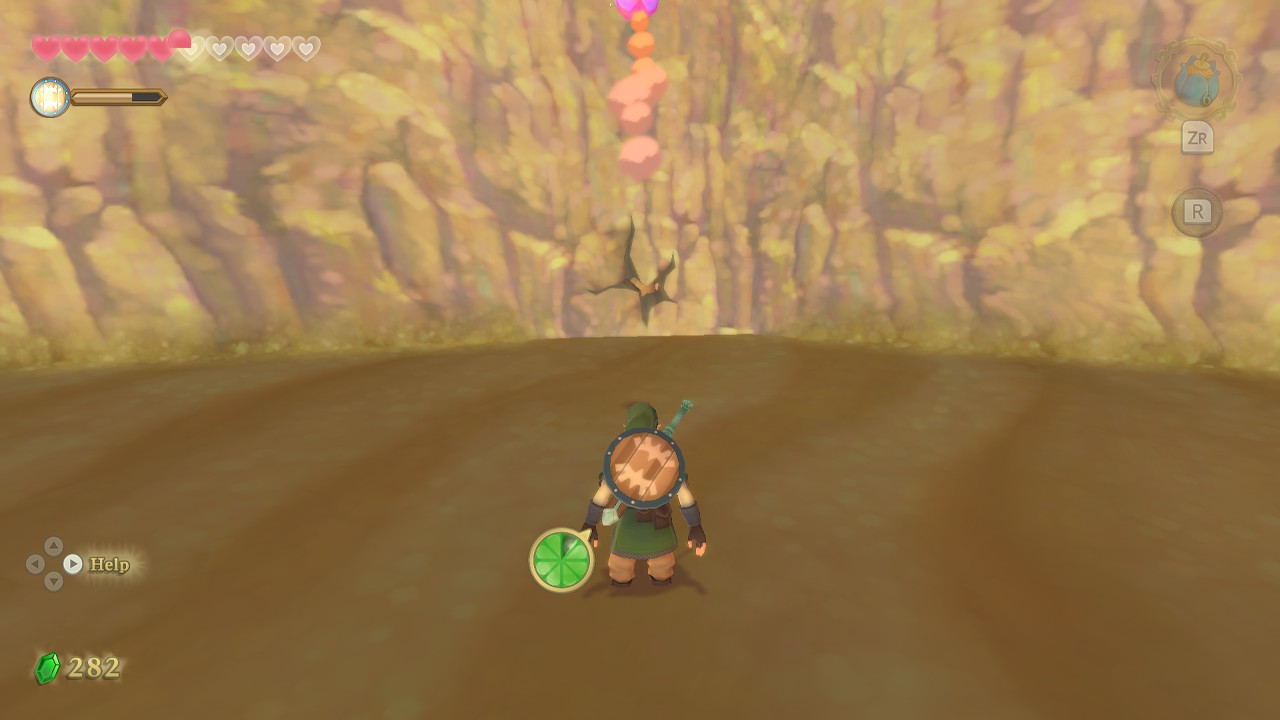
While in the desert, you may come across some tumbleweed. There is actually a treasure that you can catch with your net, so do that whenever you see one. You'll also see a new electric crab enemy here called an Ampilus. These will quickly roll at you with an electrically charged shell. You can defeat them by waiting for them to run into something and stun themselves and then slashing at them.
Head forward in this area to the wall straight ahead. You can use the ramp to the left of it to climb on top and open the chest for a tumbleweed. Hop onto the metal box from here where you can see another metal box with a hole in the top. Toss a bomb in the hole to blow up the boulder inside. This reveals a Timeshift Stone, which you can activate with another bomb.

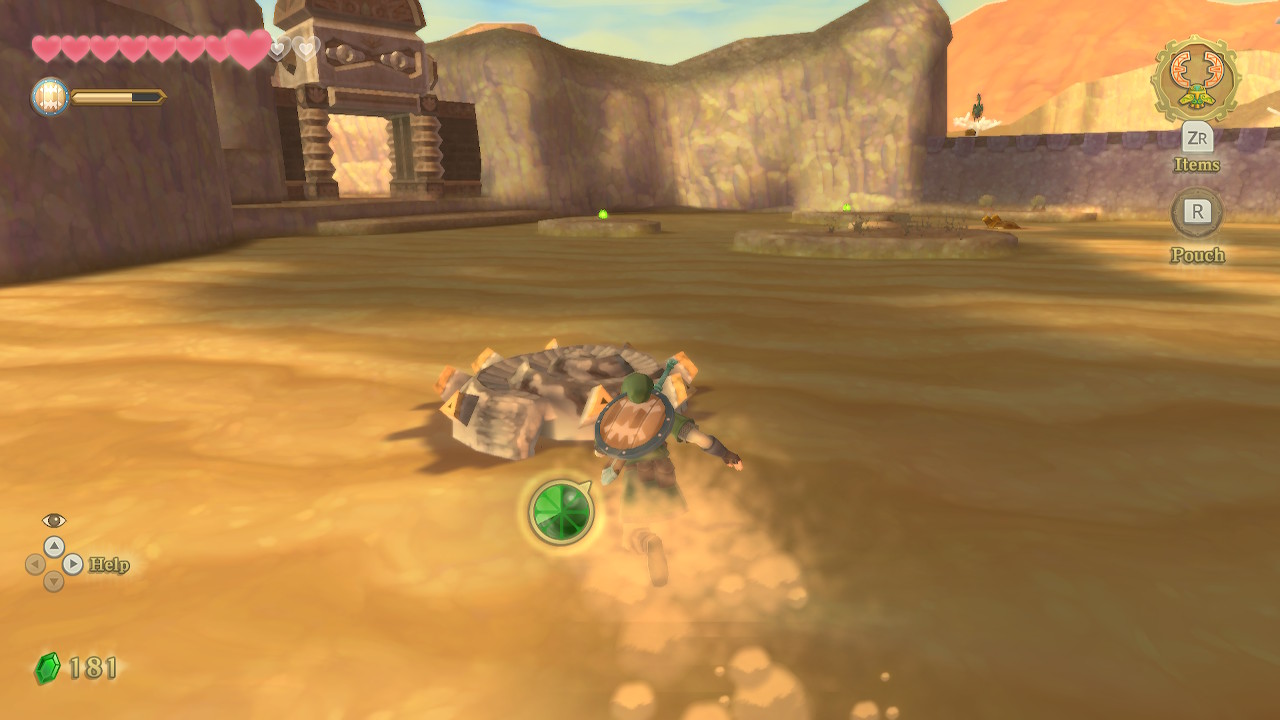
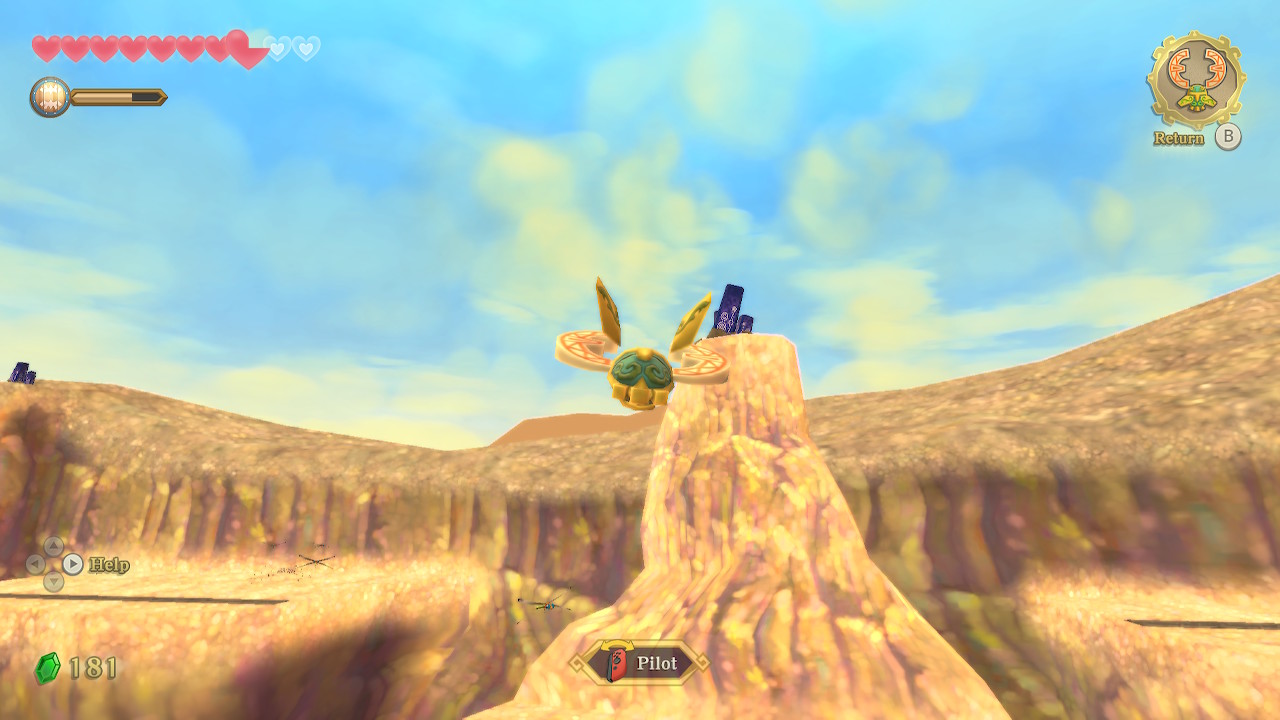
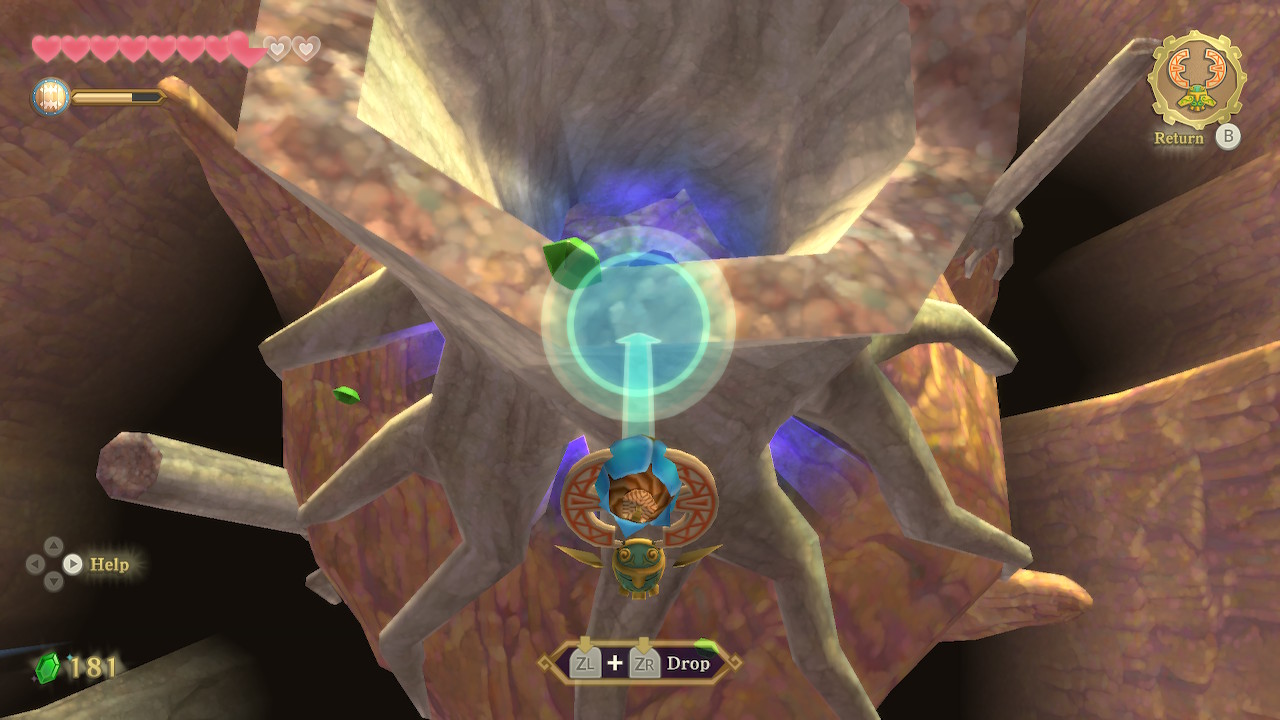
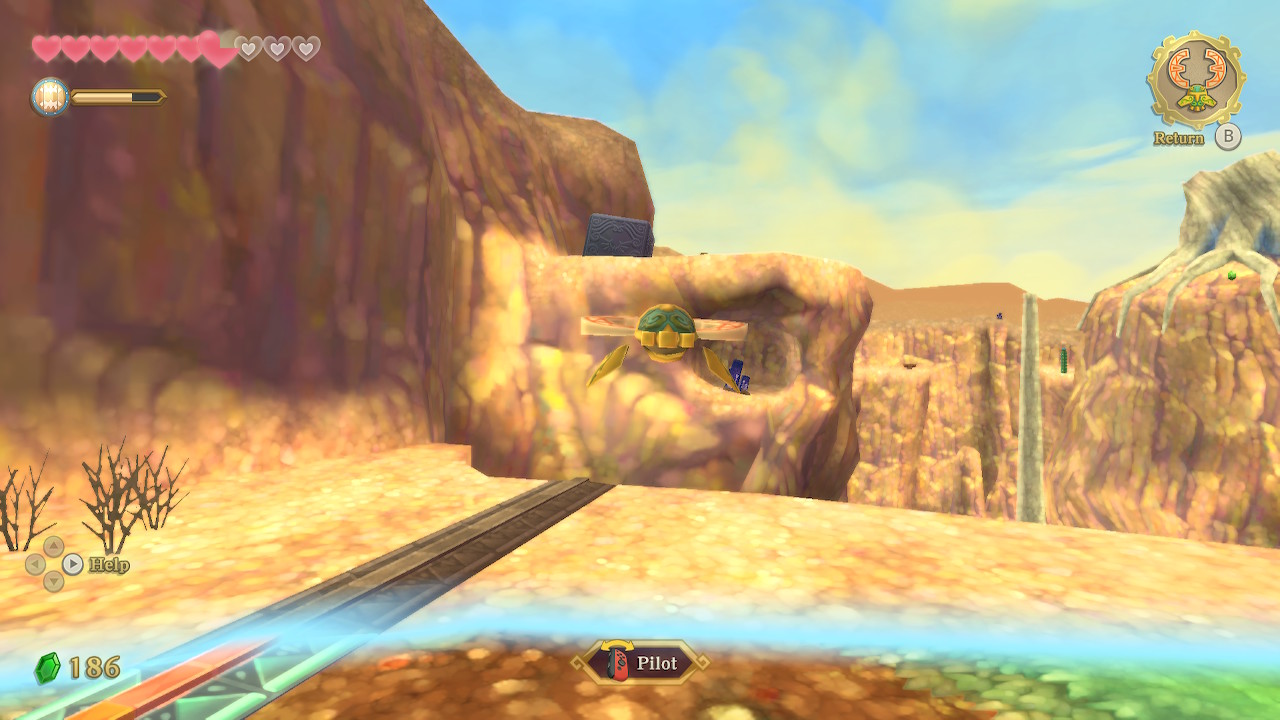
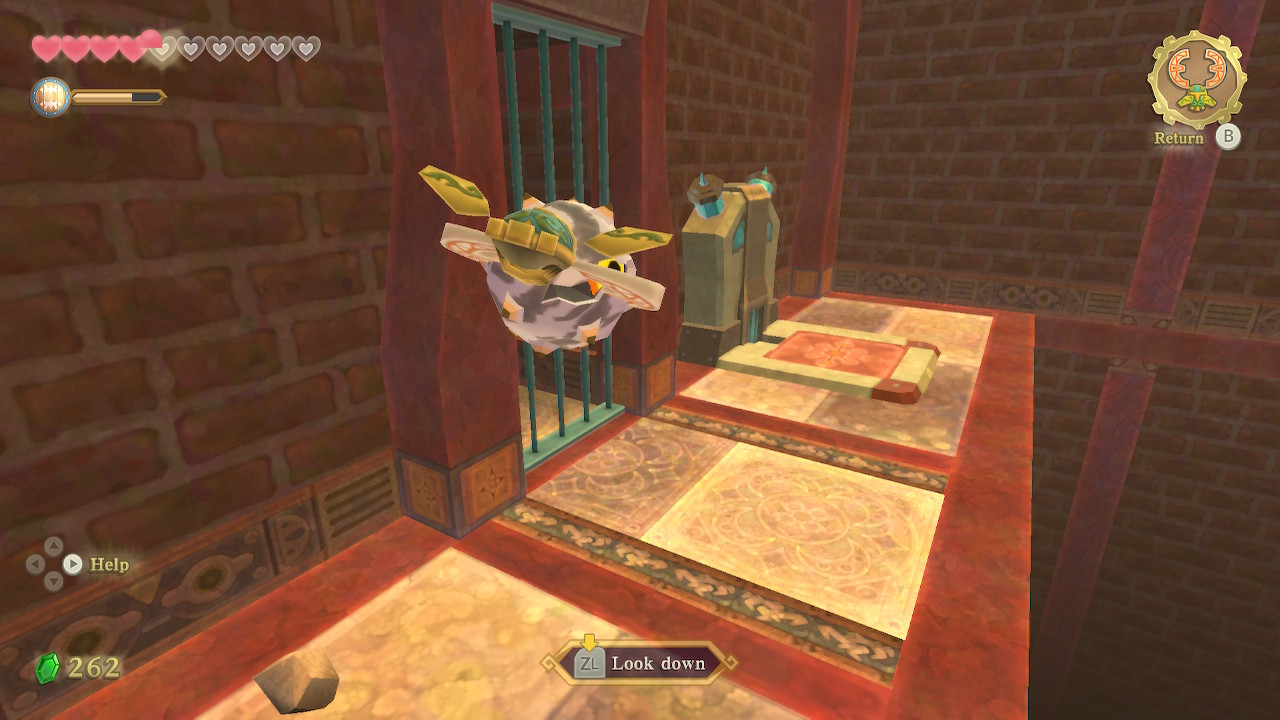
Hop down and defeat this new Bokoblin variety, called Technoblin. Avoid clanking with their swords or you will be shocked. Speak to the Ancient Robot you freed and he will reward you by upgrading your Beetle to the Hook Beetle. This new model can pick up objects and drop them wherever you'd like.
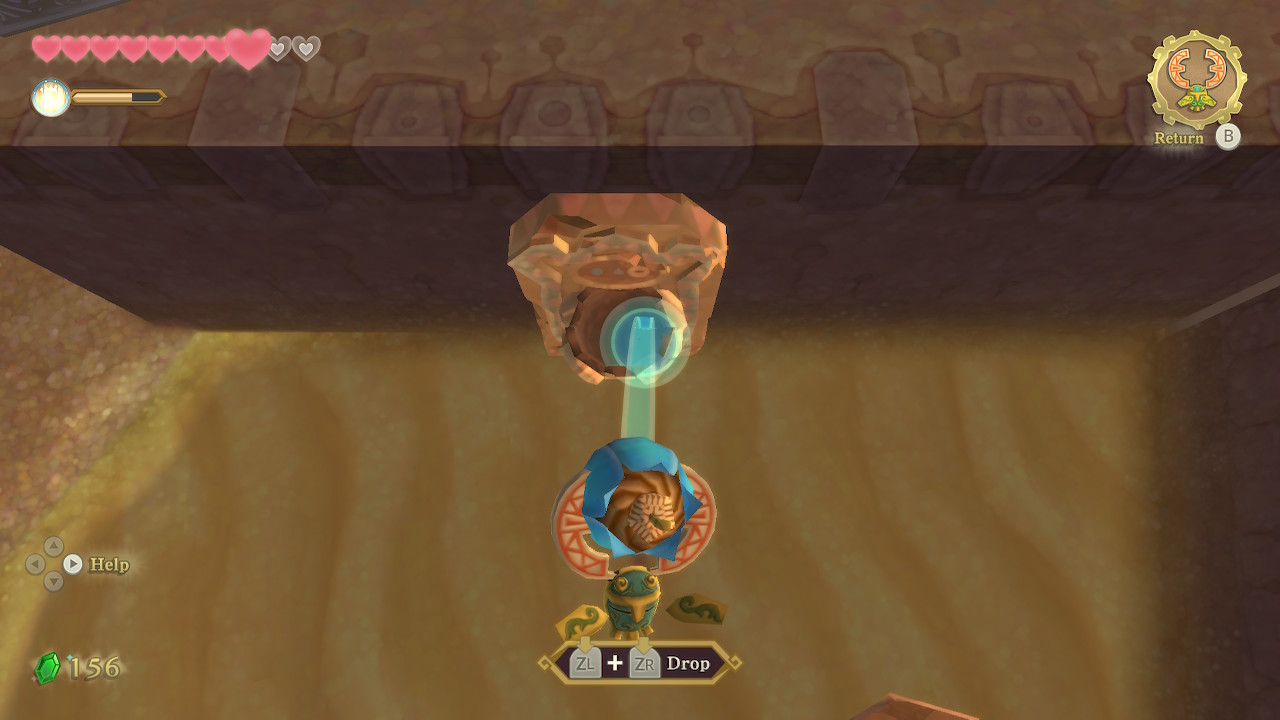
Try out your new weapon nearby where you can see a bomb flower on top of a tree. Pilot the hook beetle to pick up the bomb and drop one in both of the nearby baskets. You can collect some rupees from behind the stones that fall. In the next sand area, repeat the same process with the three baskets. You can then use the stones as platforms to make it across the sand.
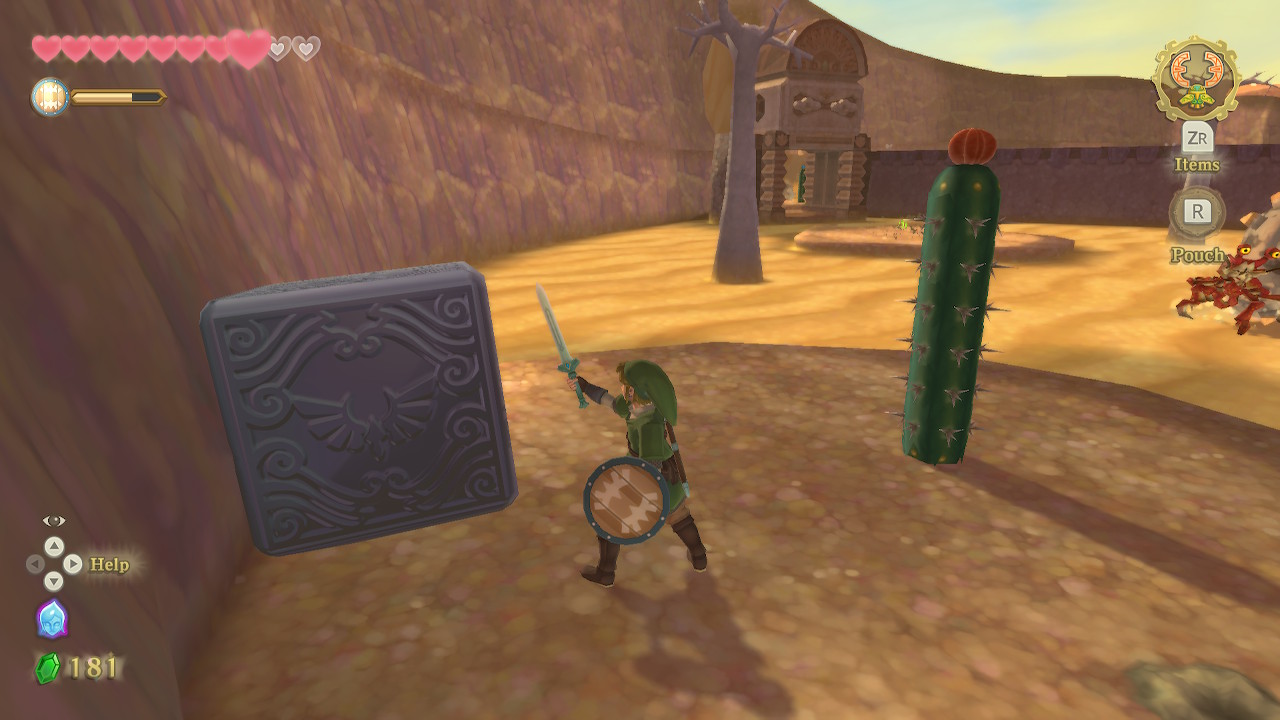
In this next large sand area, you'll want to take the bomb from the top of the tree and drop it on top of the Ampilus in the sand. When they are defeated their shell will remain for a while, giving you a platform to cross the sand with. Repeat this process up ahead to get on the platform to the left. Here you'll find Goddess Cube #11 that you can activate. Repeat the process of bombing an Ampilus one more time to reach the other side of this sandy area.
Use the bird statue here, then climb up the adjacent ledges. Follow this path back around and push a minecart down to create a shortcut. Head back towards the bird statue area.
The next sandpit is solved in a similar way, but the sands are moving in one direction here. Use one shell to get to the middle platform. Then use the next shell and let the sand take you to the platforms on the other side of the area. Once on the other side, take the ledges to the left up and around to push down another minecart, creating another shortcut. Then exit this area to the north into the cave entrance.
Temple of Time
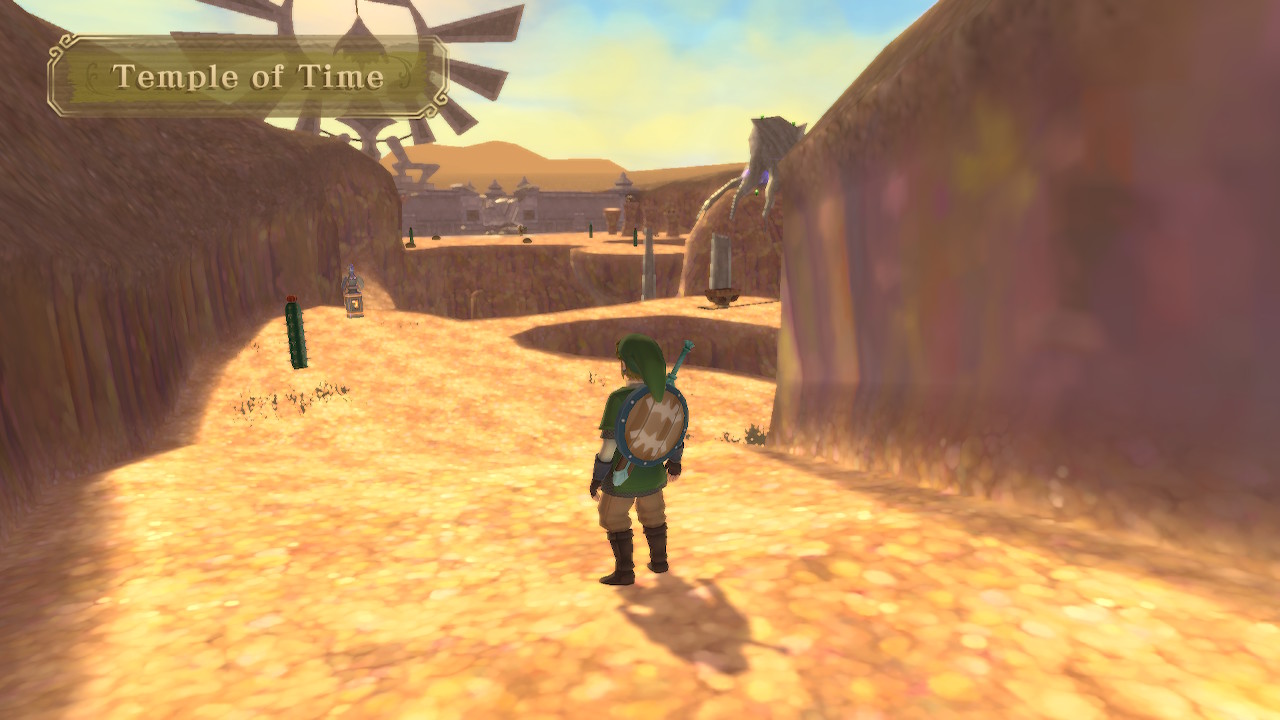
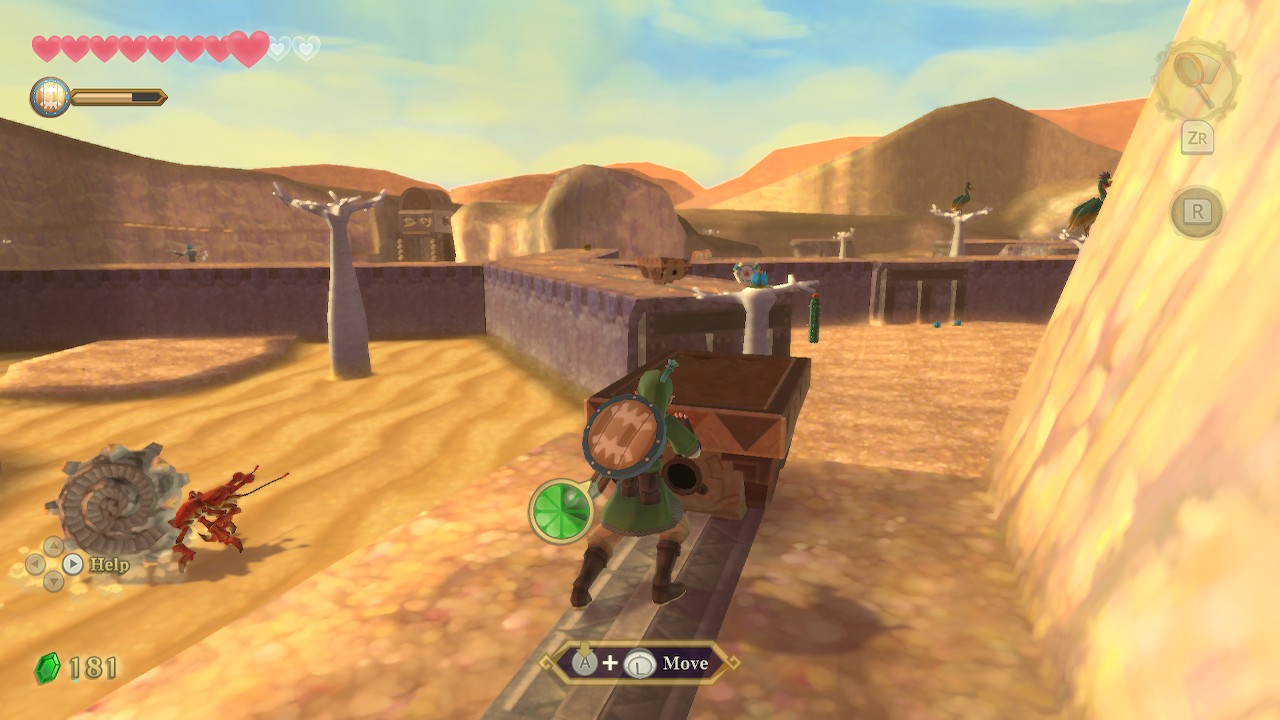
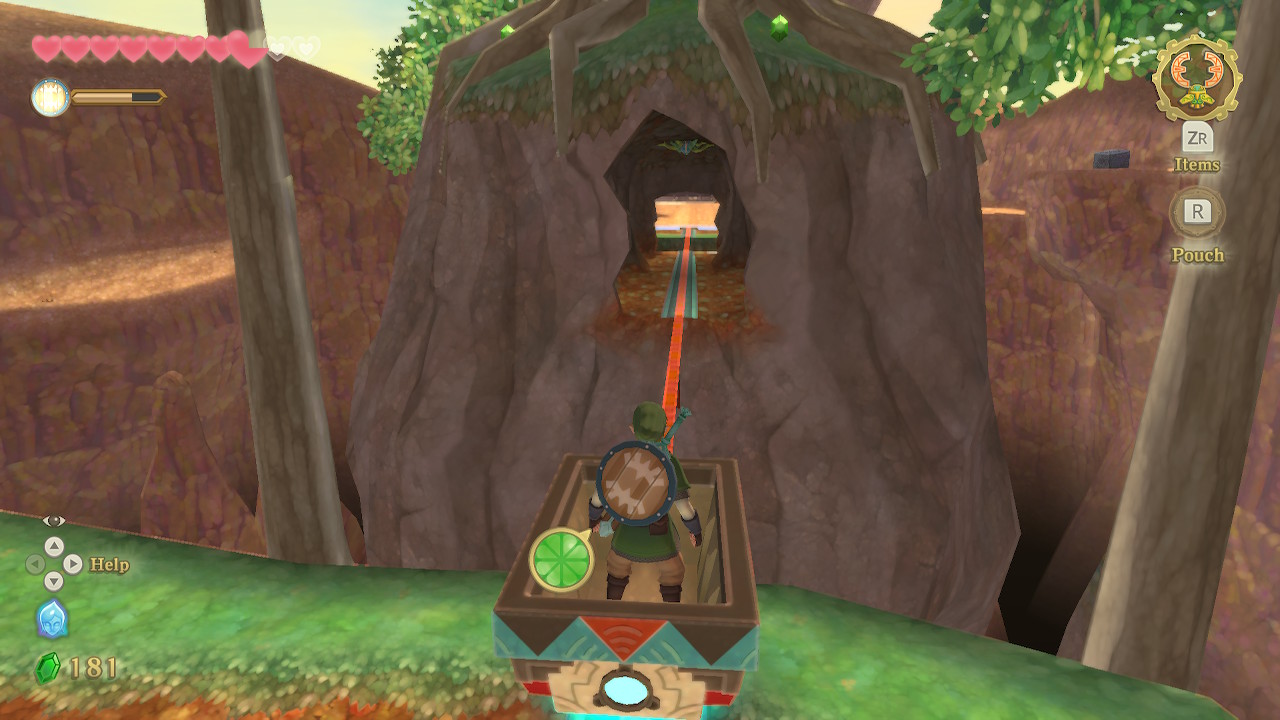
This next area leads up to a structure that will very familiar to Zelda veterans, the Temple of Time. Head towards the first minecart here. Use your beetle to hit the Timeshift stone on top of the nearby pillar. Ride the minecart here to the other side.
Use your hook beetle to grab a bomb from the cactus and carry it to the top of the tree stump on the large rock to your left. Drop the bomb in the hollow stump to activate another Timeshift Stone. Then hop in the minecart and ride it into the cave, turning to your left and shooting the crystal switch as you go by to open up the gate.
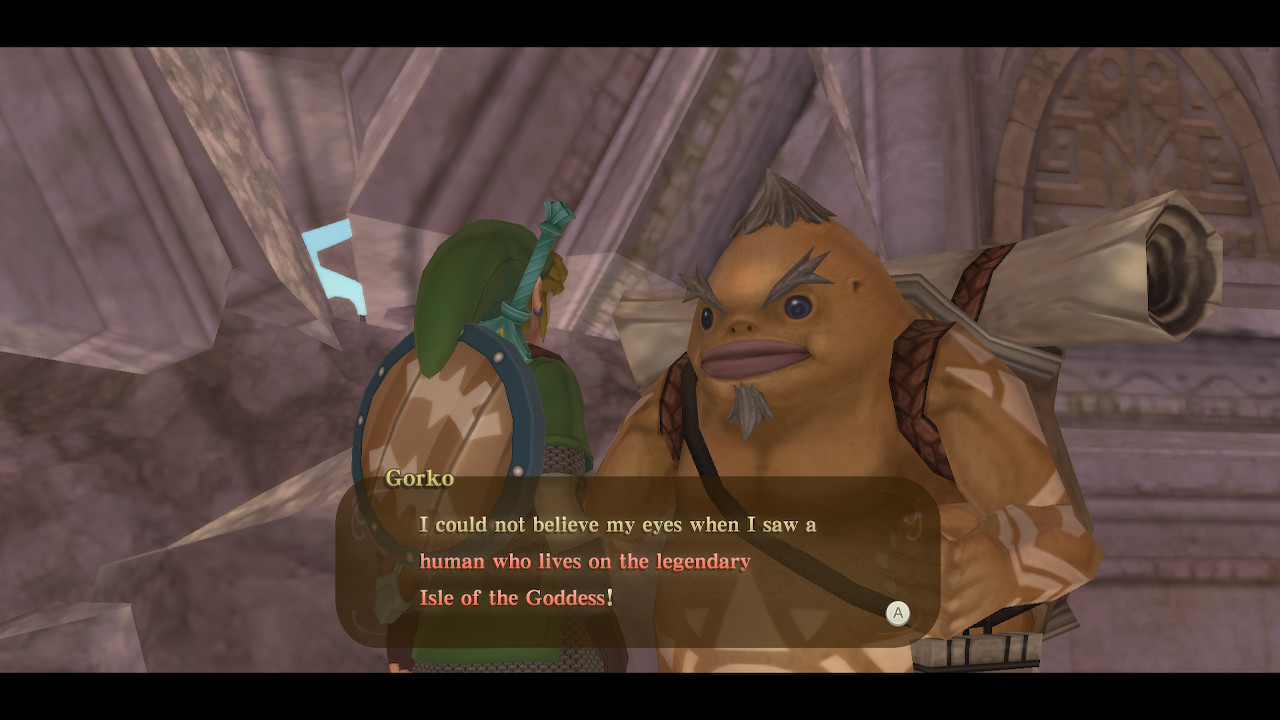
There are some octoroks on this side that you can defeat or ignore. Speak to Gorko ahead and he will fill you in on some lore about Zelda and the Temple of Time. Afterward, look to the north and use your hook beetle and the nearby bomb to blow up the boulder on the further pillar. Use the hook beetle again on the Timeshift Stone that this reveals.
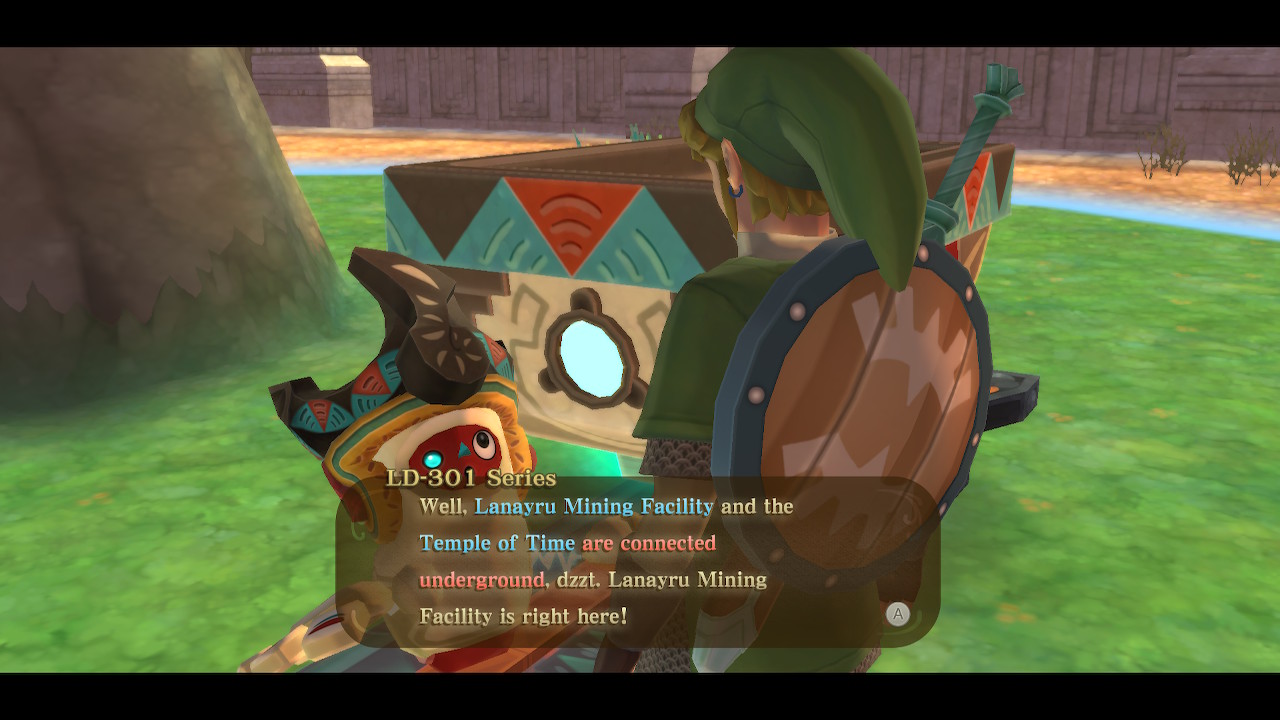
Defeat the Technoblin here and speak to the Ancient Robot you saved. It will tell you about an alternate route to the Temple of Time via an underground passage in the Lanayru Mining Facility. Use your hook beetle to hit the next Timeshift Stone in the cave ahead.
Push the minecart into the past area and then ride it over the gap. Along the way, deliver a Skyward Strike to Goddess Cube #12 here. Once on the other side, simply continue forward through the exit back into a new region of the Lanayru Desert.
Unlocking the Dungeon

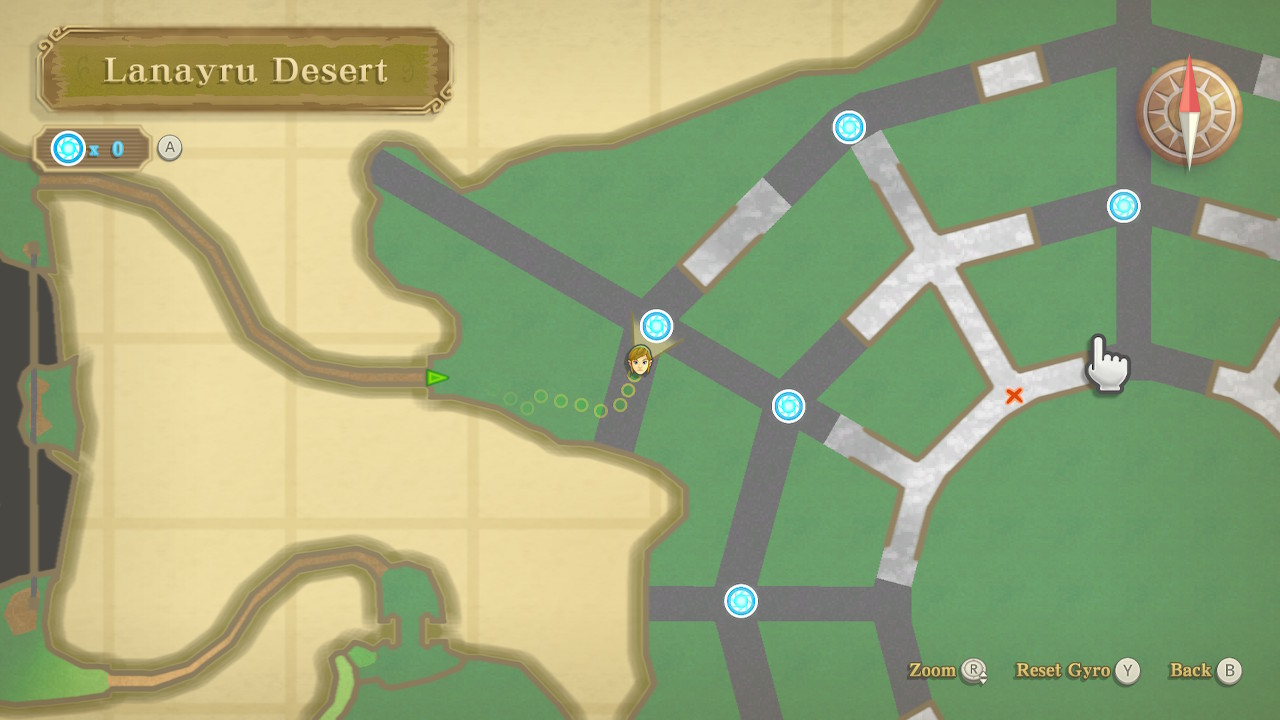
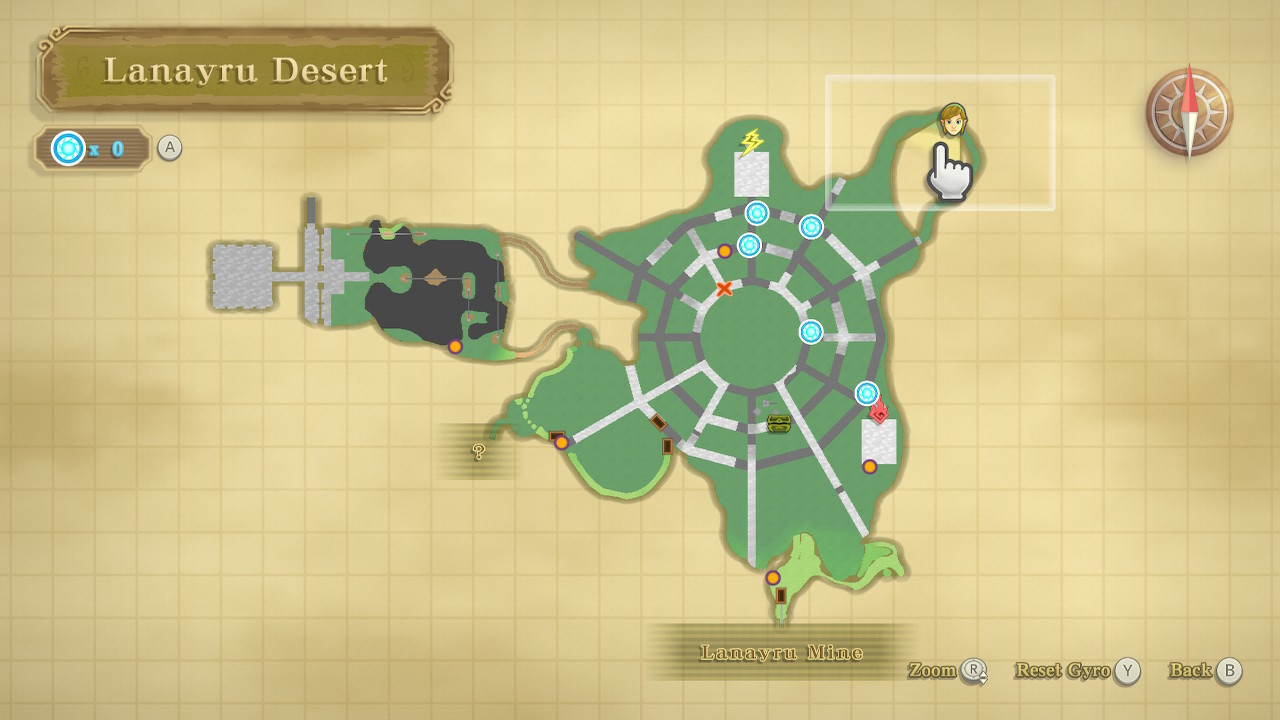
The entrance to the Lanayru Mining Facility, the next dungeon, is marked with an x on your map. Importantly, the dark grey area marked on your map is actually a path in the quicksand where you won't sink. Fi will mention this and give you multiple beacons to place on your map, which you can use to mark safe areas in the sand.
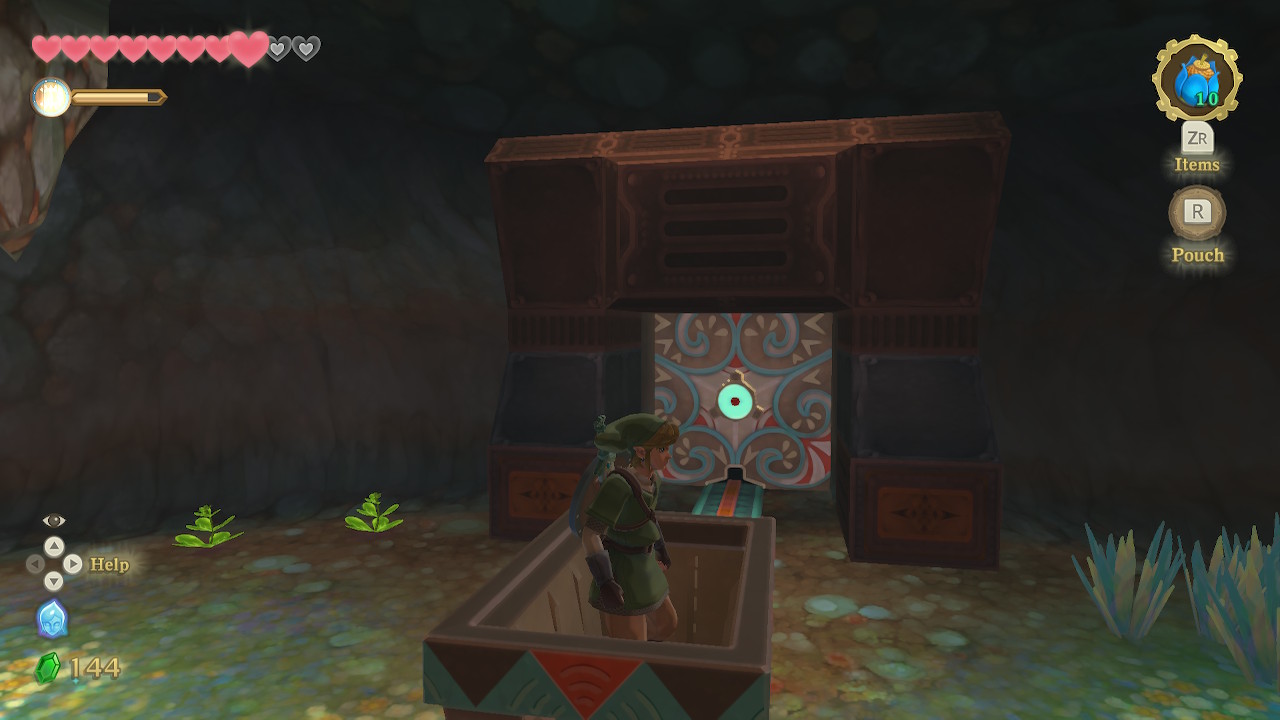
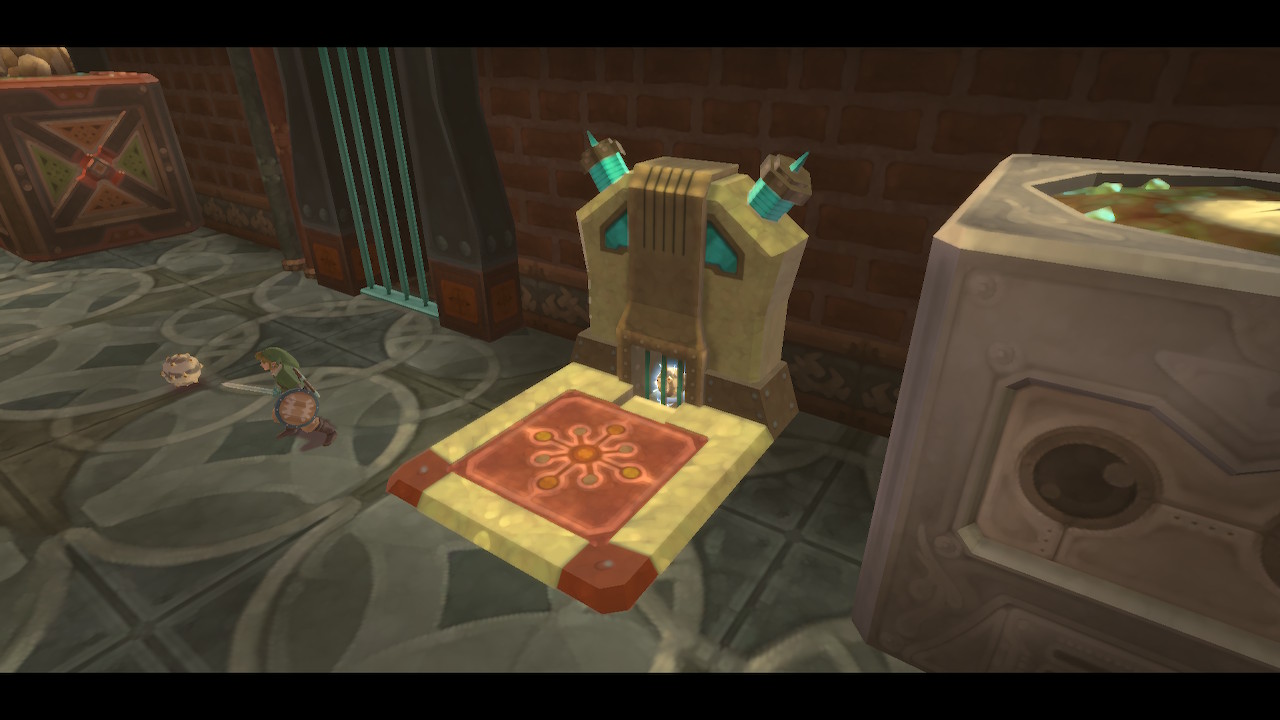
Use this map information to make your way to the red X. Blow up the two nearby boulders when you get there to find another Timeshift Stone. Activate it to revitalize the power generator for the entrance to the Lanayru Mining Facility. There are, however, three power nodes that you'll need to use to activate the entrance, which Fi will kindly let you dowse for.
Yellow Power Node
Head along the path in the sand that is pointing straight north. There is a cracked wall here that you can blow up with a bomb. Enter the door that is behind it. Run along the sand on the right side and stop on the platform. Then bomb the boulder in the center platform and activate the Timeshift Stone there.

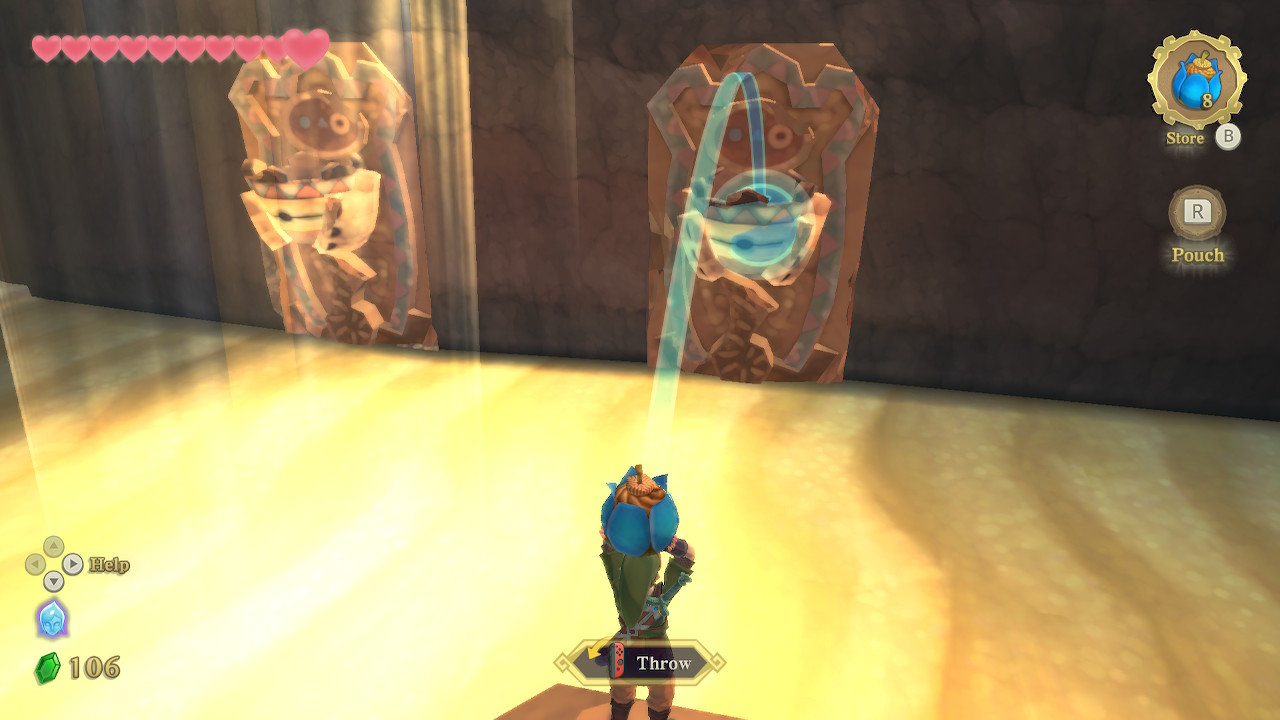
Back in the past, the Ampilus in this room will turn into eggs. The goal is to get an egg to the switch on the north end of this room. You can pick these eggs up, but they will frequently send out a shock. So you can use the hook beetle to carry them more safely. Once on the switch, push an egg through the little gate with your sword.
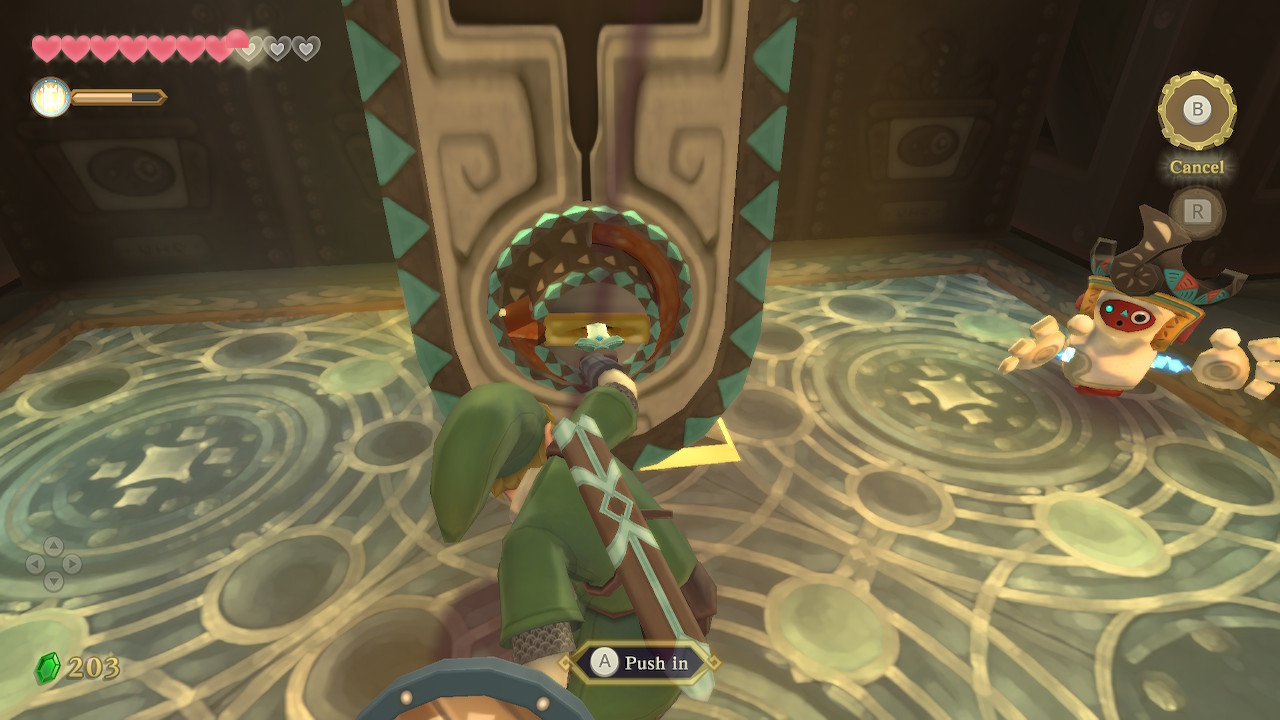
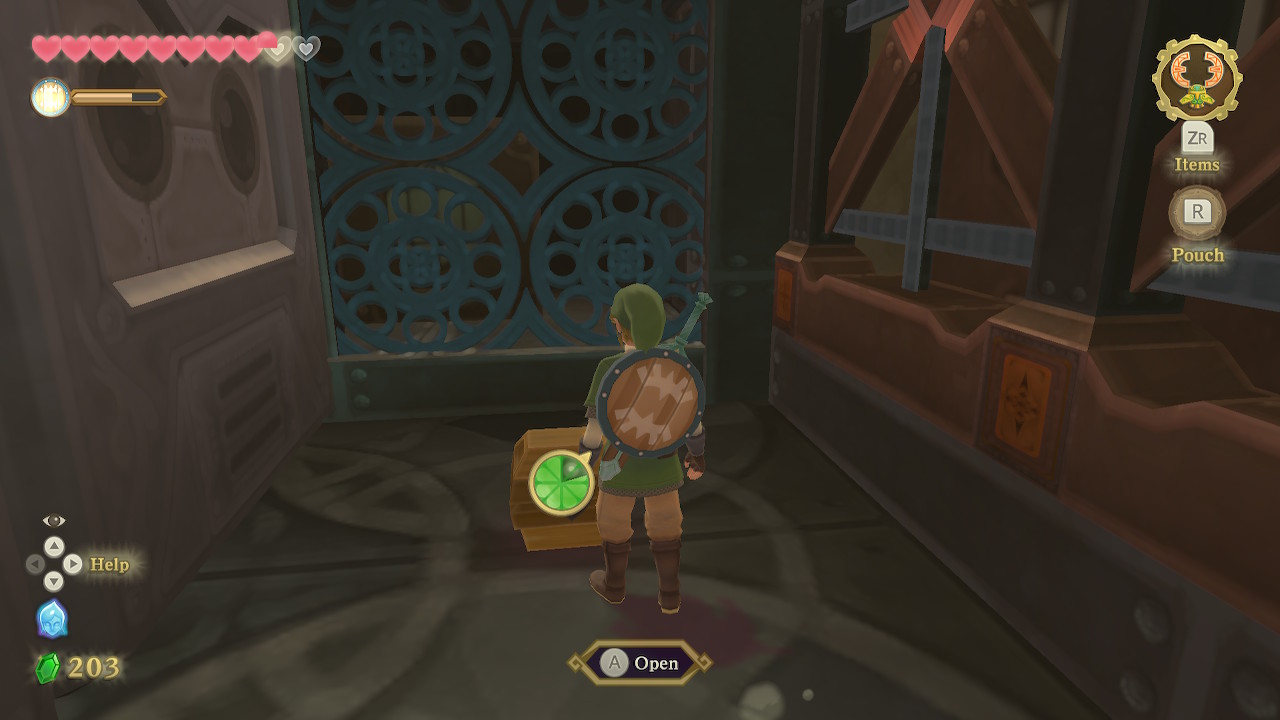
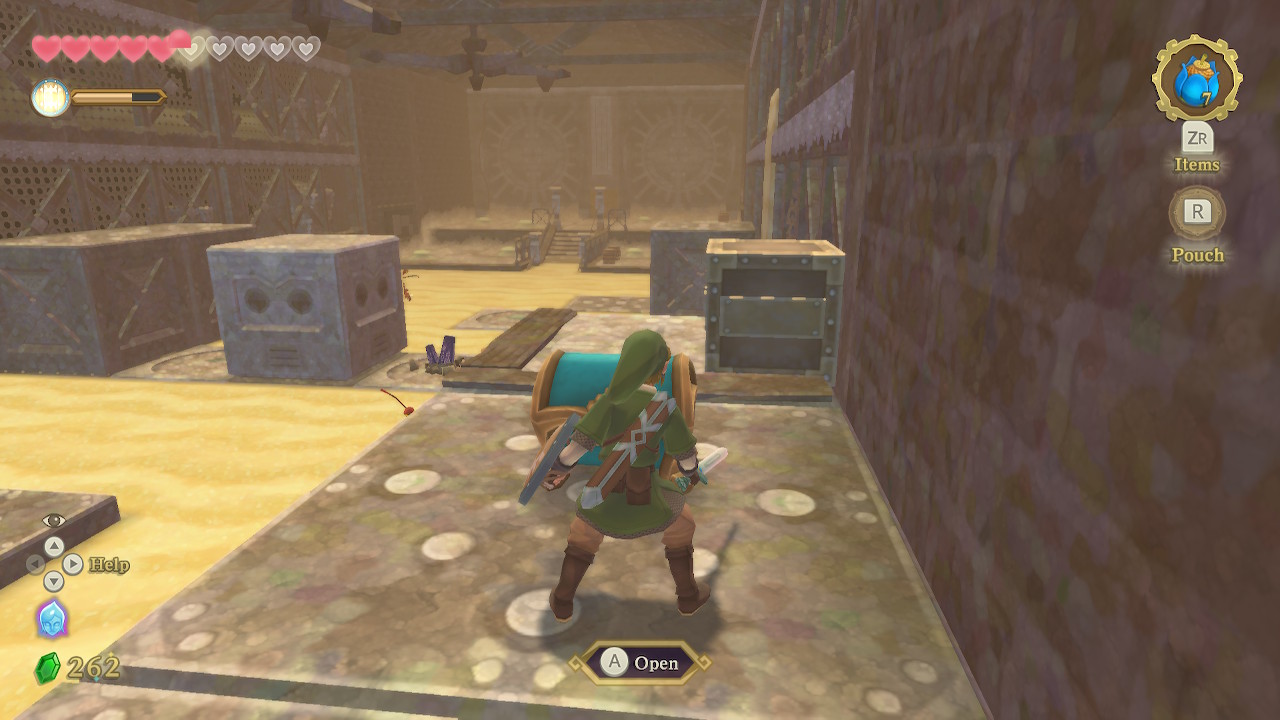
The door in this room will open, and the red power node will be here. To use it, thrust with your sword and then turn the node (with motion controls if applicable). Then exit this structure, opening the chests that contain 20 rupees each along the way if you'd like.
Red Power Node

The next power node is located in the rectangular building on the southeast part of the map. Make your way over there by running in the safe spots in the sand, using your map and markers as a guide. When you get to the rectangular building, you'll see a gate and switch on the wall to the southwest. Head over and pull that switch down to open the gate and create a shortcut. Then use the bird statue if you'd like and enter the building.
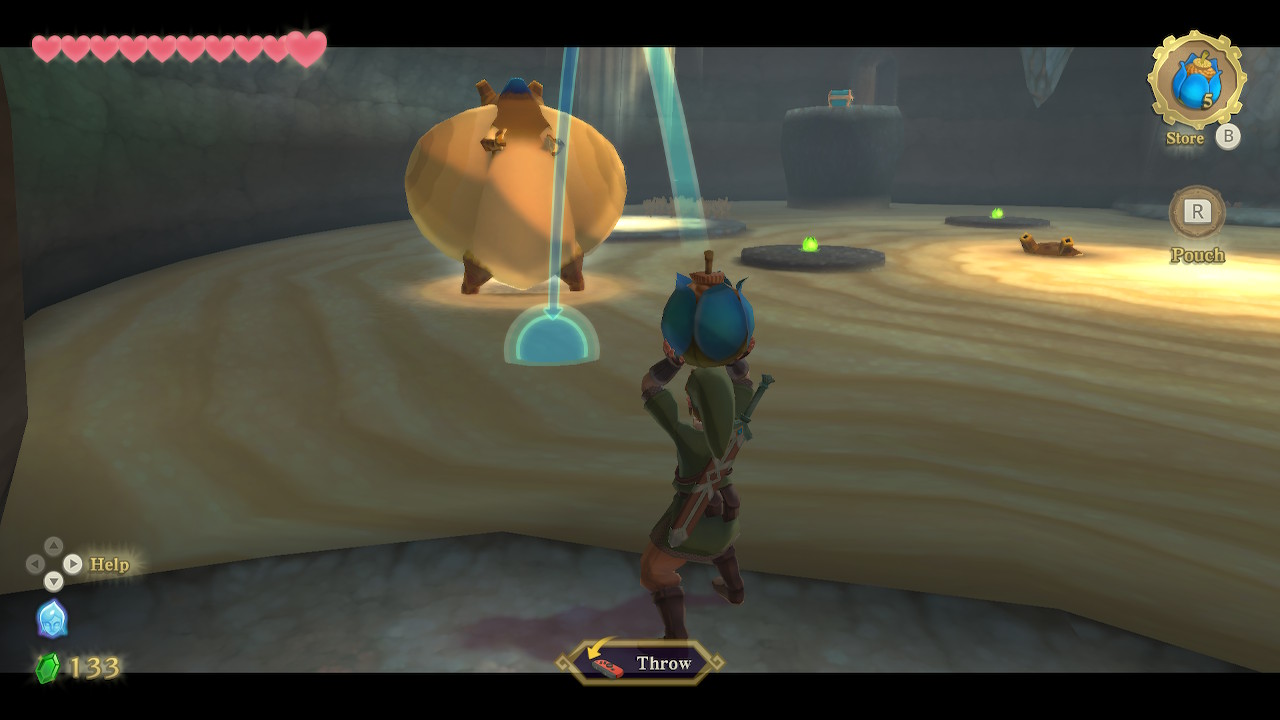
This room looks pretty similar to the last one, but it's a bit longer and the sand is moving to the north. Begin by making your way to the center platform, where you can bomb the boulder to reveal a Timeshift Stone. Ignore the stone for now. Instead, kill the nearby ampilus and ride its shell to the north end of the room. Climb up the platform here and get to the chest which contains an Eldin Ore.

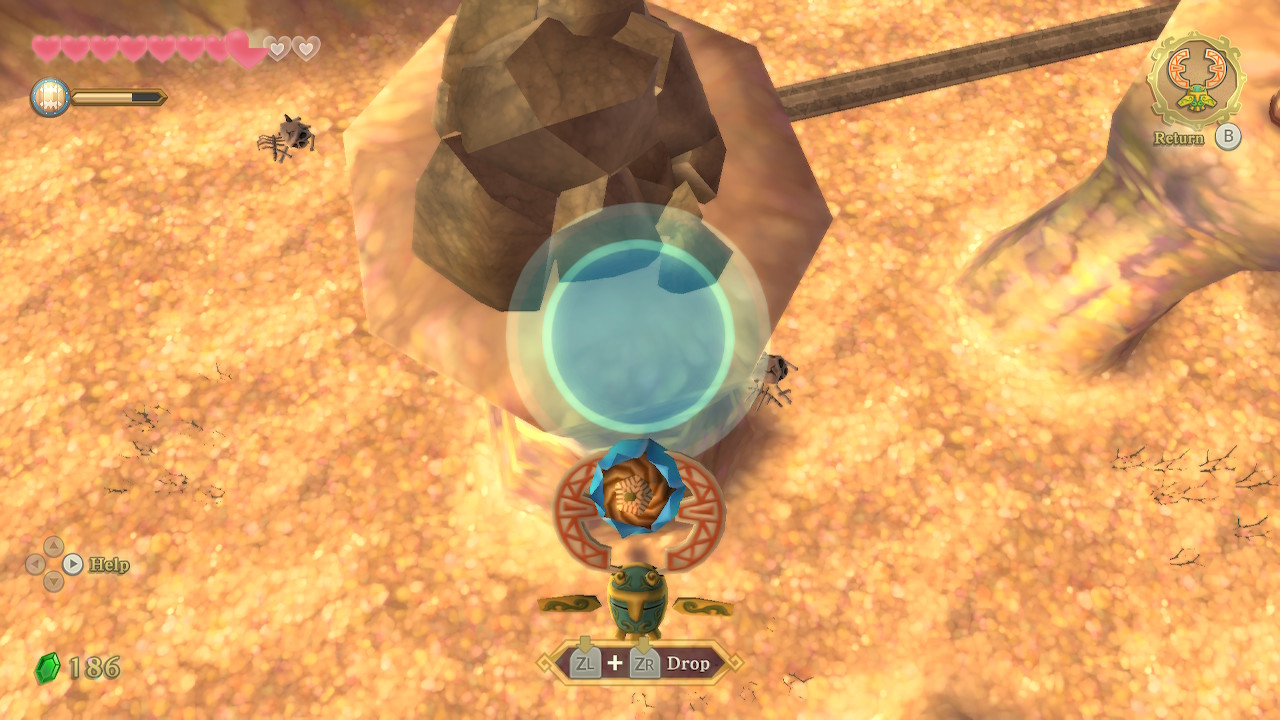
Push the block by the chest off the side to create a small shortcut. Then use your beetle to hit the Timeshift Stone. The goal is to once again get an ampilus egg to the switch on the north, this time you'll need to pick one up with your hook beetle. The beetle might not last the whole trip, so take a break halfway and drop the egg next to yourself, then pick it up again.
Head over to the switch yourself and push the egg into the small hole here once again. Enter the next room and open the chests to get a Monster Horn and 5 rupees. Then thrust into the power node and turn it to activate the red power node. Exit this building when you are finished.
The final power node is quite close to the power generator itself. But first, we will make a quick detour along the right side of the map back towards the northern desert. If you open the map you will see a long dark grey area of safe sand leading to the northeast corner. Follow this path and you'll find a bombable wall.

Enter this cave and follow the narrow path. At the end of this path, you will find a chest containing Heart Piece #7. You'll need to go back the same way you came to avoid the quicksand in this area. Now make your way all the way back to the power generator.
Blue Power Node

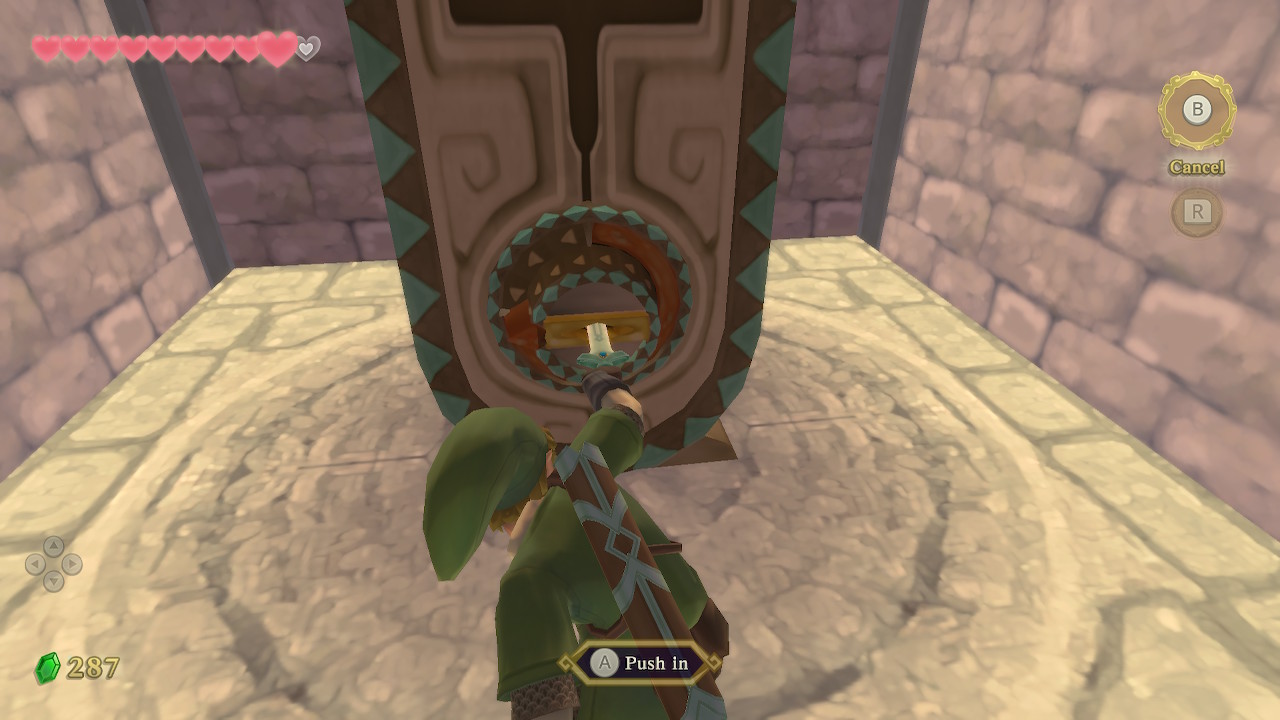
From the power generator, head southwest where you can see multiple stone statues with baskets. Make your way over to them via the safe spots in the quicksand. Throw a bomb at the wall behind the downed stone to reveal a Timeshift Stone. Active it and then toss a bomb in the middle basket. Inside is the blue power node which you can thrust into and turn to activate. Then head back to the power generator.
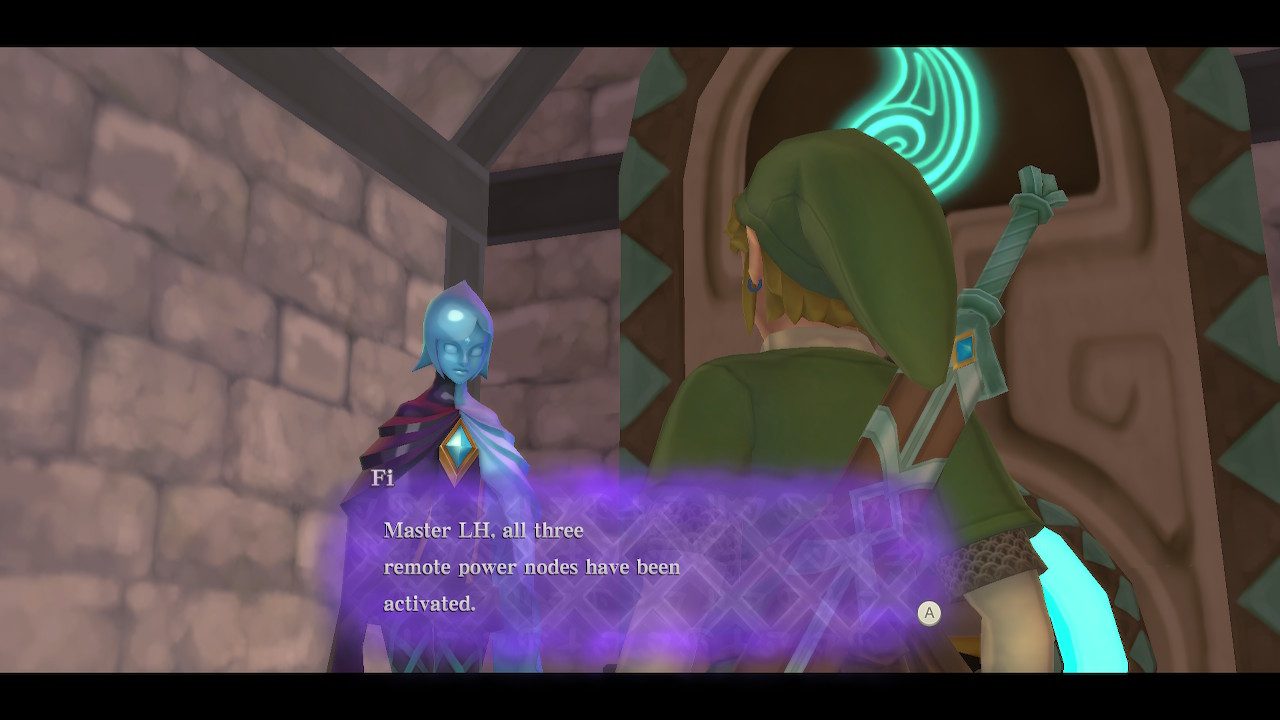
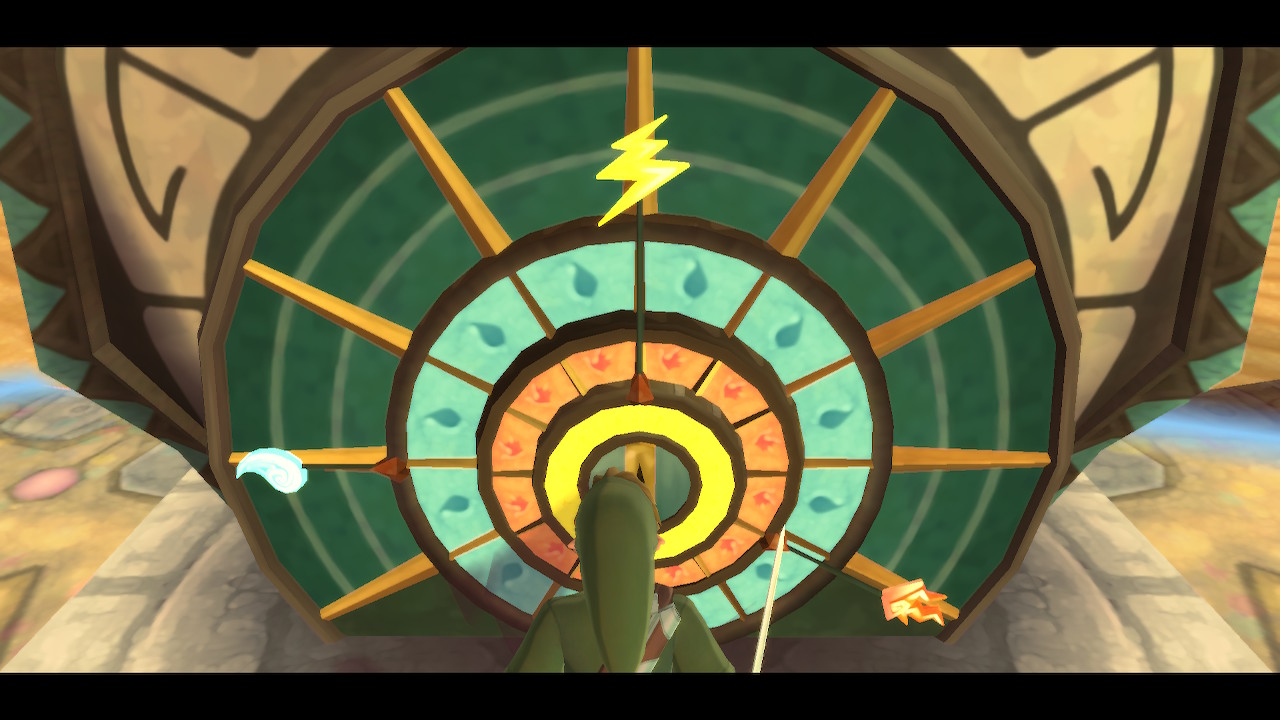
Once back at the generator, activate the Timeshift Stone once again. Thrust into the power generator, where you'll want to place each colored symbol in the correct spot, which is shown on your map. First place blue directly west, then place red in the southeast, then place yellow directly north. This will activate the power generator and reveal the next dungeon, the Lanayru Mining Facility in the center of the desert.
You can start the dungeon right away if you'd like, but this guide is going to head back to the sky once more to pick up some collectibles that will net us an extra heart before this dungeon.
Skyloft Goodies

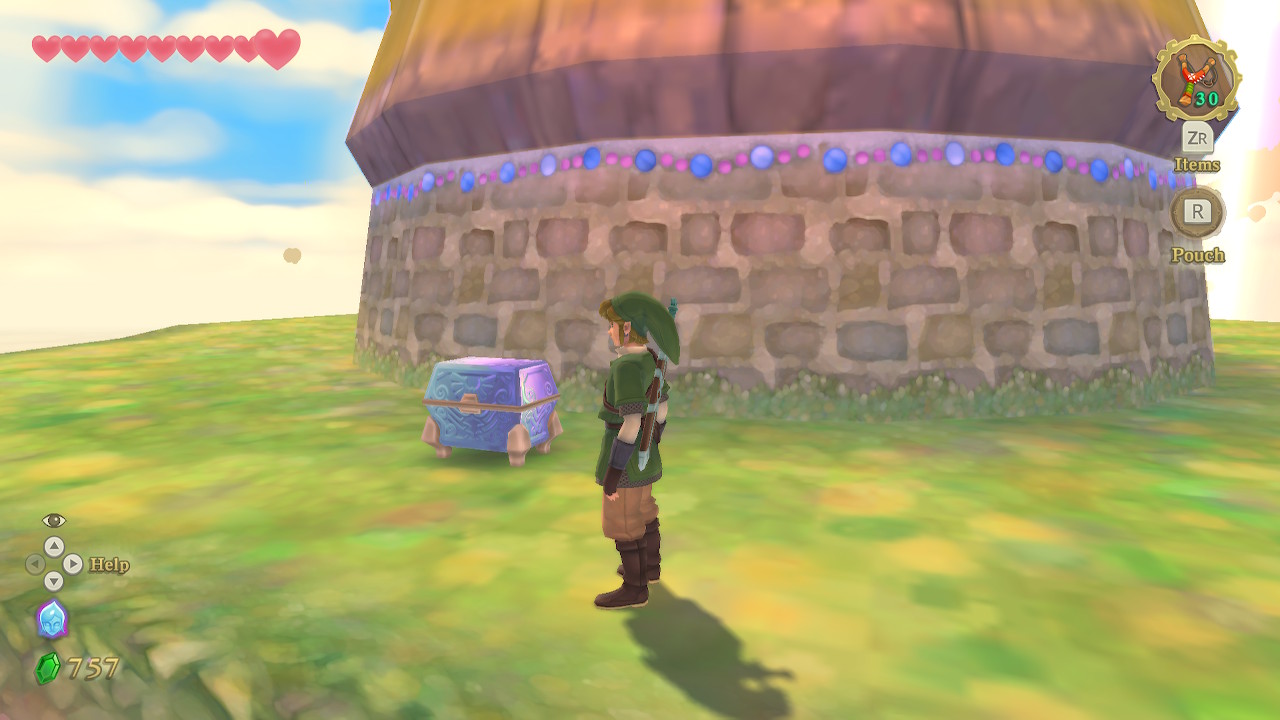
Use the nearby bird statue to take to the skies once again. We'll start off by opening some of the Goddess Chests activated by the Goddess Cubes we found in Lanayru. The first can be found near the Lanayru Desert barrier, just to your east. Inside the chest, on this small island, you'll find a Heart Medal, which will help you find more recovery hearts.
The next two chests are in the northeast corner of the map. Fly all the way over there, the first chest is on the more eastern island, where we already got a Goddess Chest before. This time, blow up the boulders here and open the chest for 100 rupees.

Fly a little west to the island, which is at a much higher elevation. Land on the higher platform on this small island and open the Goddess Chest to get Heart Piece #8. This should be your eighth piece of heart, meaning you'll get another extra heart container. With the Goddess Chests opened, make your way back to Skyloft.

Now that you have the very sturdy tumbleweed (don't ask how) you should have the ingredients to upgrade your shield. So head to the Bazaar and speak with Gondo at the Scrap Shop. It'll cost 3 amber relics, 2 monster claws, 2 tumbleweed, 1 ornamental skull, and 50 rupees to upgrade to the Braced Shield. If you are missing any of these, don't worry about it, upgrading right now is not a necessity.
You can also use the Item Check while you are here to trade out any medals that you want. If you missed purchasing anything from Beedle's Air Shop before, like an extra adventure pouch, now is a good time to pick it up. Otherwise, it's time to tackle the next dungeon, so take to the skies and head back to Lanayru Desert when you are ready.
Back to Earth Temple Continue to Lanayru Mining Facility
