
Part 12: Sandship
How to Complete the Sandship Dungeon
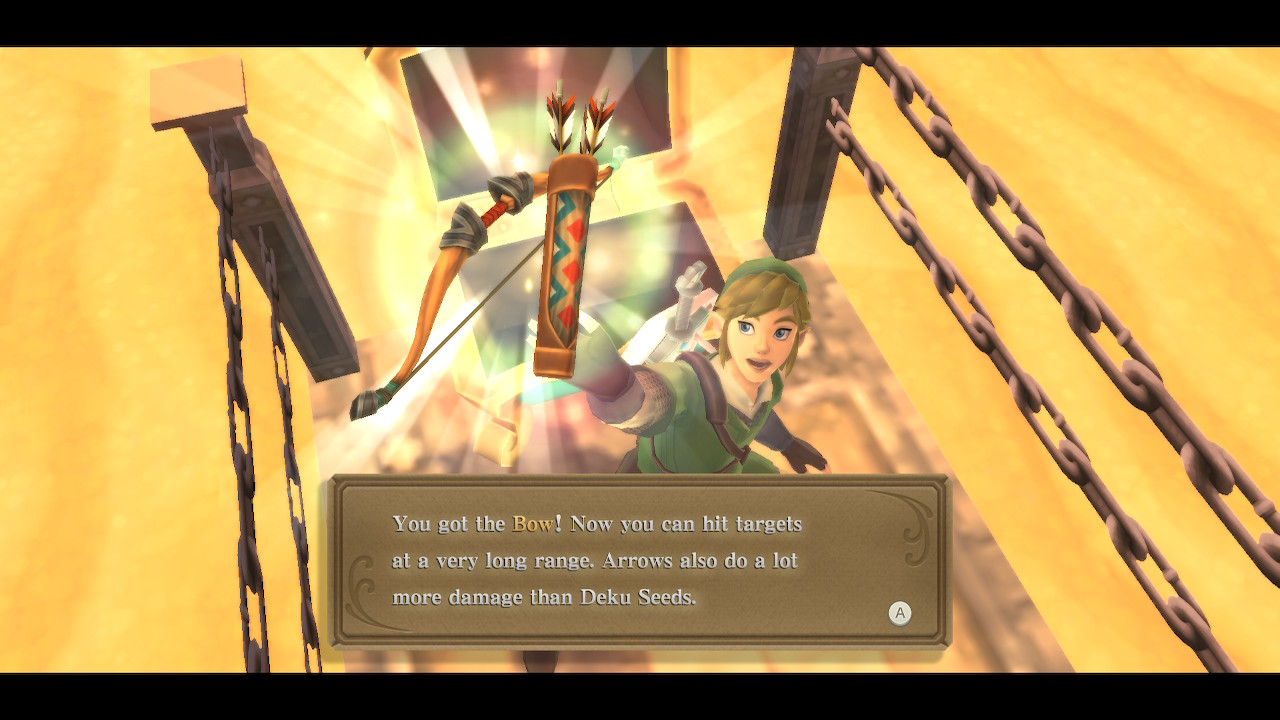
Dungeon Item: Bow

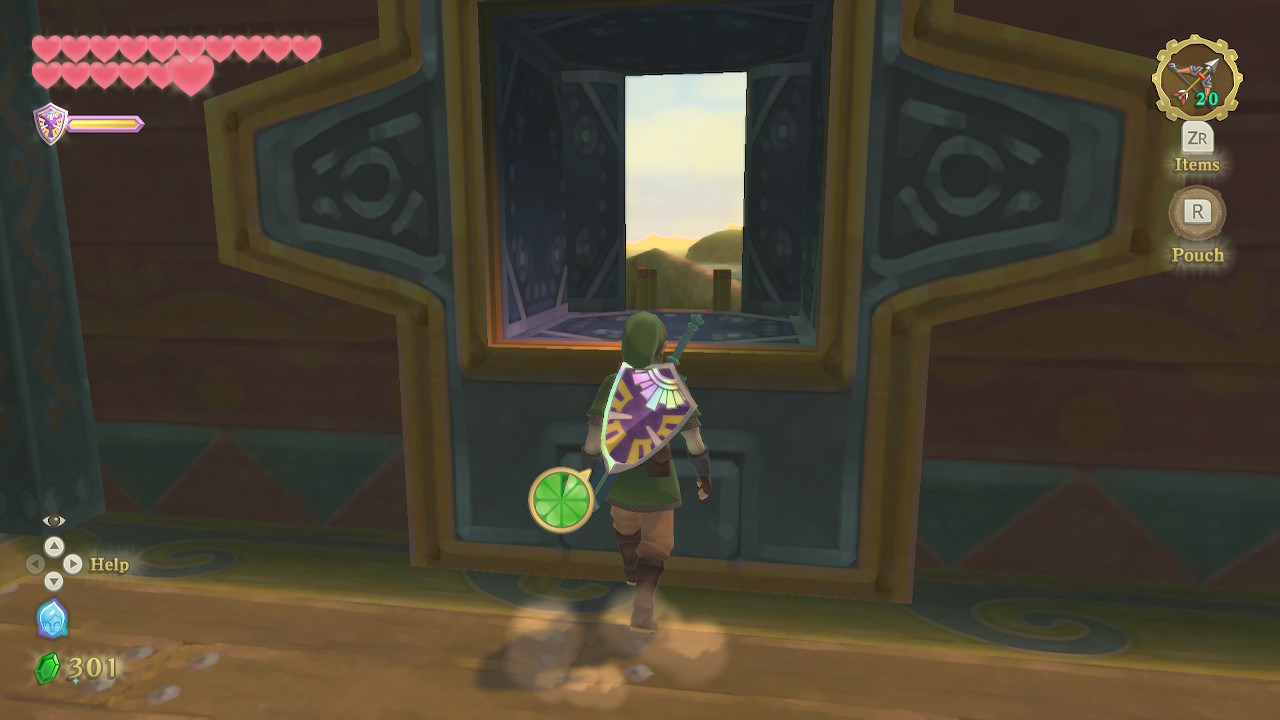
Welcome to the Sandship, the fifth dungeon of Skyward Sword and the second Sacred Flame trial. Start off by heading through the only door on the deck here. There is a bird statue here you can use. Head down the stairs and you'll see some butterflies. Play your harp here and a symbol will appear on the wall where you can draw various things to spawn some goodies.

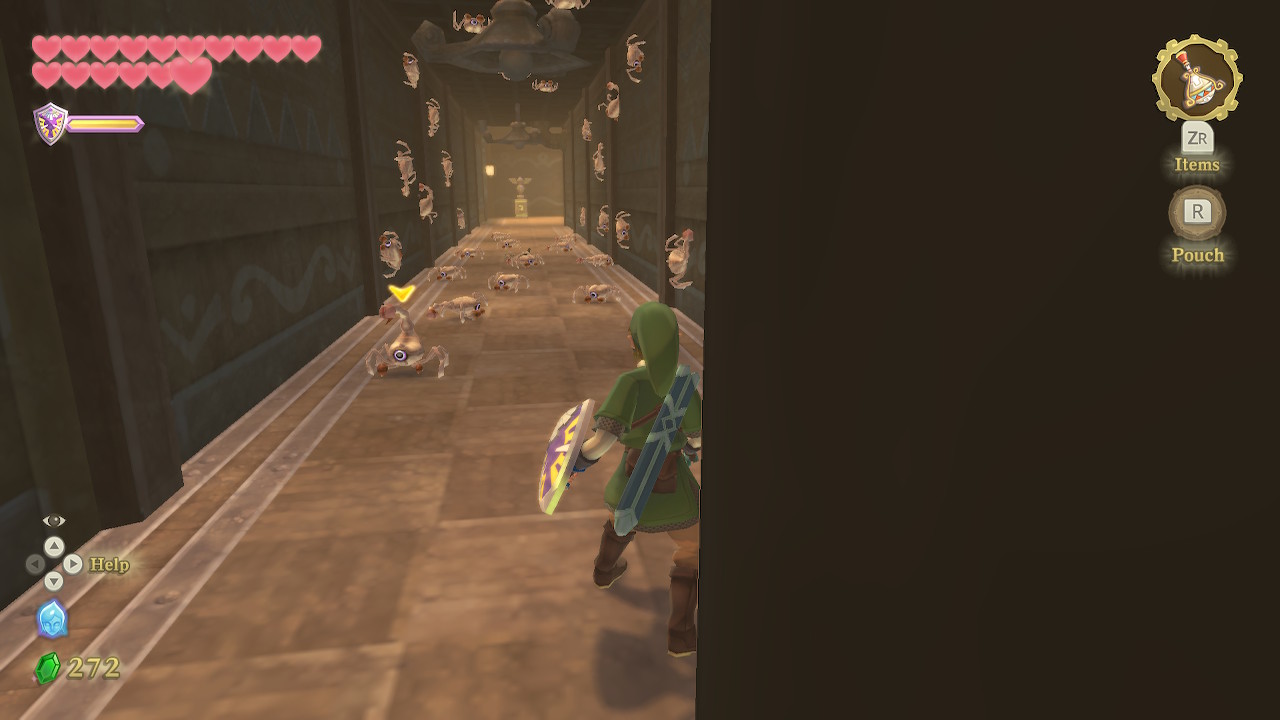
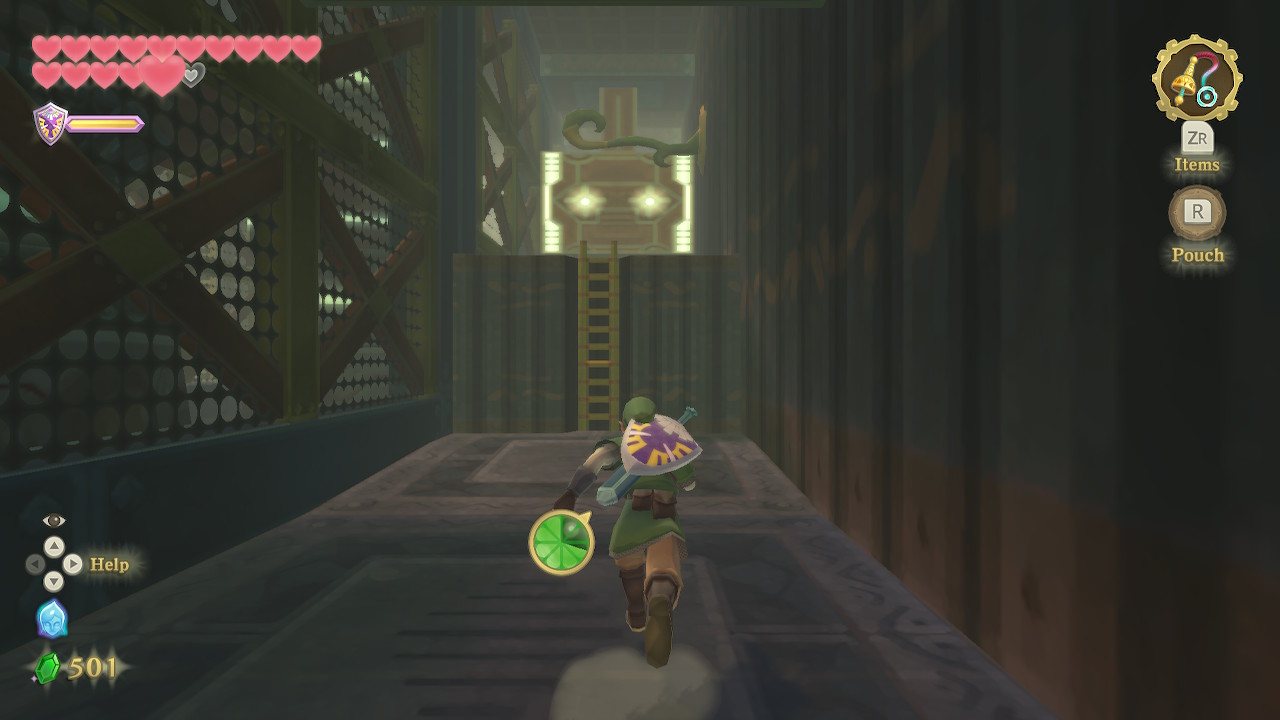
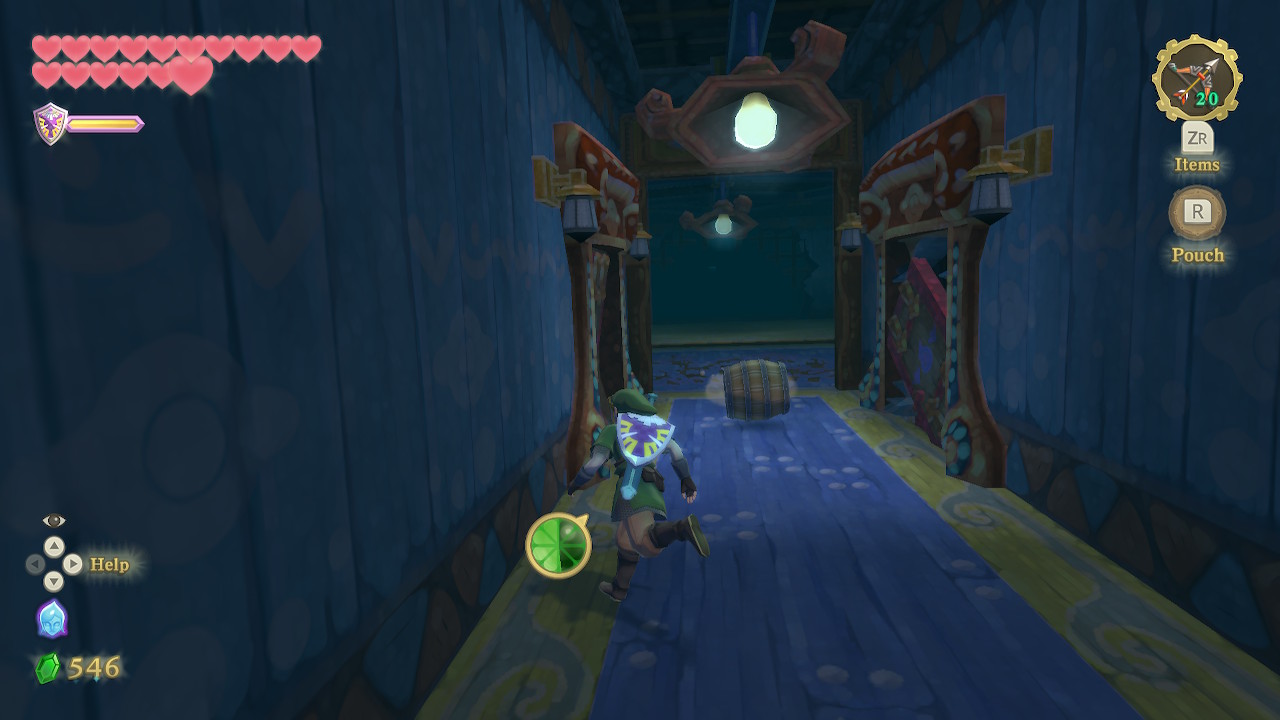
Head into the hallway to the right and go through the only door here. Use a bomb to defeat the Electro Spume here and then run across the quicksand. Head all the way down the hallway and take the staircase down. This next hallway is absolutely filled with Aracha, but they are easy to take care of. Save and heal here if you want, otherwise head through the door at the end of this hallway.
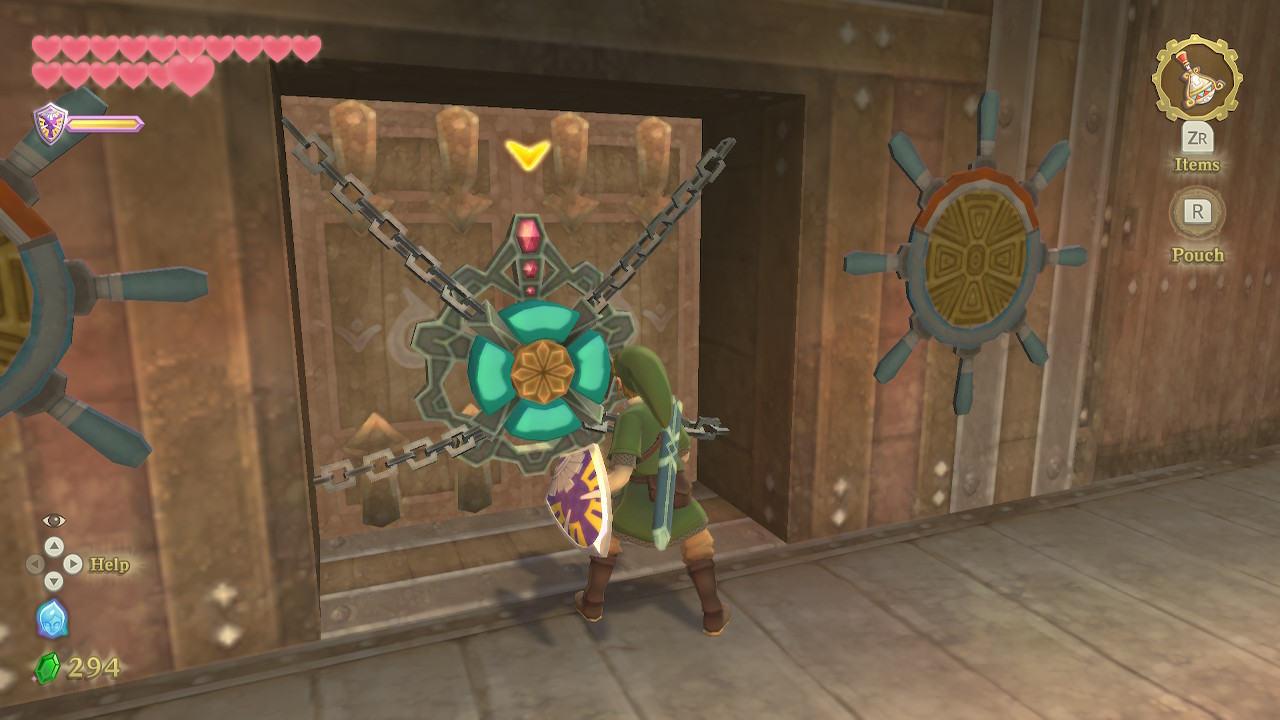
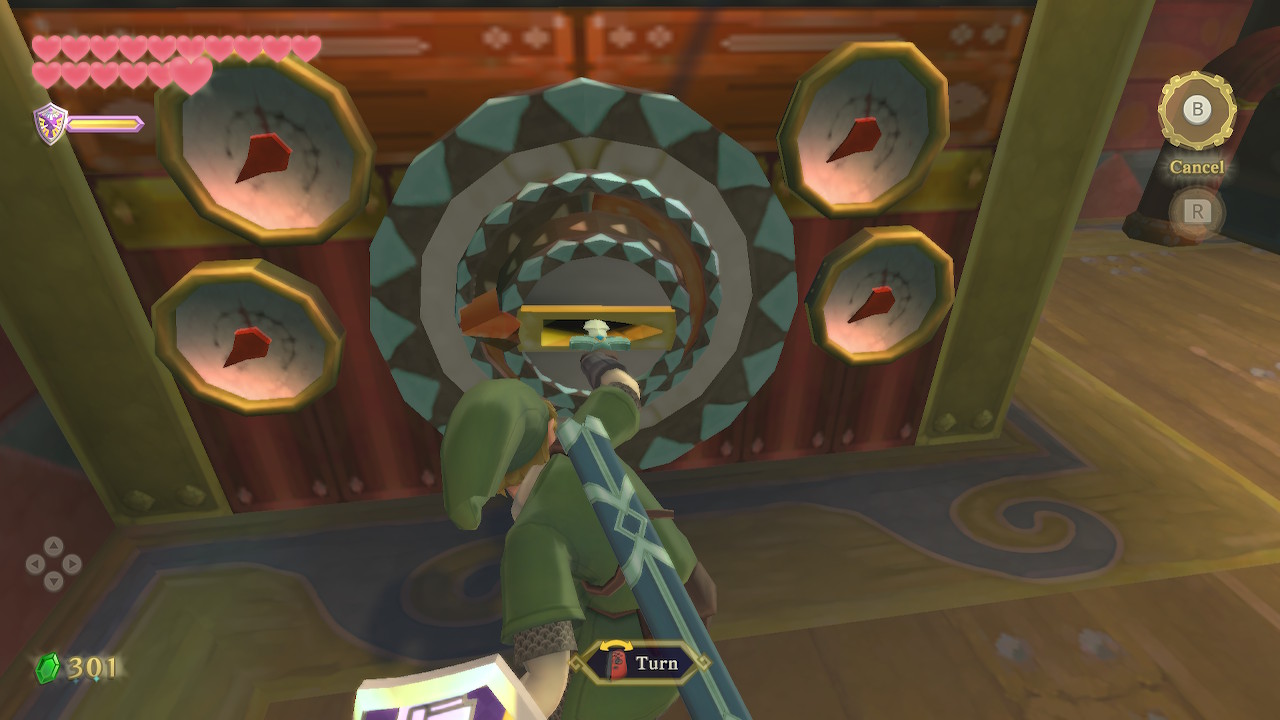
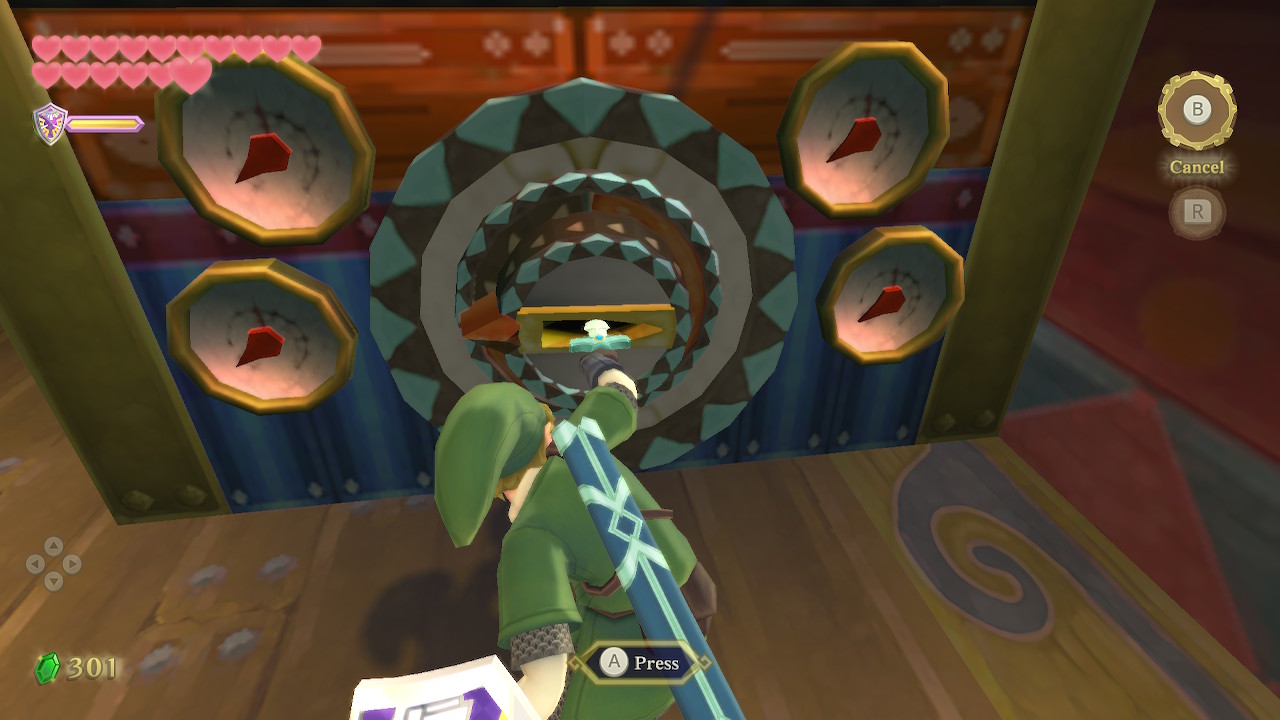
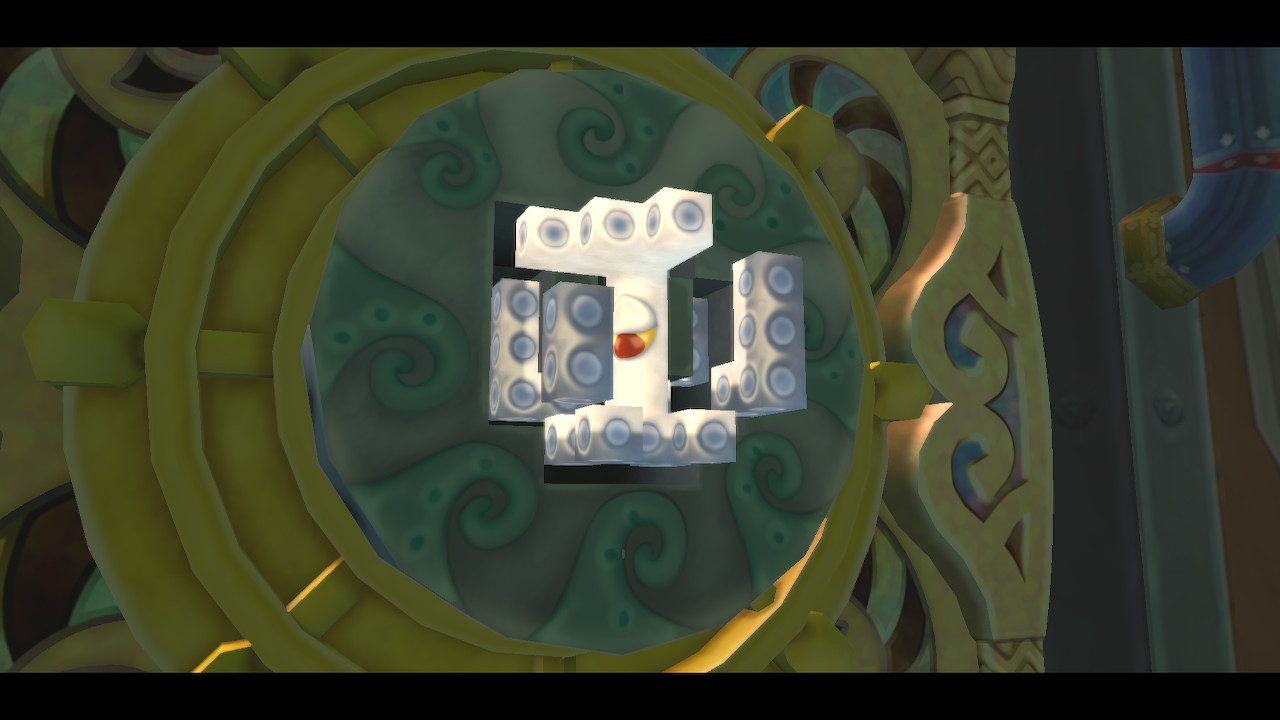
Use your gust bellows to clear out the sand in this next room. This will reveal four symbols on the ground, that indicate an order. The number of red spokes indicates the order while the direction of the blue triangle is a direction on the lock. The order is "Bottom, Top, Bottom, Right". Perform that sequence on the nearby door to unlock it.
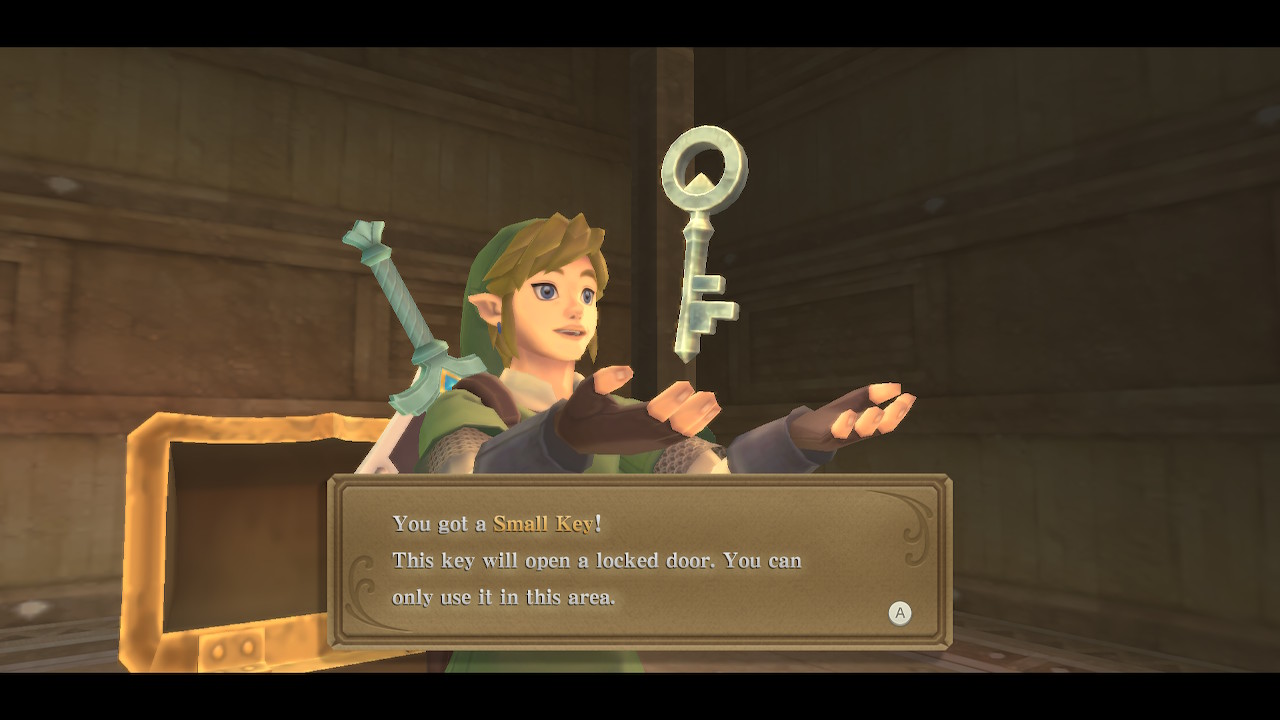

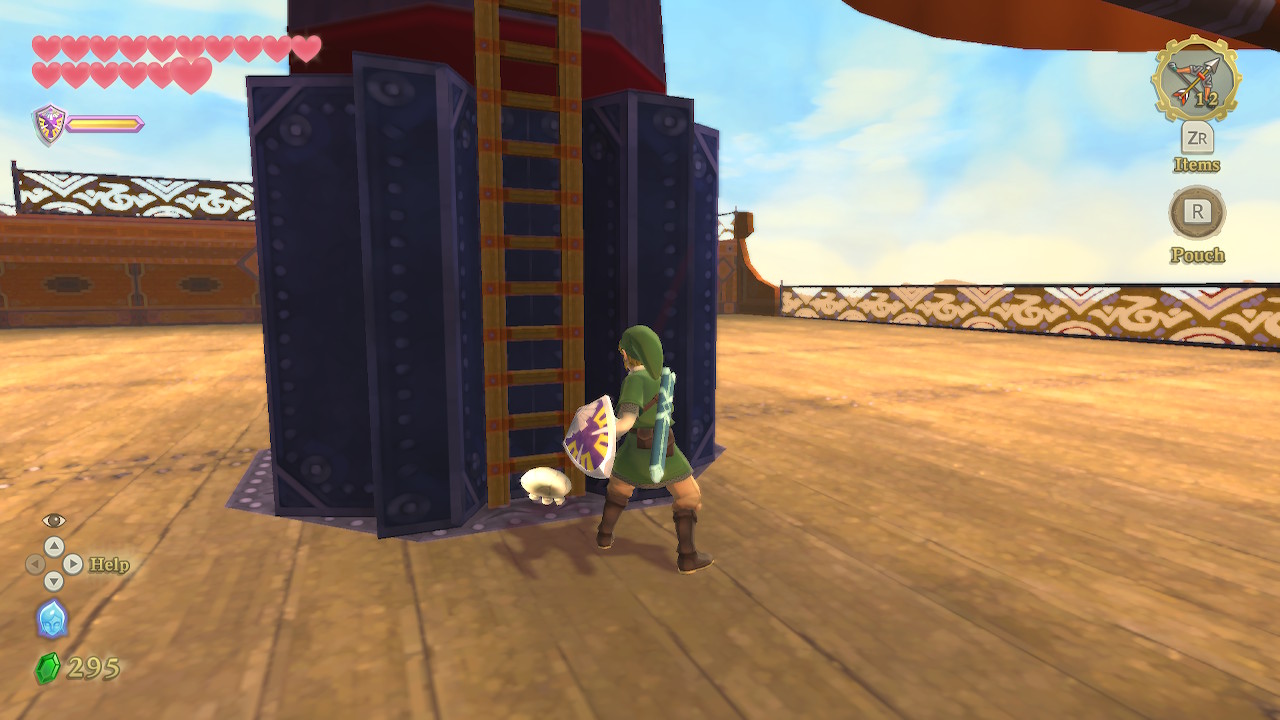
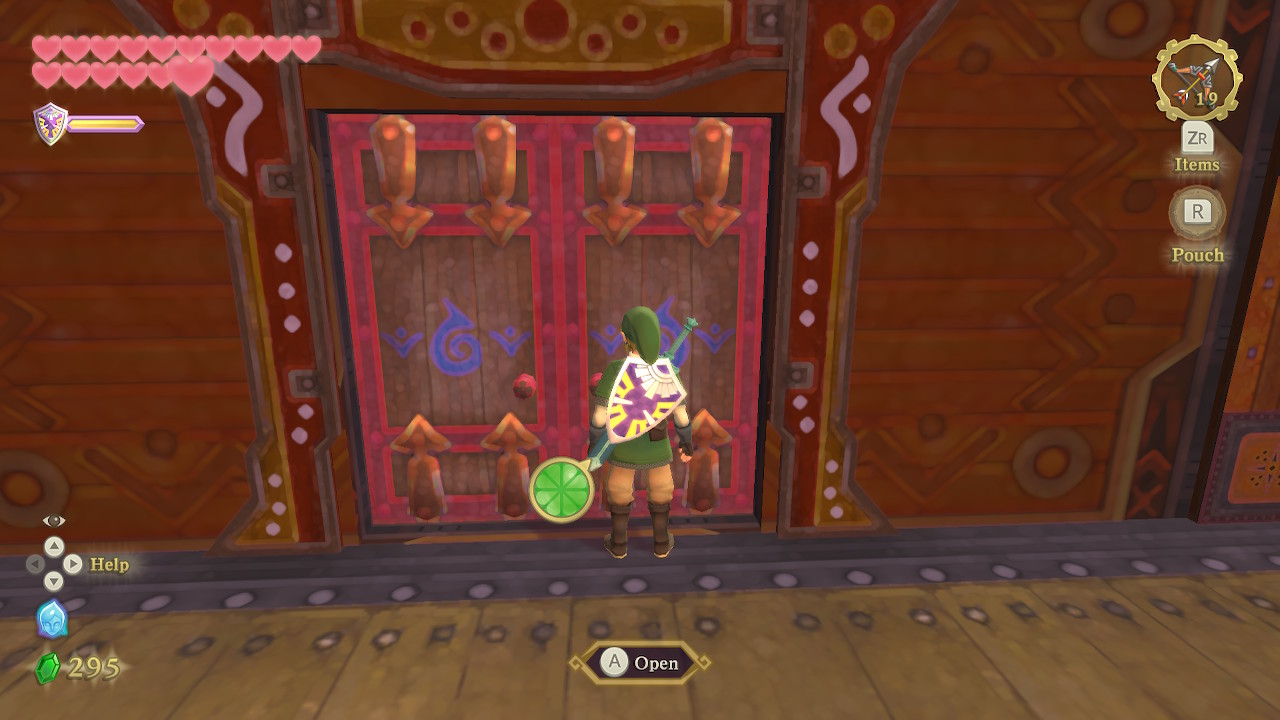
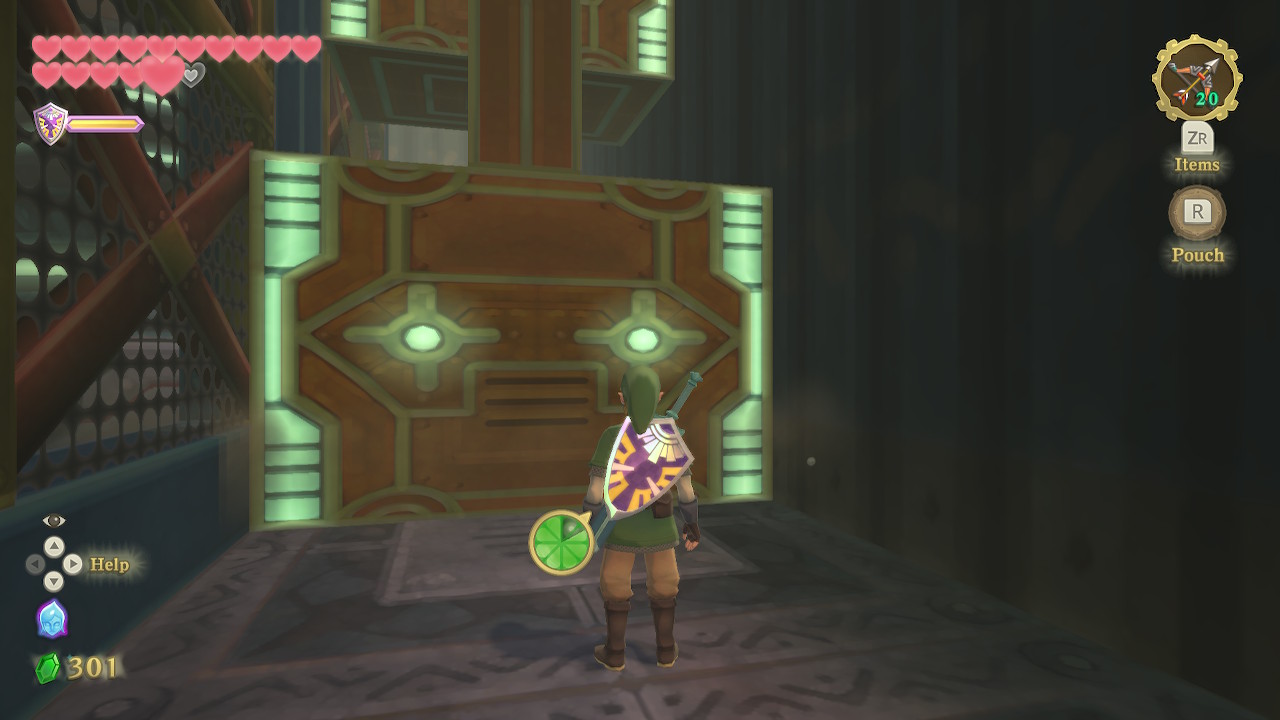
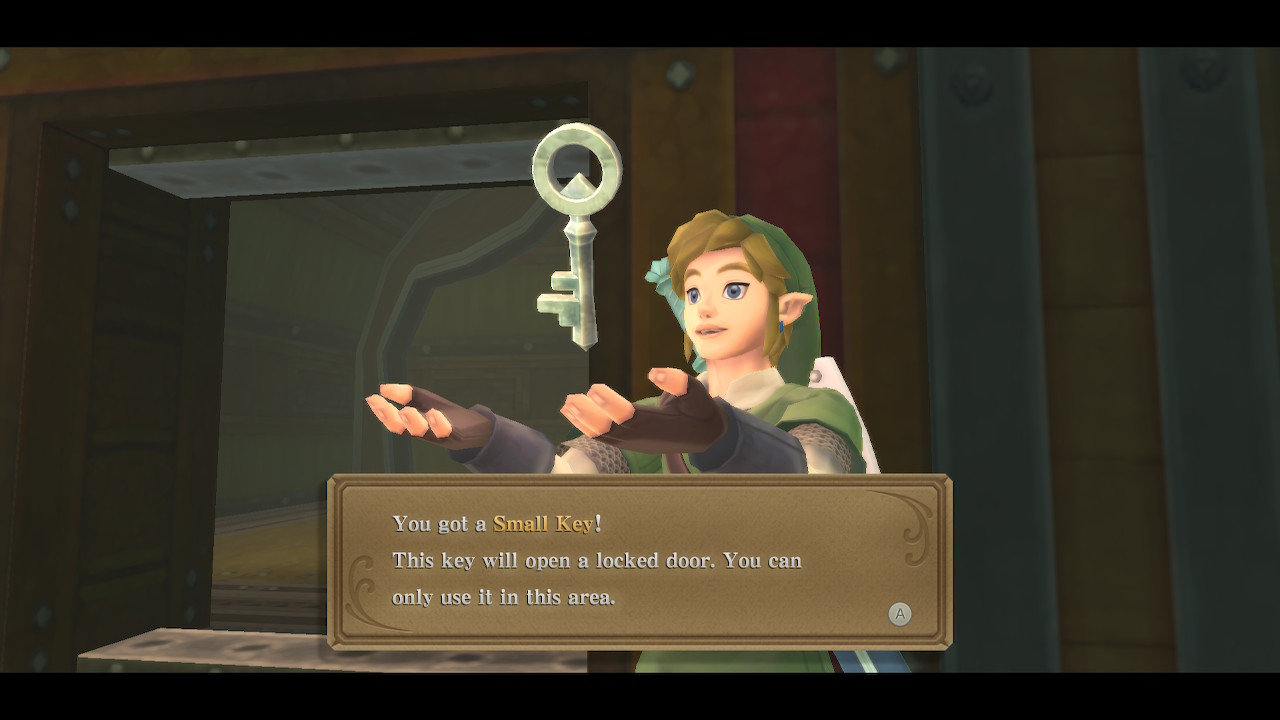
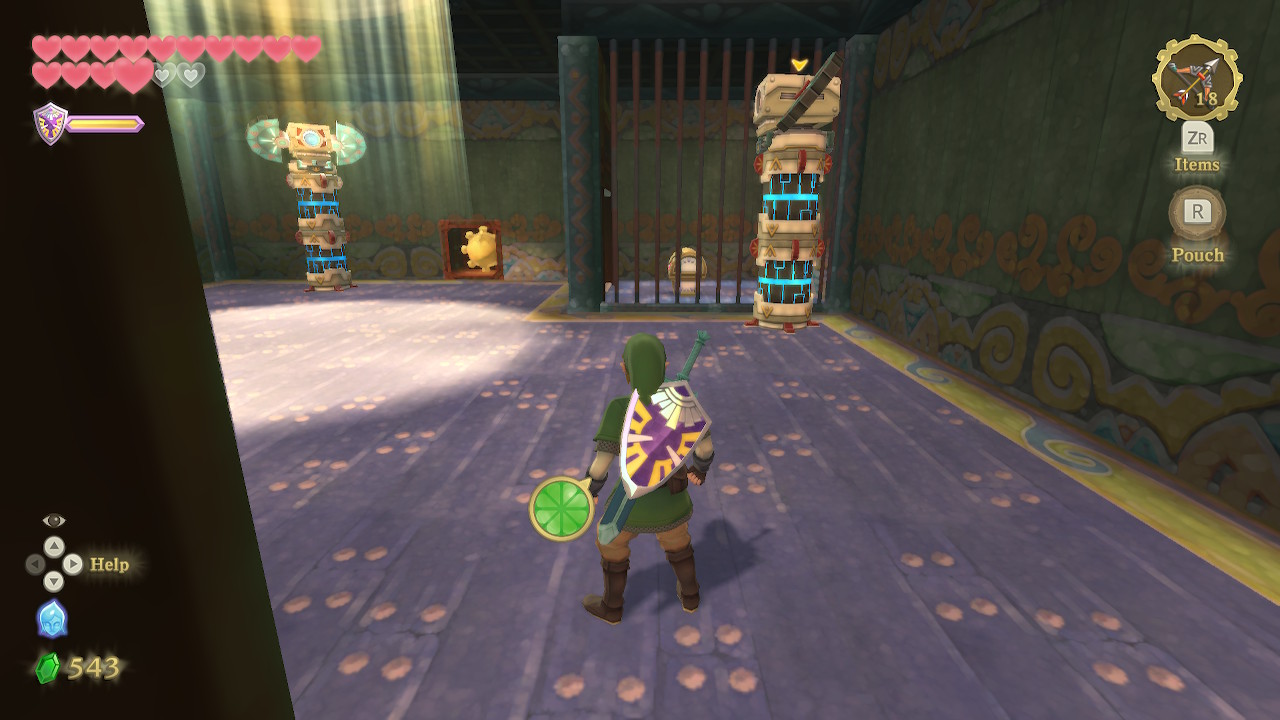
Inside this small room is a chest containing a Small Key. Now it's time to backtrack all the way to the first room of the dungeon where there is a locked door. It's the room adjacent to the deck with a bird statue. Go through the locked door when you get there.
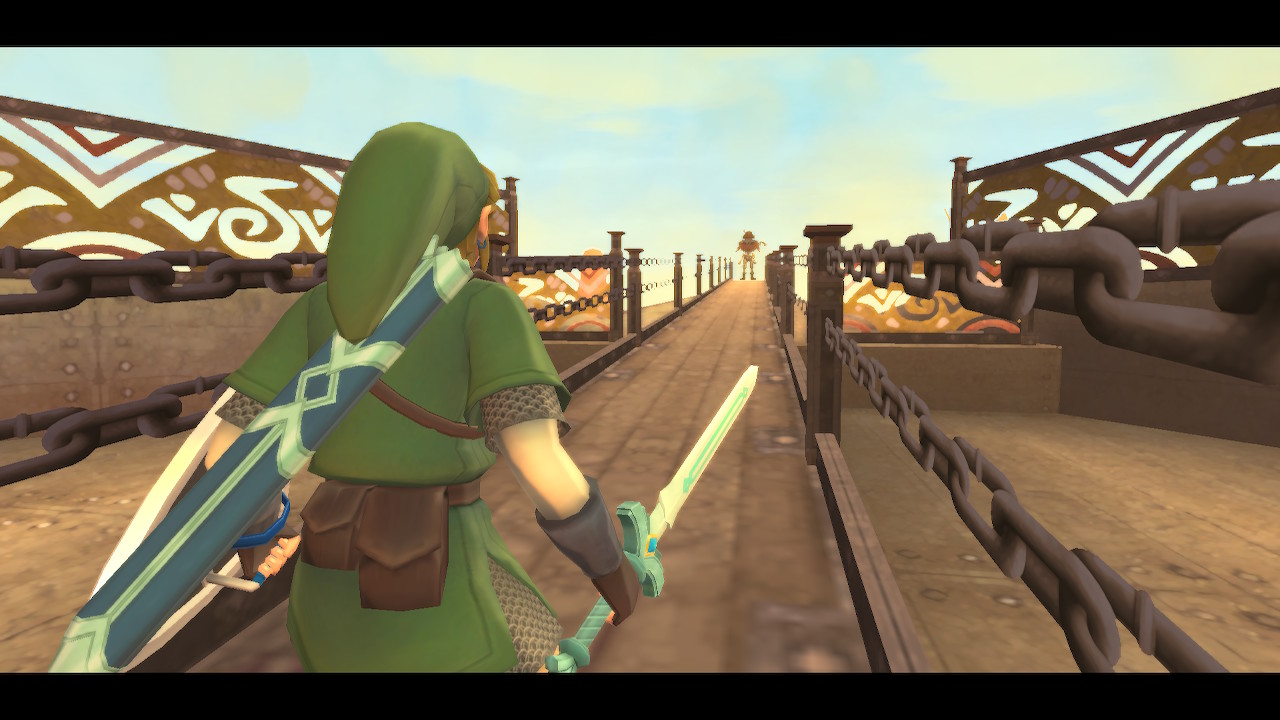
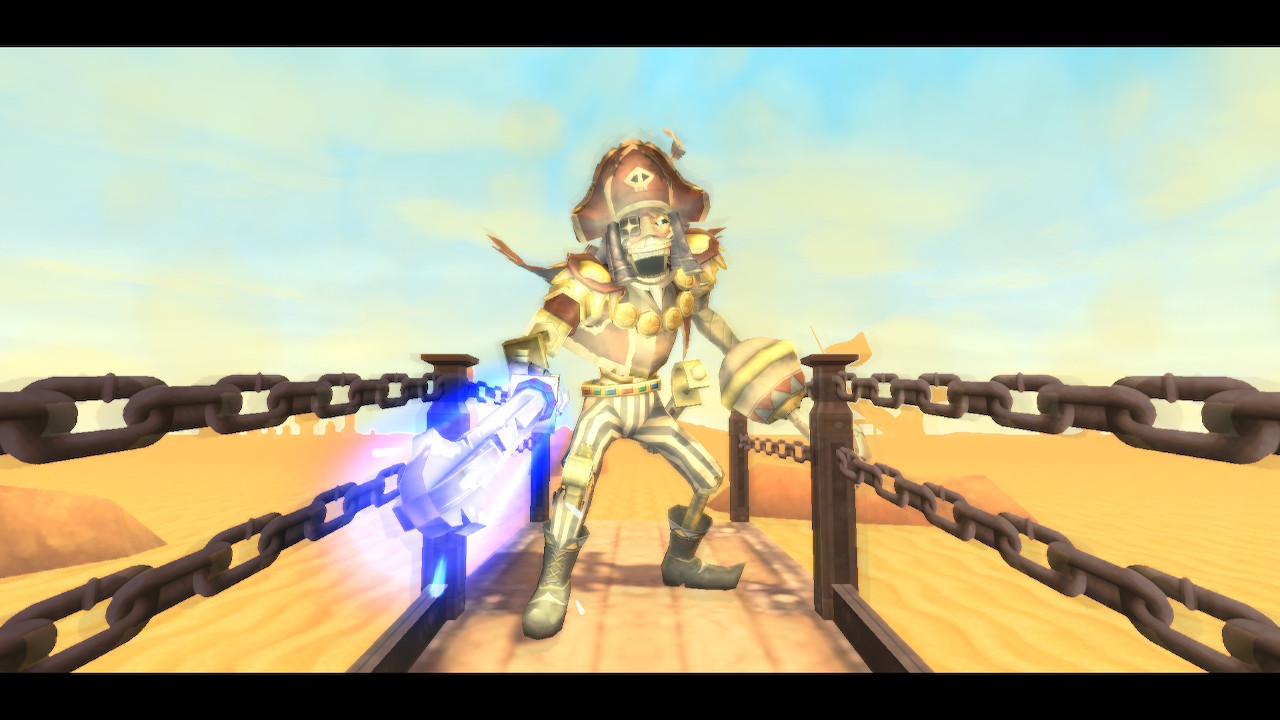
You'll quickly be charged by the mini-boss of this dungeon, Scervo. This is quite an involved battle where you are both fighting to push each other backward on this narrow platform. Scervo has both a sword and hook he can attack and defend with, so aim your sword slashes where they can't defend. Each slash will push him further back, eventually pushing him over the edge.
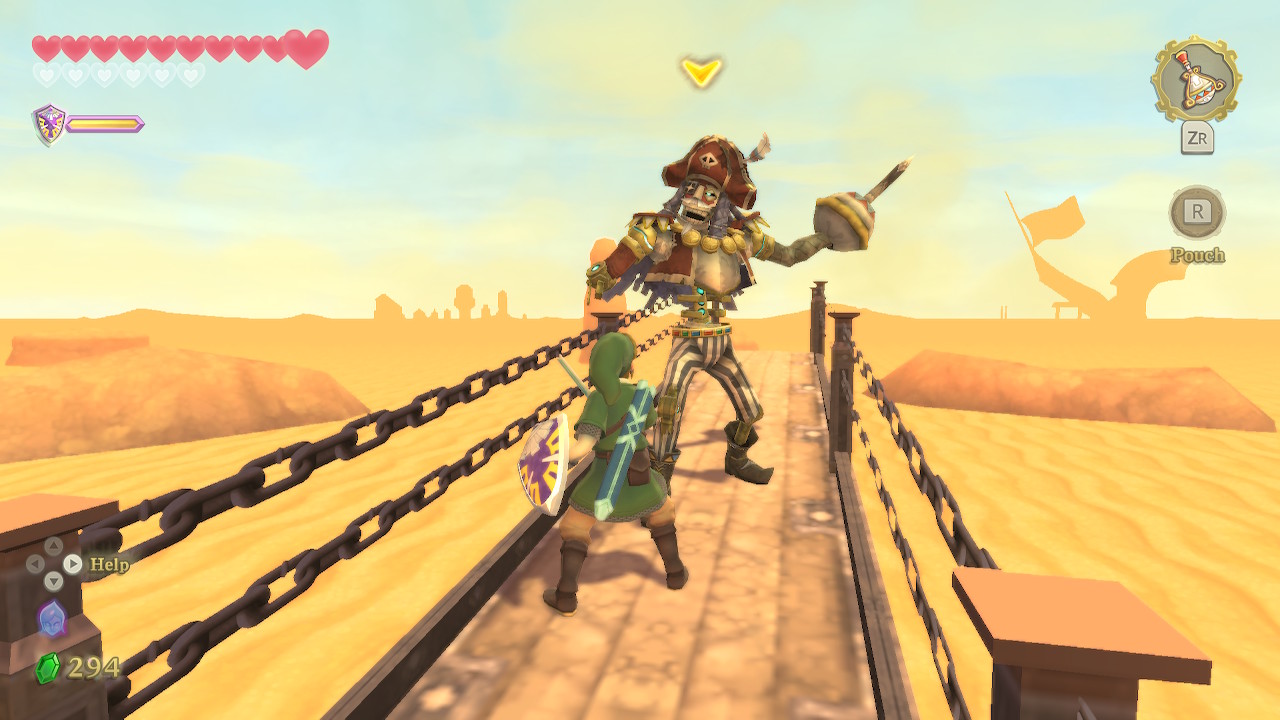
If he blocks your attack, he will attack you shortly after, so backflip to safety without giving him too much space. During the second phase, he will sometimes attack twice in a row. You'll have to push him off the edge three times to defeat him. Each time he is pushed off, he will move the spiked fence behind you a little closer, narrowing the battlefield.
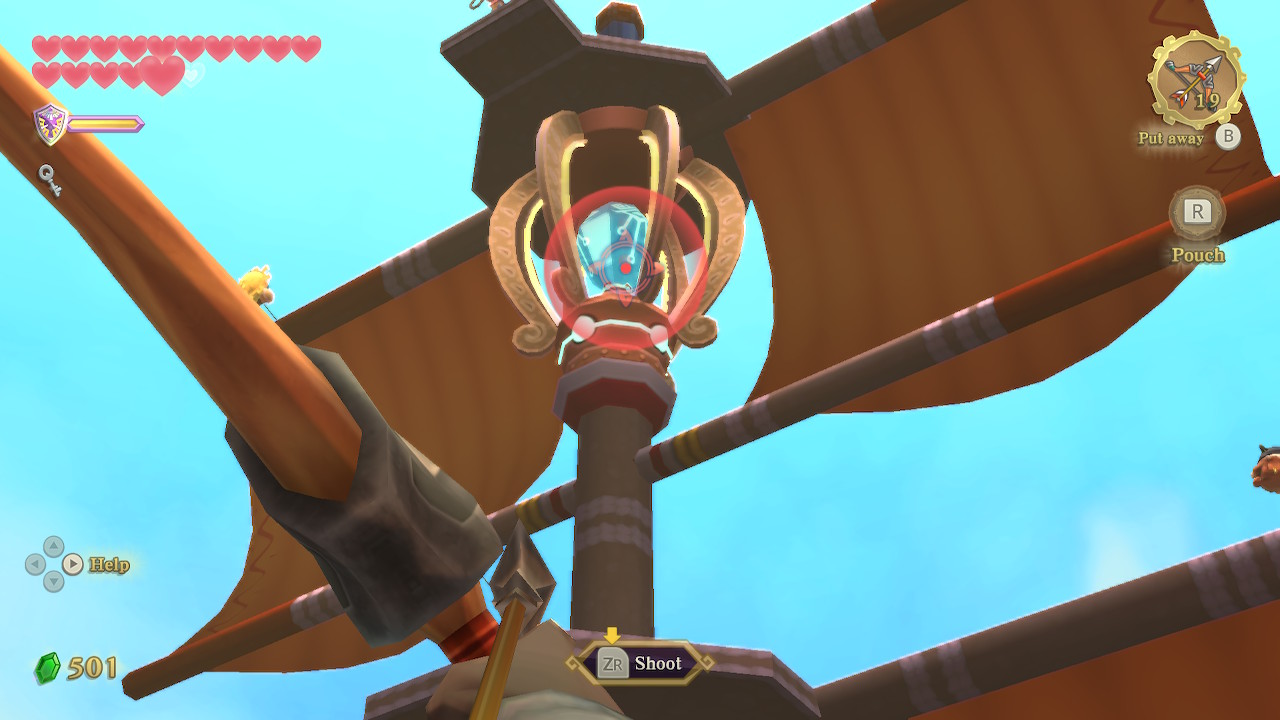
Once Scervo has been defeated, a chest will appear. It contains the dungeon item, and a Zelda staple, the Bow. It also comes with 20 arrows. Exit this room and use the stool here to heal. Then head out onto the deck.
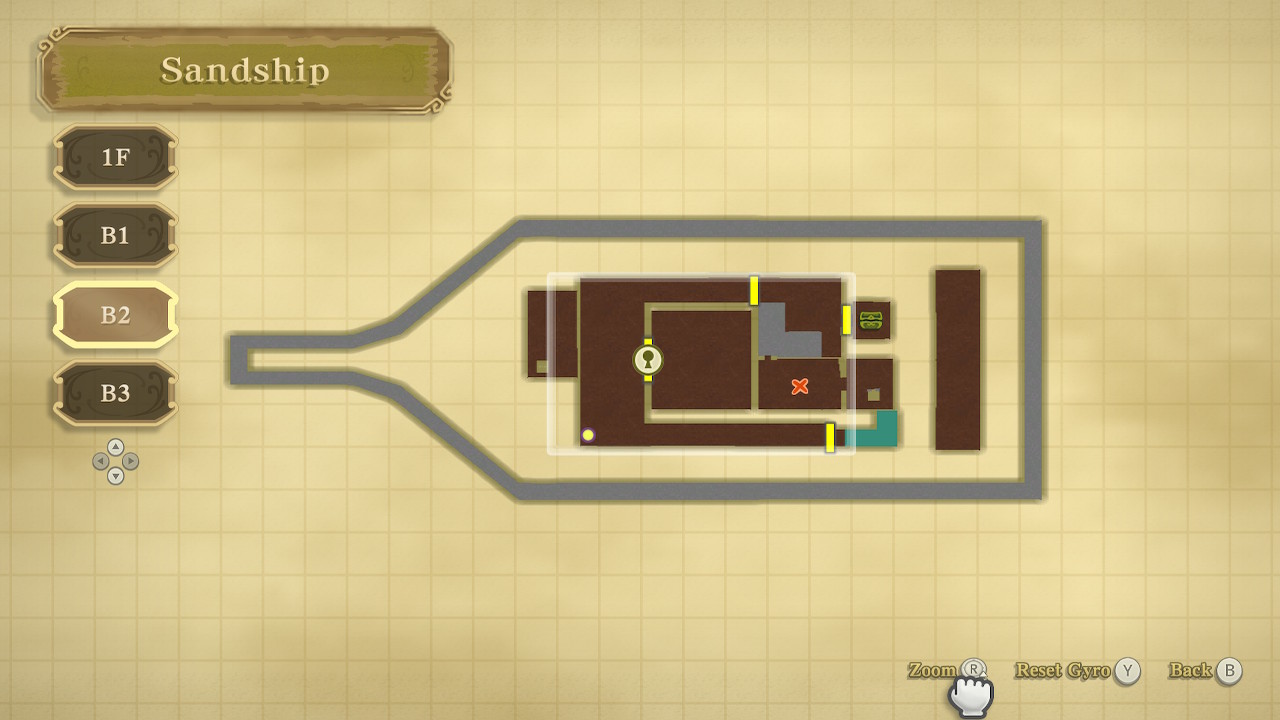
Dungeon Map
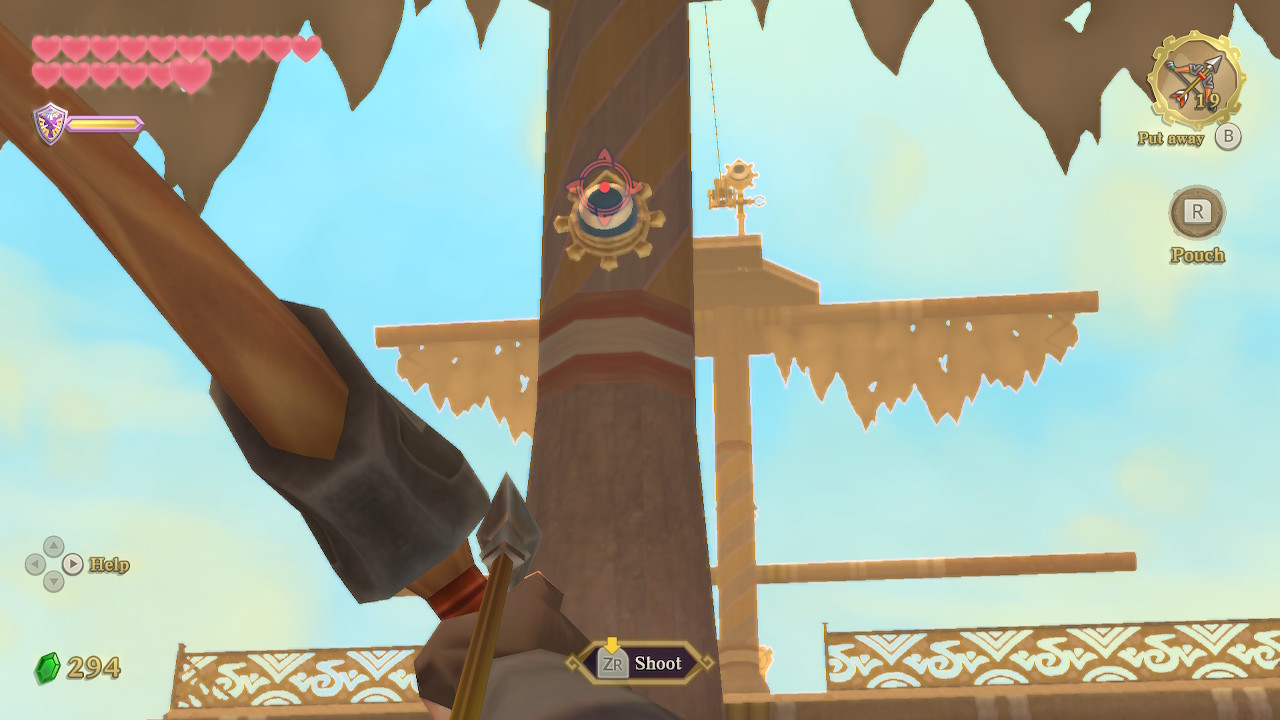
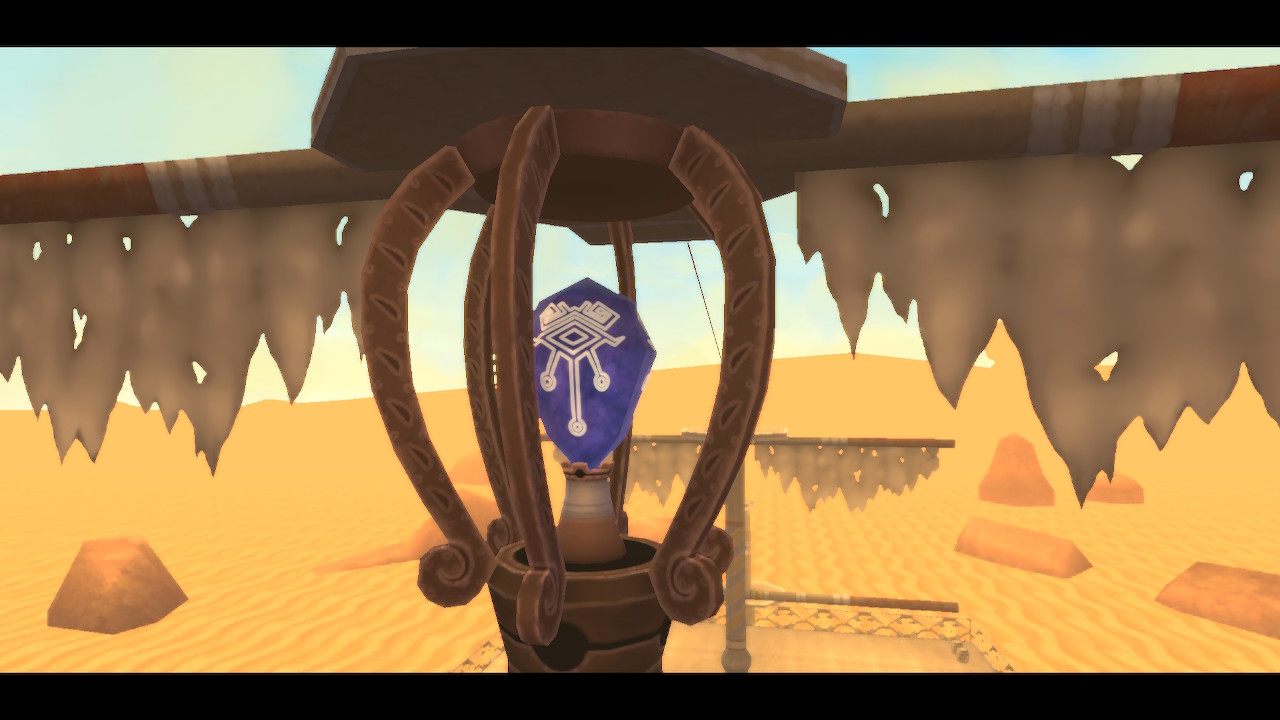
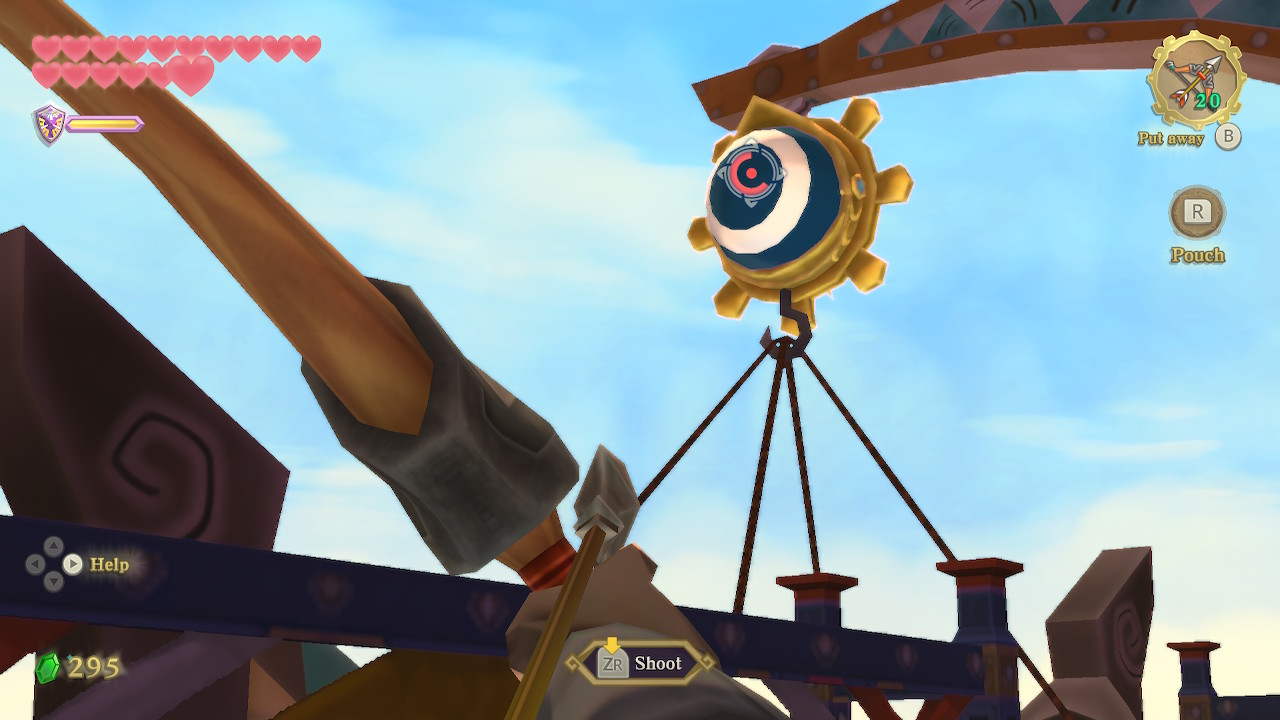
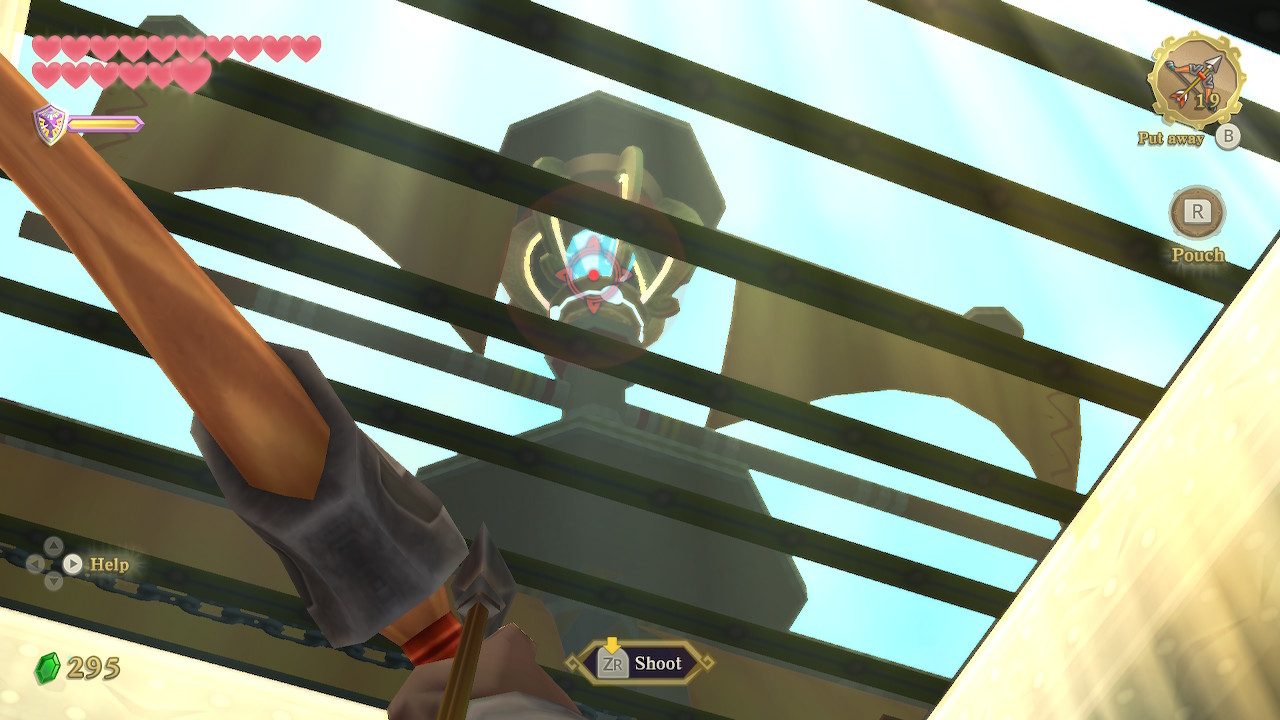
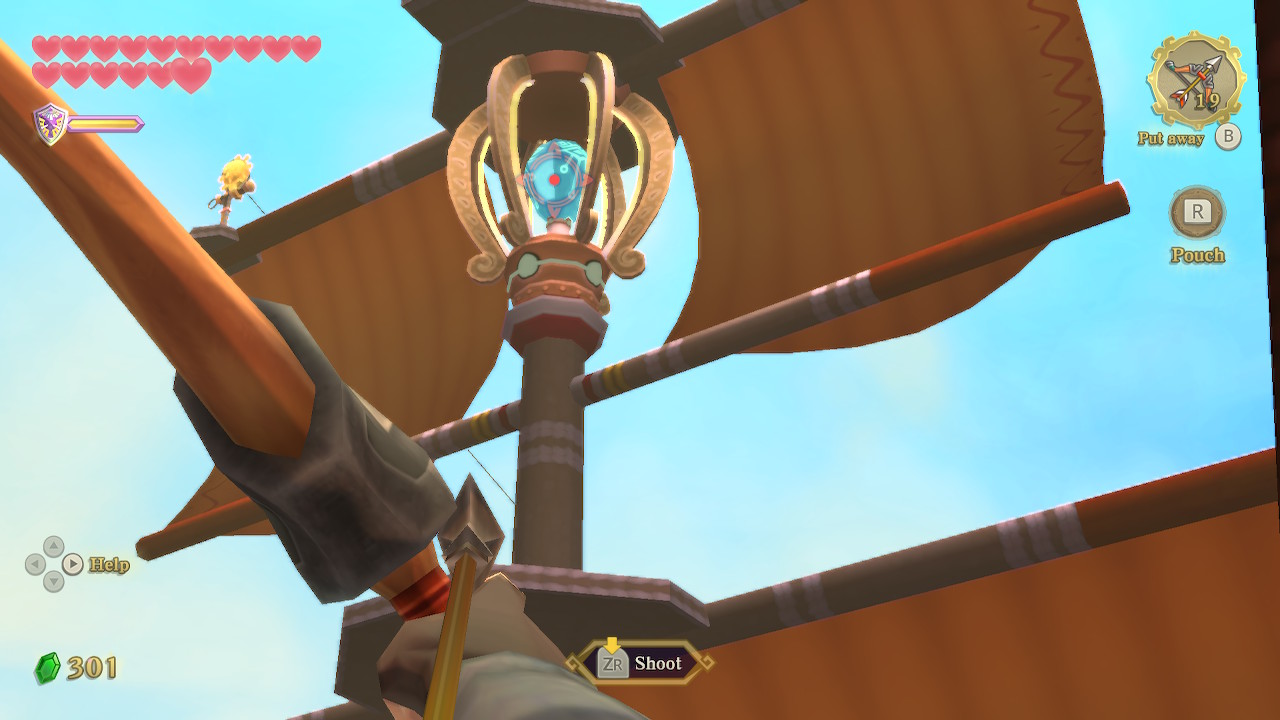
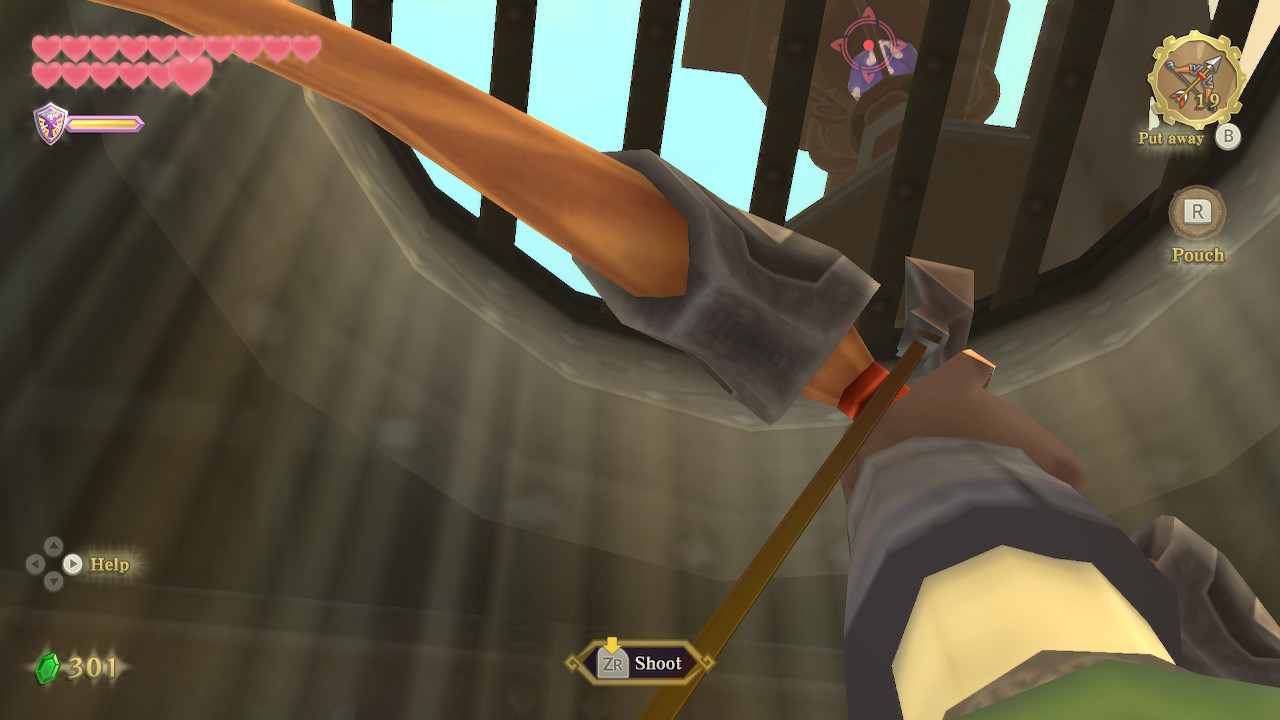
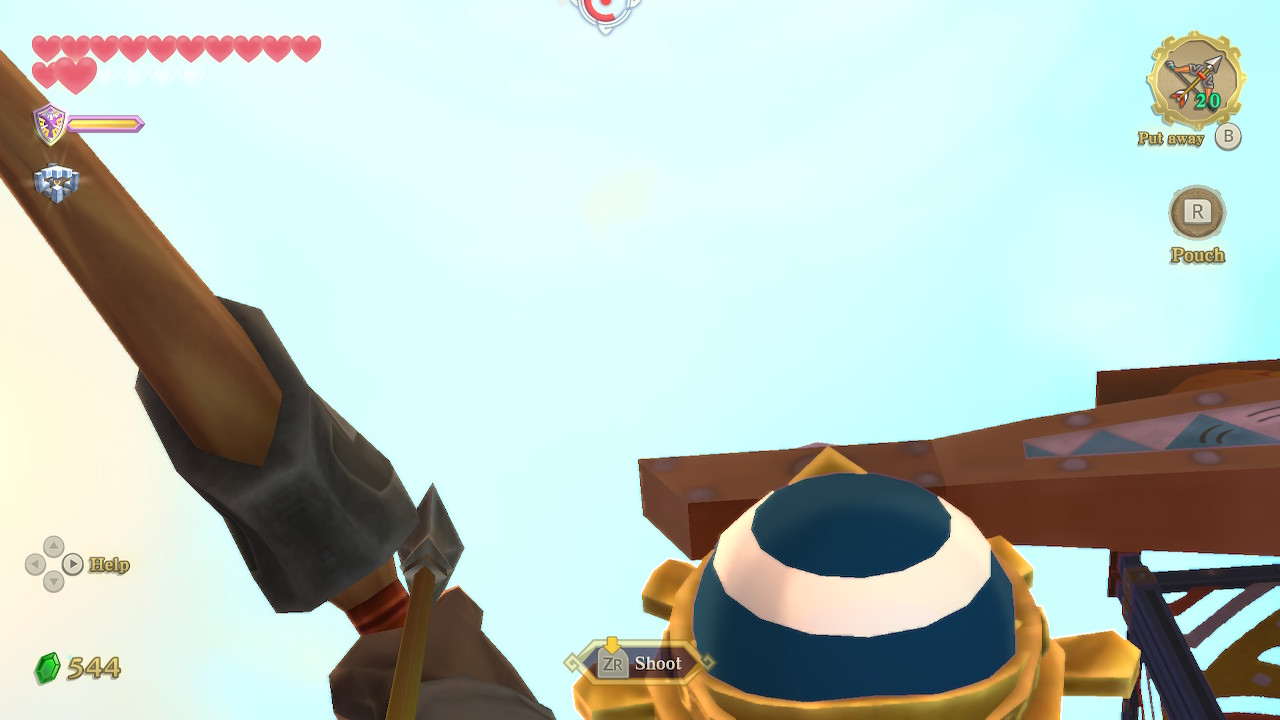
On the deck, use your new bow to shoot the eye switch above that Fi points out. This will cause a Timeshift Stone to appear further up near what's left of the sails. Go ahead and shoot it, revitalizing the entire ship.
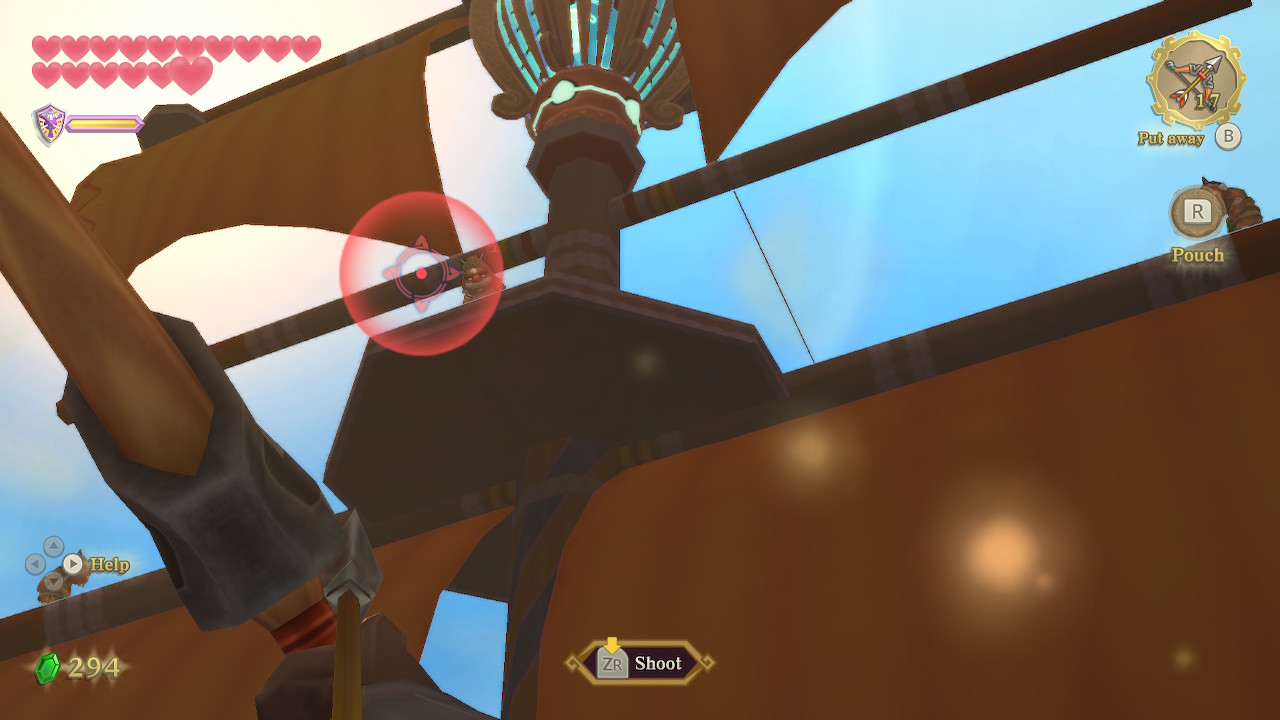
Many Bokoblins will spawn on the deck, if you defeat them all now they will give you less trouble. Use your bow to take care of the archers up above. Go around to the back of the large mast here and climb the tall ladder.
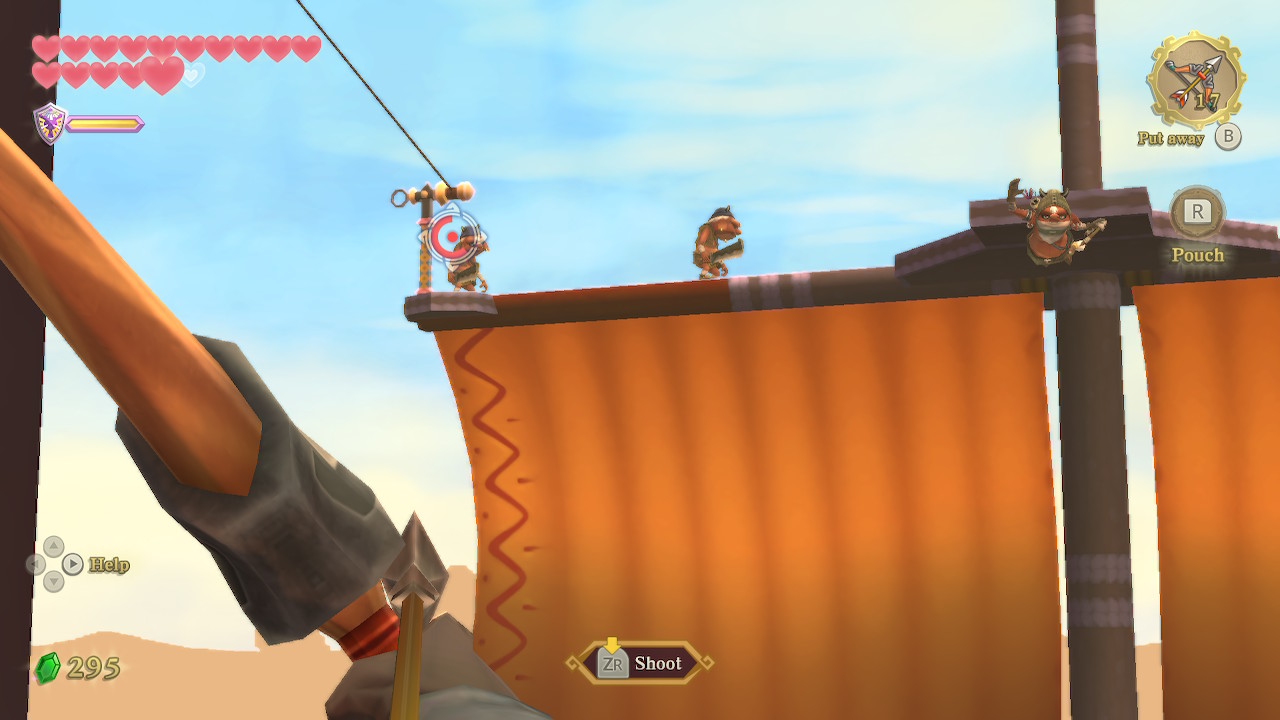
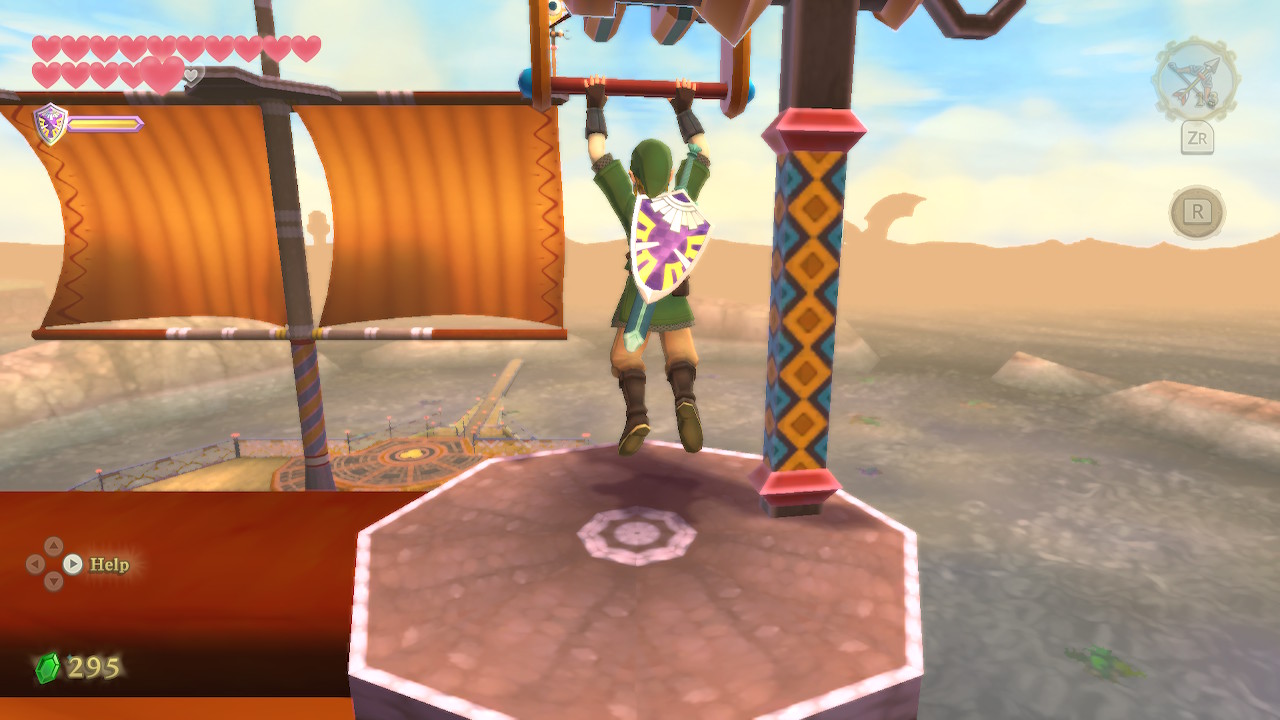
Once up here, shoot down the Bokoblins on the mast across from you. Then head to the right to the zipline. Shoot the eye switch on the other side to summon the handle. Then ride over to the other mast. Repeat this exact same process to get to the higher section of the center mast.
Here you can thrust your sword into the hole and twist. This will remove the cage around the Timeshift Stone and unlock the door on the deck. Skipper will also hop aboard and tell you that he needs his crew rescued from the brig, which he marks on the map.
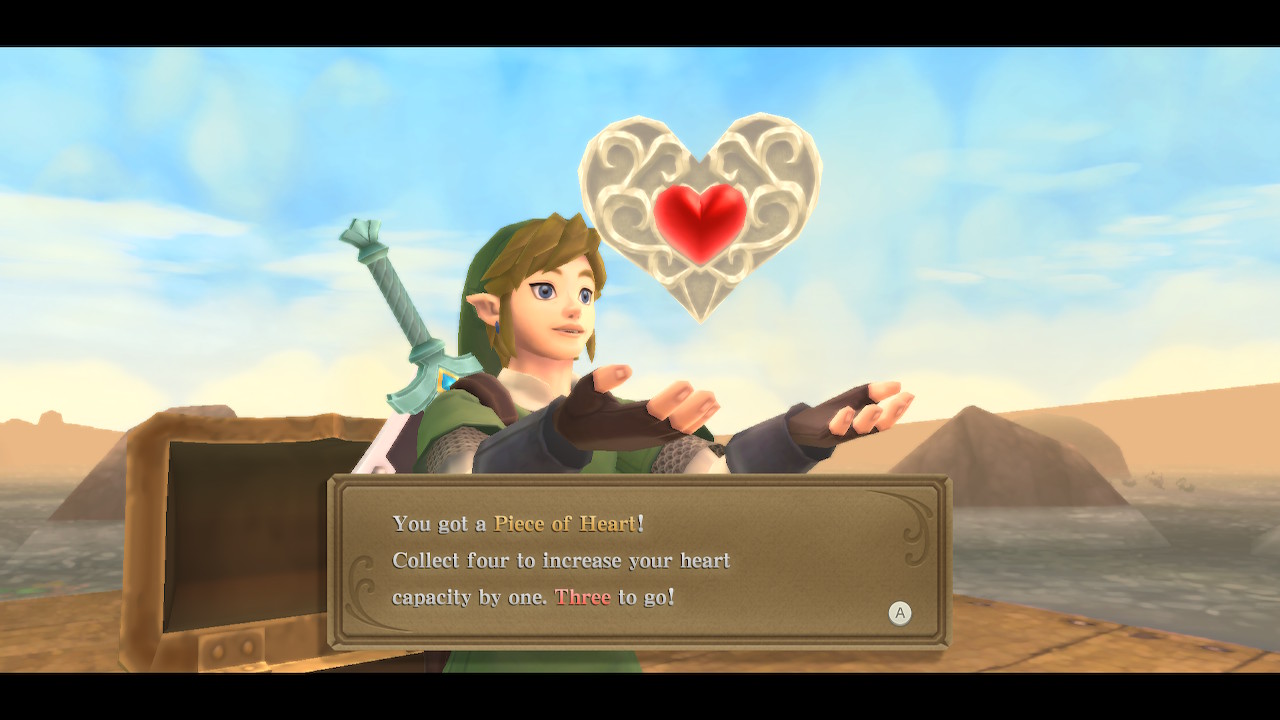
Next, shoot the eye switch to make the third zipline usable and then ride it over. Jump down onto the deck here, and then use your clawshot on the nearby target. Follow the series of targets down to a lower deck and you'll find a chest that contains Heart Piece #17. There is also a place on the other side of this deck to play your harp and summon a symbol on the wall.
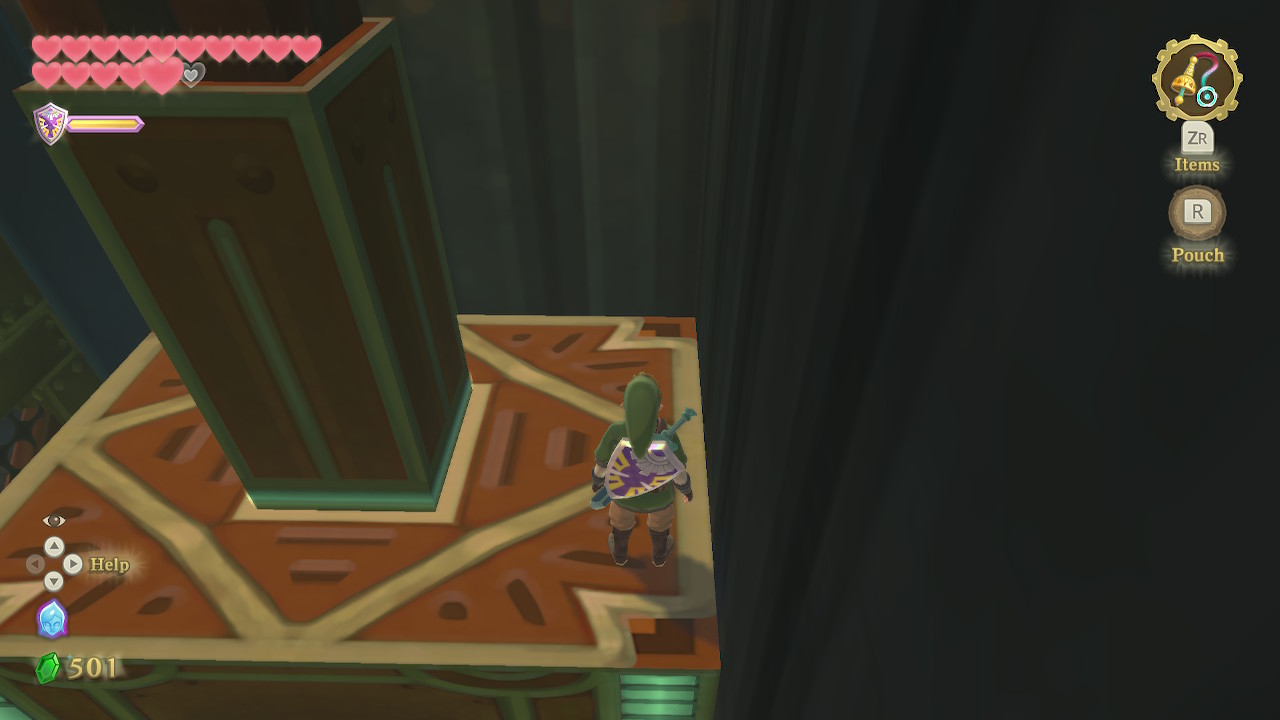
Clawshot your way back up and then hop down one floor on the deck. Use the eye switch above the small boat hanging here to lower it down. This will create a shortcut for us later. Now hop down another floor and enter the door here again. Take the stairs down and take the right path again, through the only door here.
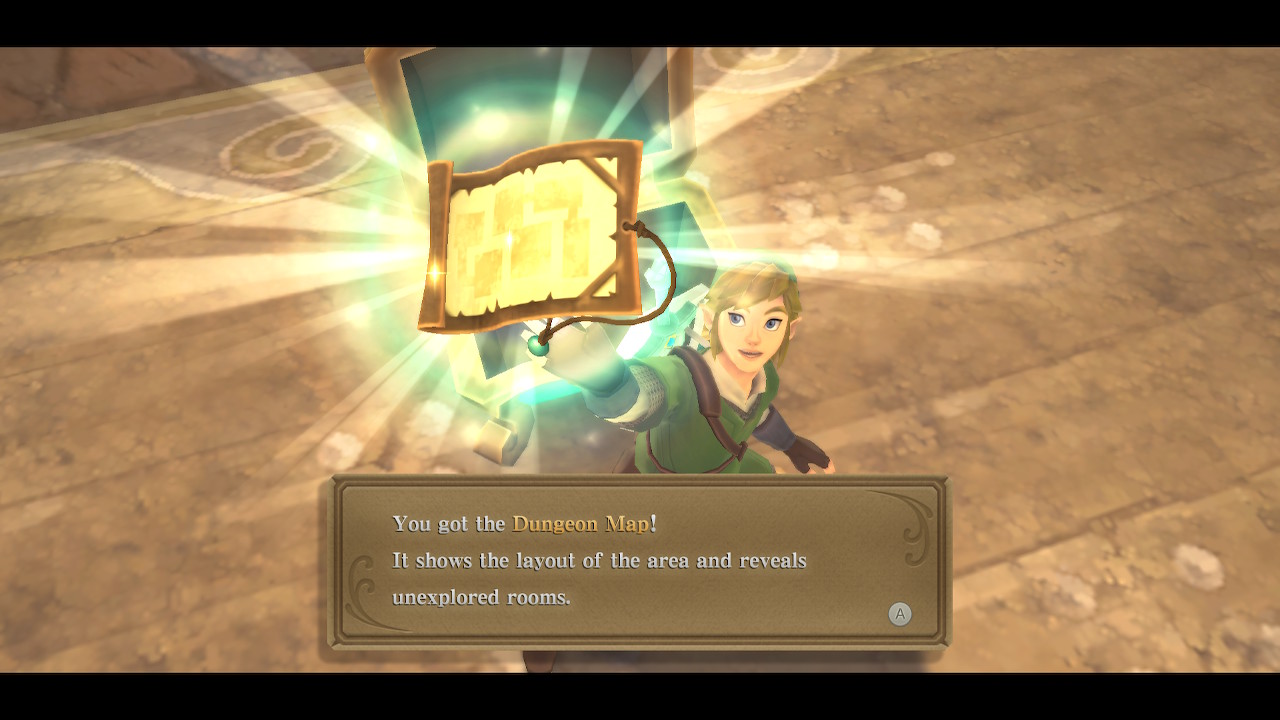
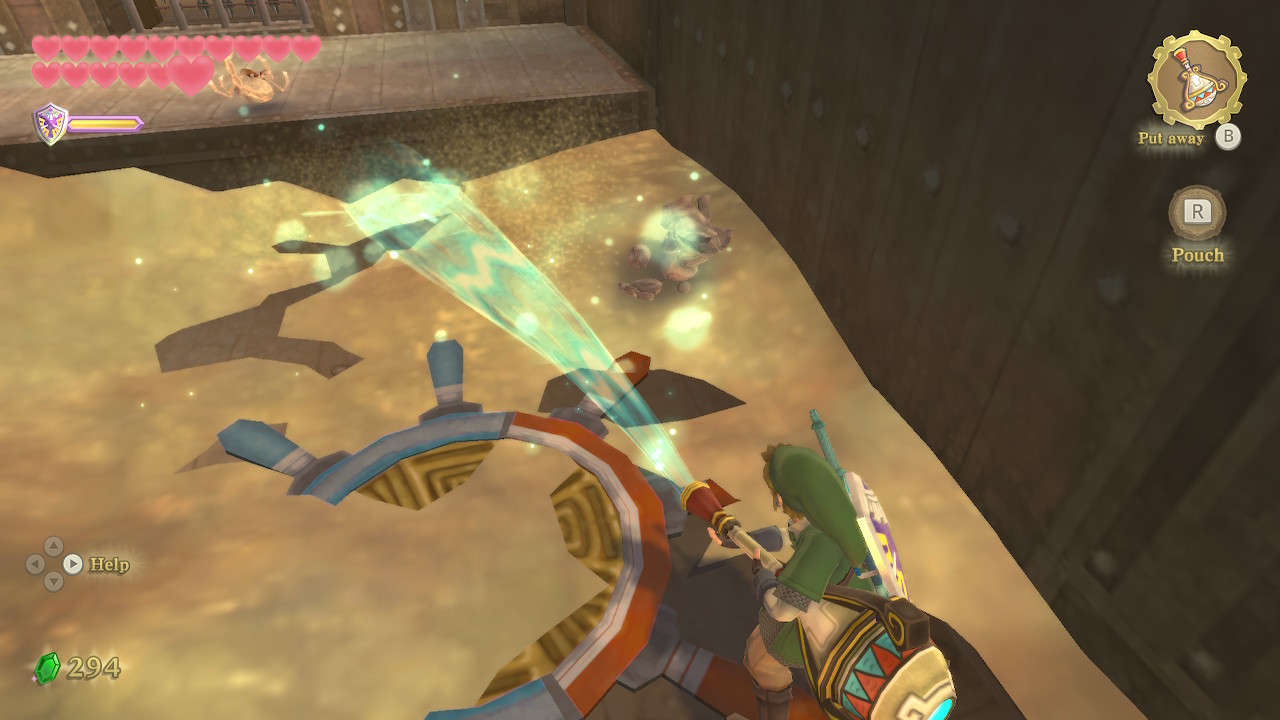
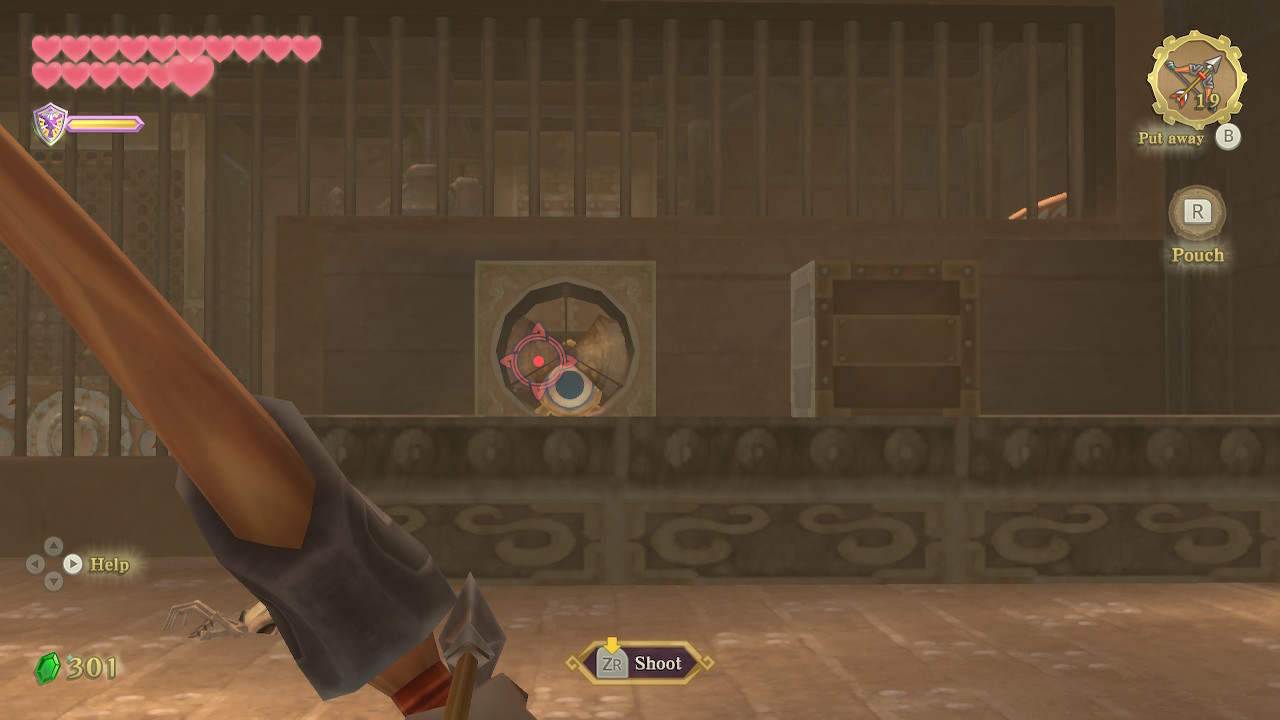
Defeat the Technoblins in this room and then enter the tiny room in the left corner. If you look up, there is a grate connected to the deck. You can shoot an arrow through it and hit the Timeshift Stone above. When you do, this will allow you to enter the adjacent room and open the chest to get the Dungeon Map. You can use the lever in this room to open the gate.
Brig Rescue
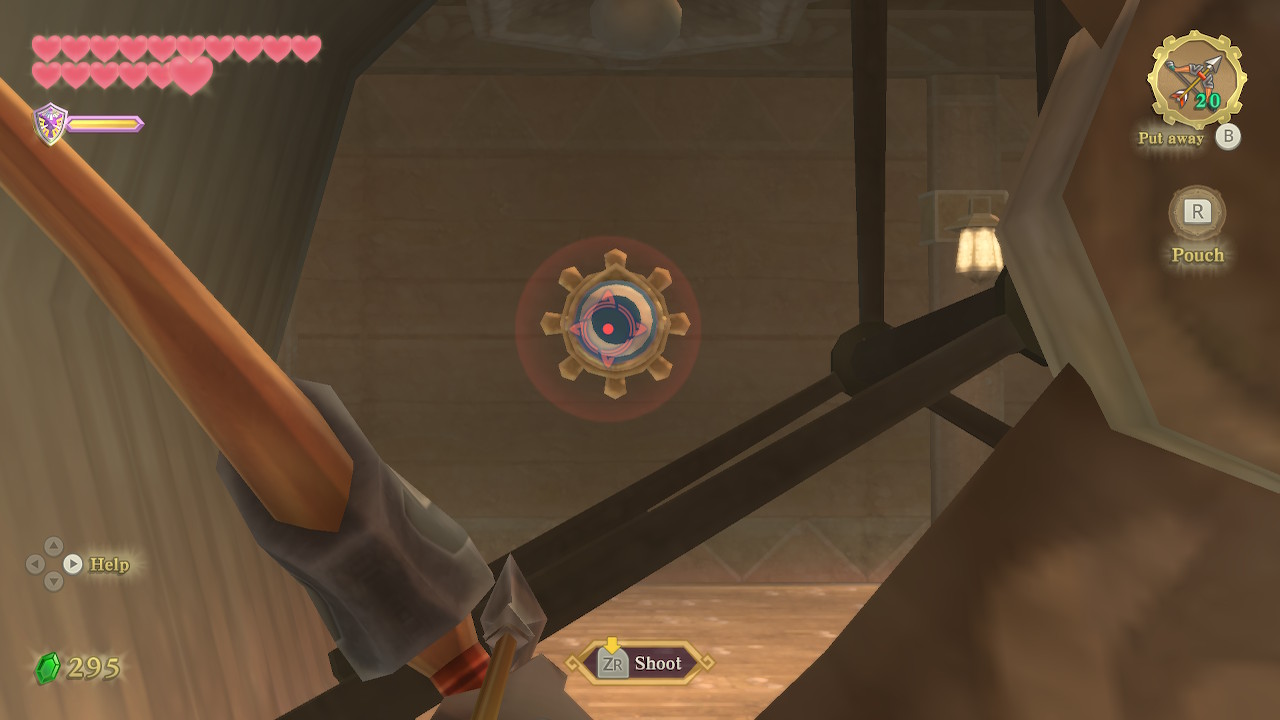
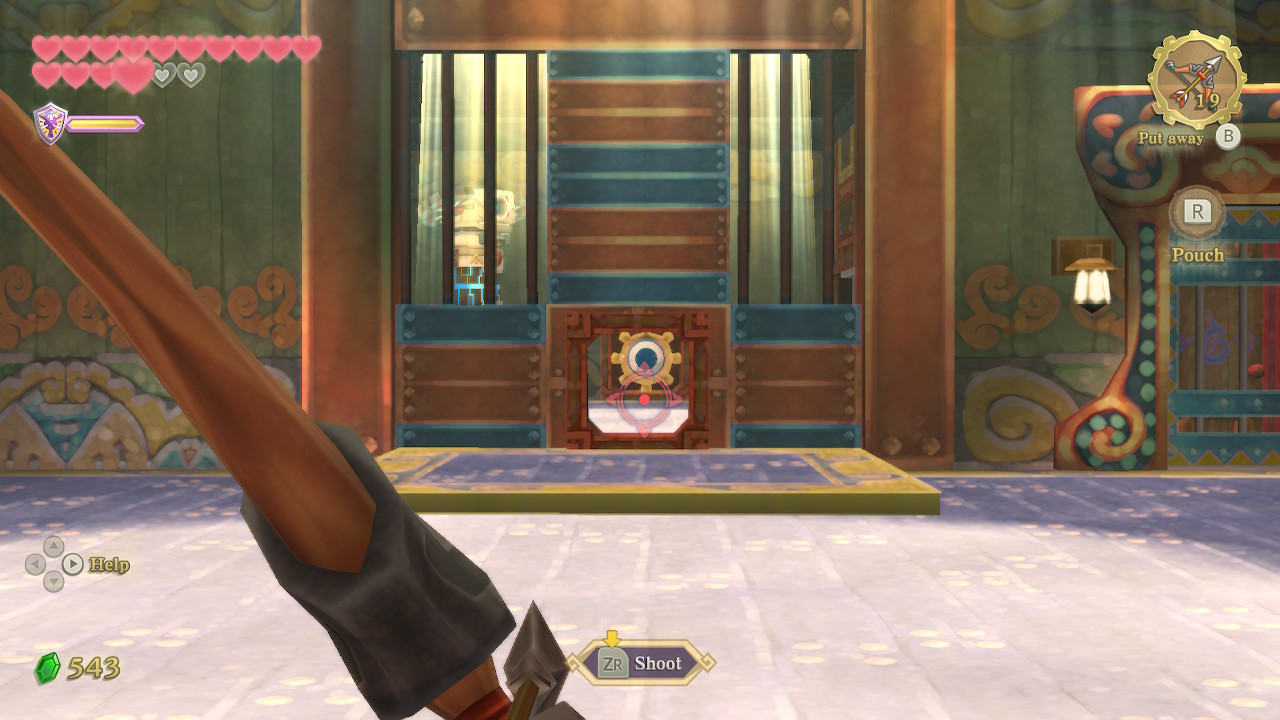
Run across the quicksand in this room and in the hallway you'll see light shining through a still propeller. Shoot an arrow through this opening and hit the eye switch. This will open up the door to this room. Inside, move the metal box out of the way, revealing another propeller opening. Stand on the switch in this room and shoot an arrow through this opening to hit the eye switch in the other room. This will open the door to that room.
Head back out into the hallway, ignoring the newly unlocked room for now. Instead, cross the quicksand again and enter the room where you can shoot the Timeshift Stone and do so. Back in the past, head to the room we just unlocked, the first door on the right in the hallway.
Defeat the enemy in here, and then check out the object in the corner. Thrust your sword in and twist to activate this power generator. Now head back into the hallway and enter the unlocked door on the left. Defeat the enemies in here, and then move the metal crate onto the floor switch. This will open up some windows to the outside of the ship.
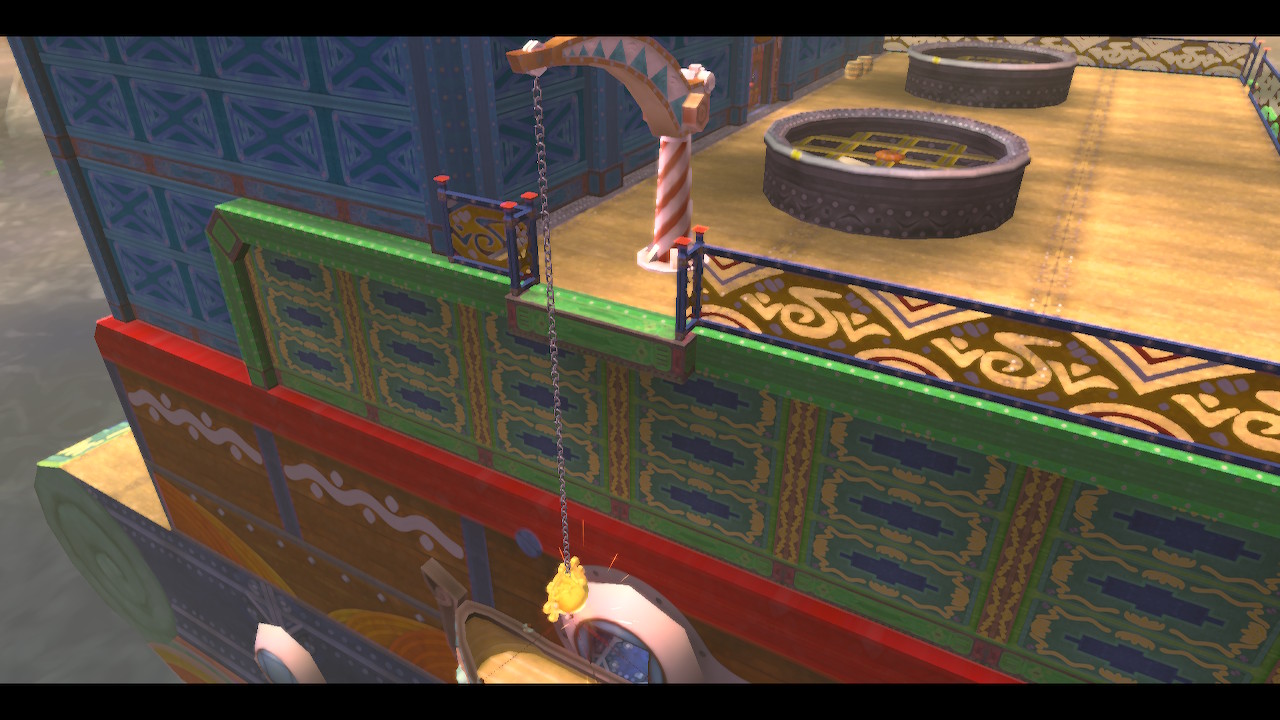
Exit the first window onto the small boat we lowered earlier. Hit the eye switch above you to raise it back up to the deck. You can now see the Timeshift Stone, so hit it with an arrow and then lower the small boat back down, and enter the room through the window. The adjacent room will now be accessible.
Head into the adjacent room and pull the lever by the door to unlock it. There is another grate (under the sunlight) so stand under it and shoot an arrow through to hit the Timeshift Stone once again. There is another power generator in here that you can thrust your sword into and activate.
We want to enter the adjacent room again, while still in the past. However there is an electrical current blocking the path, so take the route through the hallway instead. Go out of the left window in this room, taking the ladder down a floor. Enter the lower window and go through the door.

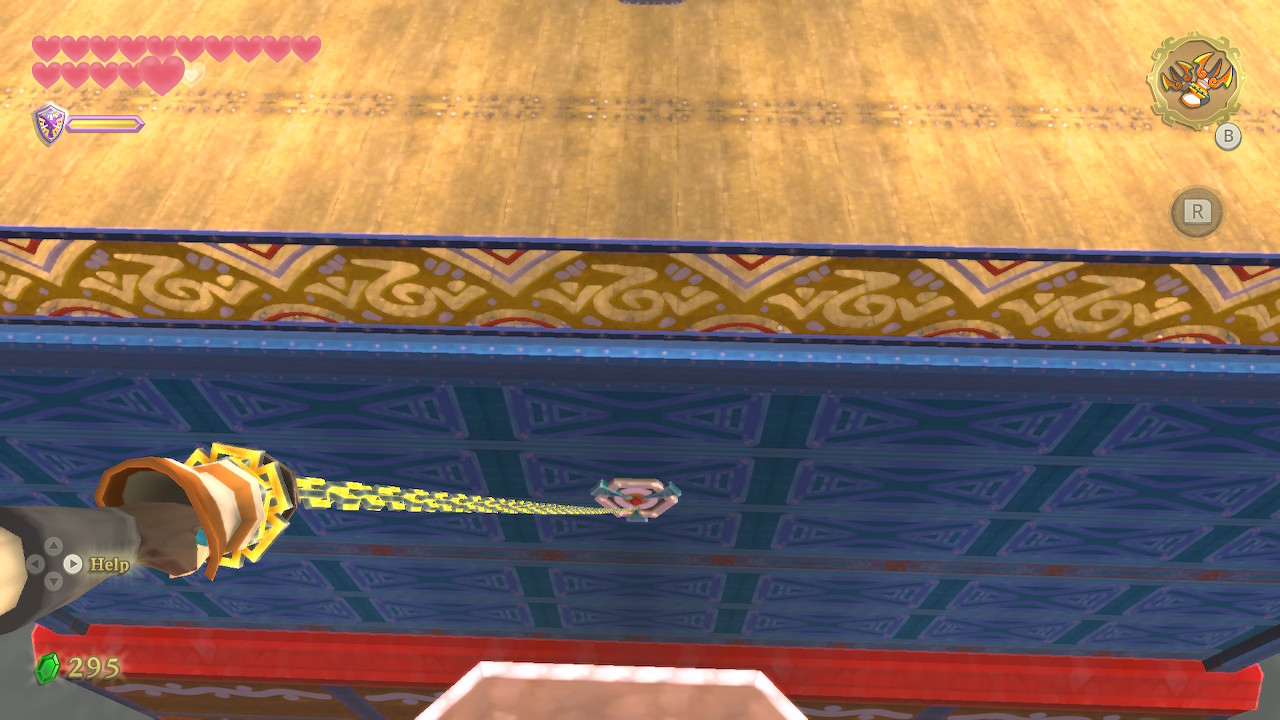
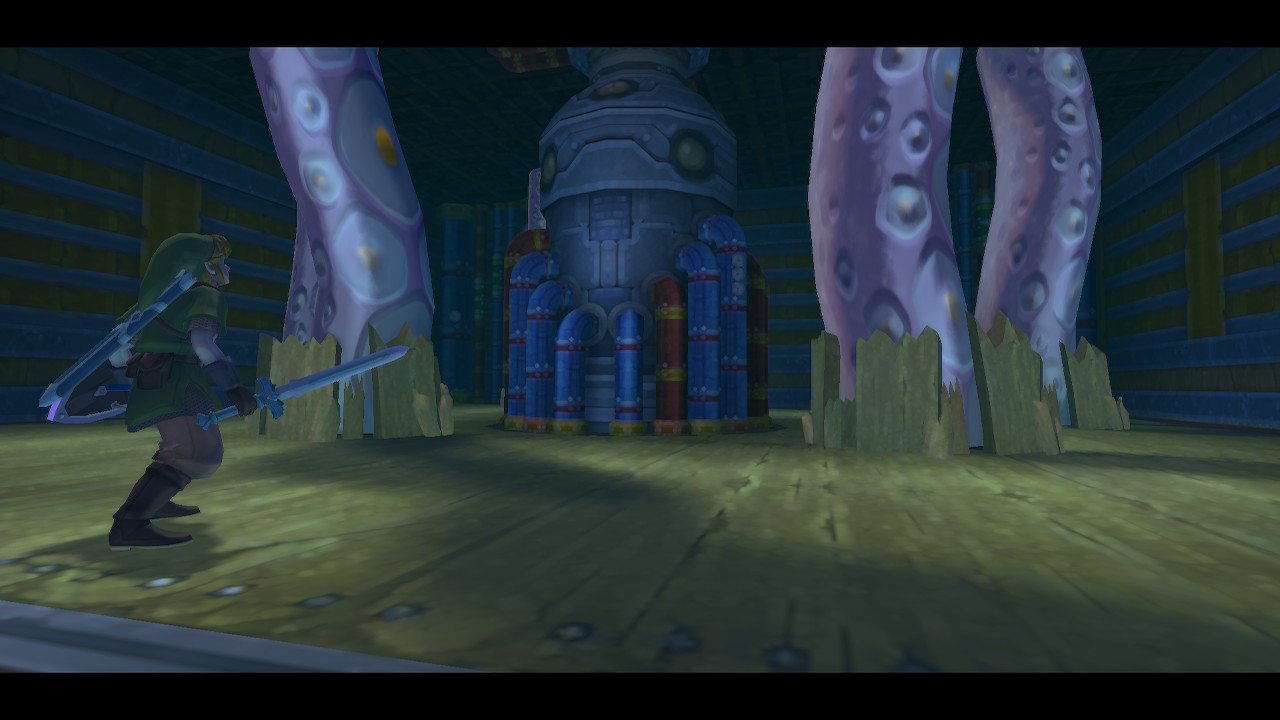
You'll see some of the mechanisms that we activated with the power generator here. Climb down the ladder here and then carefully make your way across this hallway, timing yourself so you don't get crushed by the moving blocks. Climb up the ladder and use your whip to swing on the pole above. Turn to the right and land on this ledge. Climb up and you'll find this ship's treasure hall. There are five chests in here that you can open to get three random treasures and 200 rupees.
After stealing the pirate's booty, drop back down below and land on the platform to the right. Just sprint across the hall as soon as you see the first block raise here. Next, you want to use your whip on this pole so you can swing and get on top of the moving block. Hop across to the next block and it will raise you to safety on the platform ahead.
Pull the lever in this little corner to open the nearby gate and create a shortcut. Now crawl through the small opening here and up the ladder. Pull down the lever and enter the Brig. The robots will flee here after giving you a Small Key.
We now want to head back to the deck. Backtrack through the small opening and through the gate we opened up. Exit through the window and climb back up the ladder. You can then exit the other window and use the small boat as a shortcut to the deck. Hit the Timeshift Stone and then enter the locked door to your left.
Boss Key
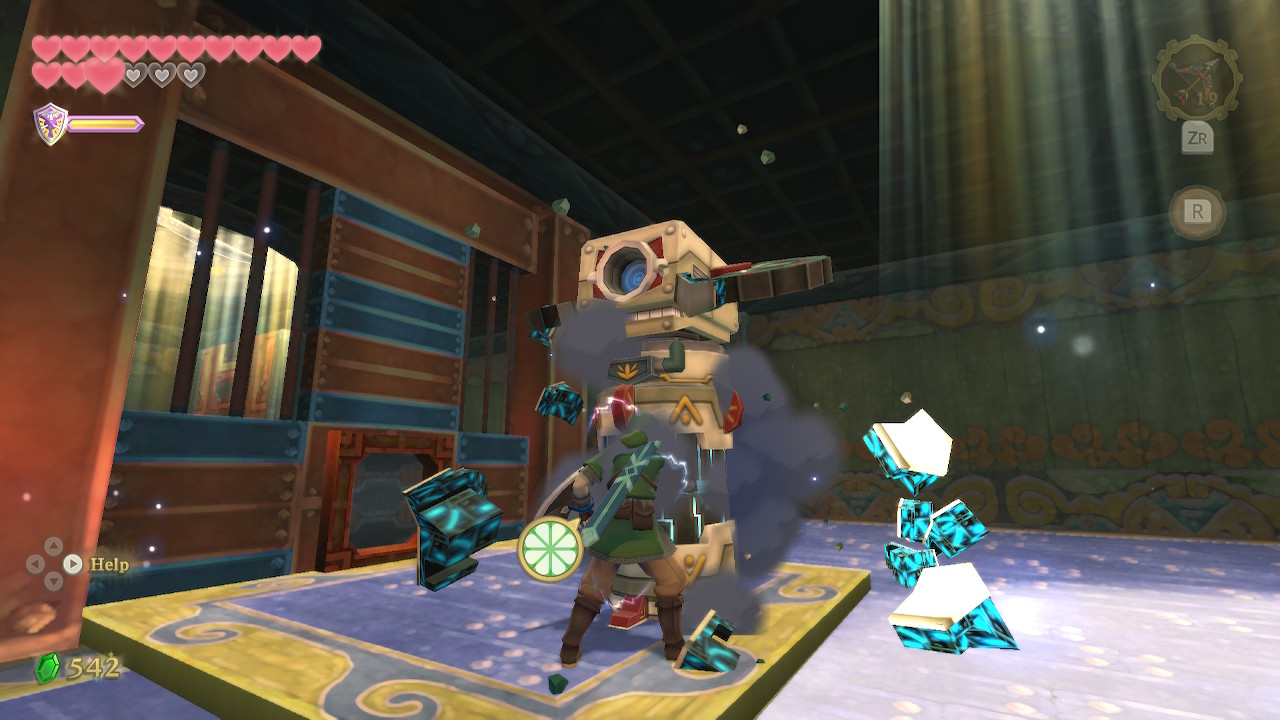
Head down the stairs and use the bird statue if you want. You can find quite a few rupees under the sand piles here. Enter the adjacent room through the only open door. Stand under the light and aim upwards to shoot the Timeshift Stone with your bow. Defeat the Beamos and Technoblin here and then stand on the floor switch. You can then shoot the eye switch through the small hole, unlocking the door in this room.

Head through the door and defeat the three Beamos in this room. It can be a little tricky with three of them at once, but you can hide behind the body of each as you are defeating it to hide from the others. Once defeated, a gate will open allowing you to open a chest. Inside is the Squid Carving, the boss key of this dungeon.
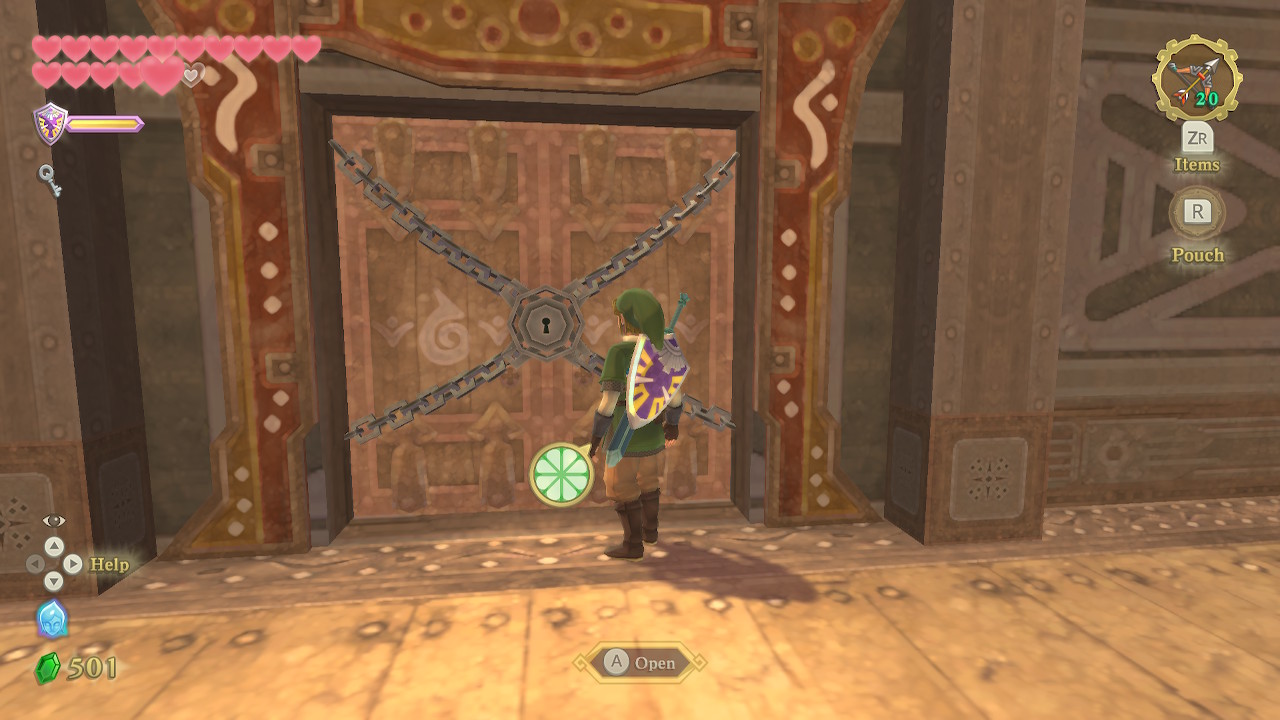
We now want to head for the boss door, which is on the opposite side of the ship. Start by heading out onto the deck and using the small boat to lower yourself down. Enter the window and go through the door, then down the stairs. Head through the door and hallway to enter the room with the boss door.
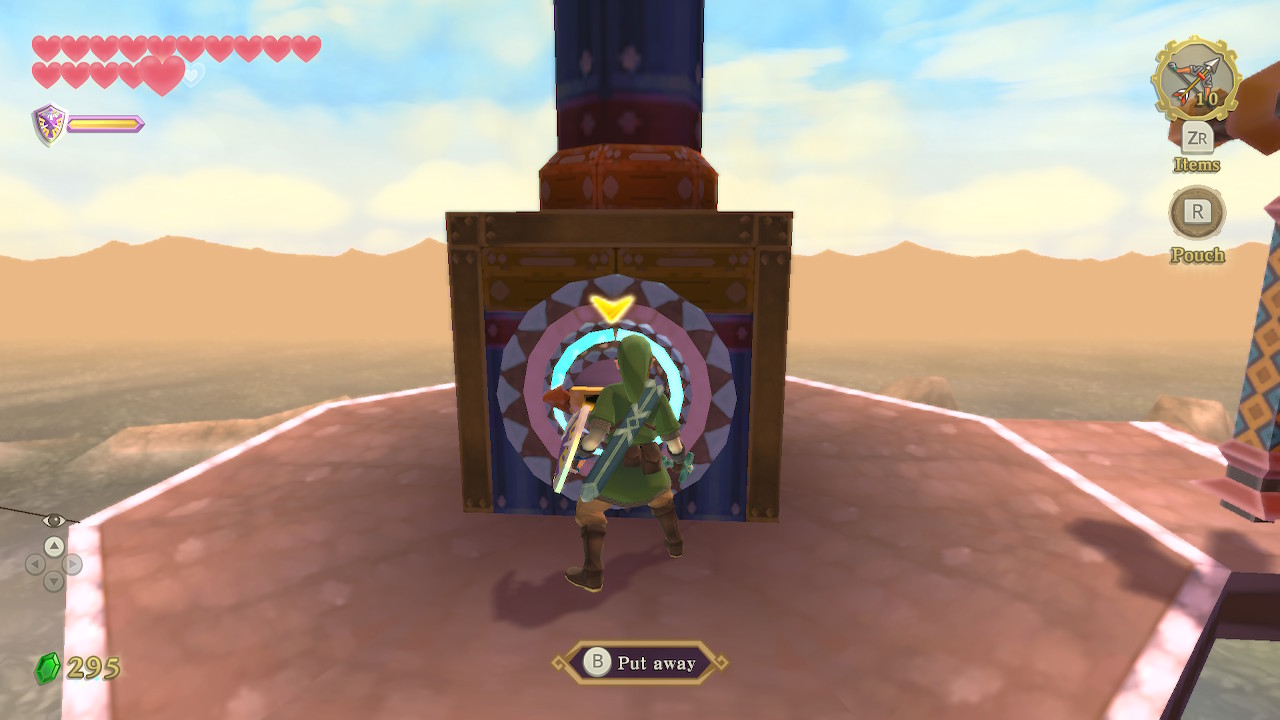
Use the stool to heal up and the bird statue to save your game. Then approach the boss door and orient the key when you are ready.
Dungeon Boss: Tentalus
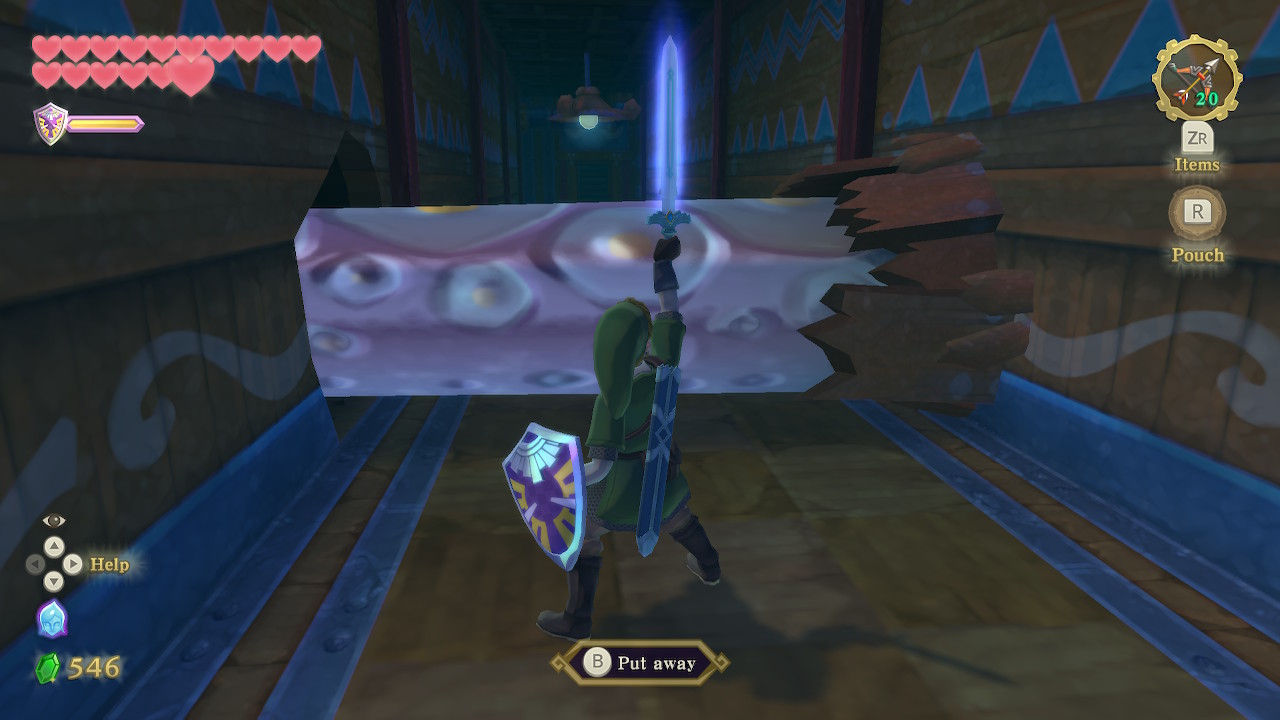
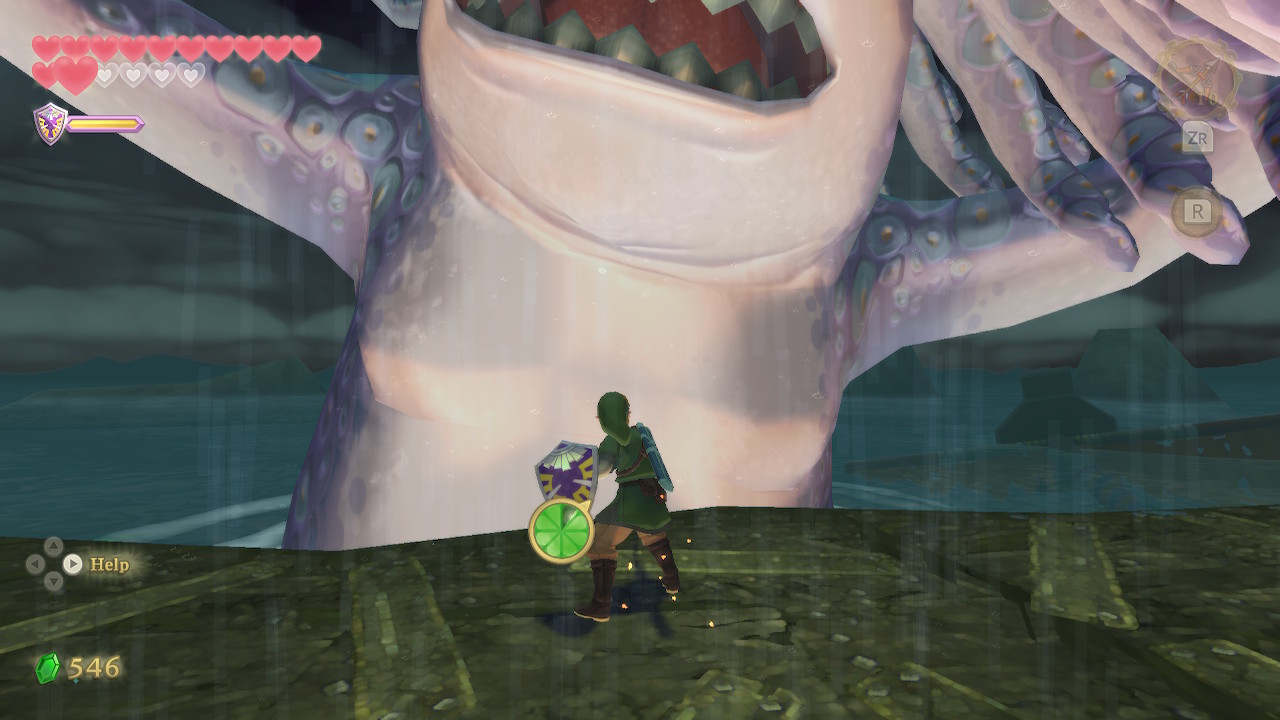
As soon as you enter the room, giant tentacles will smash through the ship. This boss battle spans over the entire ship, so exit the room you just entered and head back towards the deck. Continue forward along the only path available. When you are blocked by the giant tentacles, deliver a Skyward Strike to cut through them.
When you go up the stairs, the floor below will fill with water. Dodge the barrels ahead and in the larger room more tentacles will from the sides. It's easiest just to Skyward Strike through them again. Head up the stairs and through the door onto the deck.
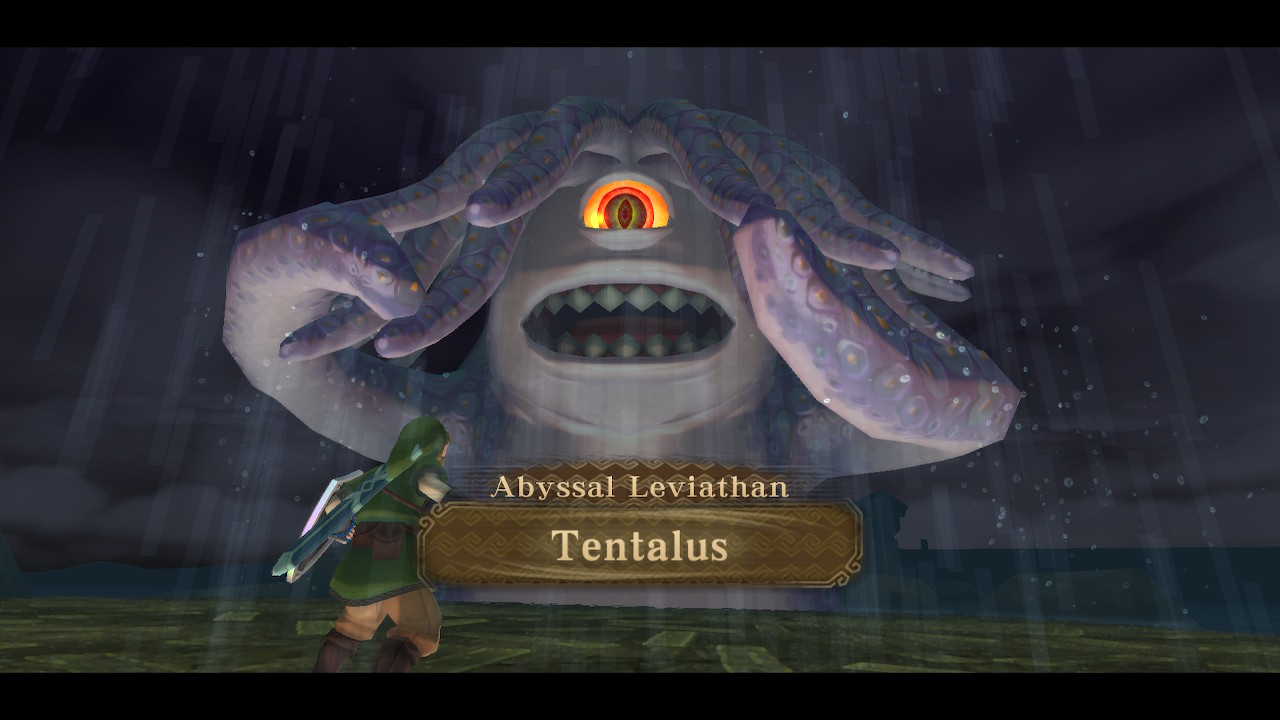
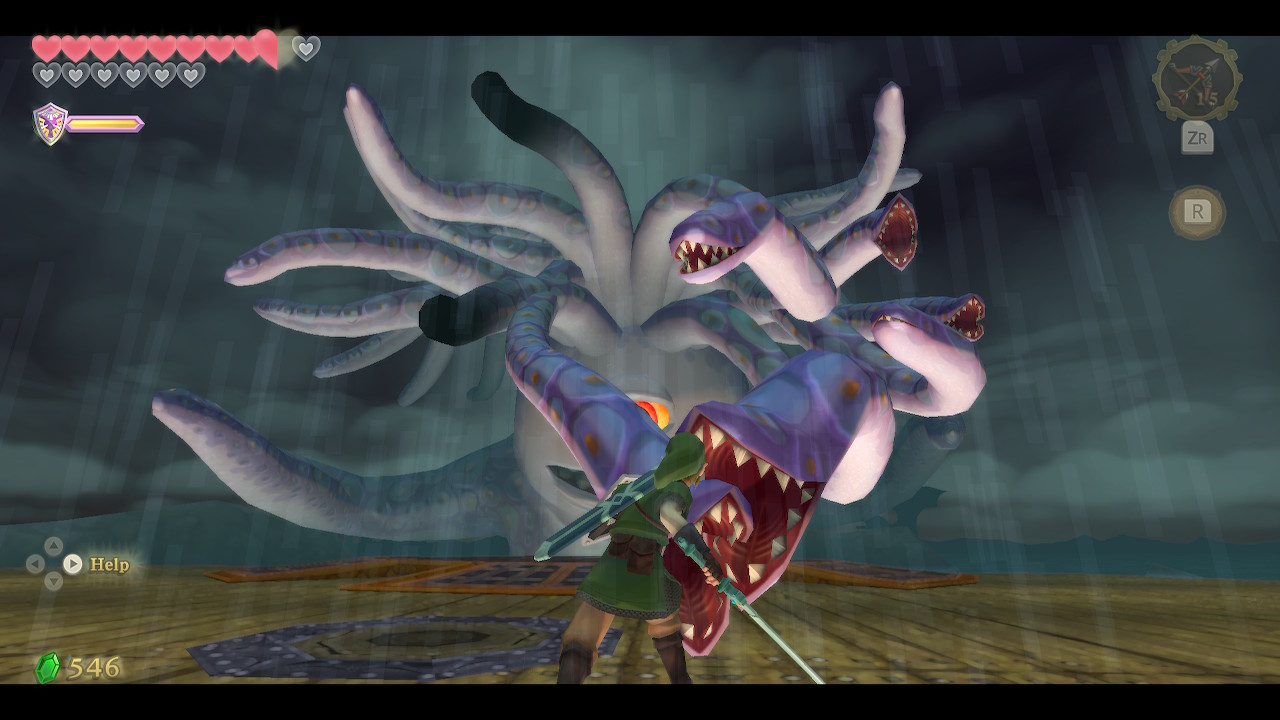
Out here you will be properly greeted by the boss, the Abyssal Leviathan: Tentalus. The battle will start with Tentalus launching his giant tentacles through the bottom of the ship. Use a horizontal Skyward Strike on as many of these as you can. Try not to stay still for too long, or a tentacle may grab you. If it does, simply shake yourself free.
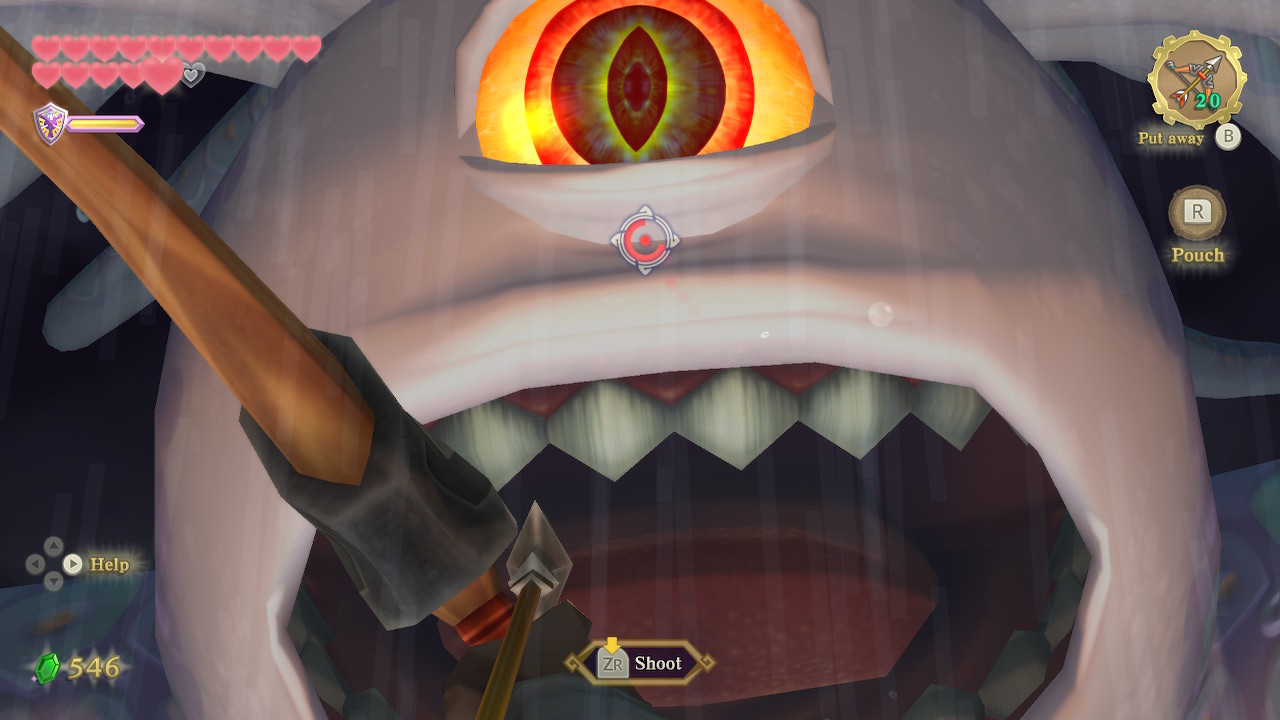
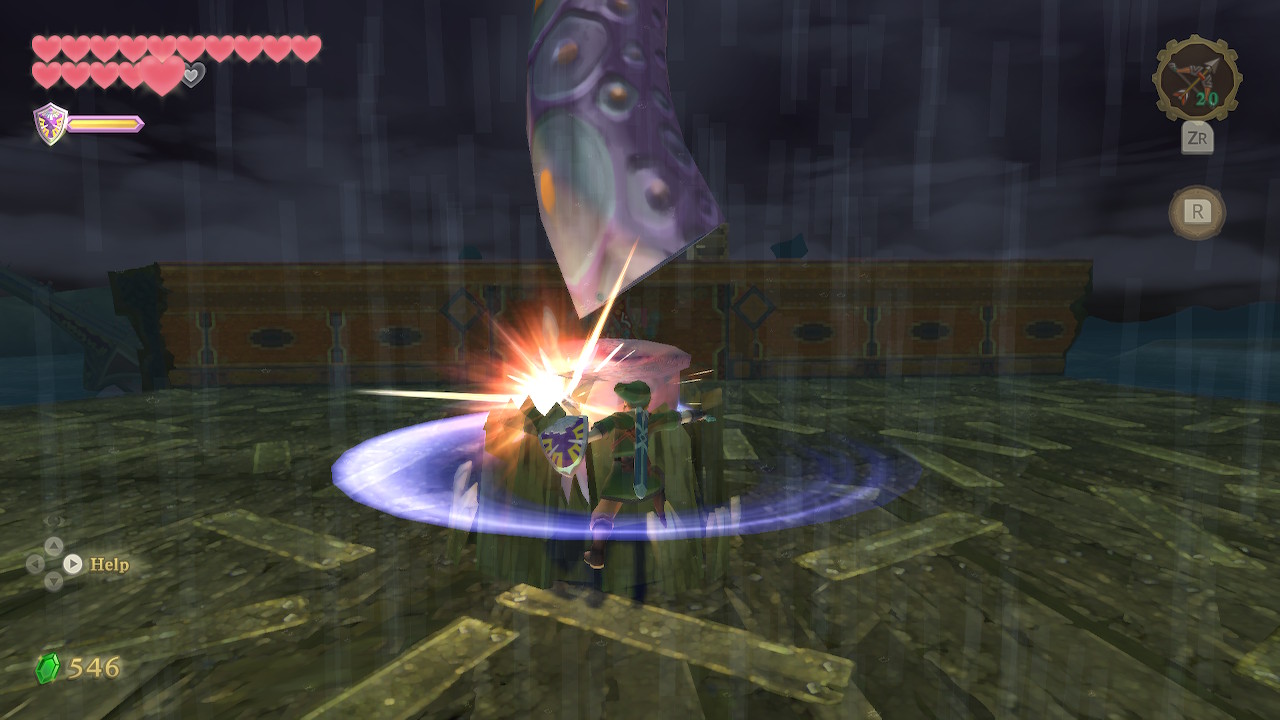
When Tentalus eventually emerges from the water, you'll need to shoot his giant eye with an arrow. His head will then fall to the ship where you can slash at it a bunch before he will go back underwater. This phase will repeat several times, with the number and speed of the tentacles emerging ramping up.

After delivering enough damage, phase two will begin and this lower deck will be destroyed. Use the block to climb up to the upper deck. During this phase, his tentacles will turn to snakes that will snap at you and try to knock you off the deck.

Use normal slashes on these tentacles to keep them away. Spin attacks are often quite useful here. Once you clear them up a bit his eye will be exposed once again. Shoot it with an arrow and then deliver slashes to it just like before. This will repeat a few times before Tenatlus is defeated for good.
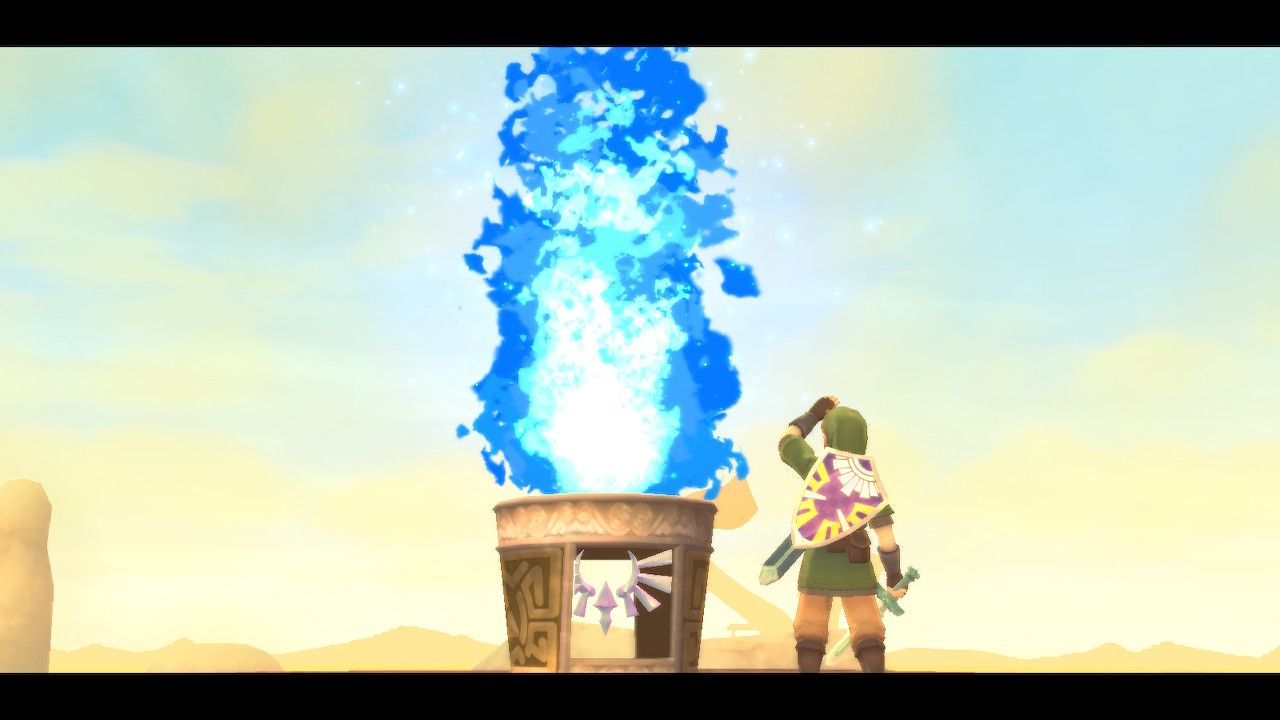
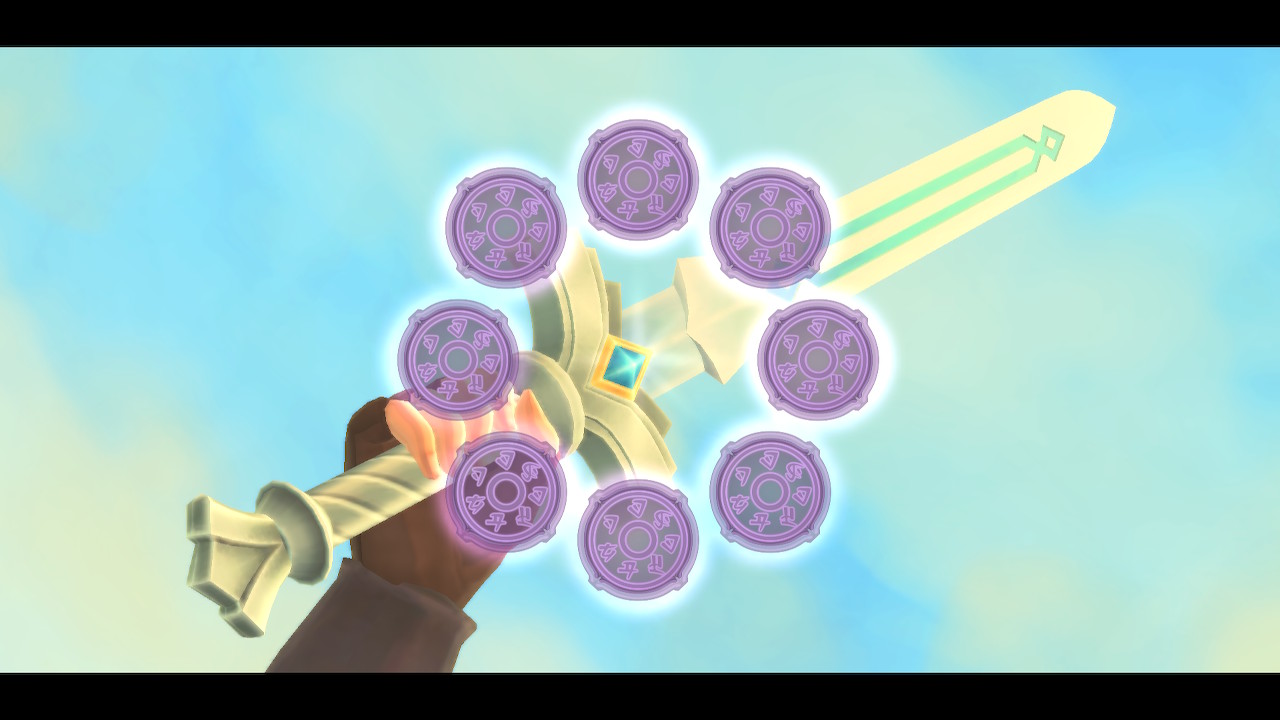
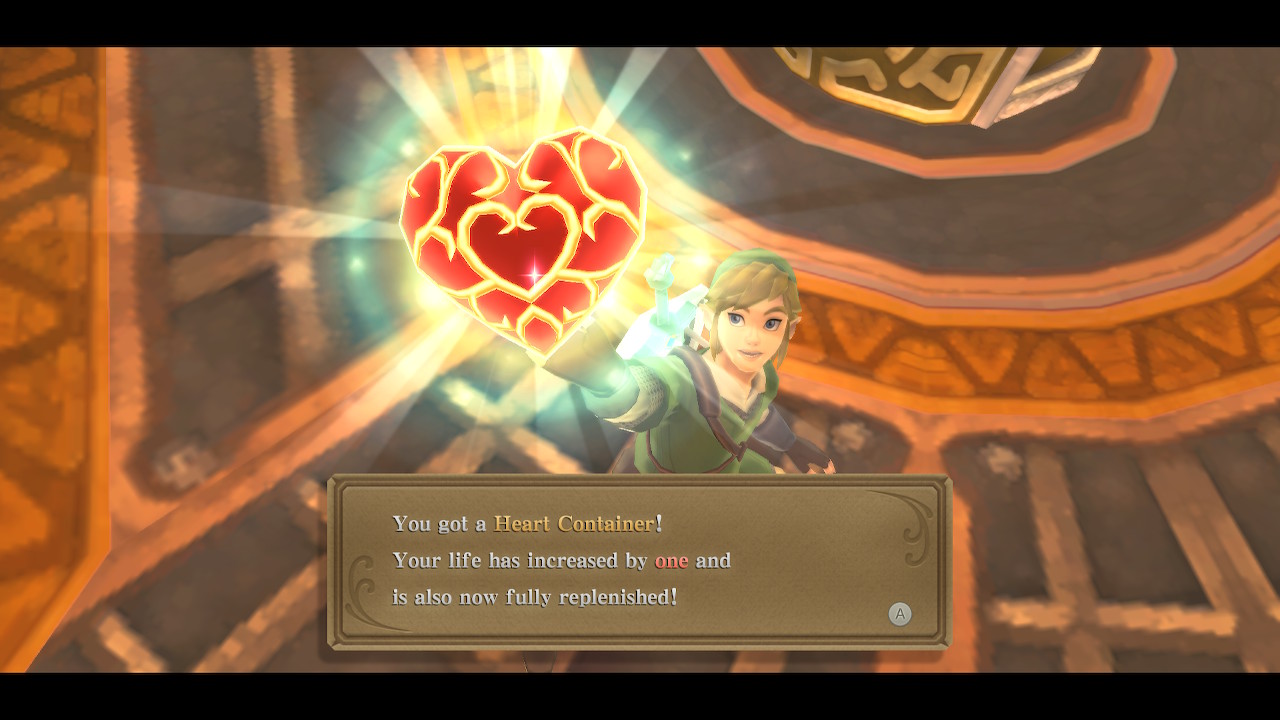
After the battle, make sure to grab the Heart Container. Then deliver a Skyward Strike to the emblem right in front of you. This will ignite Nayru's Flame. Fi will use this to power up your sword once again, and it will become the Goddess White Sword. You will get an additional four dowsing slots, for a total of eight. Fi will then recommend you return to the Isle of Songs, which is where we will head in the next part of the guide.
Back to Lanayru Sand Sea Continue to Volcano Summit
