
Part 4: Eldin Volcano
How to Travel To and Through Eldin Volcano
Skyloft Collectathon
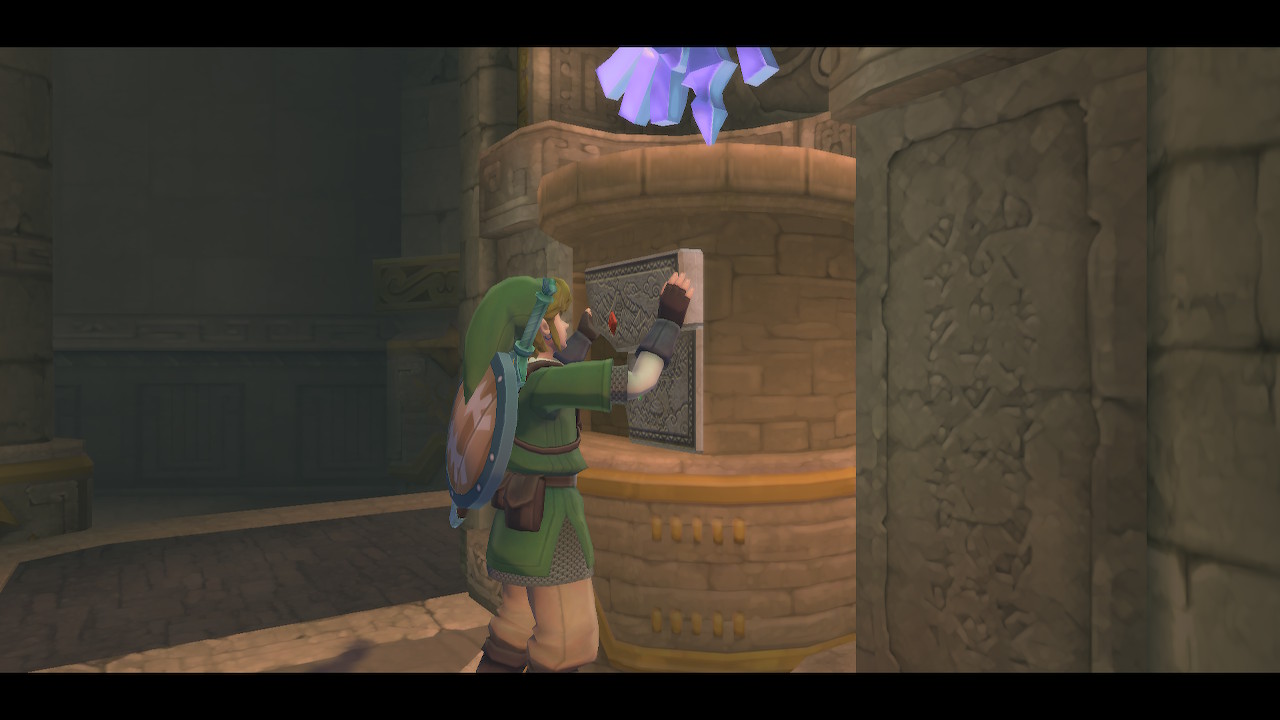
Use the bird statue outside Skyview Temple to return to the sky. Head back to Skyloft and enter the Statue of the Goddess. Inside, place your Ruby Tablet in the pedestal to reveal a surface opening to the next area, Eldin Volcano. You can head straight there if you'd like, but there's a lot we can collect now and some side quests to complete that this guide will cover.
Finding Kukiel Quest
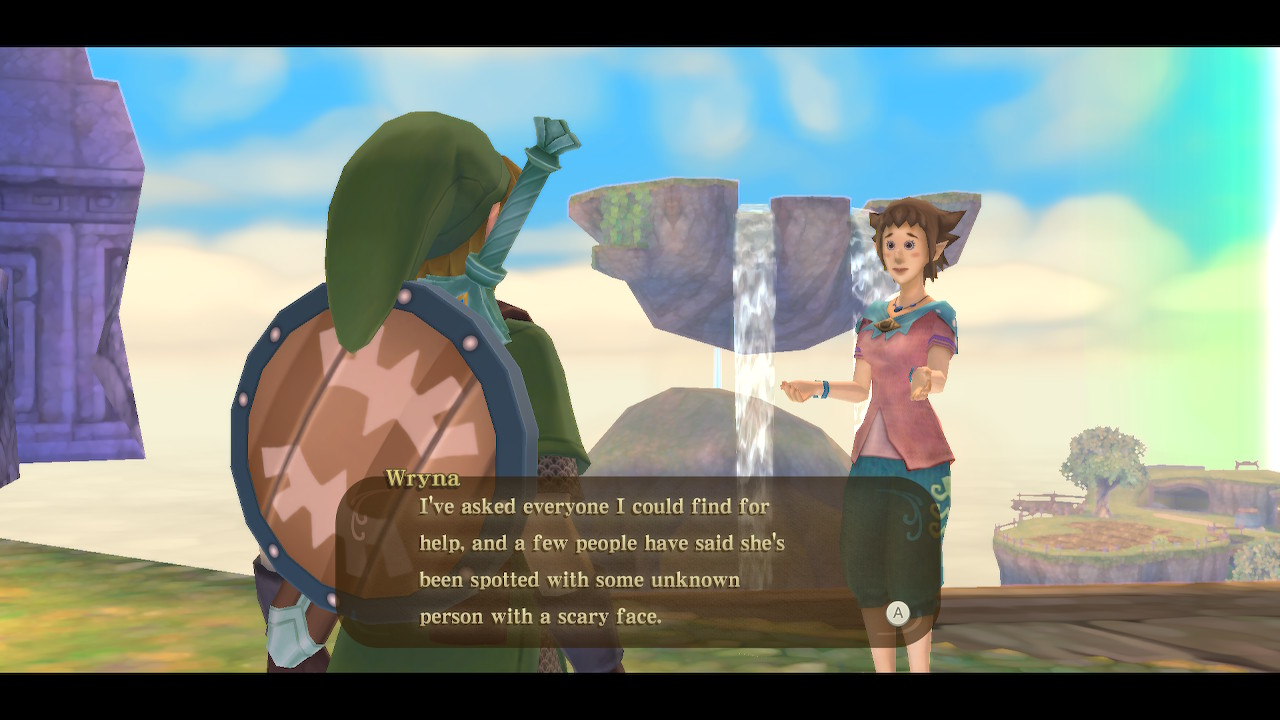
Exit the statue and you'll immediately run into Wryna. She'll send you on a quest to find her daughter Kukiel. We'll start this by heading towards the Graveyard on the far southeast part of town. Just north of the Graveyard is a woman named Orielle walking on the path. She'll point you in the direction of the Lumpy Pumpkin.
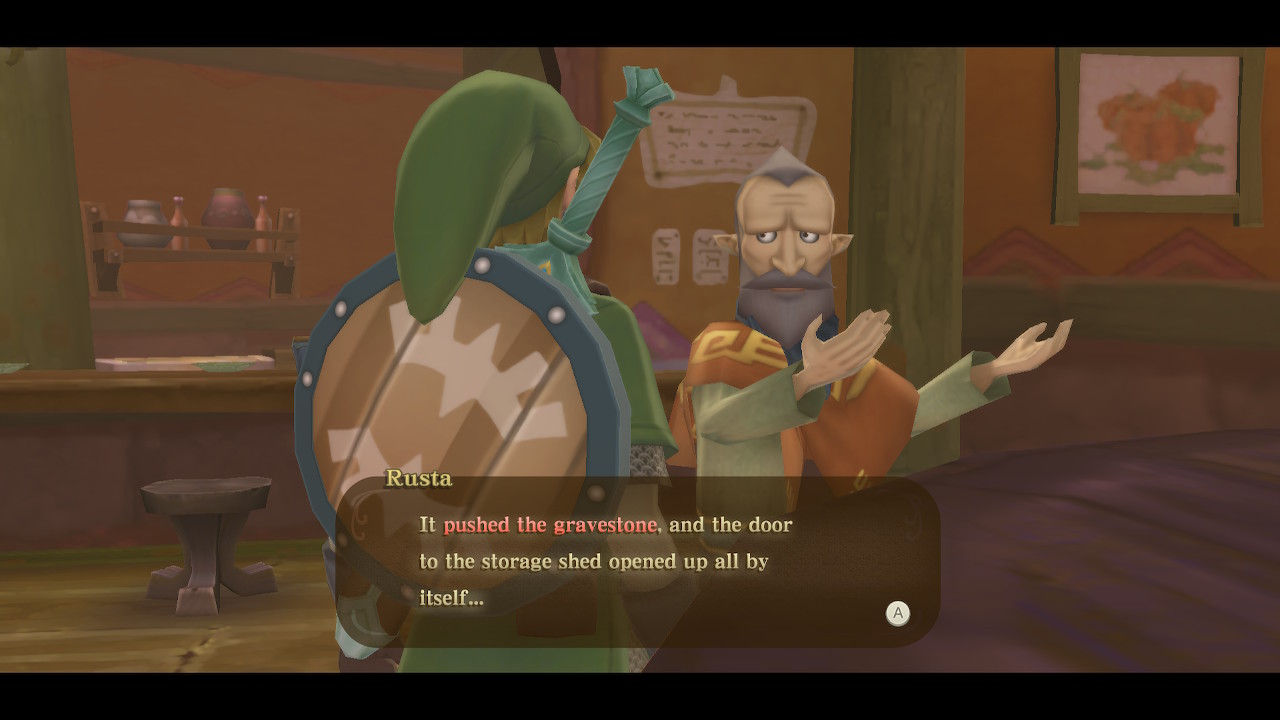
Take to the skies and fly east to the Lumpy Pumpkin. Make sure to land on top of the pumpkin itself, because there is another Goddess Chest that has been activated just above the entrance. Open it for a gold rupee, worth 300 rupees. Enter the Lumpy Pumpkin and speak to the man at the table named Rusta. He'll suggest that the monster (who probably captured Kukiel) has been seen in the graveyard at nighttime.
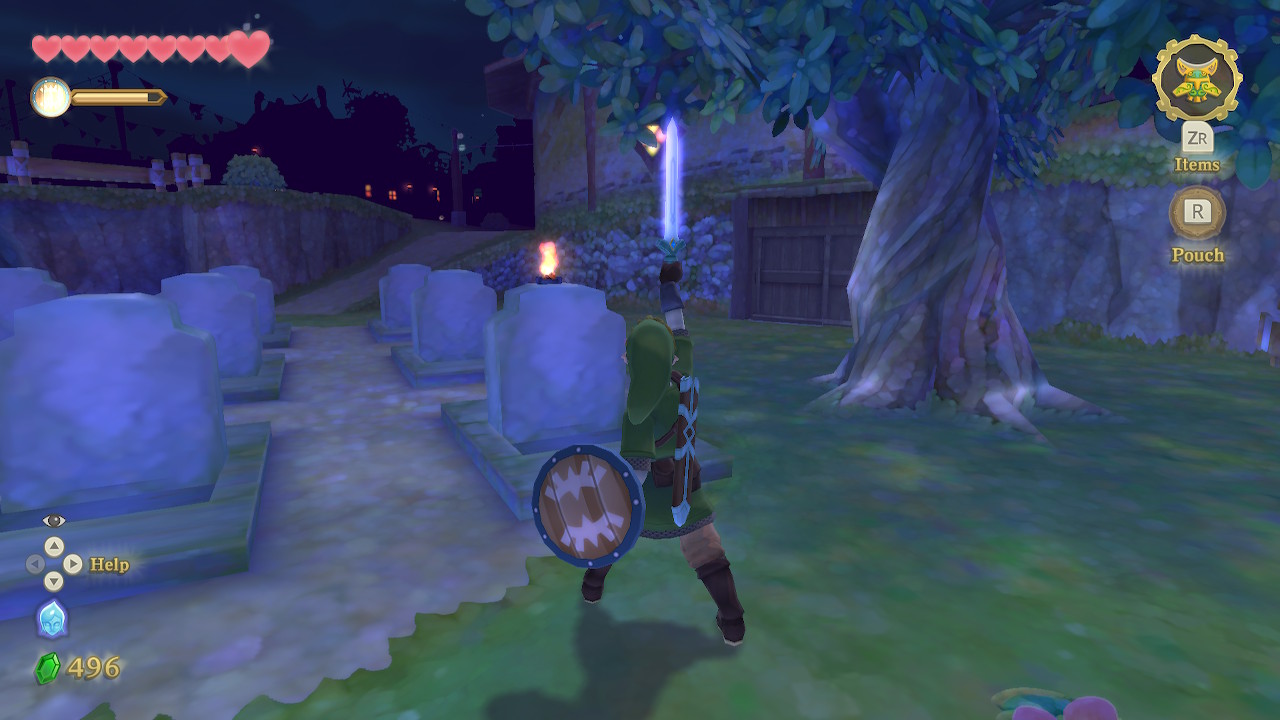
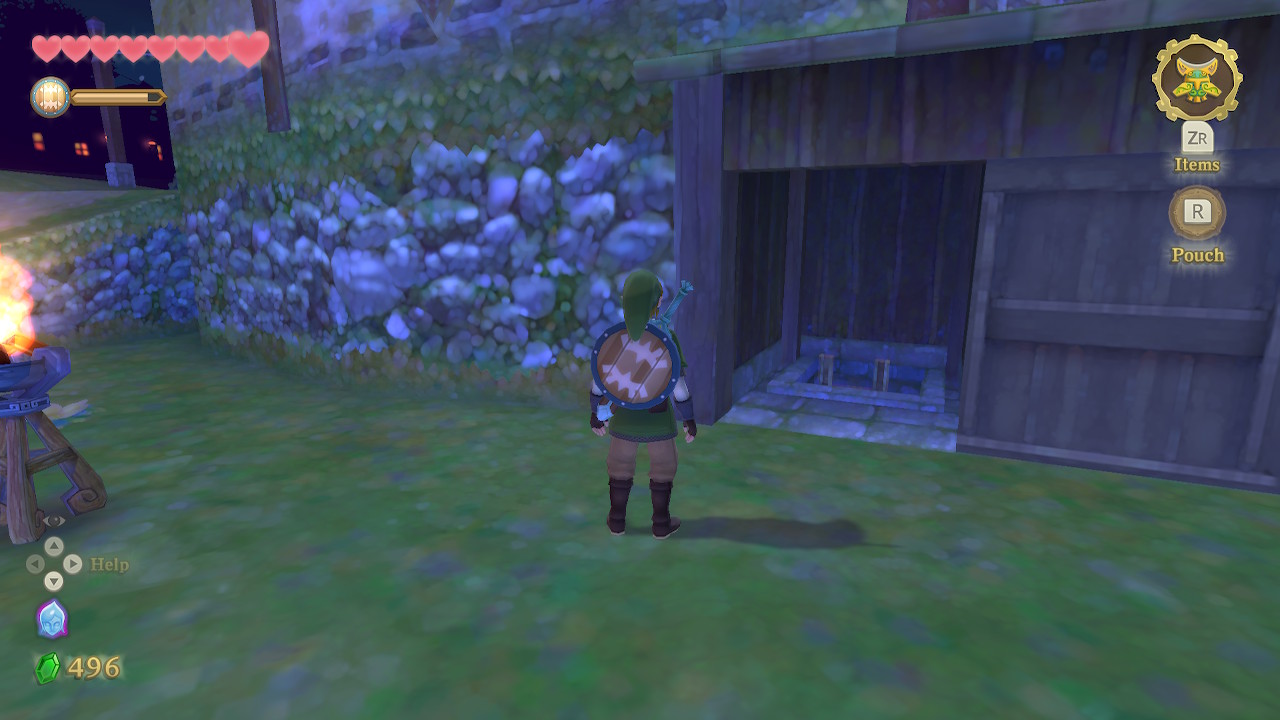
Fly back to Skyloft and land near the Graveyard. You'll need to find a bed and go to sleep to cause it to be nighttime. Any bed will work, just go into the nearest house you can find and sleep until night. Head back to the Graveyard and then slash (or roll into) the grave closest to the tree. This will open the shed and you can climb down the ladder.
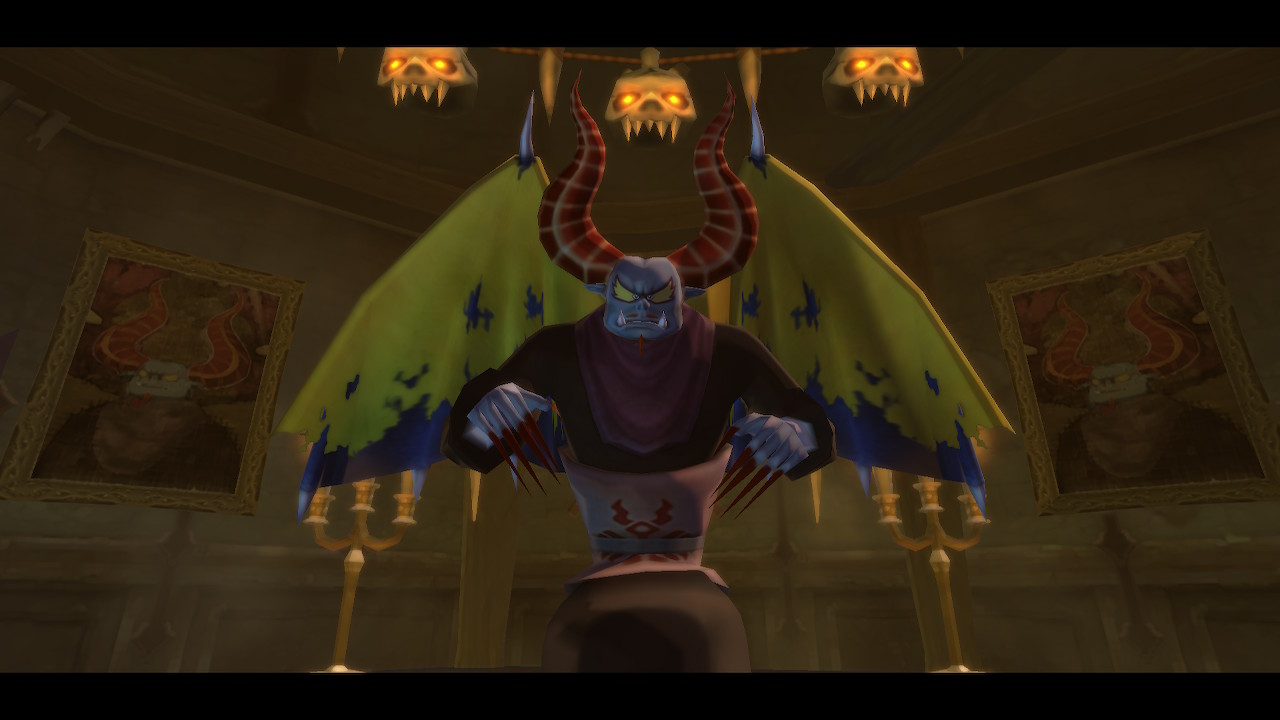
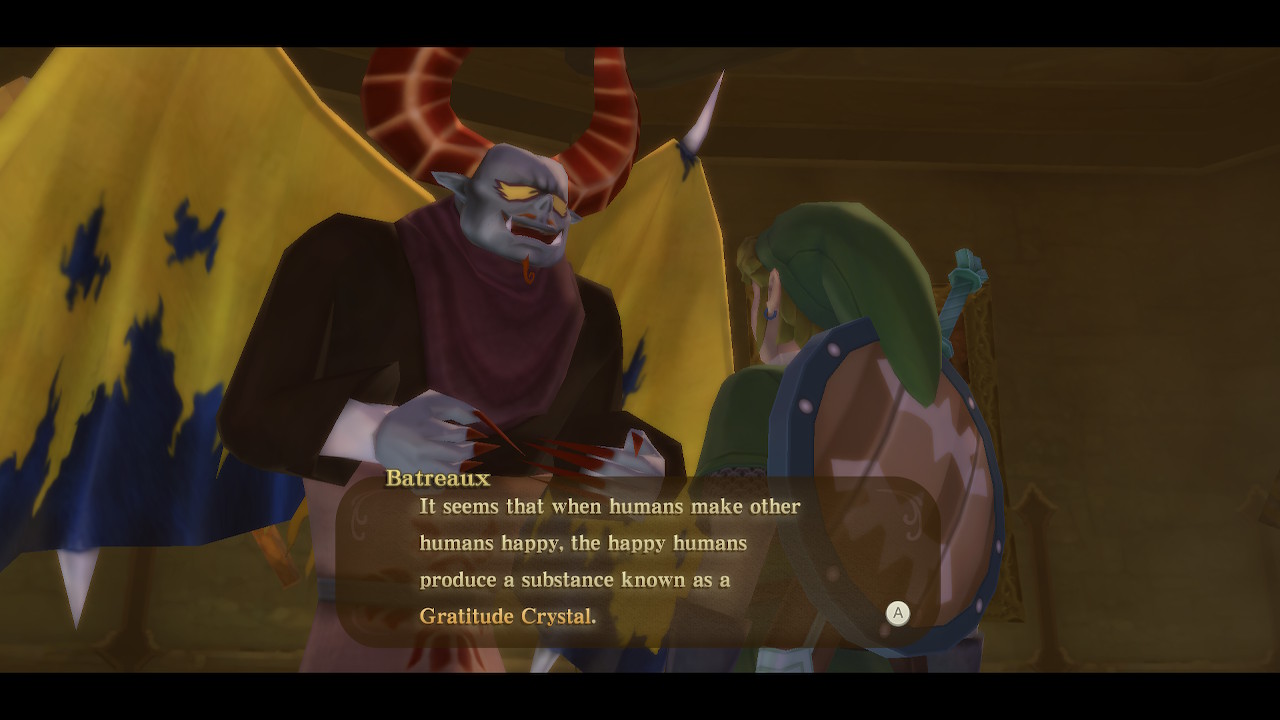
You'll find yourself on a platform below Skyloft. Follow the path here to a little house with a door, and enter it. Inside you'll find a lovely monster named Batreaux. He will tell you all about Gratitude Crystals, which are a collectible that you can get by helping other humans.
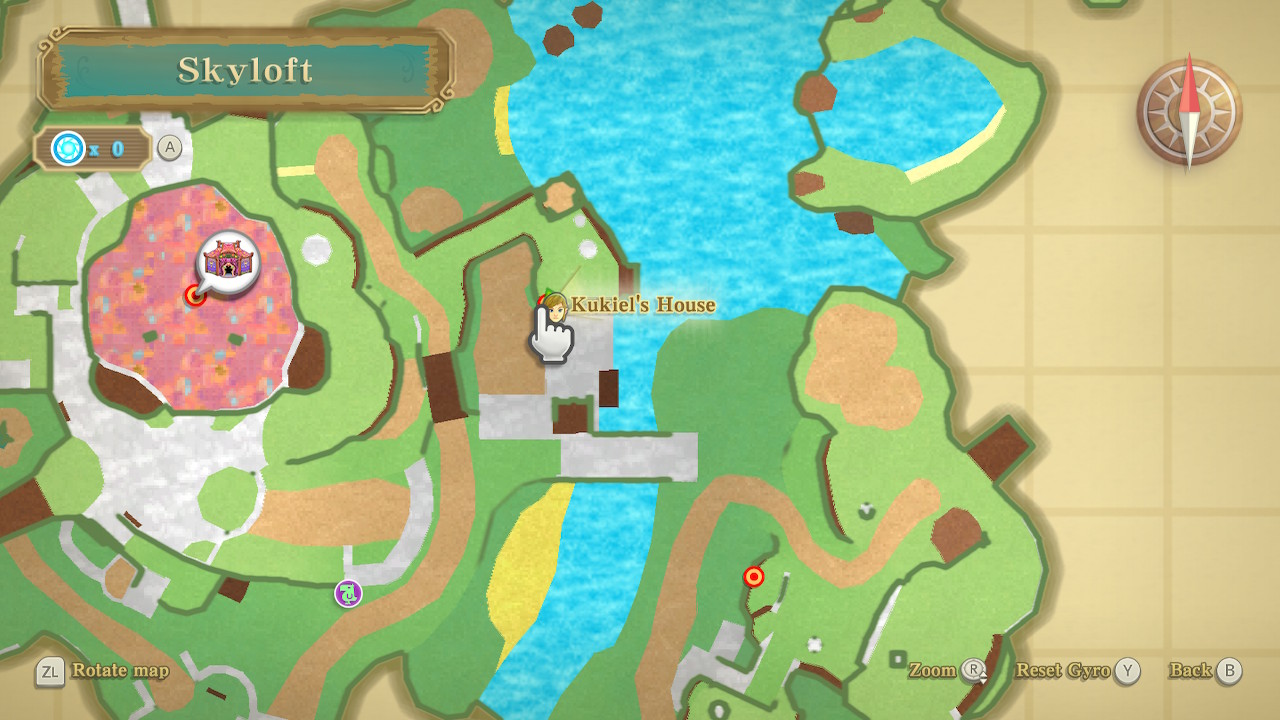
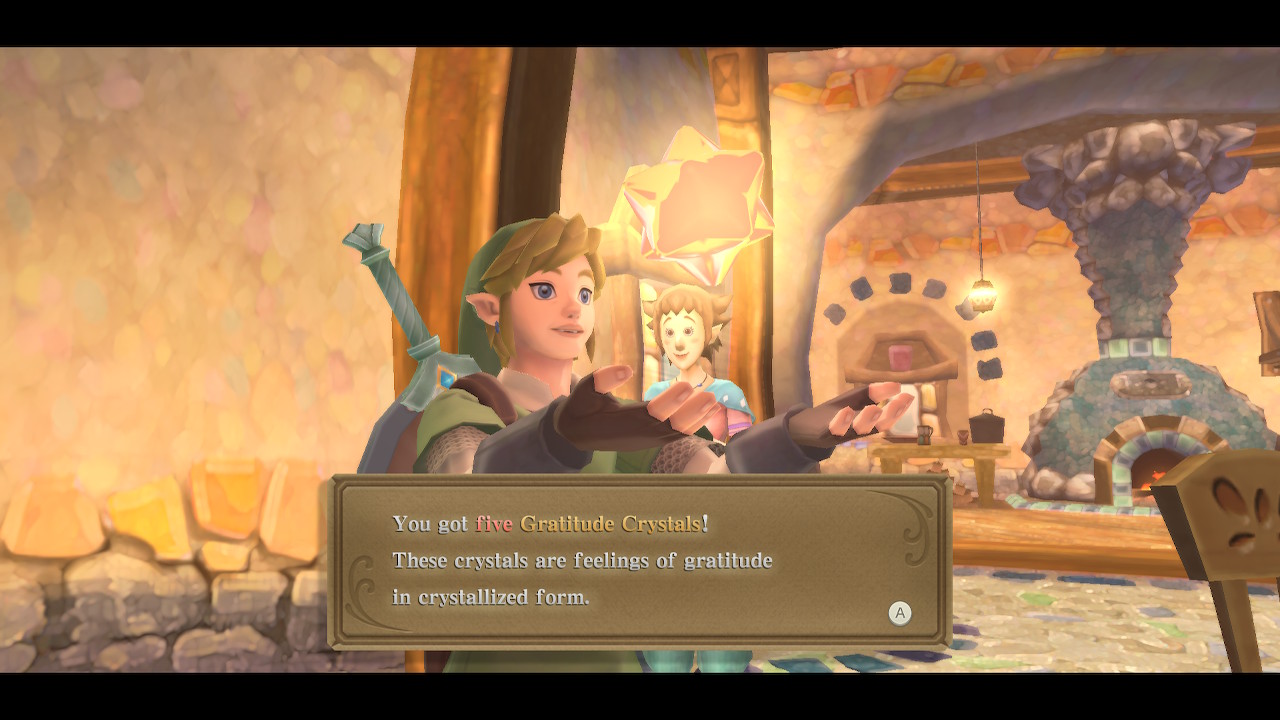
Exit Batreaux's house the way you came and find another bed to sleep until morning. Head to Kukiel's house, which is the closest to the bridge. Speak to Wryna and she will give you 5 Gratitude Crystals, closing out this quest.
Gratitude Crystals
There are several Gratitude Crystals that we can find around Skyloft now, but all of them can only be found at night. So sleep until night once again. You can find the crystals in the following location (night only):
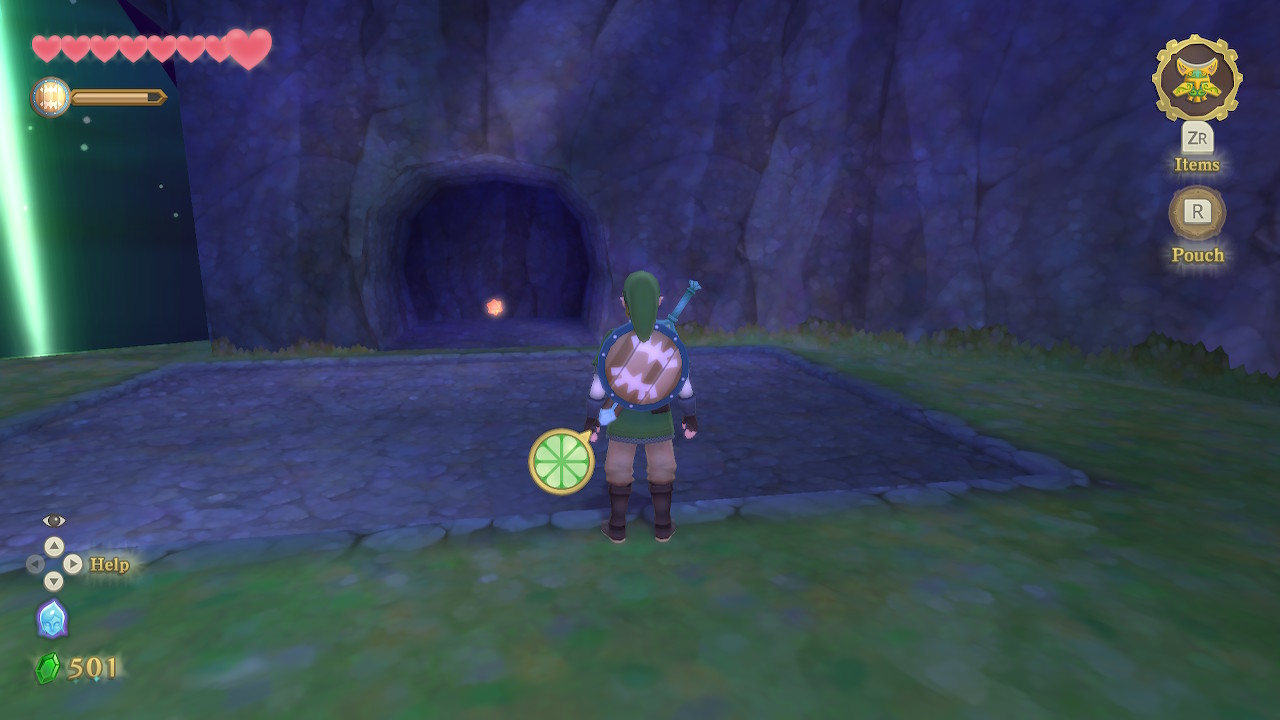
Navigate back through Waterfall Cave and exit out the other side. There is a Gratitude Crystal here near the bird statue.
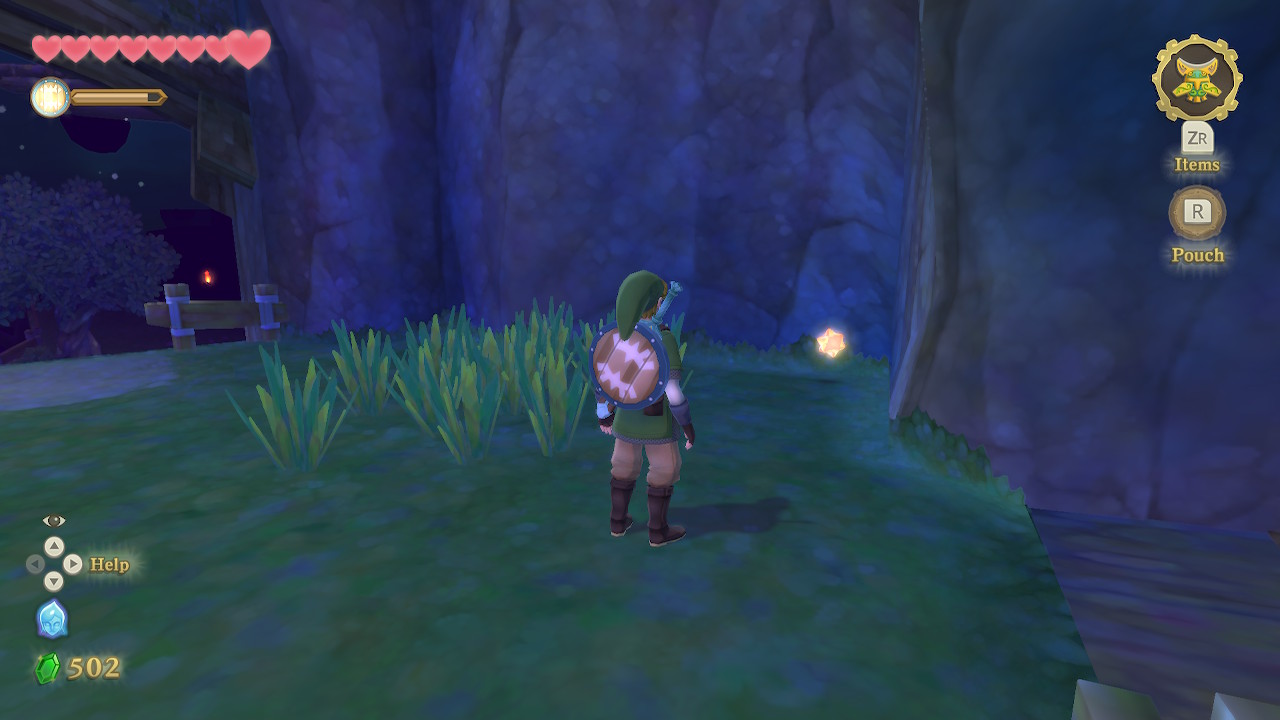
Continue down the path from the Waterfall Cave exit to the little alcove where your Loftwing was trapped at the beginning of the game to find another Gratitude Crystal.
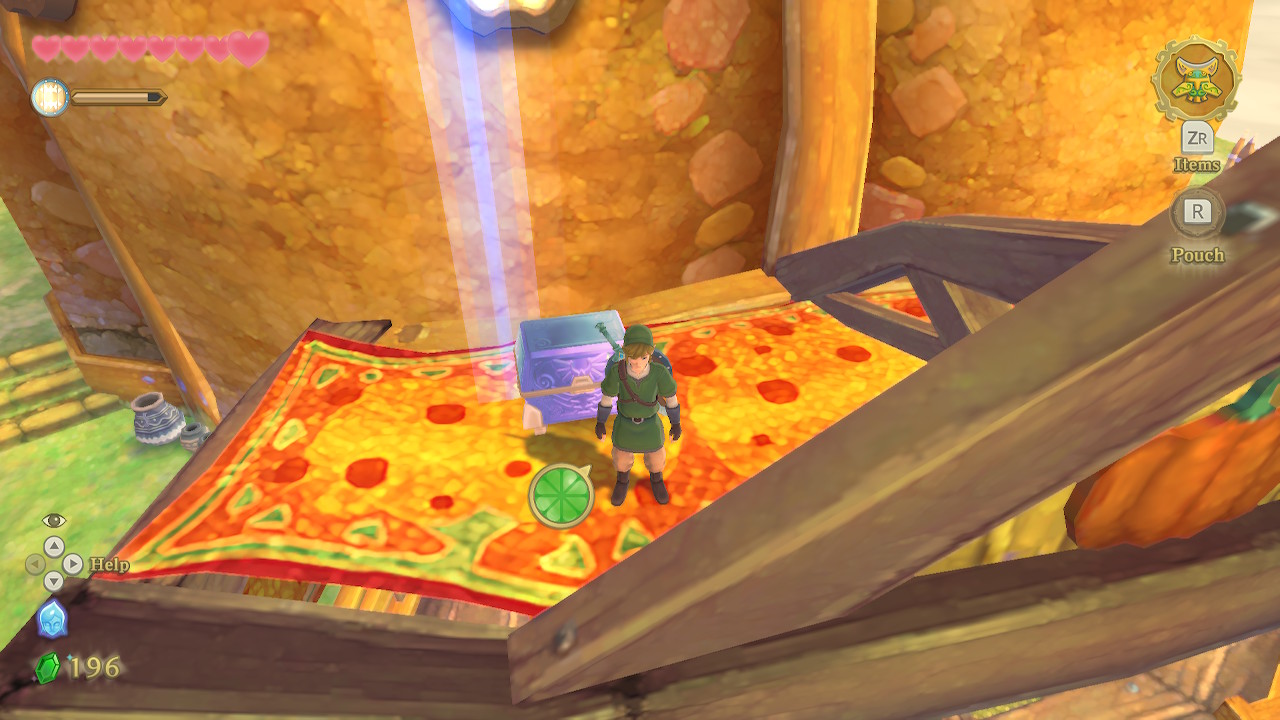
From the Waterfall Cave entrance, come back around to the area northeast of the Bazaar. On the low level here you'll find some wooden planks leading to another Gratitude Crystal.
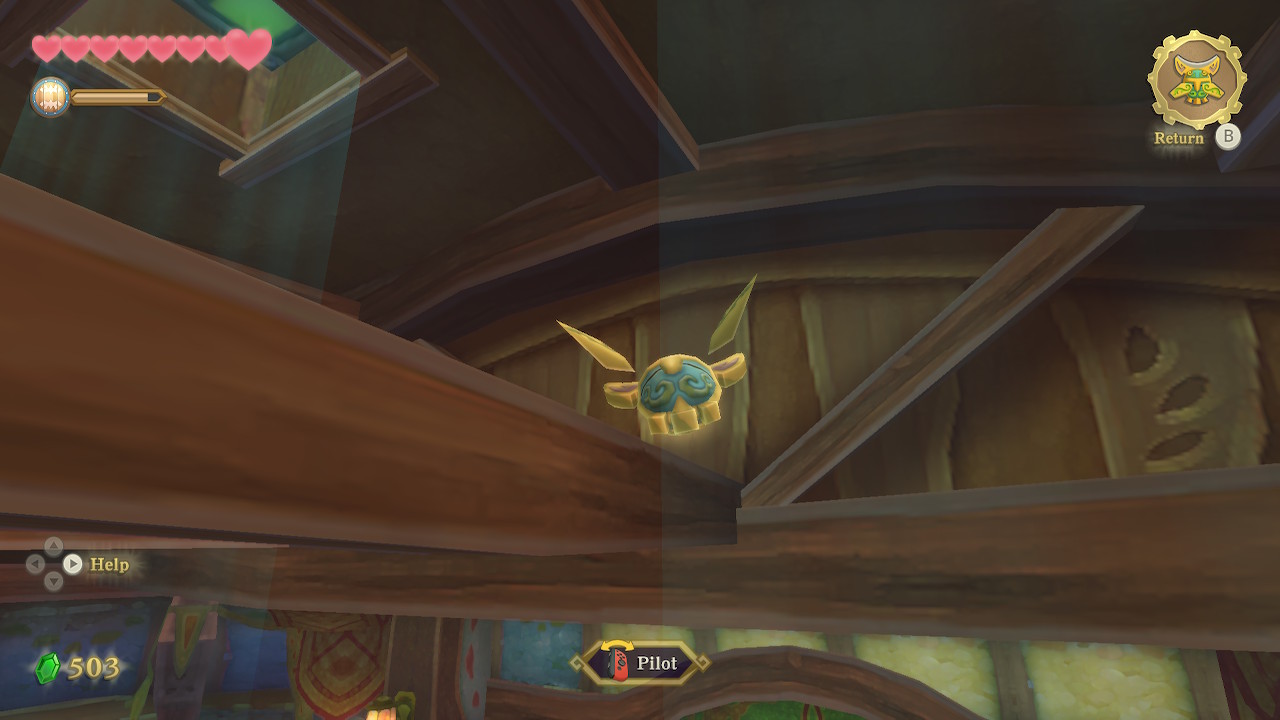
Enter the Sparring Hall and use the beetle to snag a Gratitude Crystal from up in the rafters.
Head back into the Knight Academy via the second floor entrance. You'll find a Gratitude Crystal by the plant to your left.
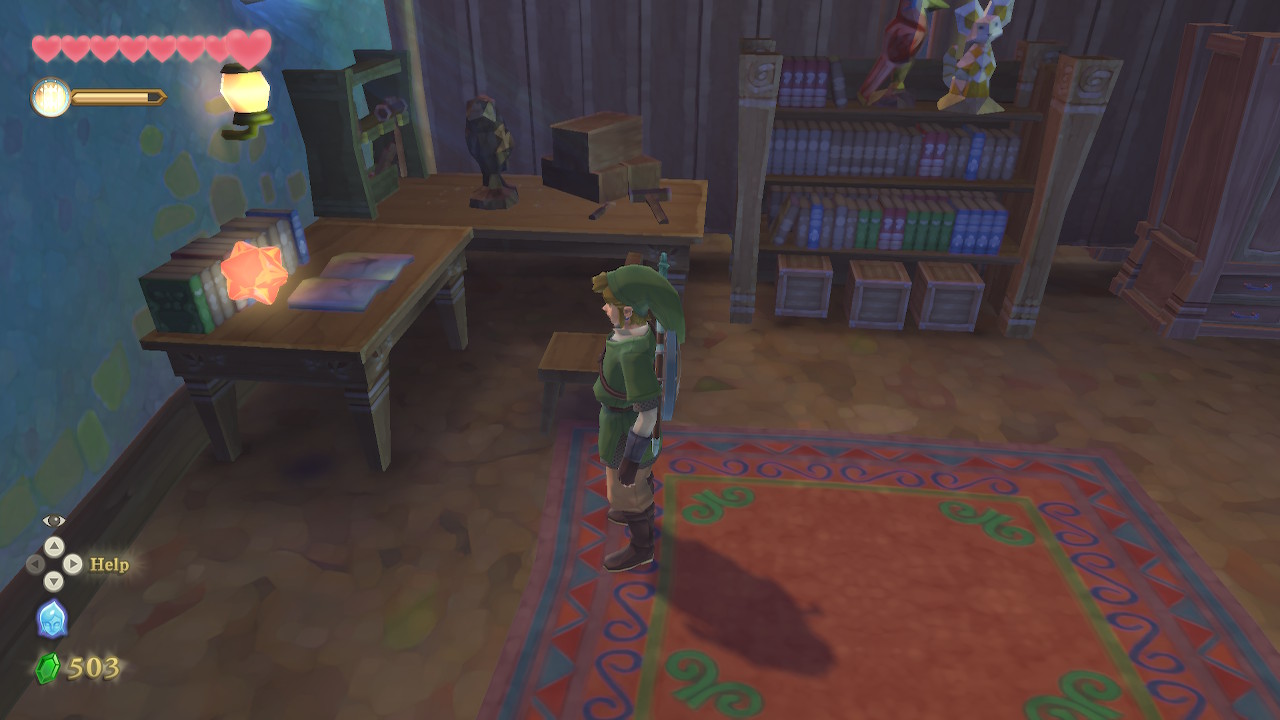
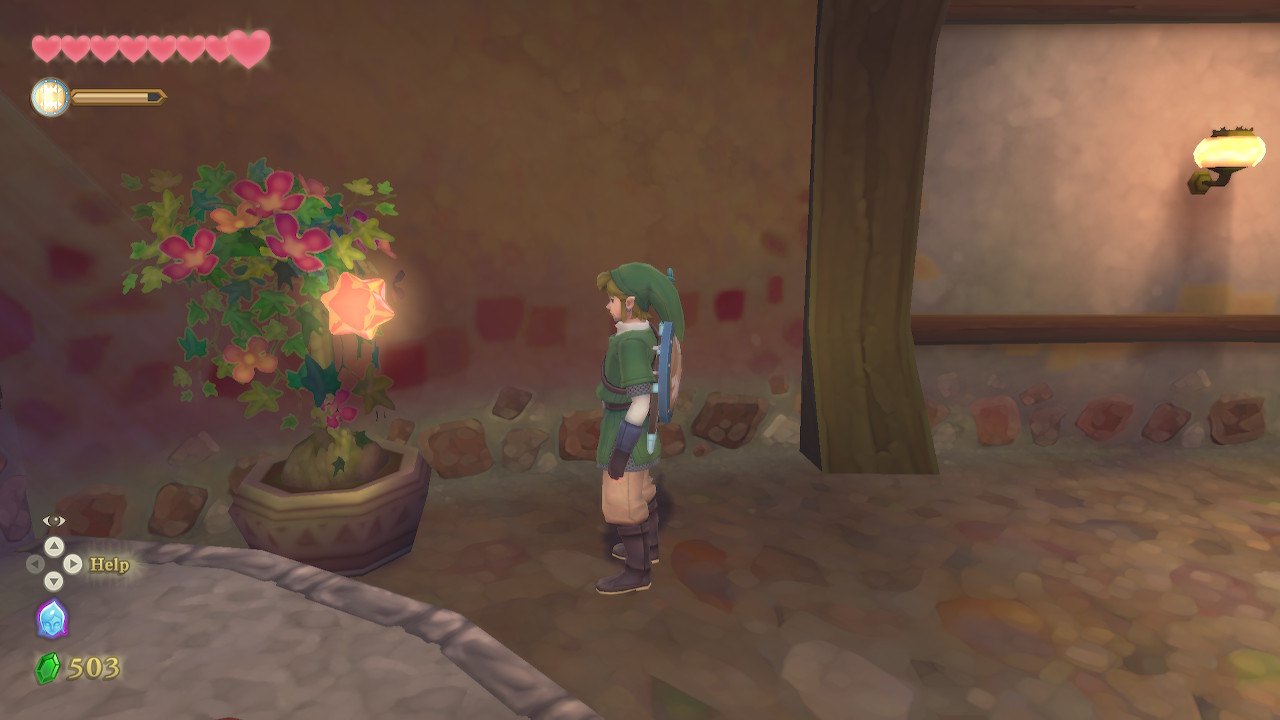
On the first floor of the Knight Academy, enter Link's room. You'll find a Gratitude Crystal on the desk.
Southwest of the Bazaar is a windmill. Drop or climb down to the platform below here to find another Gratitude Crystal.
Enter the house just southwest of the Bazaar across from the windmill. In the corner of this room you'll find another Gratitude Crystal.
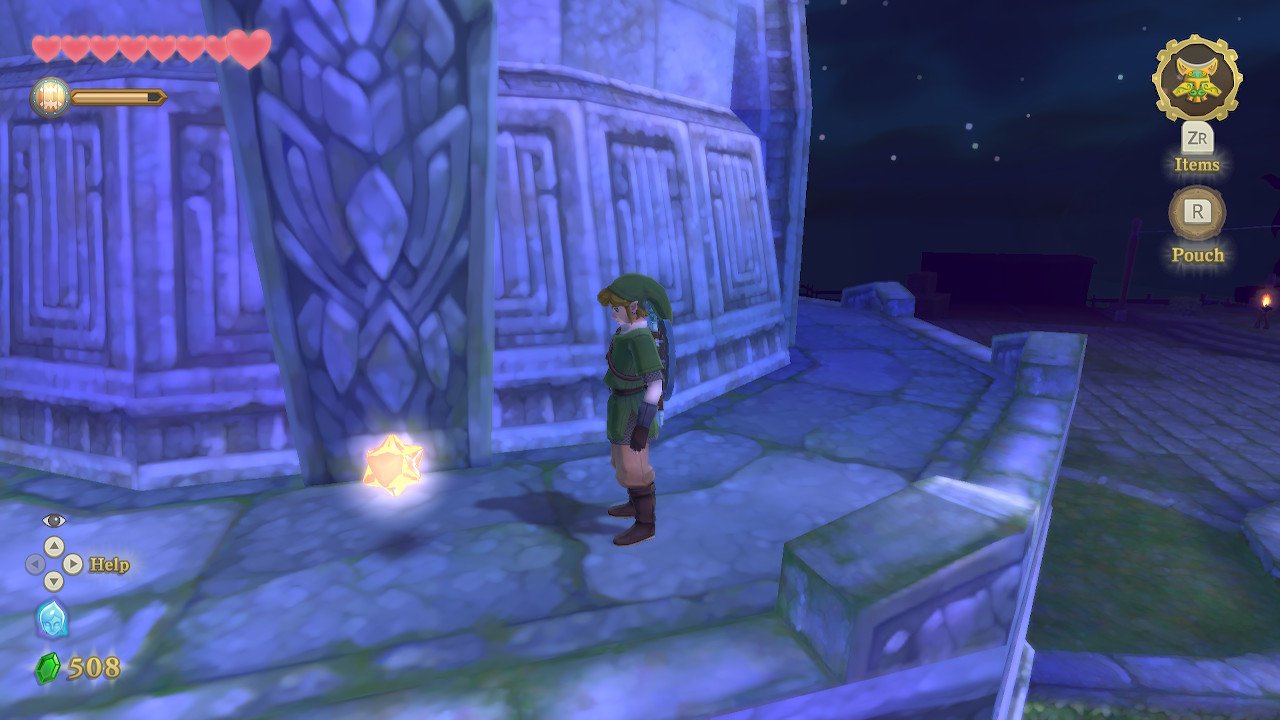
On the south end of Skyloft, climb up one level of the Light Tower and check around the back side to find another Gratitude Crystal.
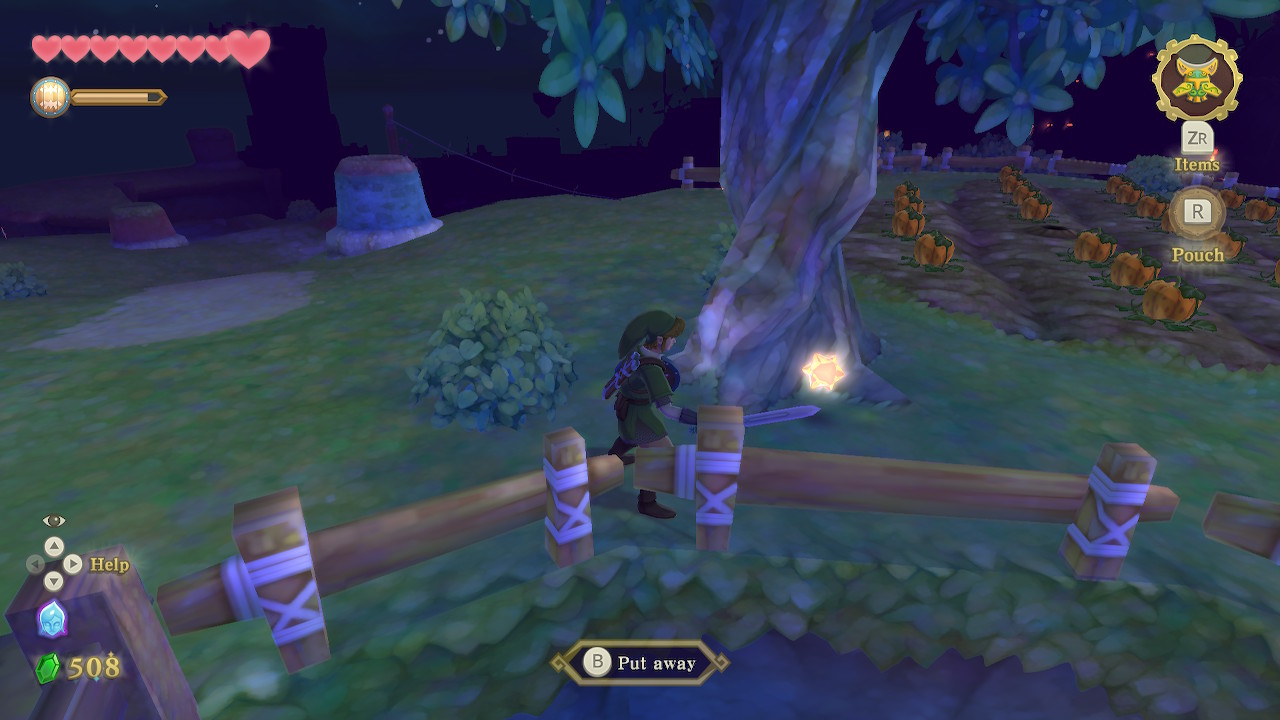
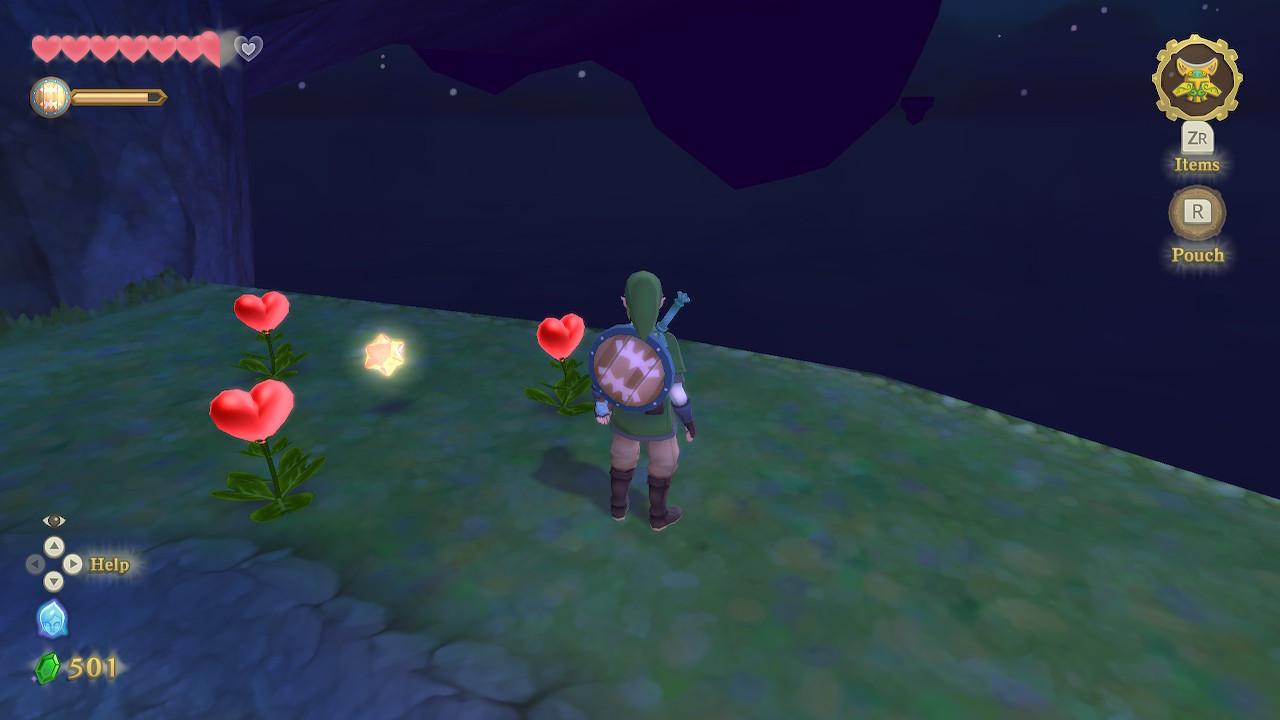
On the east side of the island is a large pumpkin patch. You'll find another Gratitude Crystal behind a tree here.
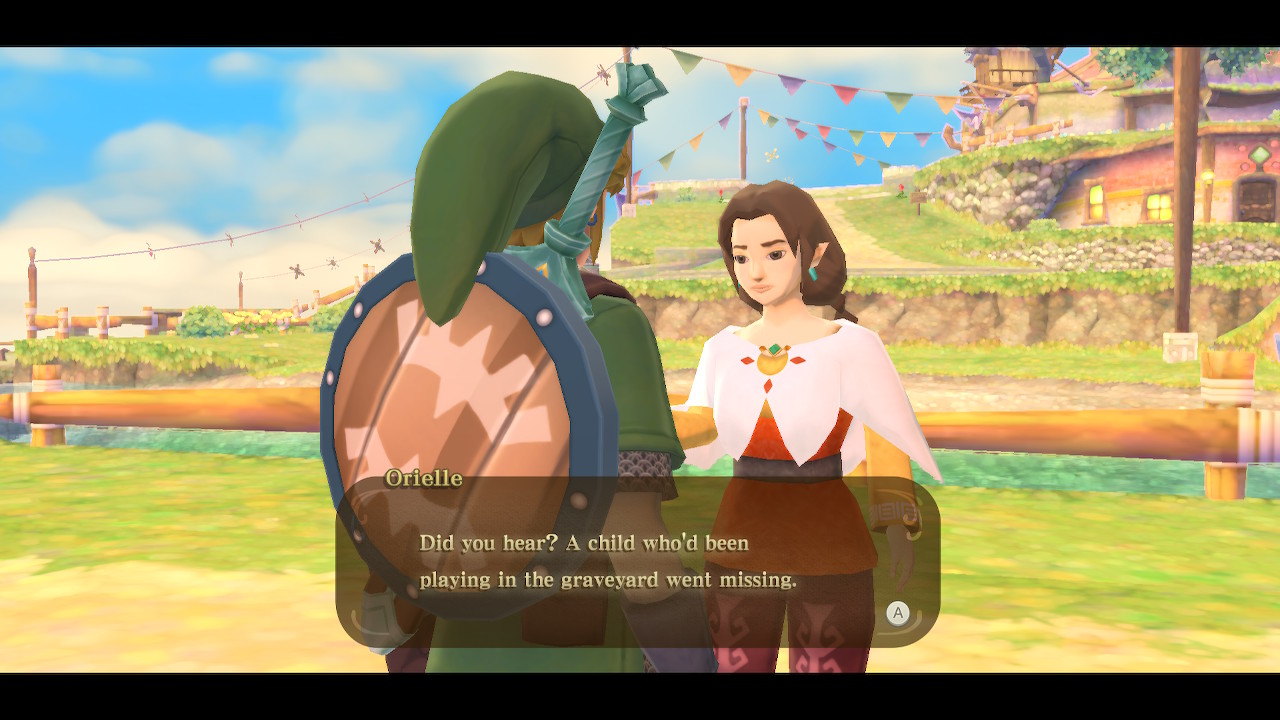
Parrow and Orielle's Quest
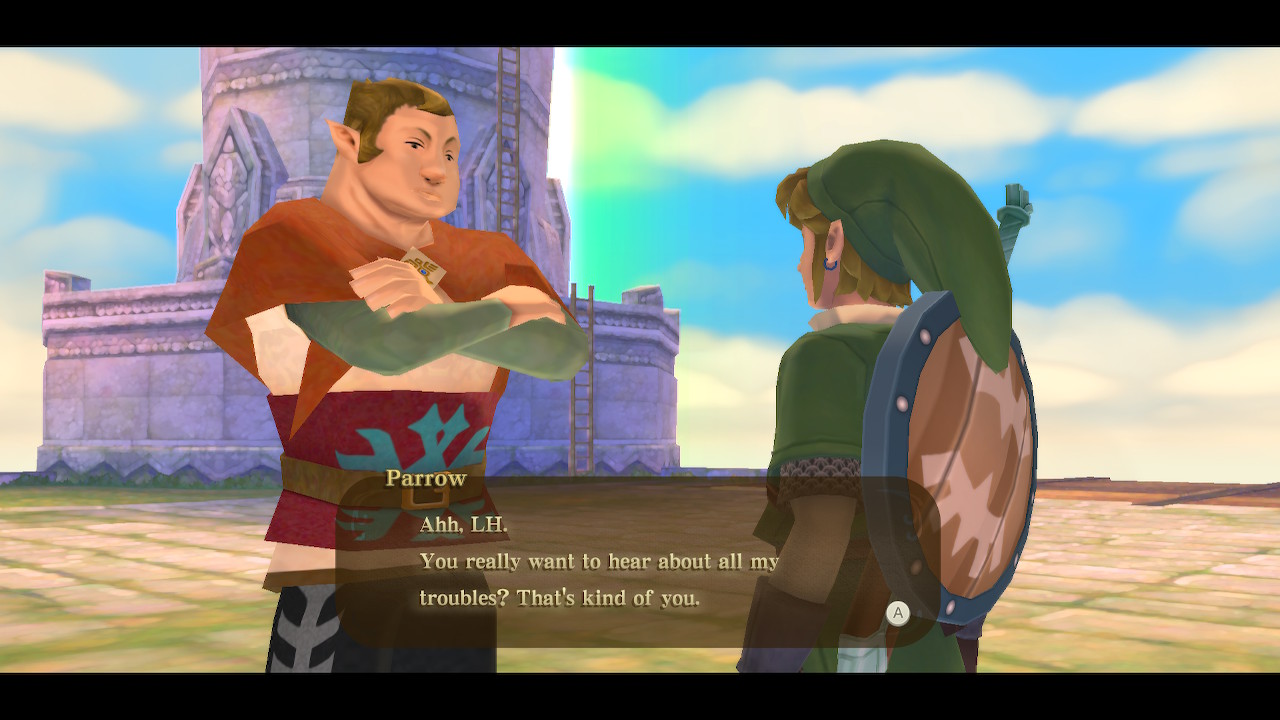
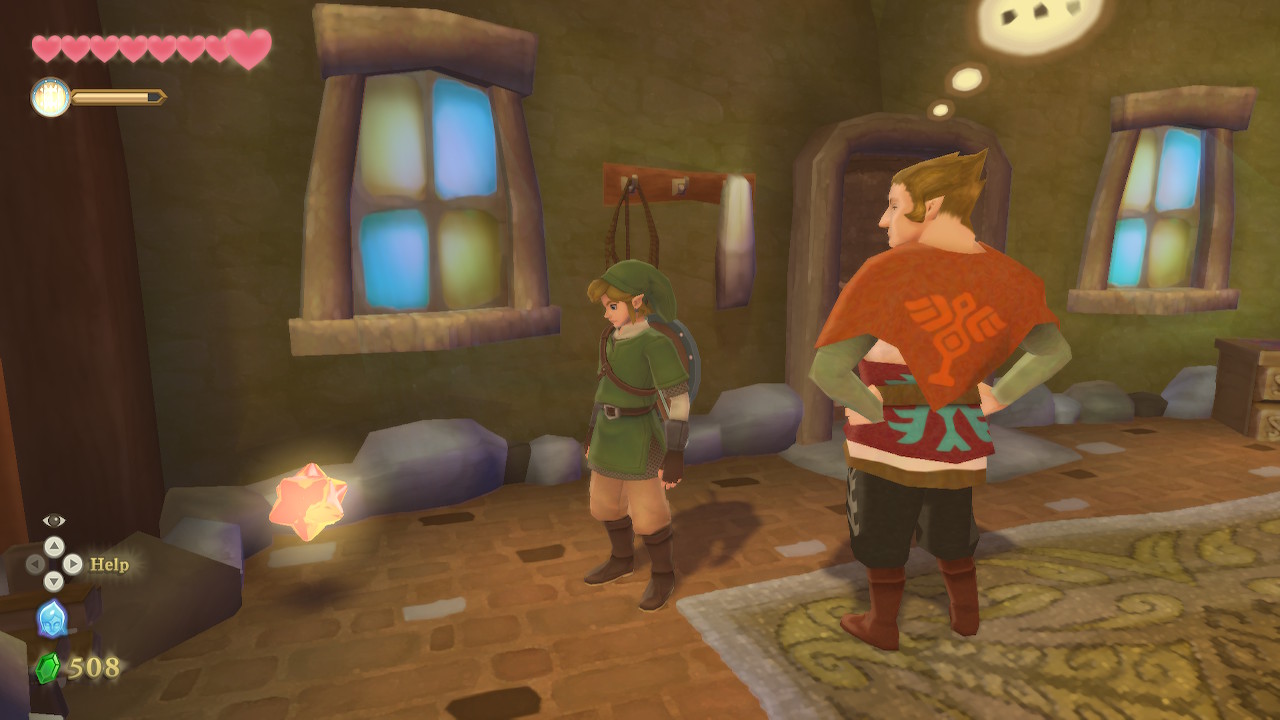
After collecting all 10 Gratitude Crystals around town, find somewhere to sleep until morning. Head to the Light Tower on the southwest side of town where you should run into Parrow. He will send you on a quest to find his lost sister, Orielle.
Take to the skies and fly your Loftwing towards the colorful island in the southwest of the map. Our actual destination is the small island to the east of this, where you'll comes across Orielle and her sick bird. She wants you to go back to Parrow and get some medicine for her.
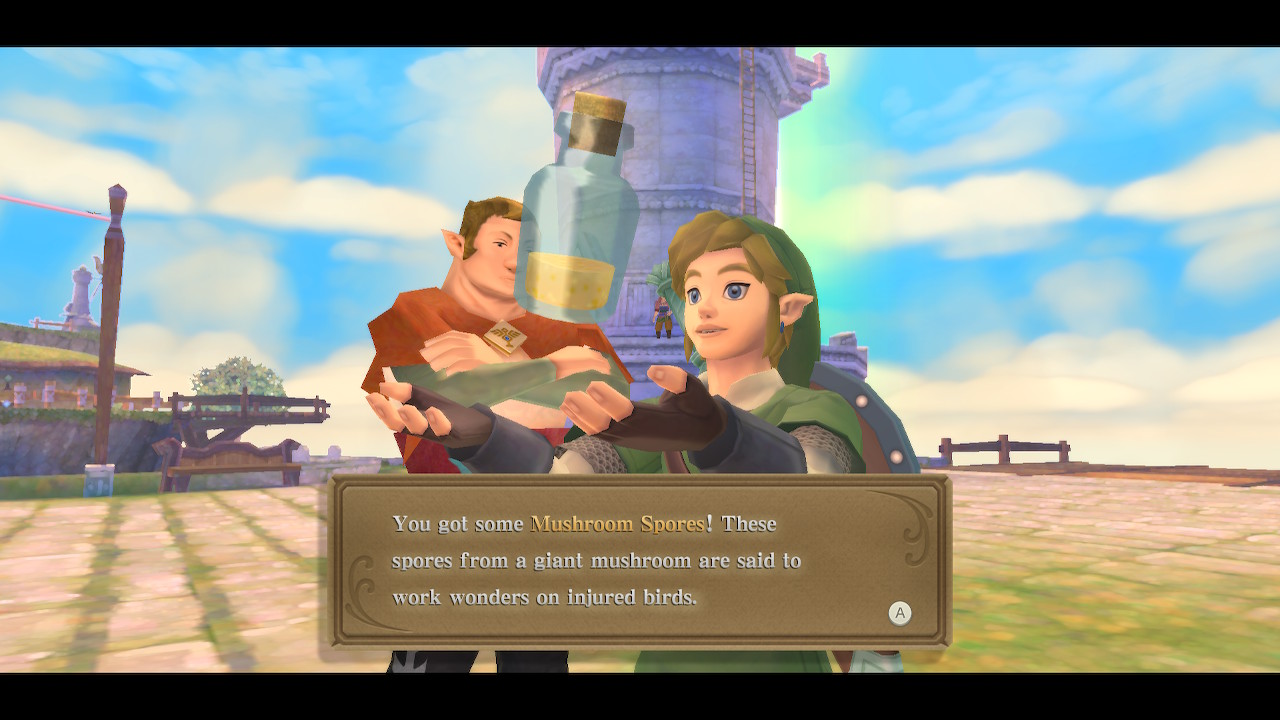
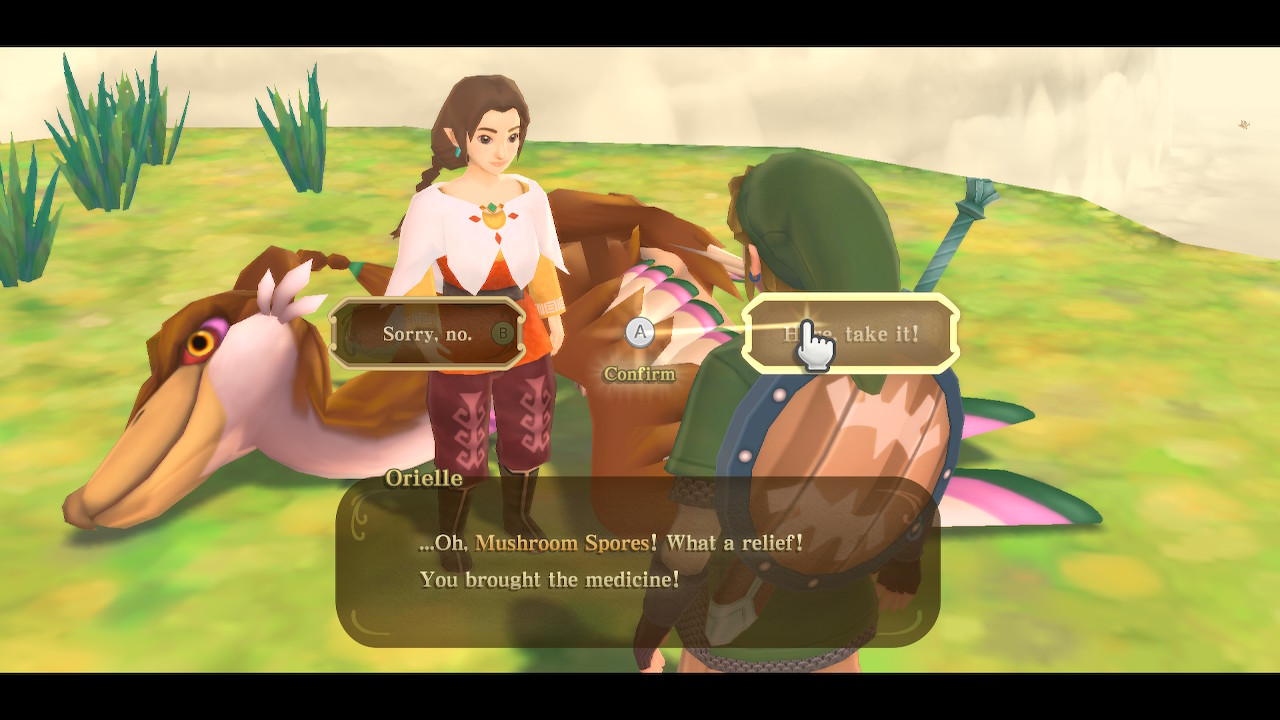
Fly back to Skyloft and find Parrow in the same location you found him before. He will give you a bottle of Mushroom Spores. Fly back to Orielle on the same island once again and give her the spores to heal her bird. As a reward for this, she'll give you 5 Gratitude Crystals. You'll also get to keep the now Empty Bottle, your third one. Head back to Skyloft when you are done. Speak to Parrow for a final time and he too will give you an additional 5 Gratitude Crystals.
Upgrades
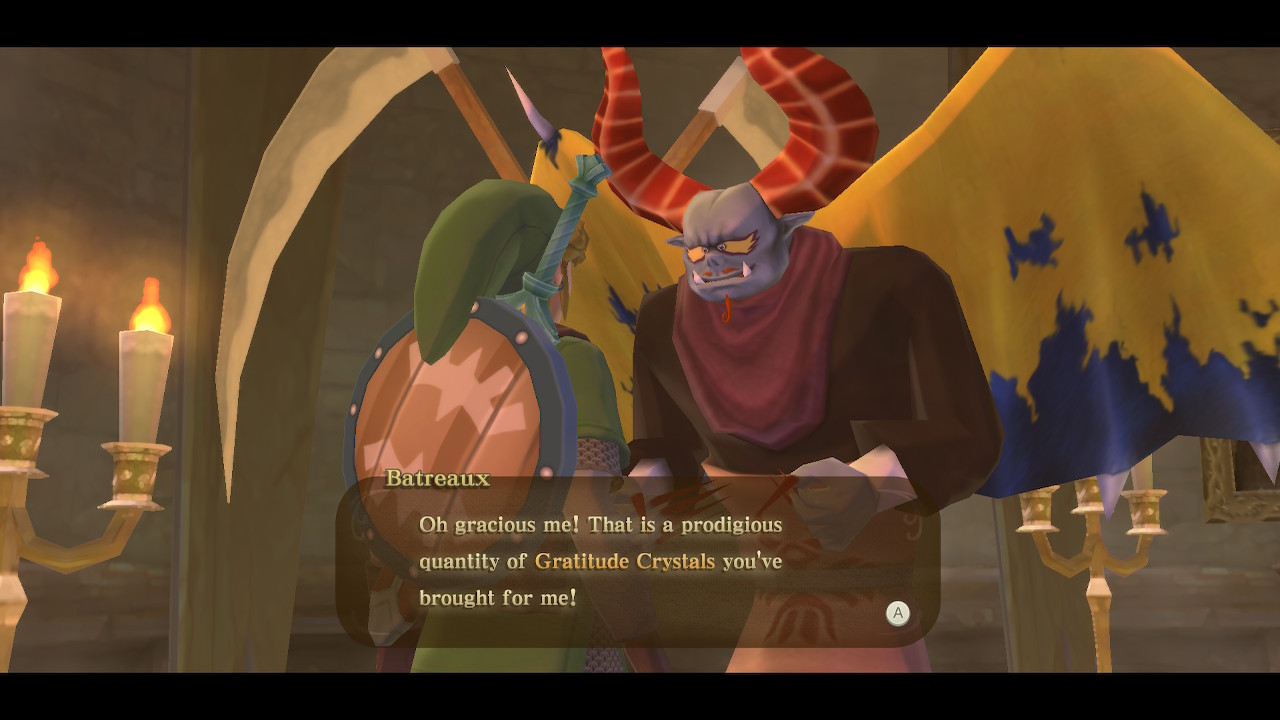

Now that we've collected all the Gratitude Crystals that we can for the time being, it's time to collect some rewards. Head back to Batreaux's house via the same Graveyard route you took before. He will give you the Medium Wallet (5 Gratitude Crystals) and Heart Piece #5 (10 Gratitude Crystals). The medium wallet holds 500 rupees, so assuming you bought an extra wallet your total capacity should now be 800 rupees.
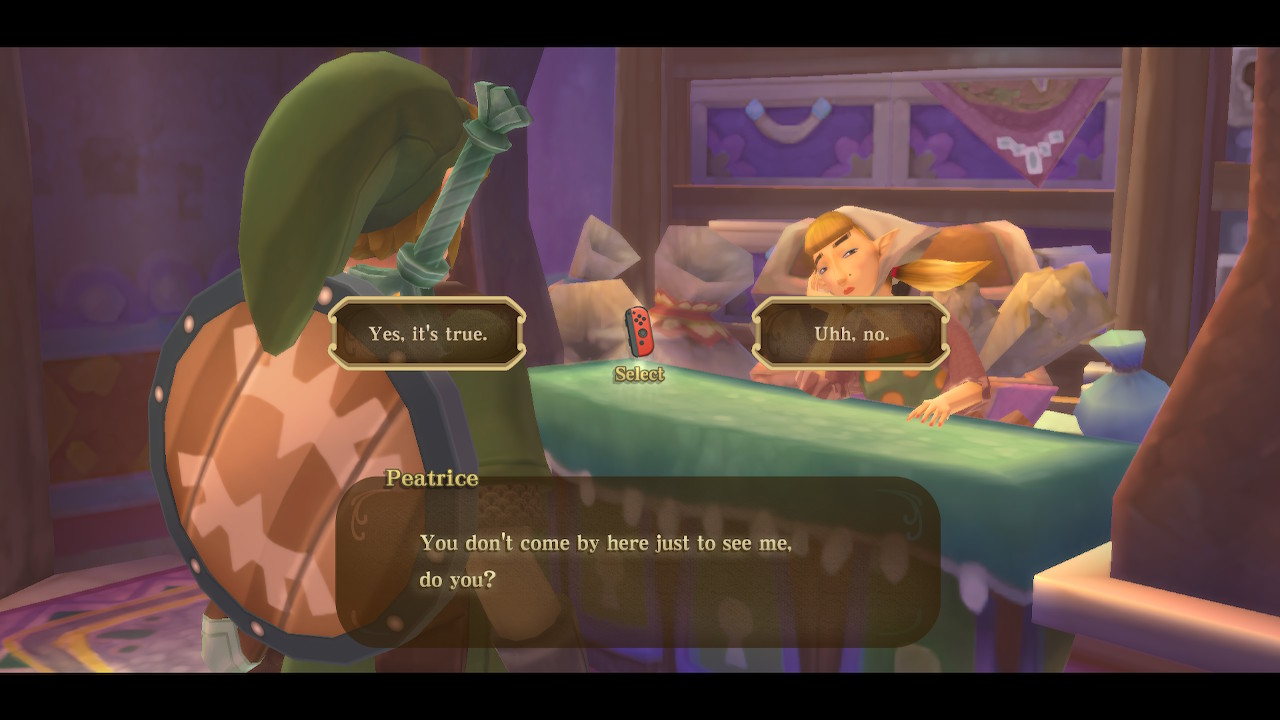
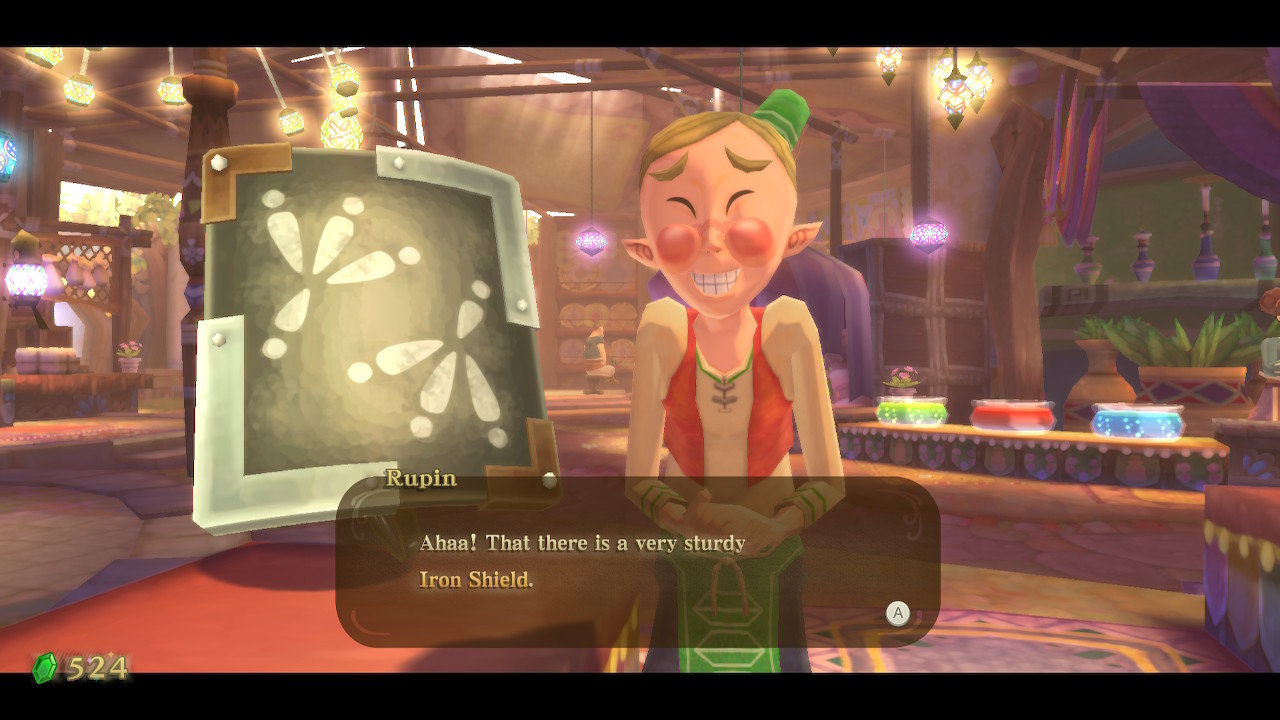
It's time to empty our new wallet by paying another visit to the Bazaar. First speak to Peatrice to store your Banded Shield. You should speak to her every time you enter the Bazaar to establish a friendship that initiates a quest later on. Next head over to Rupin and purchase the newly available Iron Shield and Small Seed Satchel for 100 rupees each.
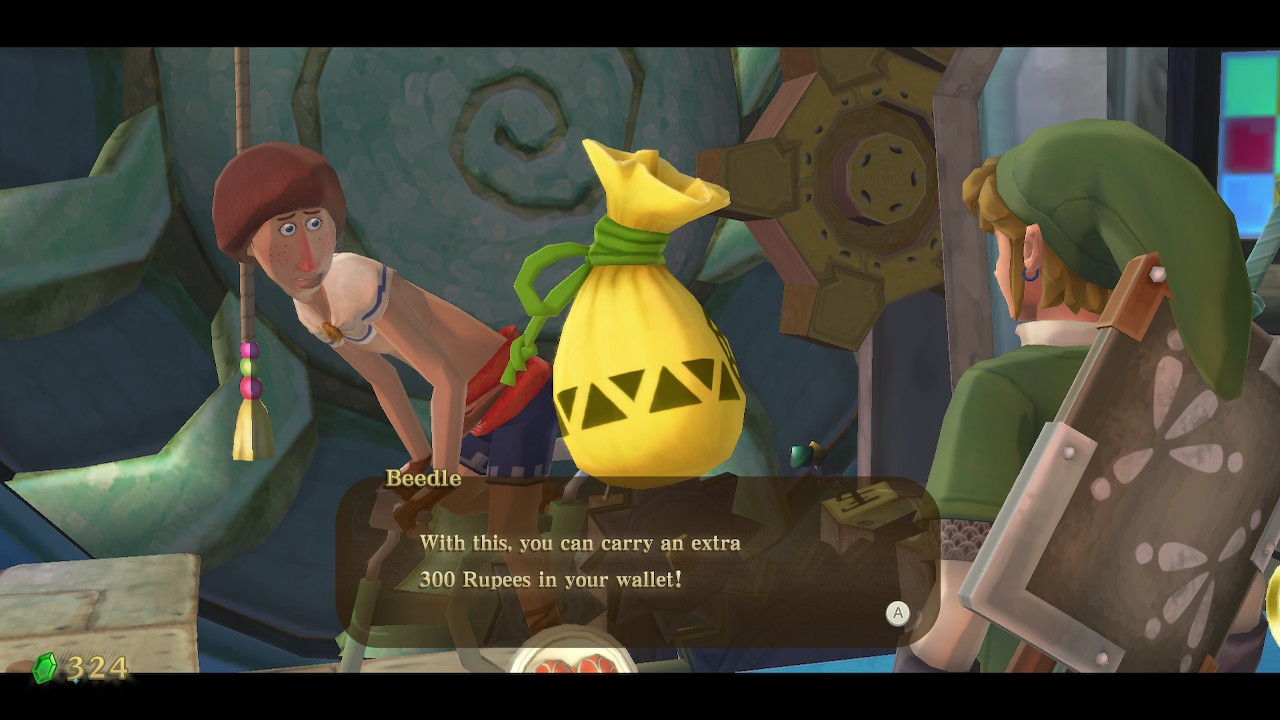
Our final stop is back in Beedle's Air Shop. Find the floating shop somewhere in town and shoot the bell to gain access once again. Here you can buy another Extra Wallet for 100 rupees, increasing your total rupee capacity to 1,100. If you have enough rupees for it, you can also buy another Adventure Pouch for 300 rupees. It's not needed yet so if you can't afford it don't worry about it for now.
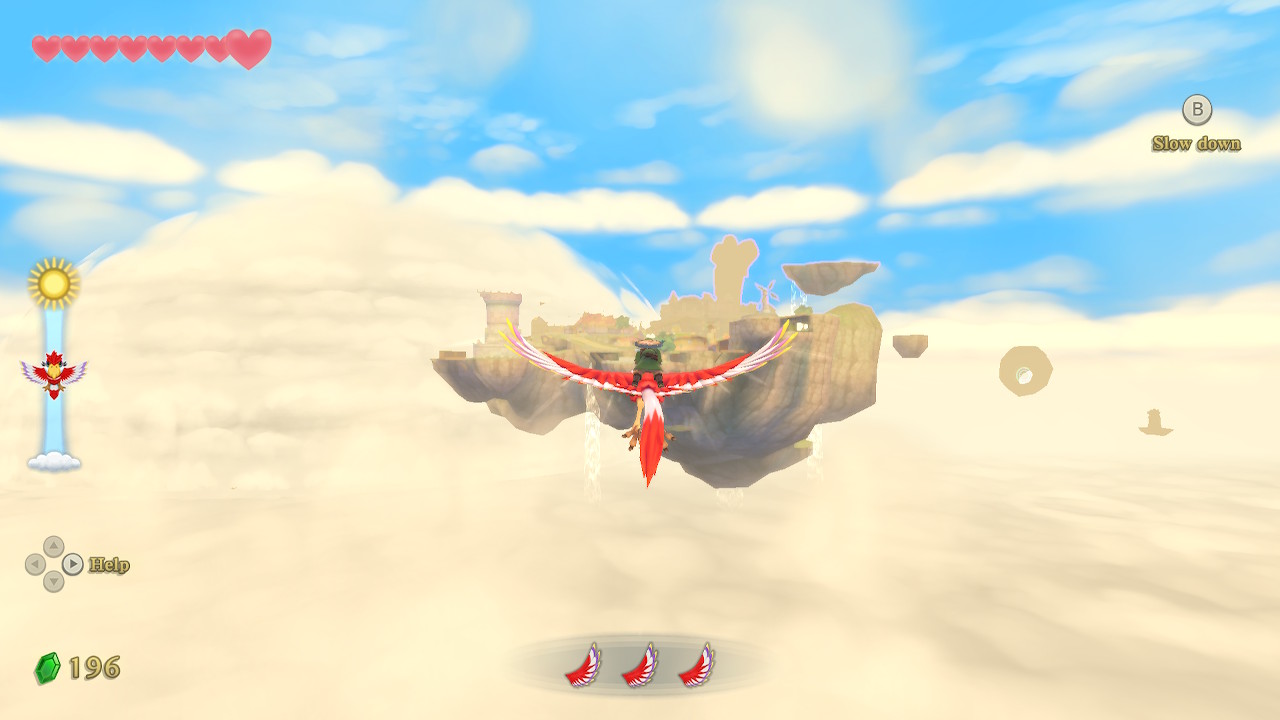
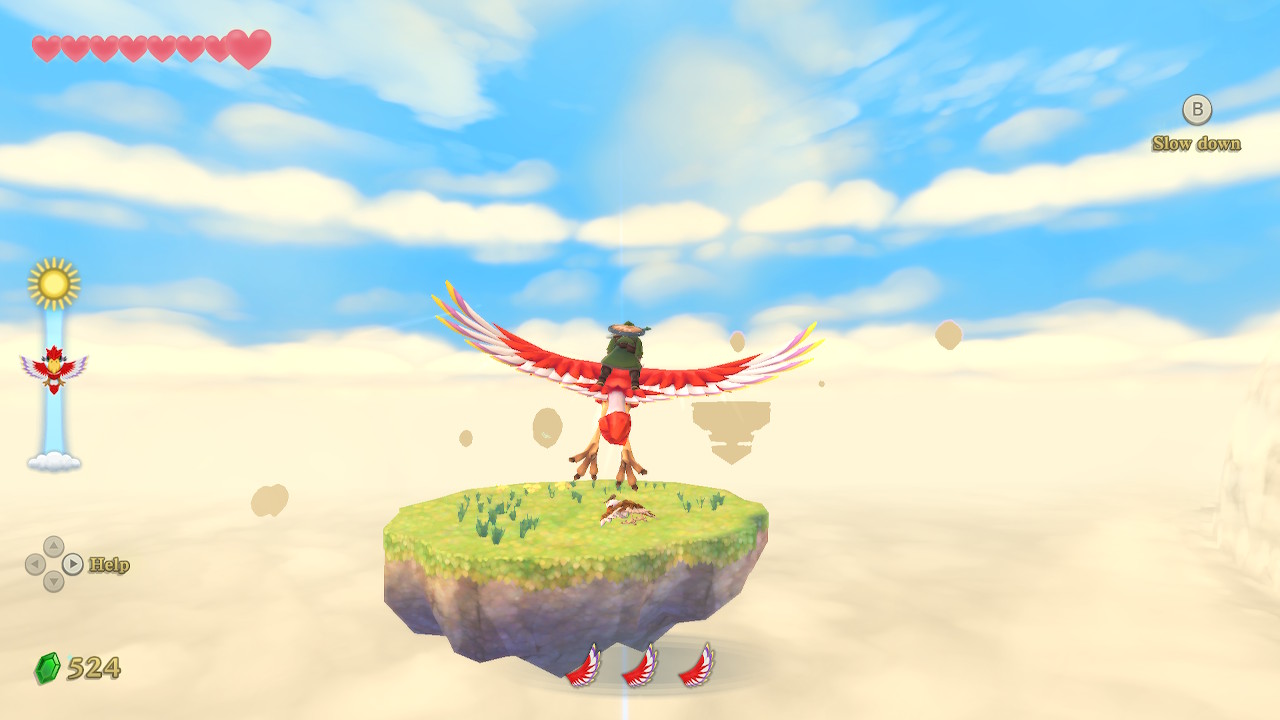
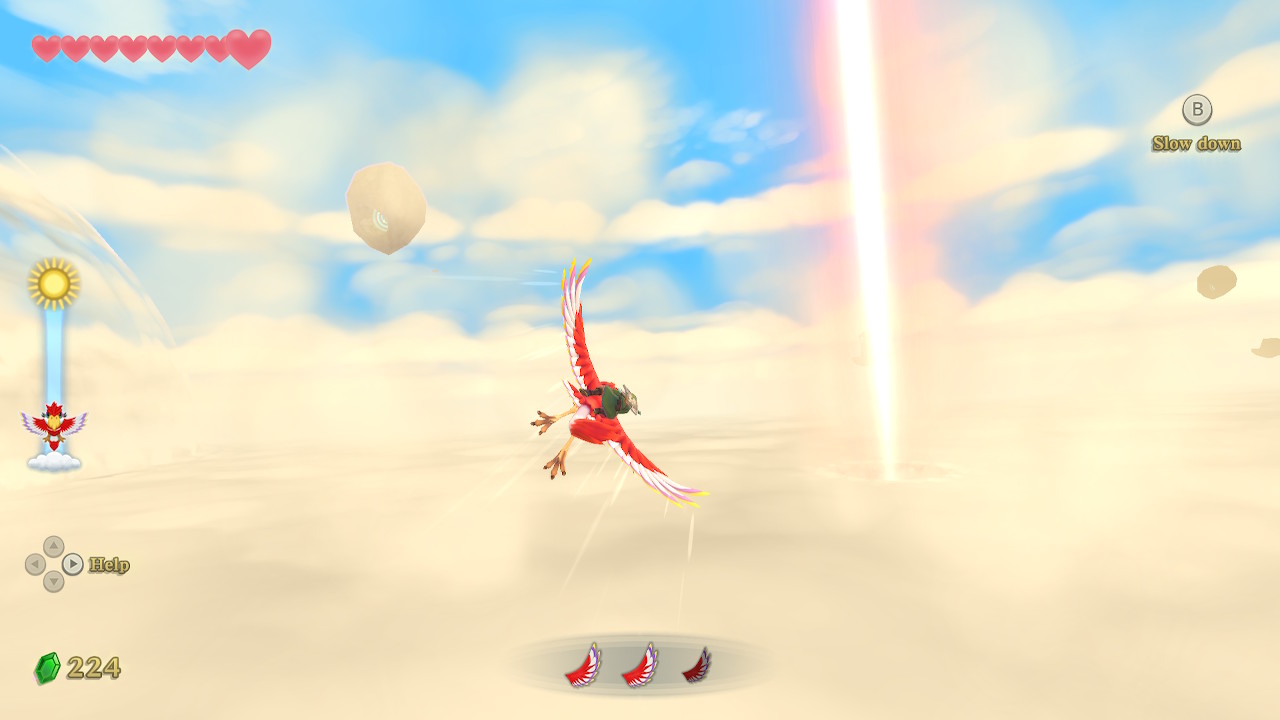
We are now finished with our collectathon and ready to head to the next area. When you are ready, take to the skies and fly your Loftwing towards the red pillar in the sky. Drop down into the new area when you reach it.
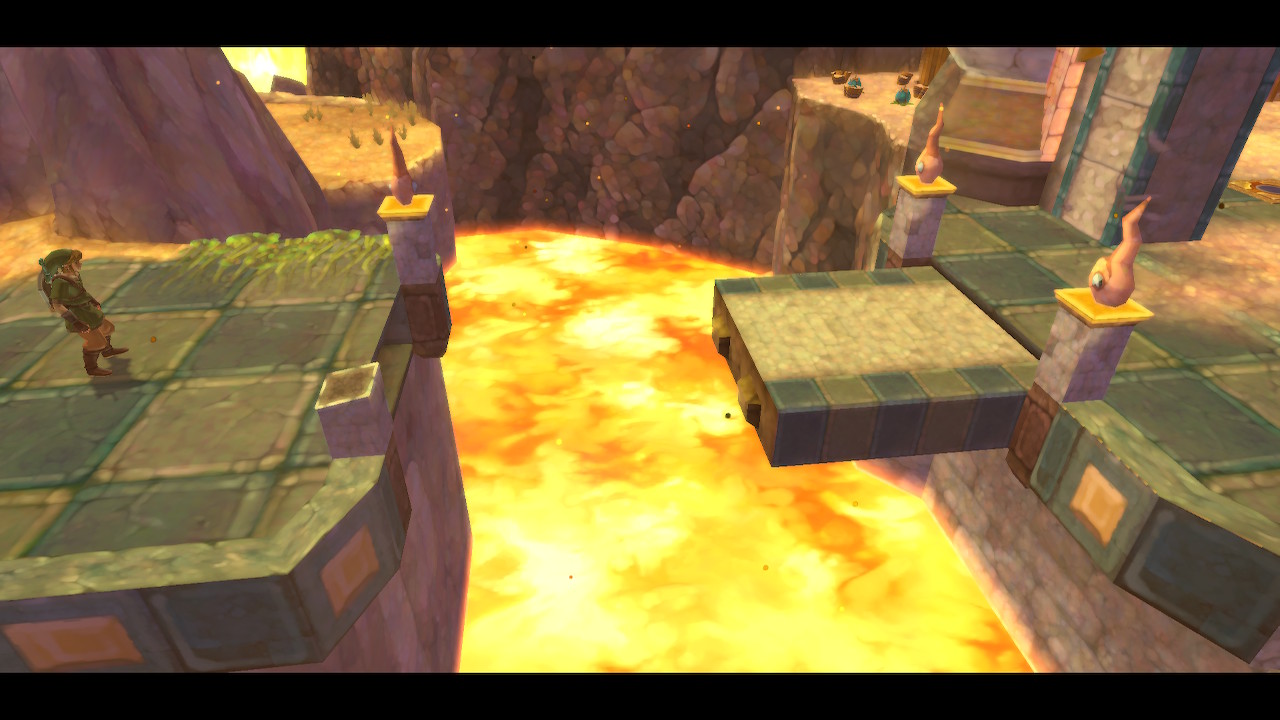
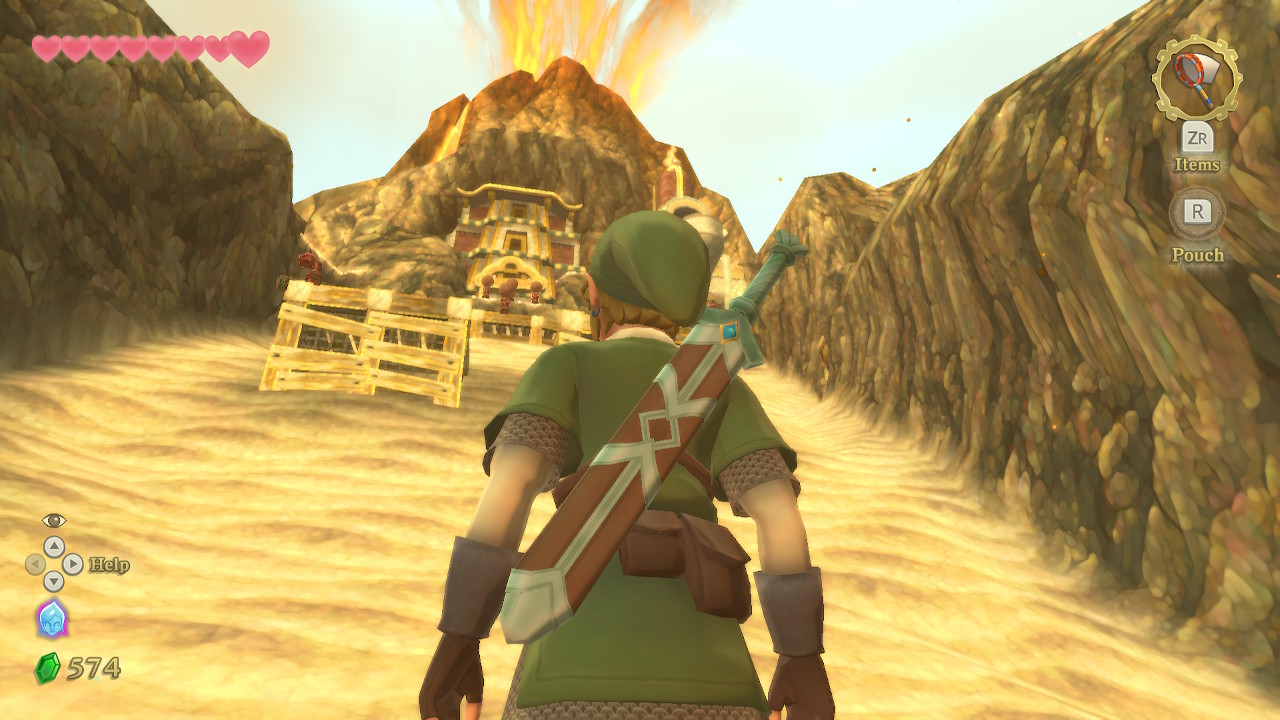
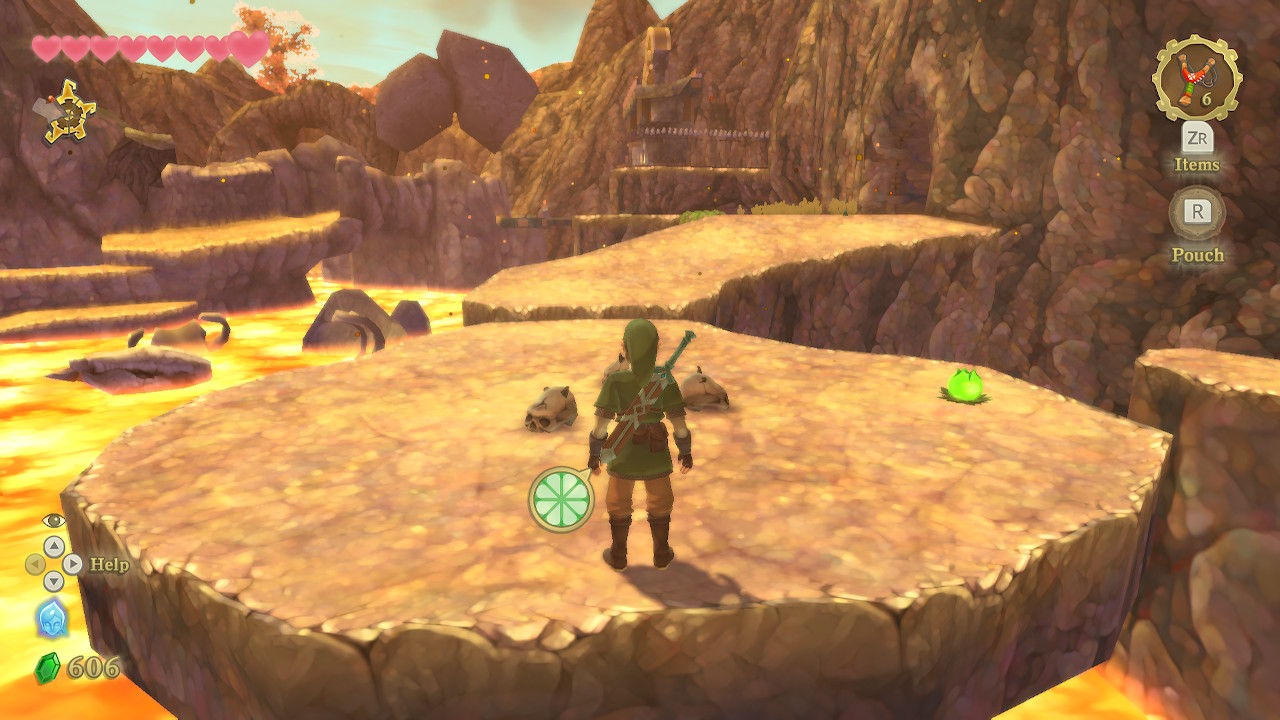
Eldin Volcano
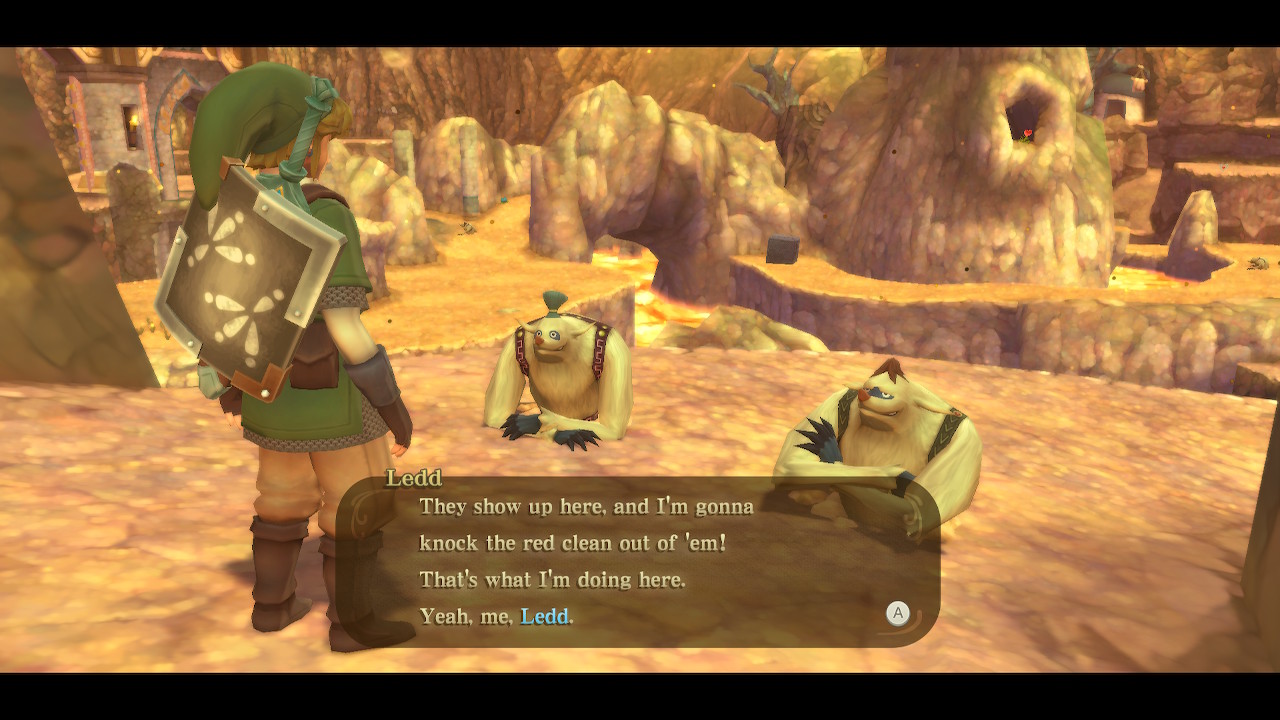
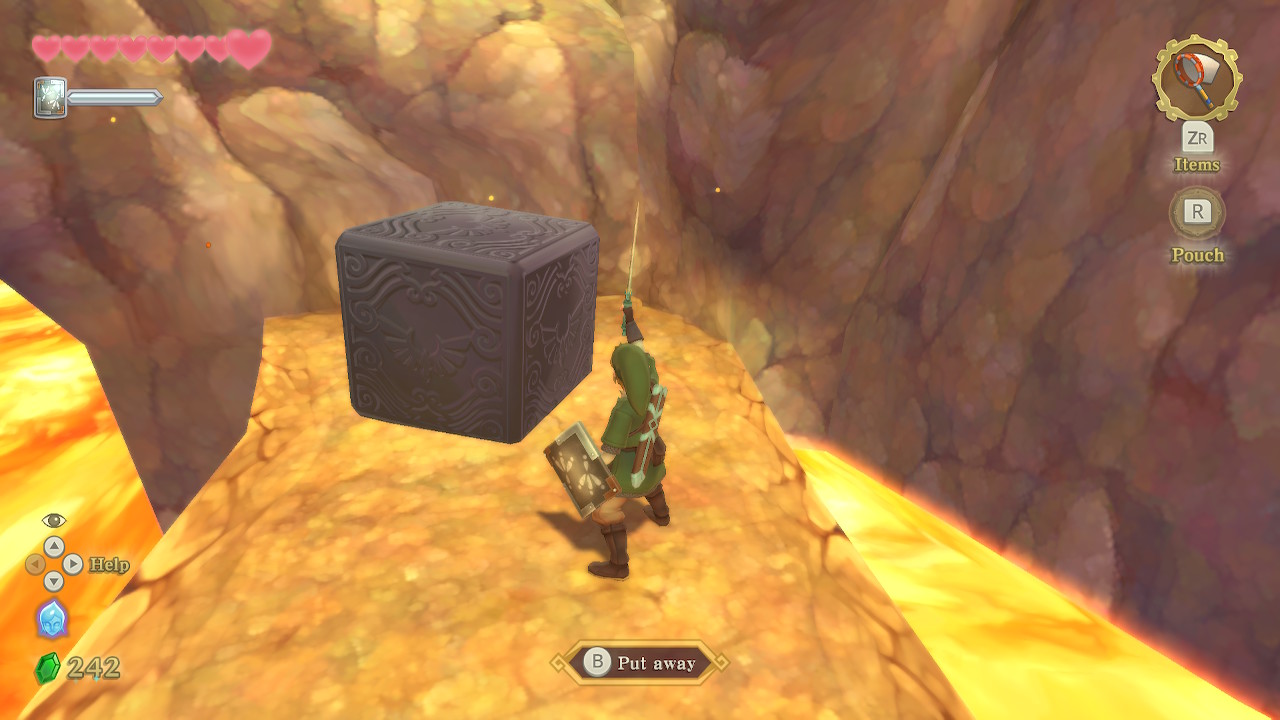
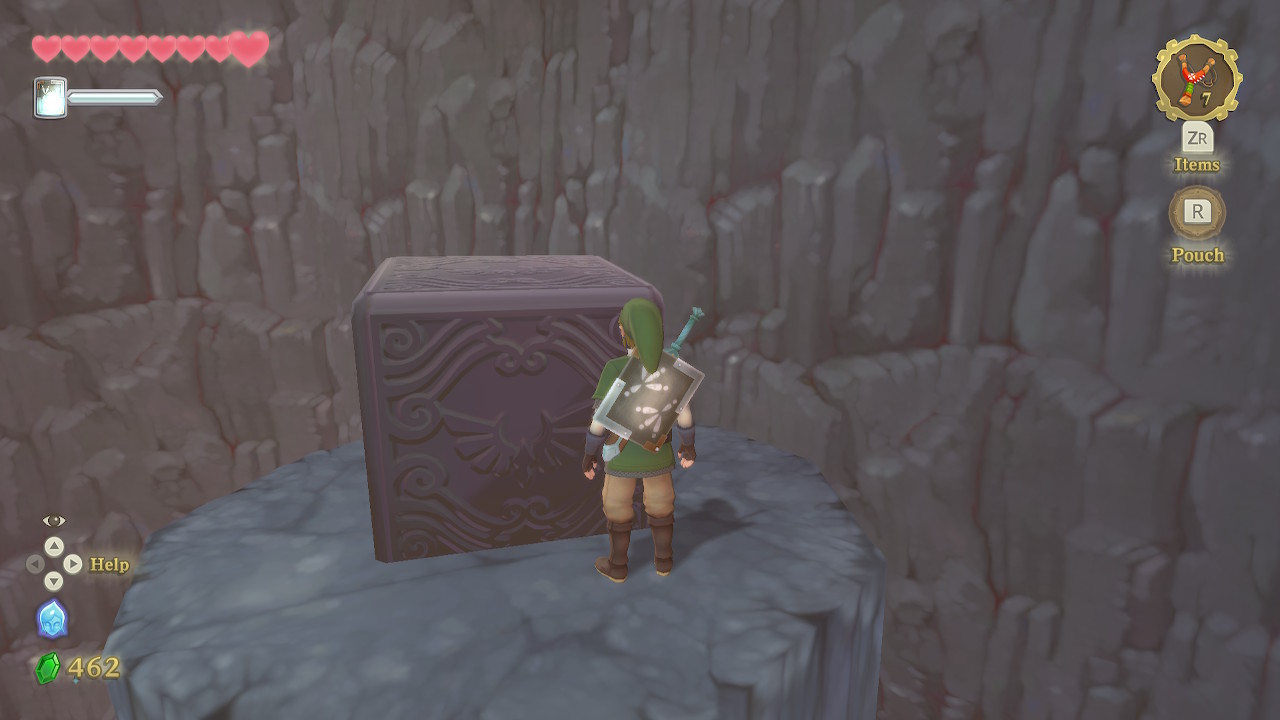
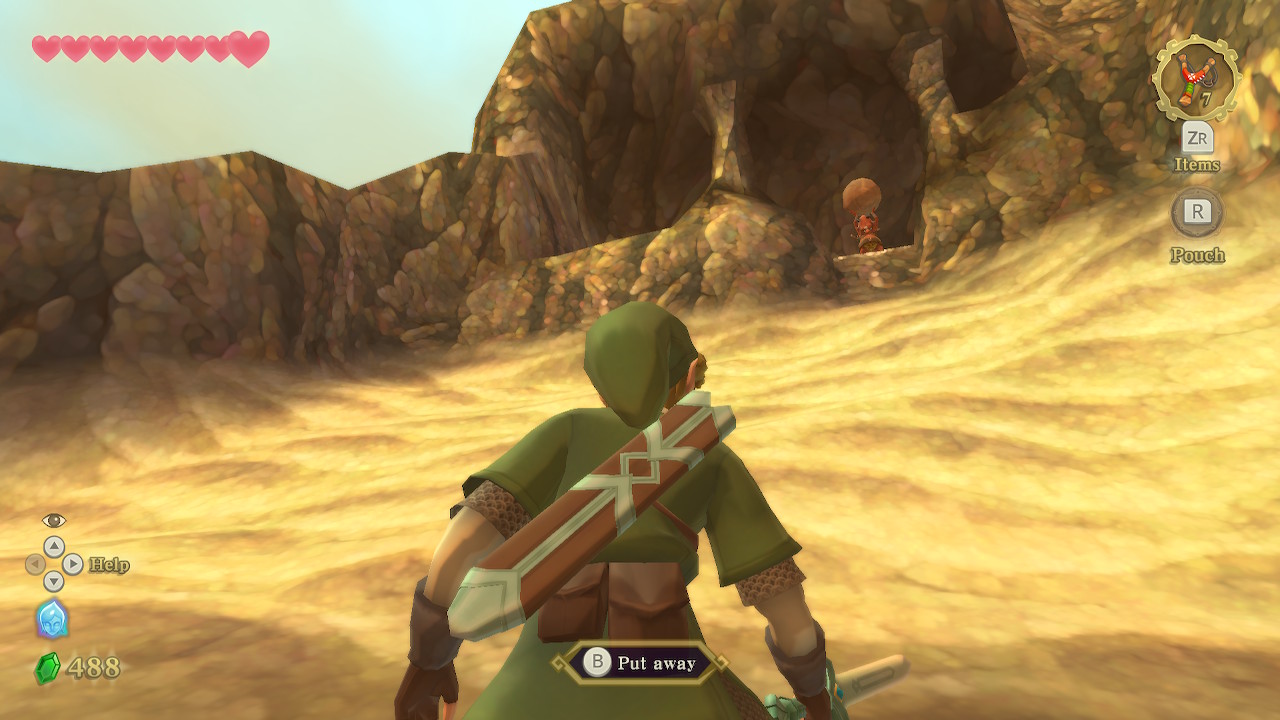
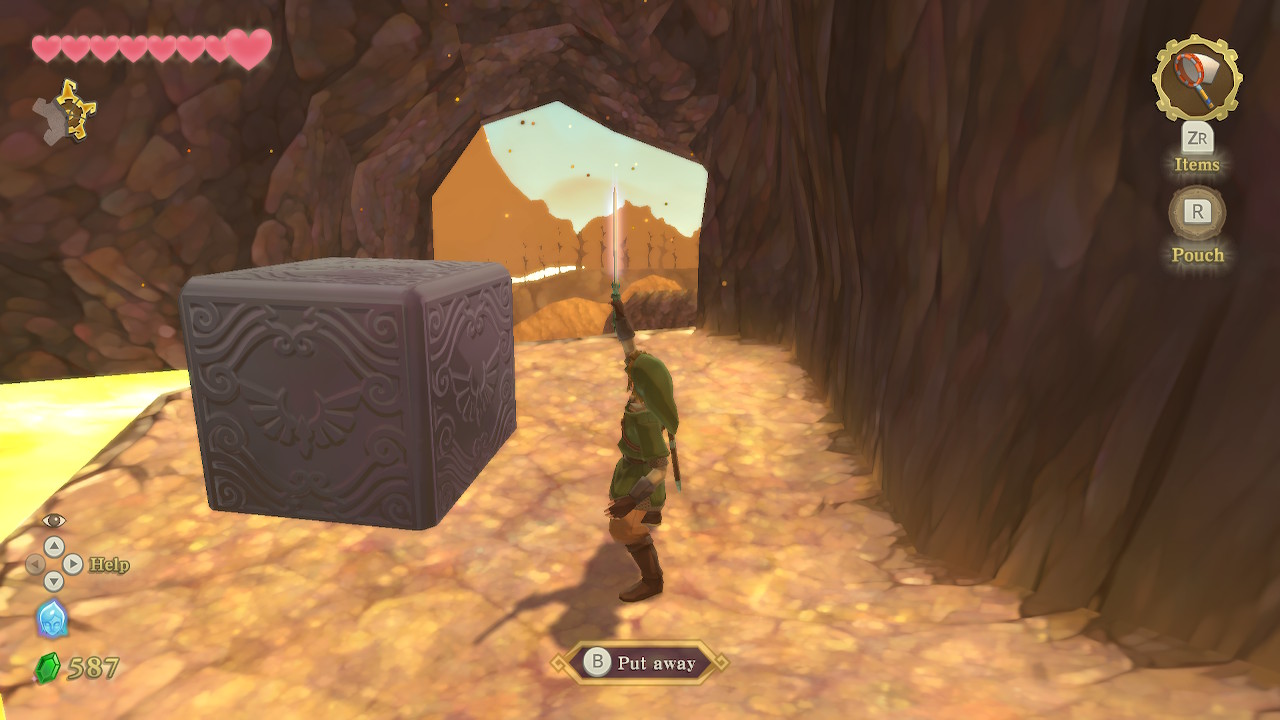
This new area is largely covered in lava, and as such is home to several new enemies, many of which are red or fire variants of known enemies. Head forward and immediately drop down to the left to find Goddess Cube #4. Deliver a Skyward Strike to activate it. Continue forward on the right path and two characters named Ledd and Cobal will introduce themselves. They belong to the Mogma, a tribe of underground diggers.
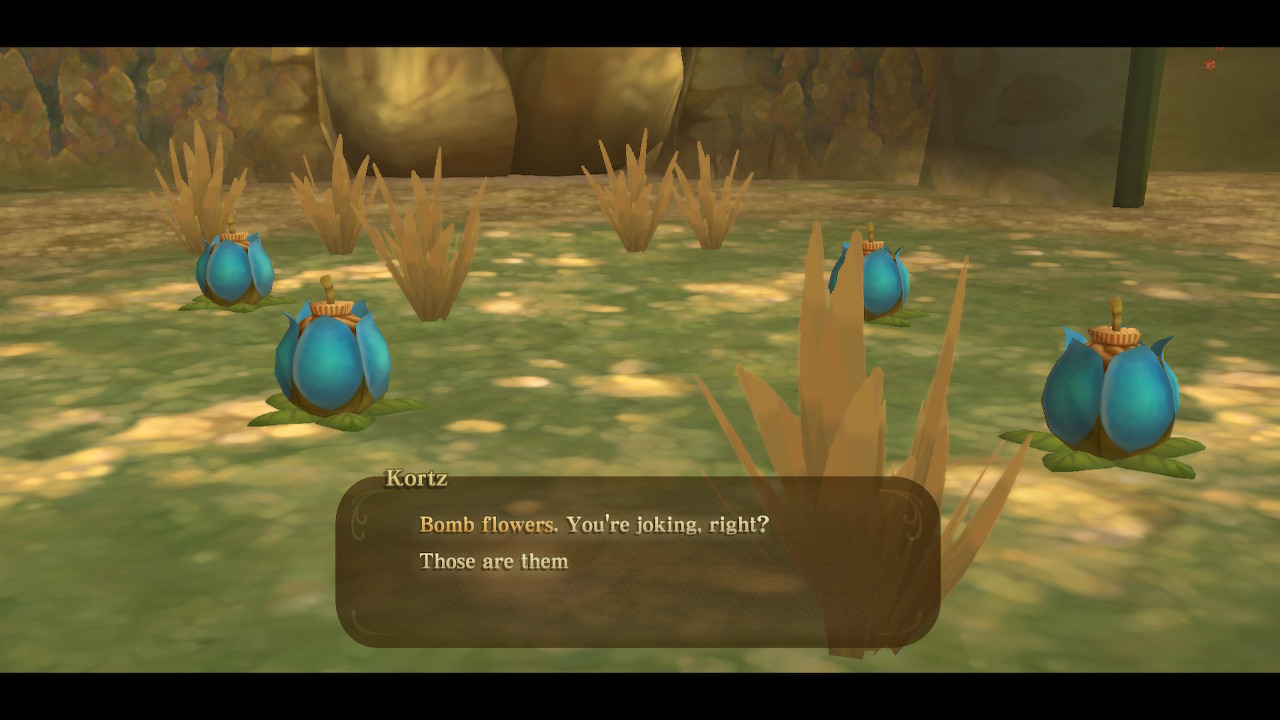
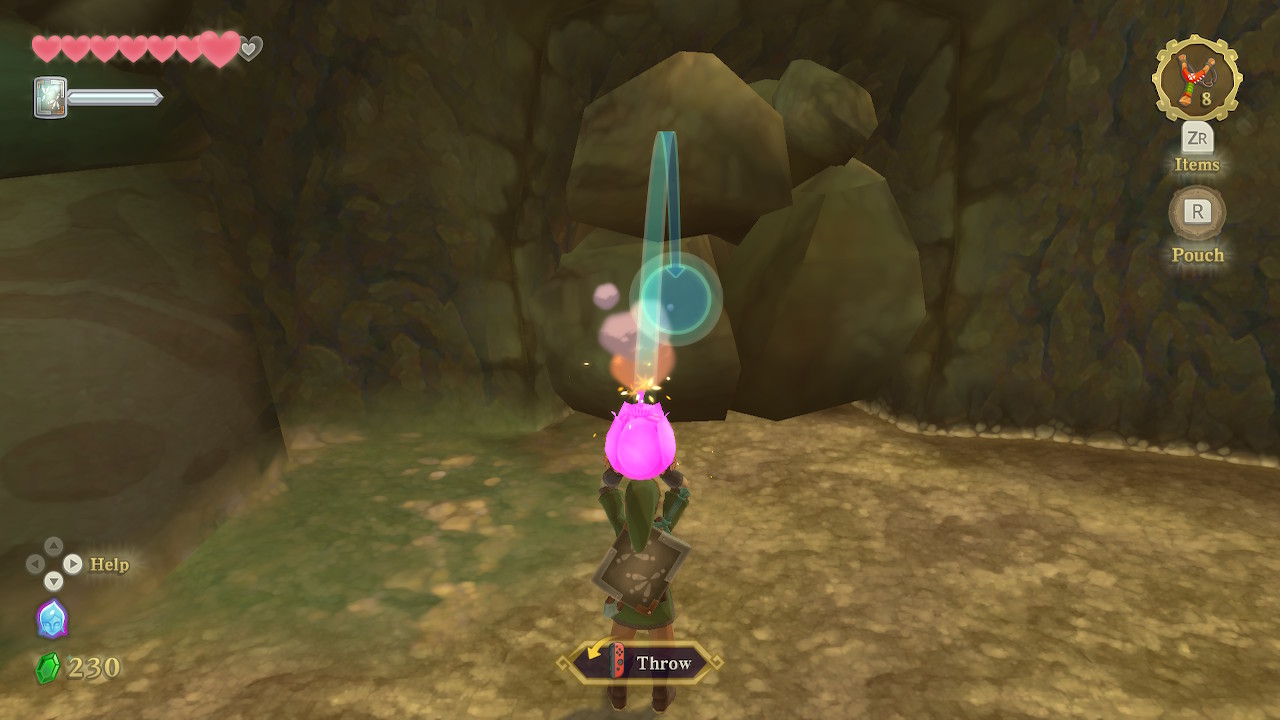
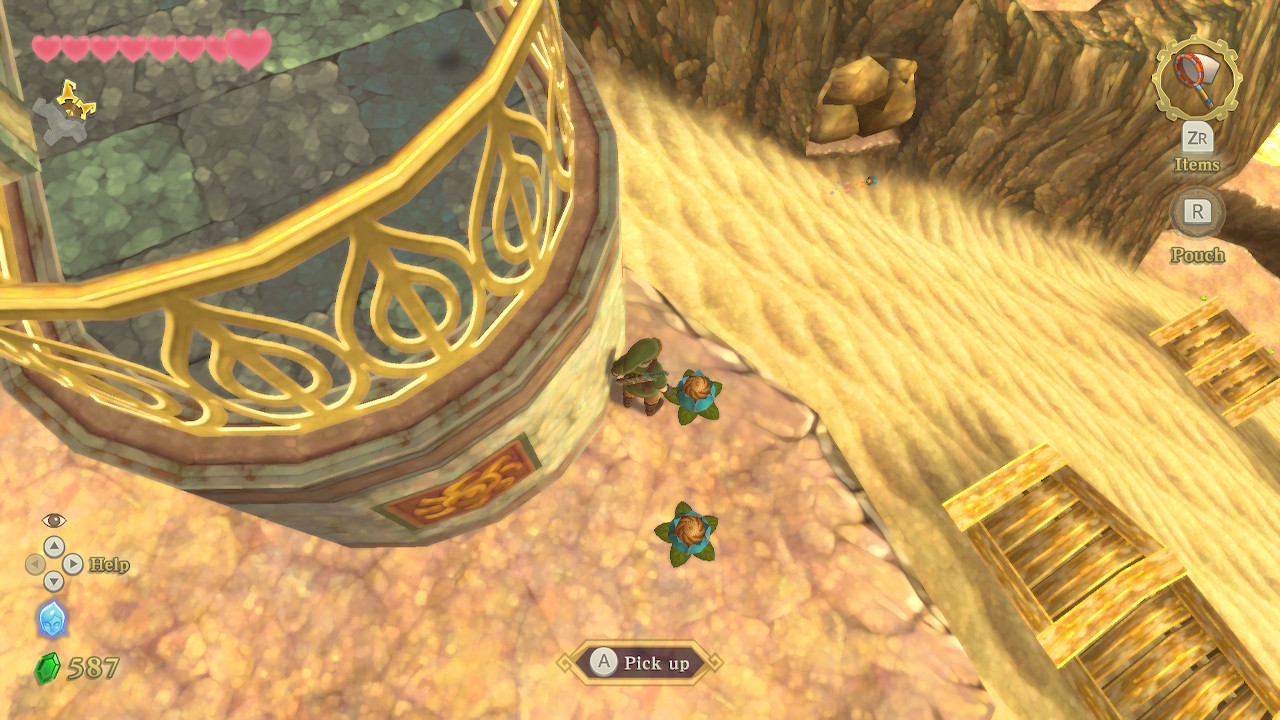
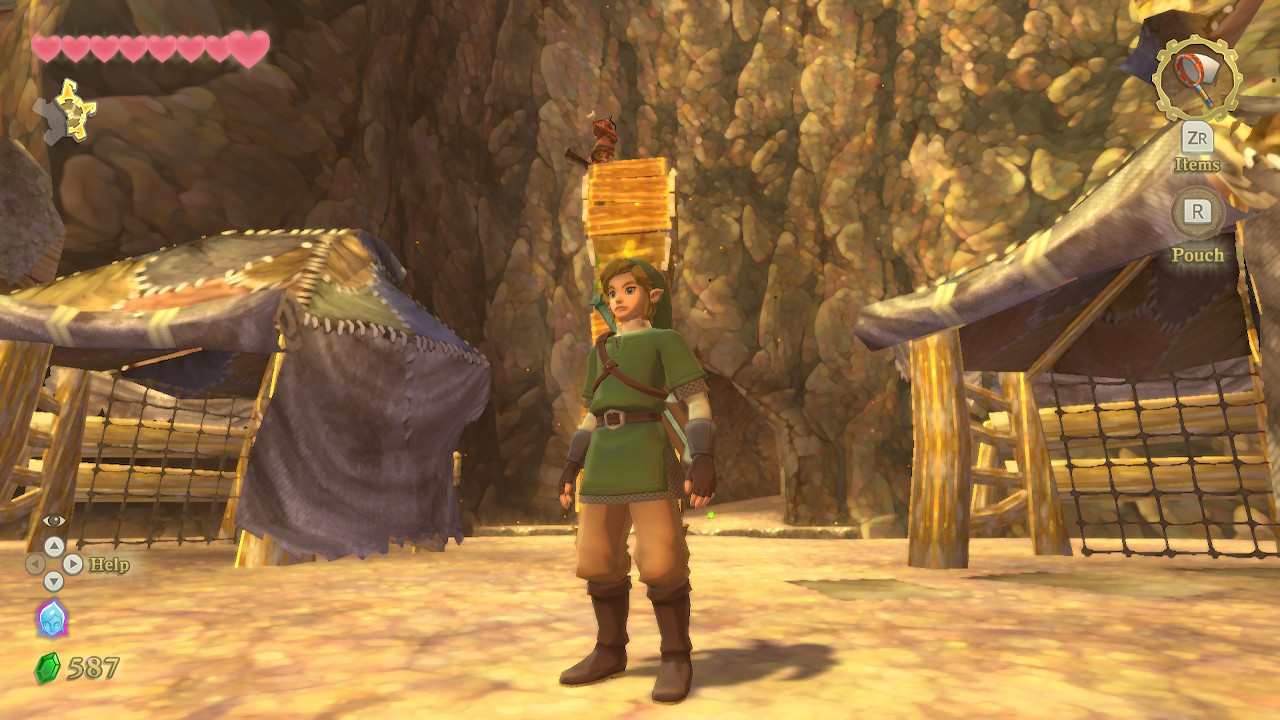
Continue forward and you will reach an area with a lava pool. Wait for it to lower and take the path on the left. Up ahead is another Mogma named Kortz. He will teach you about Bomb Flowers. Use the bomb flowers to blow up all the boulders in this room. The high and low blockages both lead to 5 rupees each. There is also a stool in the tent where you can recover your health.
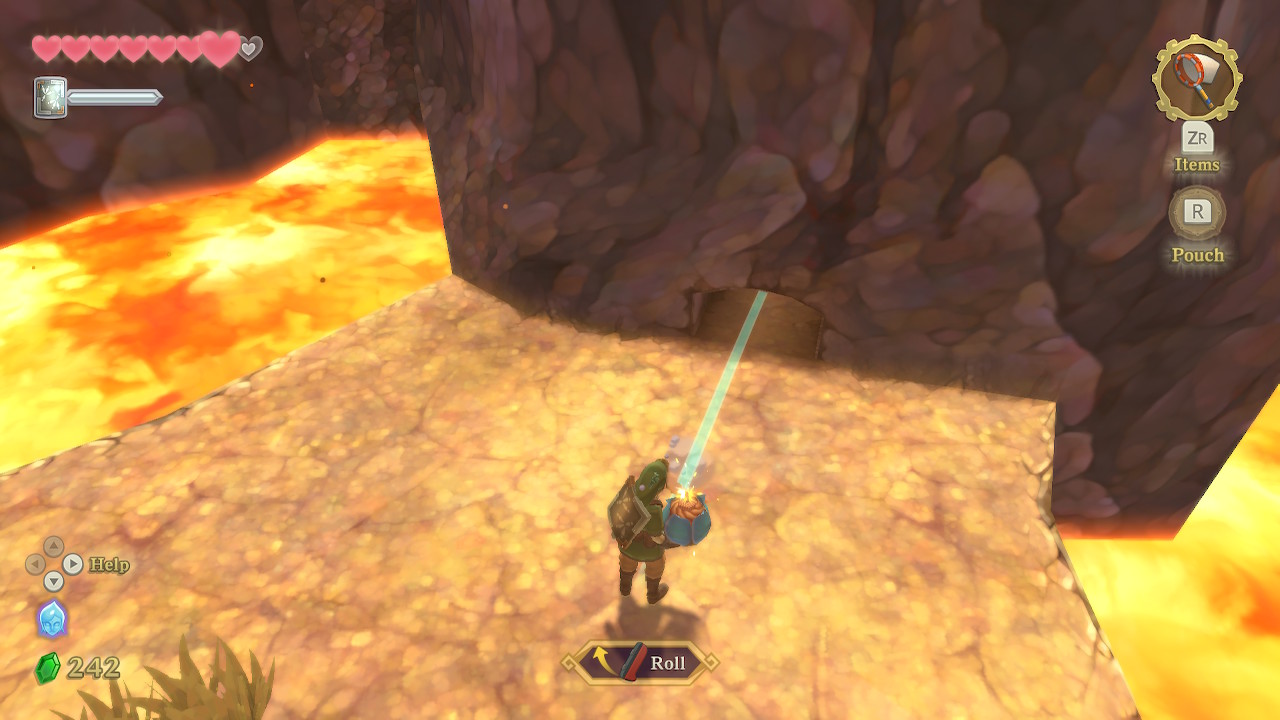
Continue down the path that was blocked by boulders. Hop off to the left and roll a bomb flower into the small opening. Crawl through an open a chest to get 20 rupees. When you get to a fork, take the left path to find Goddess Cube #5. Use a Skyward Strike to activate it. Continue right past another Mogma named Merco.
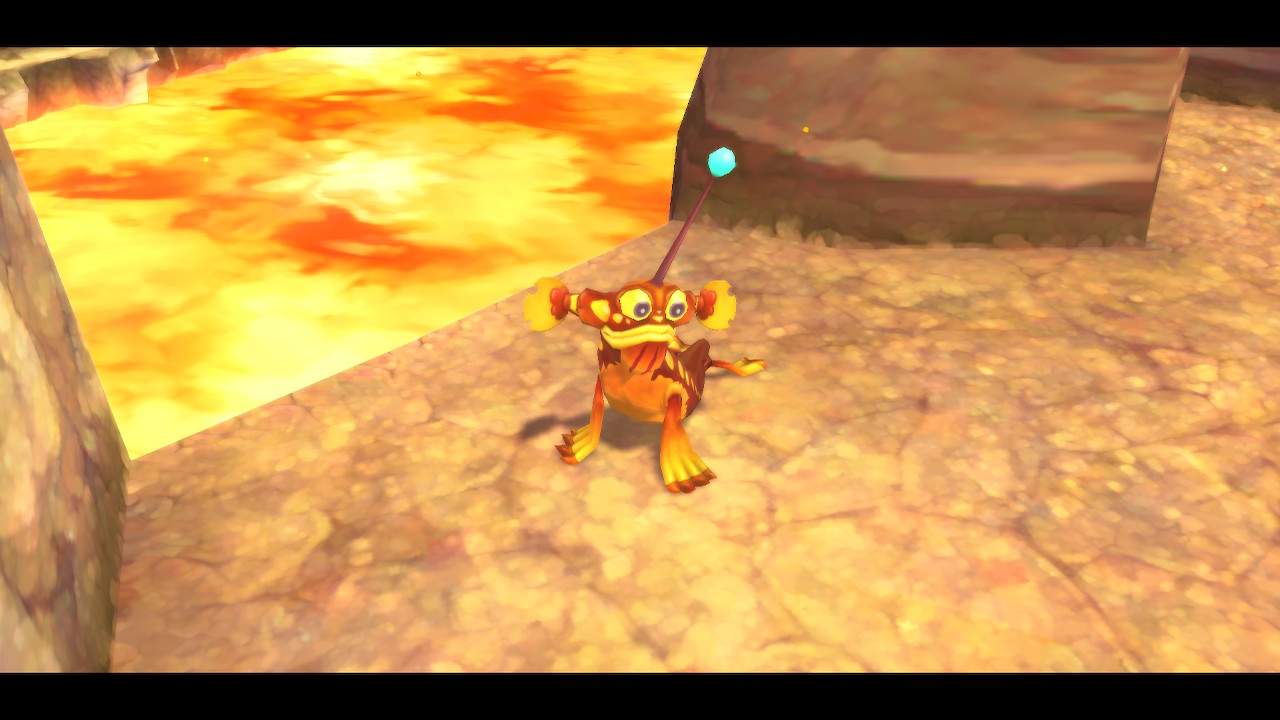
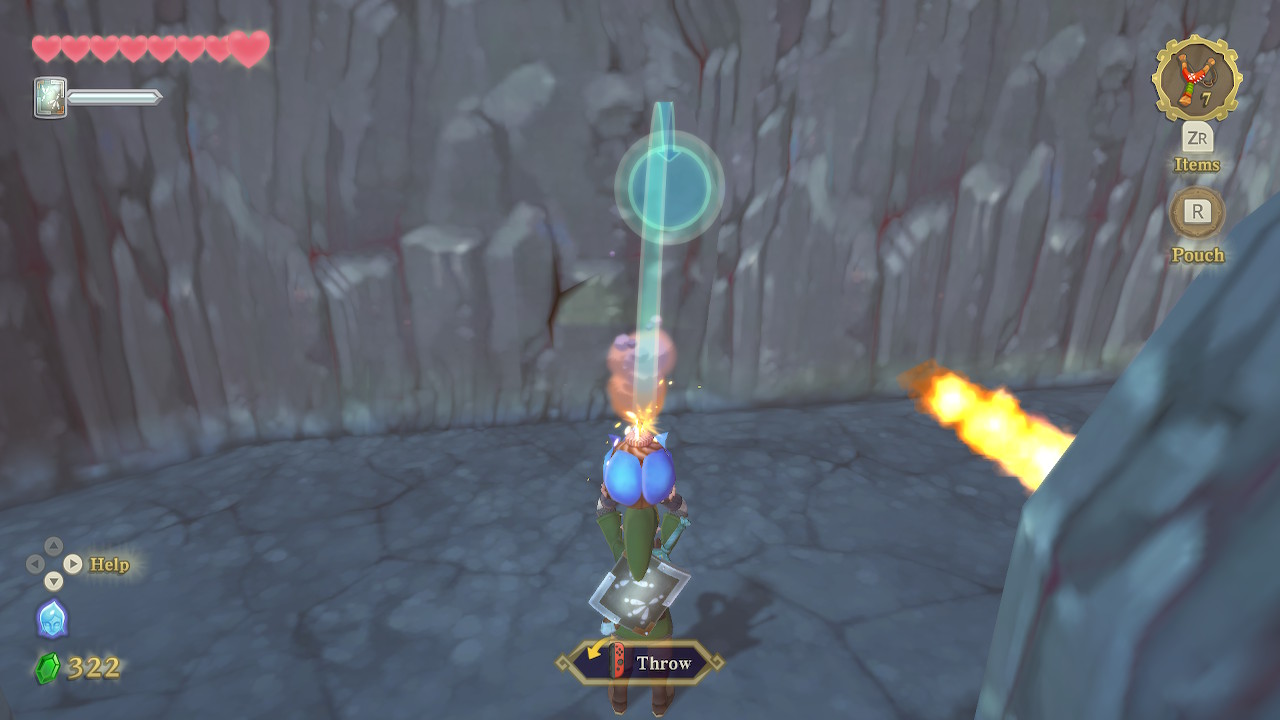
The new seal looking enemy is called a Pyrup. You can defeat them by hitting them with a bomb from a distance where they aren't shooting fire. Roll a bomb into the opening and continue on the path to the right. Defeat the Bokoblins ahead and drop down onto the large platform.
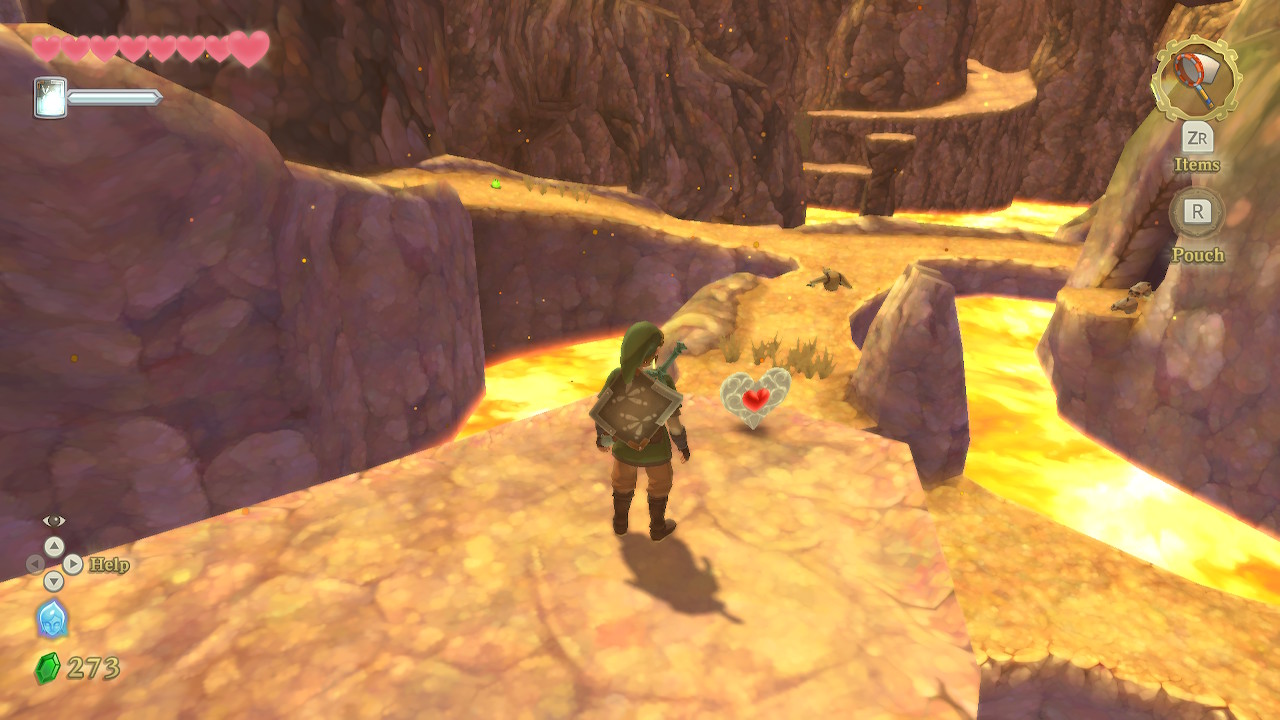
Defeat the two Pyrups here by carefully aiming bombs into the top of their shells. From here, climb the rocks to the right. There is another Pyrup up here that you can defeat by rolling a bomb into its shell. Otherwise continue forward and drop down to collect Heart Piece #6. Then head back to the large platform where you killed two Pyrups.

Before crossing the bridge, grab a bomb and roll it across the bridge in order to blow up the rock blocking some lava flow to the left. This will empty a lava pool blocking you ahead. Head to this empty lava pool and you can now take the air streams up into the opening. Jump off this ledge, aiming to the right. Here you'll find a platform with Goddess Cube #6, which you can activate with a Skyward Strike. If you miss it the first time you will be able to try again soon.
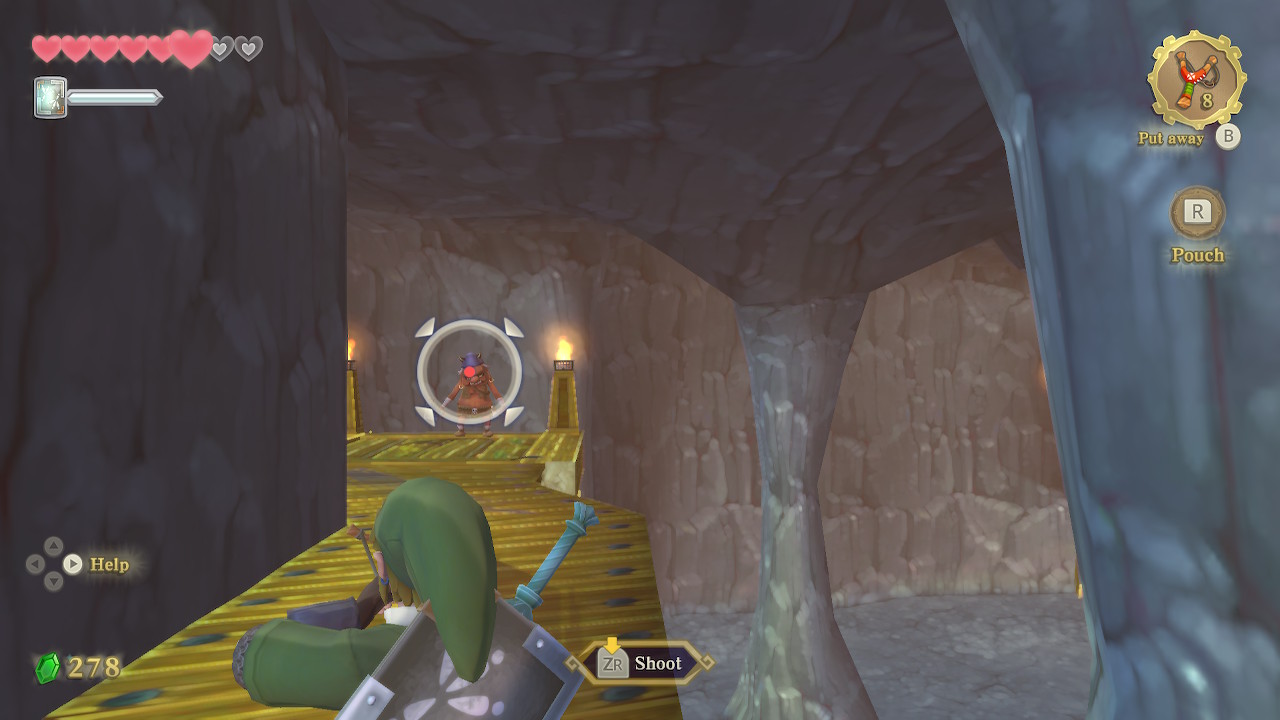
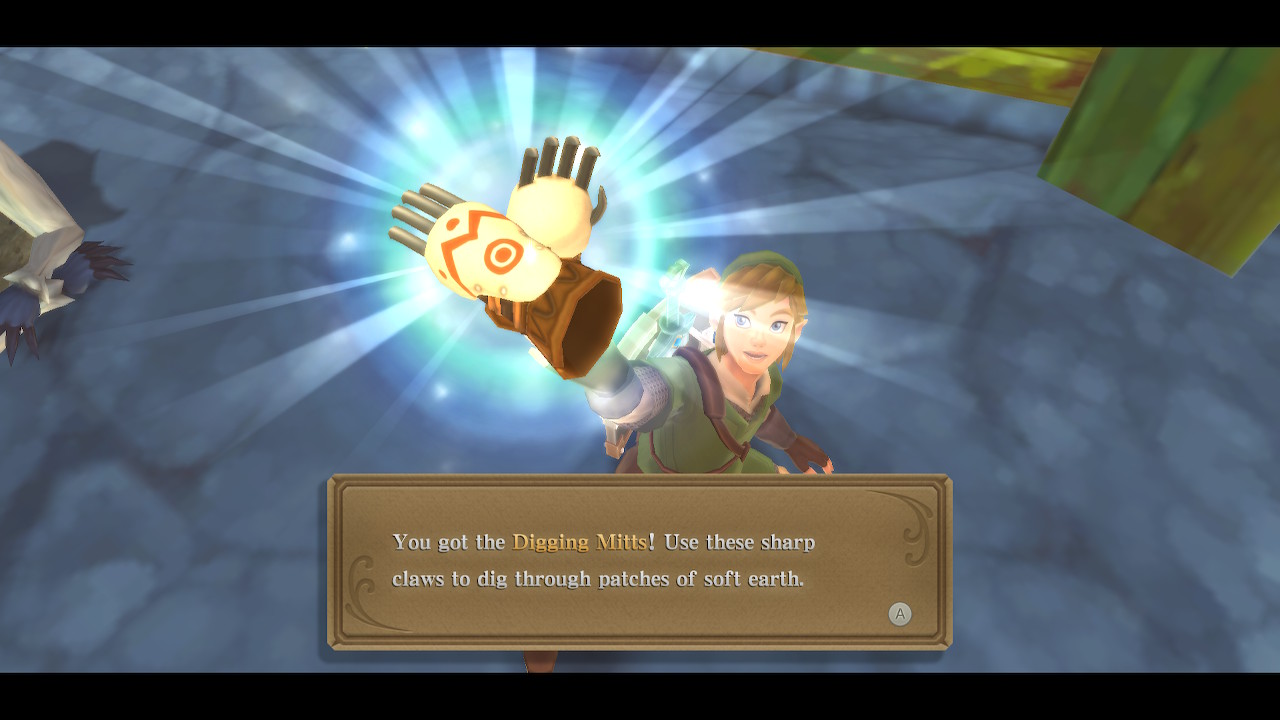
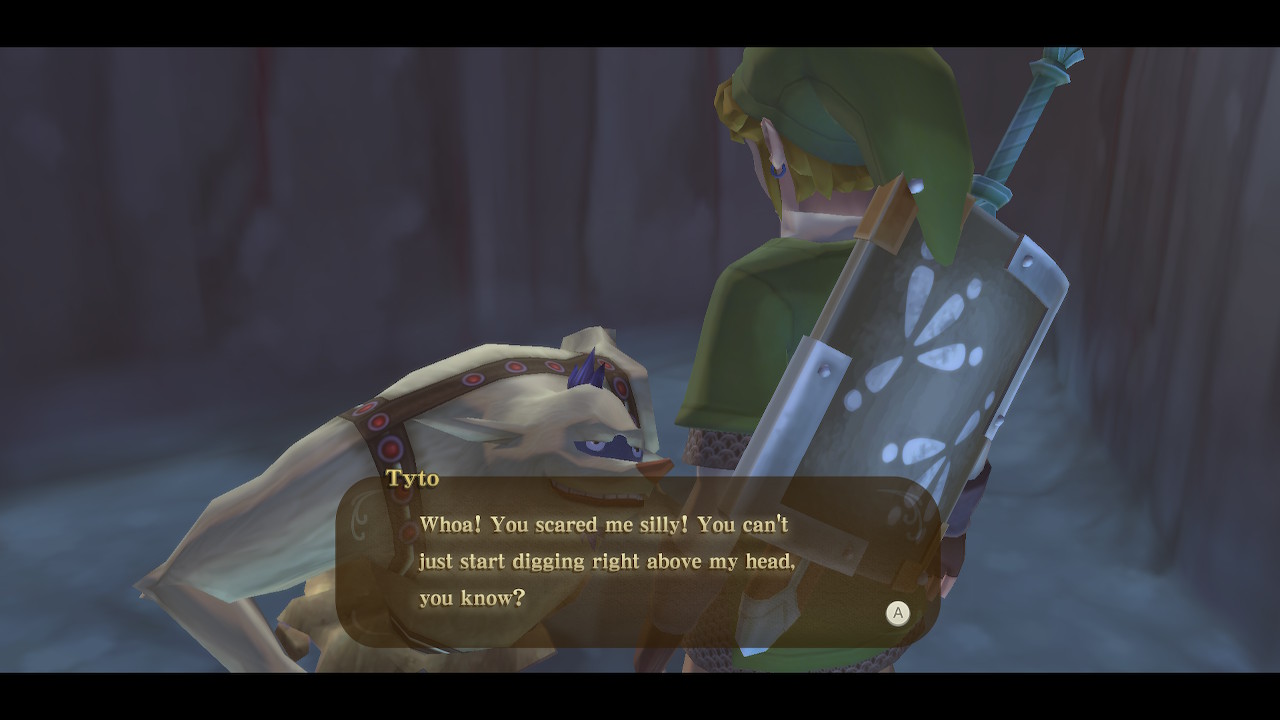
Use the bird statue here and continue forward. Pass the Mogma here and take on the Bokoblin hoard in the next room. Make sure to traget the Bokoblin Leaders first or they will just keep summoning more. There is one leader on an elevated wooden platform to the right. After defeating them all, go back and talk to the Mogma Nackle. He will give you the Digging Mitts as a thank you.
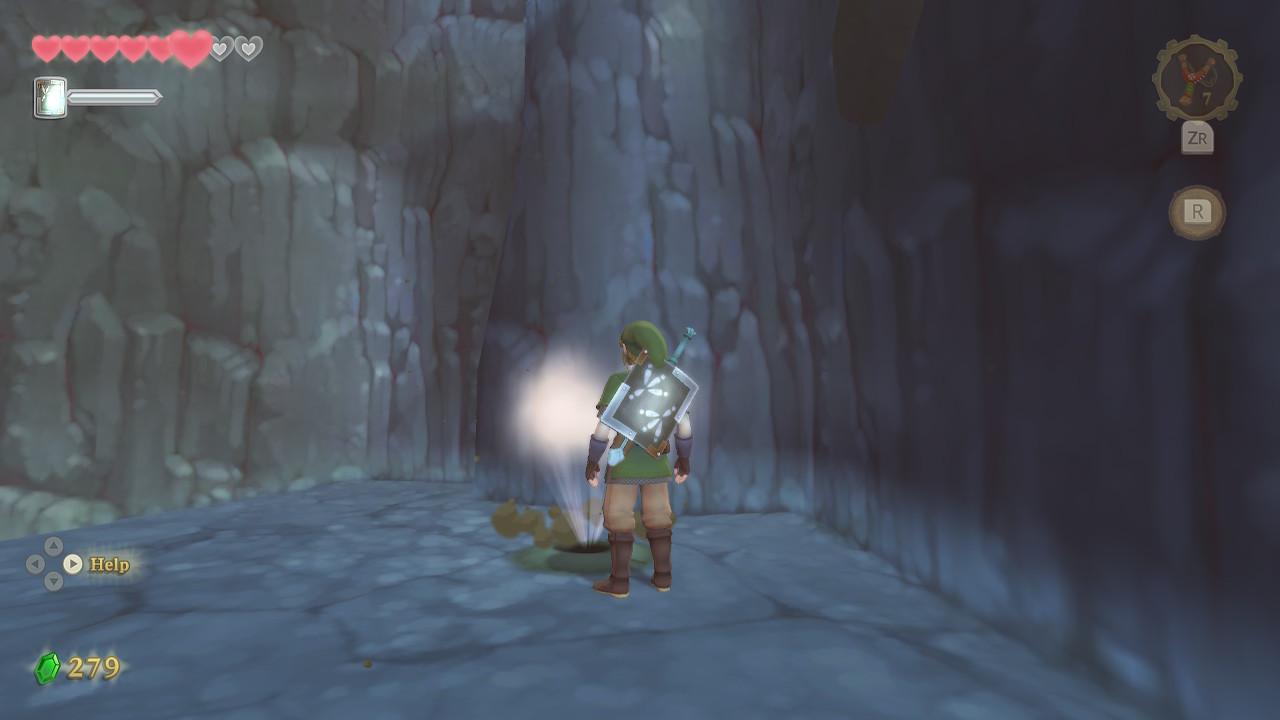
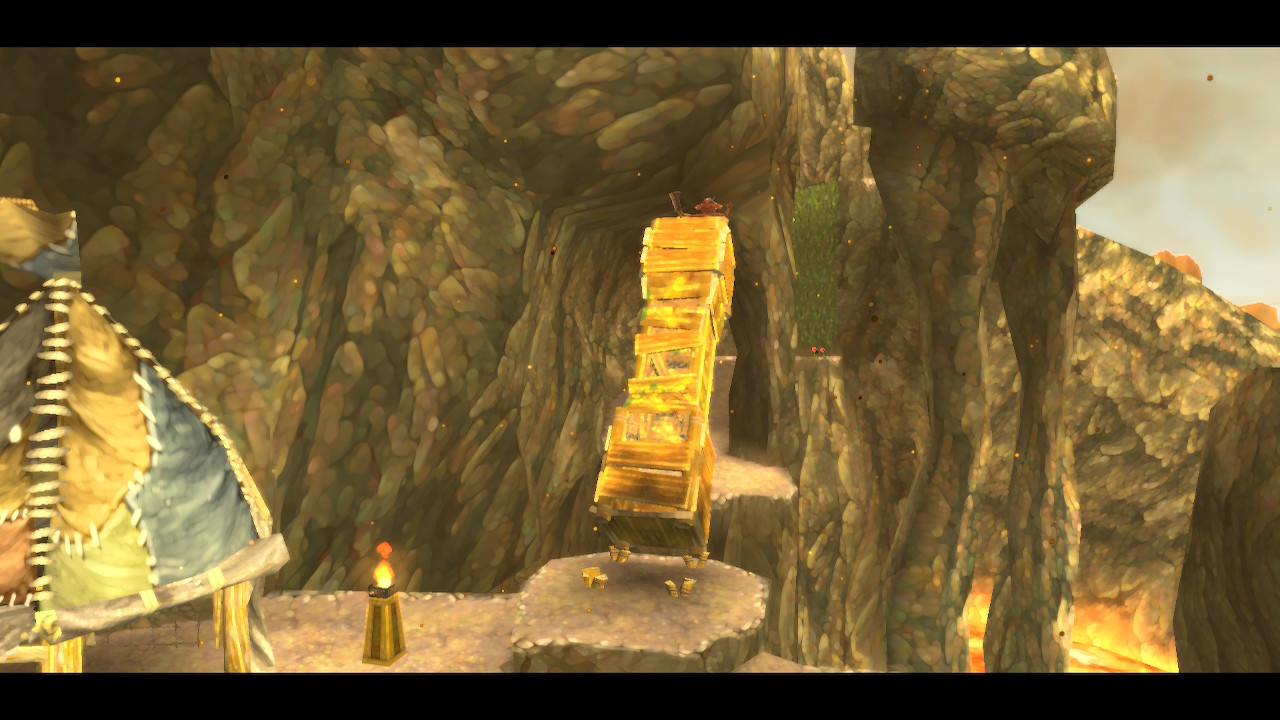
Head back to the Bokoblin room and dig in the soft spot to create an air stream. The second soft spot above will reward you with 2 Eldin Ore and 21 rupees. Head back to Nackle and dig near him. Take this air stream up and take the path to the left, digging any soft spots for treasure and rupees along the way. Continue forward, taking the air stream and ladder up. In this room there is some treasure to dig up. Take the middle slide here to reach a chest containing some Eldin Ore.
Head back to the fork in the road near Nackle and take the right path this time. In this maze like room, dig up any soft spots you find and roll bombs to kill any Pyrups that block your path. You can bomb a section of the northern wall (check your map) and find a chest containing 100 rupees. Exit the room to the northeast.
Dig up the small air stream in here, which will take you to a giant air stream that goes back to the surface. Up here, you'll meet another Mogma named Zanc. Approach the incomplete bridge here and a mysterious character in black that the Mogma have been alluding to will complete the bridge for you. Before crossing it, use a bomb flower to break the boulders to the right to create a shortcut. If you missed the Goddess Cube earlier, now is a good time to go back and get it.
Volcano Ascent
Cross the bridge and use the bird statue here. Behind the wooden boxes here you can bomb the wall to find a chest with 20 rupees. The bomb flowers won't be able to reach the boulders to the right, so take the path to the left instead. Climb the sandy incline and when you reach the first large platform, make your way to the left. Dig up the spots here and throw a bomb down to the boulders below. This will create a shortcut back to the beginning of the area.
Back on the large platform on the sandy incline, go ahead and shoot the Bokoblin holding a boulder above to get him out of your way. Climb the rest of the incline to find a Bokoblin camp. There is a Bokoblin Leader standing on top of the large wooden pillar. Throw a bomb at the base to knock the pillar down and kill the Bokoblin. Head back to the top of the sandy slope and throw a bomb at the suspicious wall to the west (you can see a small alcove on the map). Inside the alcove is 40 rupees.

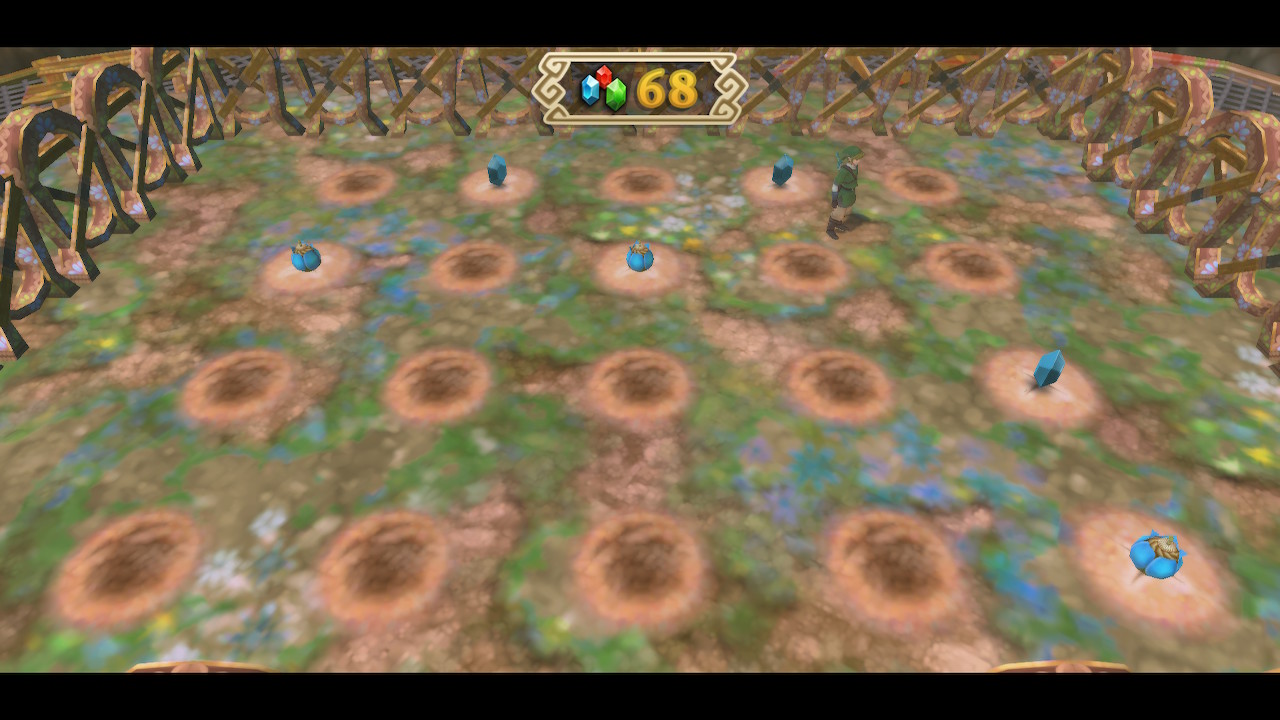
Blow up the wall to the north of the camp here to find a mini-game area. It's called Thrill Digger and it's a clever little variant of minesweeper. You dig up either bombs or rupees in a grid of soft spots and get to keep however many rupees you collect before getting to a bomb. The value of the rupee corresponds to the number of adjacent bombs. There are three difficulty levels with increasing risk and reward. There are no significant rewards (besides rupees) so this is completely optional and you can spend as much or as little time as you like on it.
After having your fun with Thrill Digger, continue across the wooden bridge you knocked down. Continue forward and climb up the vine wall. Further ahead is another sandy incline with many Bokoblins guarding it. Climb the slope, defeating the Bokoblins along the way. When you reach the middle platform, shoot the three Bokoblins who are holding boulders above.

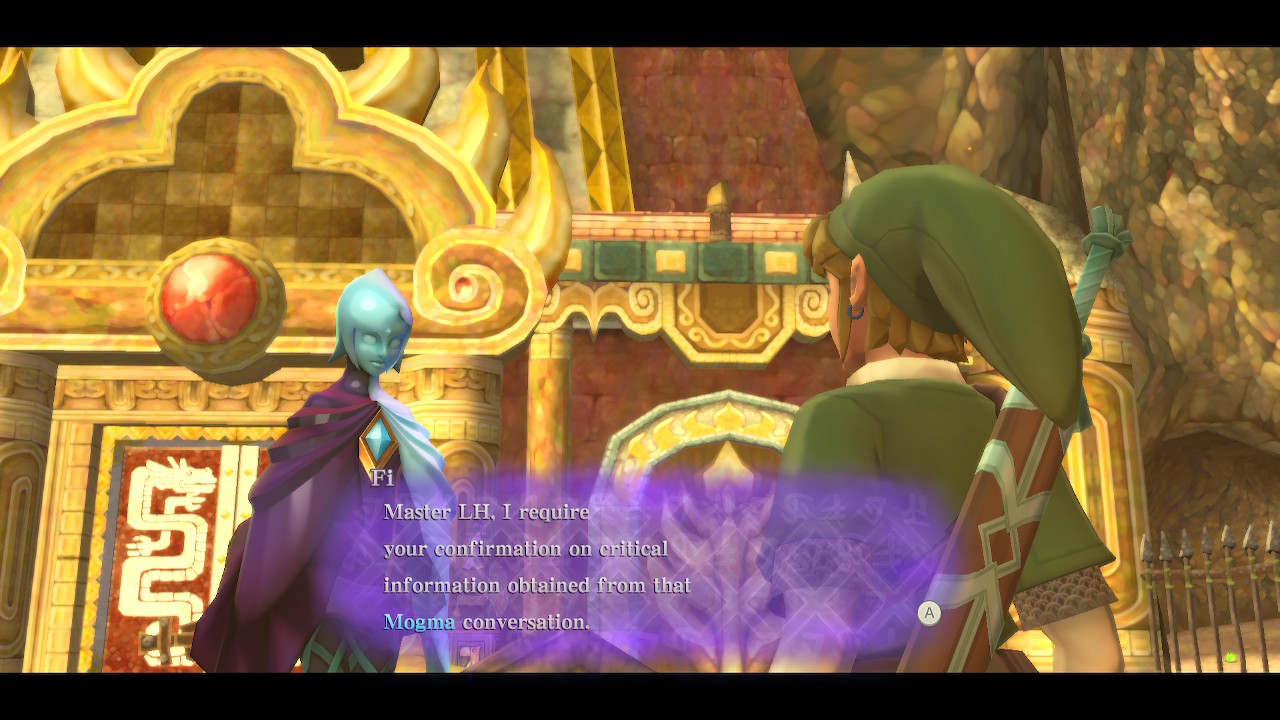
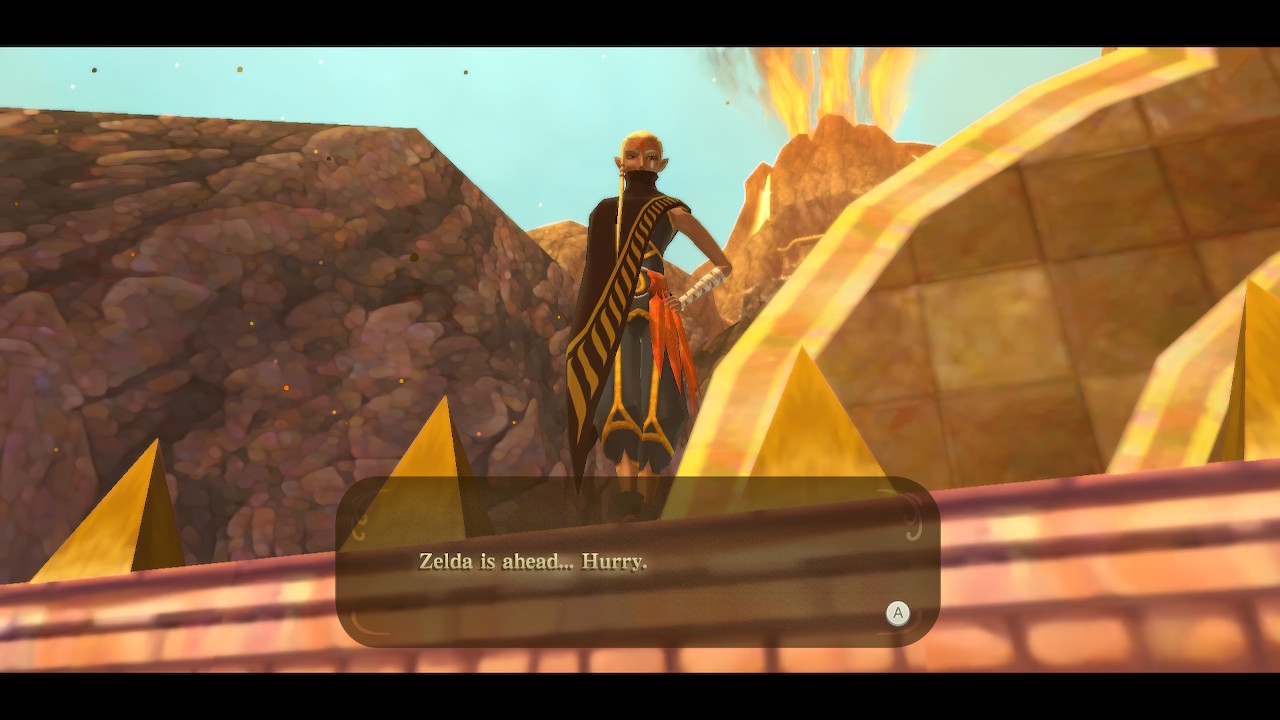
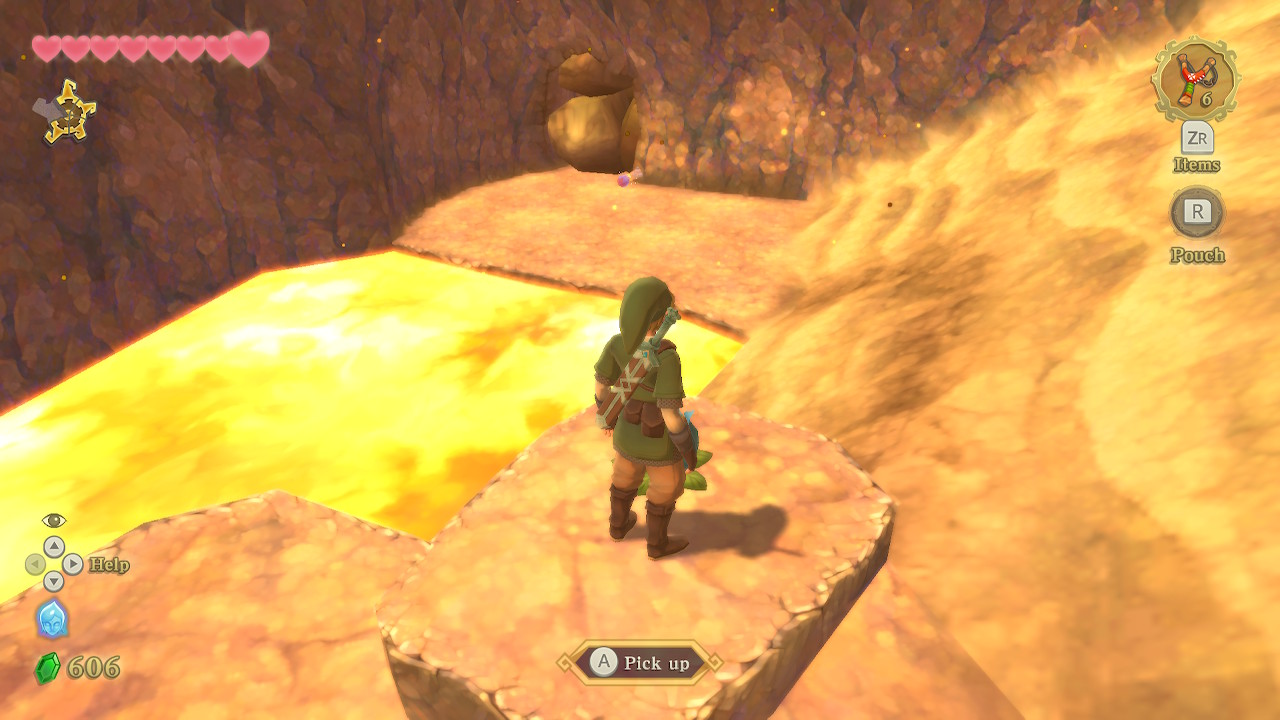
On top of the Volcano, you'll overhear some Mogmas talking about the key to the temple being broken into pieces and scattered around. You'll need to find all five pieces to unlock the door to the next dungeon. Luckily, Fi will register them so that you can use Dowsing to find them.

Key Piece #1 can be found in a soft spot directly to the left of the entrance. On this left side here, there is another soft spot you can dig to create an air stream. Throw a bomb onto this air stream to blow up some boulders above. Then follow the air stream up to find Goddess Cube #7.
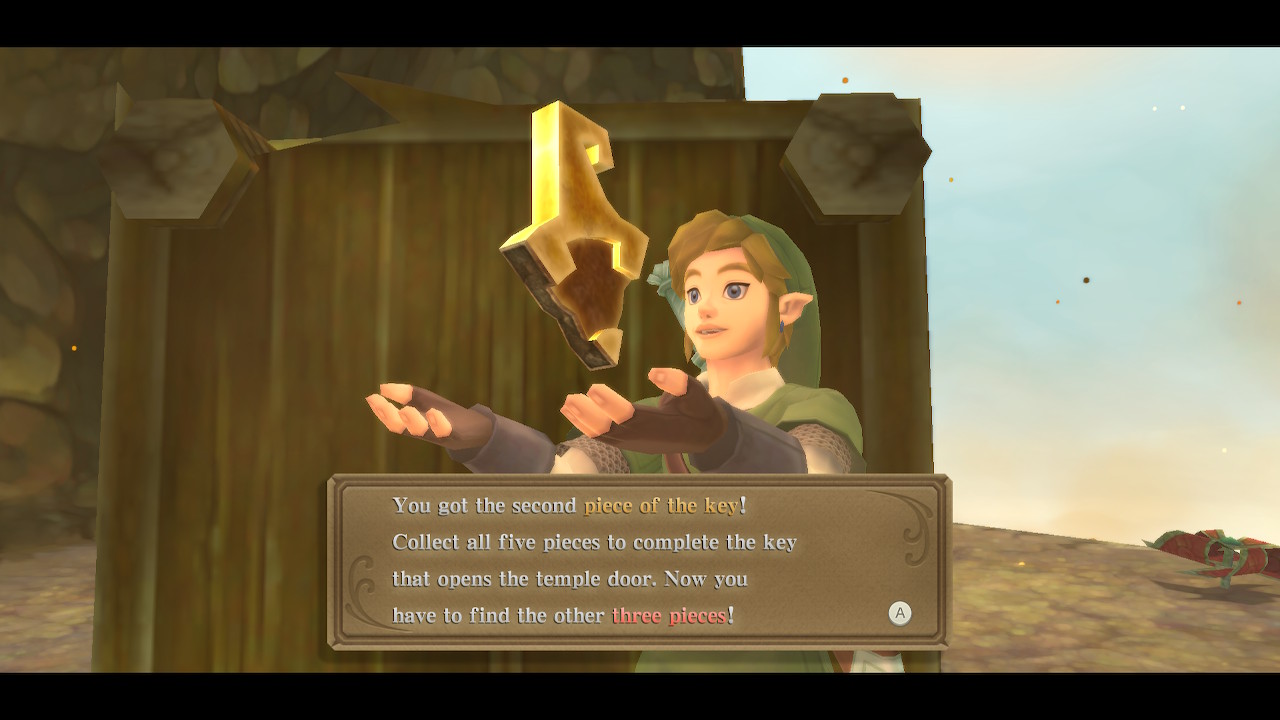
In this same area, throw a bomb down the sandy slope towards the wood pillar below. If you get close enough to the base, it will knock it over revealing a soft spot. Go down the slope and dig up there to get Key Piece #2. Head back to the temple entrance.

Turn around back towards the large sandy slope and you'll see some boulders that are breakable in the wall to the left. Throw a bomb down there to break it open, then head down there yourself. There is a soft spot you can dig to find Key Piece #3. Climb the slope back up to the temple entrance.
Take a right now and defeat the nearby Bokoblins. Throw a bomb at the base of the wooden tower to create a bridge and take out the Bokoblin Leader. Head to the right before crossing to find Goddess Cube #8 to activate. Cross the tower bridge and continue forward through the cave.
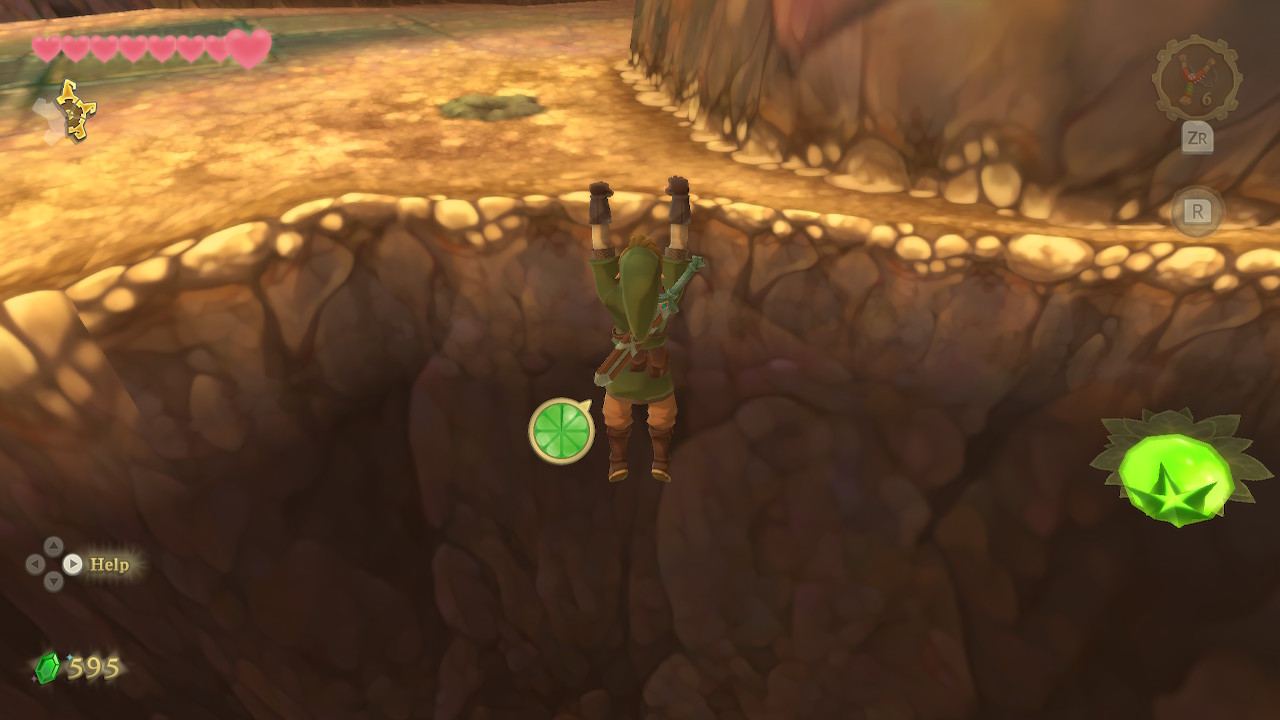
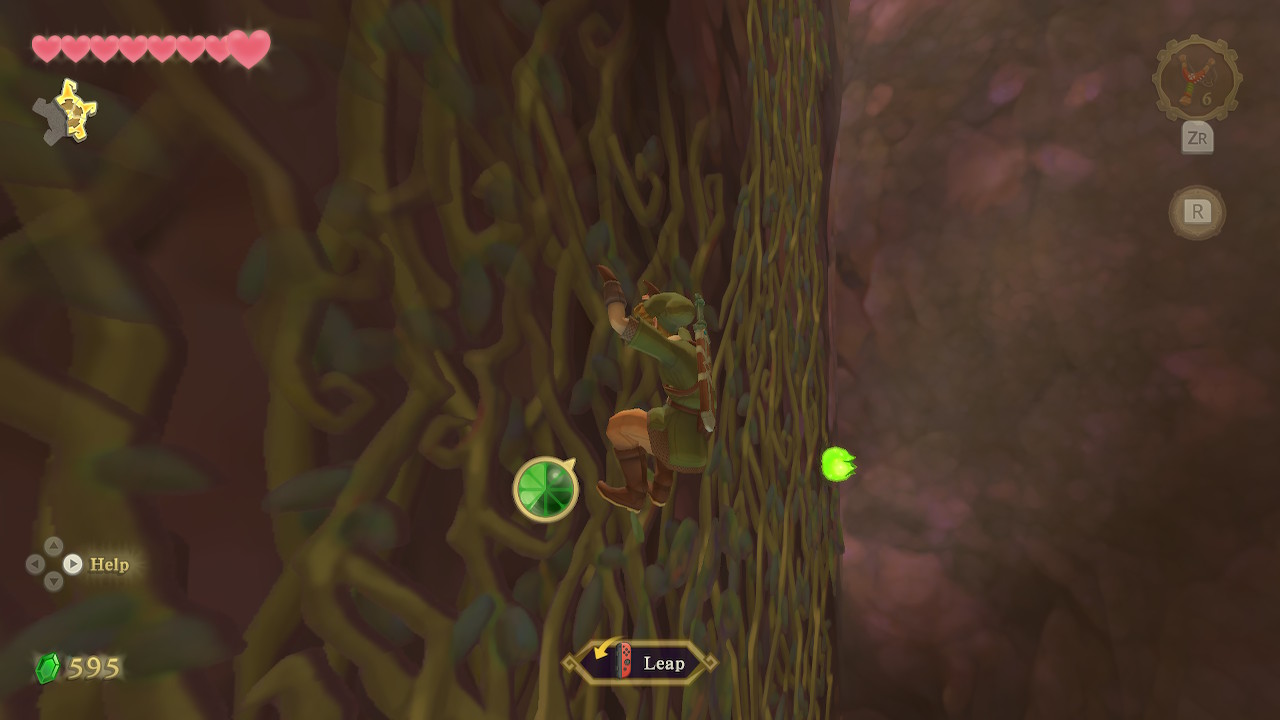
Outside the cave, there is a narrow strip to the left that link can hang from and shimmy across. After doing so, climb up the cliff sides and make a leap of faith to the vines. Climb on the vines all the way around until you can reach the platform on the other side of the gap. Once there, you can use the switch to create a bridge.
The heat past the next cave is very intense and will hurt you, so run through this cave and quickly take the path to the right. You'll end up on a sand slide, you want to keep to the right and aim for the air stream. Take it to a pillar, where you can dig for a fairy.


From here, continue on the far right and take the slide to a little ledge on the left side. On this ledge, you'll need to jump into both air streams to the left to make it across the gap. Start running into the first air stream when the second one starts. On the other ledge is a spot where you can dig for Key Piece #4.

Jump down into the sand slide and you will reach a platform below. Hop across the next platform and turn to the right, where you'll find a cave with a bomb flower. Pick up a bomb, and take it out of the cave. On the bottom left of this wall is a bombable boulder blocking the flow of lava. Blast this away to lower the lava in the cave.
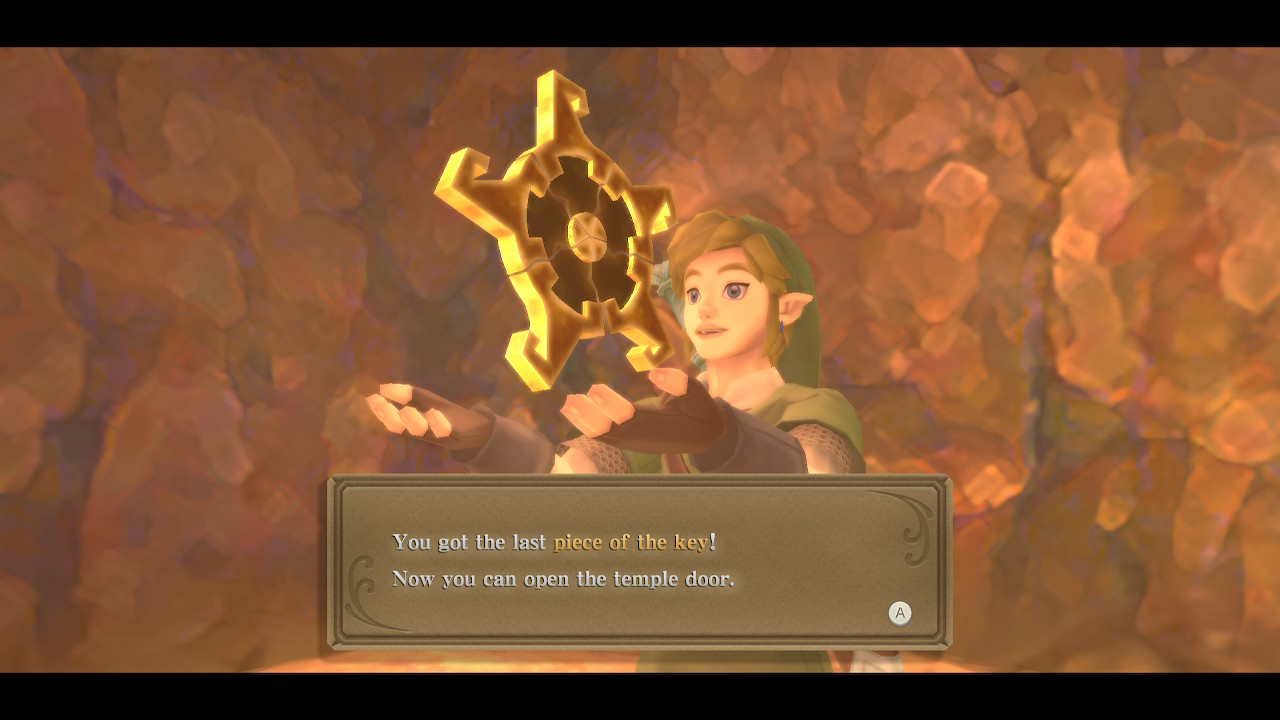
Once the lava in the cave is lowered, you can roll a bomb across the sandy slope to blast the boulder on the other side. Run over to the other side and dig in the soft spot in this new alcove to find Key Piece #5.
Leave this cave and head back across the platforms. Continue ahead to next cave. Use a bomb to blow up the boulders to the left to create a shortcut. Then take the large air stream back to the top of Eldin Volcano.

Before heading back to the temple, head through the hot cave and take the slide once again. This time, stay on the left side and get up on the first air stream. Right below this you can hop onto another platform and activate Goddess Cube #9. From here, take the slide all the way down and make your way back to the top of the volcano.
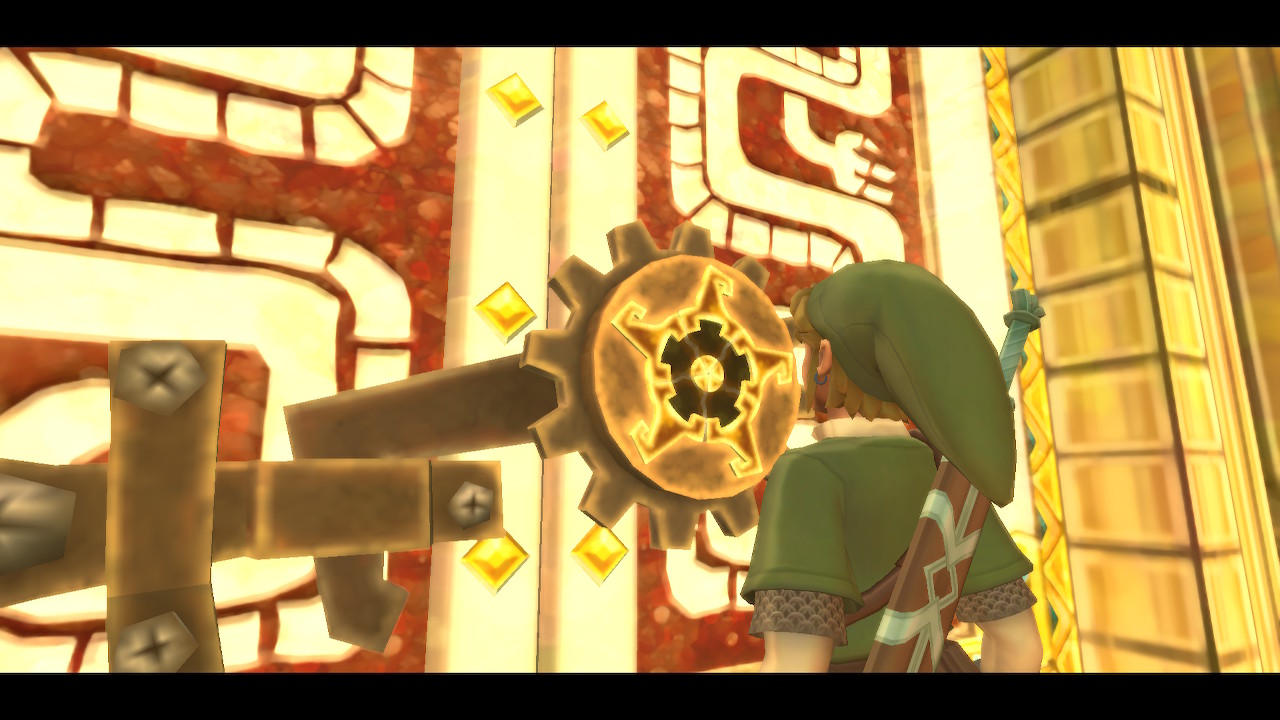
You now have a fully assembled key and are ready to start the second dungeon. Use the bird statue to save before entering, and then approach the door. You will place the key and enter into the Earth Temple.
Back to Skyview Temple Continue to Earth Temple
