
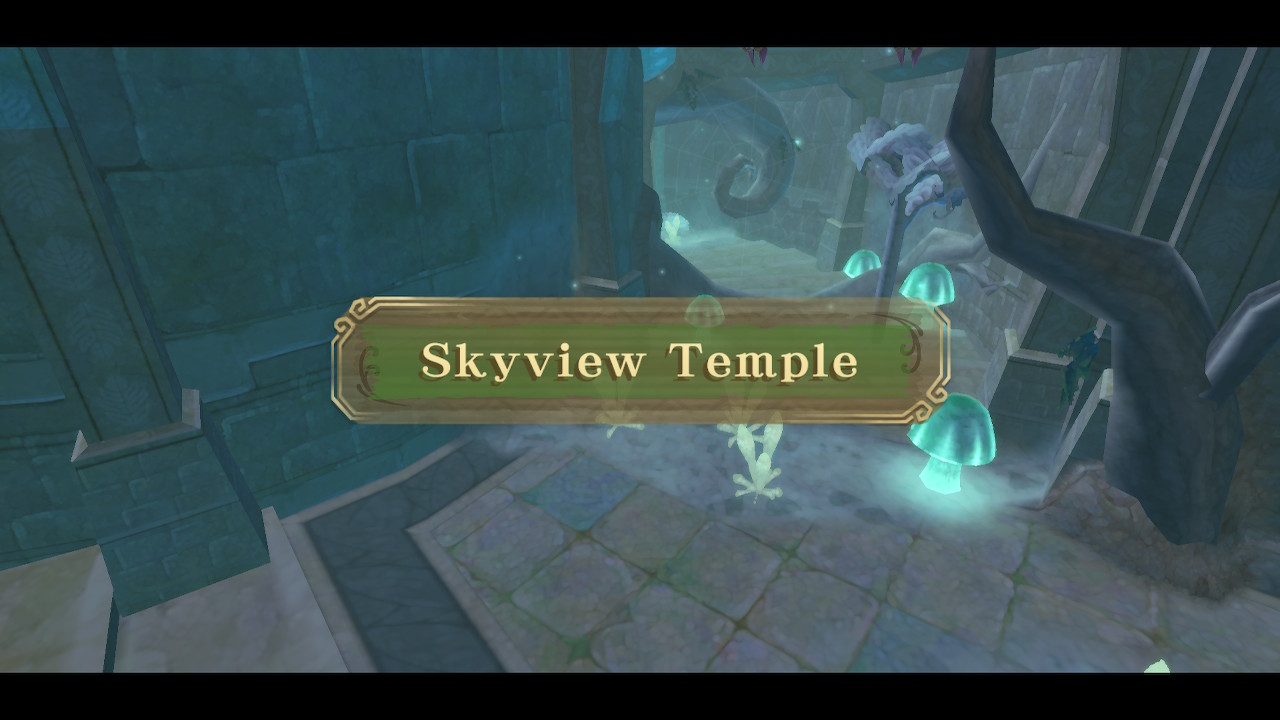
Part 3: Skyview Temple
How to Complete the Skyview Temple
Dungeon Map
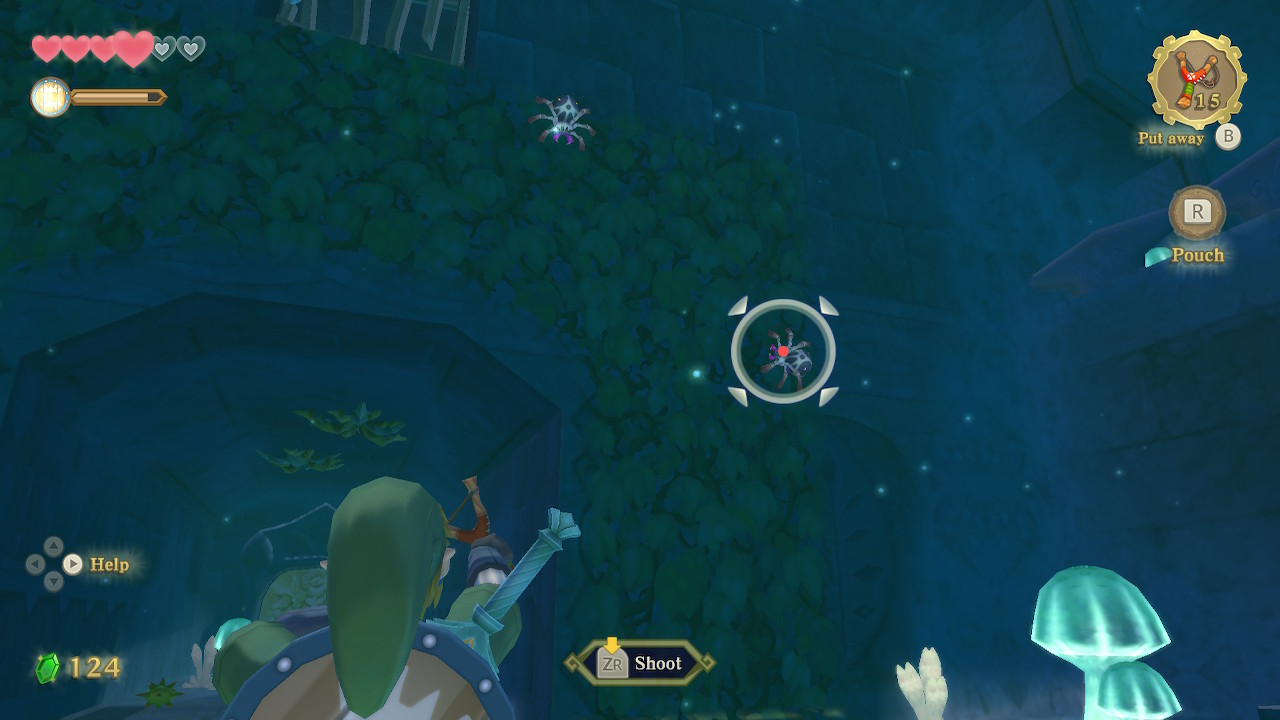
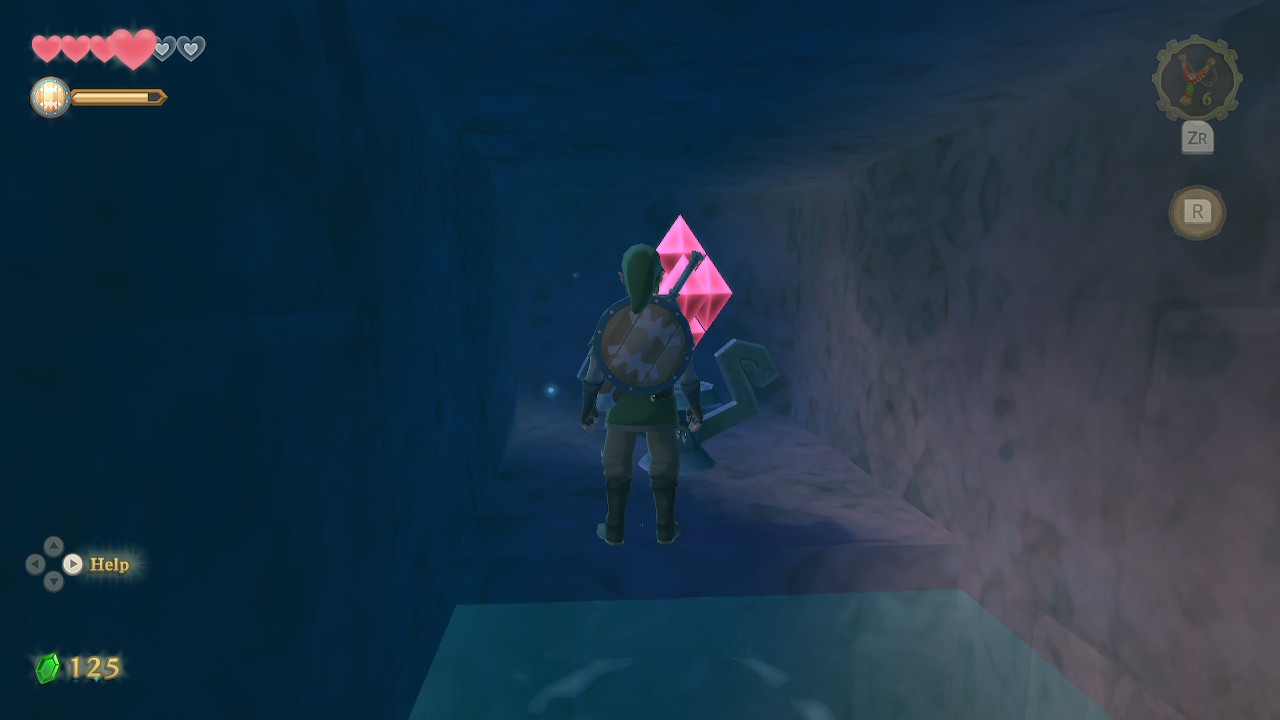
When you enter this dungeon, make your way down this long corridor, defeating enemies along the way and slashing through spiderwebs and trees. When you reach the end of the hallway, slash the trees blocking the vine. Shoot the Deku Baba above with your slingshot and then quickly climb the vines and defeat it. Slash the crystal switch here to open the nearby door.
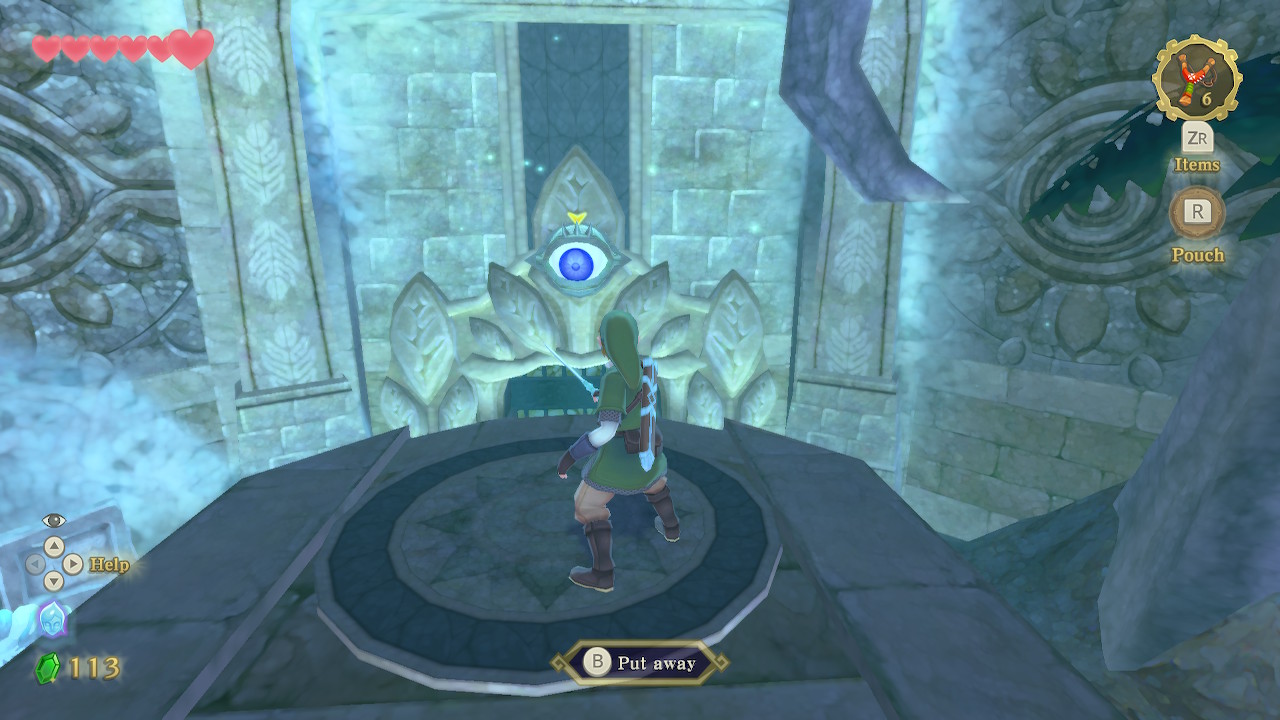
Through the door, you'll find a small room with a platform in the middle. Climb up it and face the Eye Guardian enemy above the door. The eye will follow your sword, so spin it around in circles to confuse and defeat the Eye Guardian, opening the door.
In the next room, slash through the enemies, and you will encounter a Green Bokoblin, which is a little stronger than a Red Bokoblin. Defeat it and turn around to see some Walltula crawling around on the vines. Take them out with the slingshot and then climb up the vines and slash the tress here to create a shortcut to the beginning of the dungeon.
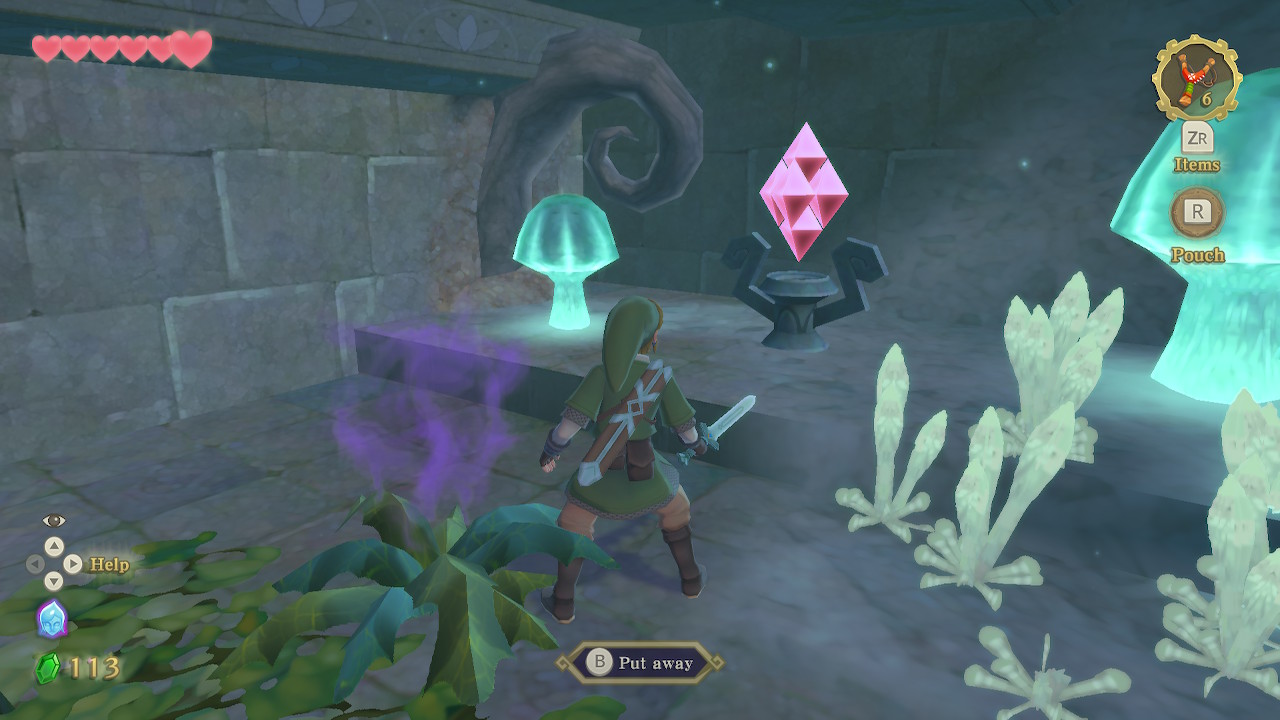
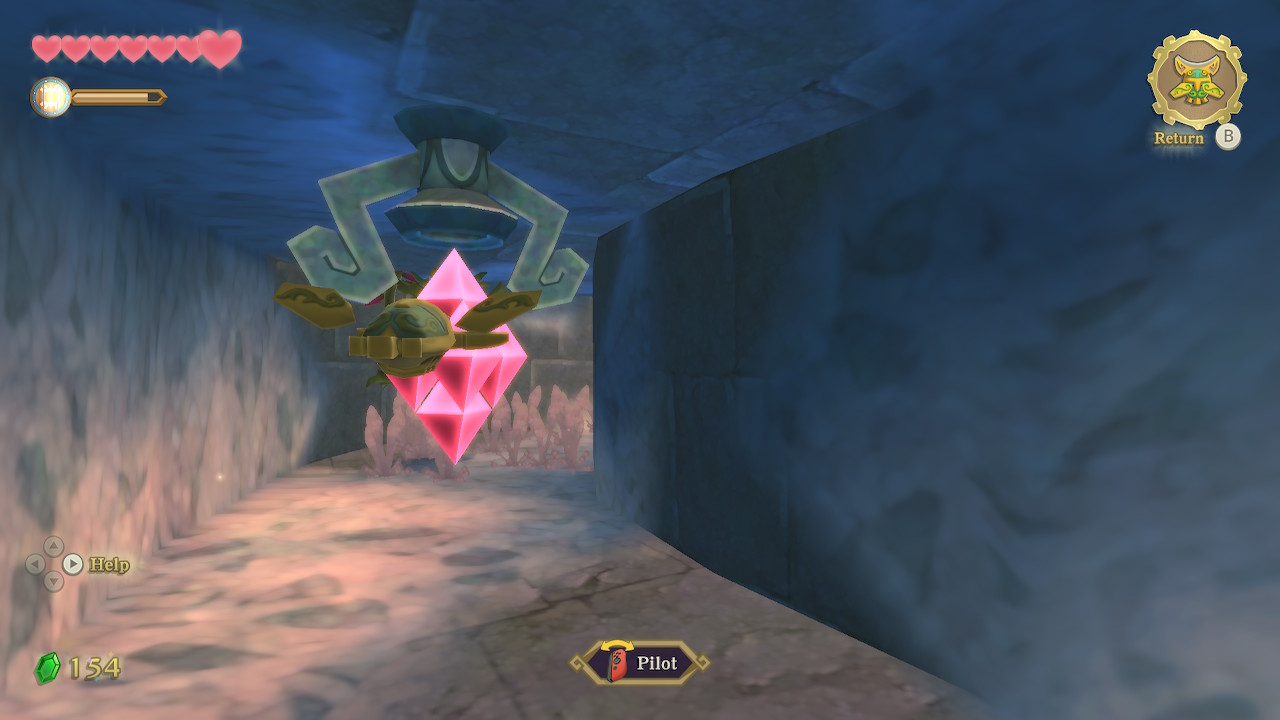
There are three doors in this central area. Shoot the crystal switch to the right and go through that newly opened door. In this room, a large Skulltula will drop down from above. To defeat them, slash to turn them around and then thrust the purple spot on their underside. Drop to the lower area and crawl through the opening to the left. Hit the switch in here to raise the water level. Then take the vines back to the larger room and then back to the previous room with four doors.
Back in this room, jump into the water, and you'll find a crystal switch straight ahead under the platform that opens the door above. Enter through that door into the next room. Here, defeat the Bokoblin and then shoot down the two vines on the right side of the room. Use them to reach the other side.
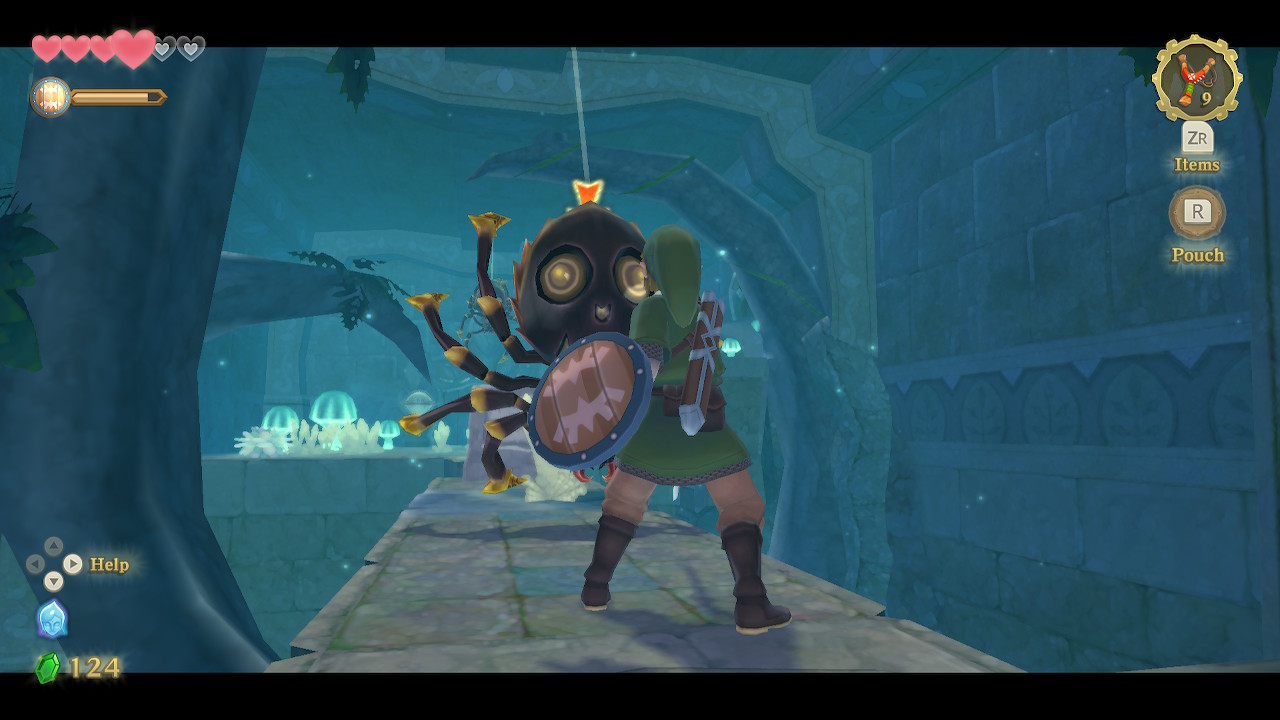
You can then kill the two large Skulltulas now that their backside is exposed. On this center bridge, turn to the west side of the room and hit the switch to raise the water. Continue through the next door and open the chest there to get the Dungeon Map.
Dungeon Item: Beetle
Hop down into the water in the main area of this room. Get on top of the newly floated log and kill the Walltula so that you can climb the vines up to the platform ahead. Enter through the door here. Defeat the Skulltula and then confuse the two Eye Guardians with circular motions. Make sure to stand in the middle and far enough away that both eyes are looking at you at once. Inside this chest is a Small Key.
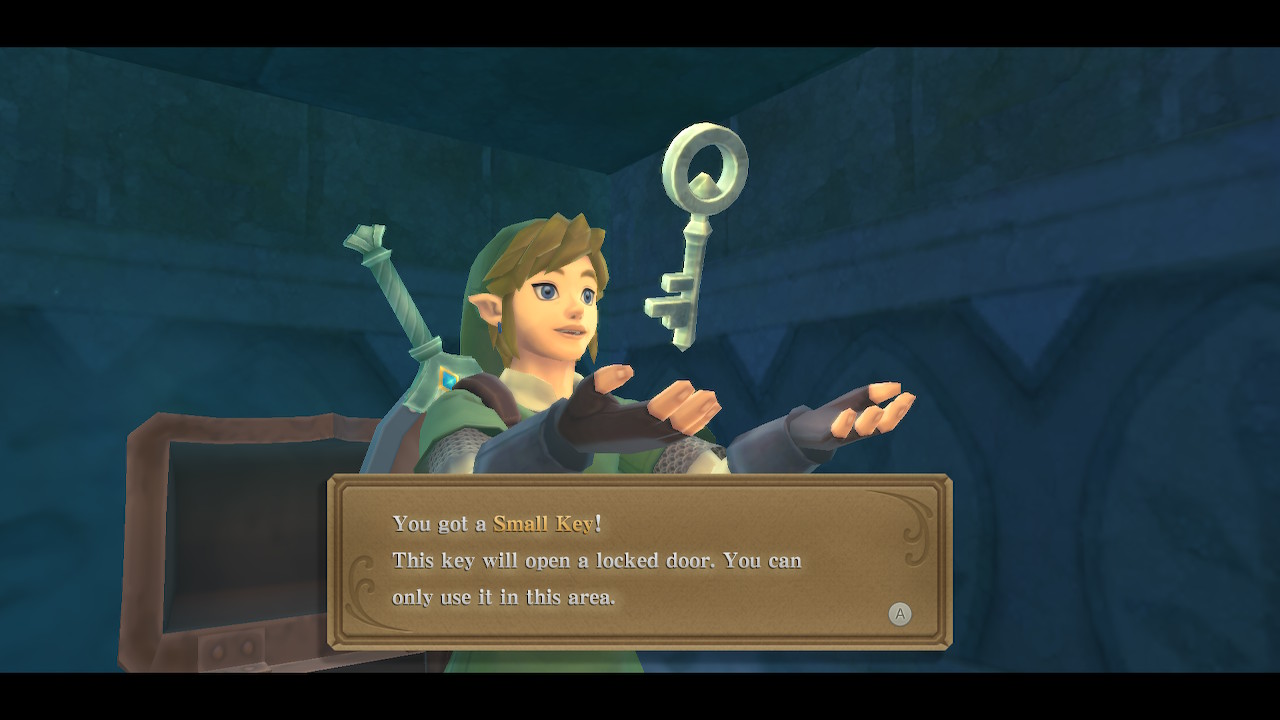
Head back to the previous room and use your key on the locked door to the north. This large central room is the main room of the dungeon. Start off by hitting the crystal switch above the door straight ahead and enter the door.
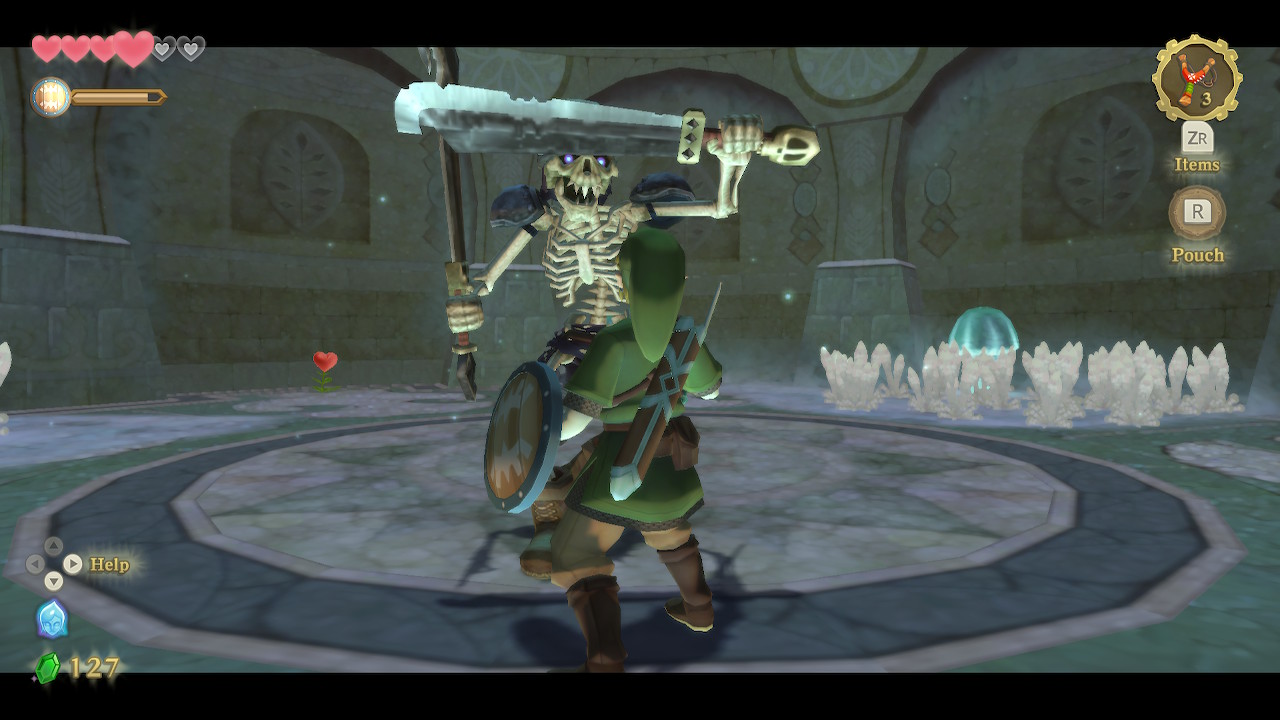
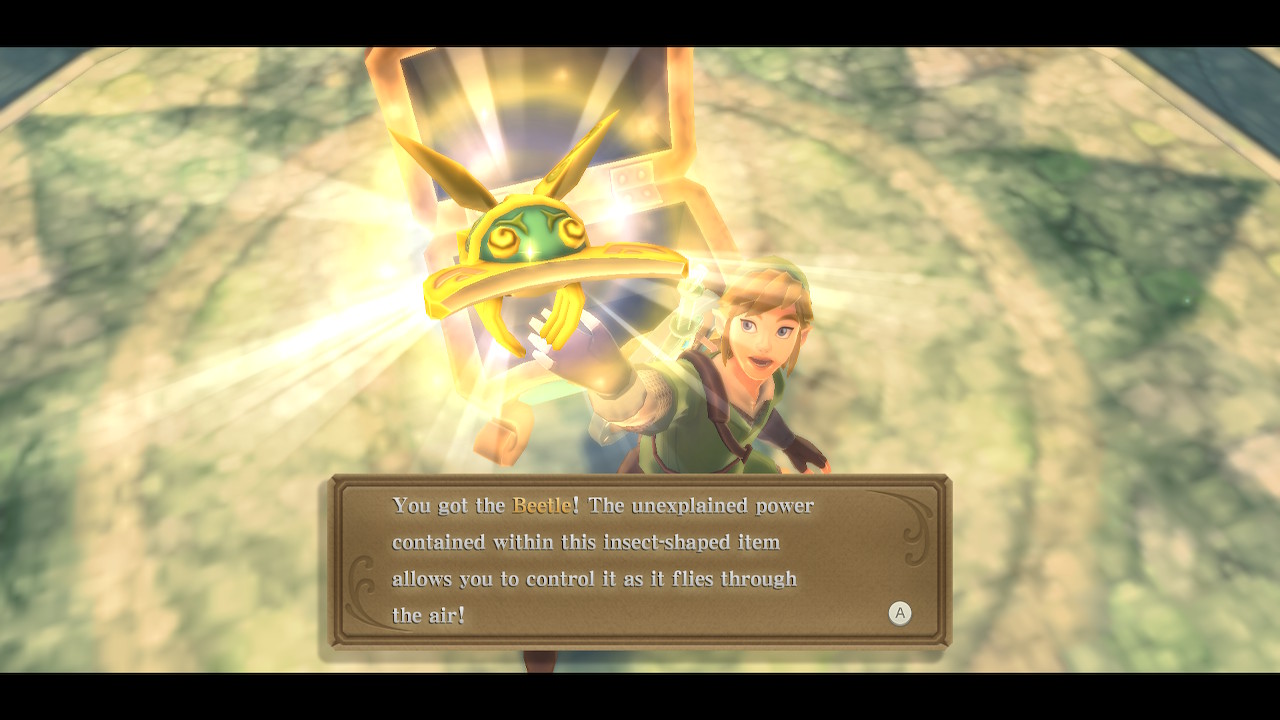
Inside this room is a new enemy and the dungeon's mini-boss. The Stalfos has two swords that it will use to block your blows from two directions at once. To defeat him, simply slice in the direction that he is leaving an opening for. Open the chest afterward to get the dungeon item, the Beetle. This is a distanced weapon that you can control remotely, and it can cut ropes and deal damage.
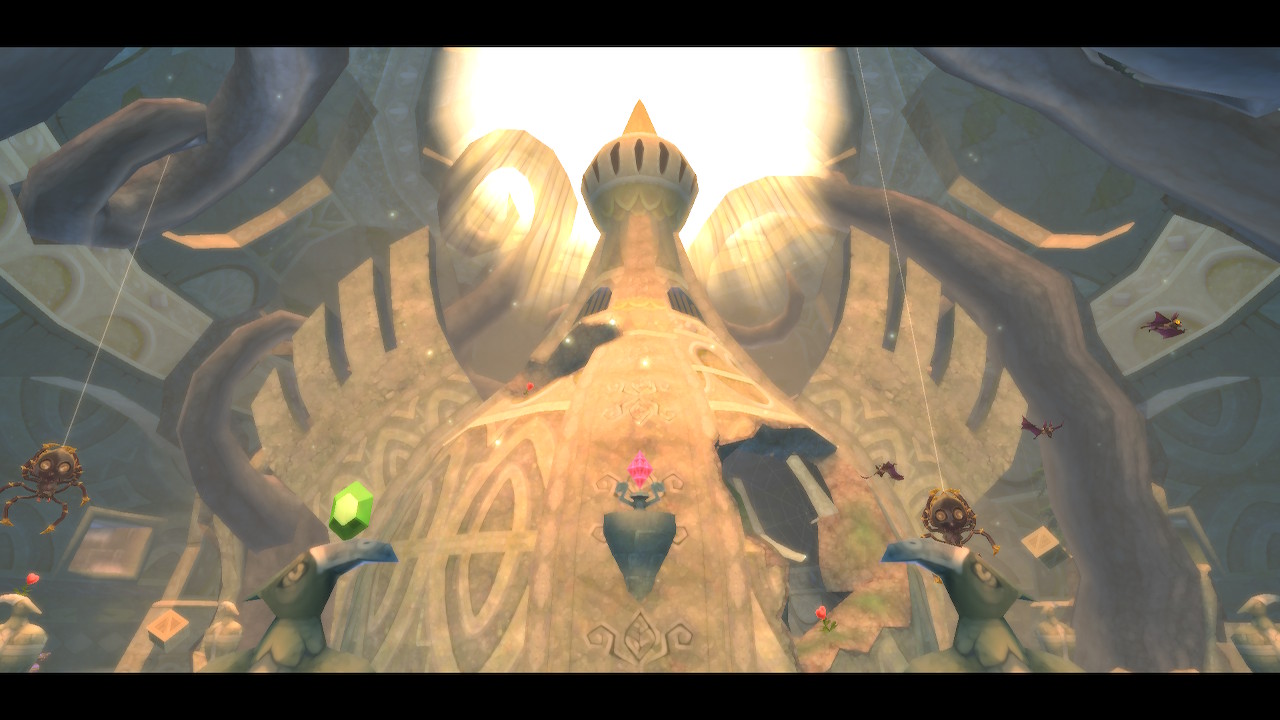
Central Room
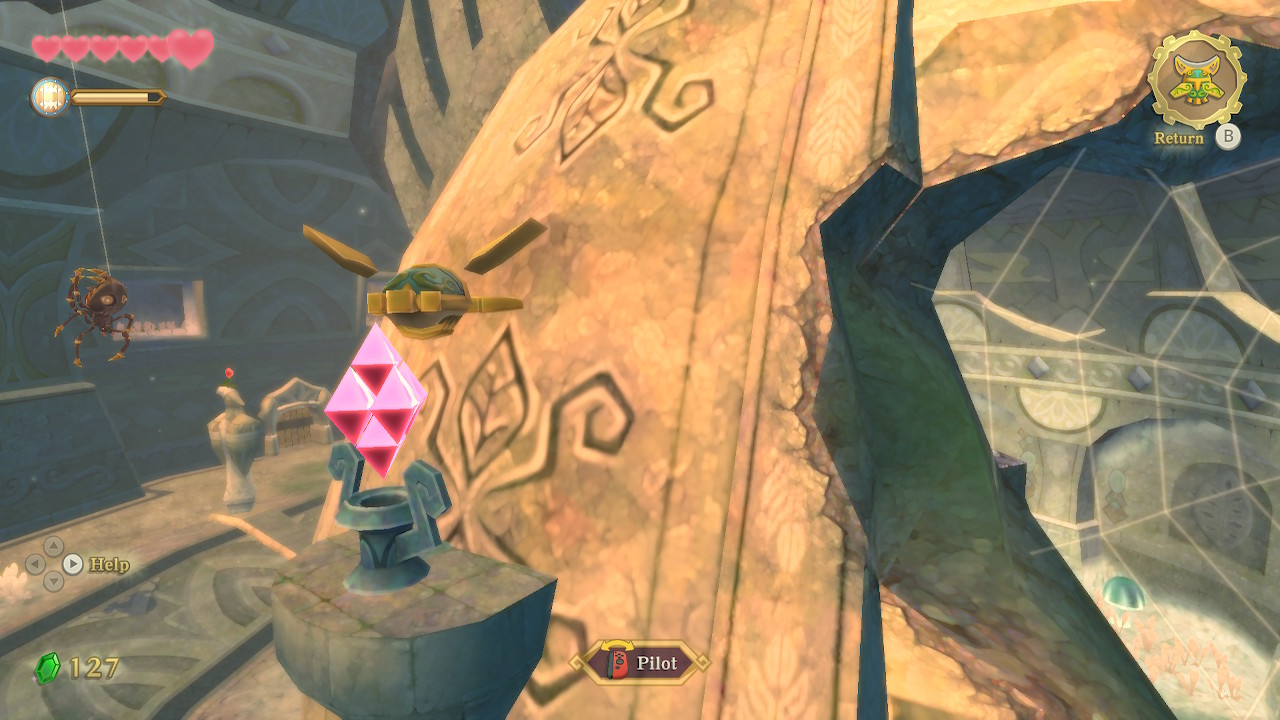
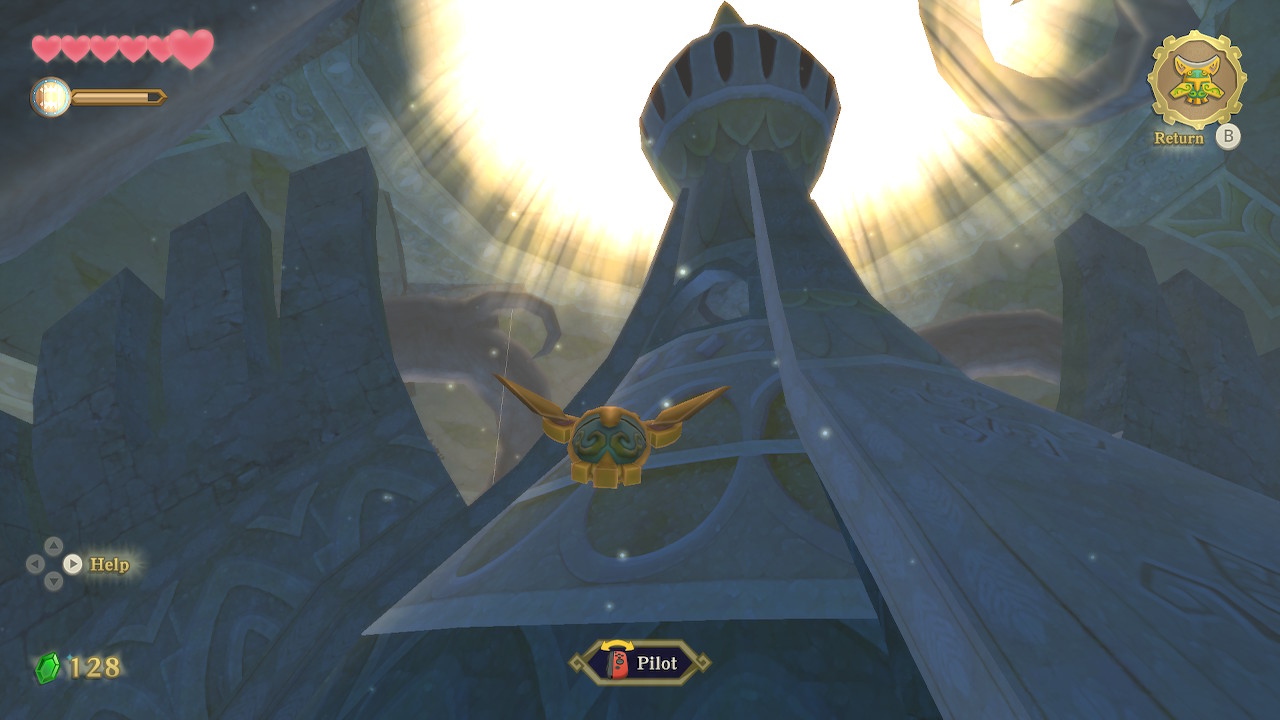
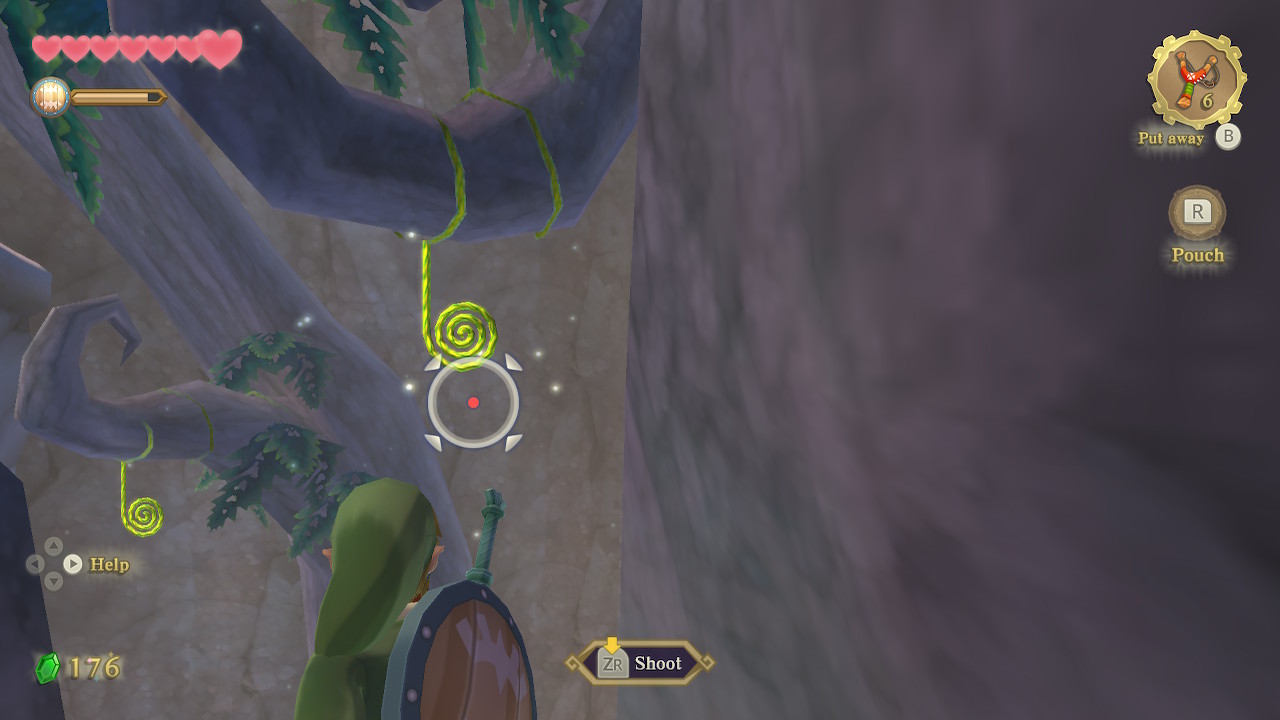
To leave this room, we'll need to try out our new weapon. Take out the beetle and aim it at the opening in the top of the room, cutting through the spiderweb and knocking down the Skulltula if you'd like. Then turn it to strike the crystal switch that opened the door from the other side. Exit this room.
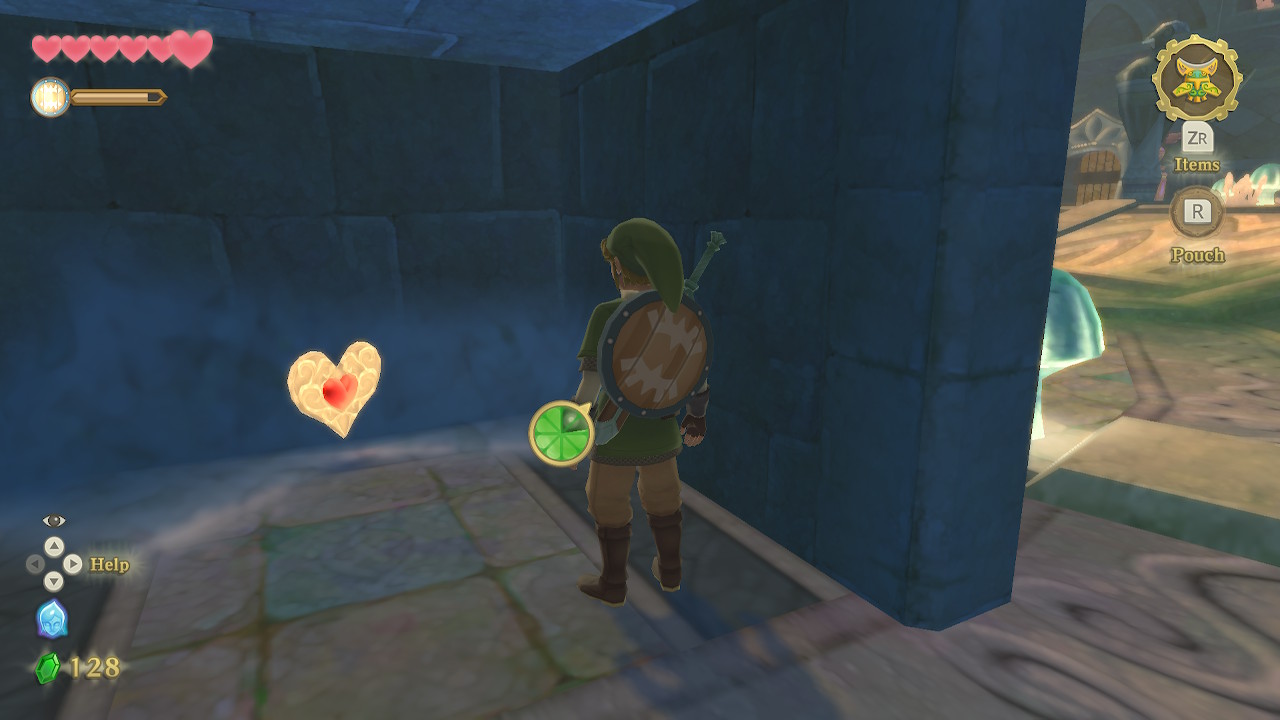
Head to the north side of the room and take out the beetle. Point it to the top of the central structure, and you will find a small opening with a crystal switch. Hit the switch to open the gate below, allowing you to pick up a Heart Piece #4. If you've been following the walkthrough, that's four pieces of heart that add up to a full heart container.

While we are in this room, feel free to defeat all the enemies and knock the crates down from the ceiling with the beetle to collect some rupees. On the west/left side of the room is a door with a bird statue next to it. Aim the beetle into one of the two openings above this door and follow the curve to hit a crystal switch that opens the door.
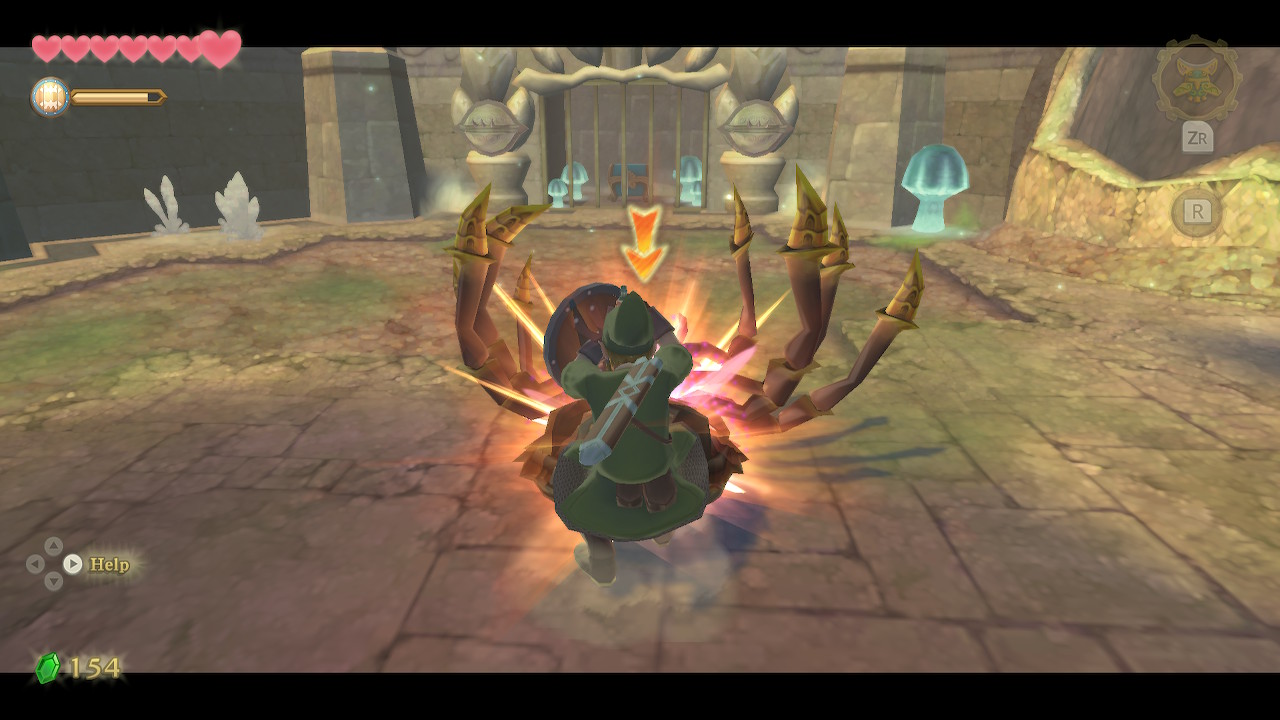
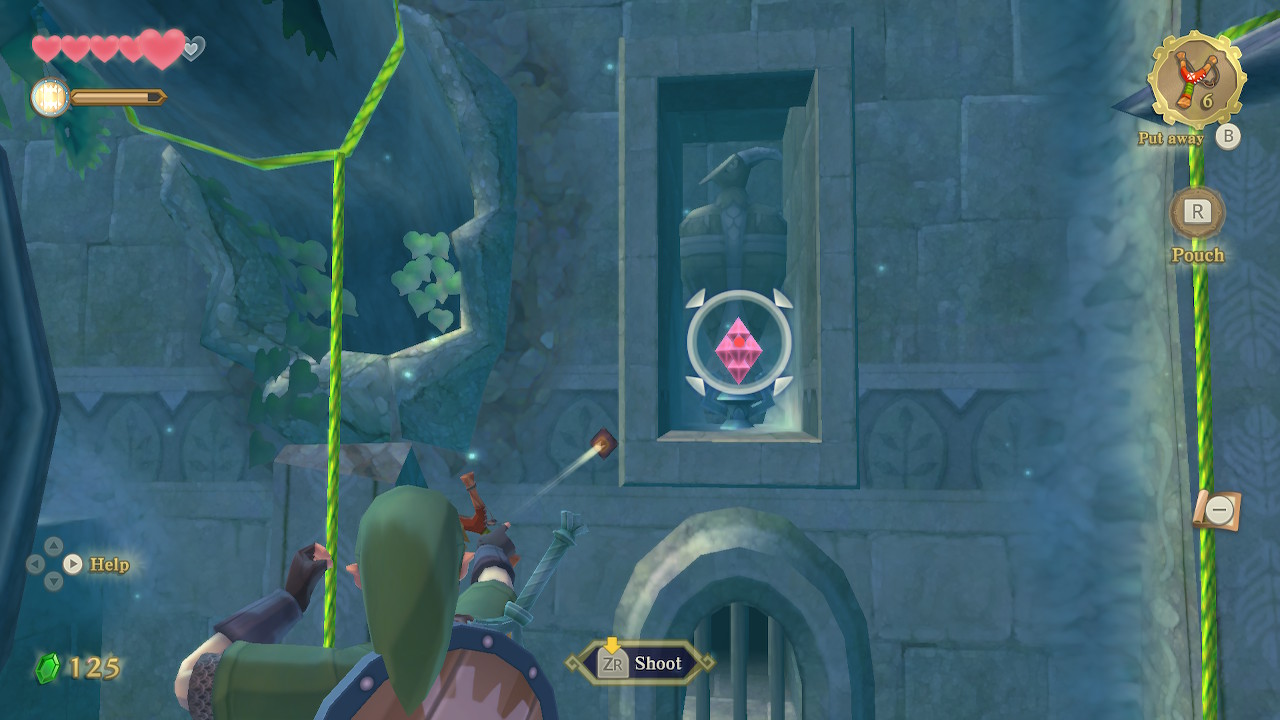
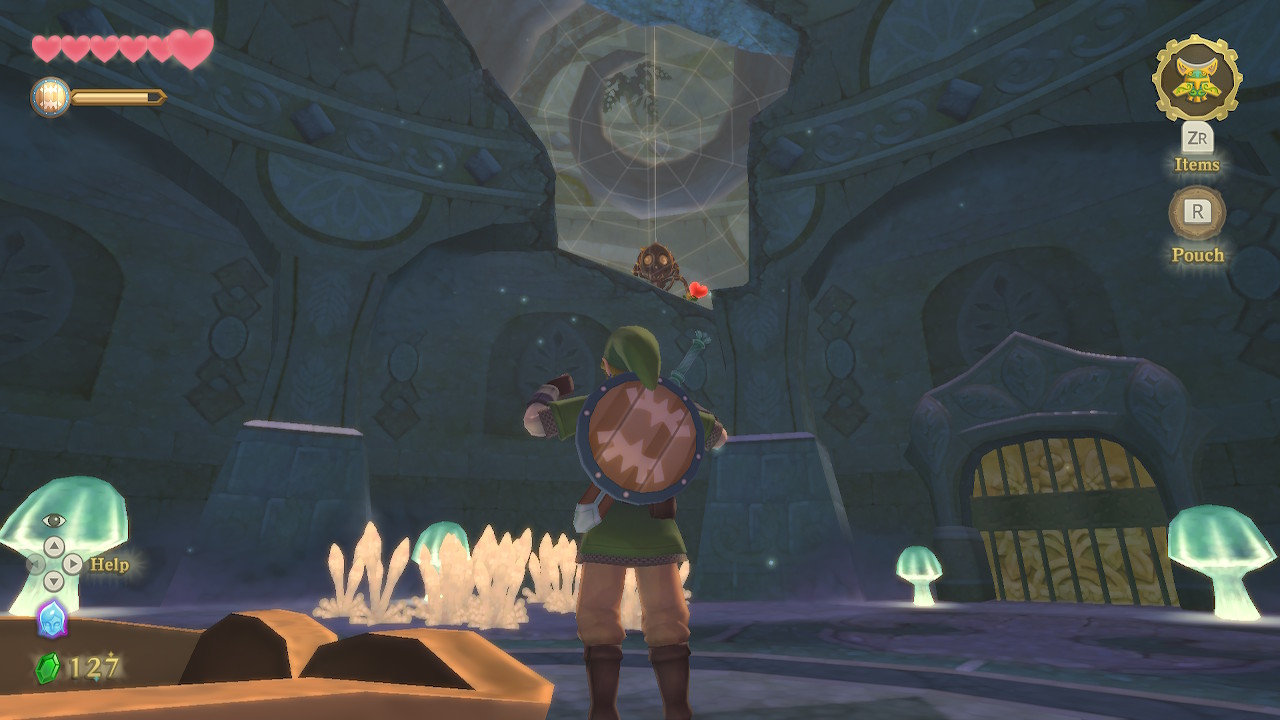
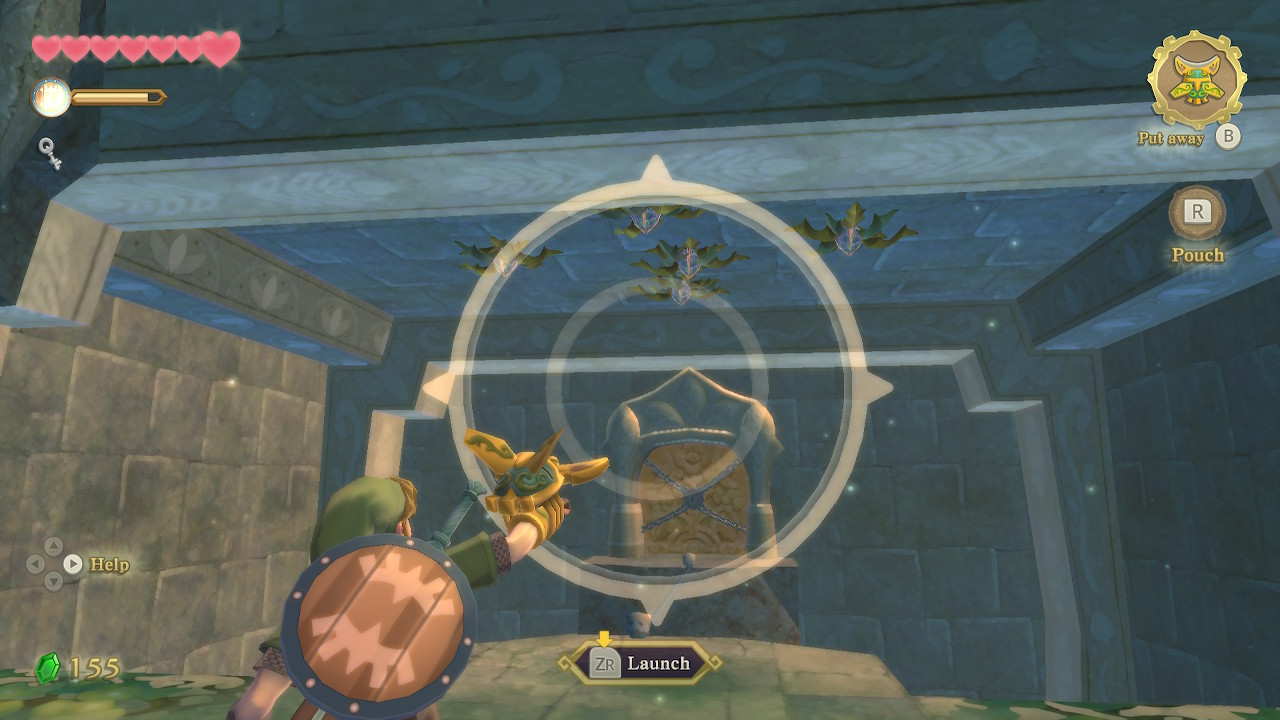
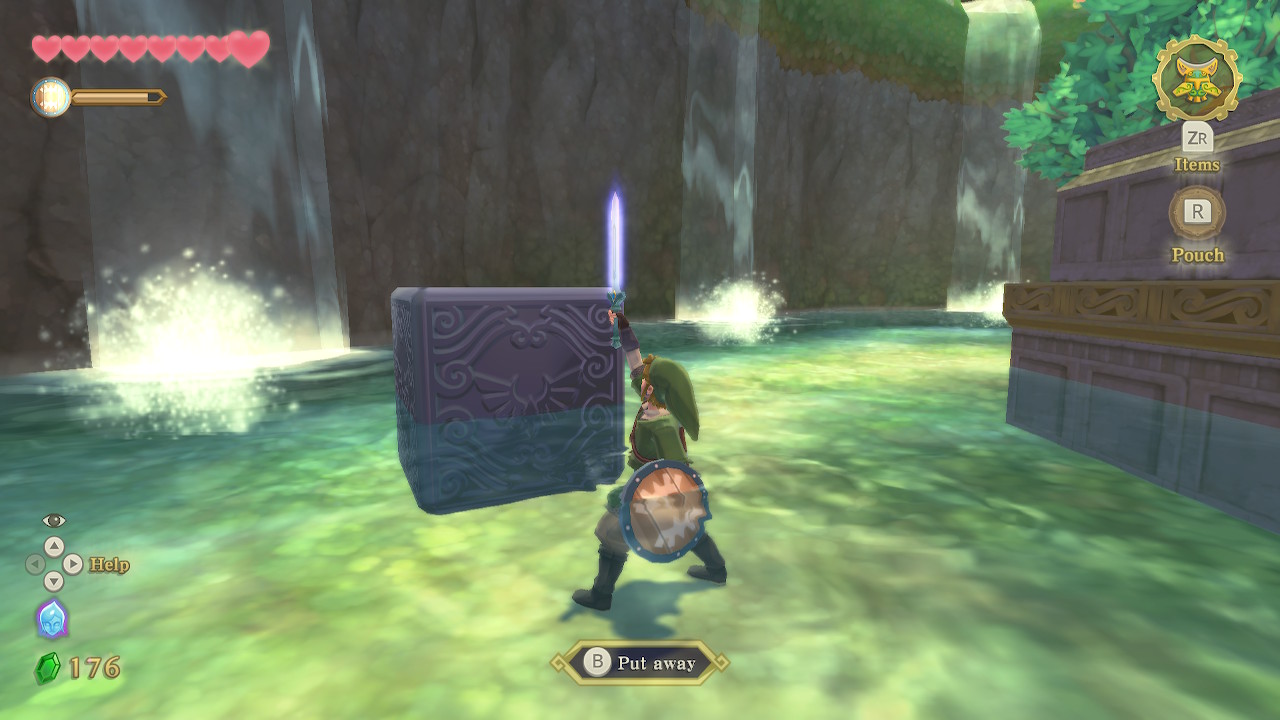
Through this door is a narrow room that you can run straight through into the next room. In this room, a Skulltula will approach you from the ground. Use an upward strike to flip it on its back to defeat it. Climb the vines behind you and use the beetle to knock down the steel box. Push it off the ledge and towards the center of the room. You can now stand on the box to catch the attention of all three Eye Guardians and can rotate your sword to defeat them and reveal the chest. Open it for another Small Key.
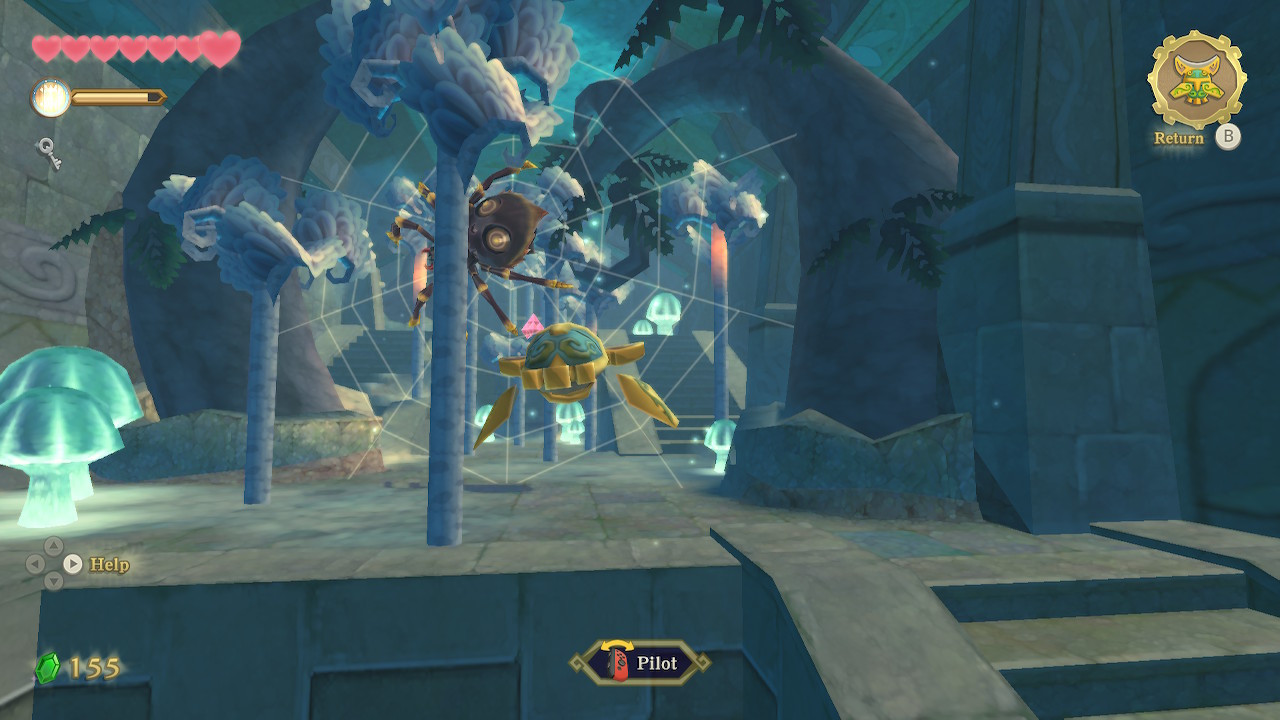
Back in this narrow room, pull out the beetle and aim it towards the back of the room, where you'll find a crystal switch. Hit it to raise the water level in this room, allowing you to access the upper floor. Defeat the Skulltula up here and continue forward to the end of the room, where you'll need to slice some trees blocking a small opening. Crawl through and head back into the main room.

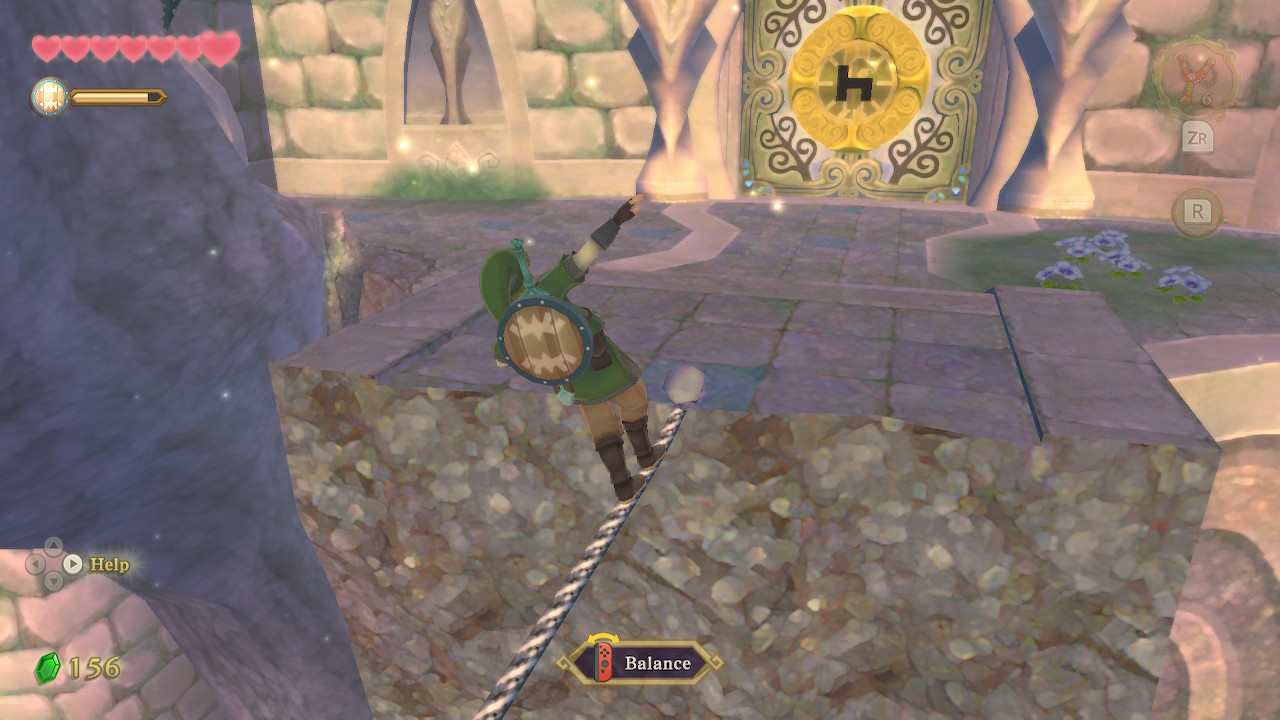
From here, head to the east/right side of the room, where there is a locked door. Get nearby and then use the beetle to clear the Deku Babas hanging from above. You can then safely cross the tightrope and enter the locked door.

The door in the next room will lock behind you. In this room is a new enemy, a Staldra. To defeat it, slice all three of its heads off at once using whatever angled strike their position calls for. Enter the next door after defeating it. In this room, use the beetle to chop down the Skulltula so that you can safely clear the gap. Get a running head start; it's a fairly large gap. Hit the crystal switch on the rear wall to create a shortcut.
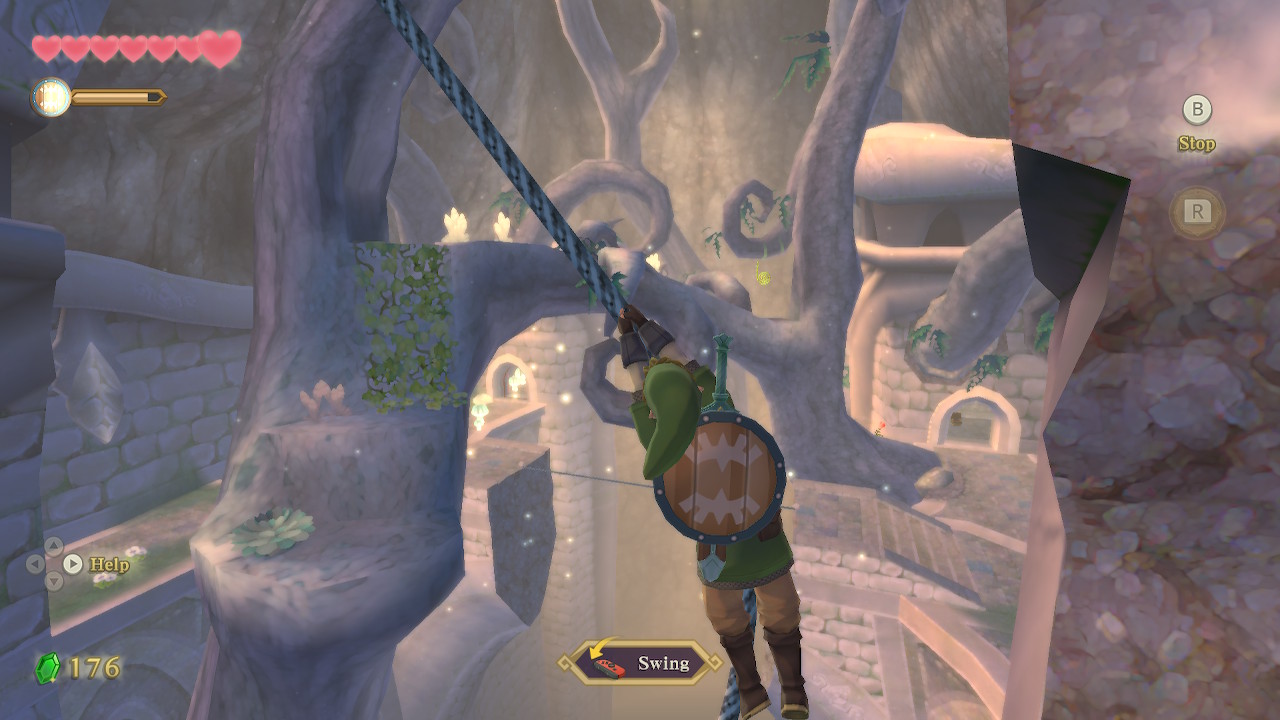
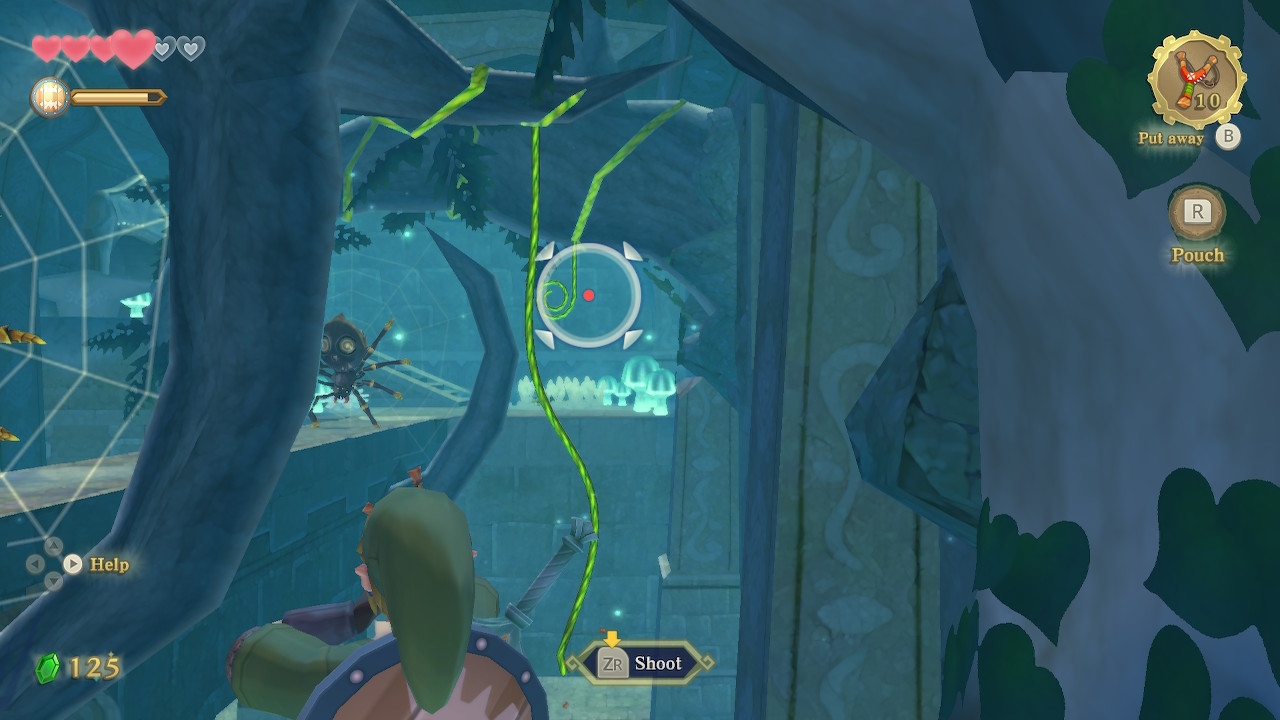
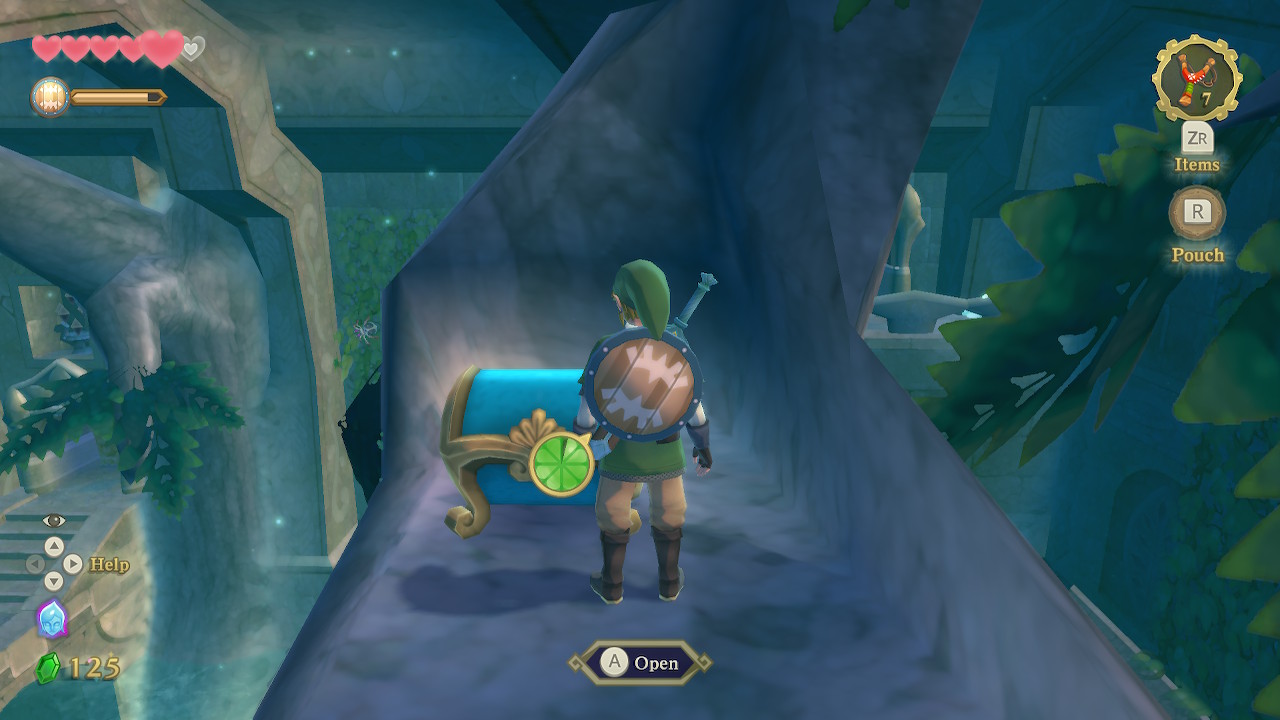
Cross the tightrope in the center, and use a jostle to defeat the Bokoblins that will get on the rope with you. On the other side, head left to open a chest and get 20 rupees. Across from this, enter the next small room and climb up the vines. Slash the rope down here and use it to swing to the right onto the tree platform.
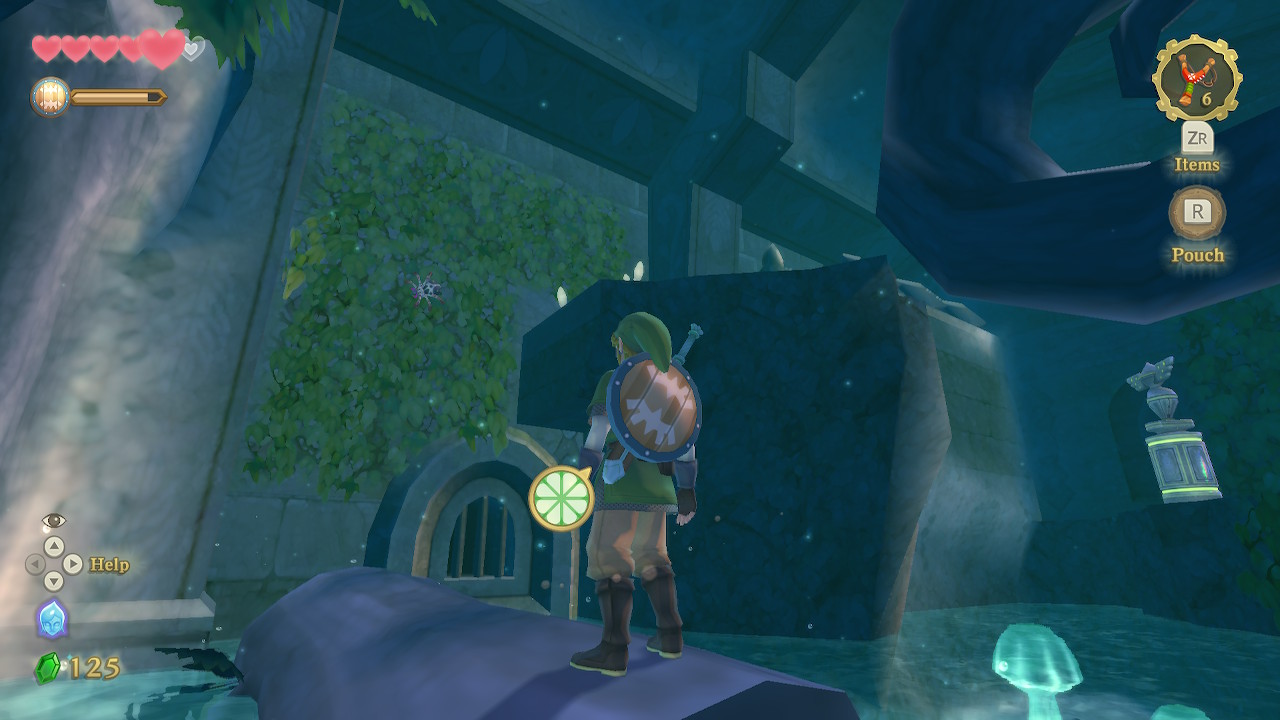
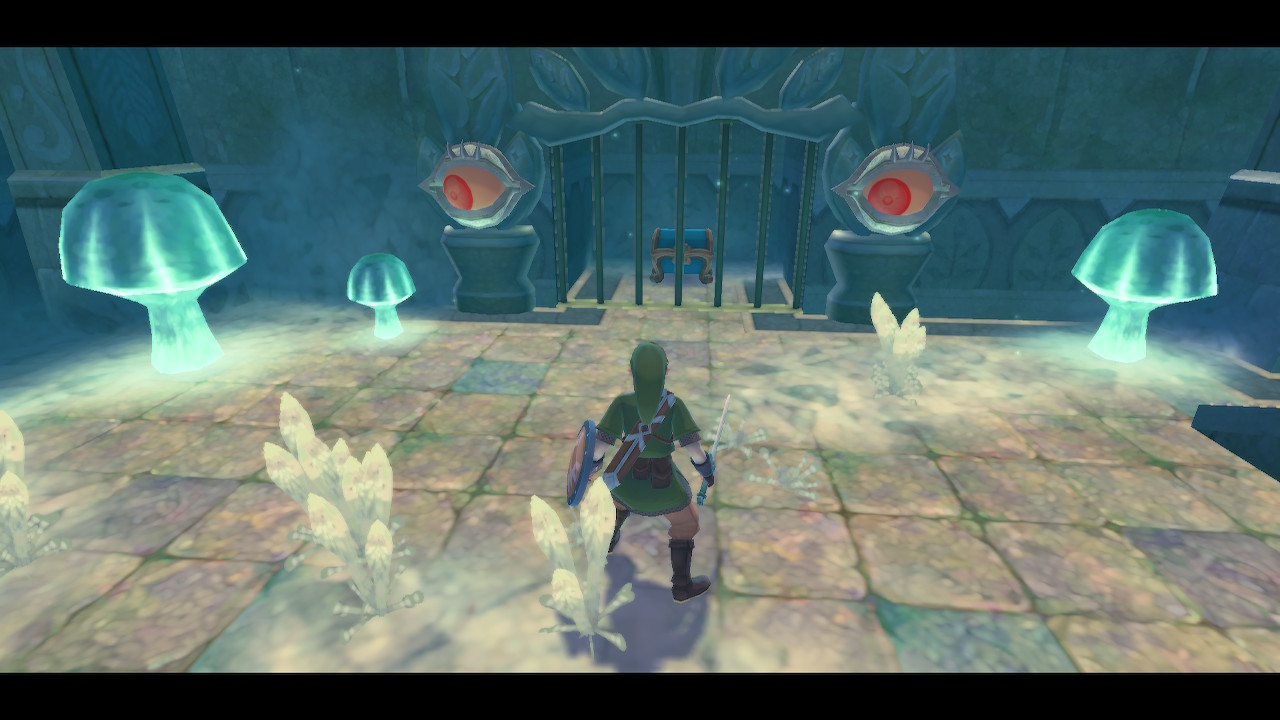
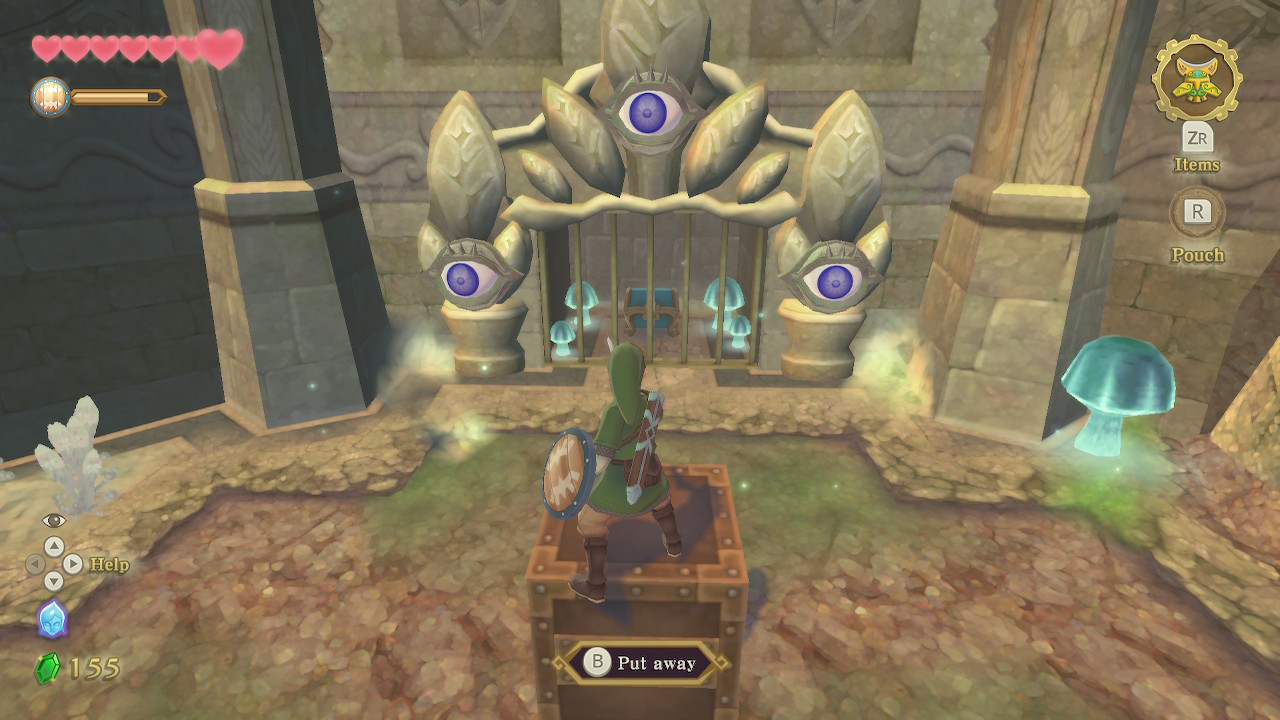
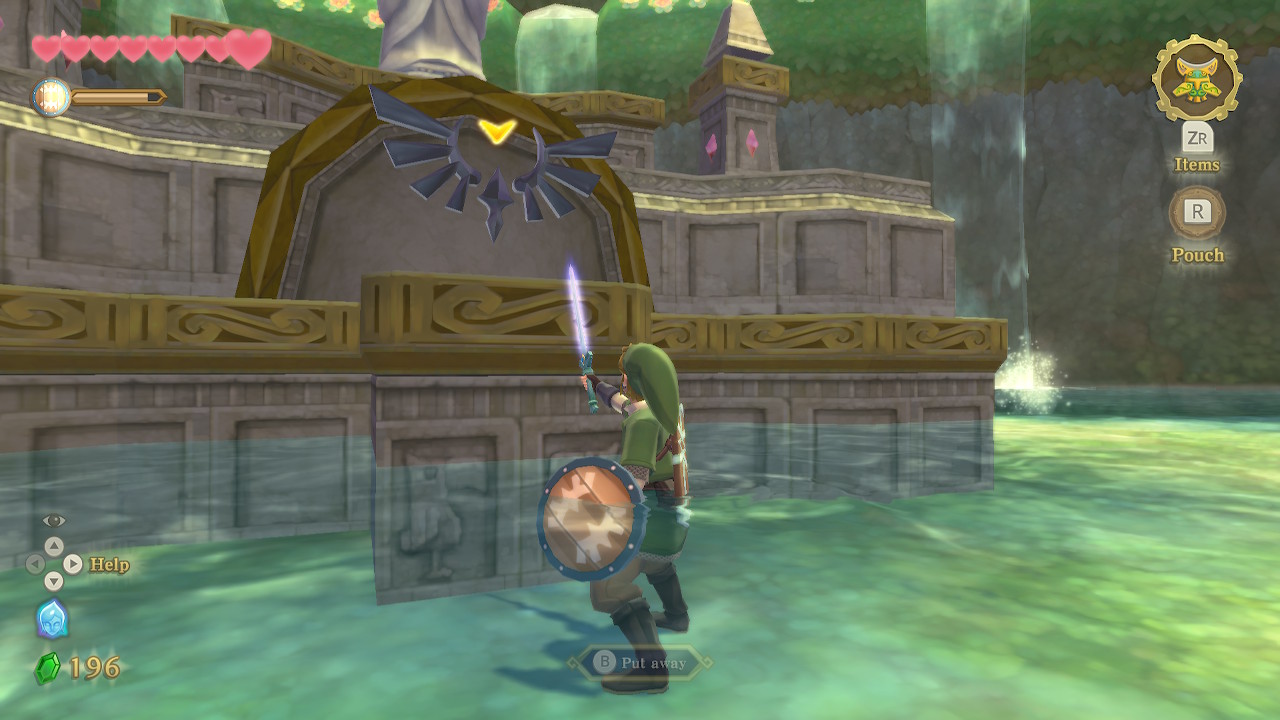
Cross the tree platform and then shoot down the two rope vines. Use them to swing over to the small room to the left. Open the chest here to get the Golden Carving. Climb up the vines and then drop back down to the lower platform. Cross the tightrope once again, and you can now use the Golden Carving to open the boss door. Rotate it to the correct position and then release it. Make sure to save before entering; we're about to fight the dungeon boss.
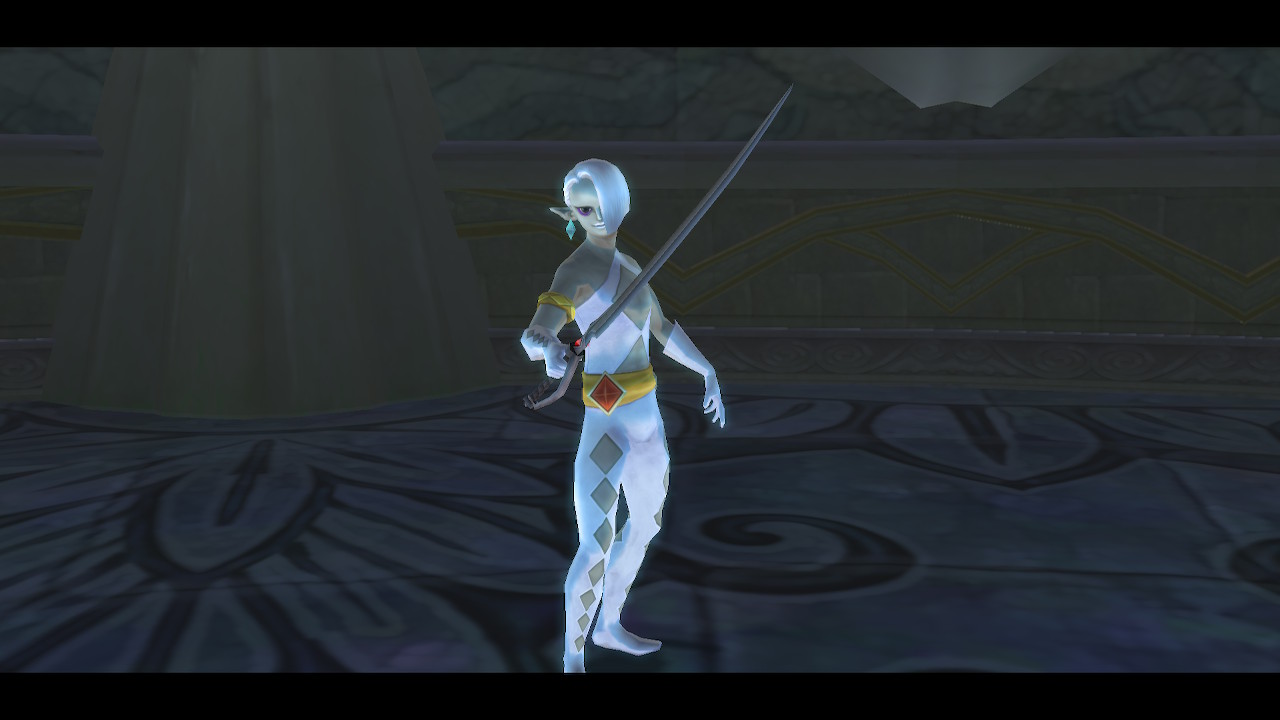
Dungeon Boss: Ghirahim
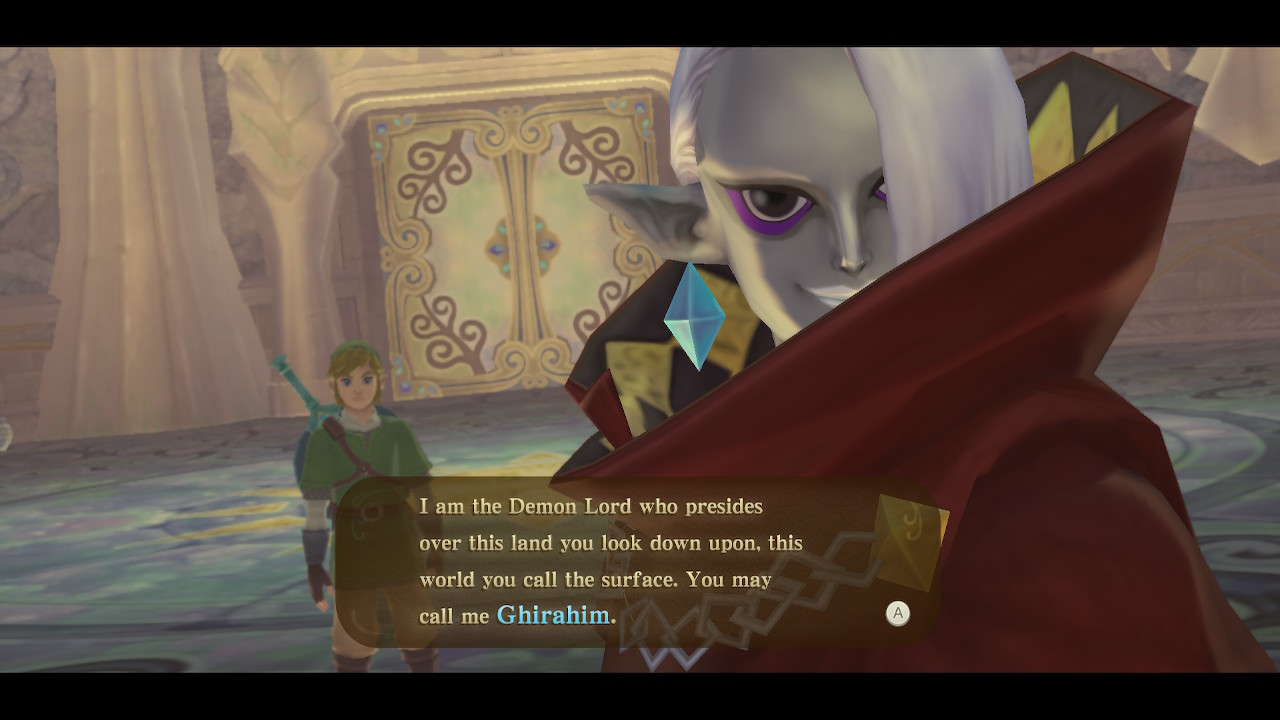
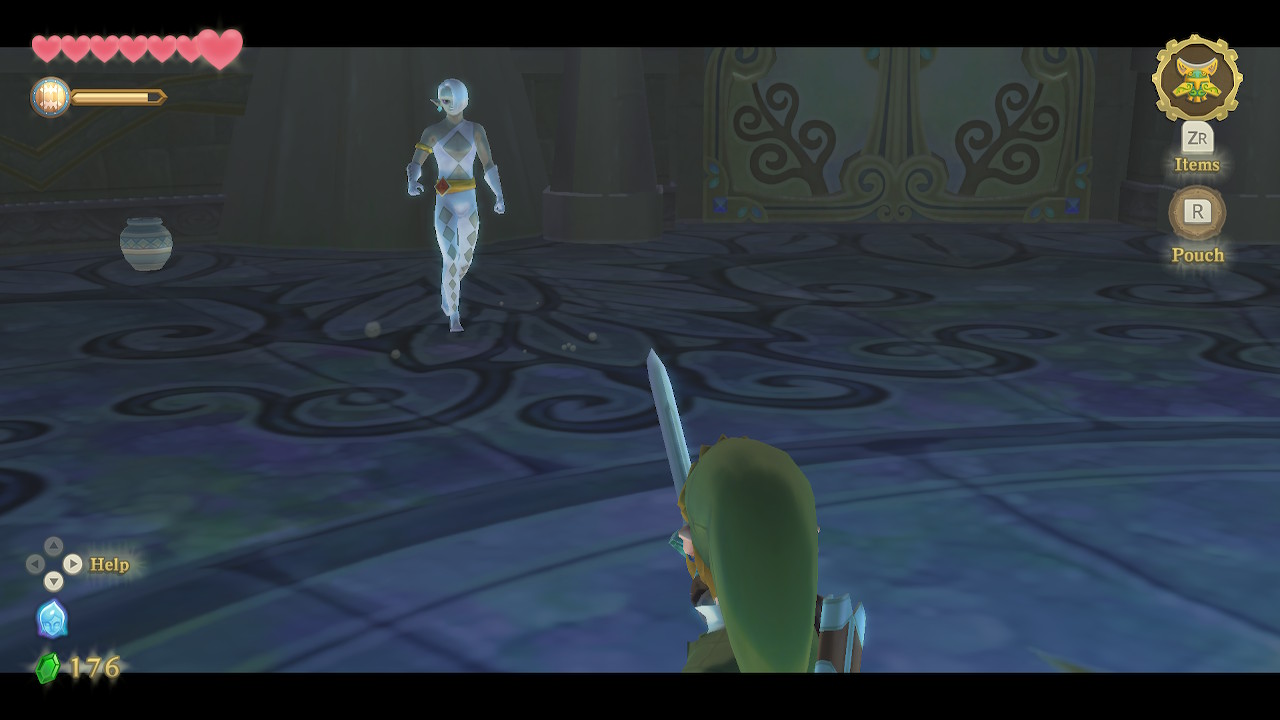
The boss of this dungeon is one we will grow quite familiar with, Demon Lord Ghirahim. A cutscene will introduce him, and then the battle will begin. Ghirahim will attempt to block your sword strikes with his hand. The key here is to bait that you will swing from one direction by holding your sword that way and then quickly swinging from the opposite direction. If you let him catch and hold your sword for too long, he will take it from you and slash you a few times before throwing it.
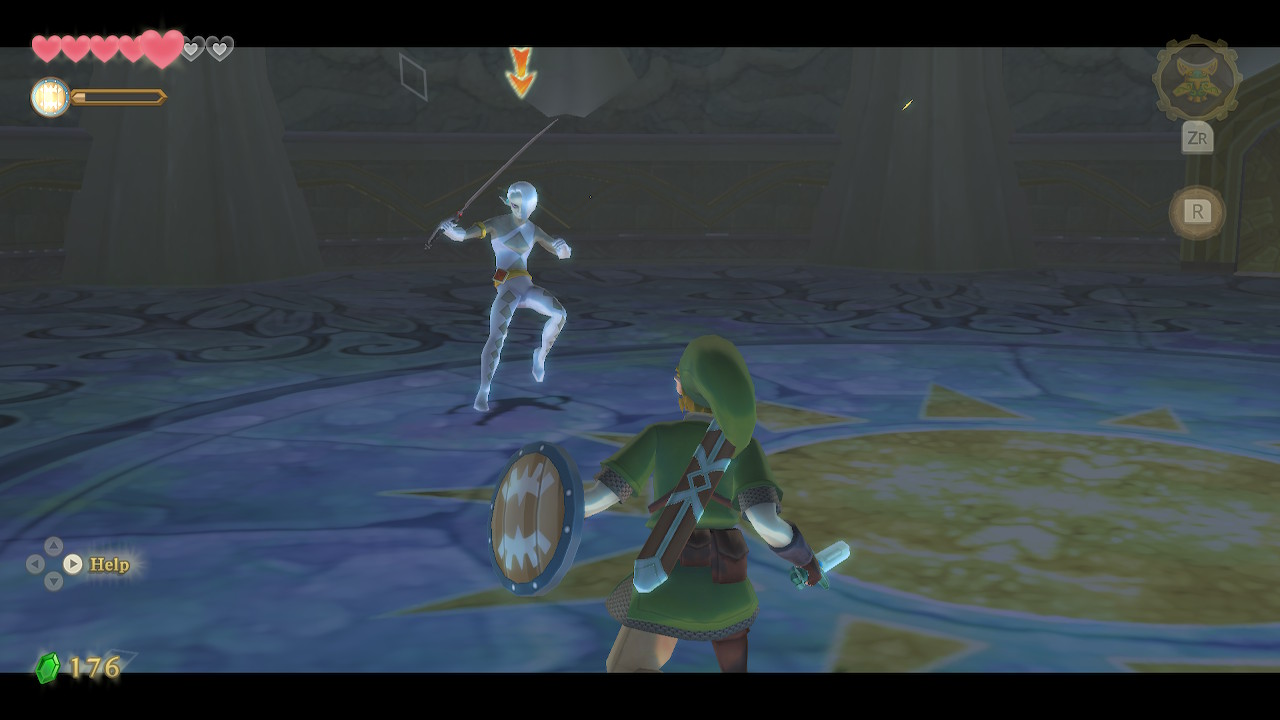
In the second phase, Ghirahim will also have a sword. He has two main attacks; the first is to launch a series of needles at you that can be slashed with your sword or ran from. The second is to quickly launch himself at you, which can be blocked with your shield or backflipped away from.
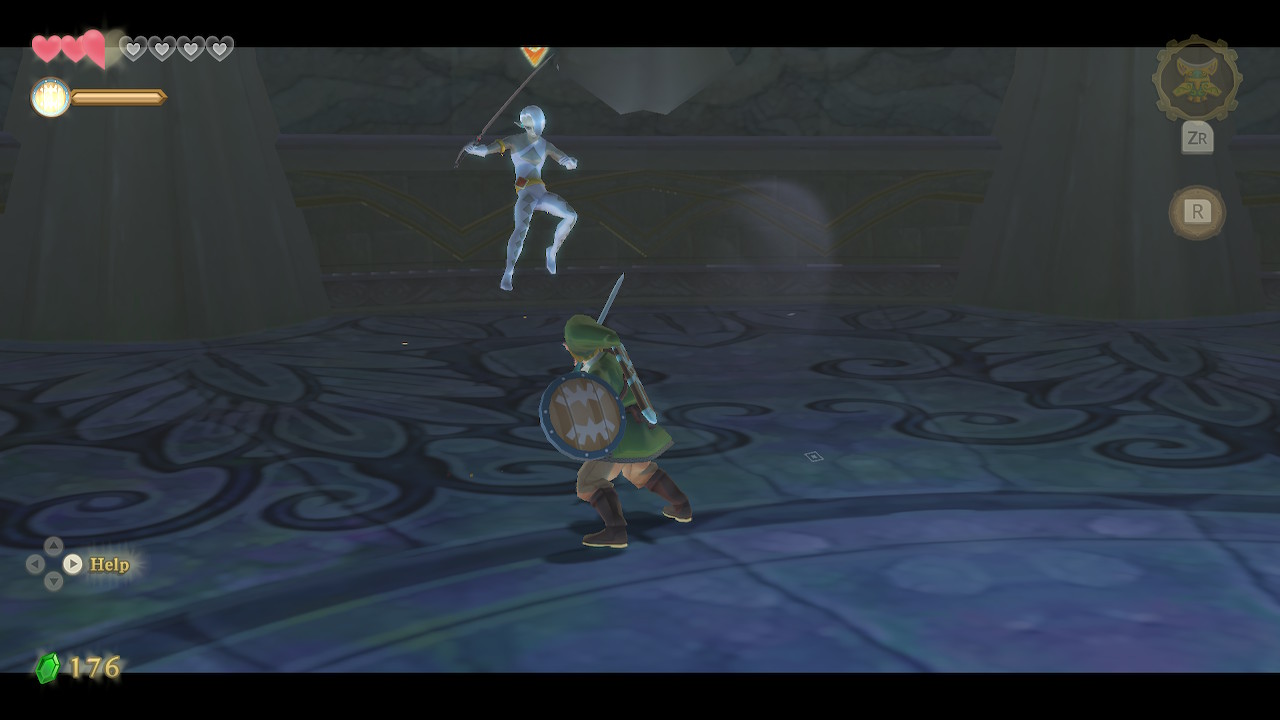
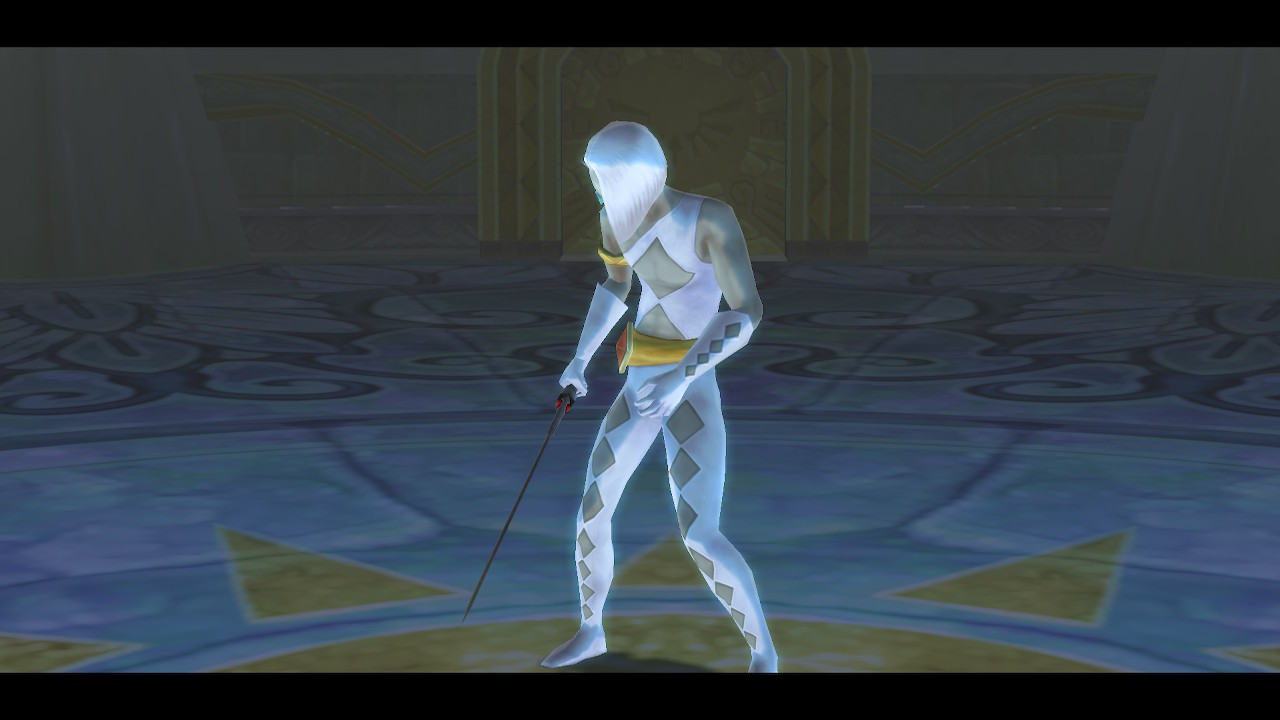
To deal damage in the second phase, wait for him to come close to you and hold his sword in a particular direction. Carefully strike in a vulnerable direction here and then keep slashing to tack on damage. Be careful not to clank his sword here because he will immediately counterattack you.
This battle can be a little finicky, especially if you are using motion controls and still getting the hang of them. There are quite a few pots to get hearts from around the room, and remember to use any potions you have if needed.
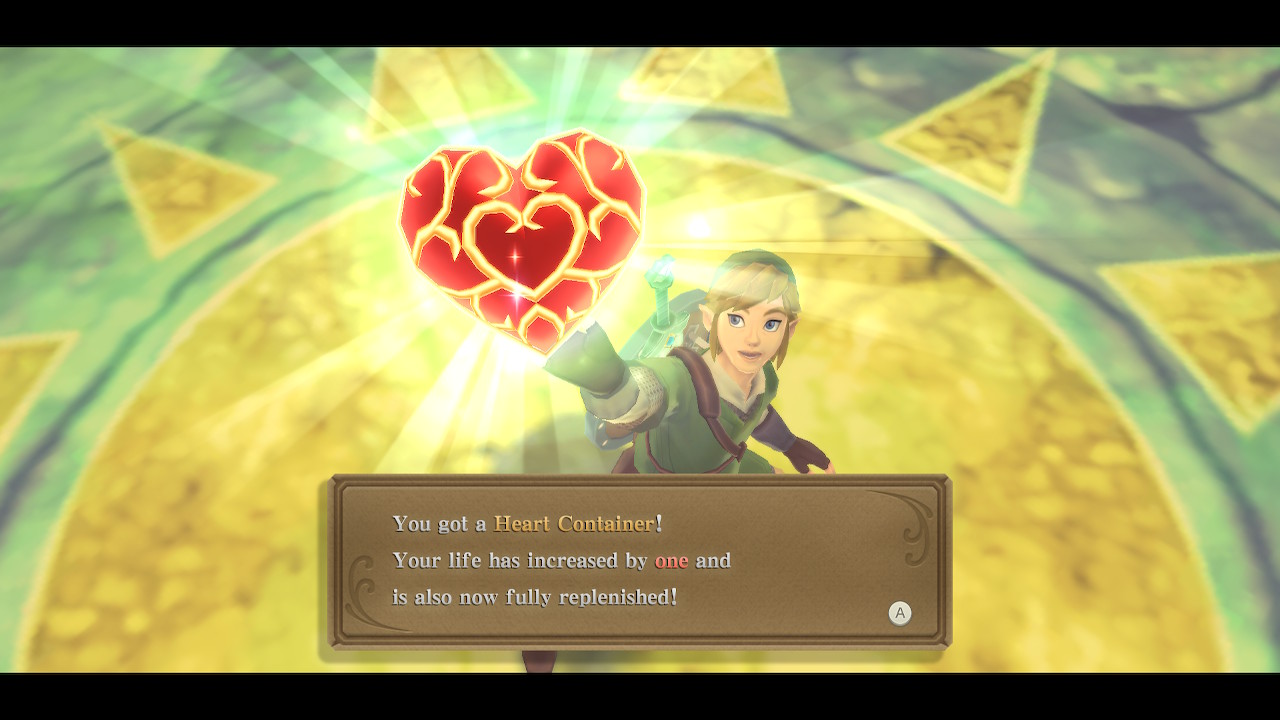
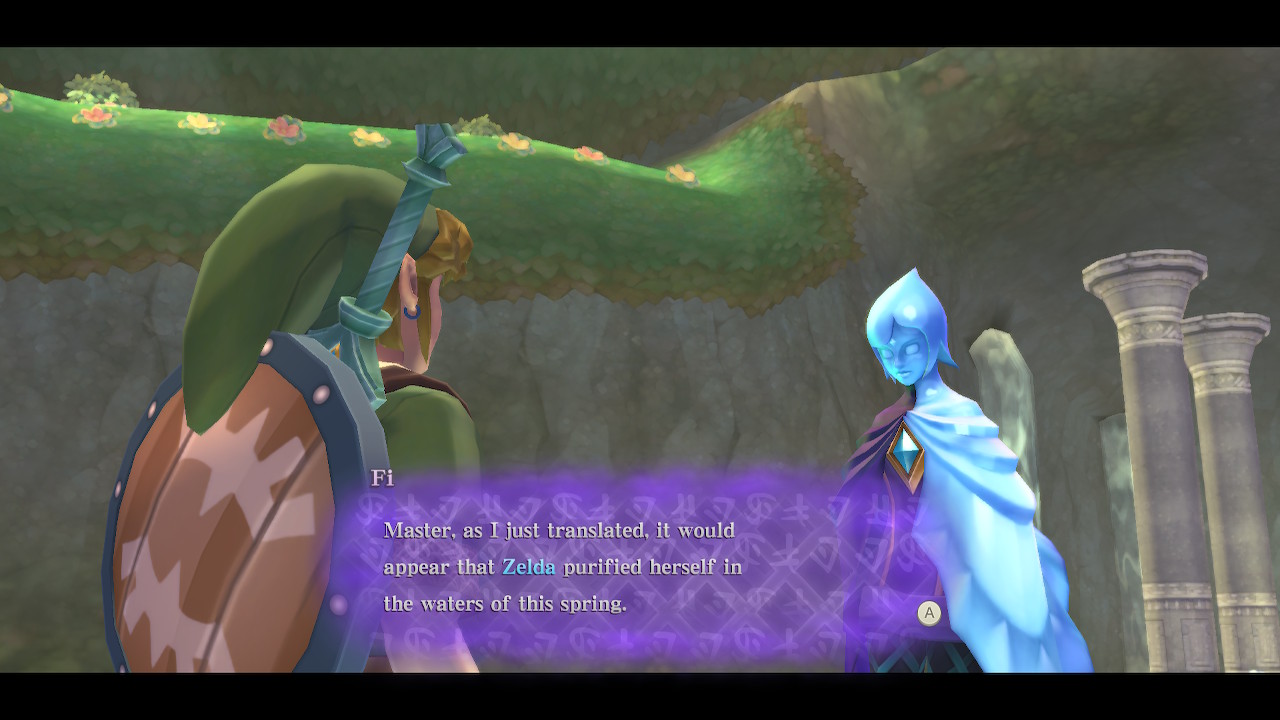
After the battle, grab the Heart Container and continue forward through the next door. This little area is called the Skyview Spring. Climb up the steps and then go into the water and behind the statue. Here you'll find Goddess Cube #3. Use a Skyward Strike to activate it. There are also 20 rupees that you can collect with the beetle from a pillar if you want.
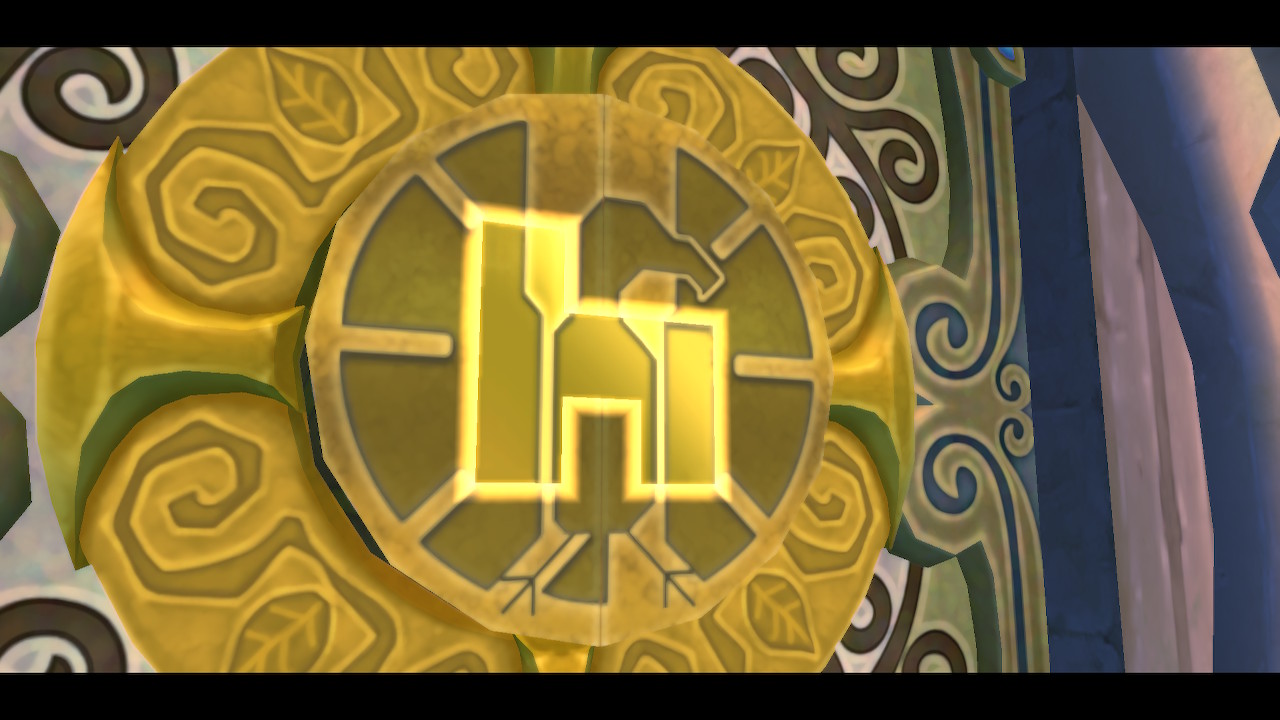
Now deliver another Skyward Strike to the emblem in front of the statue. A series of cutscenes will play in which you'll also get the Ruby Tablet, unlocking the path to the next area.
Back to Faron Woods Continue to Eldin Volcano
