
Part 5: Earth Temple
How to Complete the Earth Temple
Dungeon Item: Bomb Bag
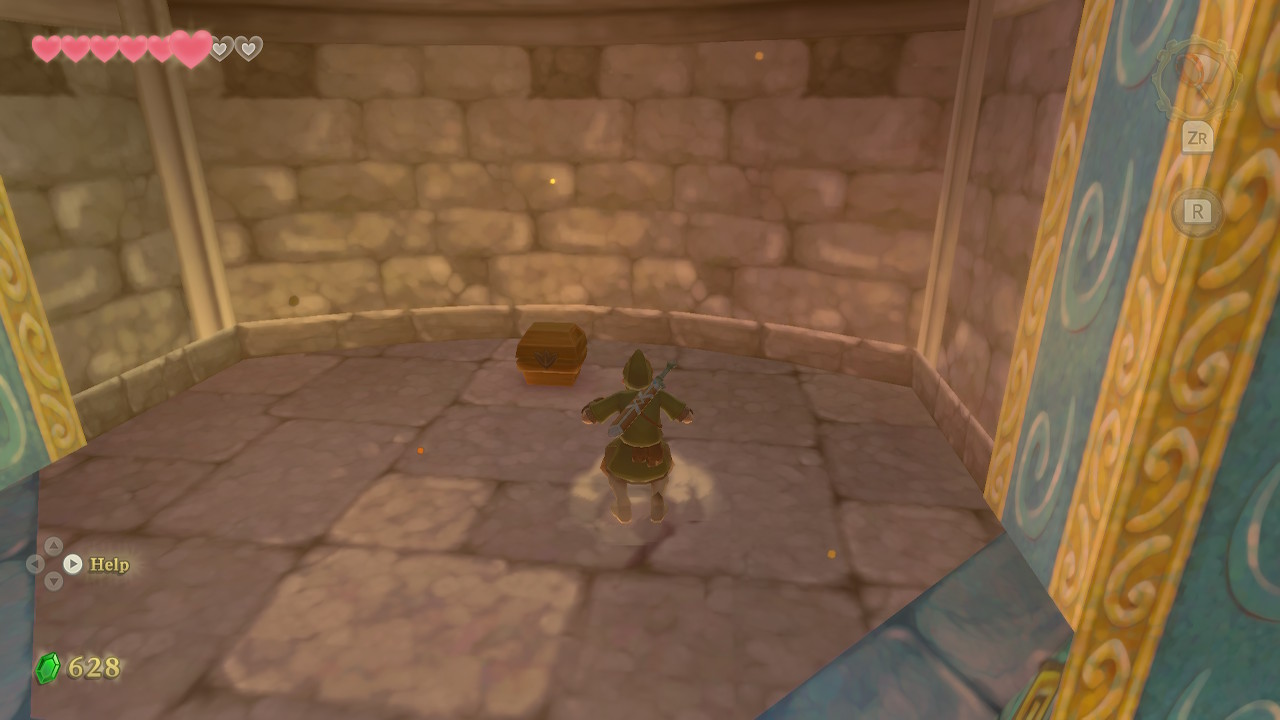
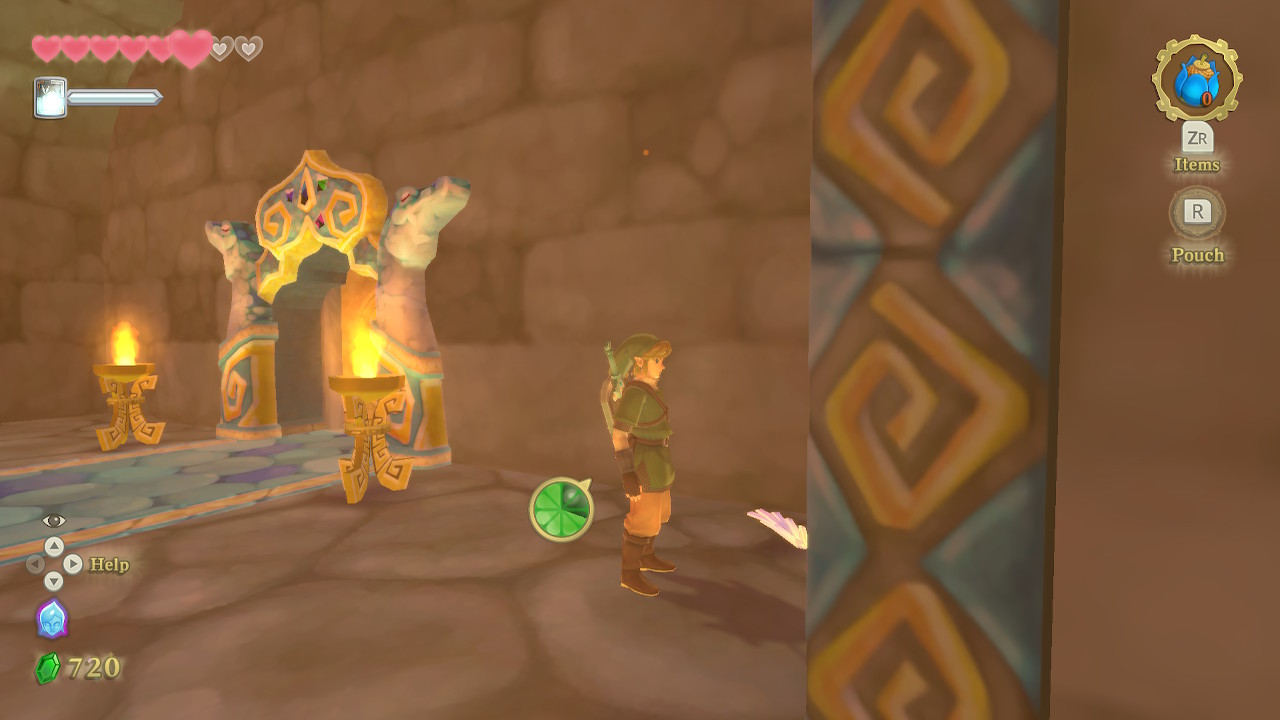
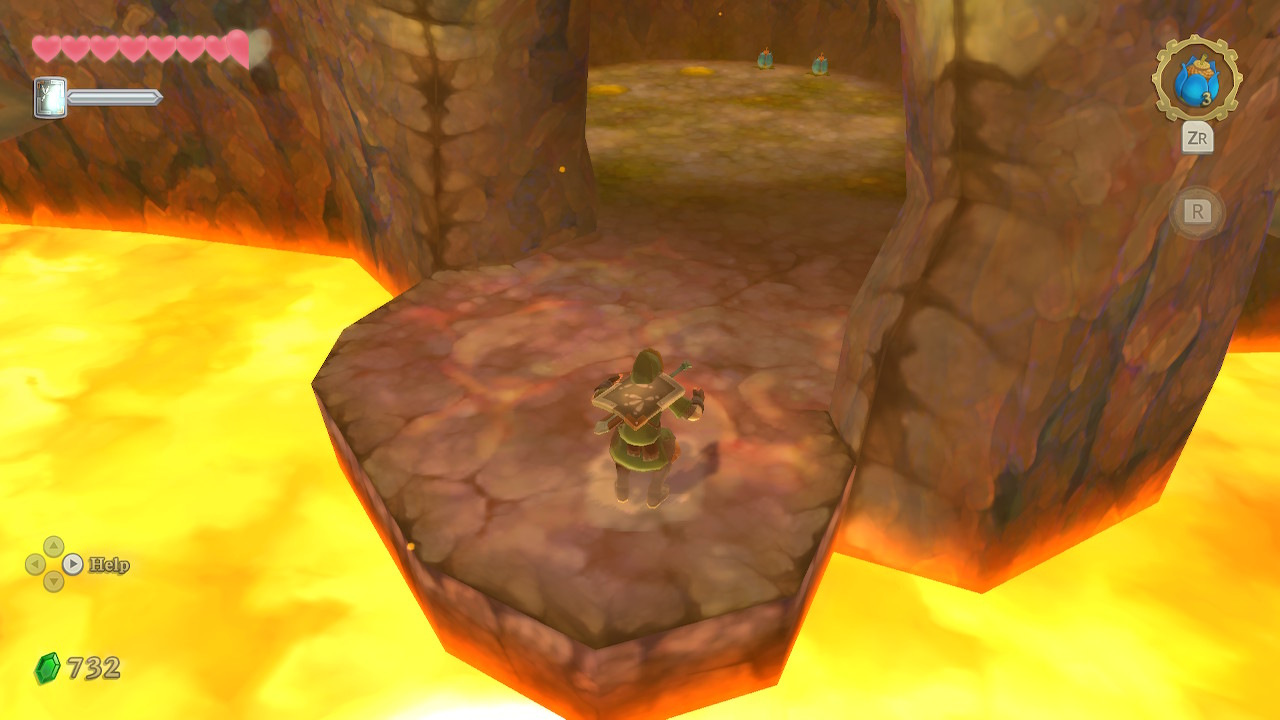
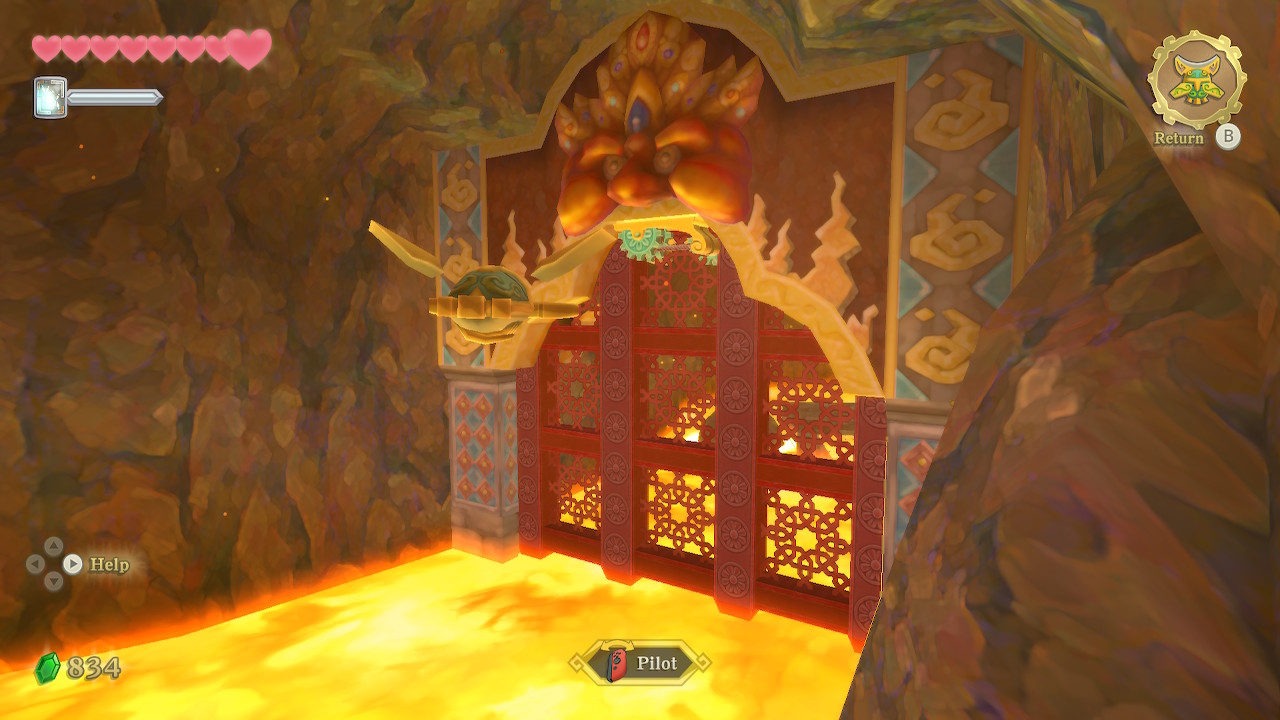
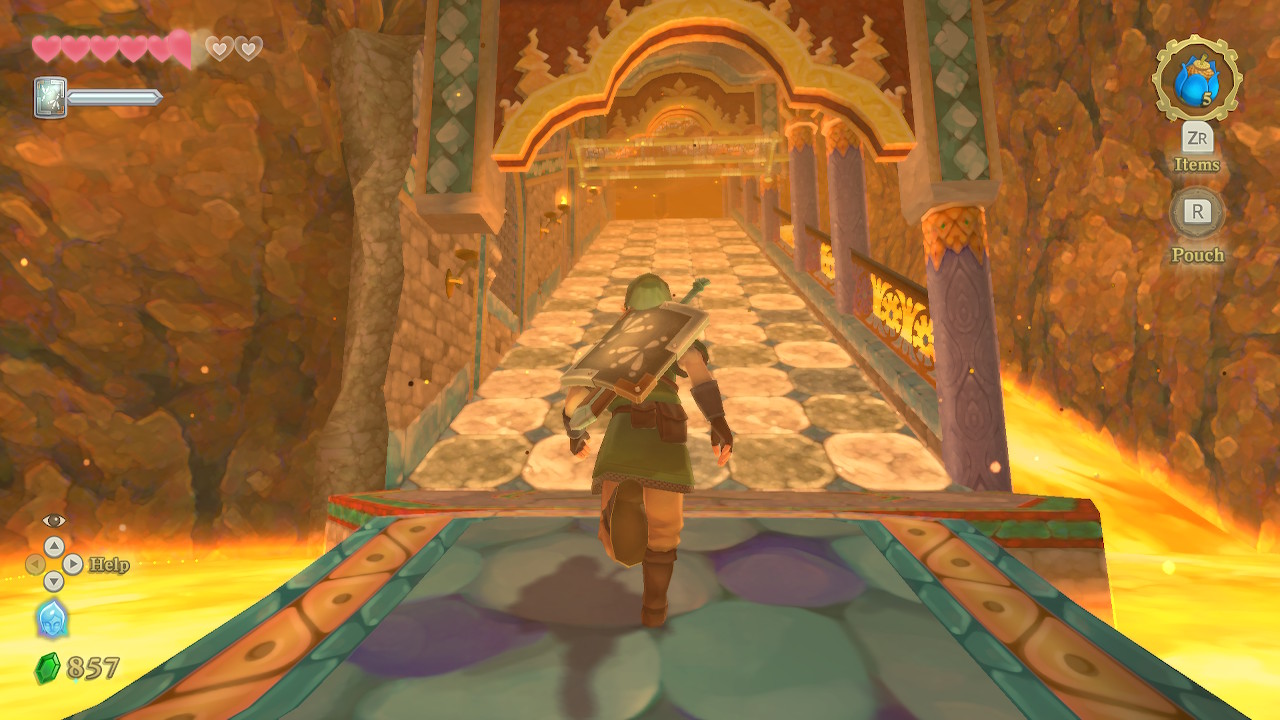
Welcome to the second dungeon of the game, the Earth Temple. Start heading straight and you'll enter a lava-filled room. Take the platforms to the right and you can dig a soft spot to reveal an air stream. Take this up to the top to find a chest containing 20 rupees. On the left side of the room, you can speak to Cobal who will tell you his friend is missing and there are many soft spots to dig here.
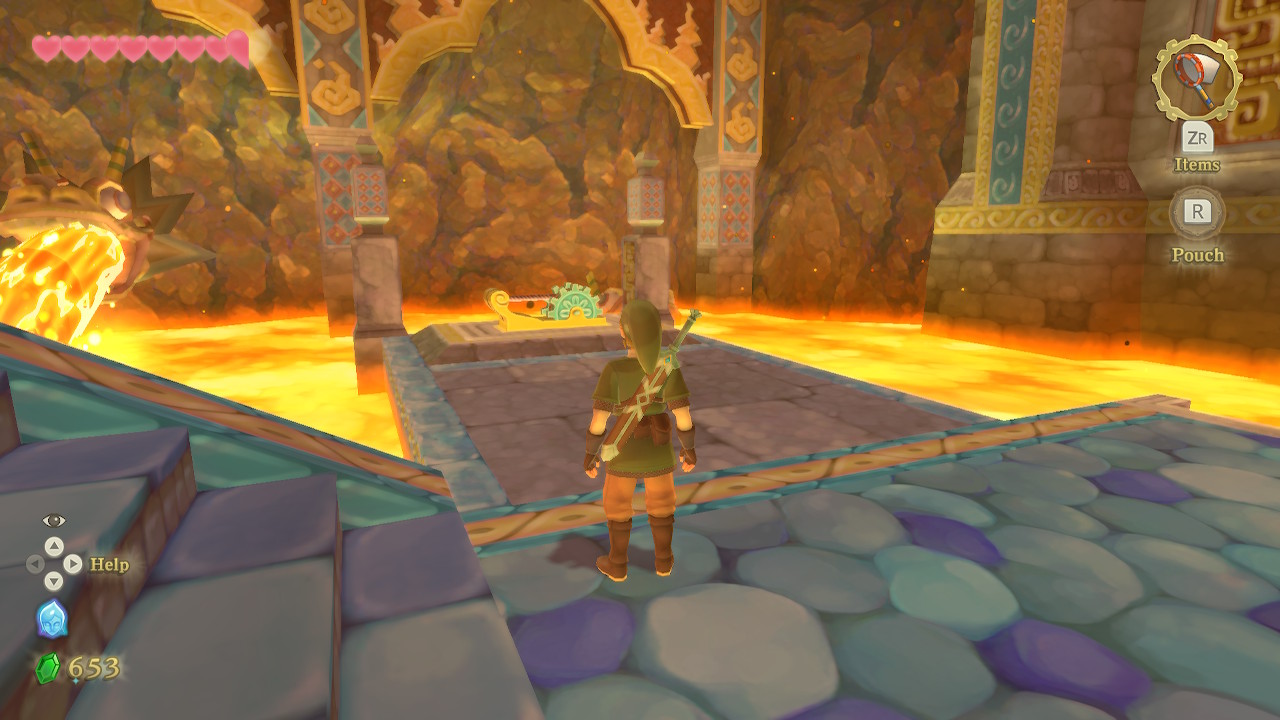
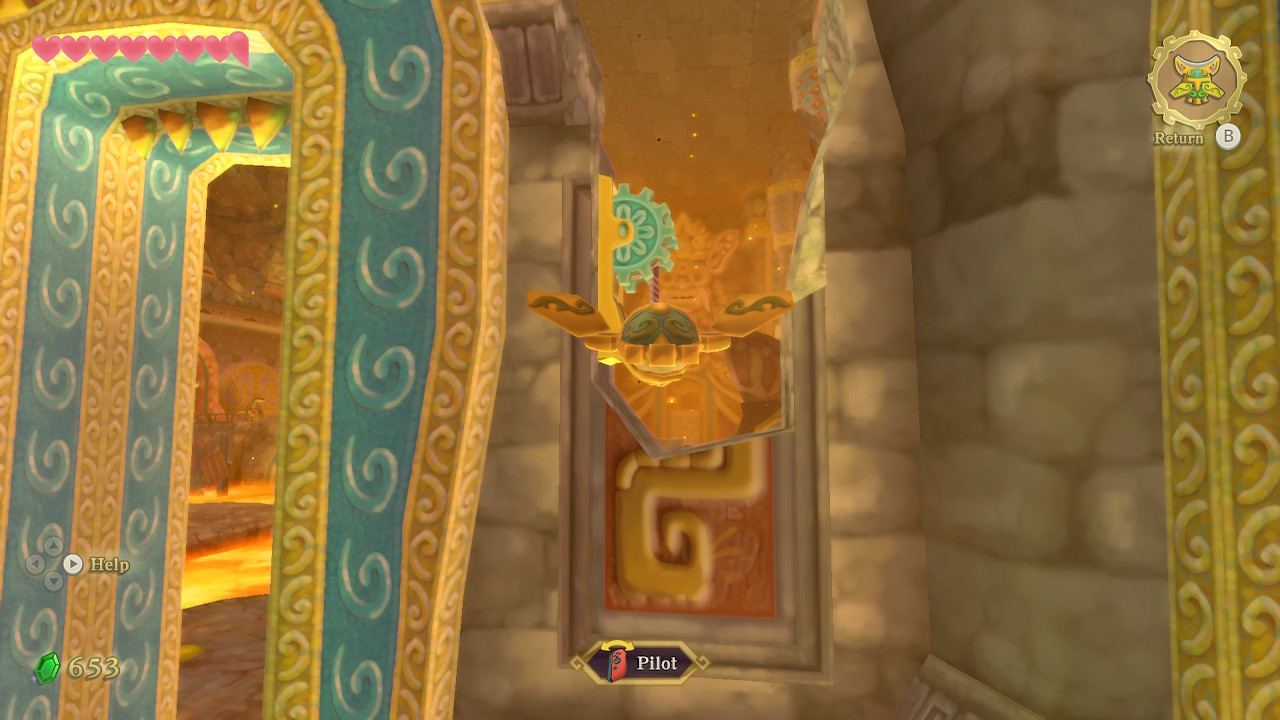
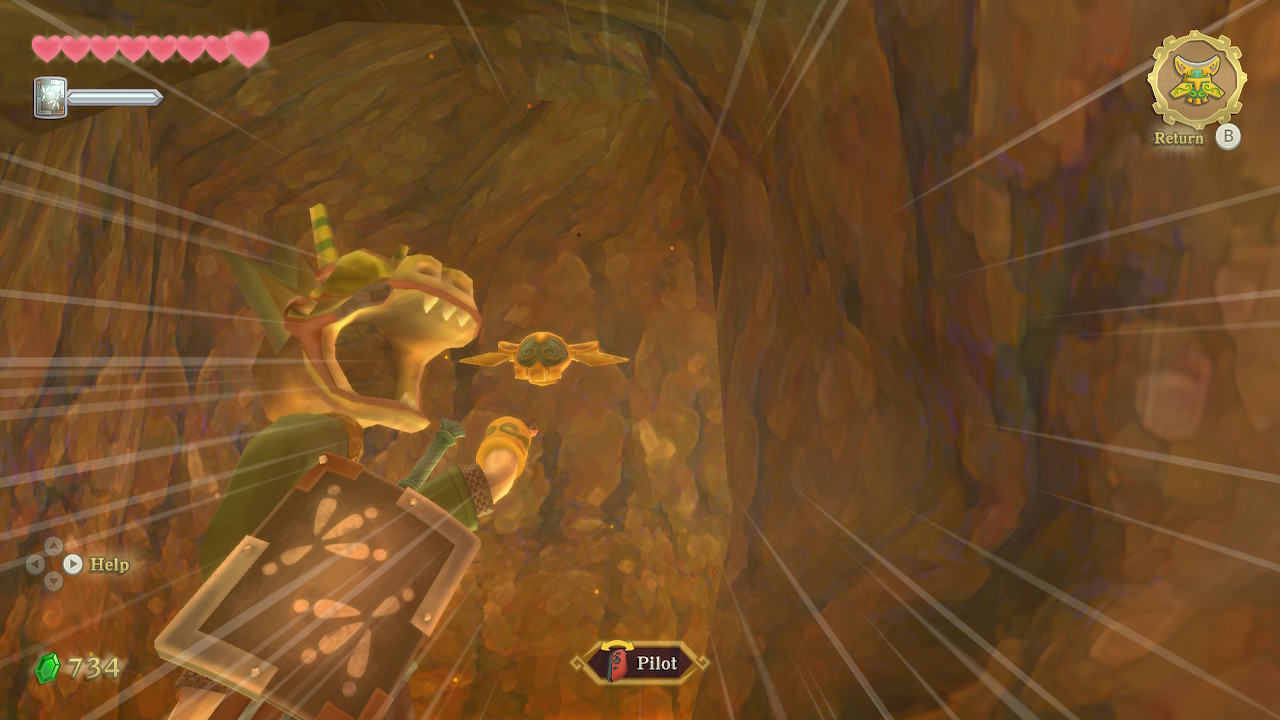
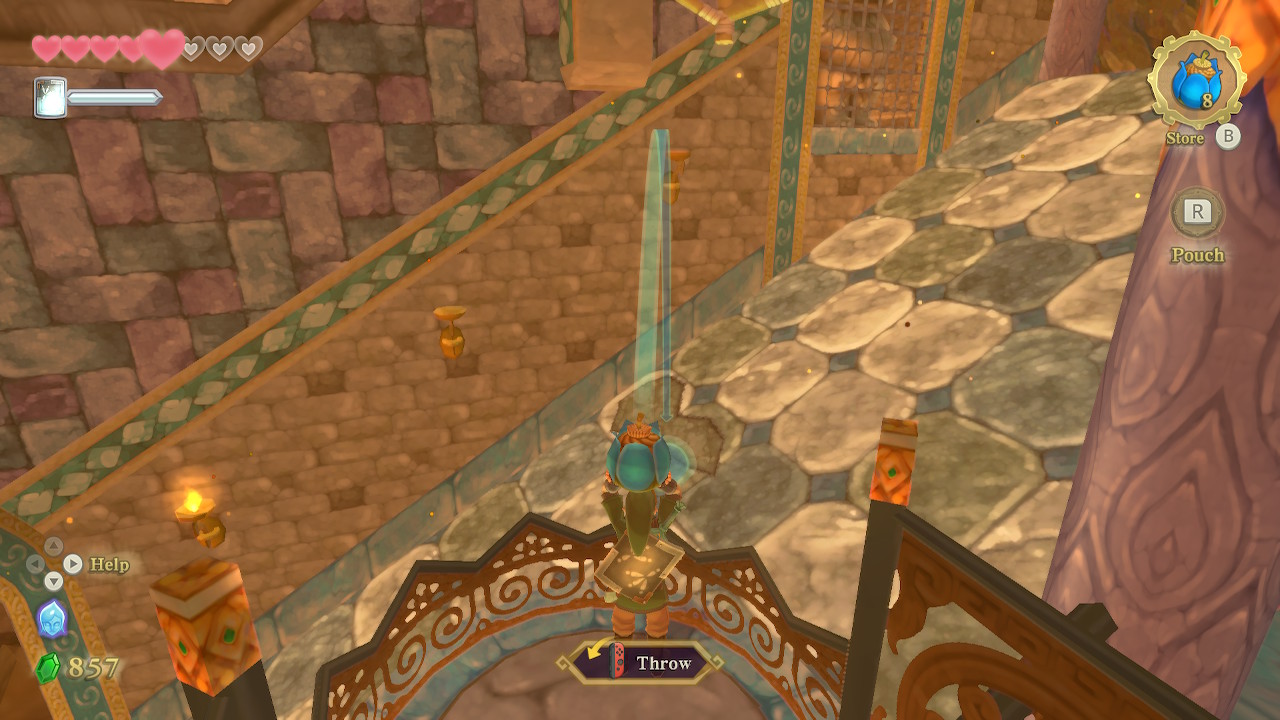
Head to the north part of the room, using the two platforms that rise with the lava streams. On the center platform, slice the two ropes on either side of the drawbridge. To finish lowering it, use your beetle to aim for the third rope to the right of the drawbridge.
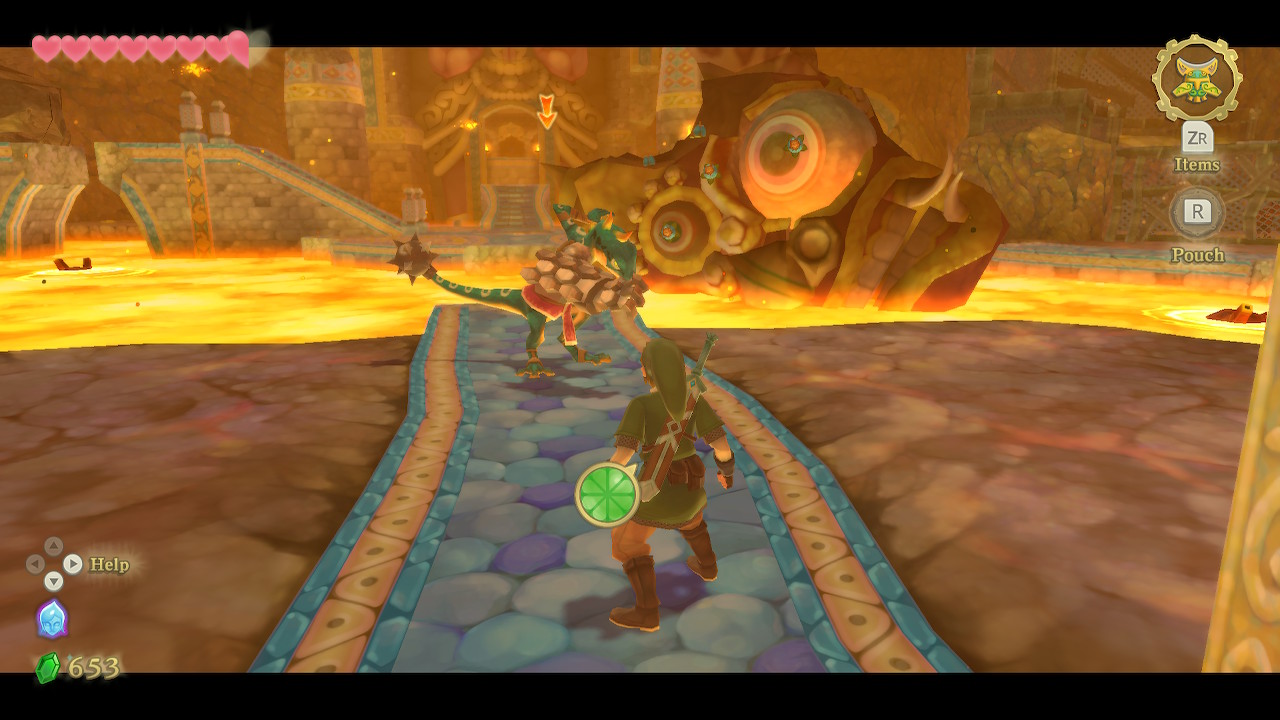
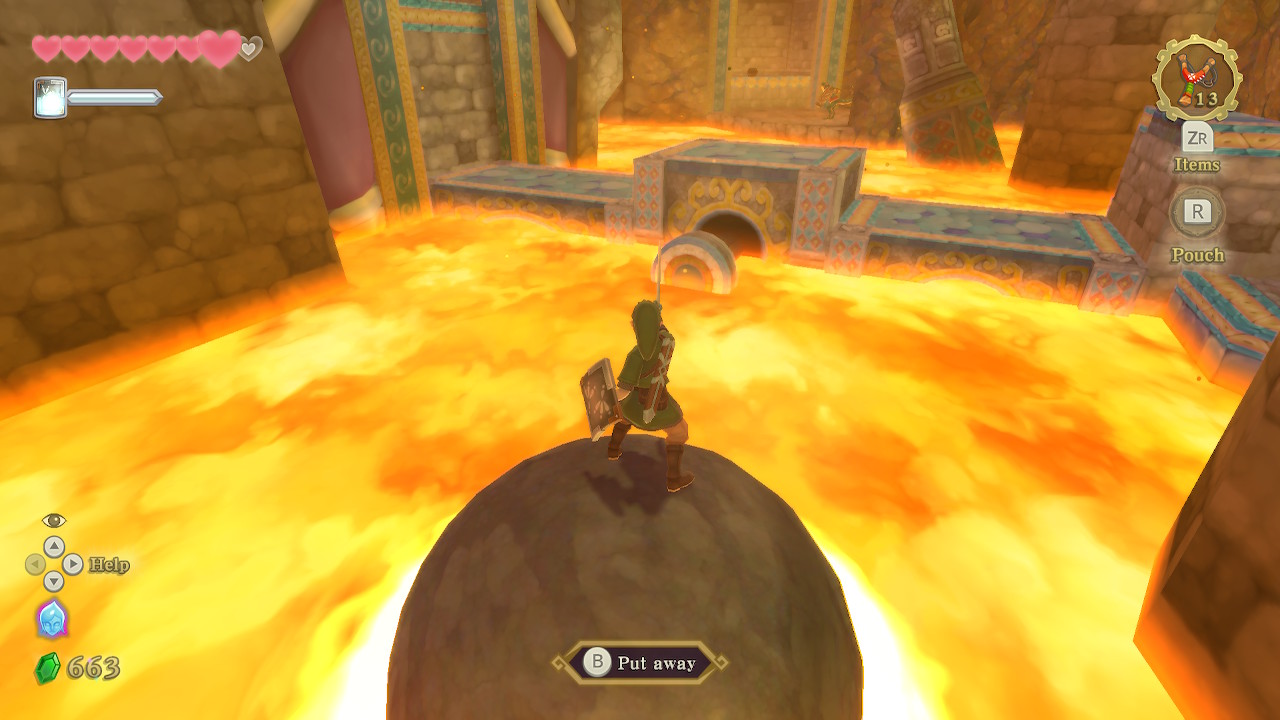
In this next room is a new enemy, but one familiar to Zelda veterans. The Lizalfos is a lizard enemy that is very quick and will block attacks with its armored arm. After defeating it, shoot a bomb flower on the large object straight ahead. A large stone ball will roll towards you, and you can use it to cross the lava. Hop on it and roll it to the left side of the room, you can crush enemies in the lava but be careful of the Fire Keese flying around.
On this left platform, throw one of the bombs onto the rising lava platform. This will blow up a boulder above. You can then take this platform up to get a Golden Skull treasure from a chest. Hop back onto the stone ball and continue rolling north, staying on the left side. Hop down onto the next platform and open the chest to get a Blue Bird Feather treasure.
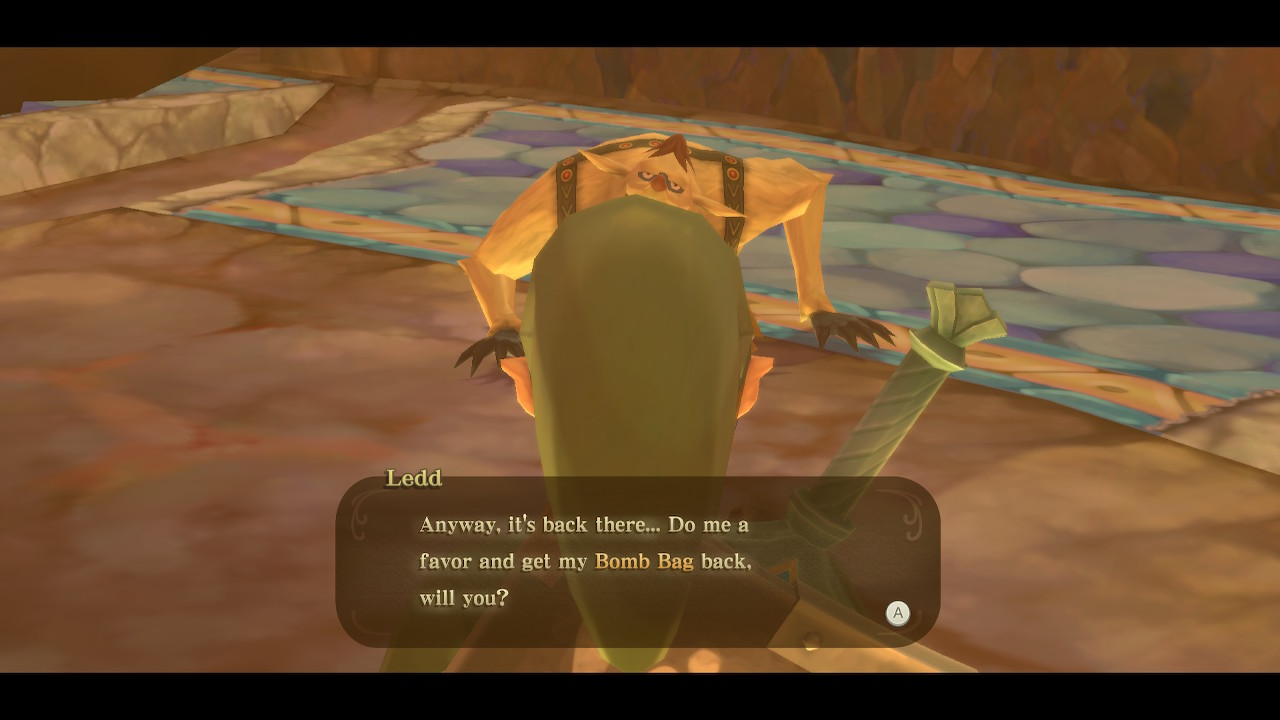
Hop back onto the ball and roll towards the center of the room. Press the large horizontal switch here to raise up part of the platform. Roll back to the other side of the room, towards the south. Hop off onto the platform and speak to Ledd once again. He lost his bomb bag and wants help finding it.
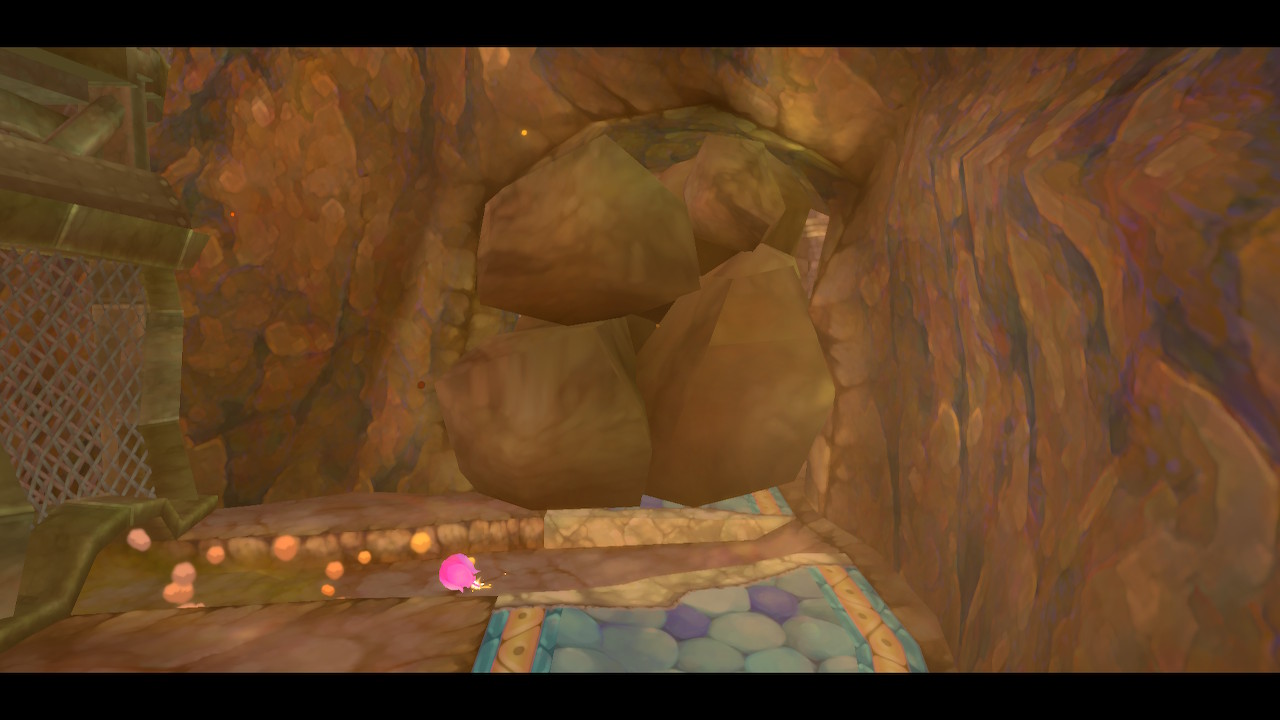

Crawl through the opening here and defeat the Bokoblin. Then roll a bomb through the hole to blast through the nearby boulders. If you climb up the ladder and cross over the top to the other side of this cage you can dig up a fairy in a soft spot. Remember that you can store fairies in a bottle and they will restore your health if you ever lose all your hearts. Hop down and go through the newly discovered door.
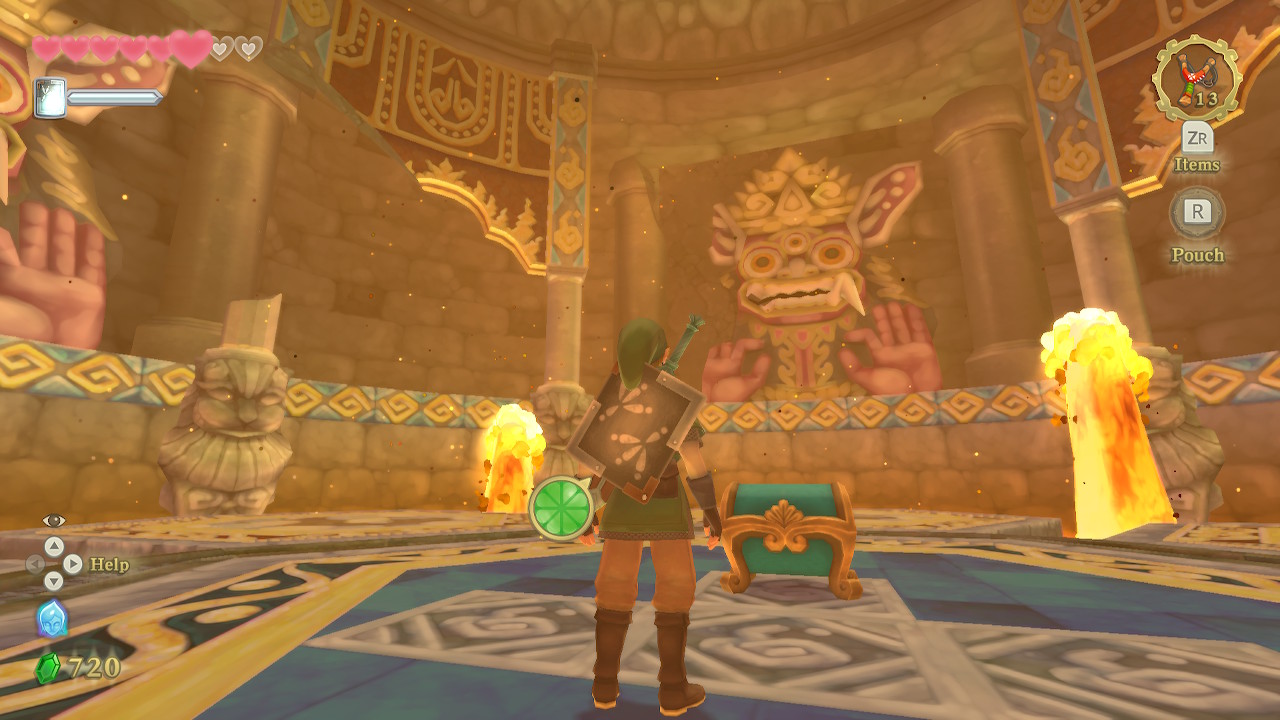
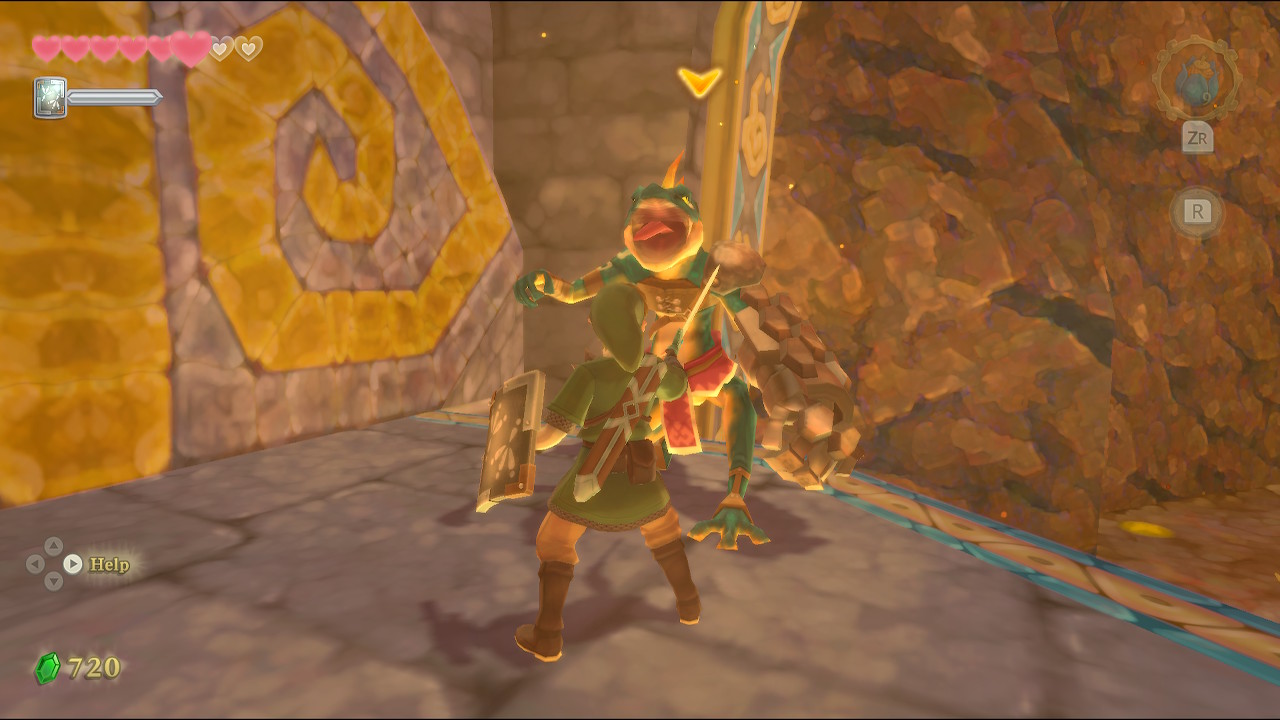
This room might look eerily familiar to those who have played Ocarina of Time. Inside is the dungeon's mini-boss, two Lizalfos. Defeat these just like you did earlier. If they are standing next to each other they can sometimes get in the way of angled slashes so try to lure them apart and defeat them separately. Once you do, a chest will appear that contains Ledd's bomb bag. Before you leave the room, check to the right of the door to find a rare treasure, a Goddess Plume.
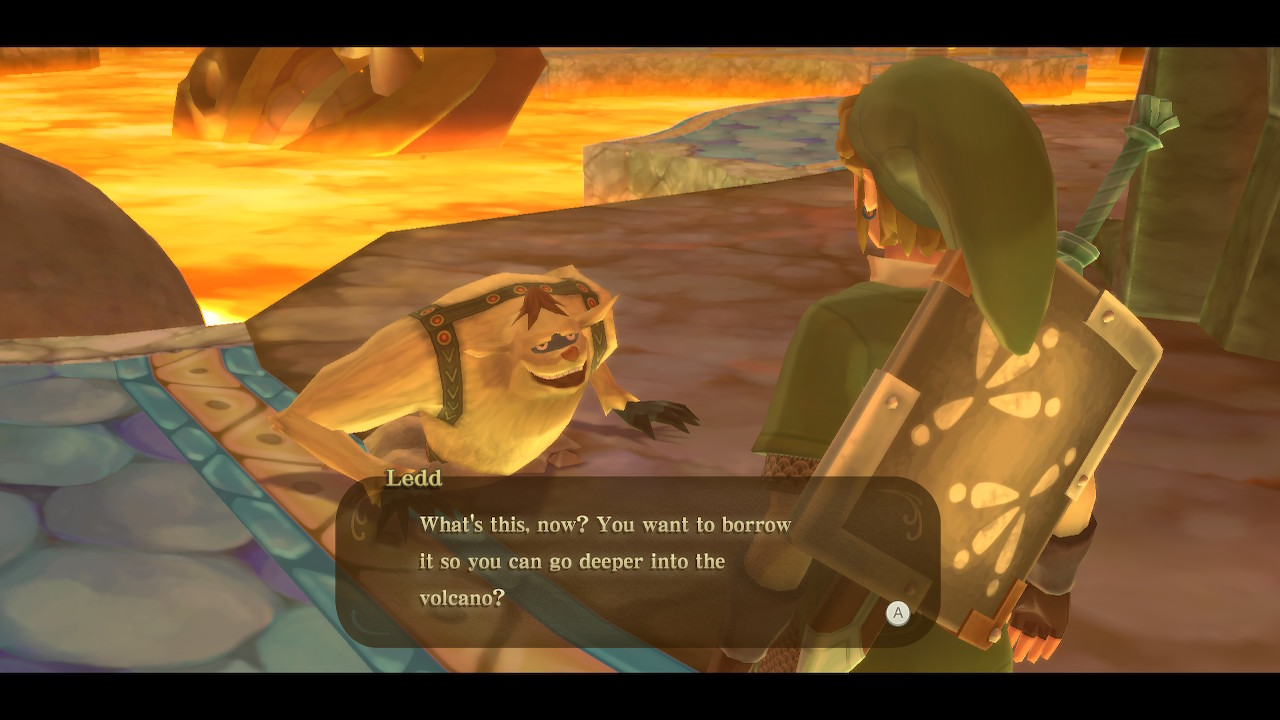
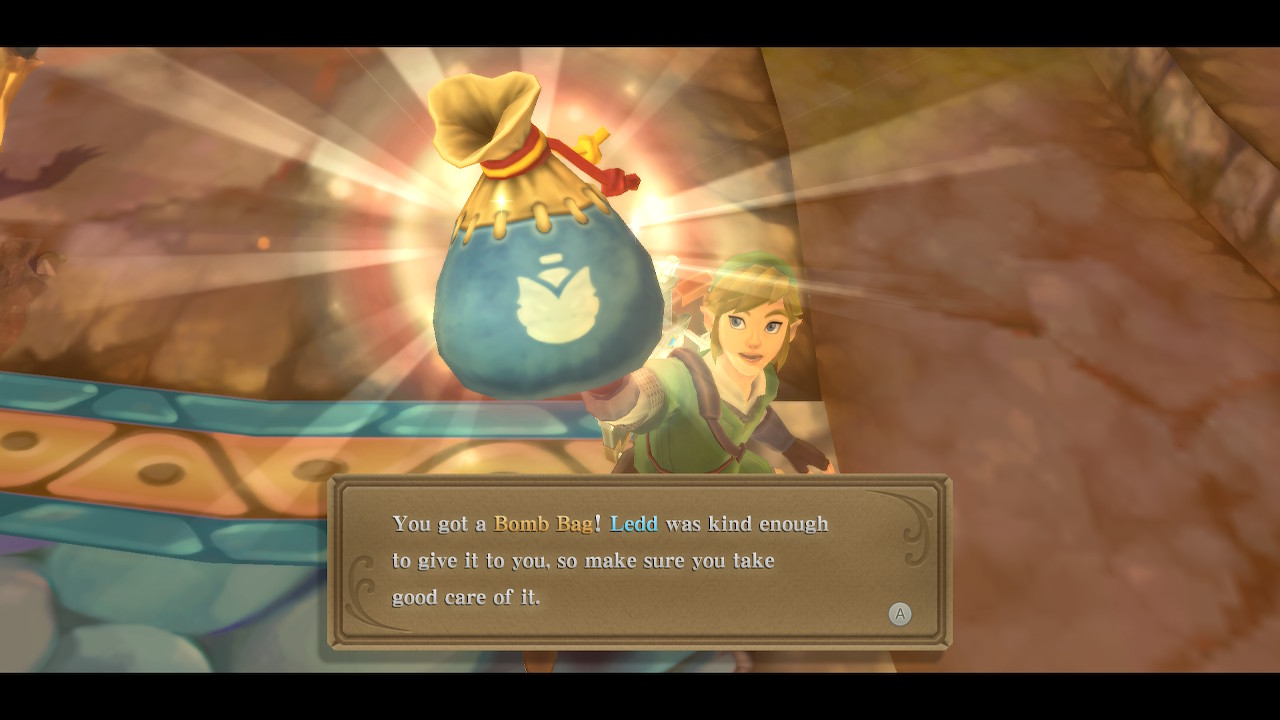
Back outside, Ledd will speak with you again, and he will outright give you his Bomb Bag. This bag of course allows you to hold bombs, but unlike many previous Zelda games, you can actually pick up bomb flowers and store them in this bag as well. Ledd will start you off with 5 Bombs, but you should also fill up the bag with nearby bomb flowers.
Dungeon Map
With the bomb bag in hand, use the stone to roll over to the west side of the room. From the center area, you can now throw a bomb at the boulder blocking your path forward. Hop over to the other side and defeat the Lizalfos, then go through the door.
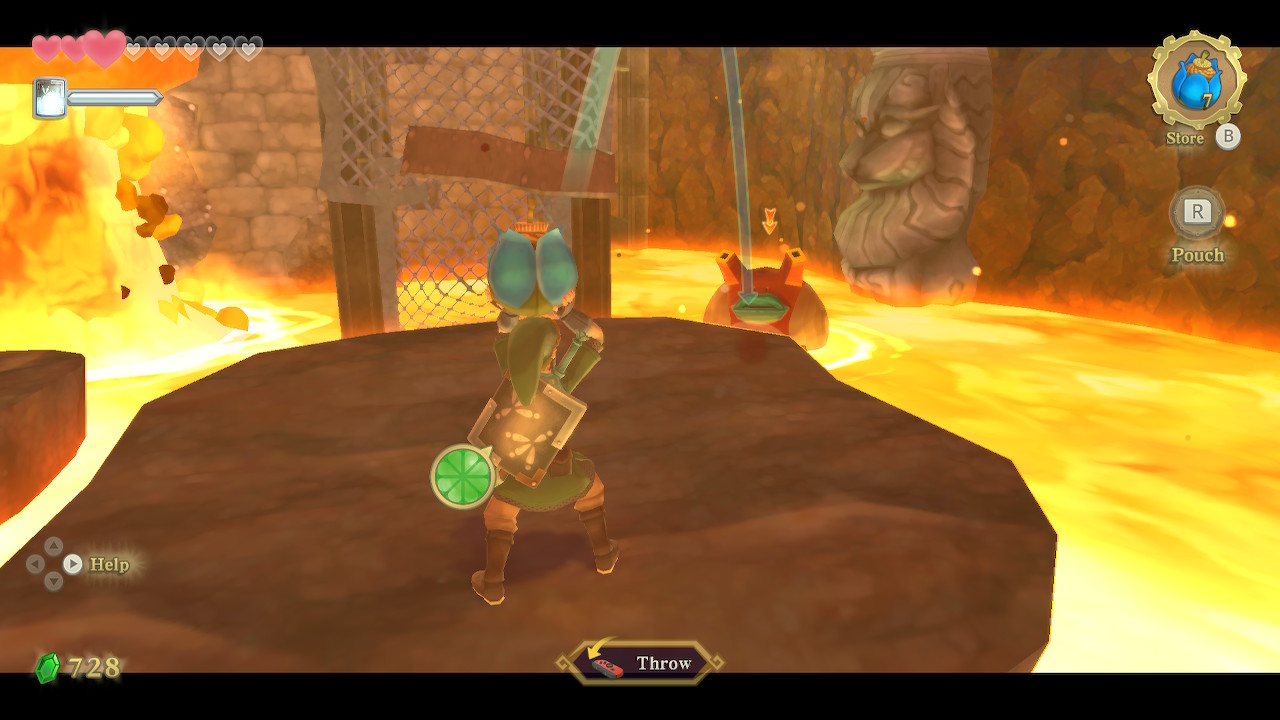
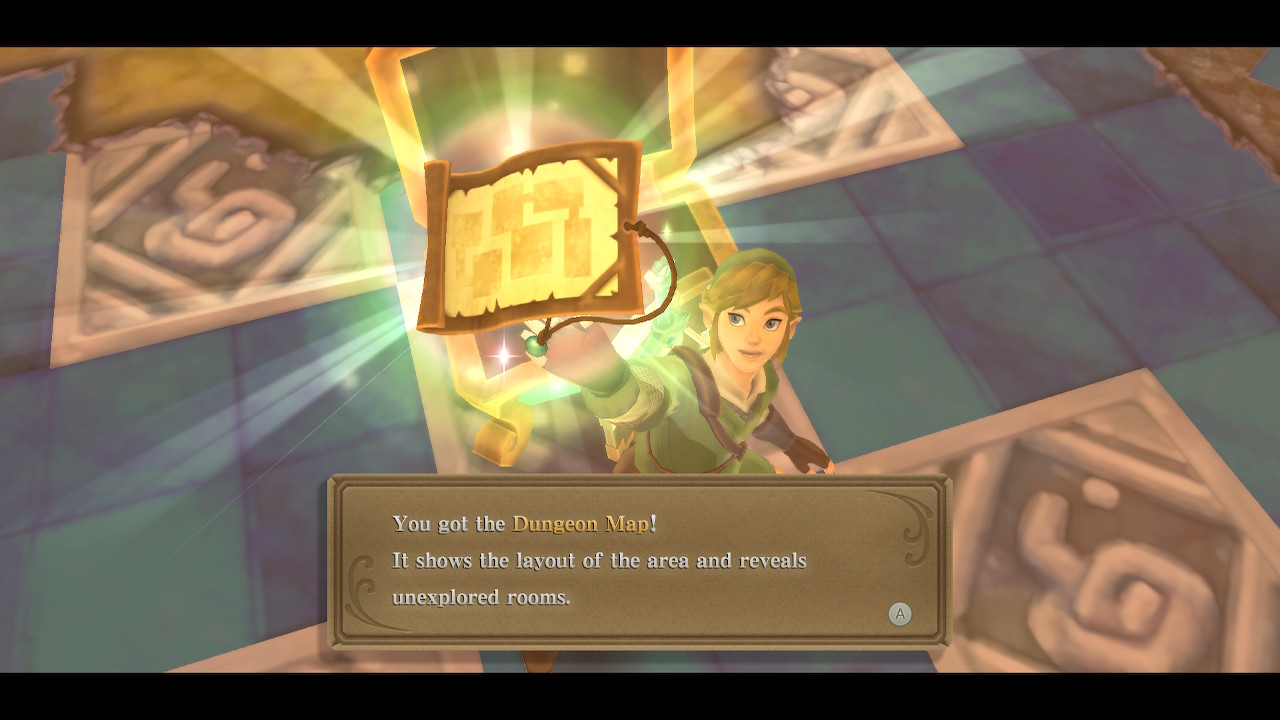
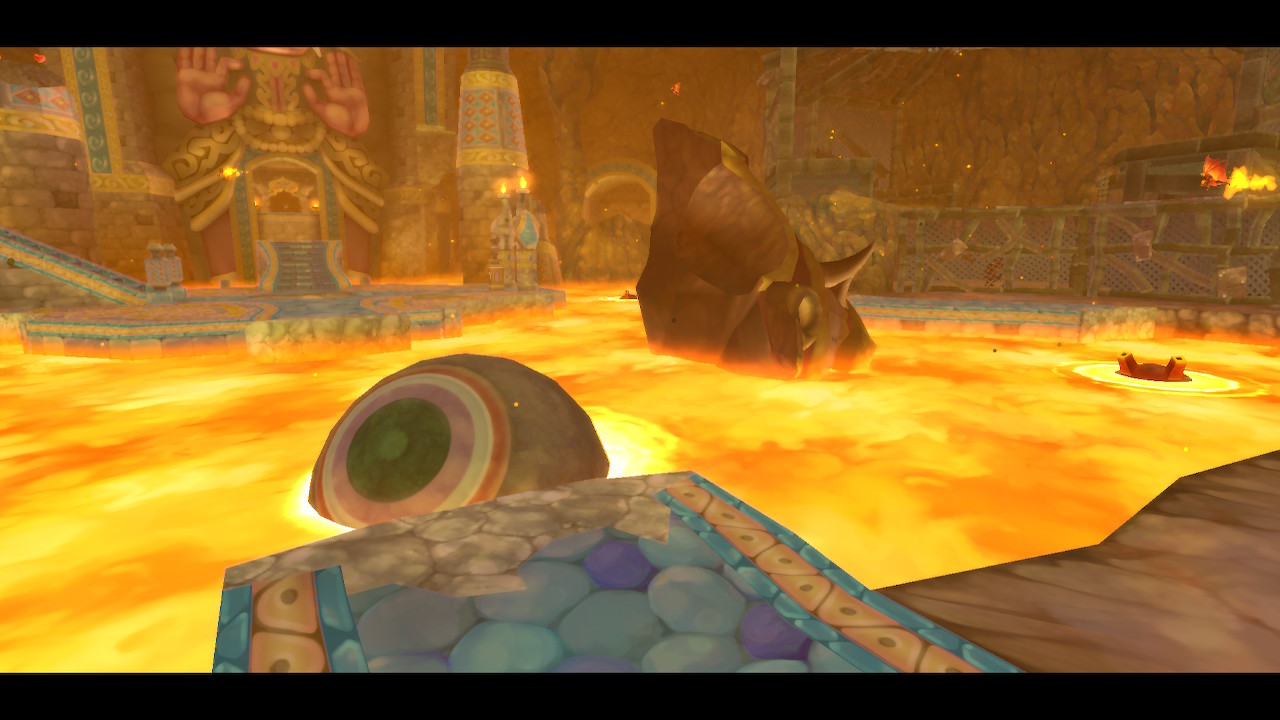
There are a number of platforms floating in the lava here. Defeat the Bokoblins. The enemies that stay in the lava and shoot fireballs at you are called Magma Spume, we can now defeat them by throwing bombs at them. Make your way to the north side of the room to find a chest guarded by a few Bokoblin and their leader. Defeat them and open the chest to get the Dungeon Map. Then exit this room.
Boss Key
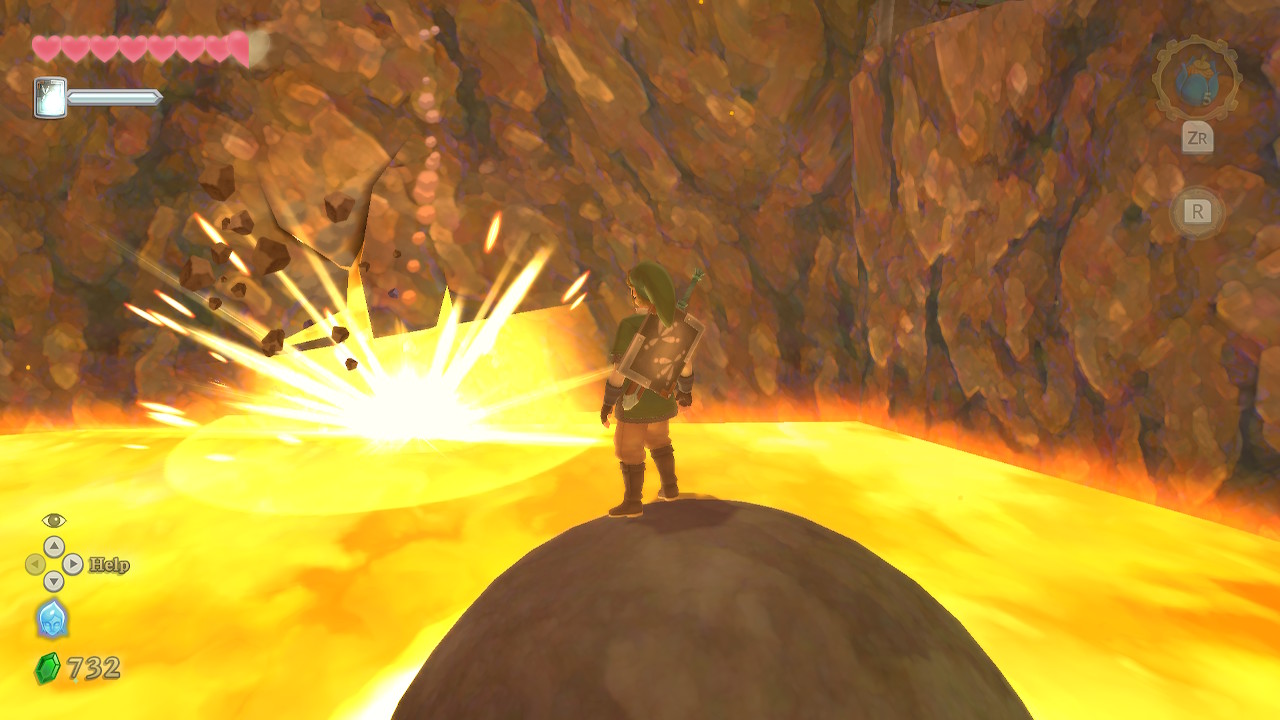
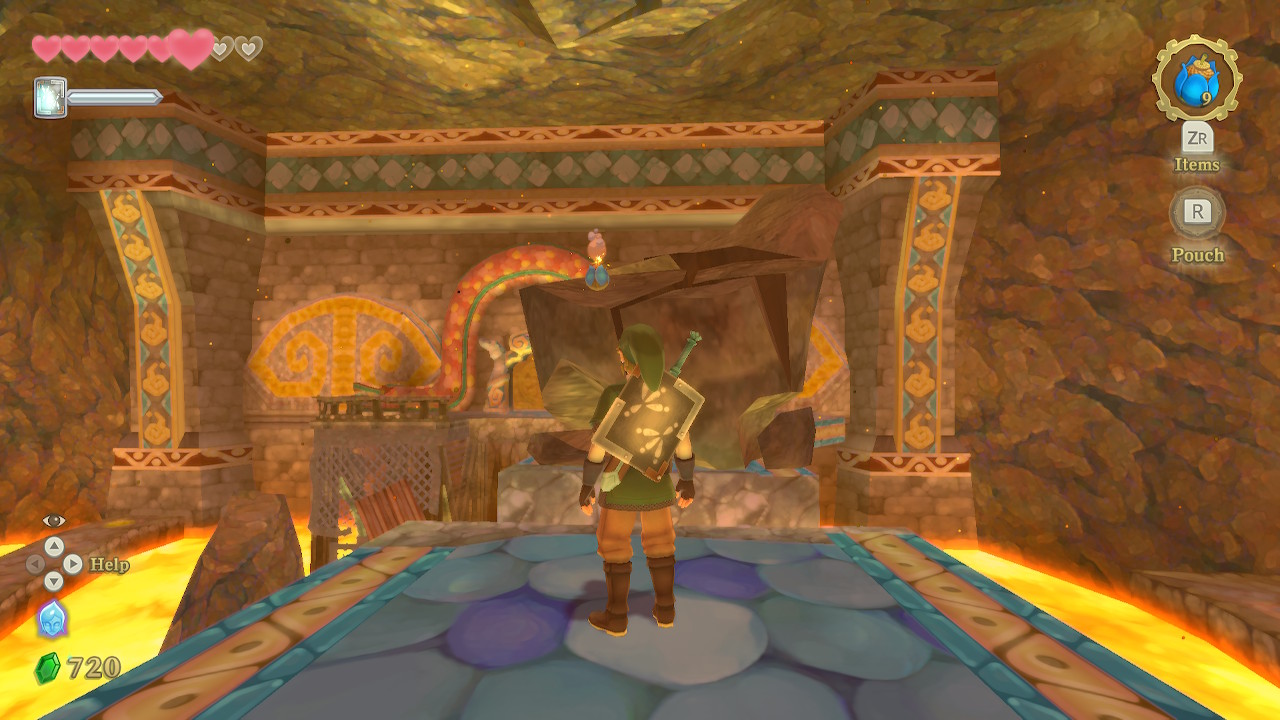
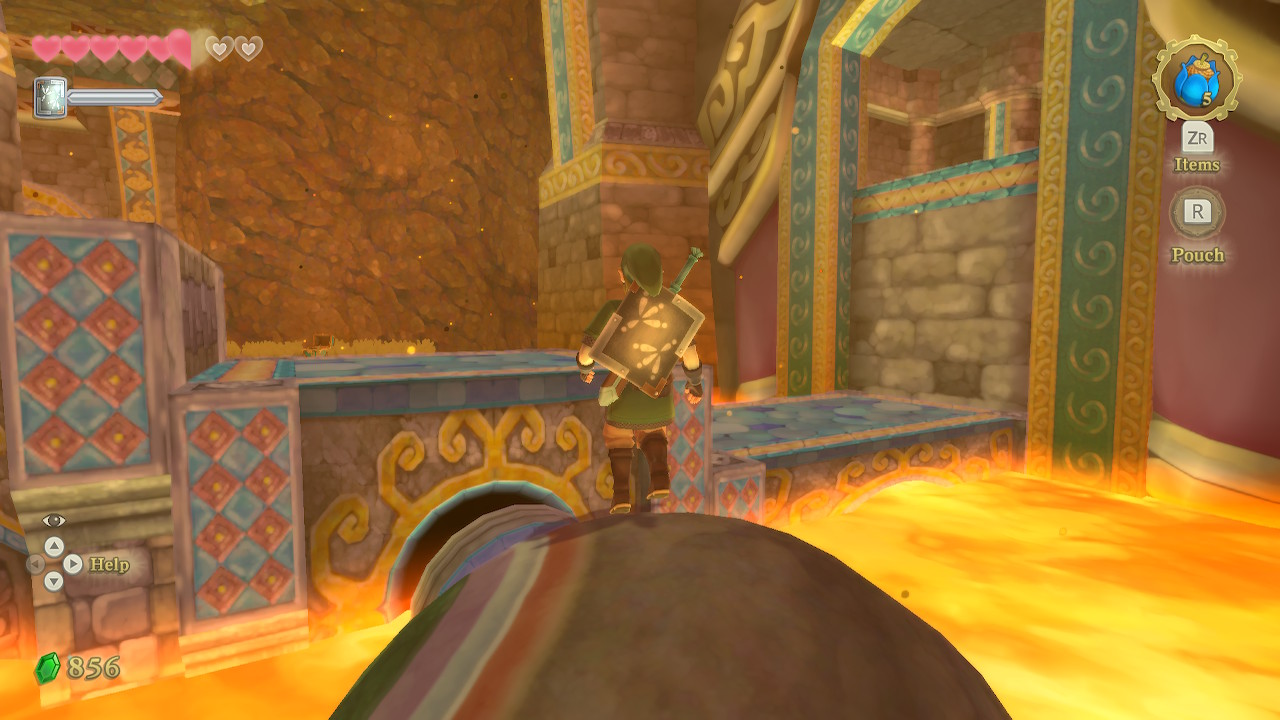
Back in the main room, hop on the stone again and roll to the east side. If you take out your map, you can see a red x marked along the wall here. Throw a couple of bombs at the cracked wall to open up a new area. Roll through here and hop off on the platform to the right. In this little cave, you can fill up on health and also fill up your bomb bag.
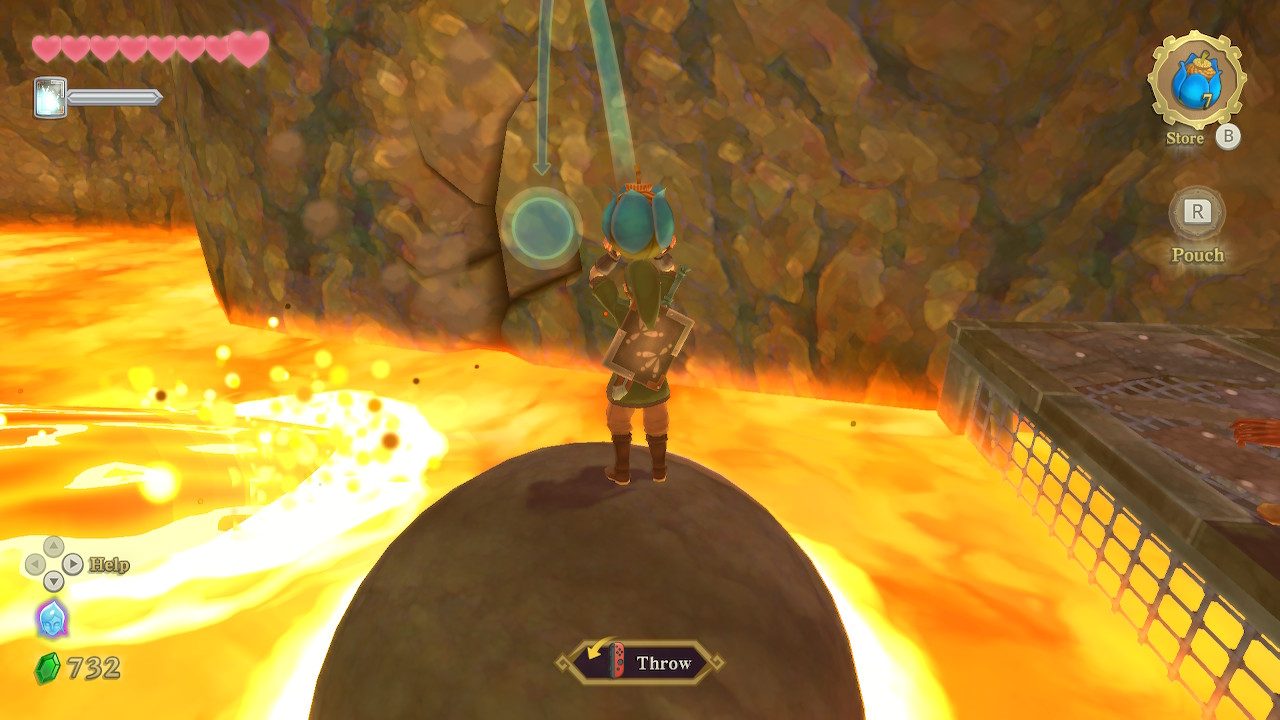
Continue rolling on the ball and when you reach the metal platform, turn to your left. There is another bombable wall across from the lava fountain. Once destroyed, head in a little and take out your beetle. Fly it into the mouth of the statue above that looks like it should be spitting out lava. Inside the mouth, you will find 100 rupees.
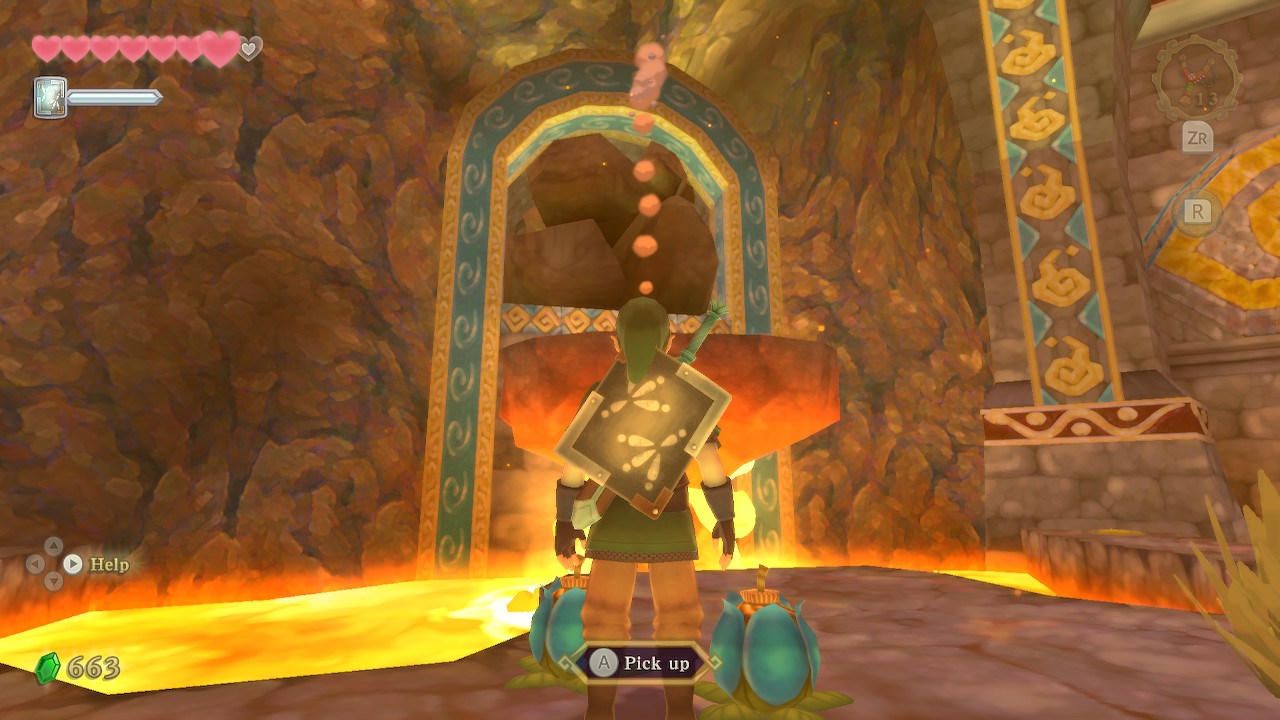
Continue rolling until you get to another platform. There is a gate ahead blocking your path, but it is being held up at the top by a rope on each side of the gate. Send your beetle directly at the first rope to cut it. For the second rope, you'll need to send your beetle into the opening on the left and wrap it back around to the other side of the gate.
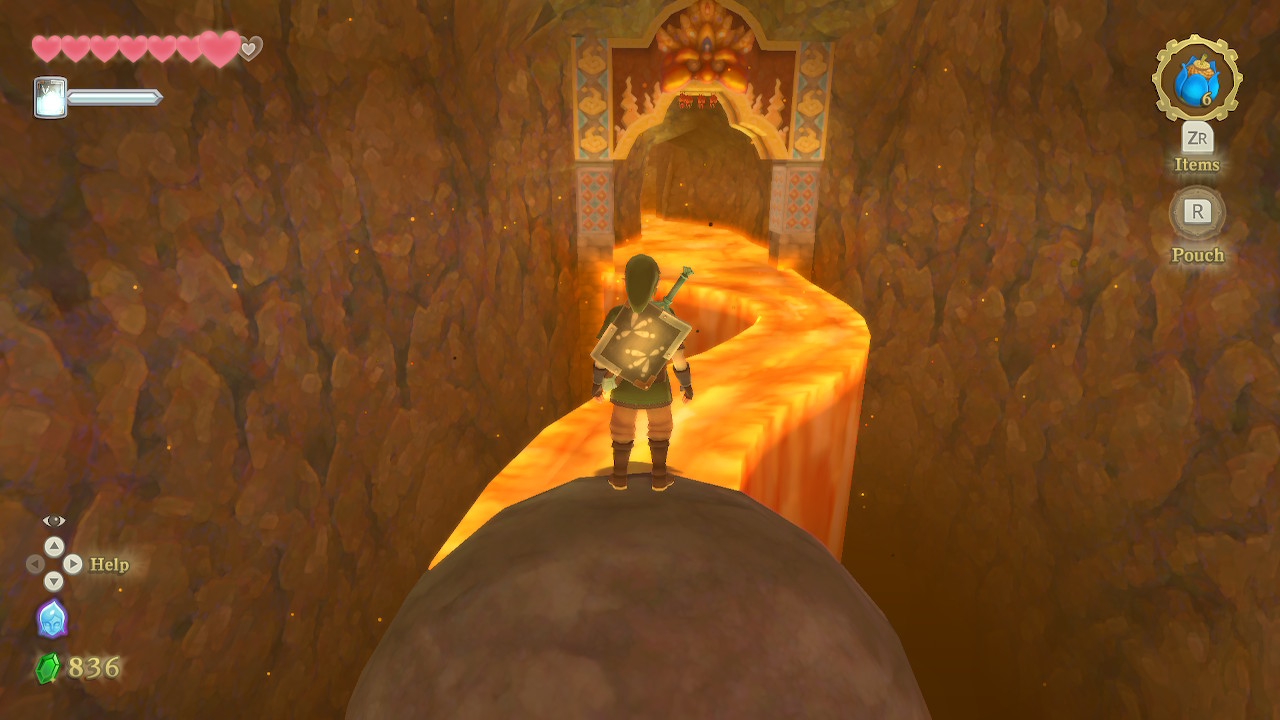
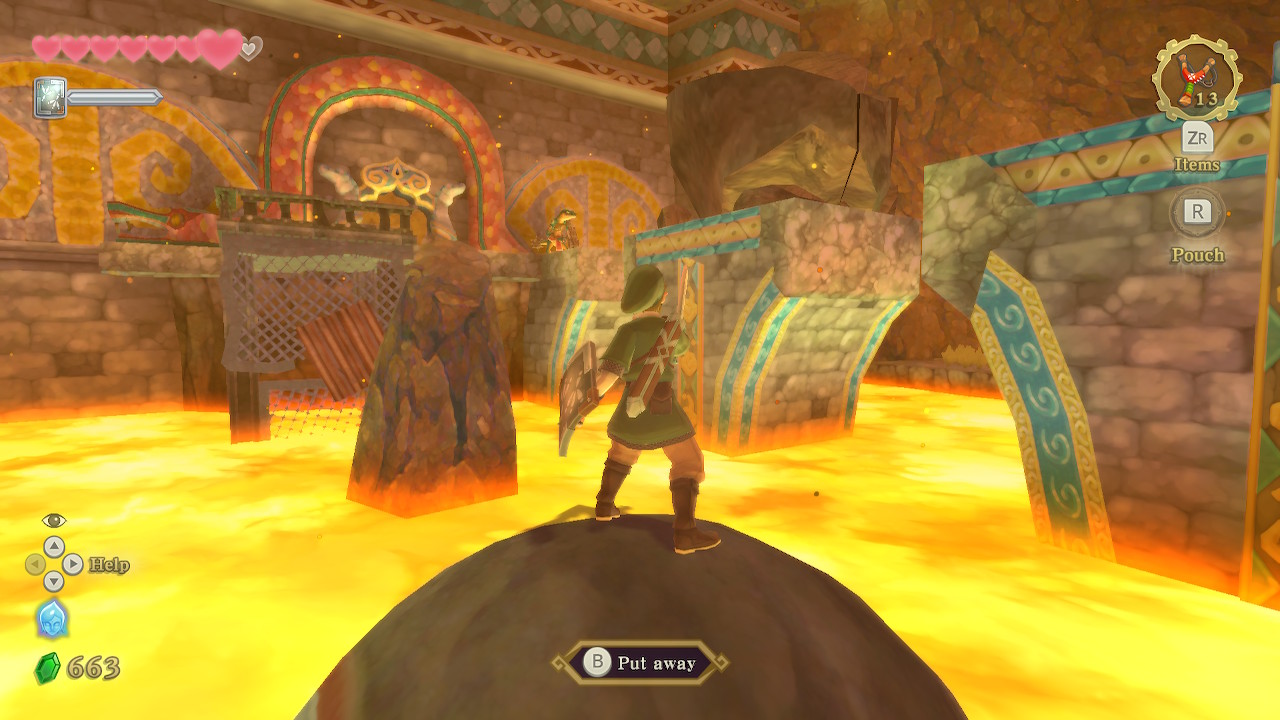
Hop back on your stone and roll through the opened gate. You can hop off on the platform to the left to reach a bird statue if you'd like. Otherwise, keep rolling ahead. You'll come to a narrow and curvy strip of lava. Just carefully roll across it to find yourself back in the main room. Hop off on the platform to the left and defeat the Lizalfos. There is a chest here containing 20 rupees.
Roll back towards the center and press the horizontal switch in. This will raise another platform, this time creating a path to the north. Hop off the ball and enter through the door to the north.
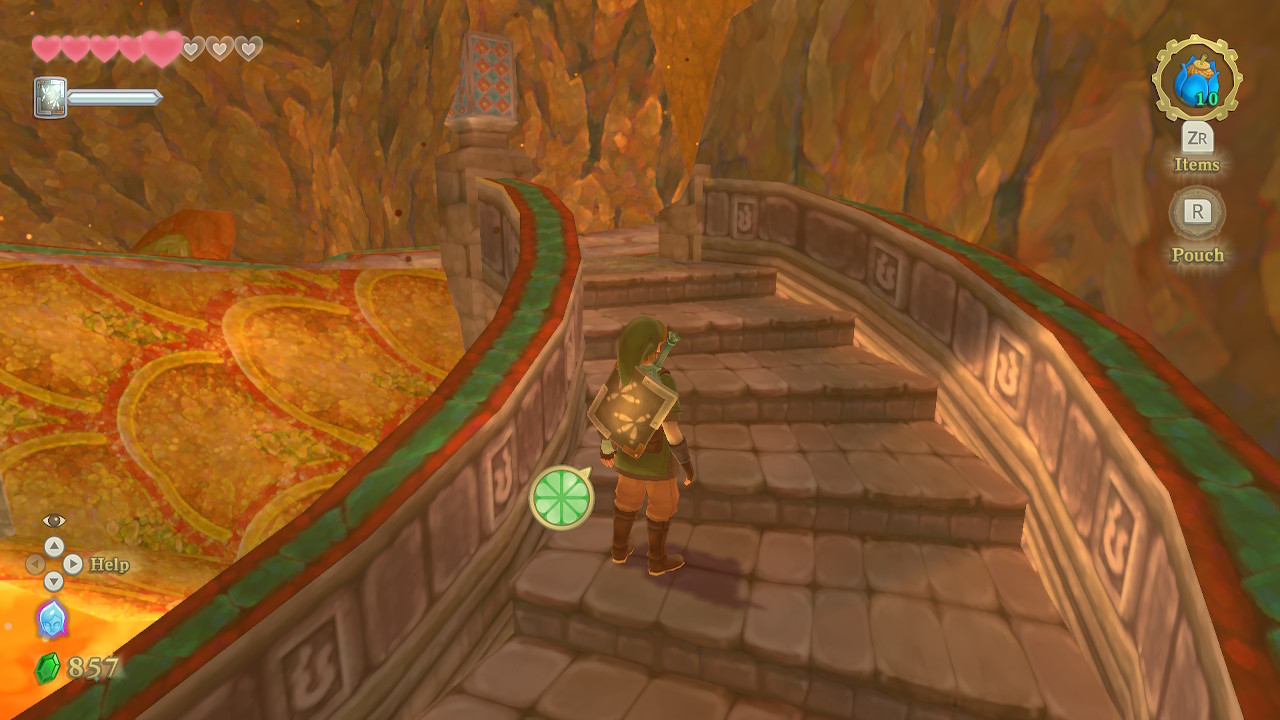
There is a large ramp in the next room that boulders will roll down. Stay on the left and weave between the first wave of boulders. There is a little alcove to the left where you can dodge the second wave. Then quickly sprint up the rest of the way.
There is another large ramp to the left but instead, crawl through the small hole to the right of it first. Refill your bomb bag and dig up an airstream next to the tall platform. Take it up and follow the path. Here you'll want to throw a bomb on the slope so that it destroys the boulders below. Aim diagonally just above the dark spot in the slope in front of you. Make your way back to the bottom of this slope.
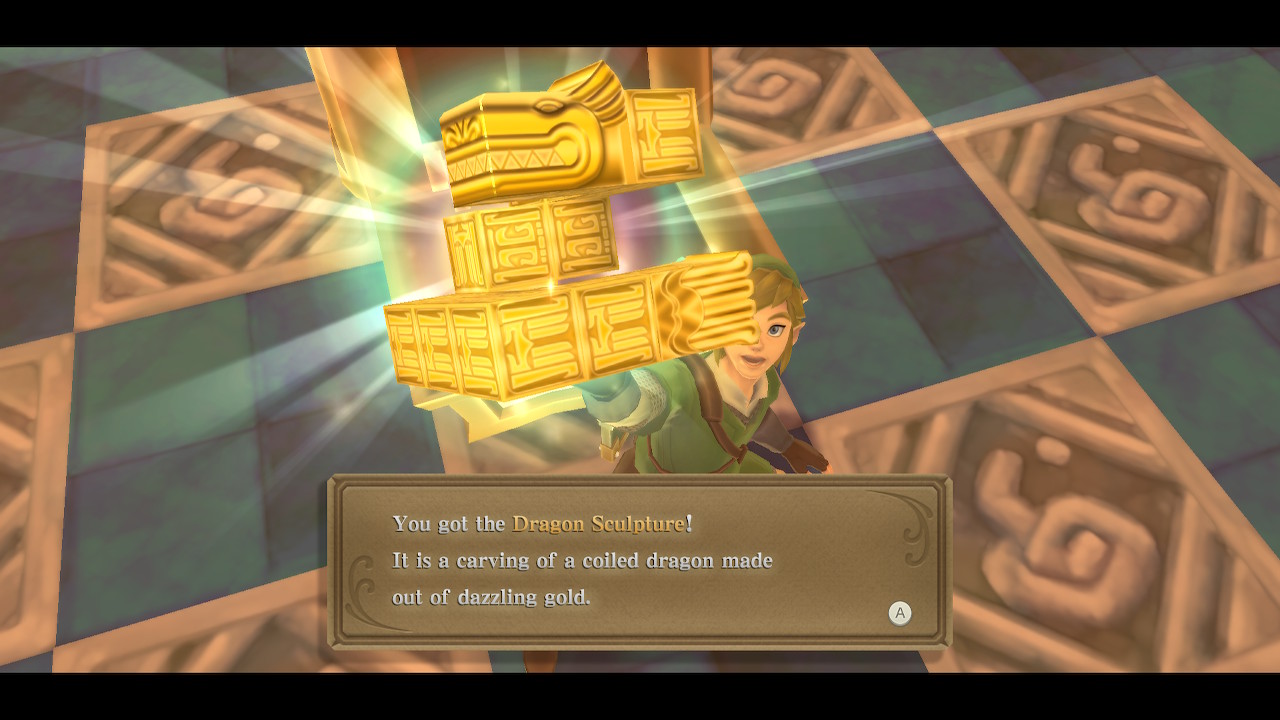
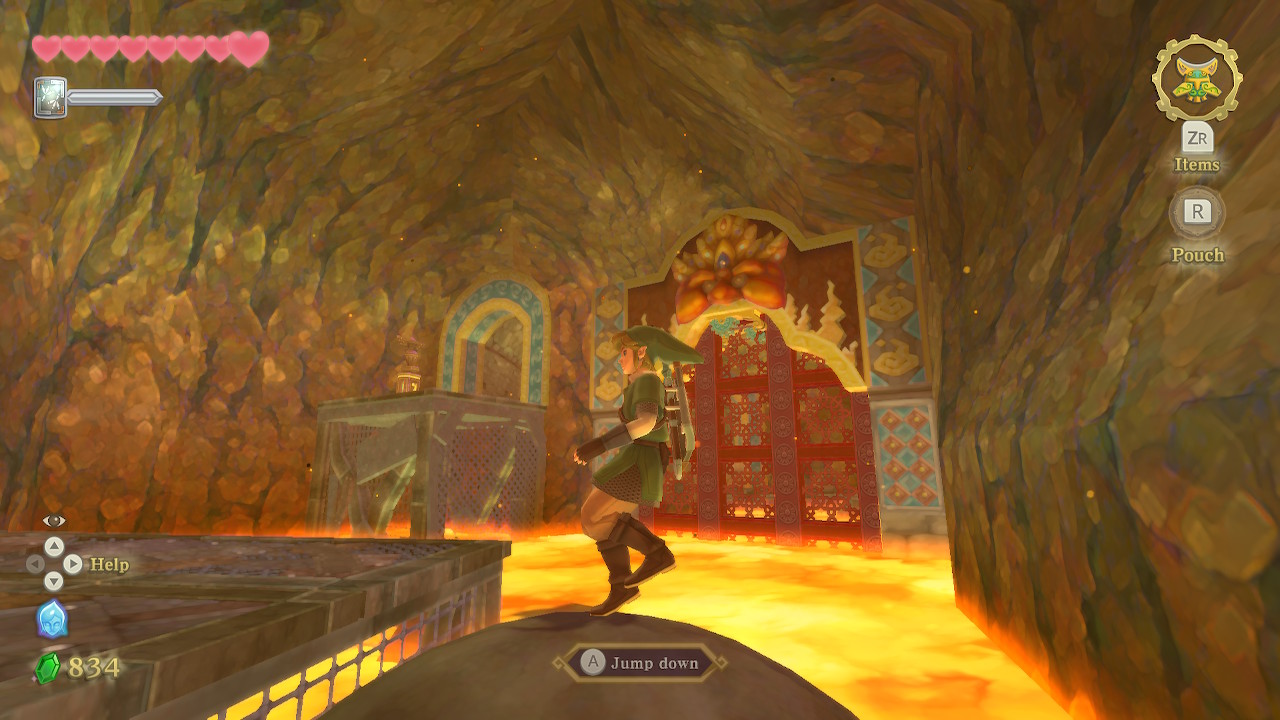
You can now run up this slope, taking a break to the left to dodge the boulders. There is a bird statue straight ahead in this next room. Take the spiral staircase and then run up the long winding ramp here. On top, you can open the chest to get the Dragon Sculpture, the boss key of this dungeon.
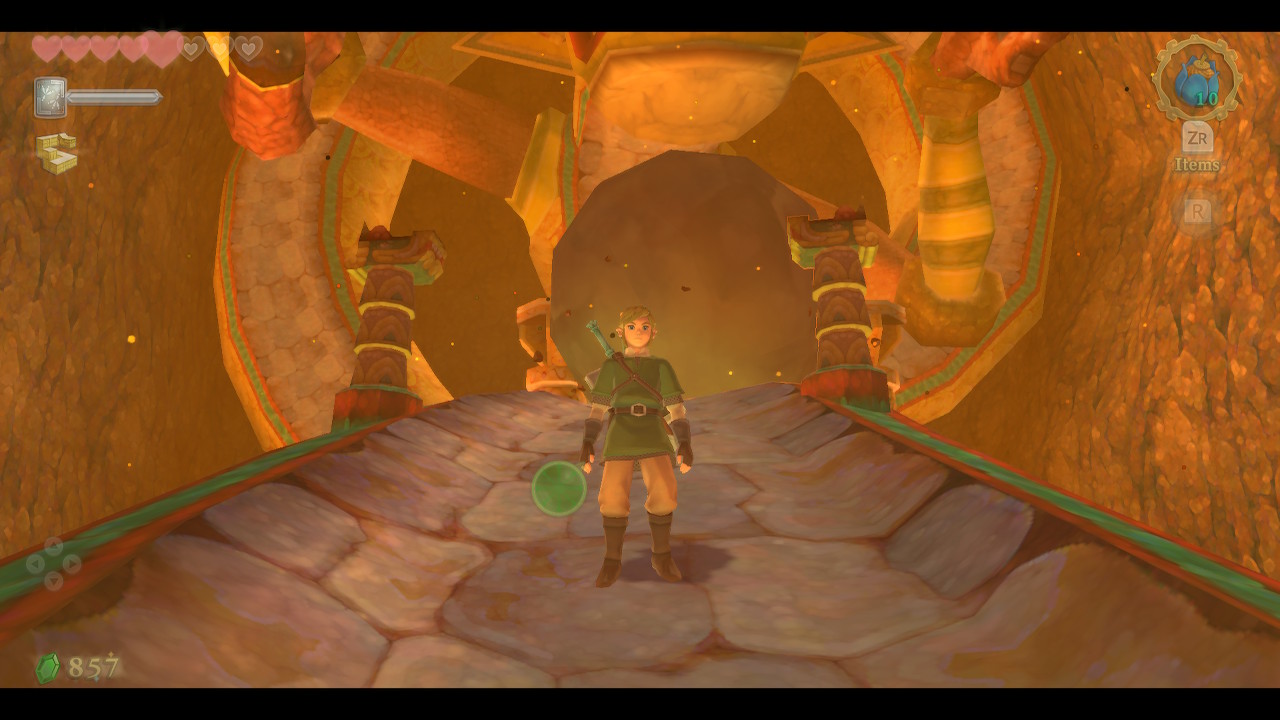
Continue forward after getting the key, only to find that it was a trap that activated a boulder coming straight at you. Simply run down the ramp and hop off and the boulder will instead plug the dragon's mouth ahead, paving the way to the boss door. When you are ready, approach the door and orient the key to begin the fight.
Dungeon Boss: Scaldera
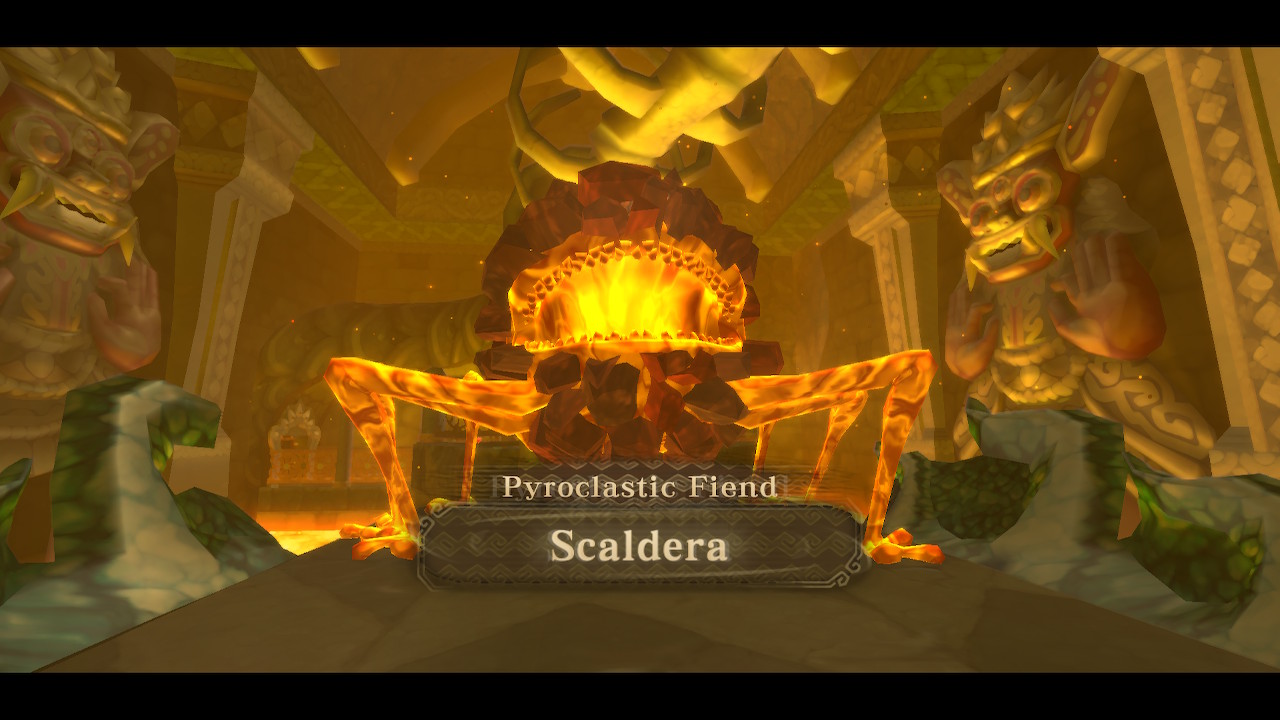
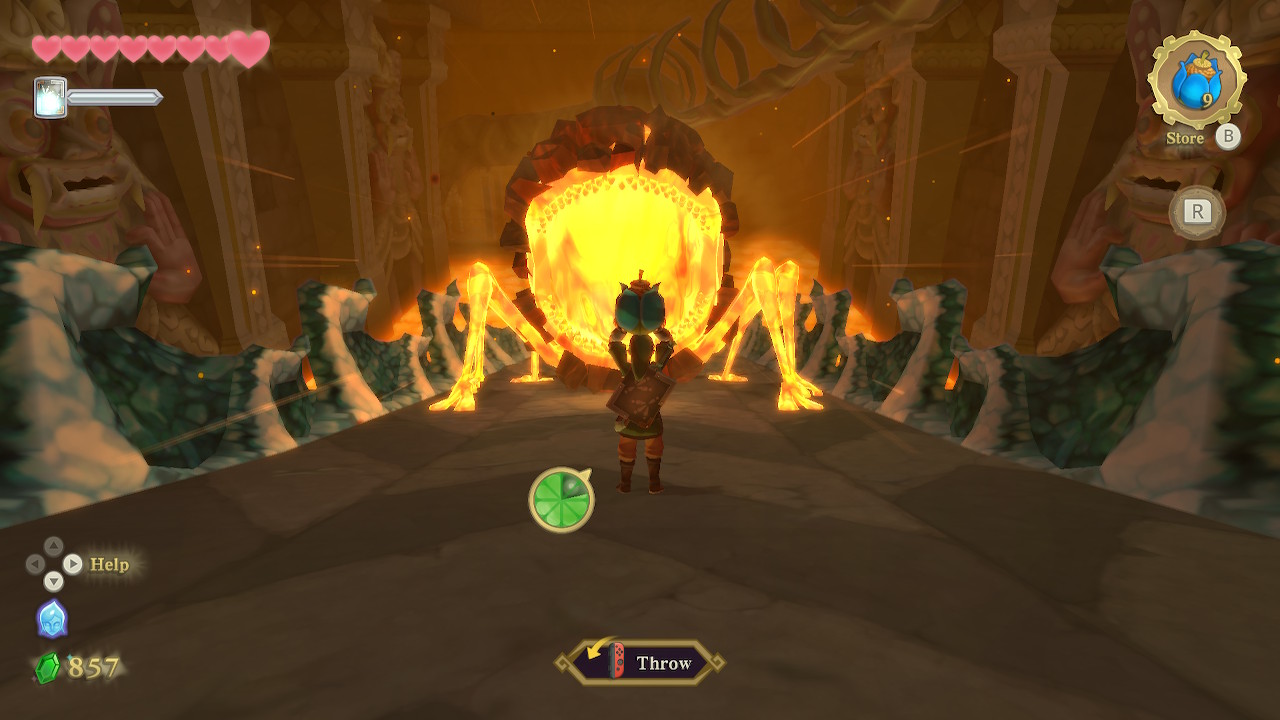
Continue forward in this room and the boulder before will be rolling above you. You can fill up on hearts and bombs in this little area before continuing ahead. Hop down and start running up the slope and you'll be confronted by Ghirahim once again. He will summon the boss of the dungeon, Scaldera.
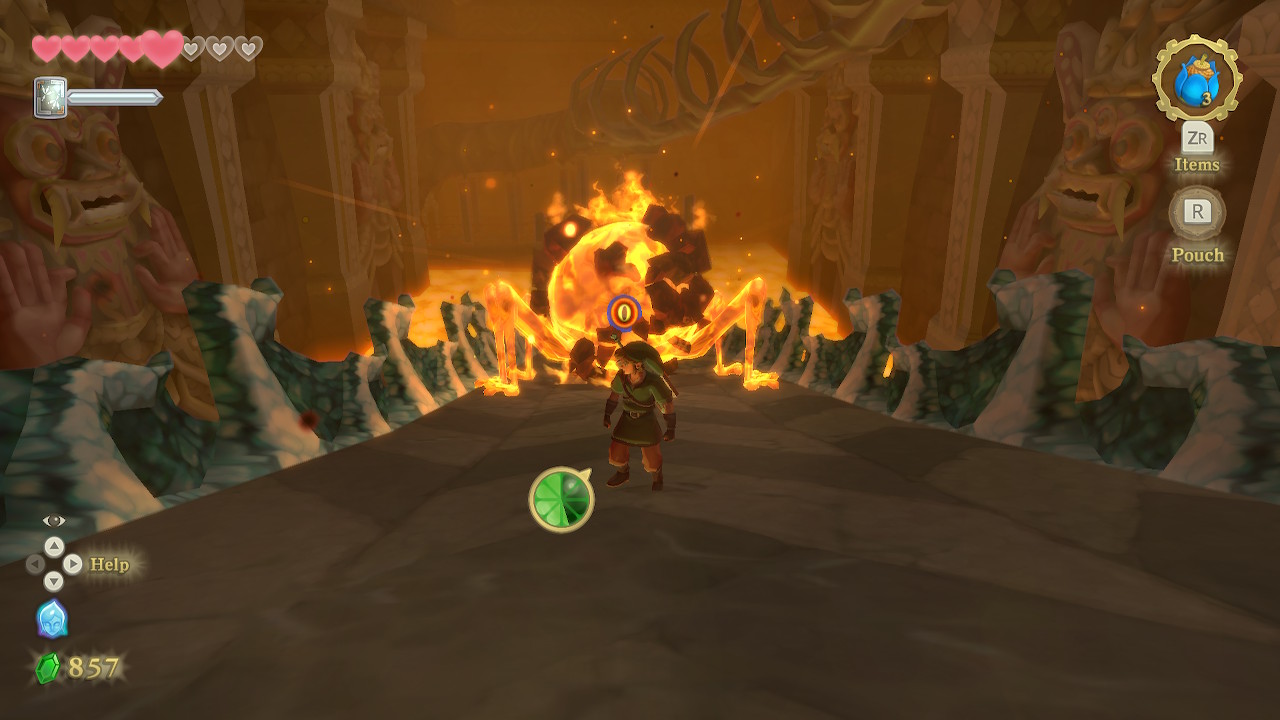
Scaldera will chase you up this ramp but will roll back down after running into the bomb flowers placed along the edges. Once he starts rolling, follow him back down. He will prepare for a fireball attack by inhaling, which is your opportunity to throw a bomb in his mouth. This will temporarily reveal his eye which you should slash away at.
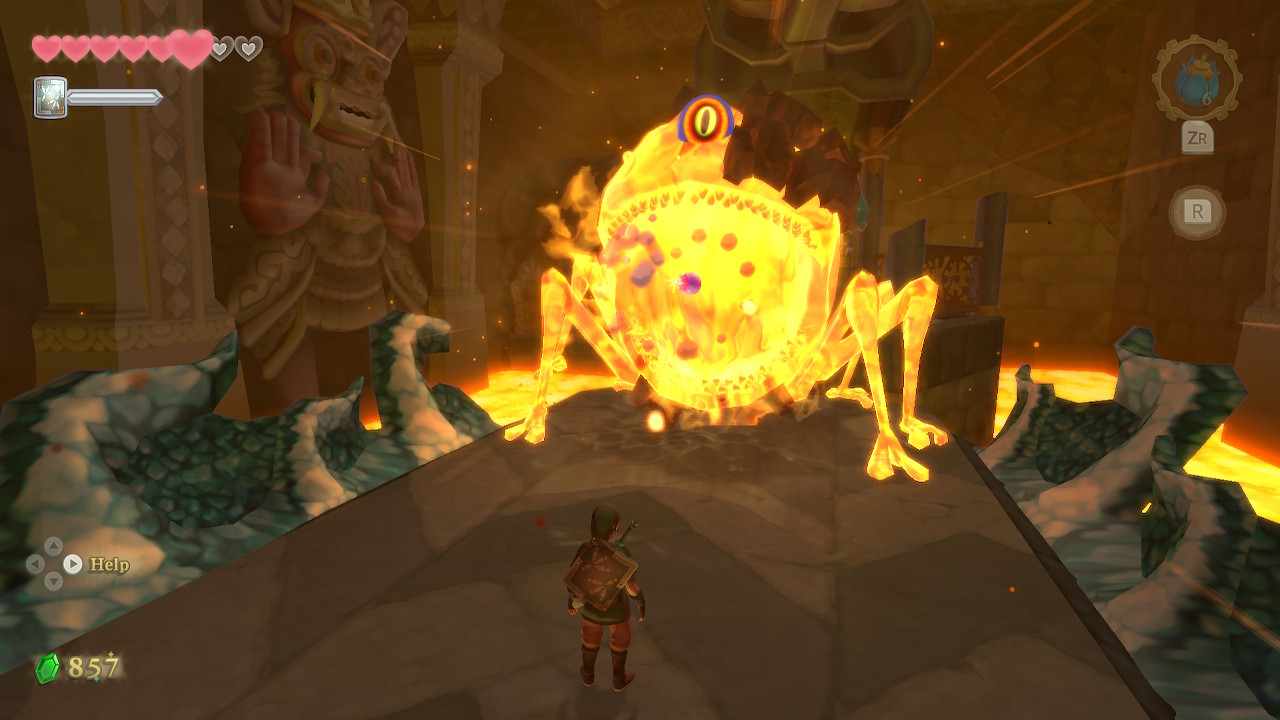
You'll want to repeat this process and Scaldera will slowly lose his armor shell. As he does this, his eye (weak point) will move around a bit, making it harder to hit. He will also stand up higher on his legs at some point, and he'll be able to move much faster.
If he does end up launching fireballs, simply run across the ramp to dodge them. You can also pick up more bombs and extra hearts at the top of the ramp. Rinse and repeat the process of throwing bombs into his mouth and slashing his eye and he will eventually be defeated.
Earth Spring
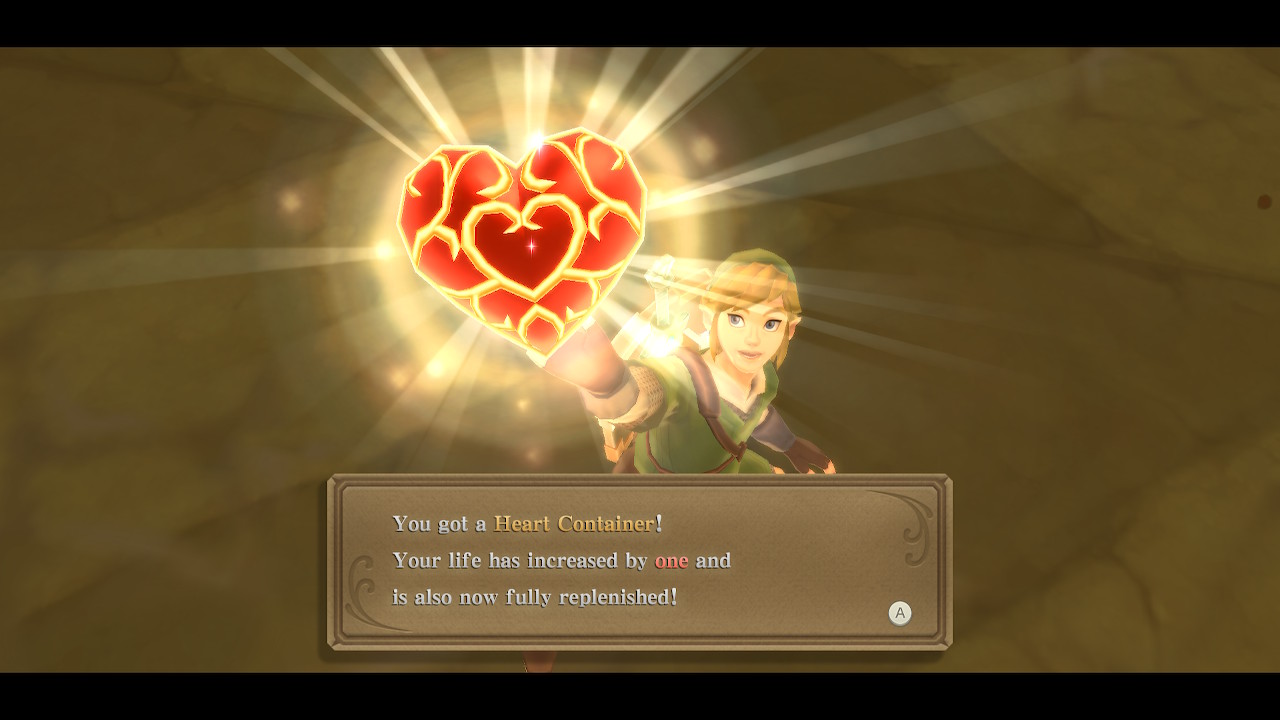
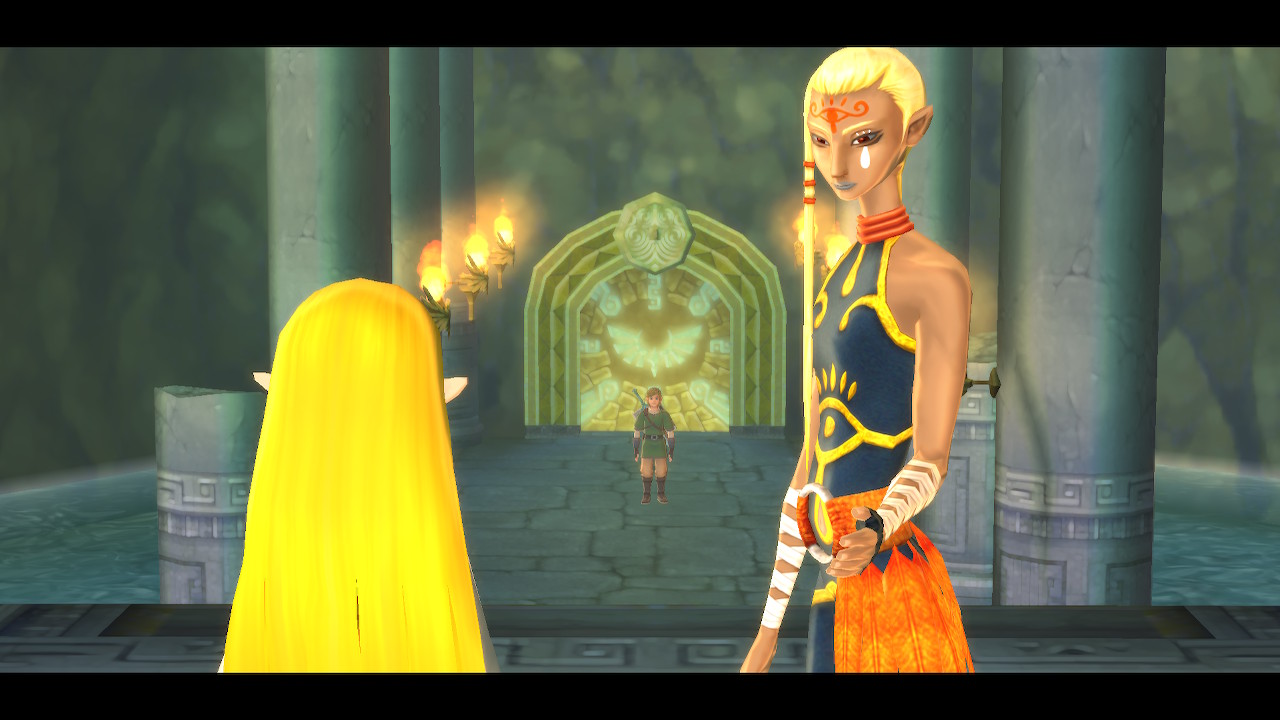
Once Scaldera is defeated, pick up the Heart Container that he leaves behind. Continue up the ramp into the next room for a cutscene with Zelda and the mysterious character from before.
After a rather intense cutscene, you'll find yourself in the Earth Spring. There are many fairies behind the statue that you can fill your empty bottles with. Otherwise, deliver a Skyward Strike to the emblem. This will trigger another cutscene with Fi where you will get the Amber Tablet. This will, of course, open the path to the next area of the game, Lanayru Desert.
Back to Eldin Volcano Continue to Lanayru Desert
