
Part 17: Sky Keep
How to Complete the Sky Keep Dungeon
Elemental Rooms
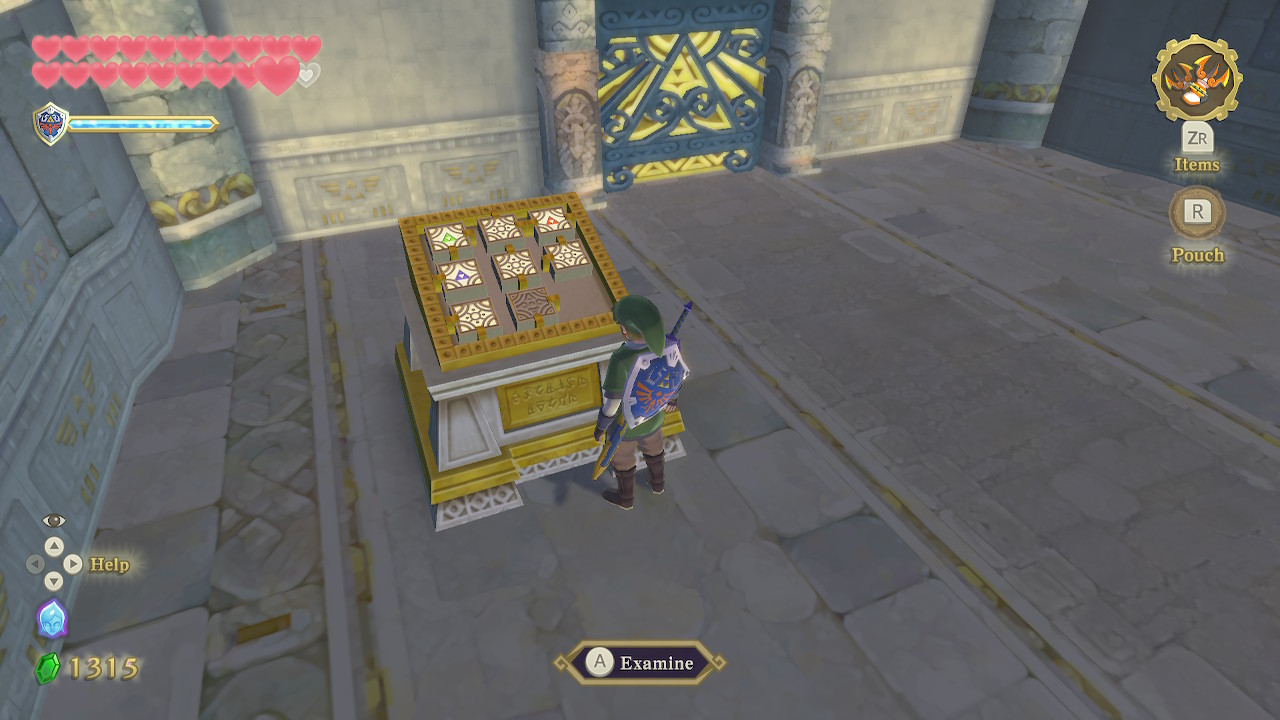
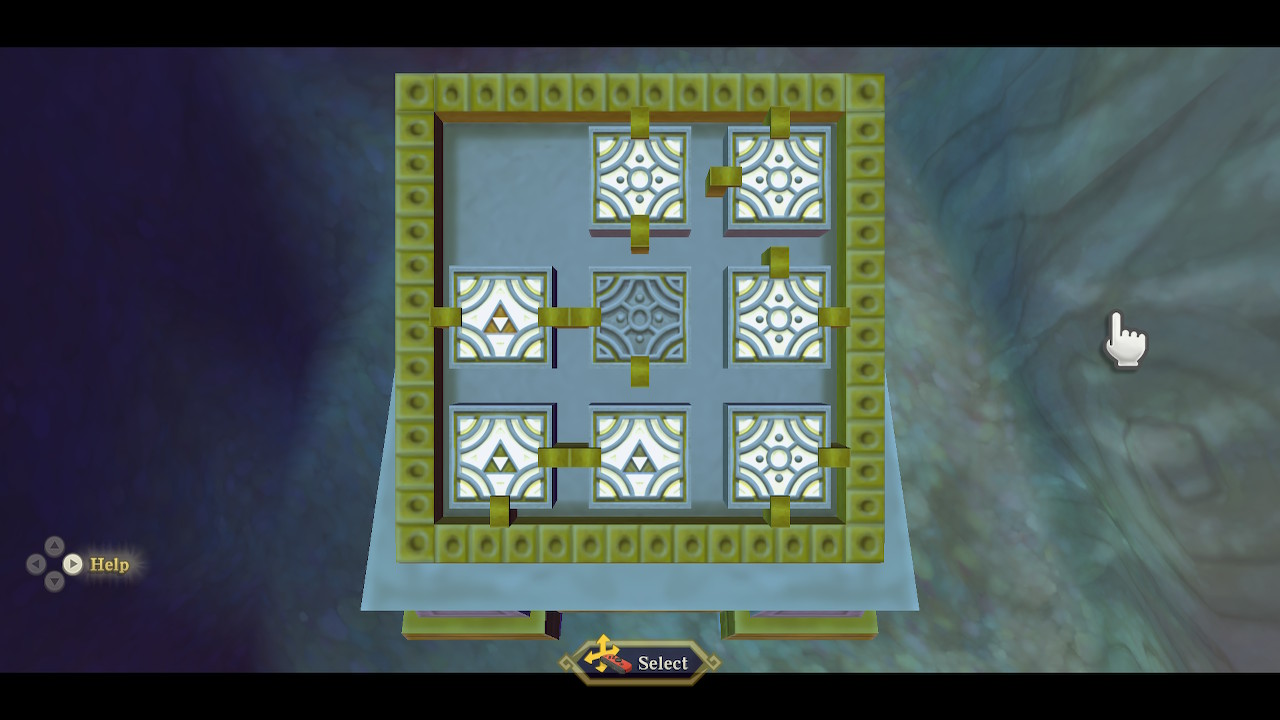
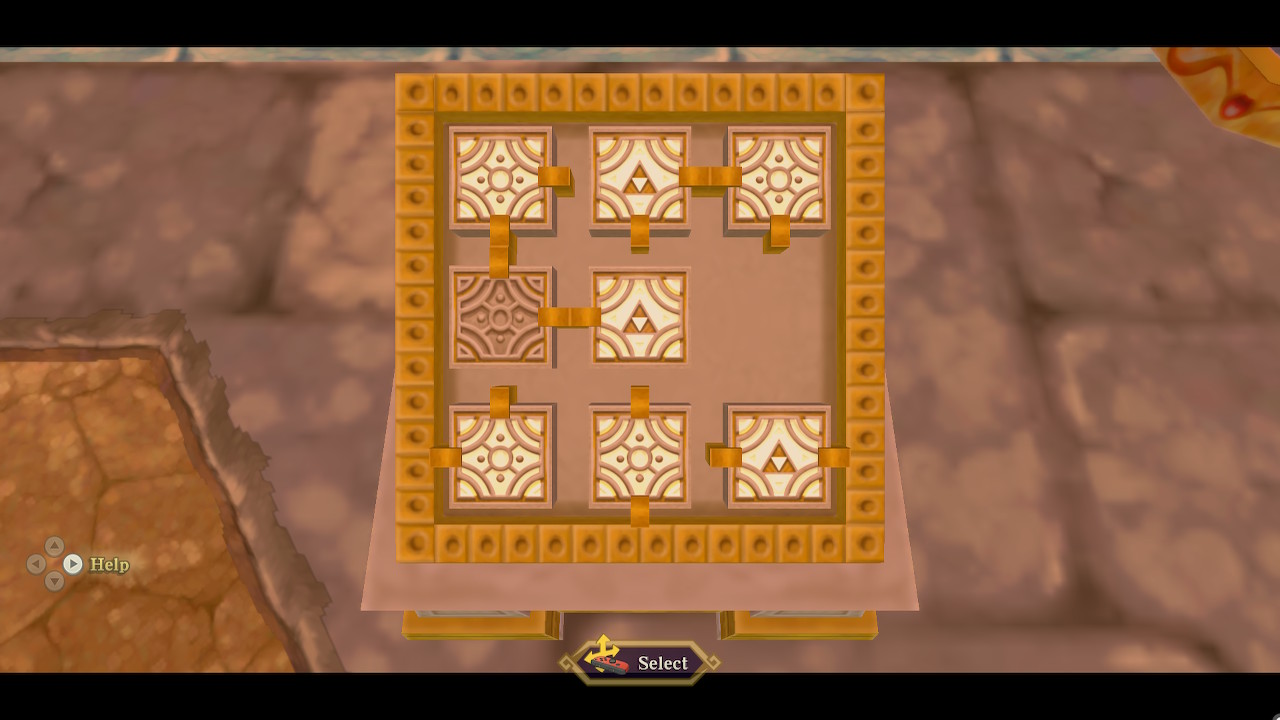
Welcome to the final dungeon of Skyward Sword, the Sky Keep. Start off by running straight ahead and opening the chest to get the Dungeon Map. If you look at the map, you'll notice that the rooms don't seem to line up correctly. Enter the section of this room to the right and you'll find a control panel with a replica of the dungeon rooms on it. You can move around the rooms here like a slide puzzle, and it will actually move the rooms of the dungeon.
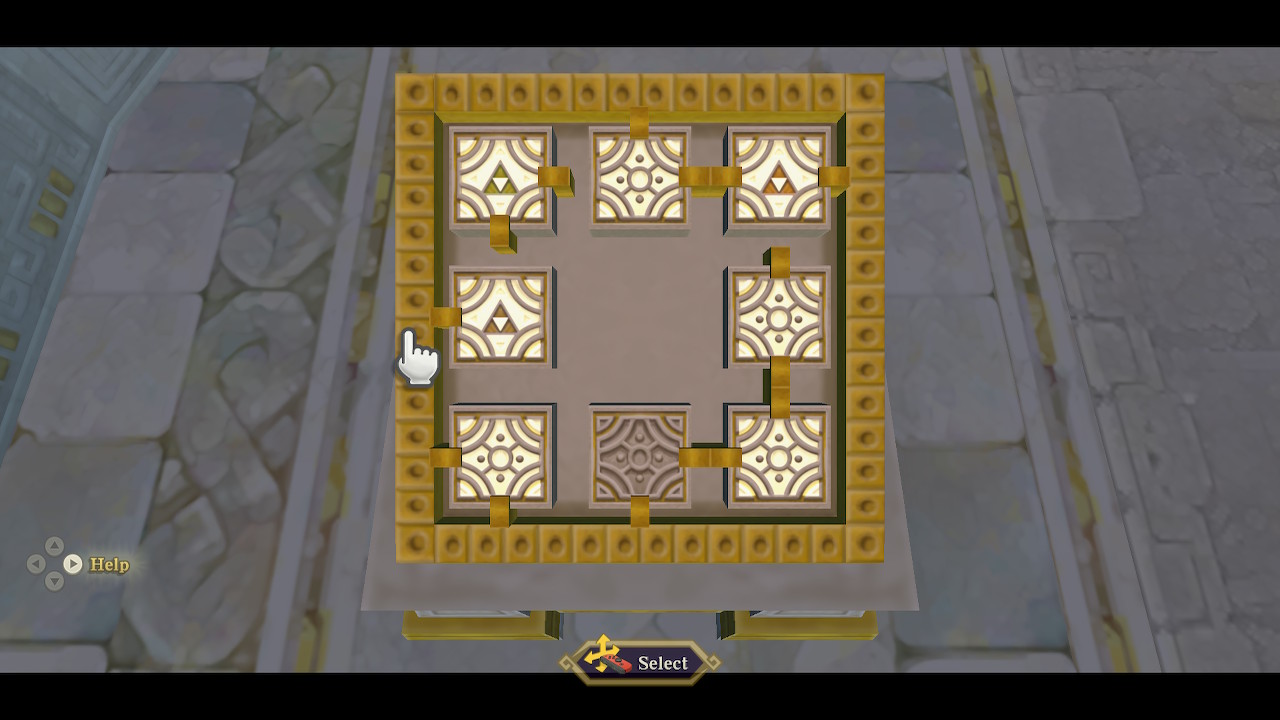
Start this puzzle by sliding the middle-right piece to the bottom-right. Then slide the center piece to the middle-right. This should connect these three rooms.
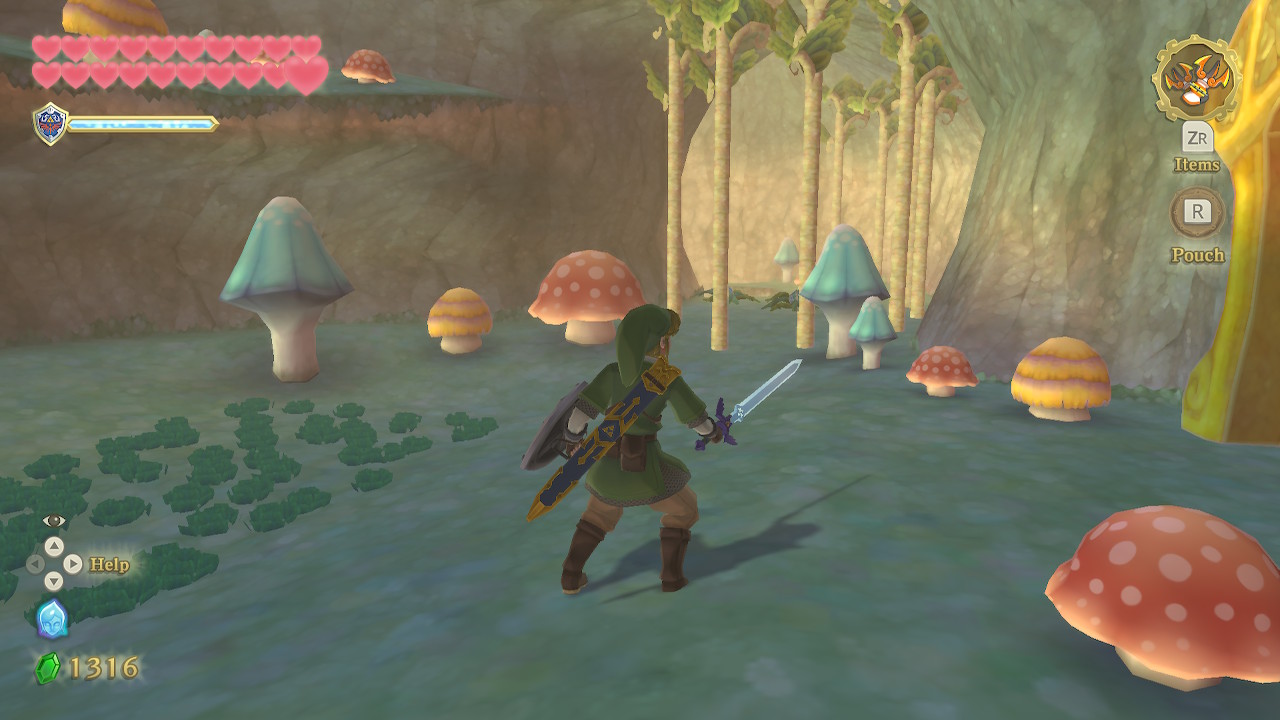
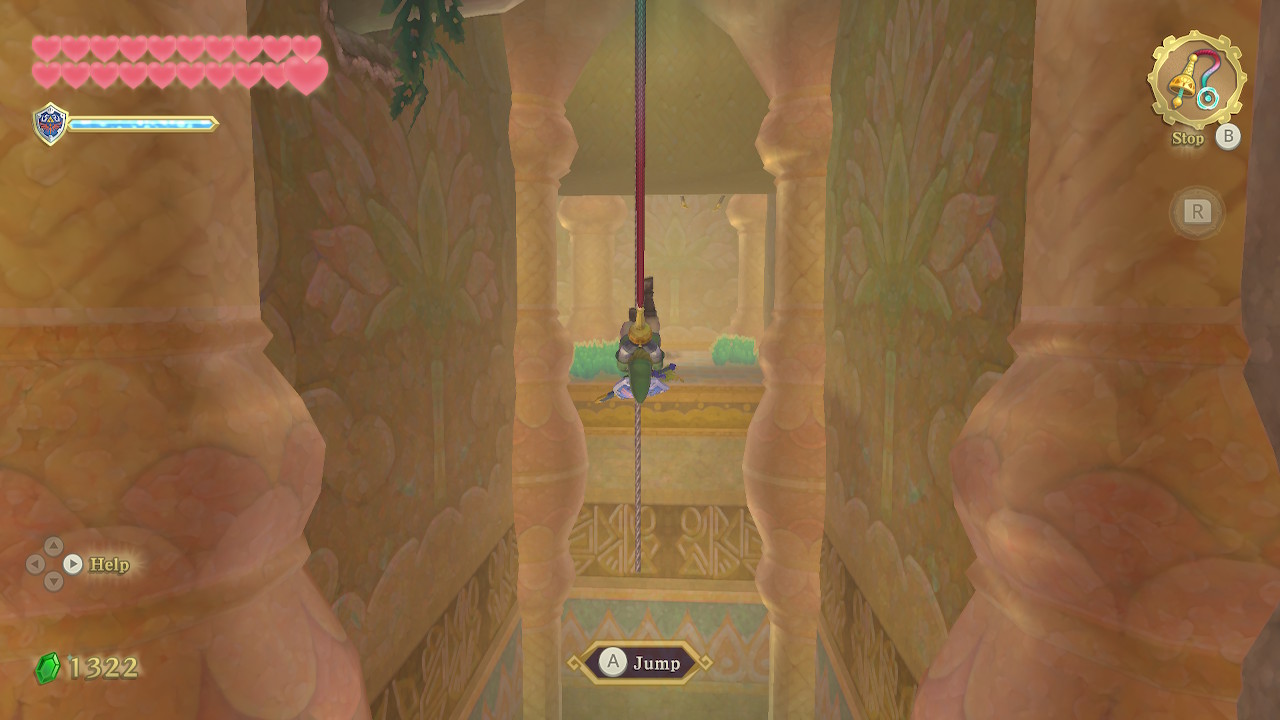
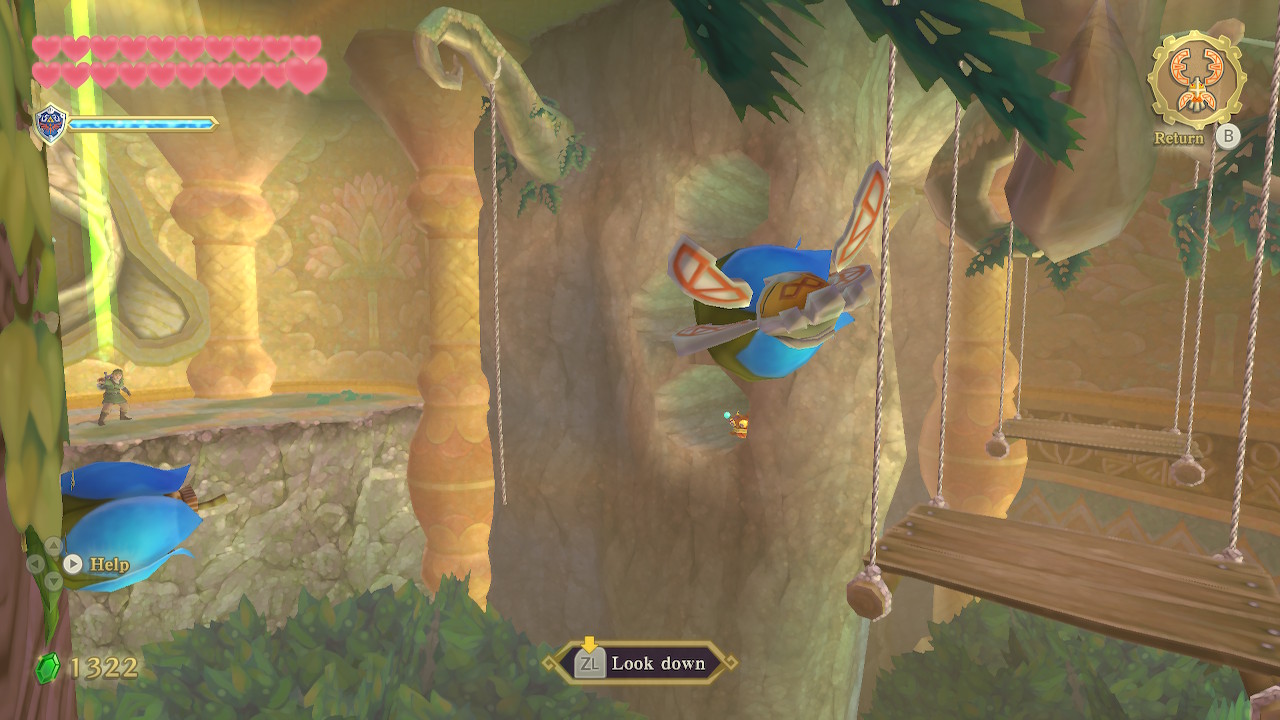
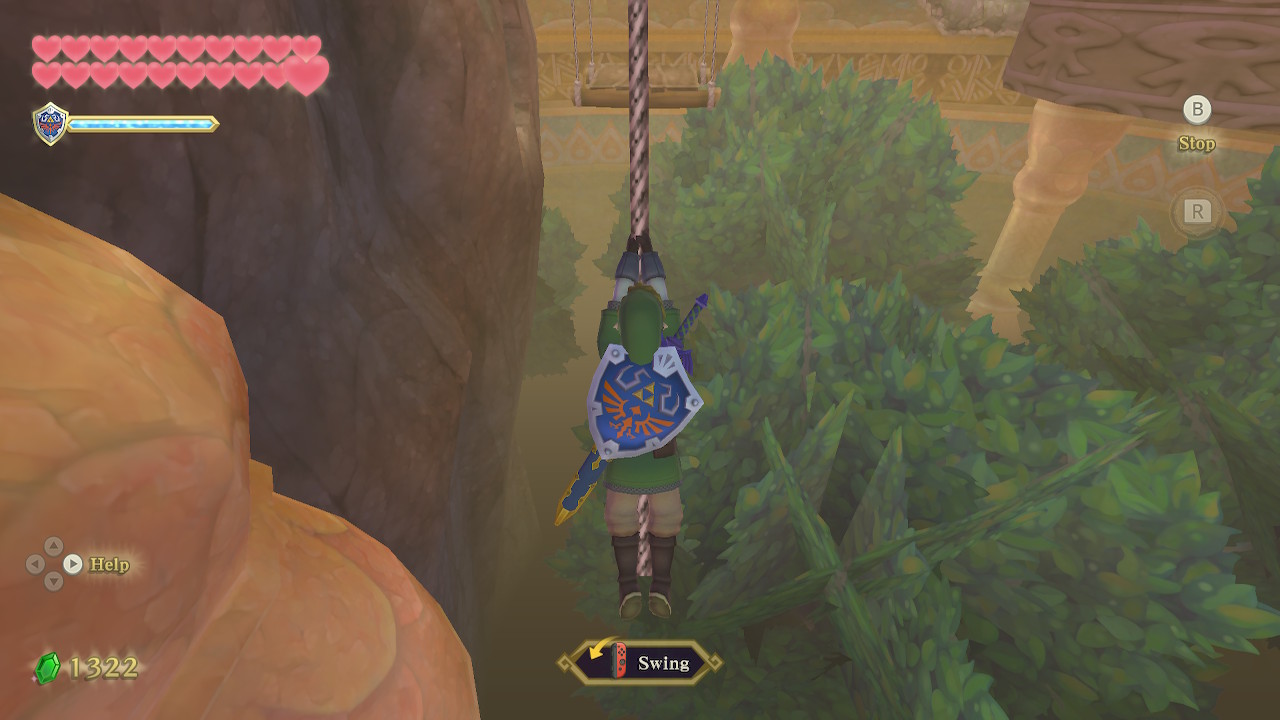
Enter the door to the right. In this wooded room, head to the right, slicing down the trees and defeating the Deku Babas. You'll come to a large gap. Use your beetle to cut the rope on the other side. You can then swing across this gap by first using your whip, then grabbing on to the rope.
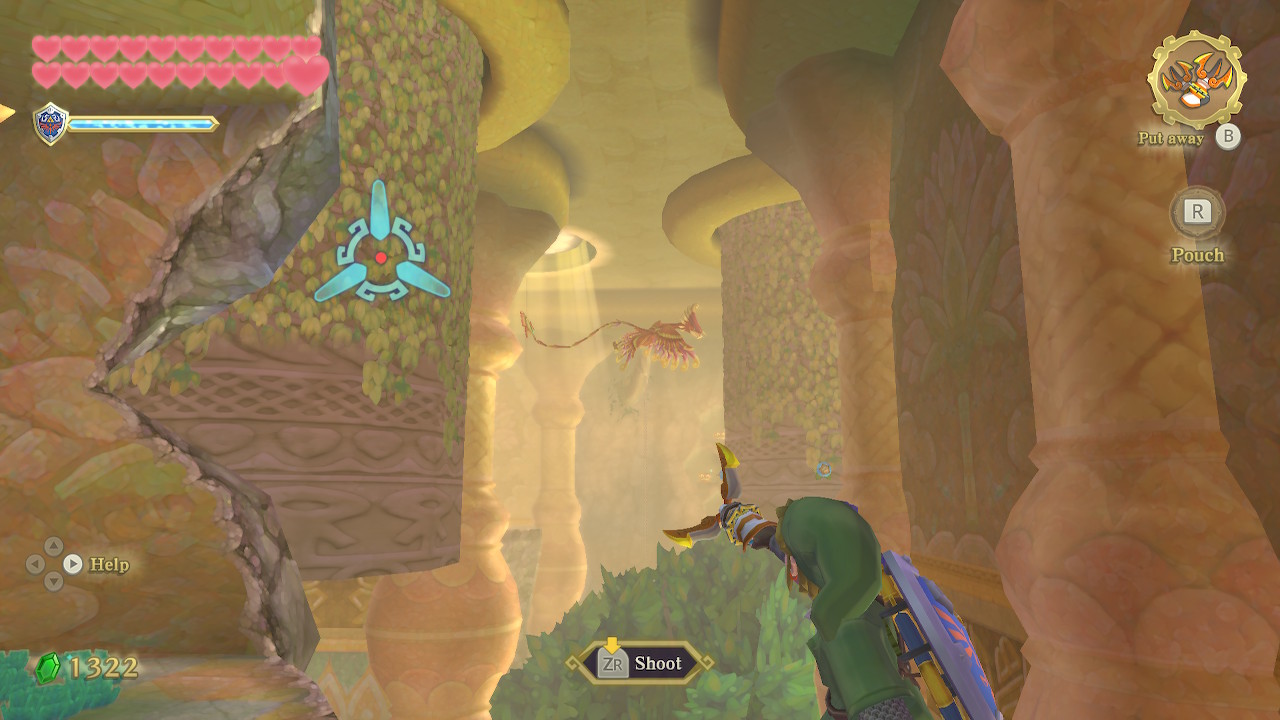
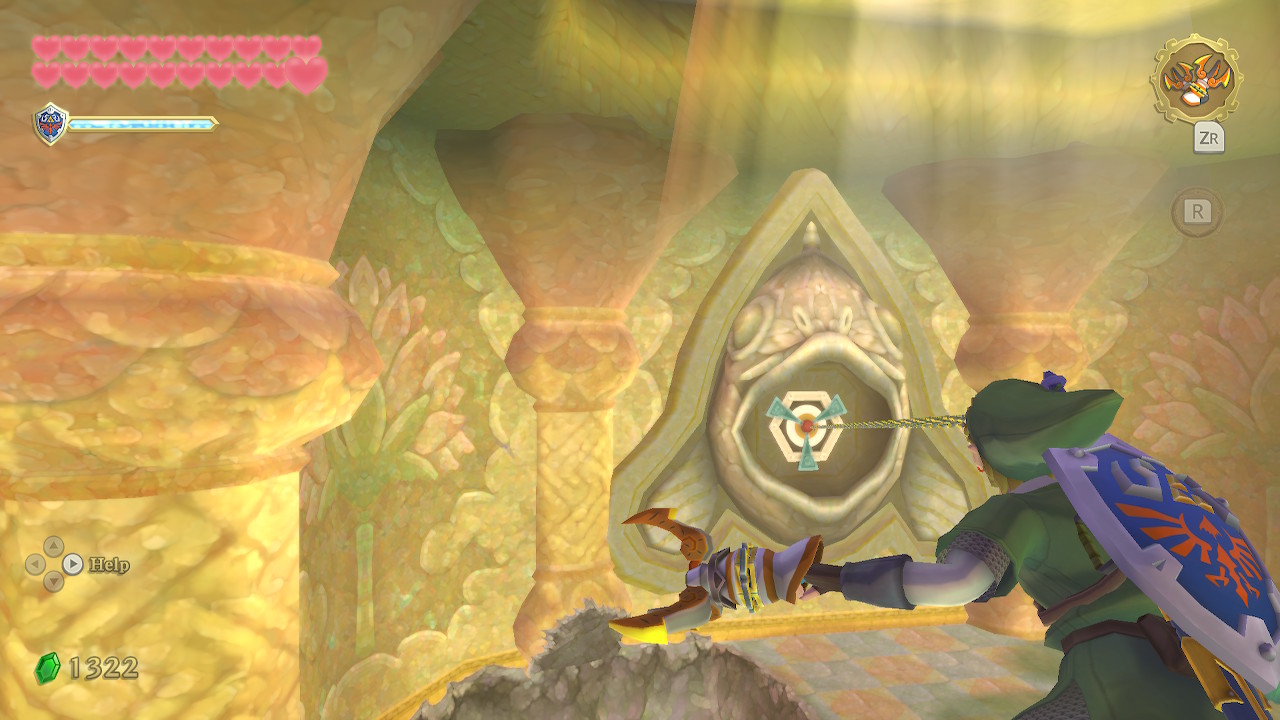
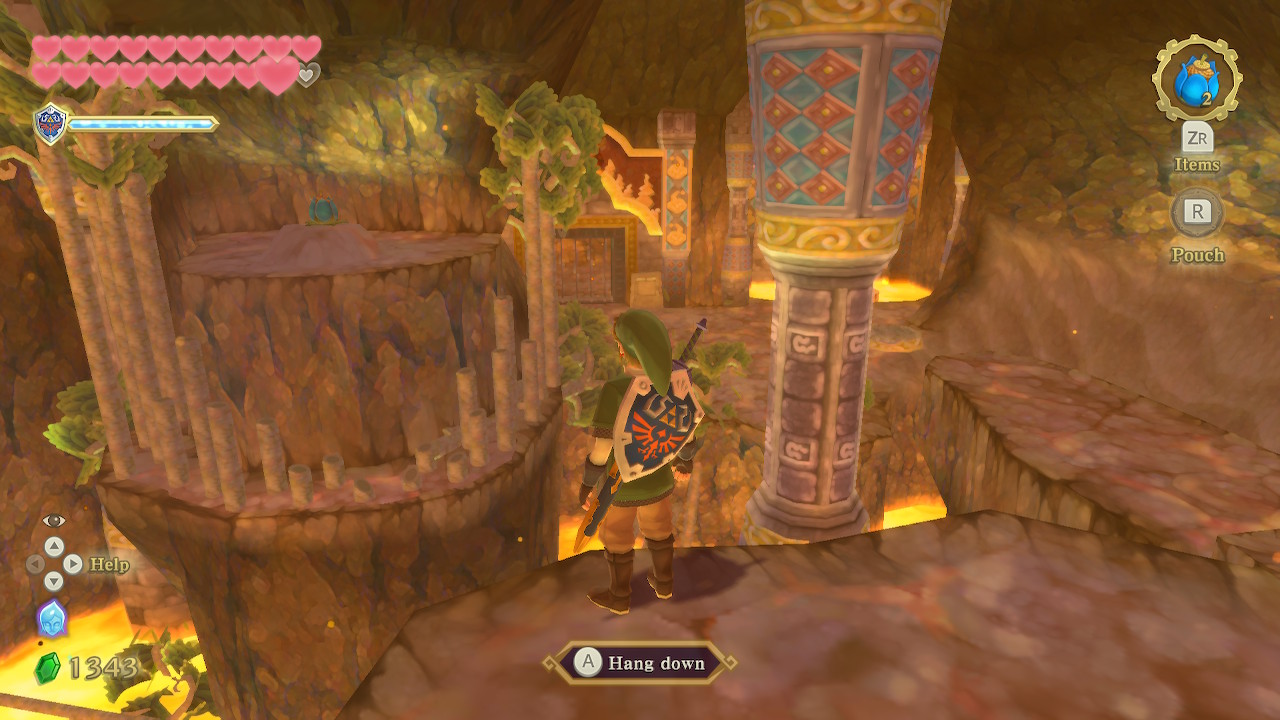
When you get to the other side, defeat the Skulltula. Clawshot to the vines on the rotating pillar ahead. When the rotation is correct, clawshot to the next rotating pillar. You can then clawshot to a target on the west side of the room. Defeat the Furnix here with an arrow or your whip.
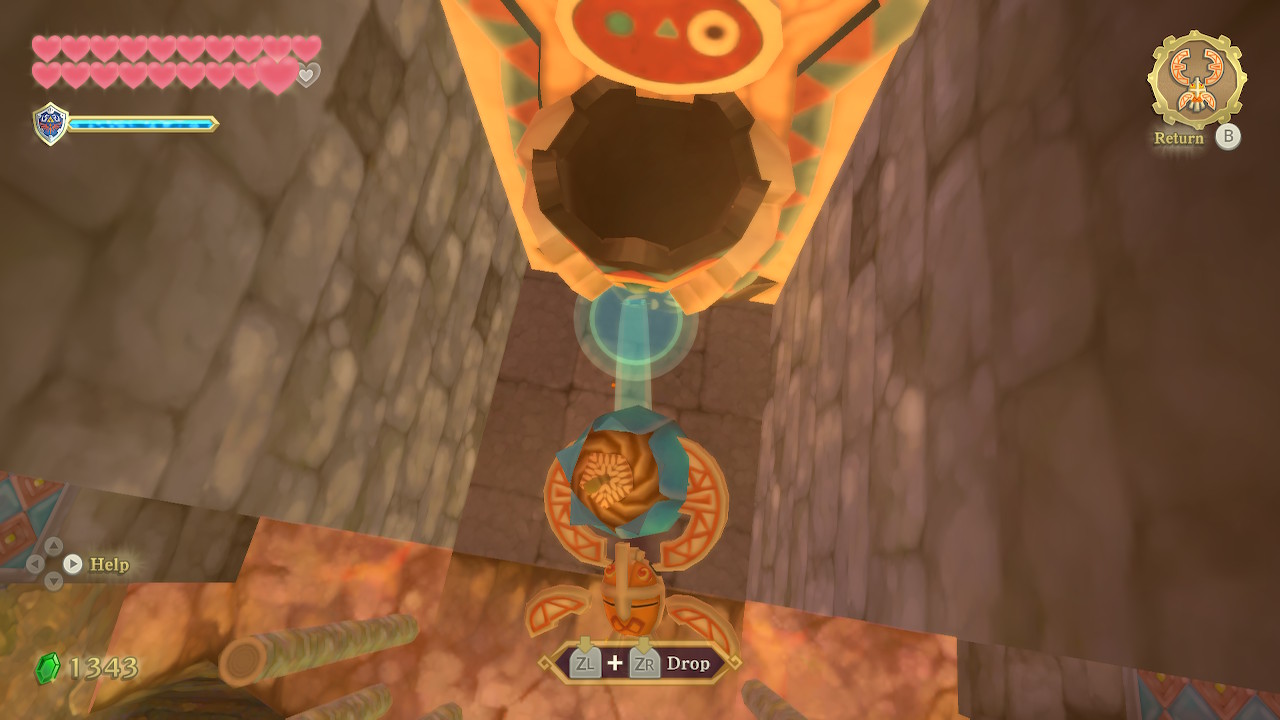
You'll notice there are bomb flowers on the side of the rotating cylinder platform. Use your hook beetle to grab these bombs and drop them on the Pyrup that are hiding out in the alcoves to the left. There are three of them to defeat, but if you aim for the center it should kill all the Pyrup. That clears the way for you to swing across to the hanging platforms.

Use the gust bellows on these hanging platforms to swing them close enough together to jump across. Once you are on solid ground, pull the lever here to create a shortcut. Use the bird statue if you wish, and then head through the next door.
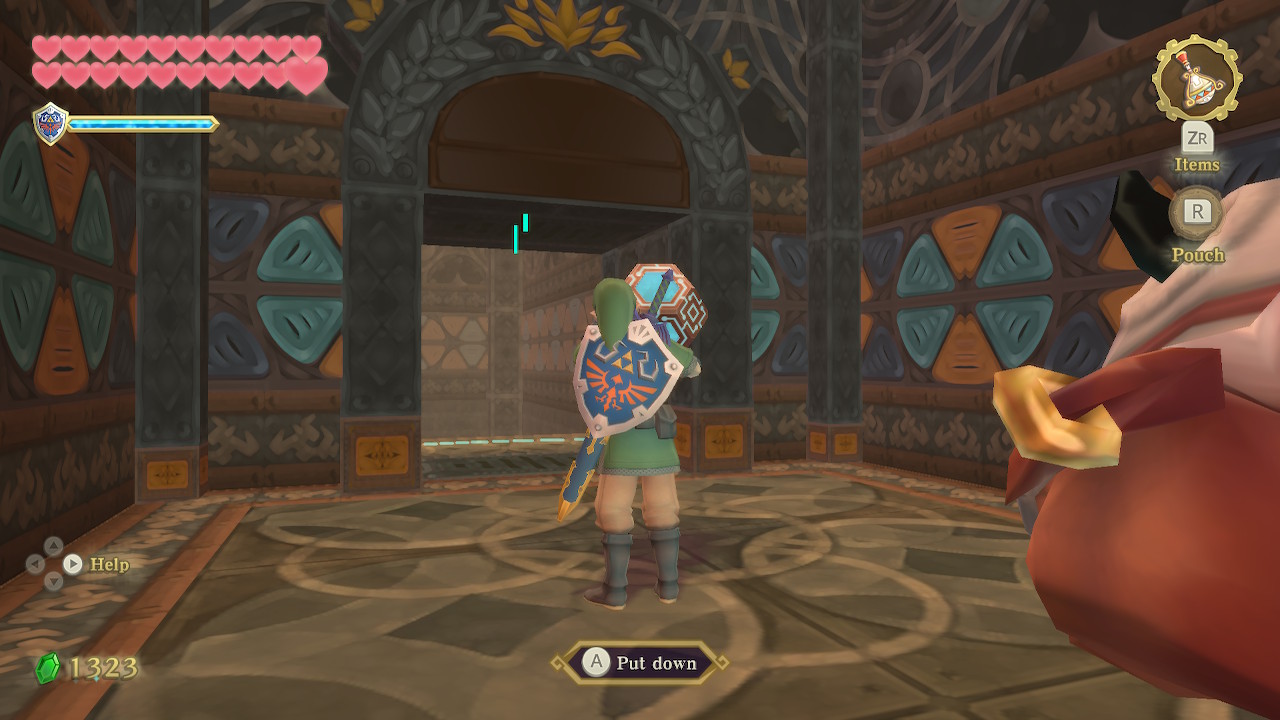
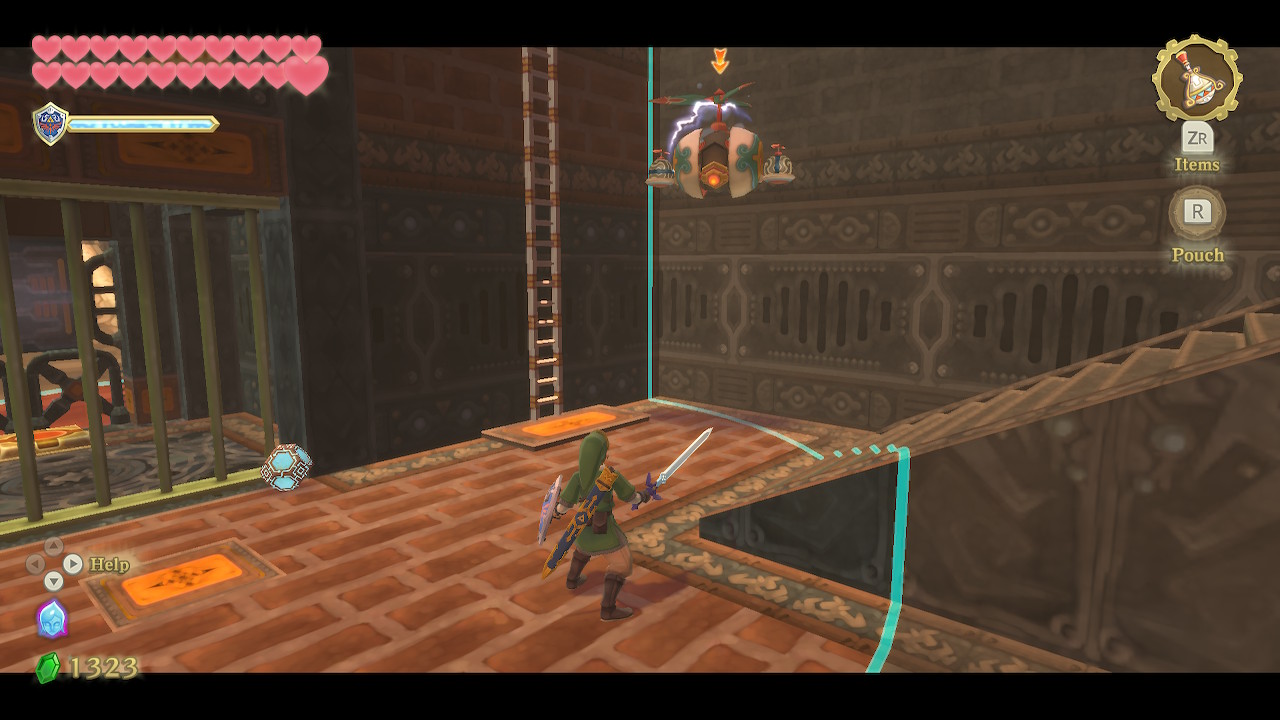
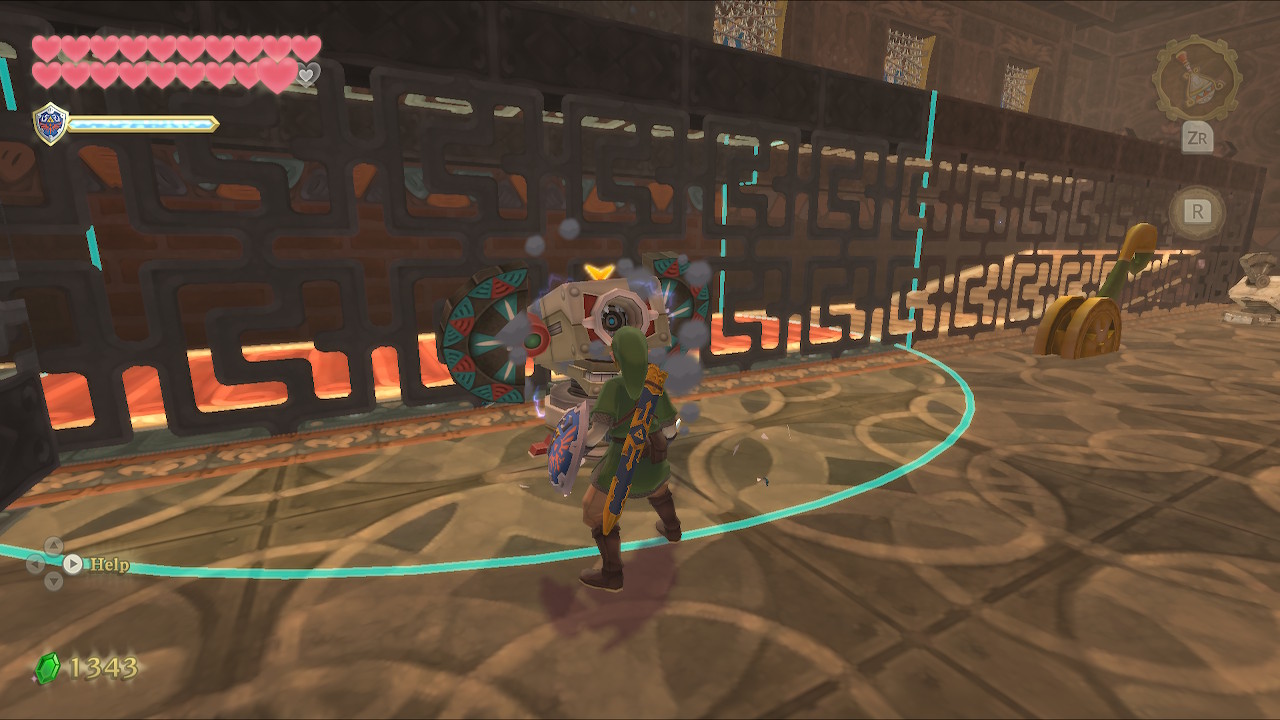
Once you enter this next room, you'll probably get a sense that each room is based on a previous dungeon or area of the game. Anyway, head left and pick up the Timeshift Orb. Carry it down this hallway and down the stairs around the corner. Set it in front of the gate here. You'll probably want to defeat the nearby Sentrobe. Climb up the ladder and pull down the lever to open the gate below.
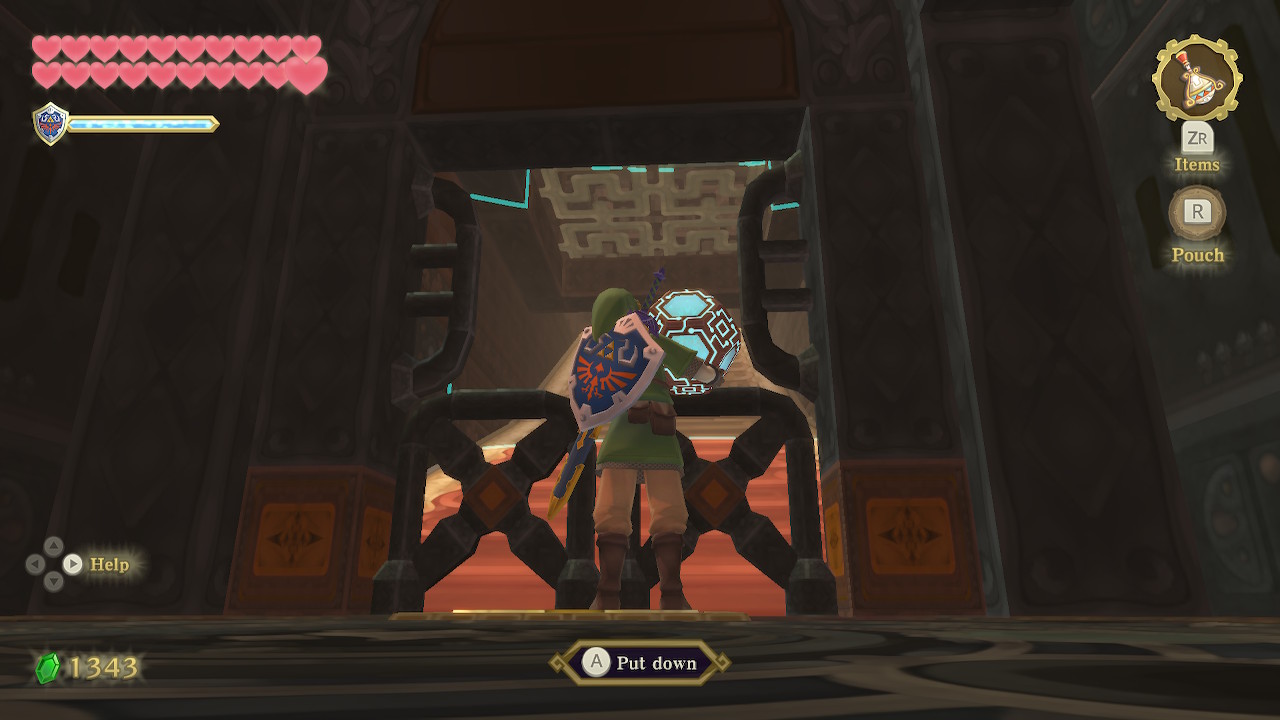
Drop back down and go through the opened gate with the orb. Step on the switch and toss the orb onto the conveyer belt elevator. It will take off down the belt, so climb back up the ladder and follow it. You can stand on the floor switch at the end and it will pop back out. Pick it up and head through the next opening.
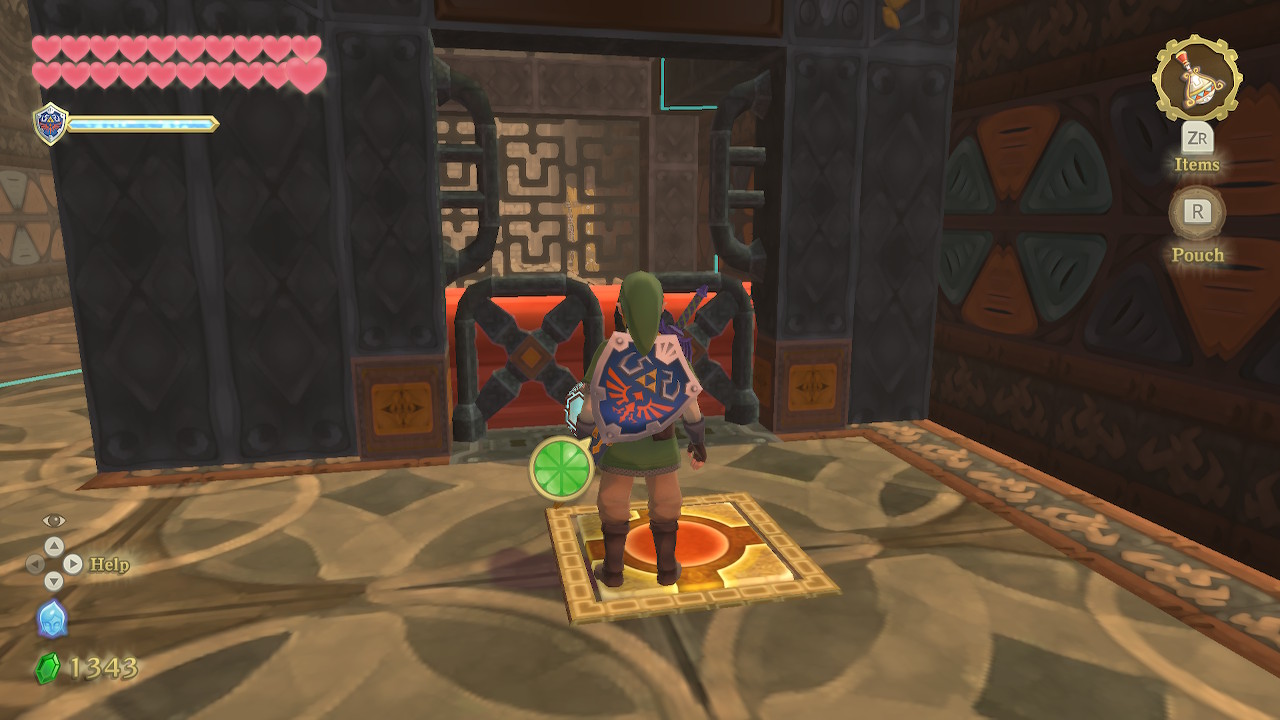
Set the orb down on the propeller platform in here. Then walk through the open gate and use your gust bellows to bring the platform closer to you. You'll want to bring this platform all the way to the other side of the room. Step on the floor switch to get past the first gate and shoot the eye switch on the wall to get past the second gate. Then pick up the orb and walk into the next area.
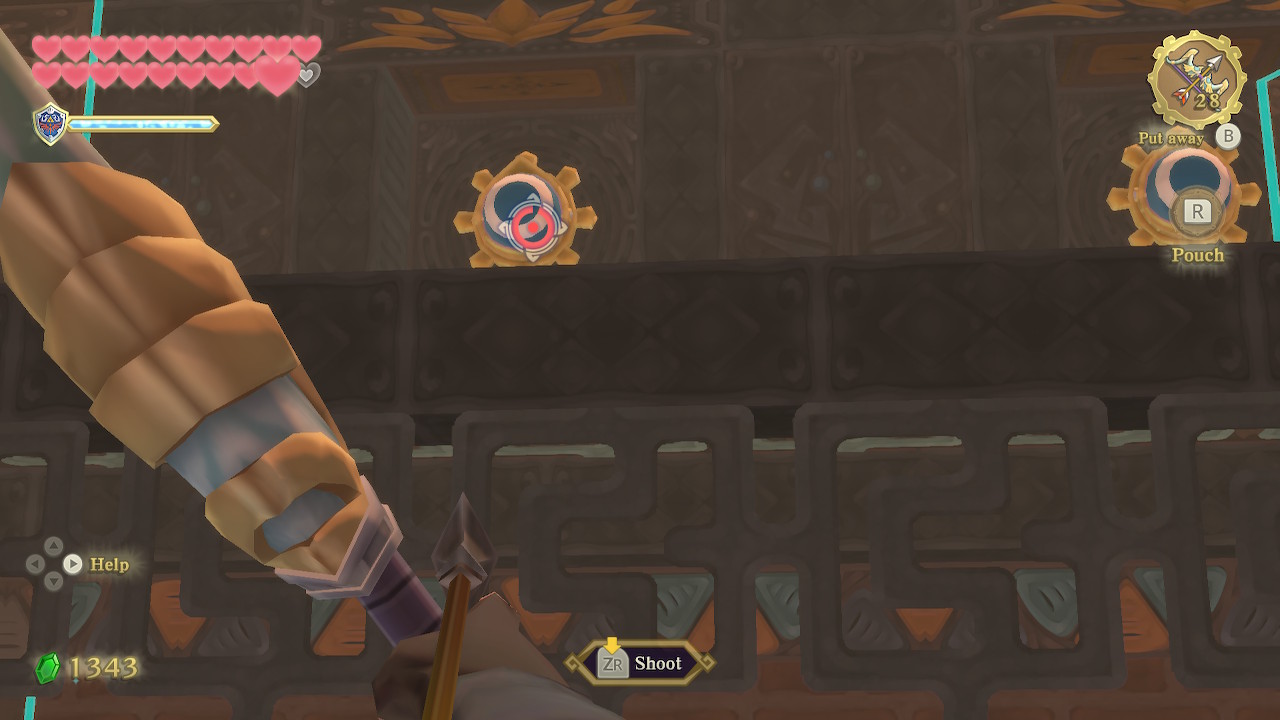
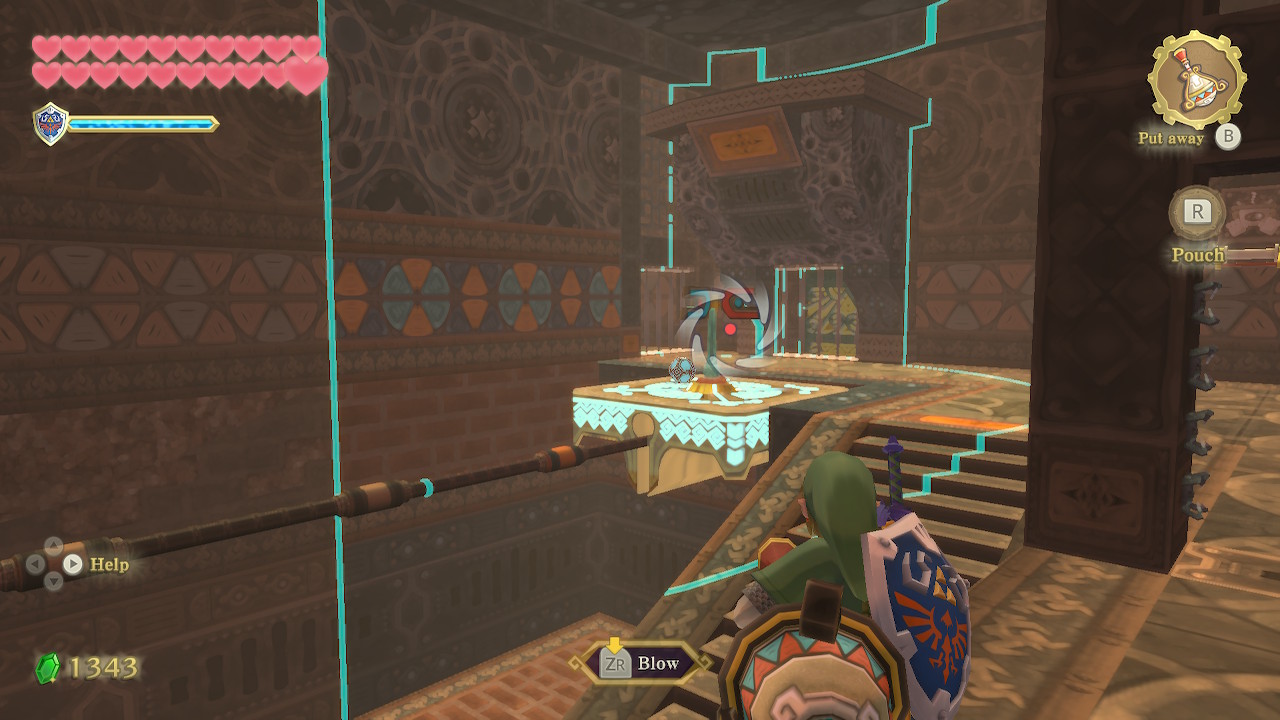
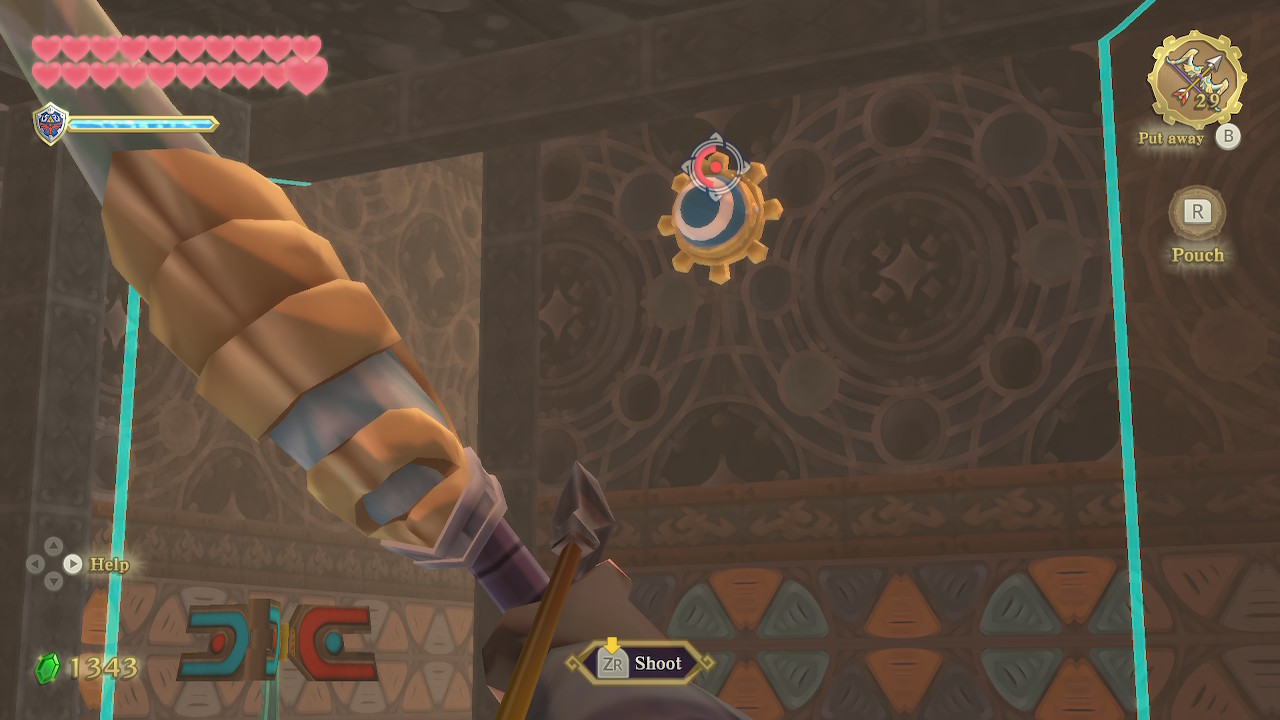
Pull the lever here to create a shortcut. There is another conveyer belt you can place the orb into the left. Head through the opening on the right and in this room you'll notice 5 eye switches on the wall above the conveyer belt that you'll need to shoot with arrows. They get activated one at a time as the orb passes by. There is a green whip lever in the room that switches the direction of the belt. You might need to use it a few times to hit all the eye switches. It's also helpful to get rid of the Beamos here beforehand.

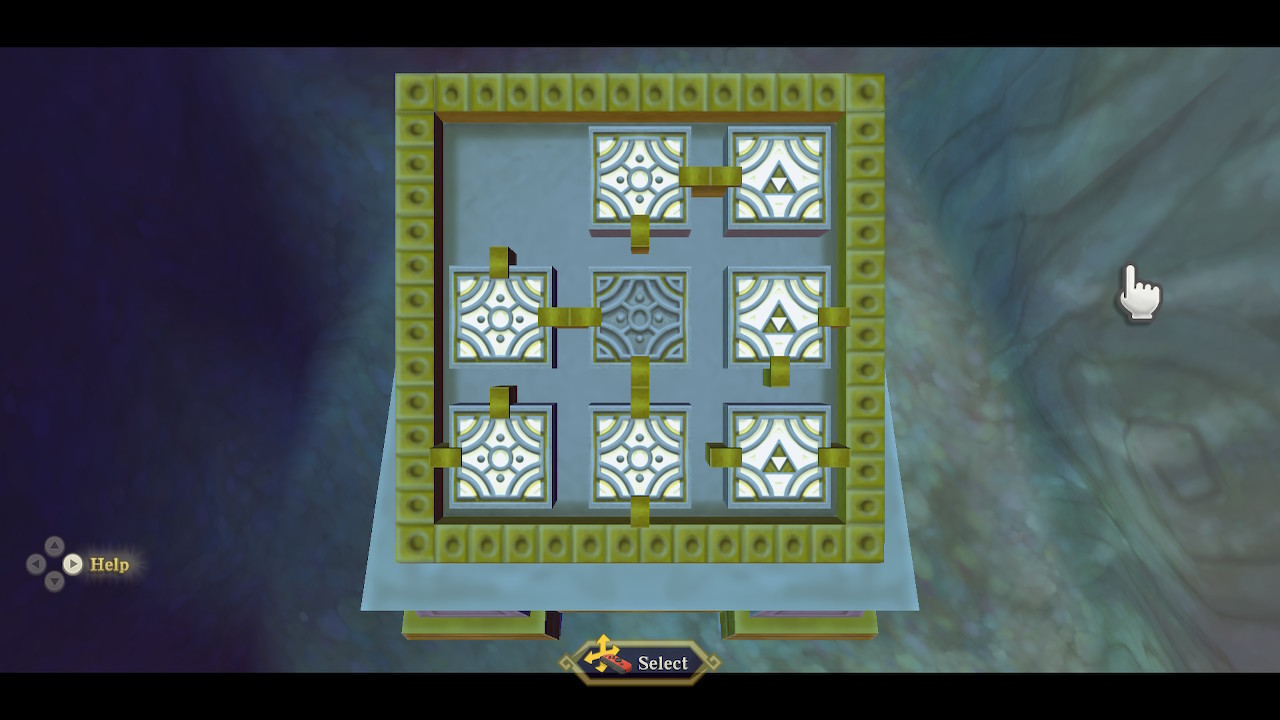
With all the switches in this room hit, a gate will open revealing another control panel. Follow these instructions to align the slide puzzle:
- Top-middle piece to the center.
- Top-left to the top-middle.
- Middle-left piece to the top-left.
- Bottom-left piece to the middle-left.
- Bottom-middle piece to the bottom-left.
- Center piece to the bottom-middle.
- Middle-left to the center.
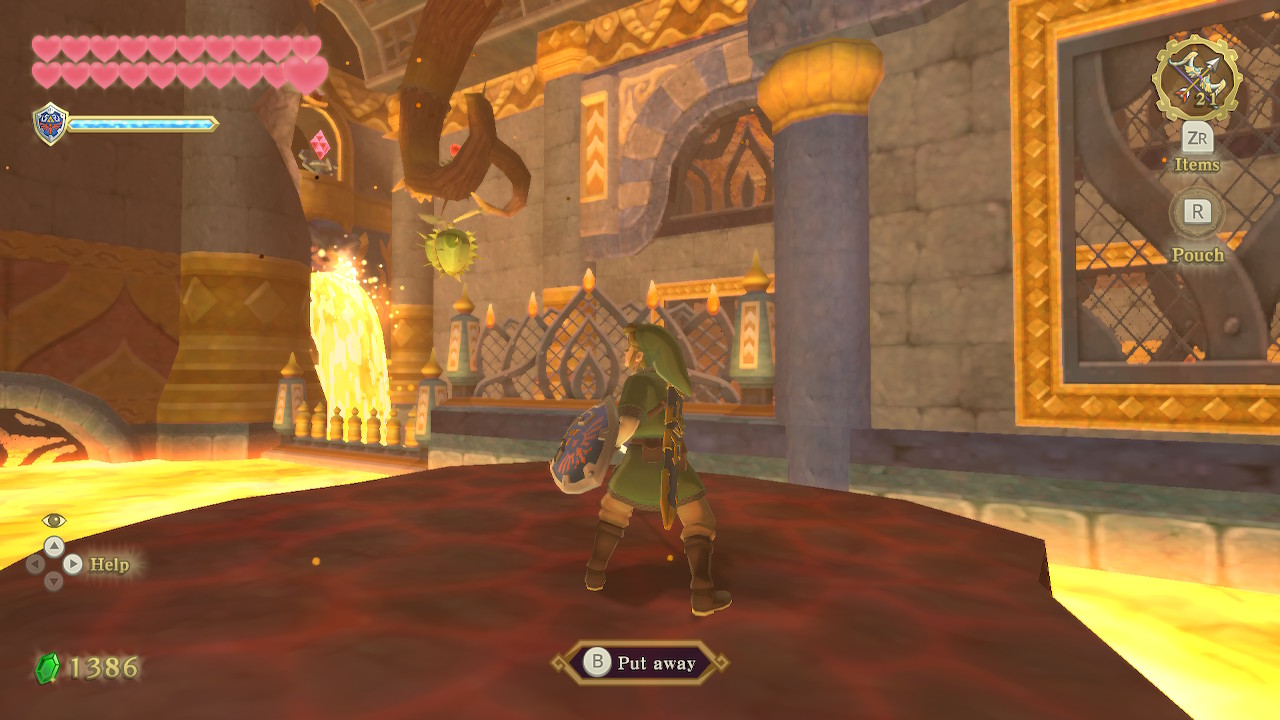
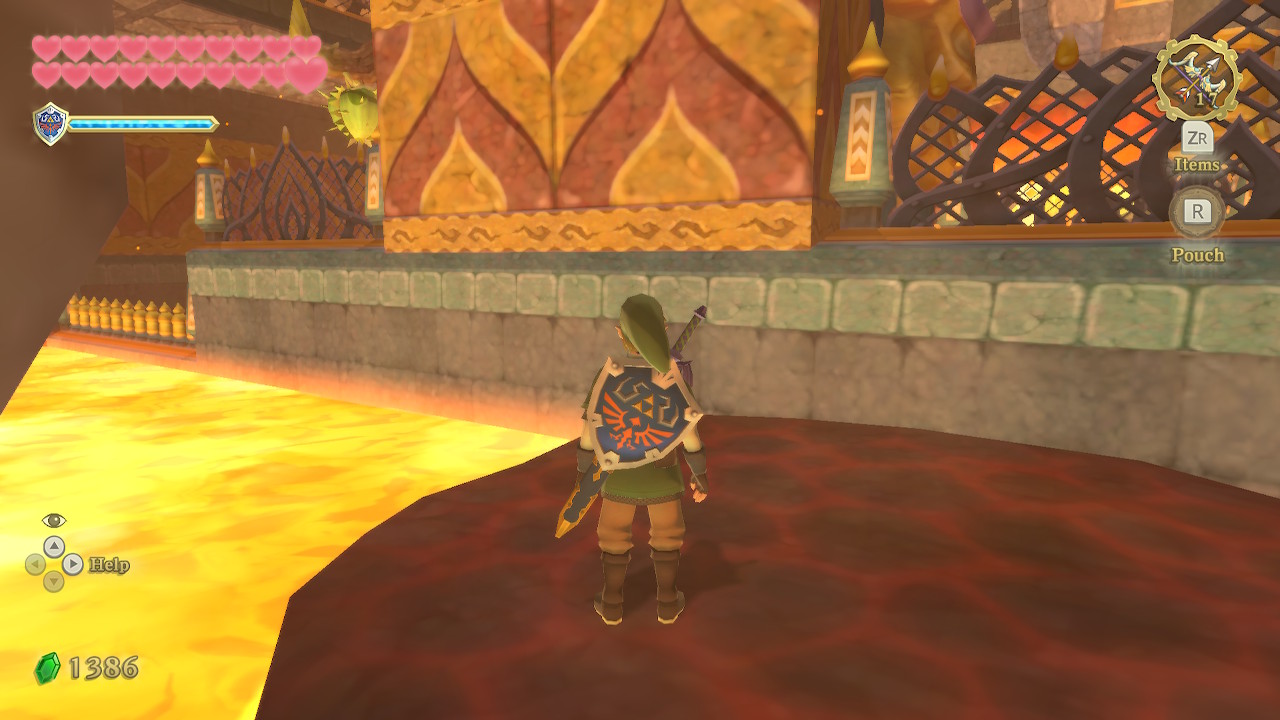
This will now connect four rooms on the bottom-right side of the map. Exit this room via the door to the south. Back in the forest room, just take the shortcuts to exit via the door to the west. You'll now find yourself in a new fire room.
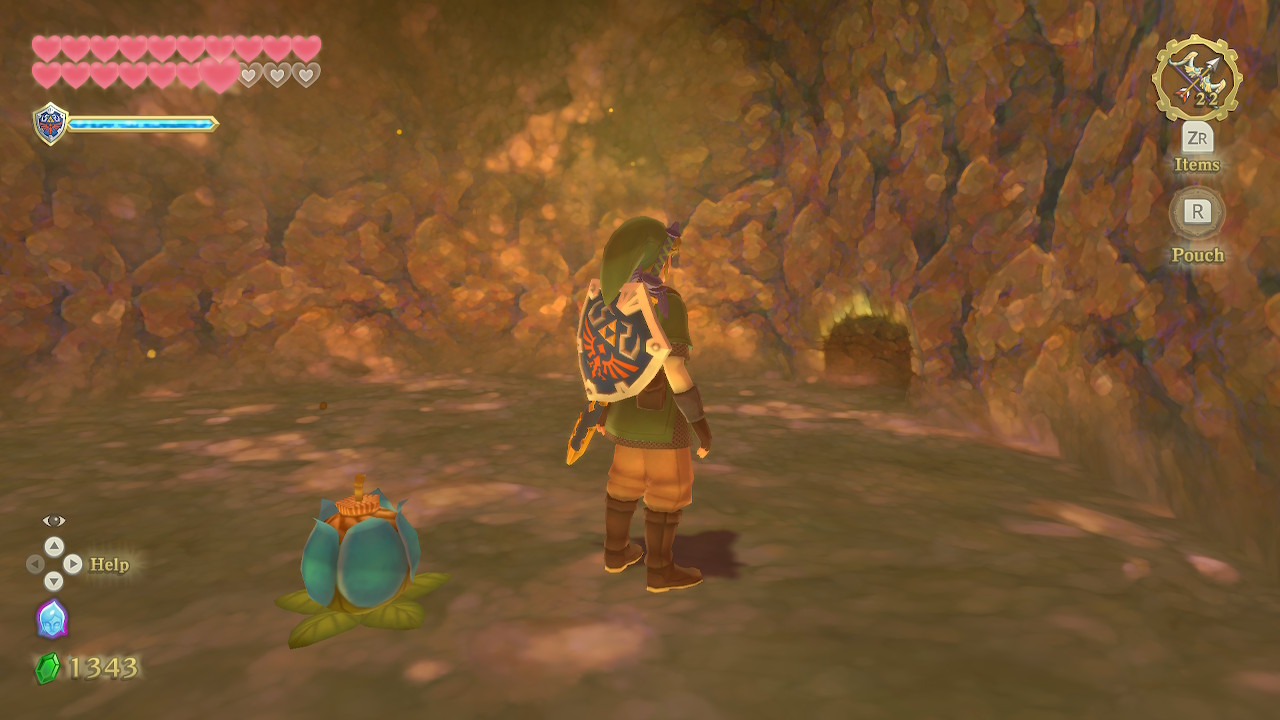
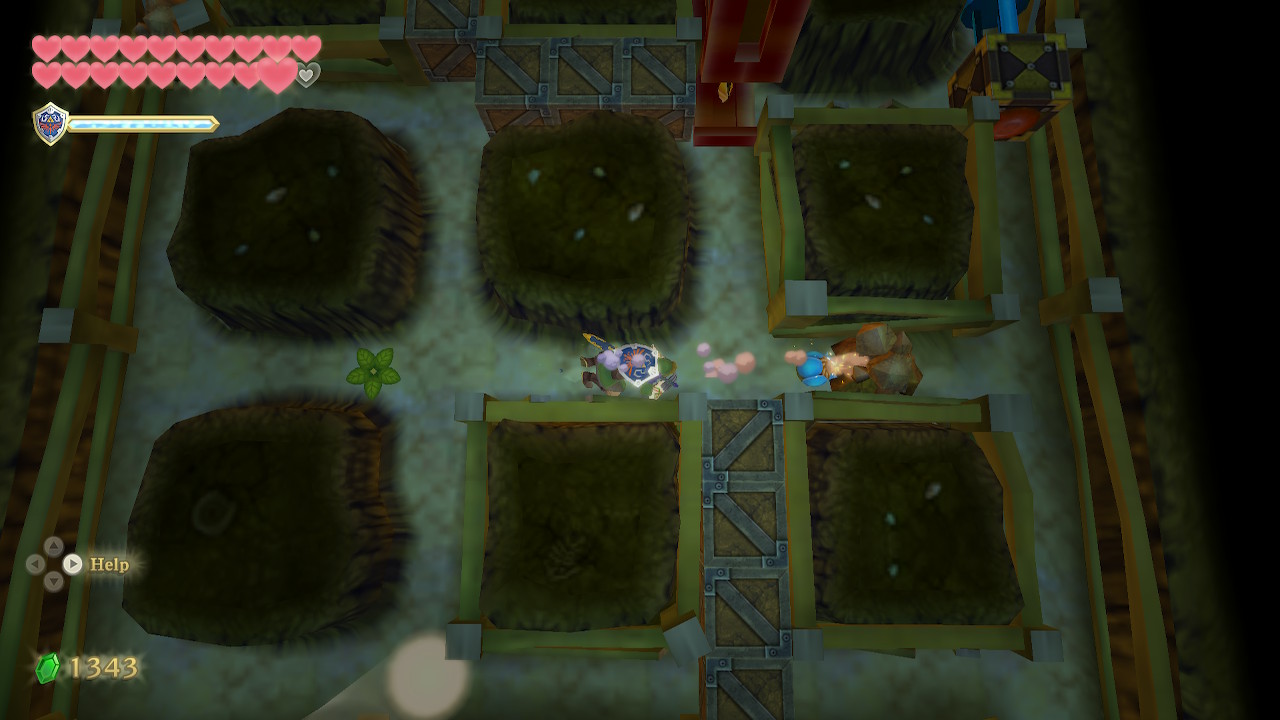
Head to the left and you'll find a small opening you can crawl through. Take the left path to get to a room with a bomb flower. Stock up on bombs if you want, then roll a bomb through the opening we just came out of. You can now crawl straight through it to the other side. Here you'll find a soft spot you can burrow into.

Crawl forward and hit the red switch here. Simply exit the underground tunnel now and head back through the small opening to the main room. With the gate moved over, you can head through here and defeat the Lizalfos ahead. Toss a bomb into the nearby basket and the stone will fall down. Instead of hitting the switch, turn around and stand on the grey stone here.

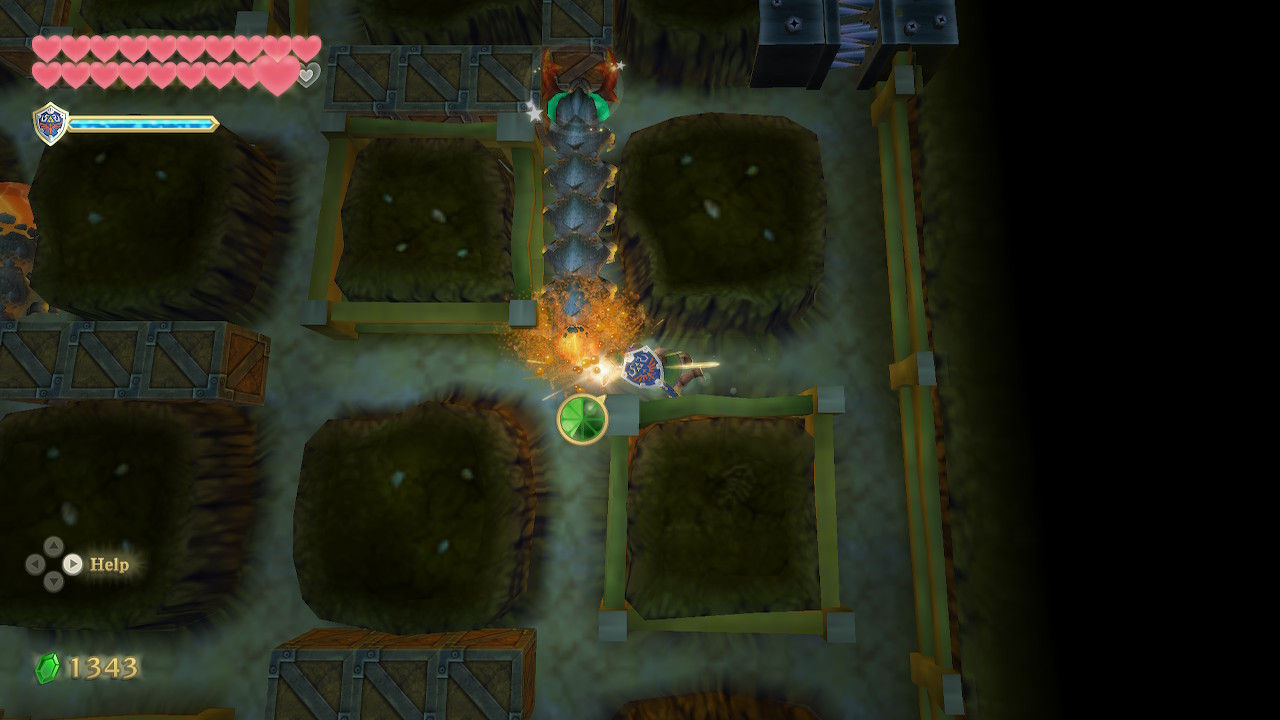
We need to roll a bomb down this curvy slope to land in the basket below. The trick is to angle it to turn tightly around the curve. After the statue falls below, slide down the sand slope yourself to get to this new crystal switch. Ignore it for now and climb up the vines.
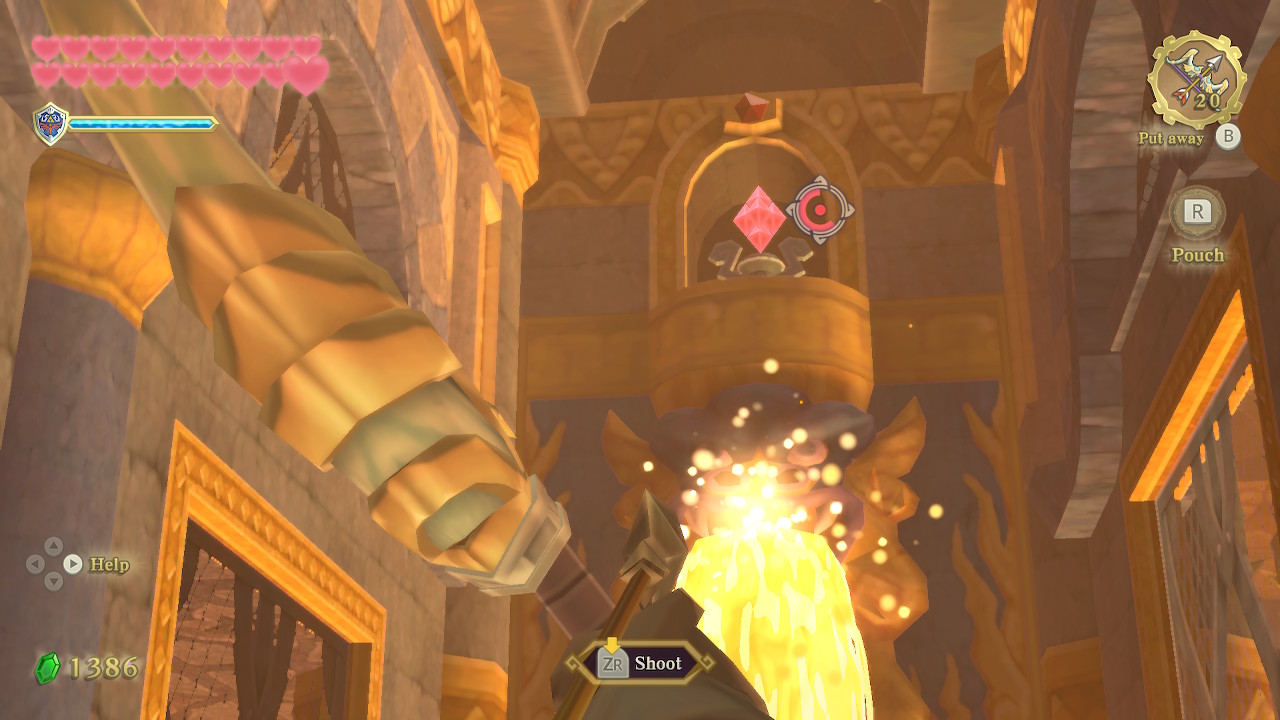
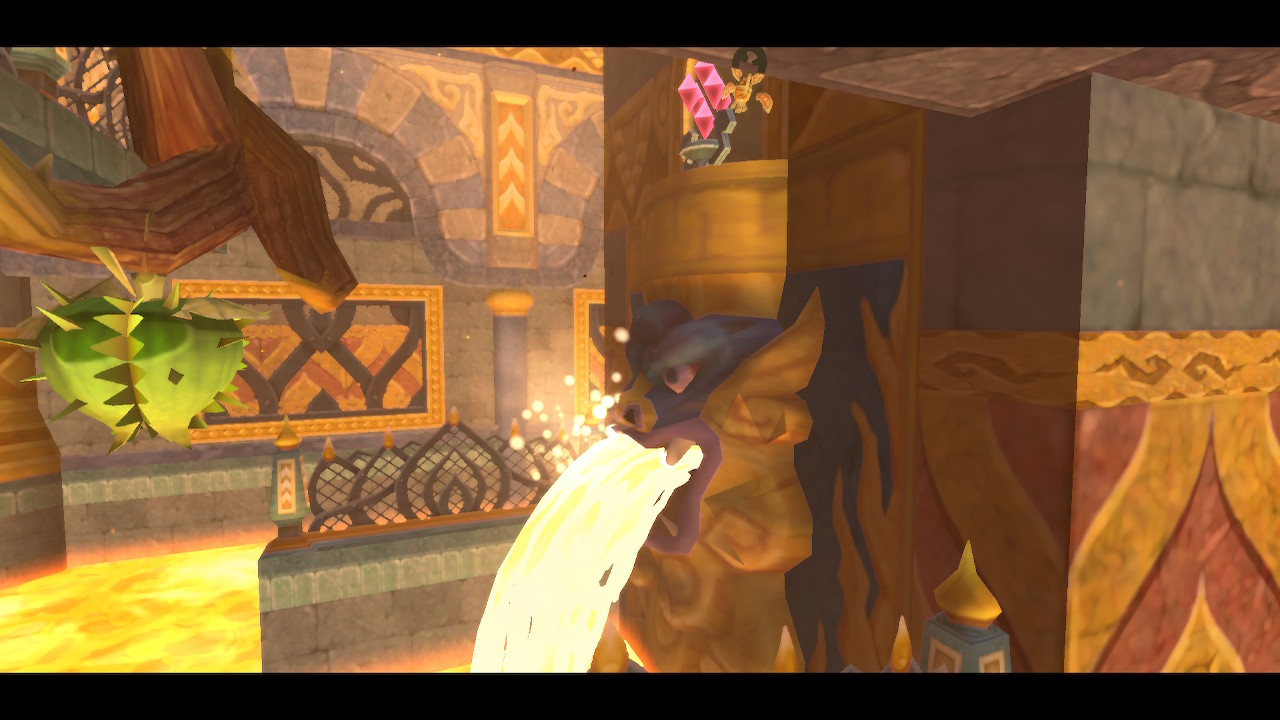
Walk to the edge of this platform and toss a bomb at the trees ahead to blow some of them up. You can then access the bomb flower with your hook beetle, so do so and blow up some of the other trees on the other side of the tree ring. The goal here is to drop a bomb in the basket on the left side of the room. You'll need to clear some more trees out of your way with bombs before you can, but once you do a third crystal switch is revealed
These crystal switches must now be hit in a particular order. A stone tablet in this room tells us the order is lowest to highest elevation, which would be "2, 1, 3", the numbers being the order we found the switches in. First, drop a bomb down near the vines to blow up the second switch. Then Shoot an arrow at the first switch, followed by the third. This will open a gate on the other side of the room, which you should head through now.
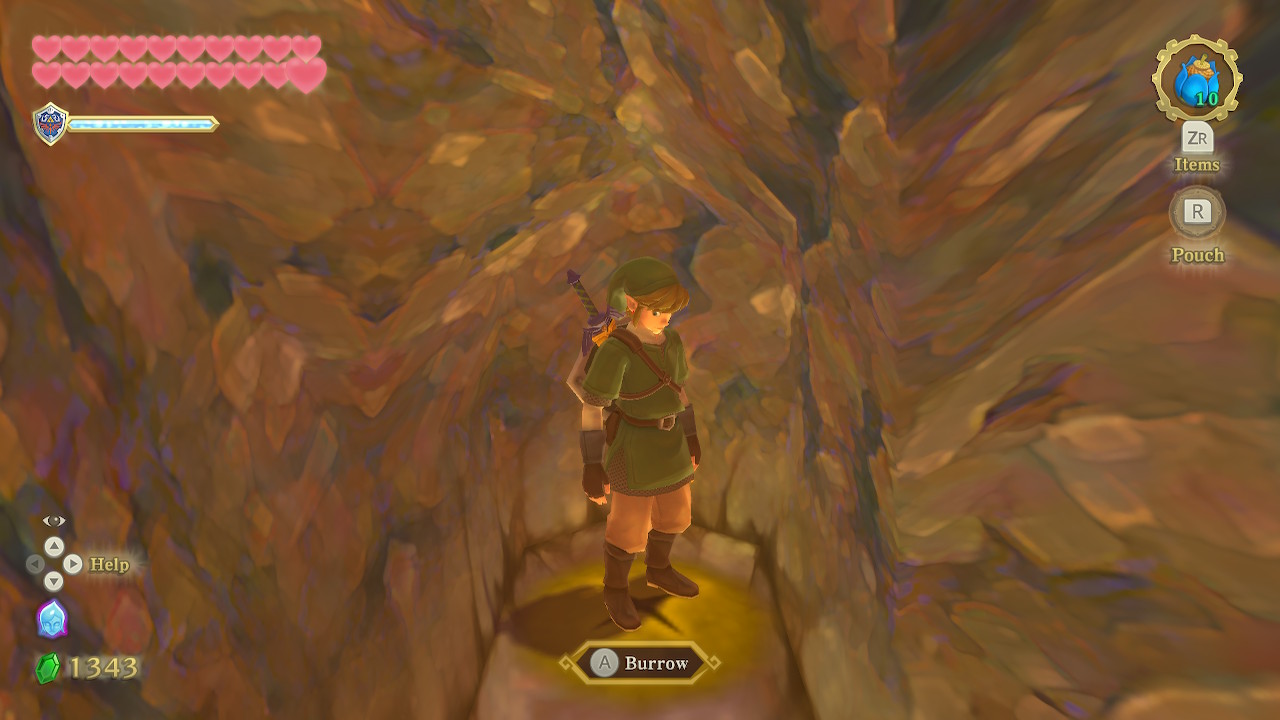
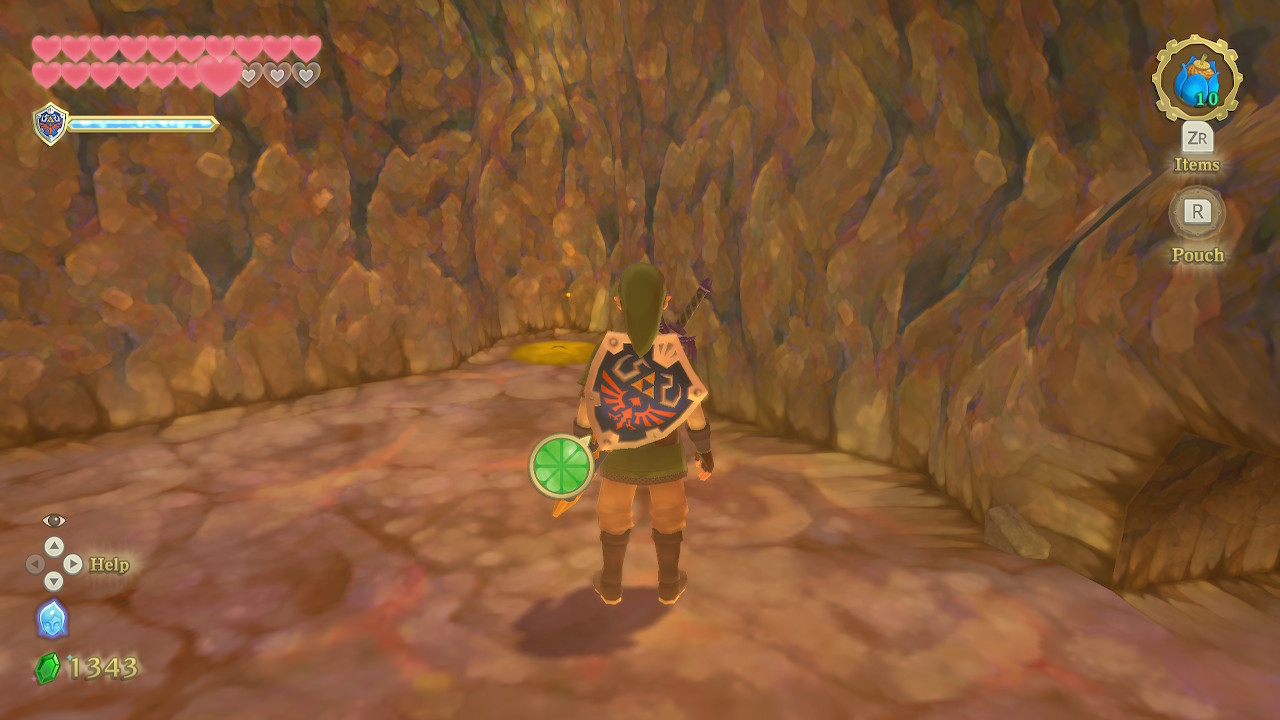
There is a soft spot in here you can burrow into. Use the bombs down here to blow up the two boulders. You'll need to hit each bomb twice to reach them and crawl quickly to the bomb before it explodes. Crawl around and hit the blue switch now, and then resurface. This moves the gate over, allowing us to access another small cave with another soft spot we can burrow into.
Once underground, defeat the two Moldorms in here. After you do, you'll be able to exit out of another light spot. Pull down the lever in this room to open the two gates. Ignore the control panel in this room for now and exit through the door to the north.
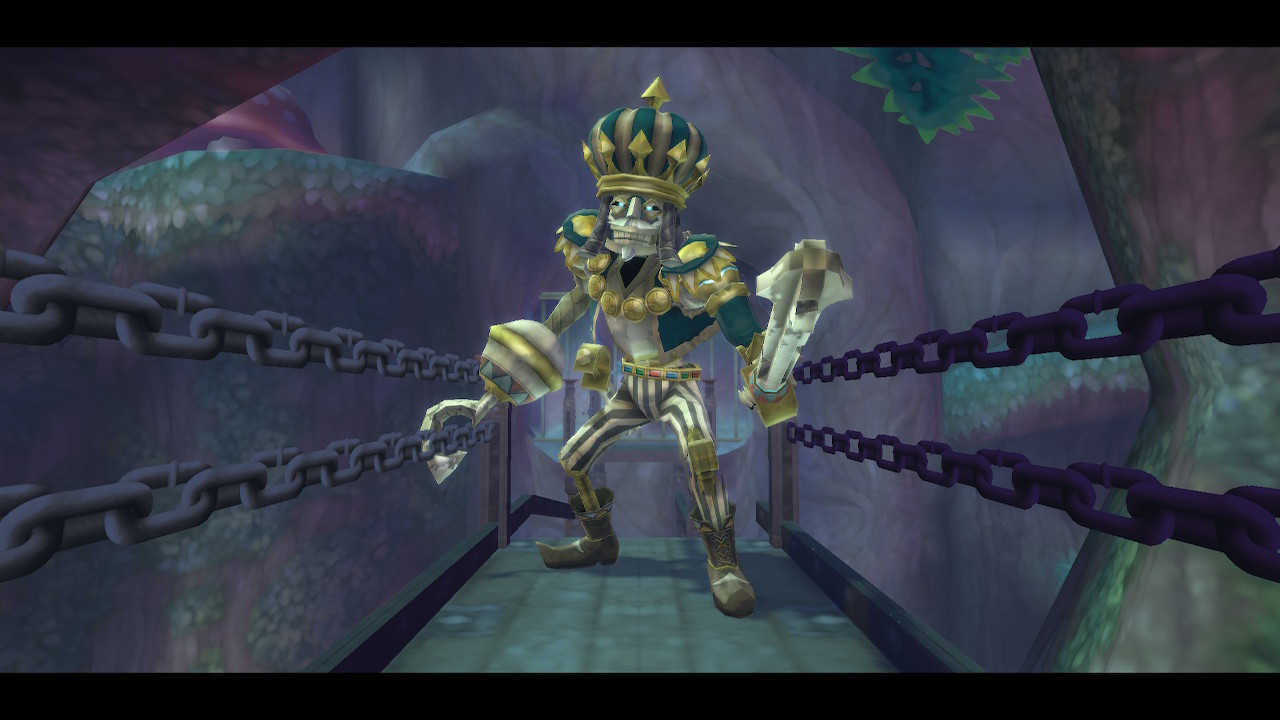
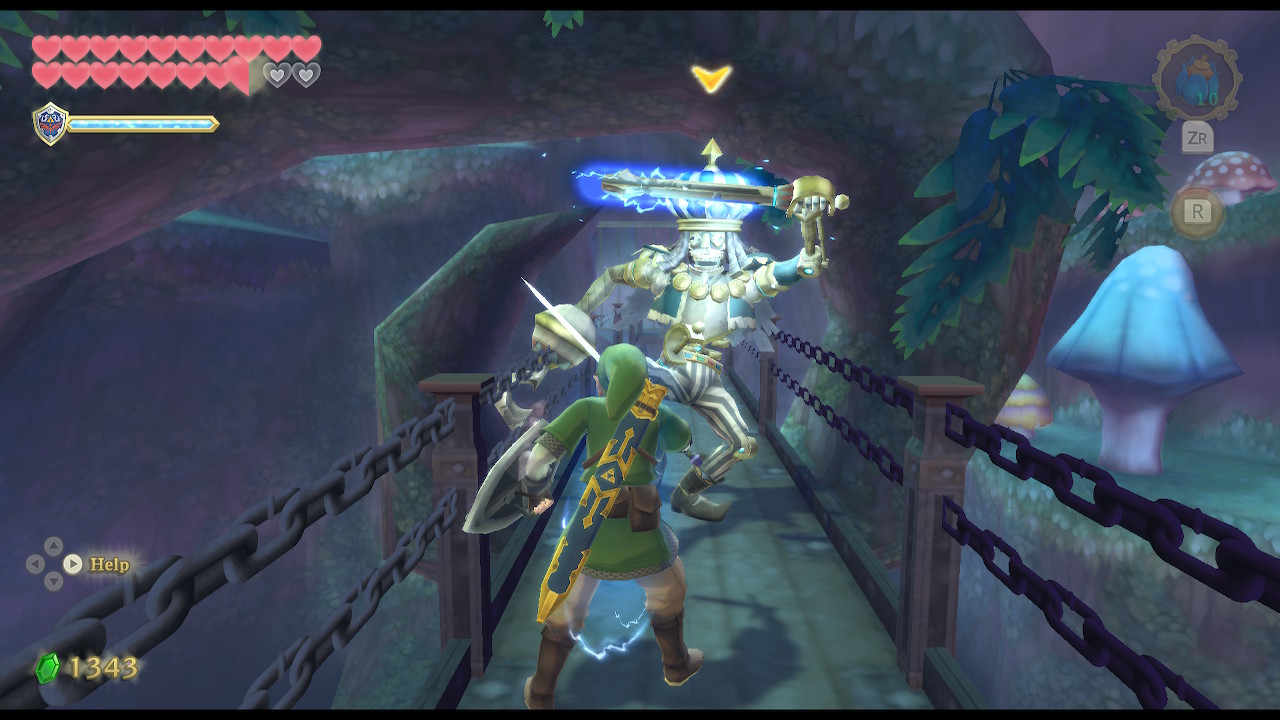
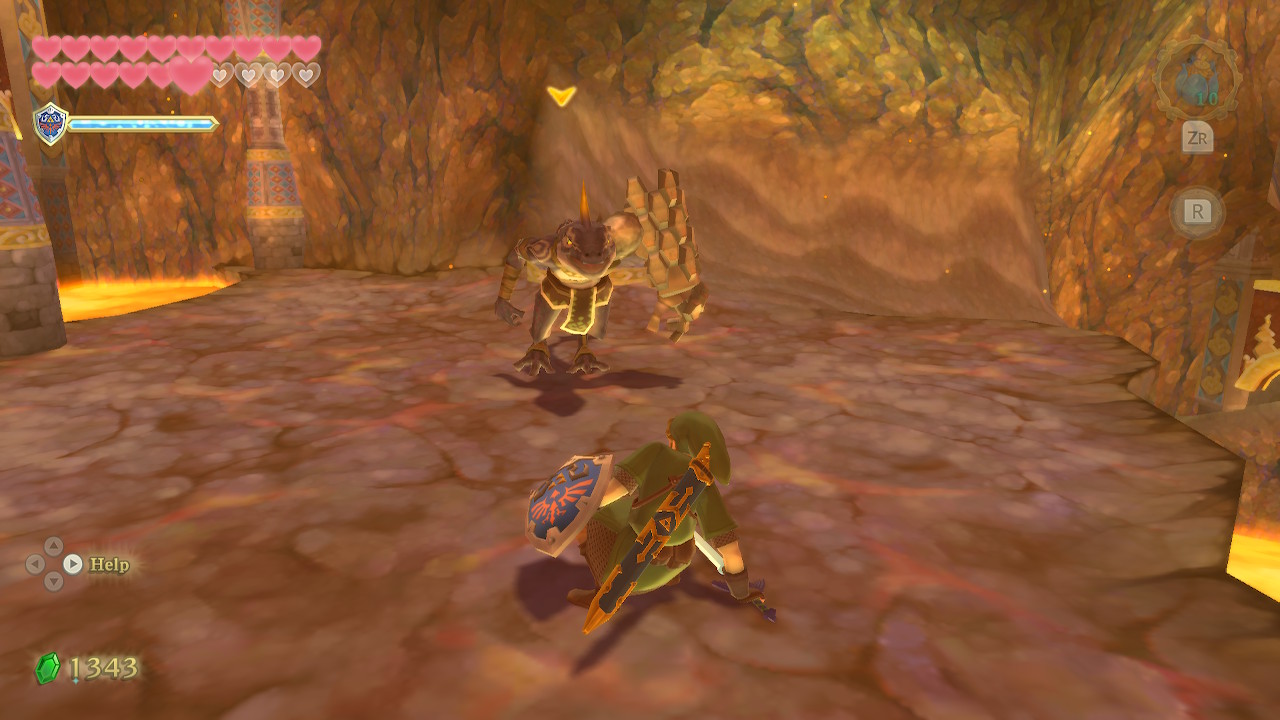
In this room, you'll face the mini-boss of the dungeon, Dreadfuse. He'll probably remind you a lot of Scervo from the Sandship. The battle works the exact same. The main difference is that Dreadfuse's weapons will sometimes be electrically charged. Just keep slashing at him to push him back across three cycles of the fight. Try to avoid clanking with his weapons, but if you do just backflip to safety as he will counter-attack.
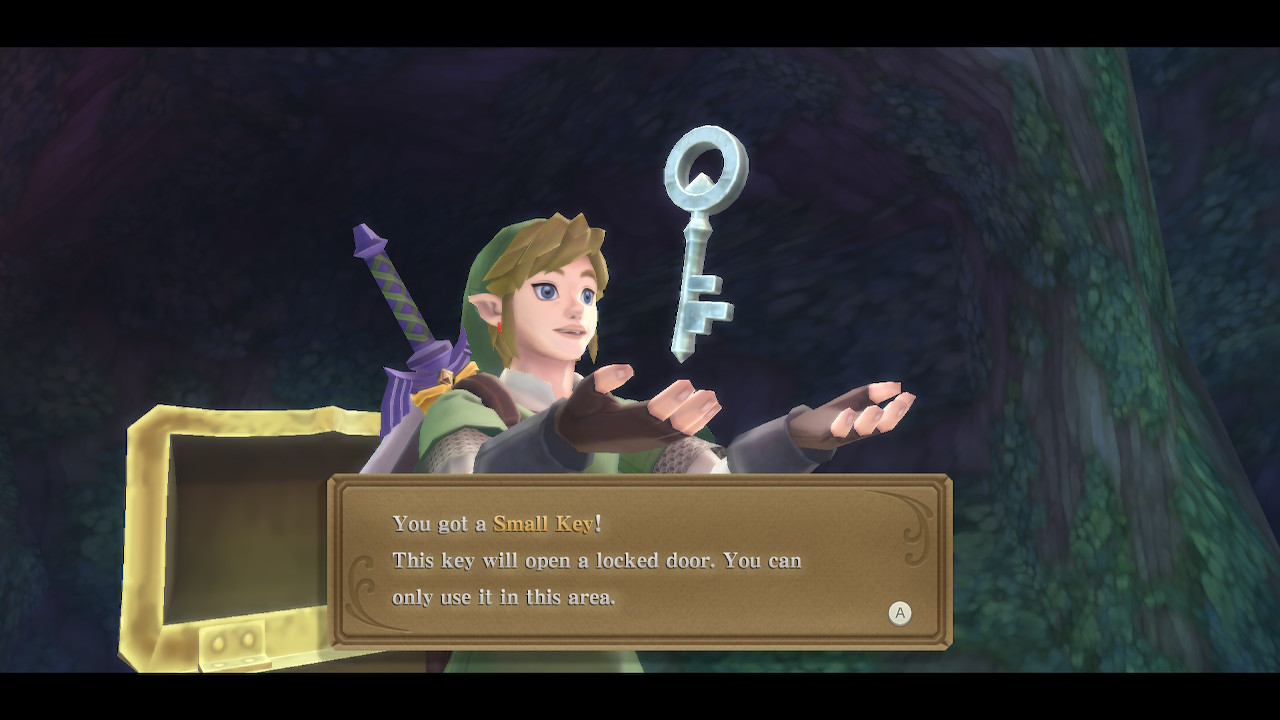
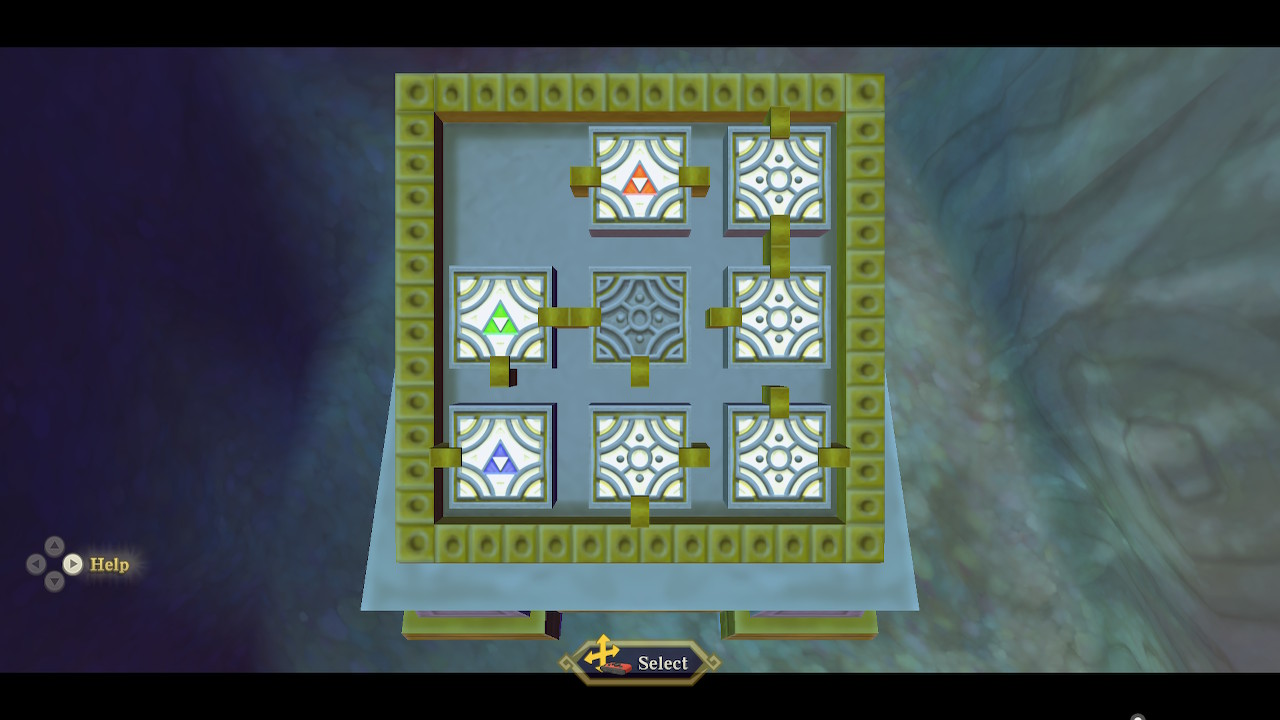
After the battle is finished, clawshot across the gap and open the nearby treasure chest to get a Small Key. Use the door here to find another control panel. You'll notice that the only rooms left to explore are the three marked with the Triforce. The goal now is to put the green Triforce room in the middle-left position. The easiest way to do this is to simply move all the pieces counter-clockwise twice. Now exit this room to the left.
Triforce of Courage
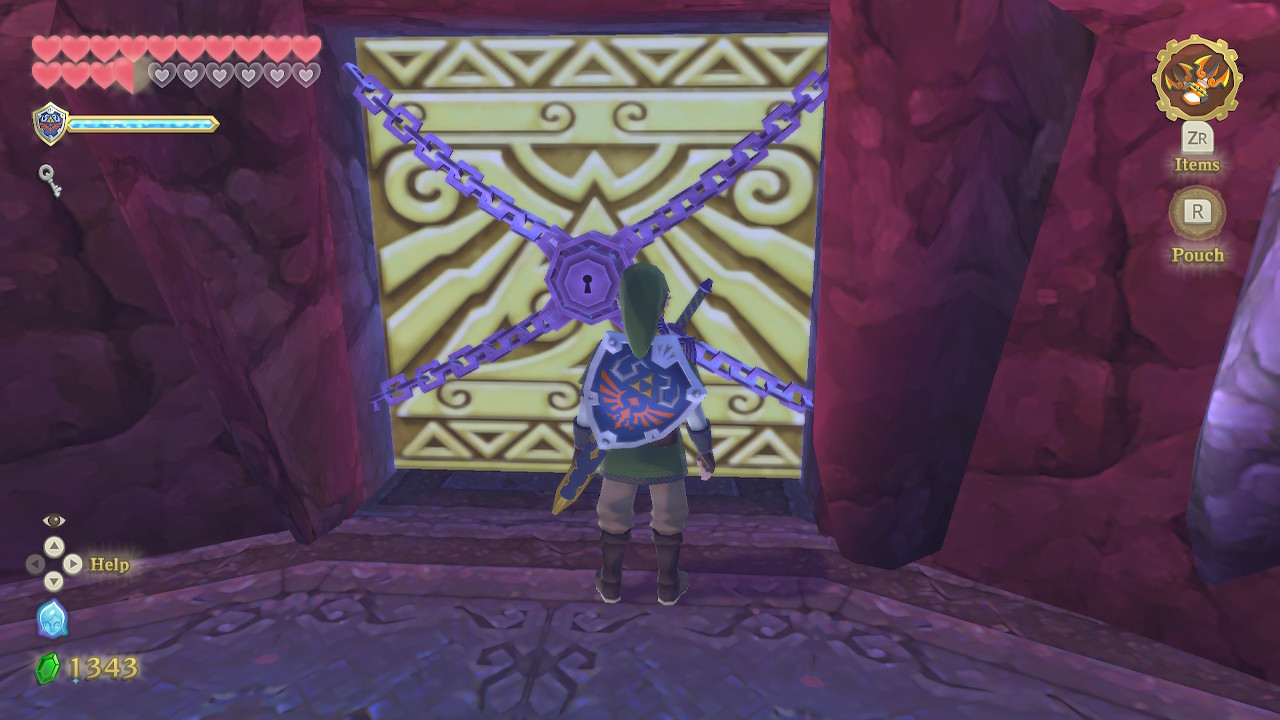
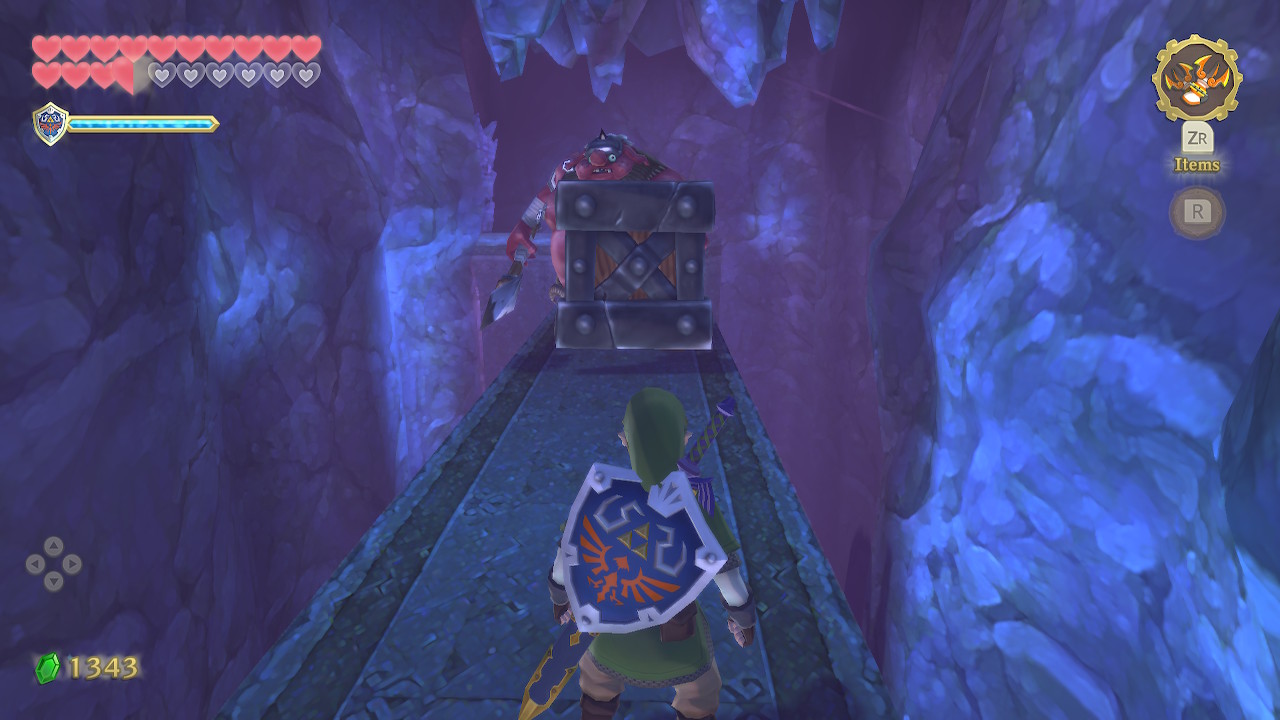
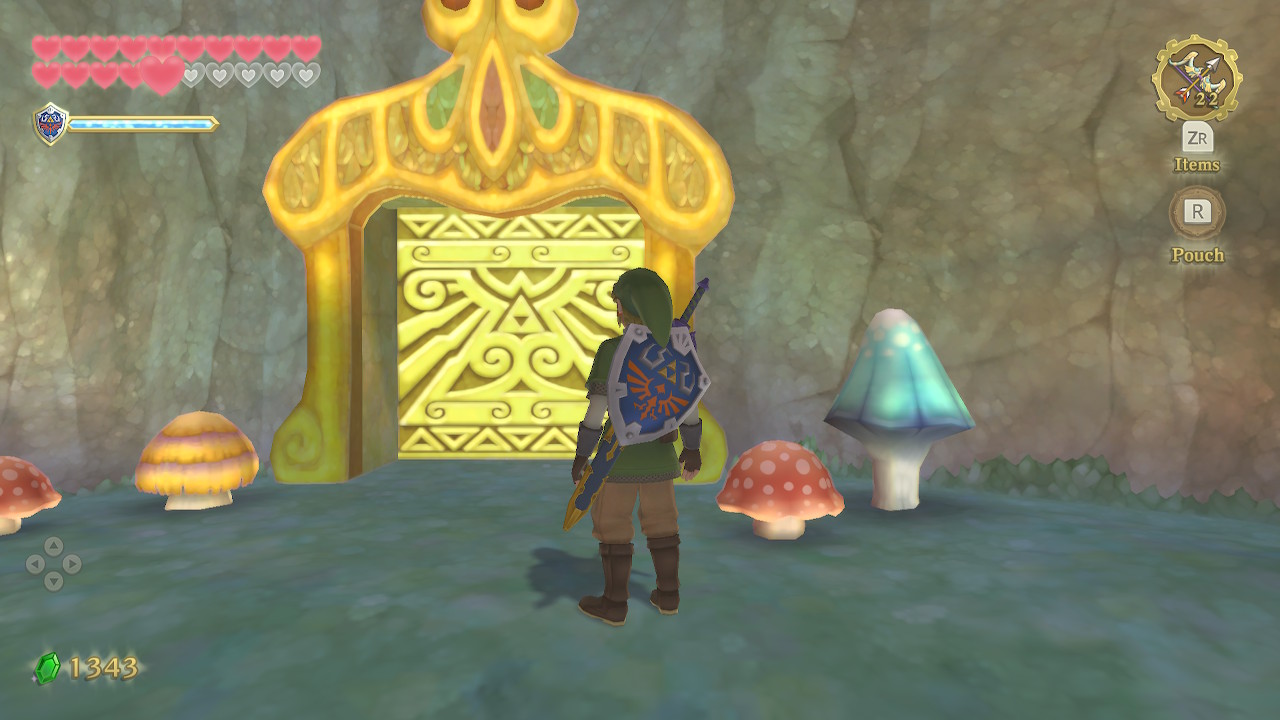
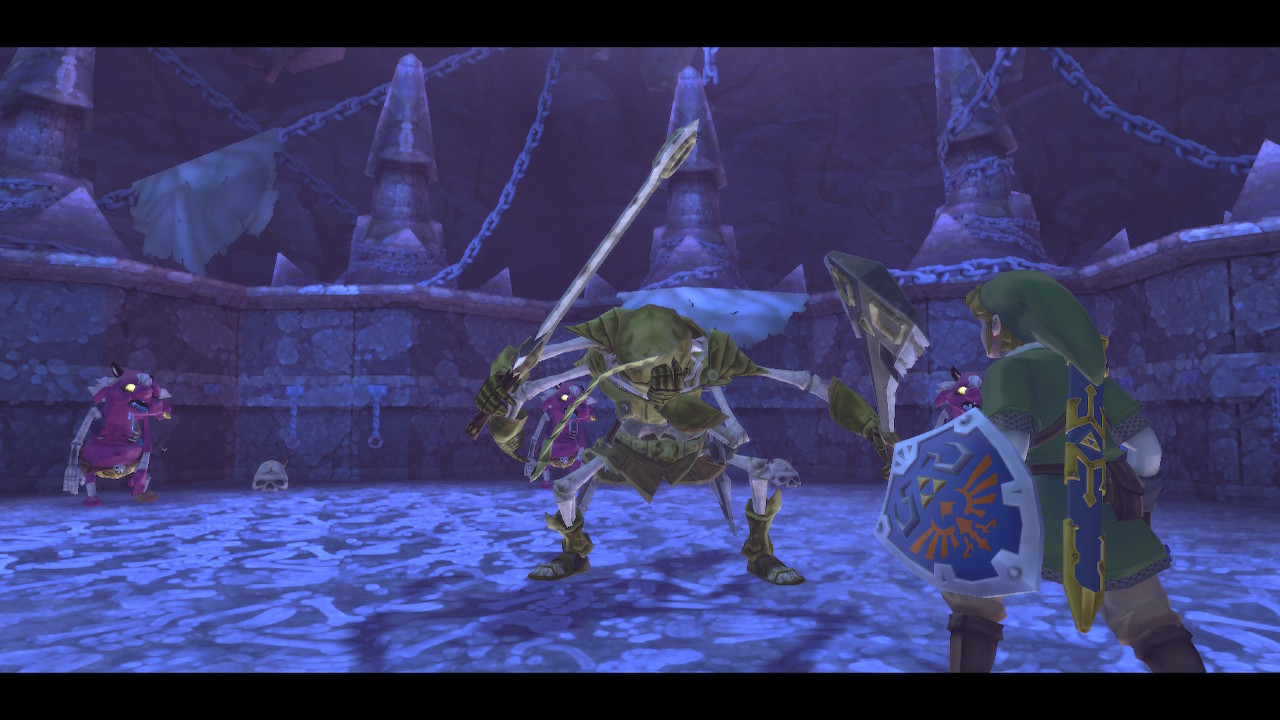
Follow the pathway in this room and go through the locked door when you get to it. Immediately on the other side, you'll find a pair of Shield Moblin on a narrow platform. Remember that you can run up and hop over their shields to reach their undefended backsides. When both are defeated, continue through the next door.
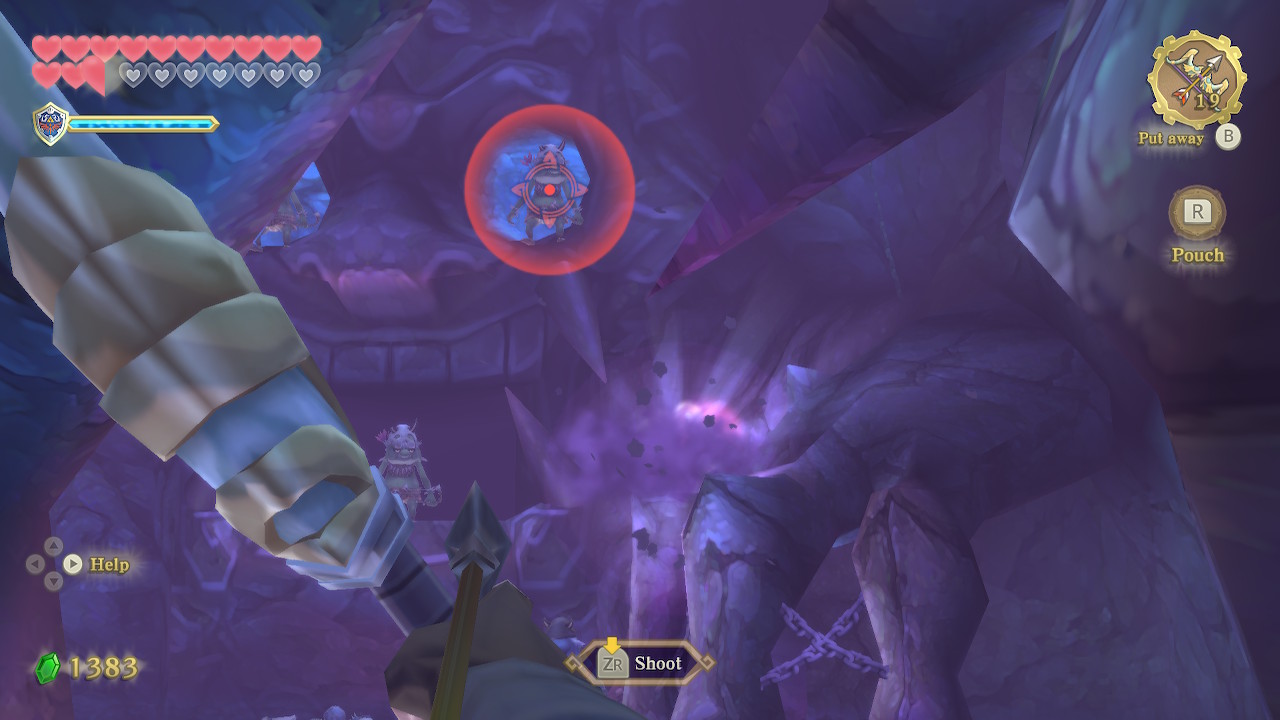
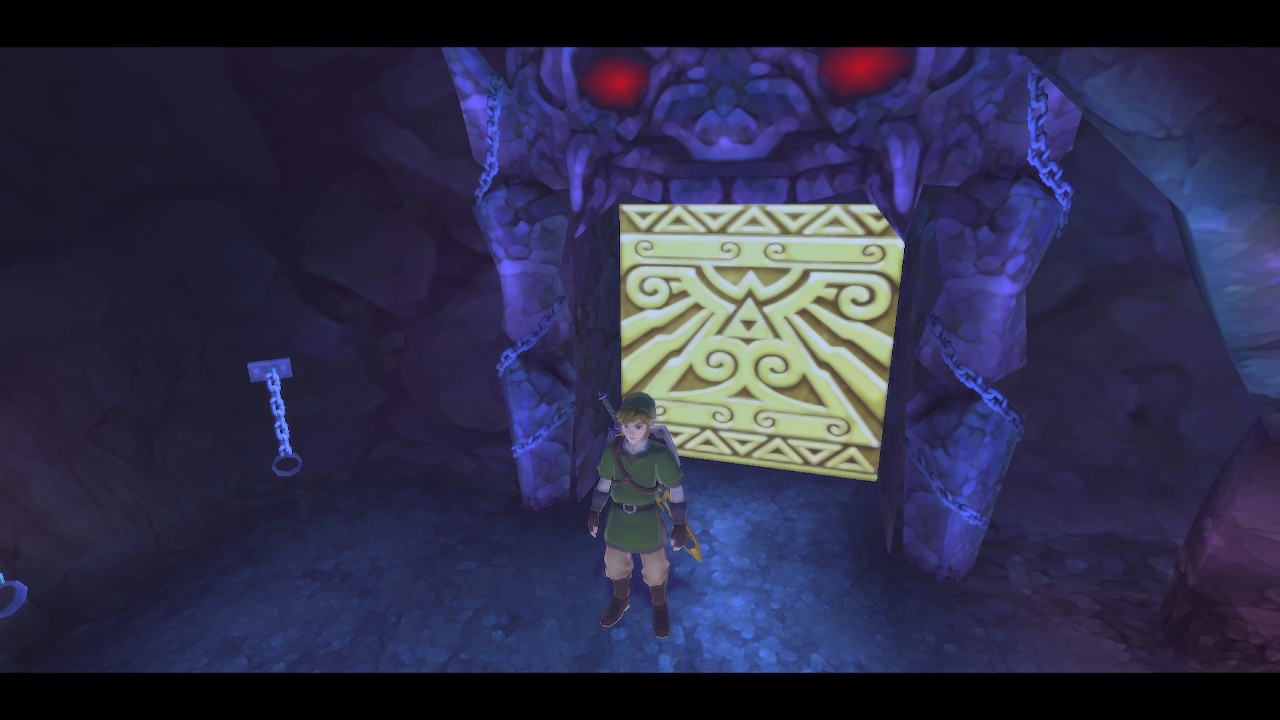
In this next room, you'll immediately be bombarded by several Boboklin archers. Use your bow to take them all out quickly. There are also many other Bokoblins in this room, as well as two Stalfos. Defeat them all to open the next door. There are some hearts in the eyes of the Skull that you can collect with your Beetle if you'd like first.
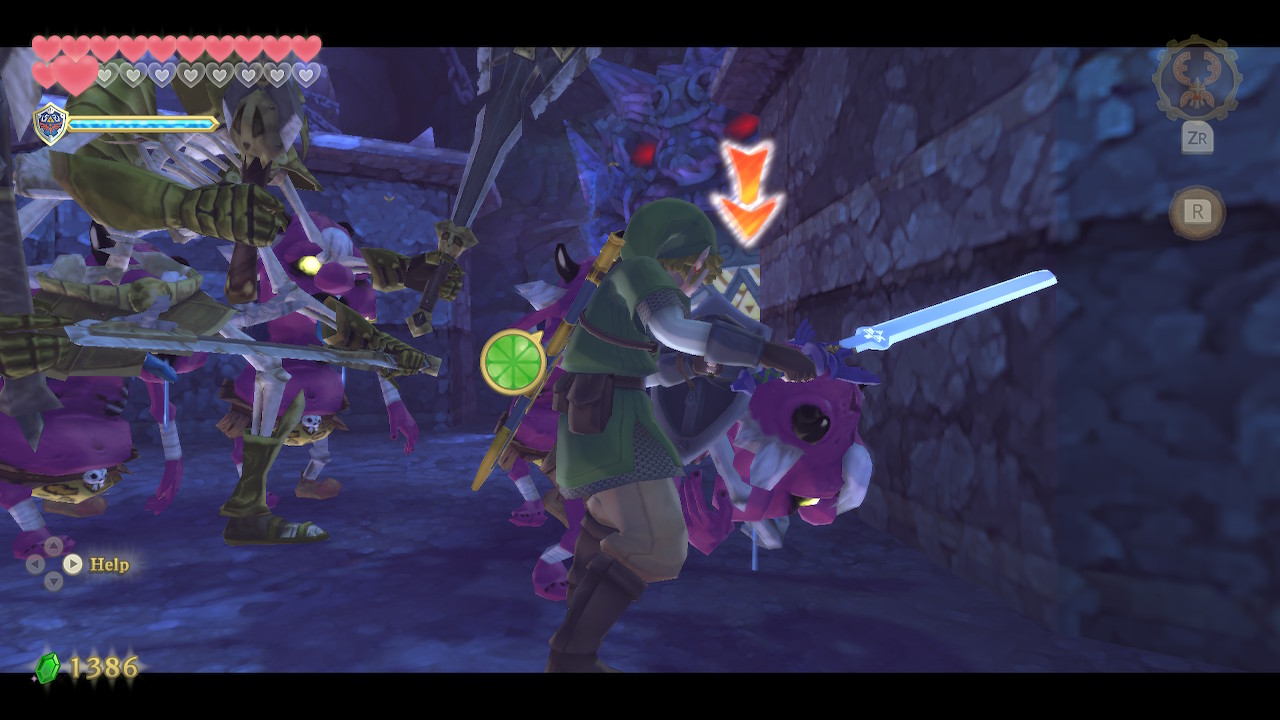
In the next room, you'll need to battle a Stalmaster. There are also many Cursed Bokoblin that will emerge throughout the entire fight. You'll be able to take most of them out naturally while fighting the Stalmaster, but if they begin to build up and get in the way take some time to get rid of them. Remember you can only attack the Stalmaster from one direction at a time and if he blocks your attack, backflip quickly before he counters.
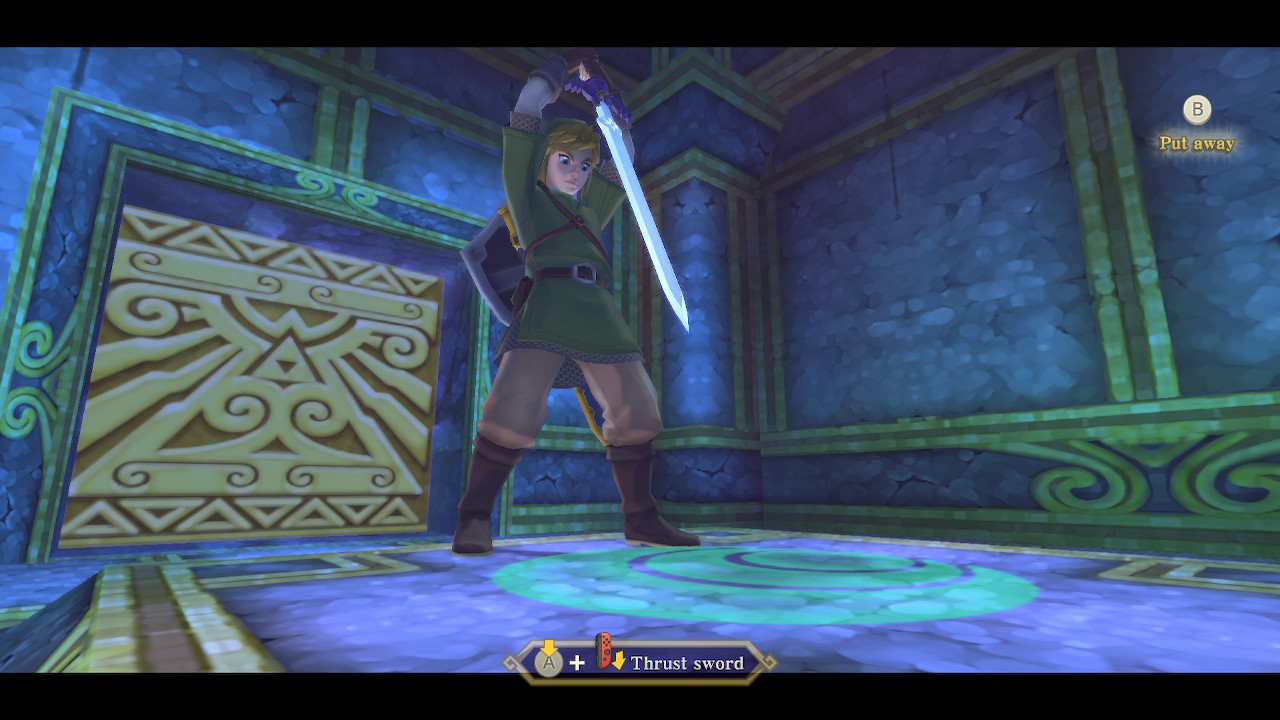
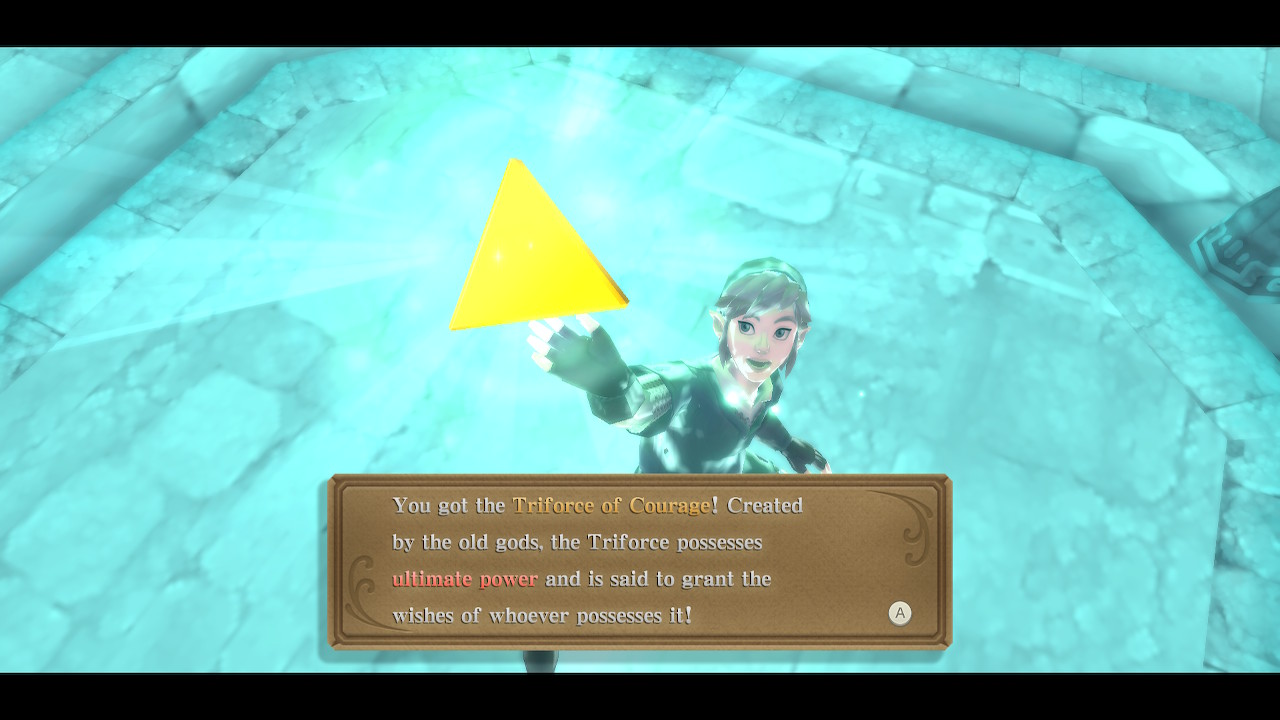
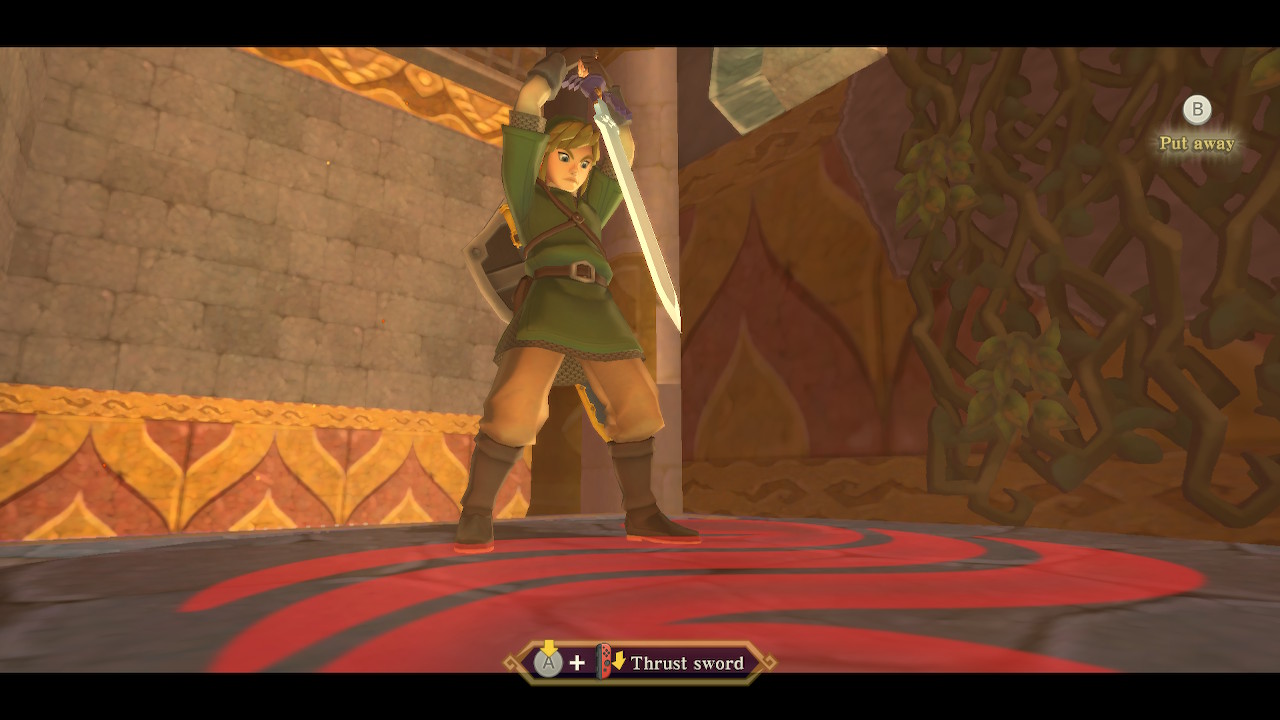
Head into the next room and thrust your sword into the symbol of Farore here. This will take you to another room where you can simply pick up the Triforce of Courage. Afterward, pull down the lever and exit this room to the east.
Triforce of Power
Use the control panel here and rotate all the room pieces counterclockwise until the red triforce room is to the left of the center room. Then exit this room to the west once again.
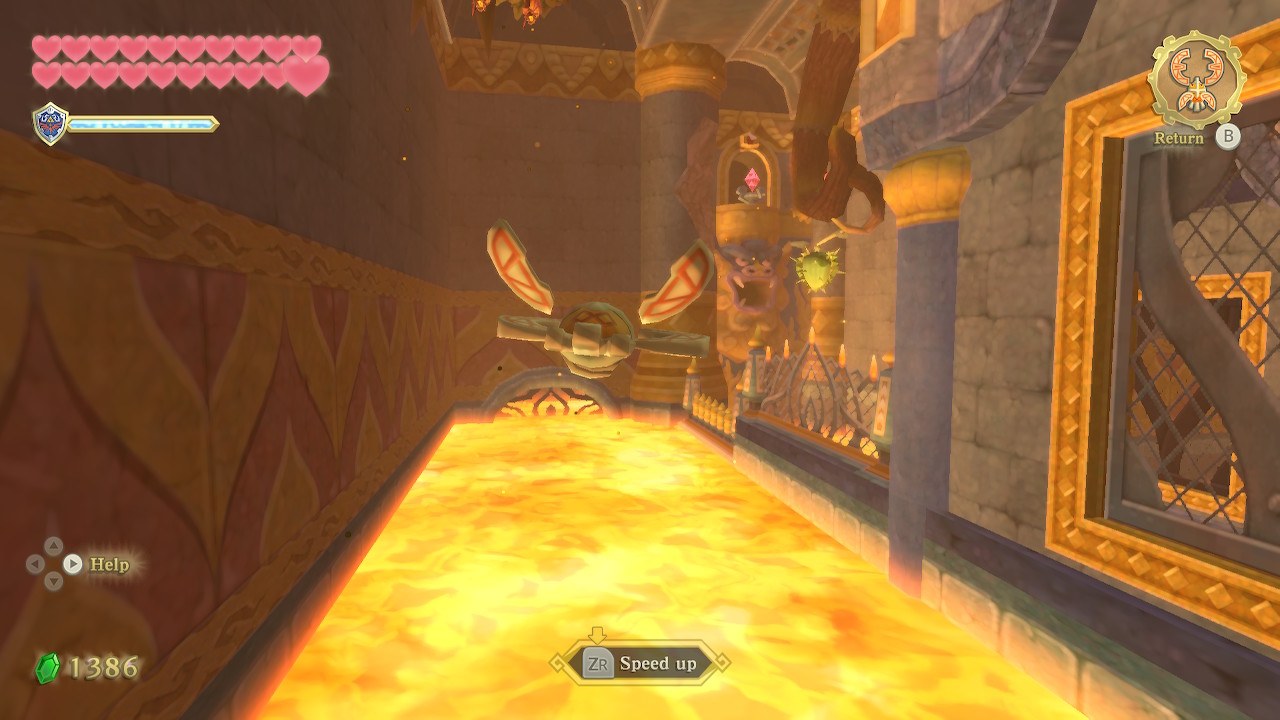
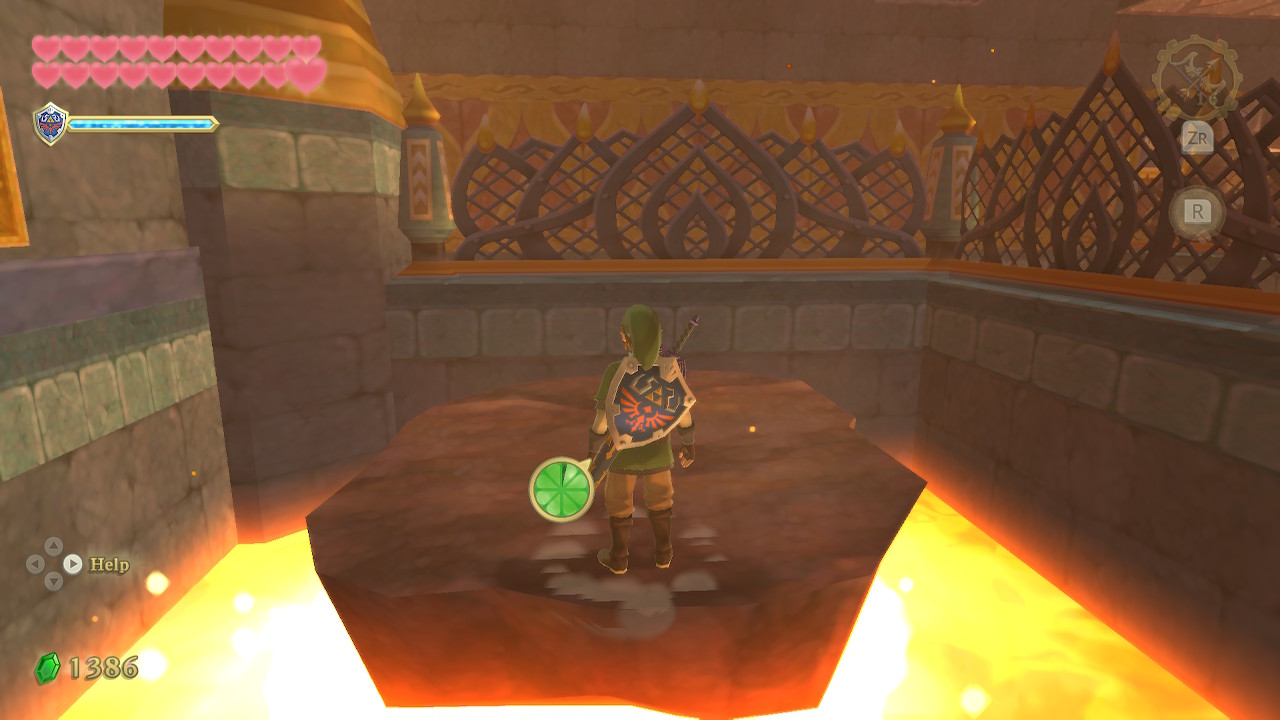
Head to the left onto the grate above the lava in this room. Use your beetle to follow the stream of lava and you'll find a crystal switch to the right you should hit, which will cause more lava to flow in an adjacent lava stream. Then use the water bulb above you to create a platform in the lava.
Hop onto the moving platform and take out the Keese that will soon flock to you. As you reach the end of the stream, shoot the water bulb in the adjacent stream to create another platform, and quickly hop over to it. Then look towards the end of this stream and quickly shoot another crystal switch here, to stop the flow of lava in the opposite direction. You can then safely ride this platform to the end and hop off onto the solid ground.
Pull the lever here to create a shortcut. You'll basically want to repeat the same process for this next section. There is another crystal switch around the corner that you need to hit with your beetle before starting. Then, use the water bulb to create a temporary platform. Ride this to the end of the stream, then create another platform from a water bulb next to you.
Ride along this moving platform and then hop onto the platform that is being shot into the air by the lava. Once you are safely on here, use your beetle to hit the same crystal switch we recently hit again. There is also a silver rupee you can collect with the beetle here if you want.

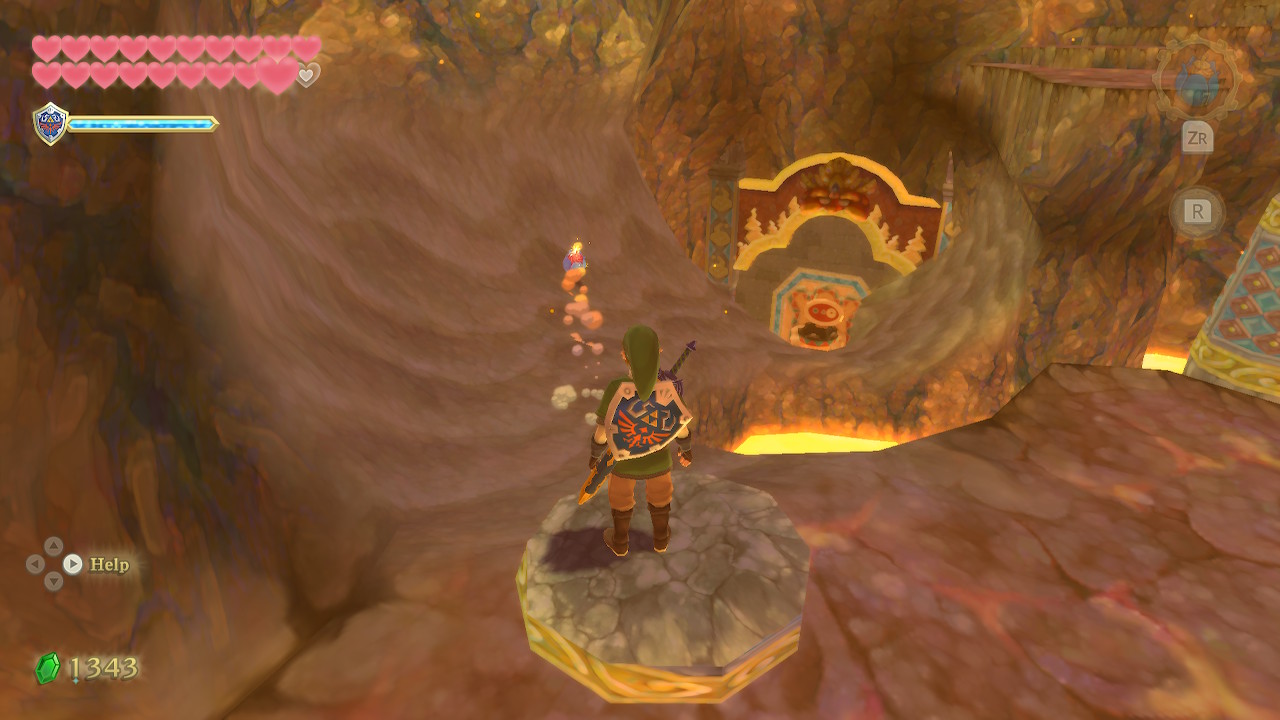
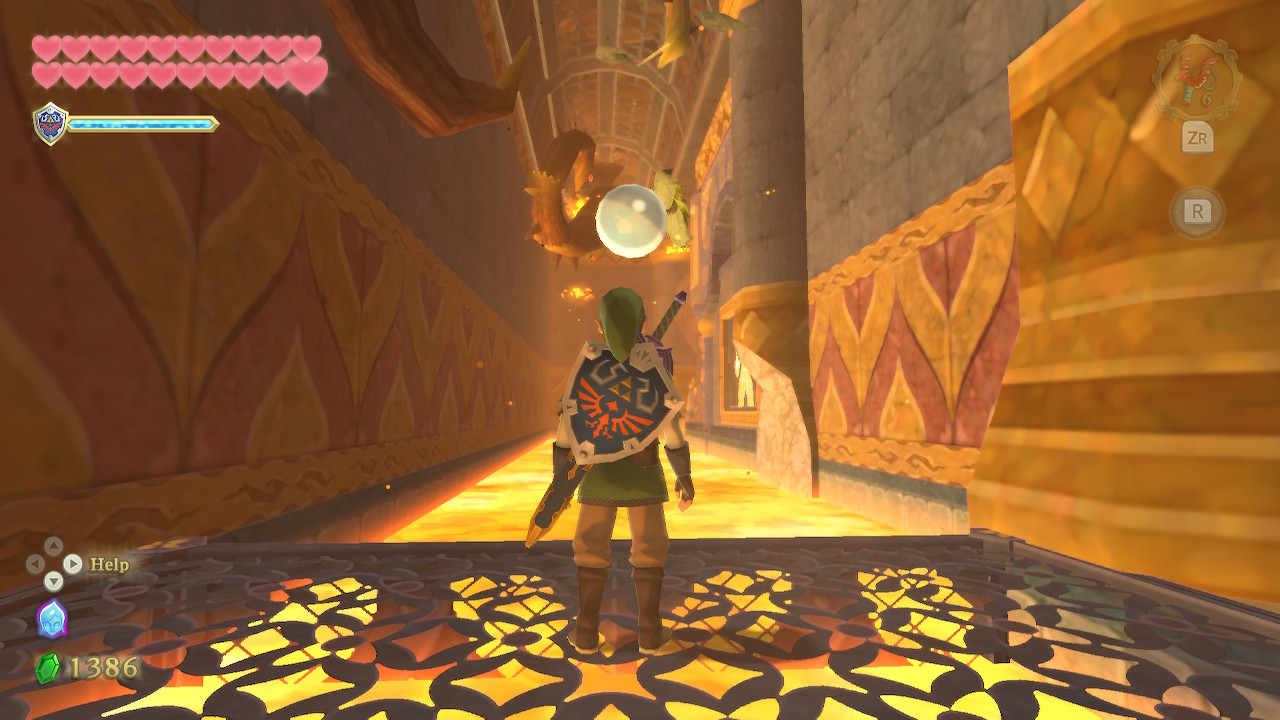
Now that the lava flow direction changed again, create another platform with the nearby water bulb. Hop over the gate while you are raised up and land on it. It will move you along and go under a grate while you'll need to go on top of it. Kill the two Lava Spume while you are here. When you reach the end of this lava flow, use your clawshot on the target to get to the next platform.
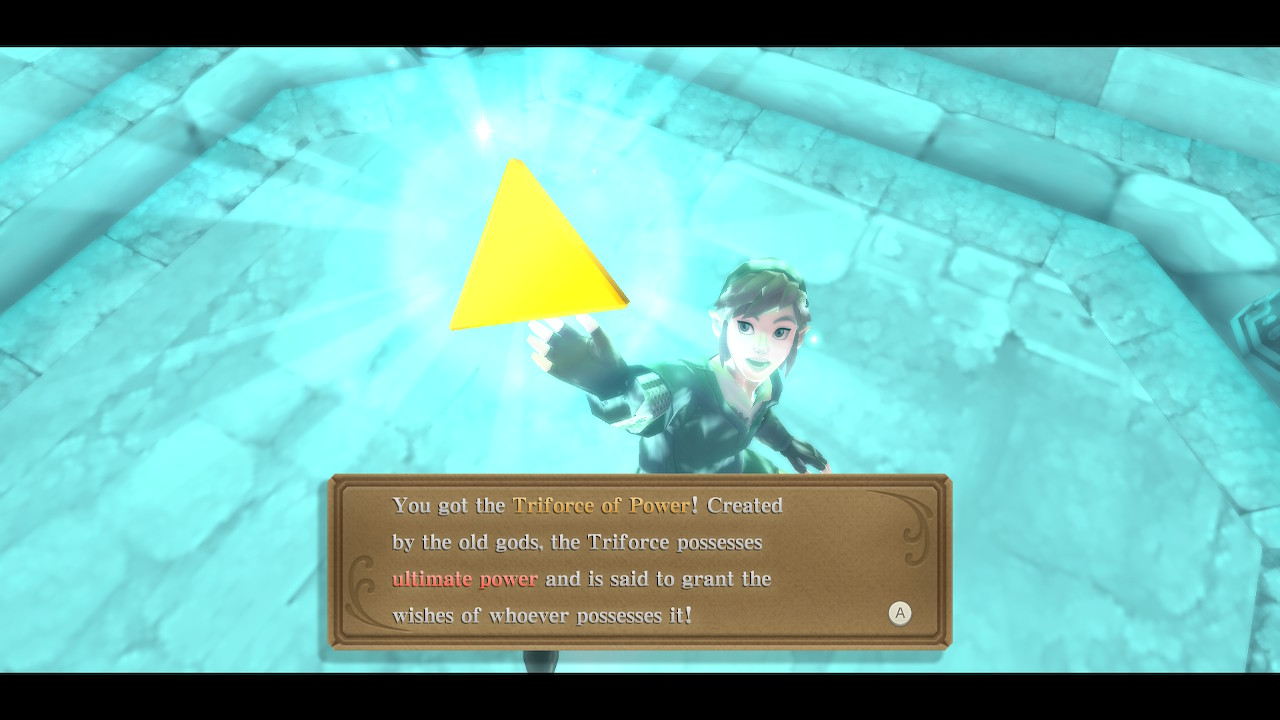
Here you can strike your sword into the ground in the symbol of Eldin. This will take you to another room where you can pick up the Triforce of Power. Use the nearby lever to create a shortcut and then crawl up the nearby vines. There is an upper platform here that lets you cut across the room and you can connect it to the beginning of the room by pulling the lever. Hop down and exit the room to the east.
Triforce of Wisdom
Use the control panel in this room and rotate all the pieces counter-clockwise until the room with the top and right exits is to the left of the center. Exit this room to the west. Now use the control panel to the right in this room. The only thing that matters here is that the blue triforce room is placed in the center, to the right of the room we're in. Rotate the pieces until that happens. Then exit this room to the east.
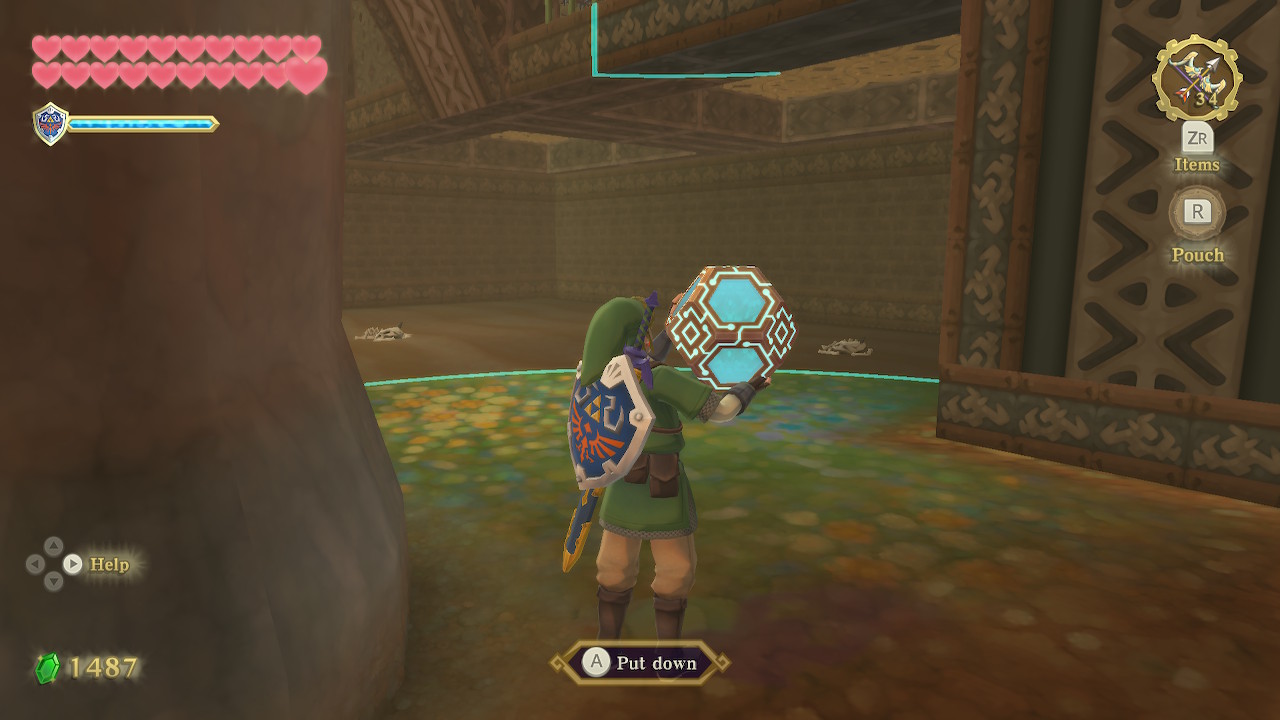
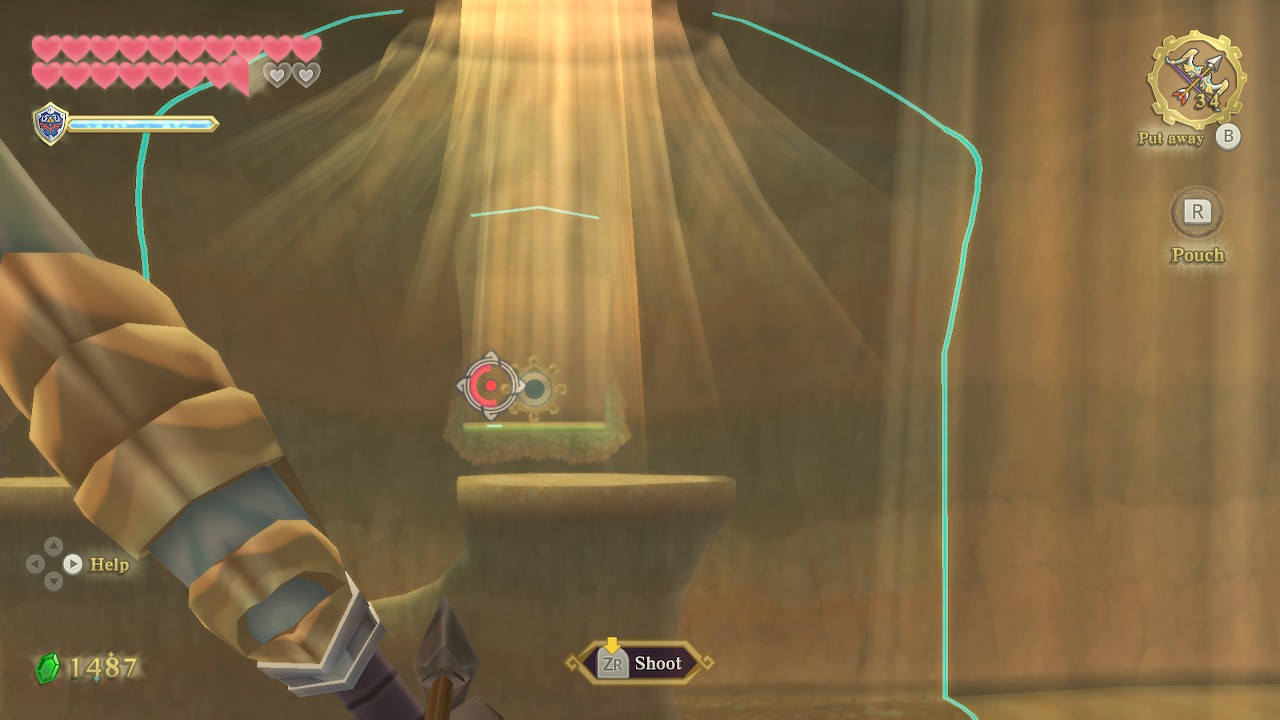
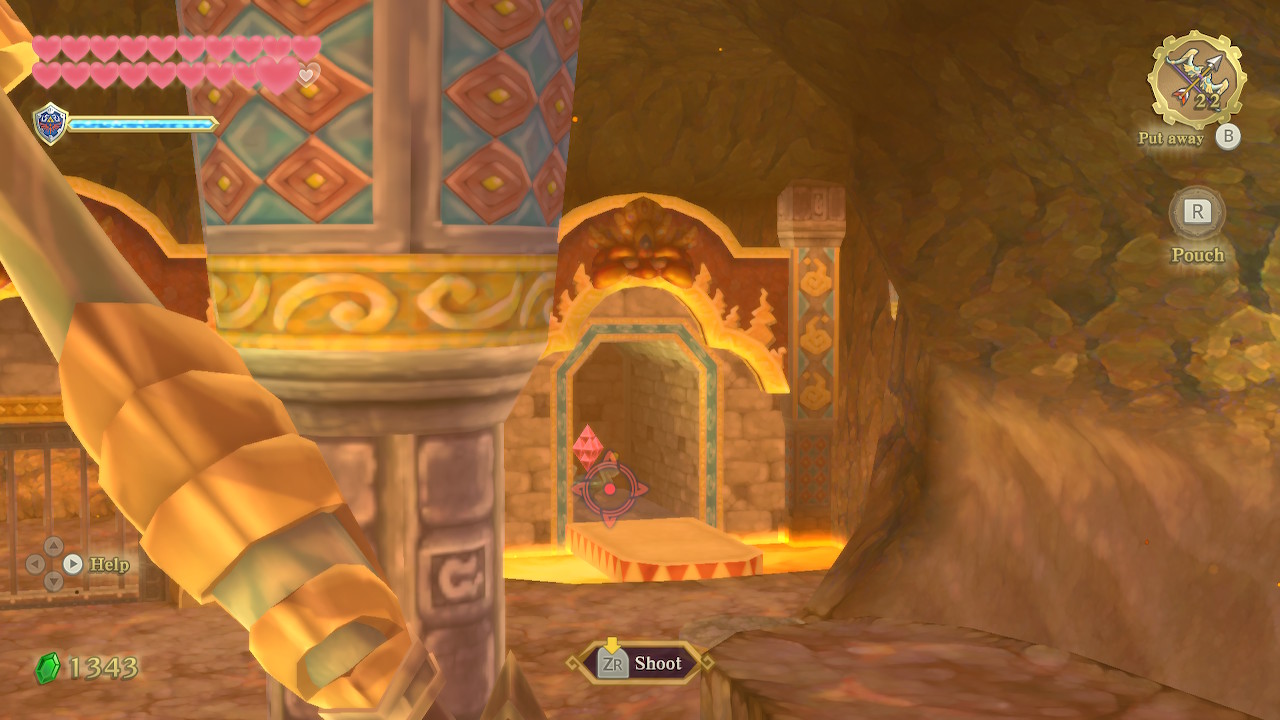
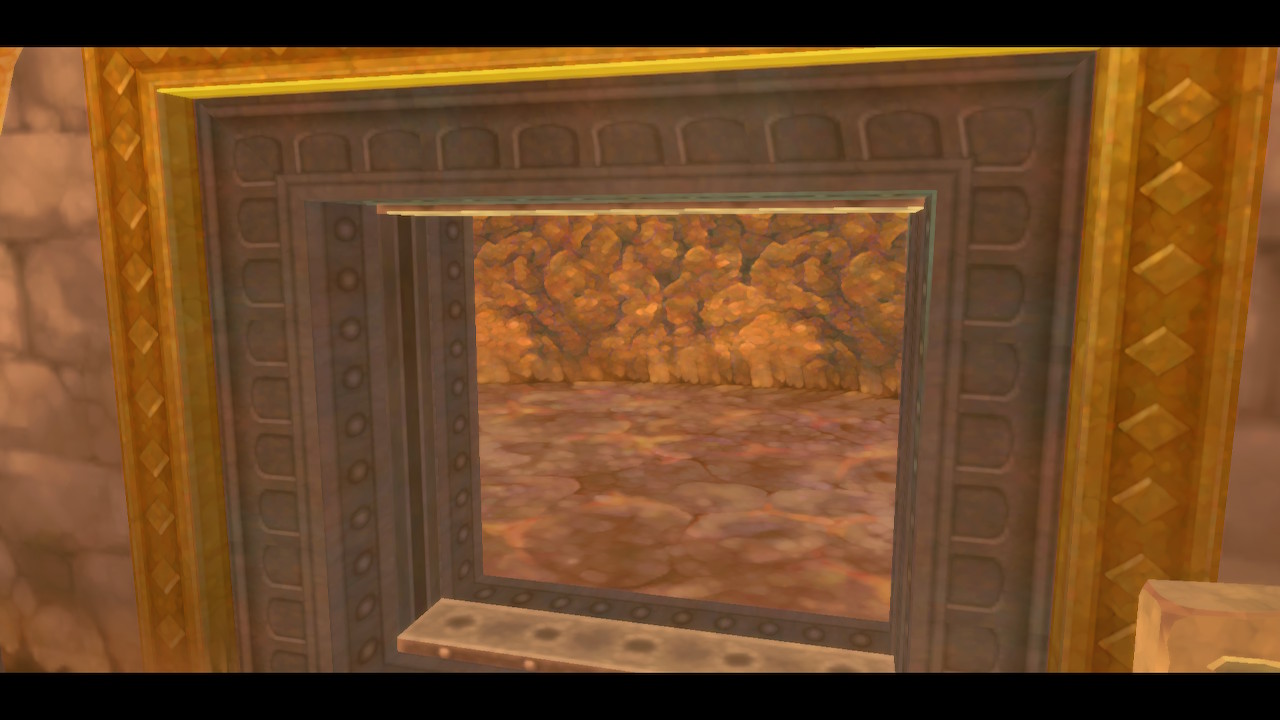
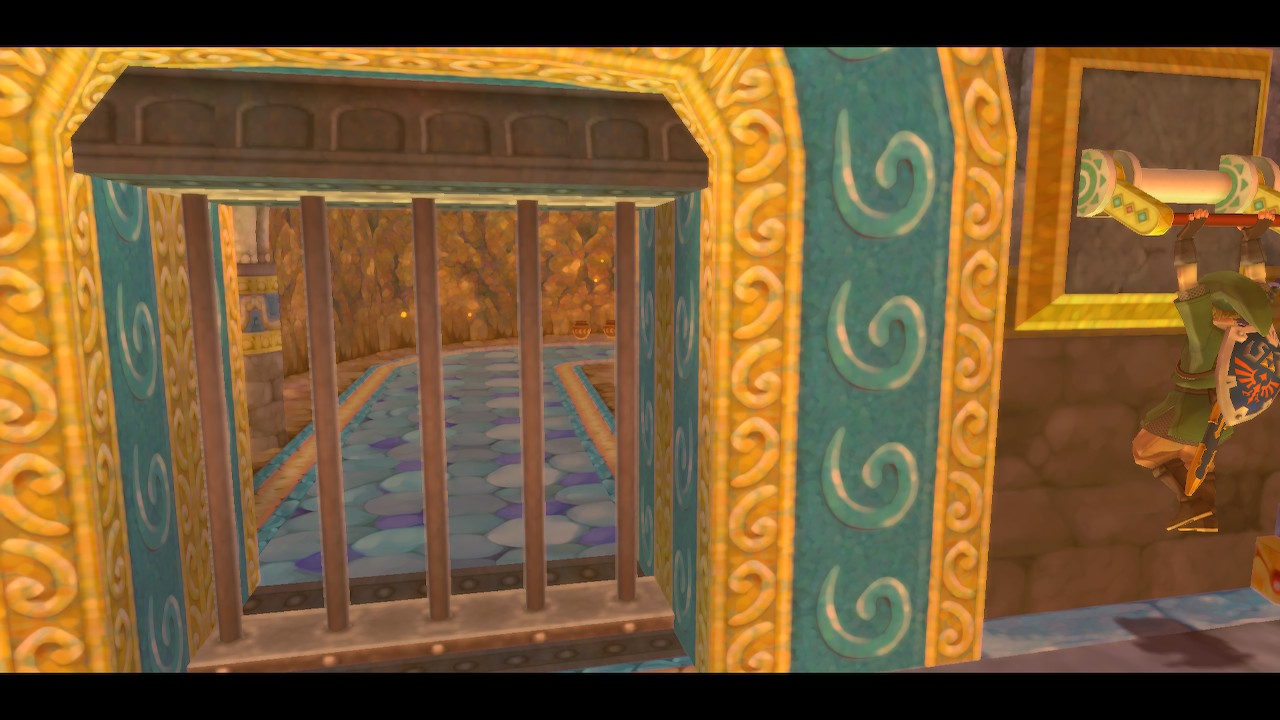
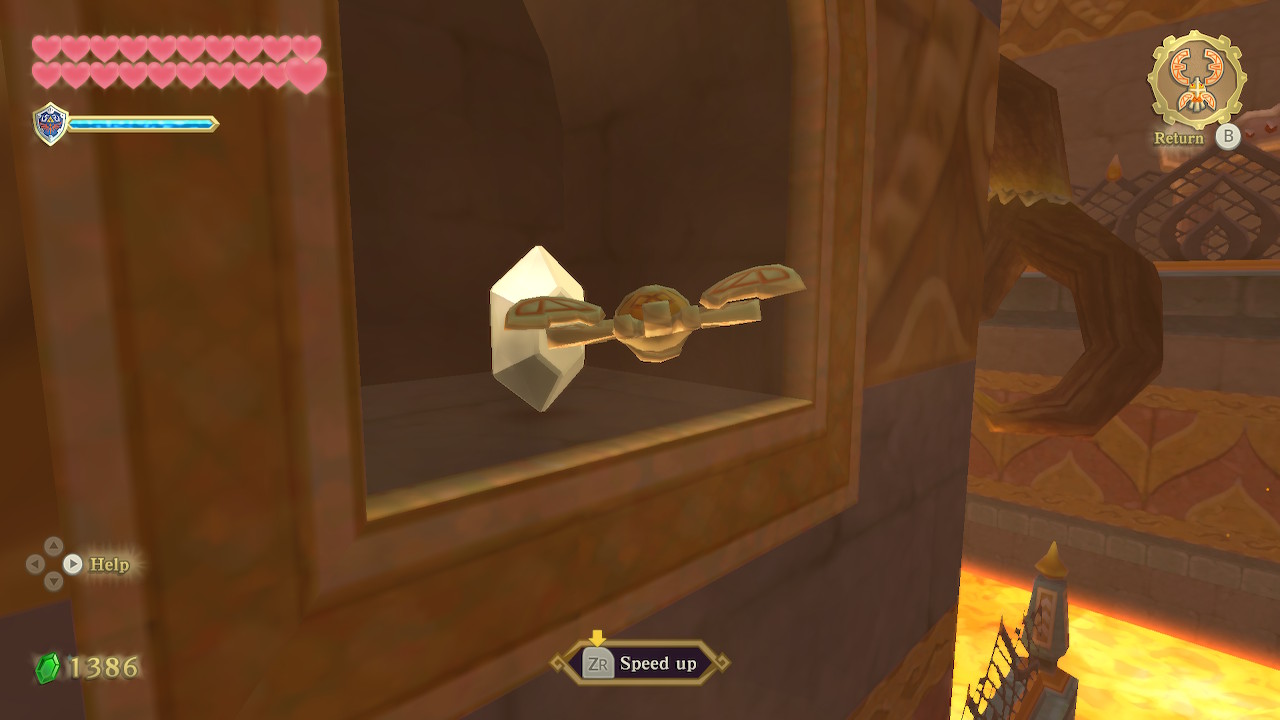
Defeat the Electro Spume in this room to get them out of the way. Then head to the right of the room and pick up the Timeshift Orb. Place it along the northern wall of this room, where there is a rectangle on the ground. Run up the slope on the south side of the room and shoot an arrow through this now open window and hit the eye switch. This opens the gate to the left of the window.
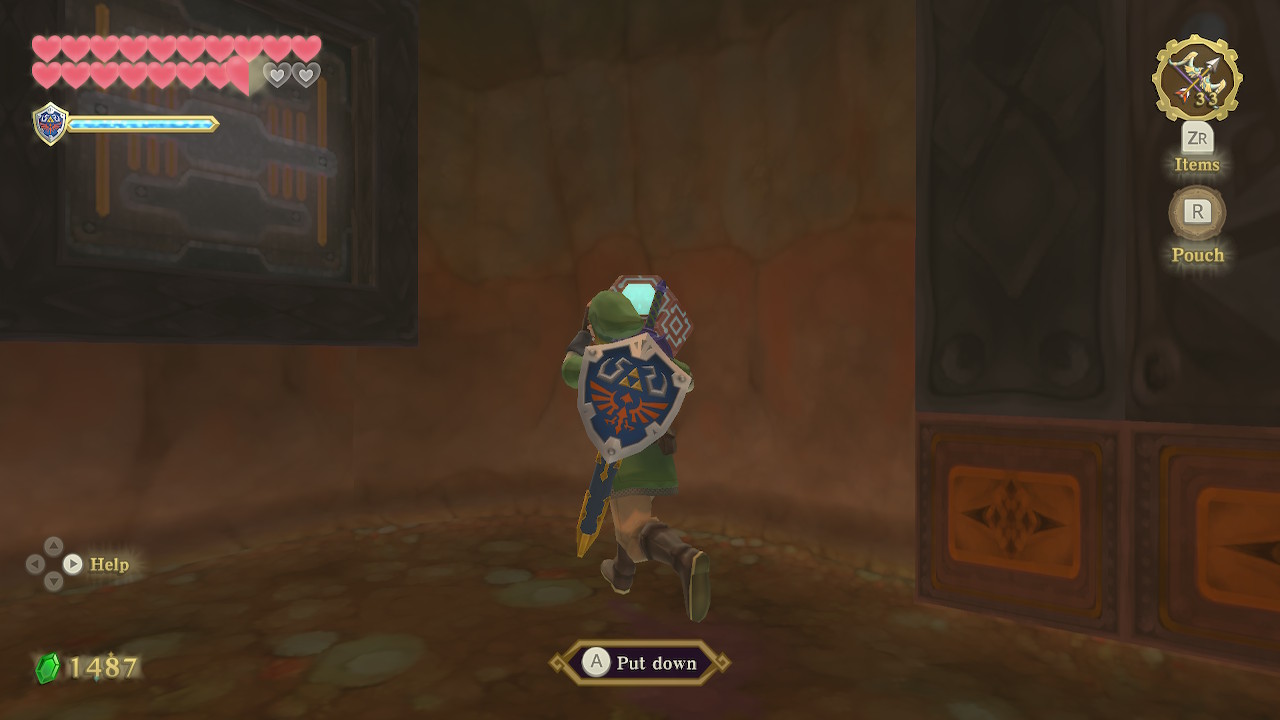
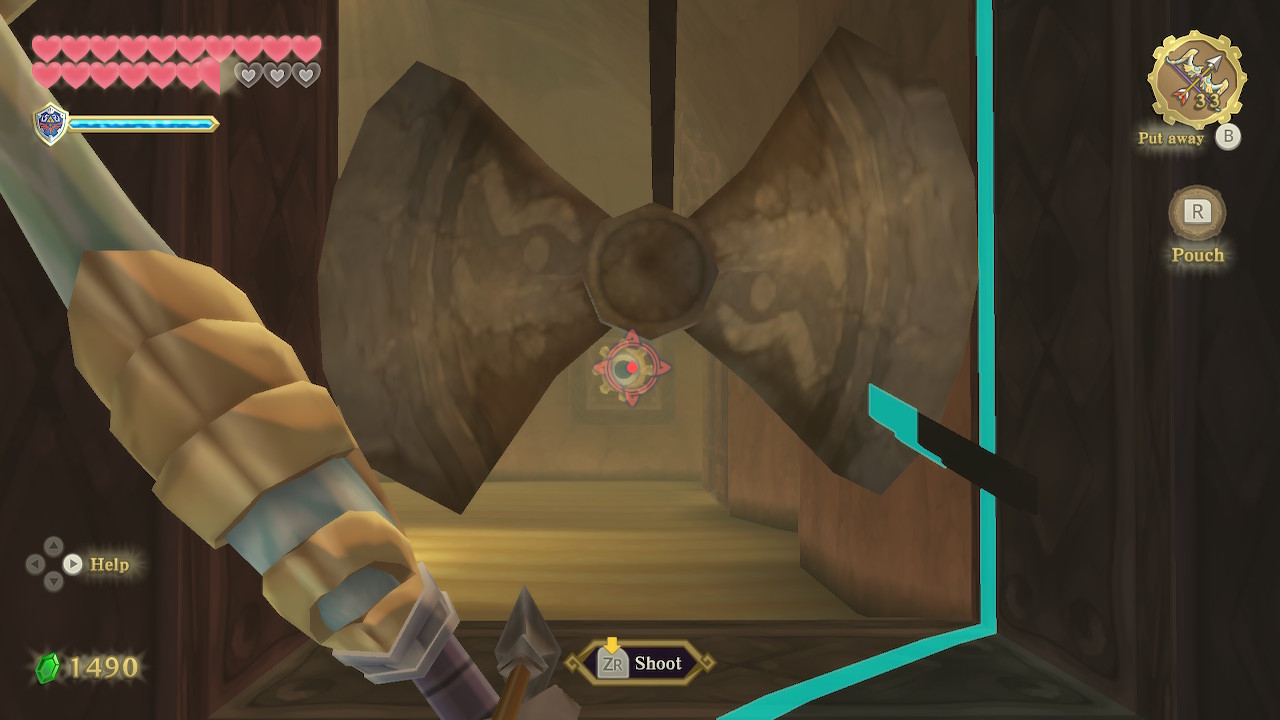
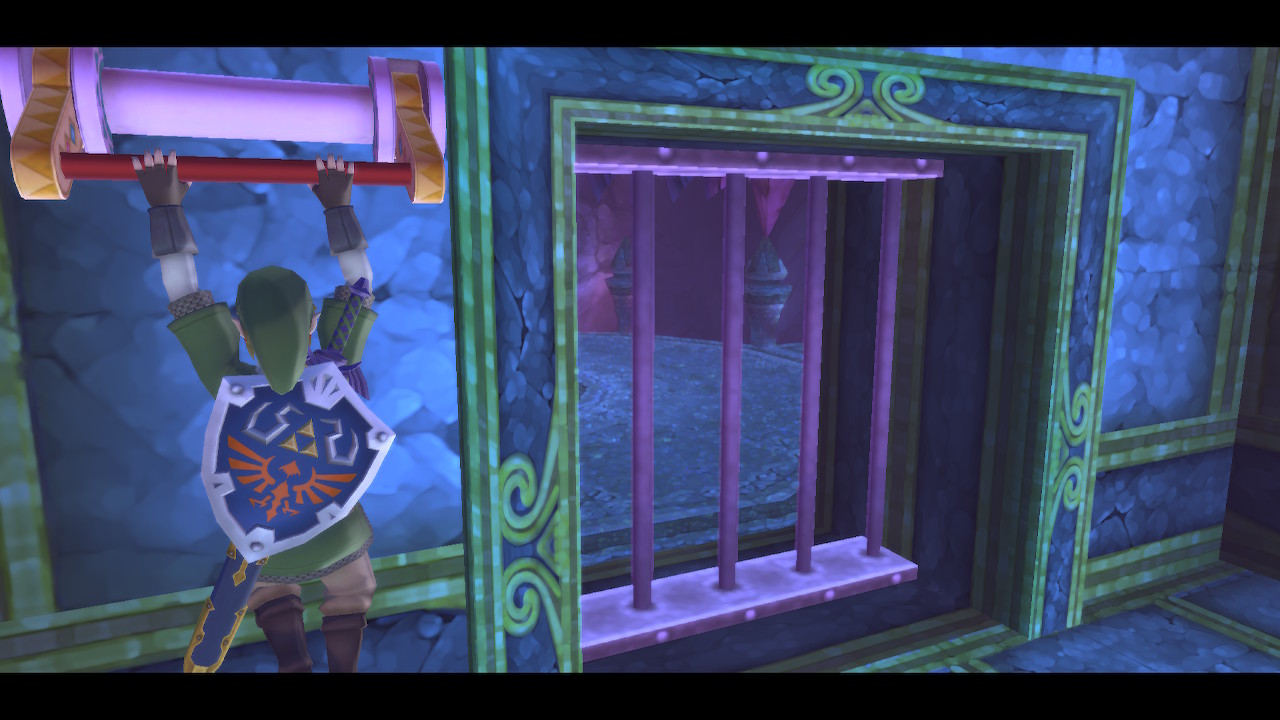
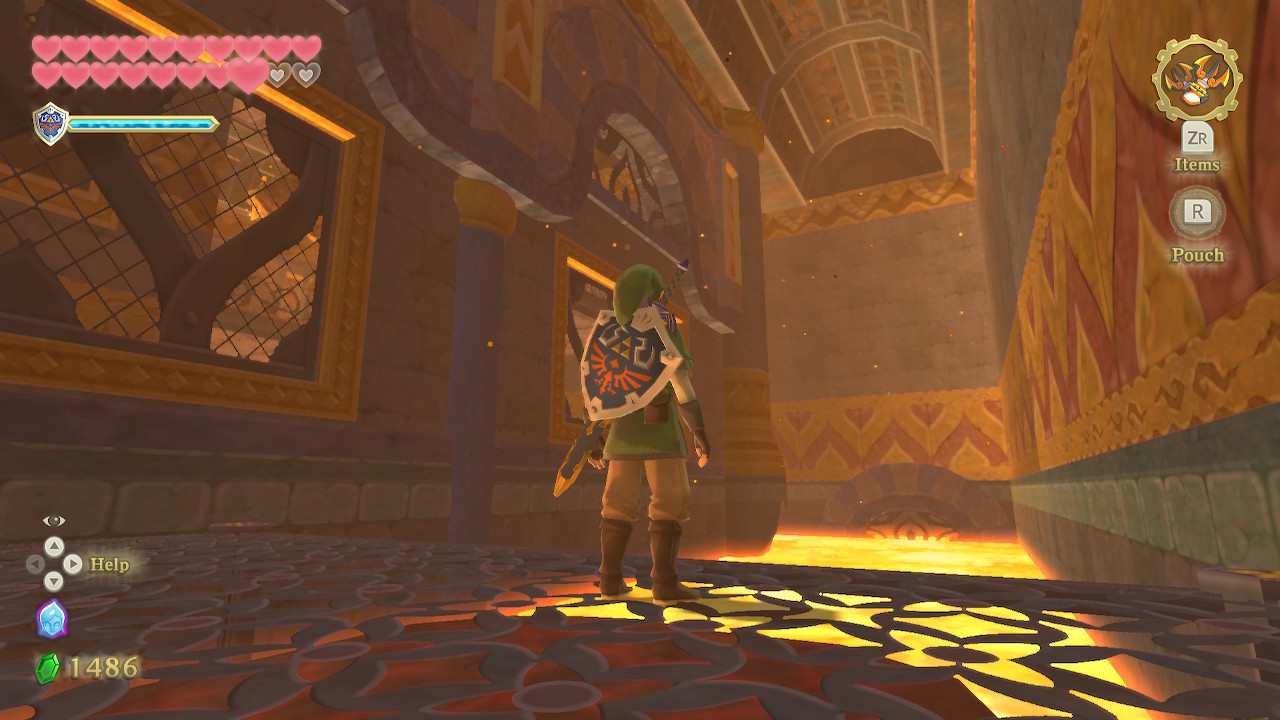
Enter through the opened gate with the Timeshift Orb. There will be some Deku Babas in this hallway you'll need to take out. Place the orb in the corner of this room, in such a way that the pillars sink into the ground but the fan doesn't start to spin. Then stand on the floor switch and aim your bow through the gap in the fan blades, and shoot the eye switch.
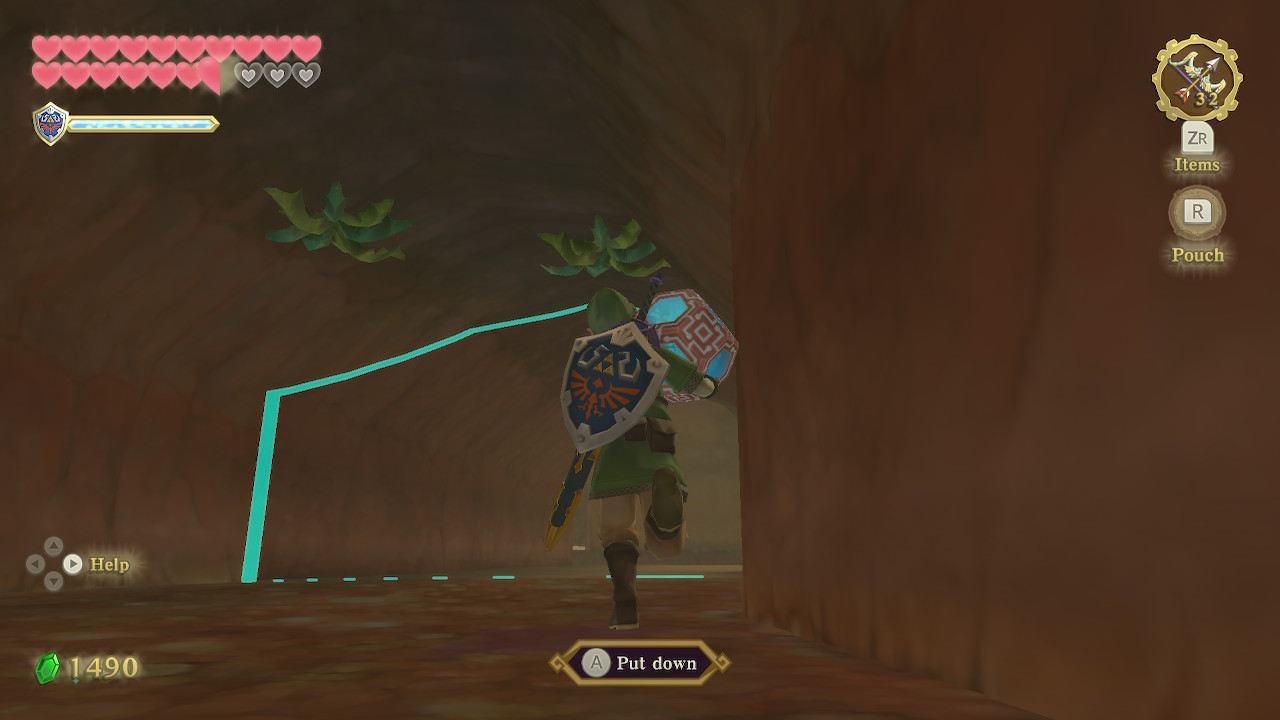
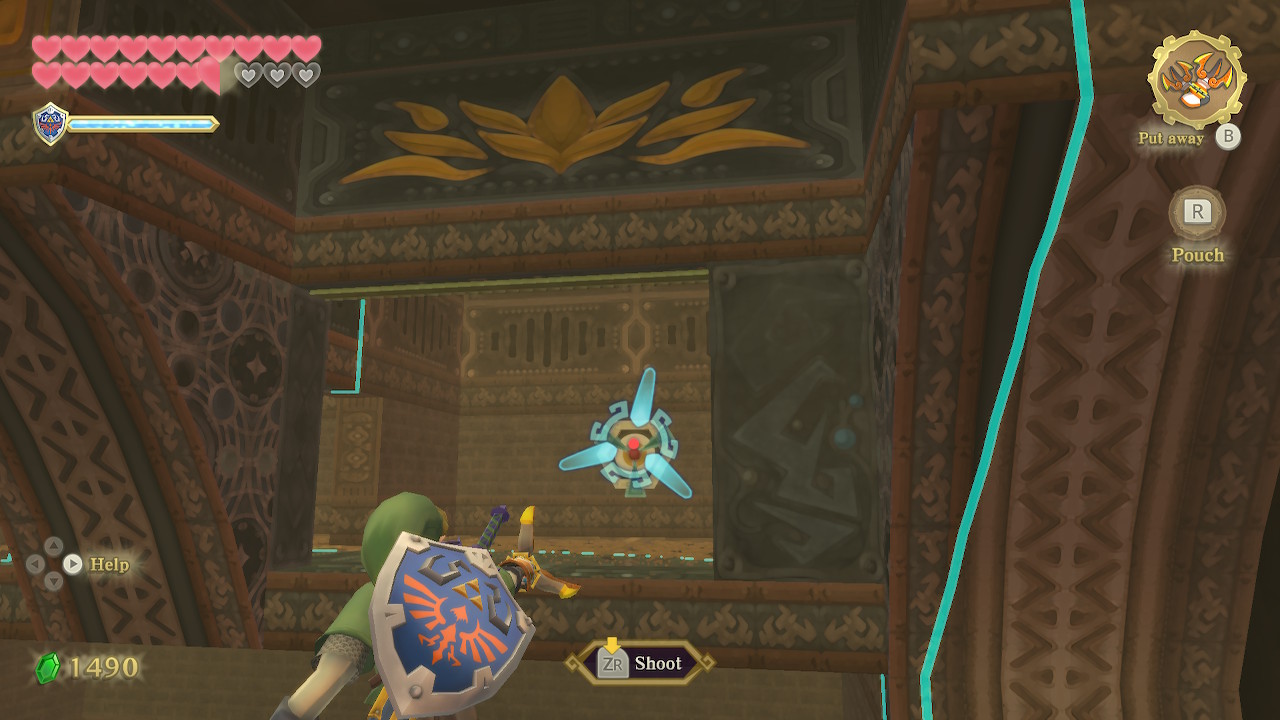
Carry the orb back into the main room and place it on the east side, so that the two pillars rise from the ground. Then head back up the ramp in this room and hop onto the first pillar. Use your clawshot on the target and you'll quickly find the symbol of Nayru.
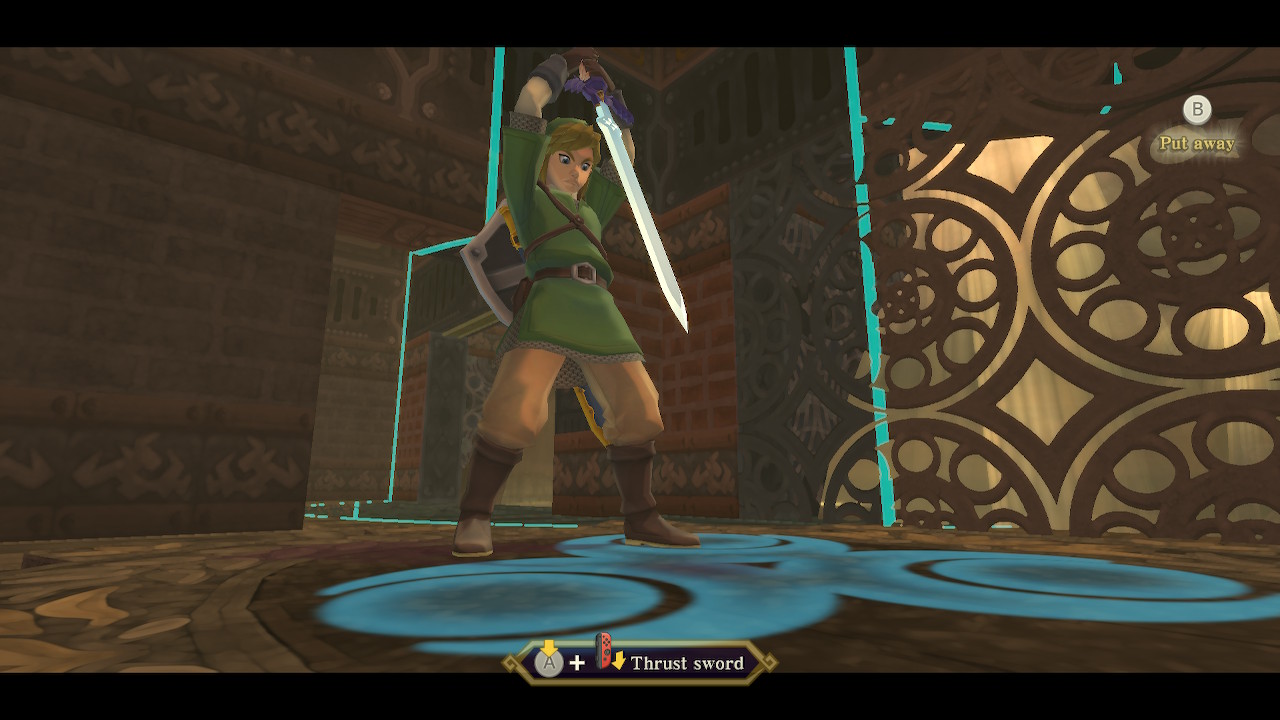
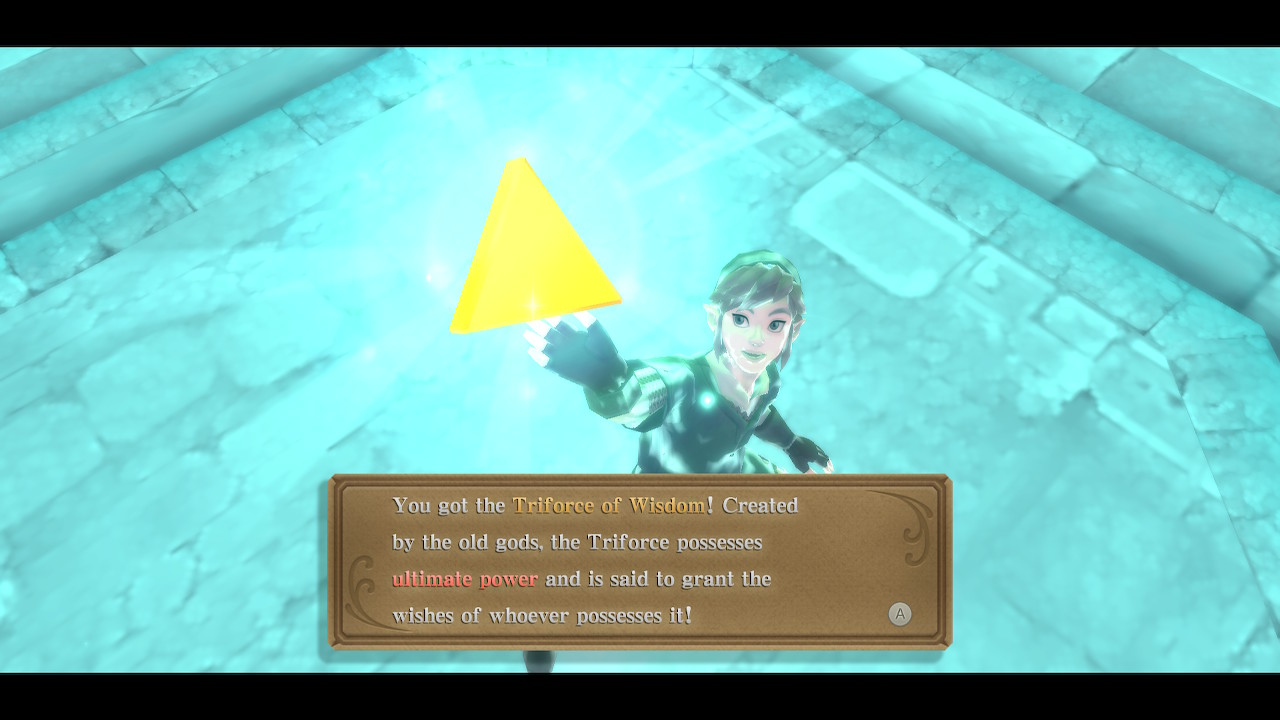
Thrust your sword into the ground here and you'll be taken to another room where you can pick up the Triforce of Wisdom. You now have all three pieces of the Triforce!
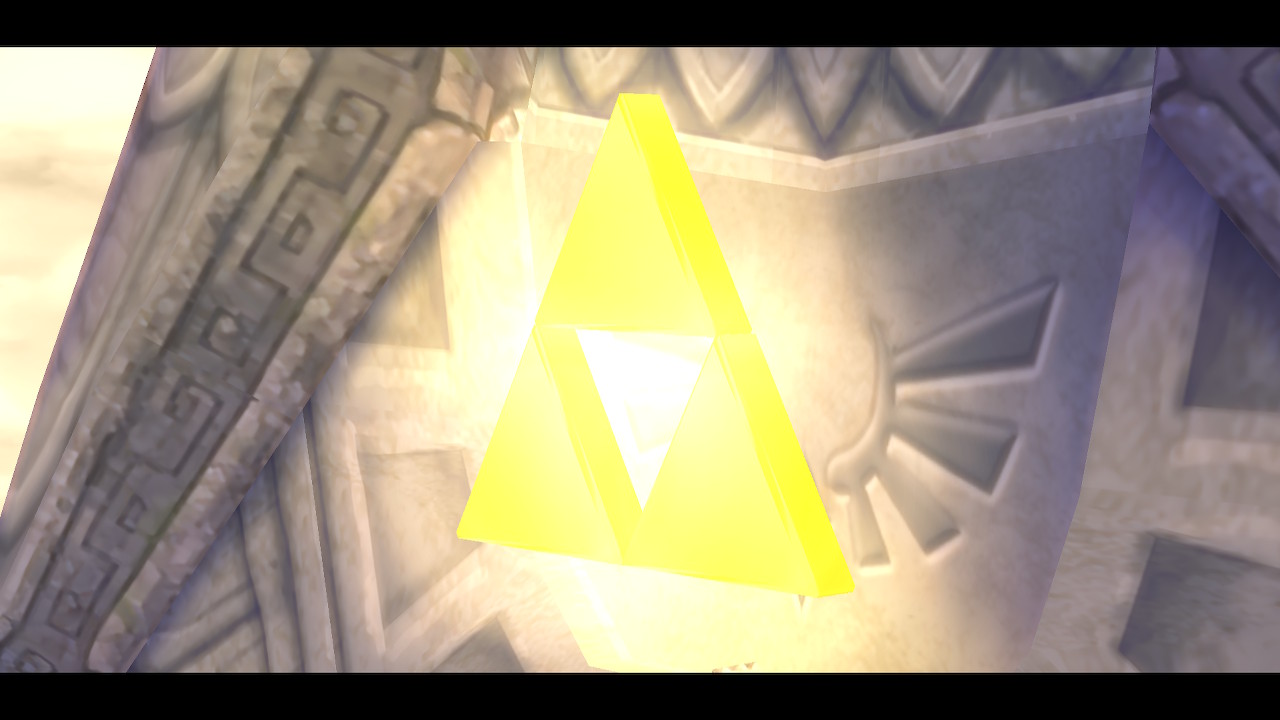
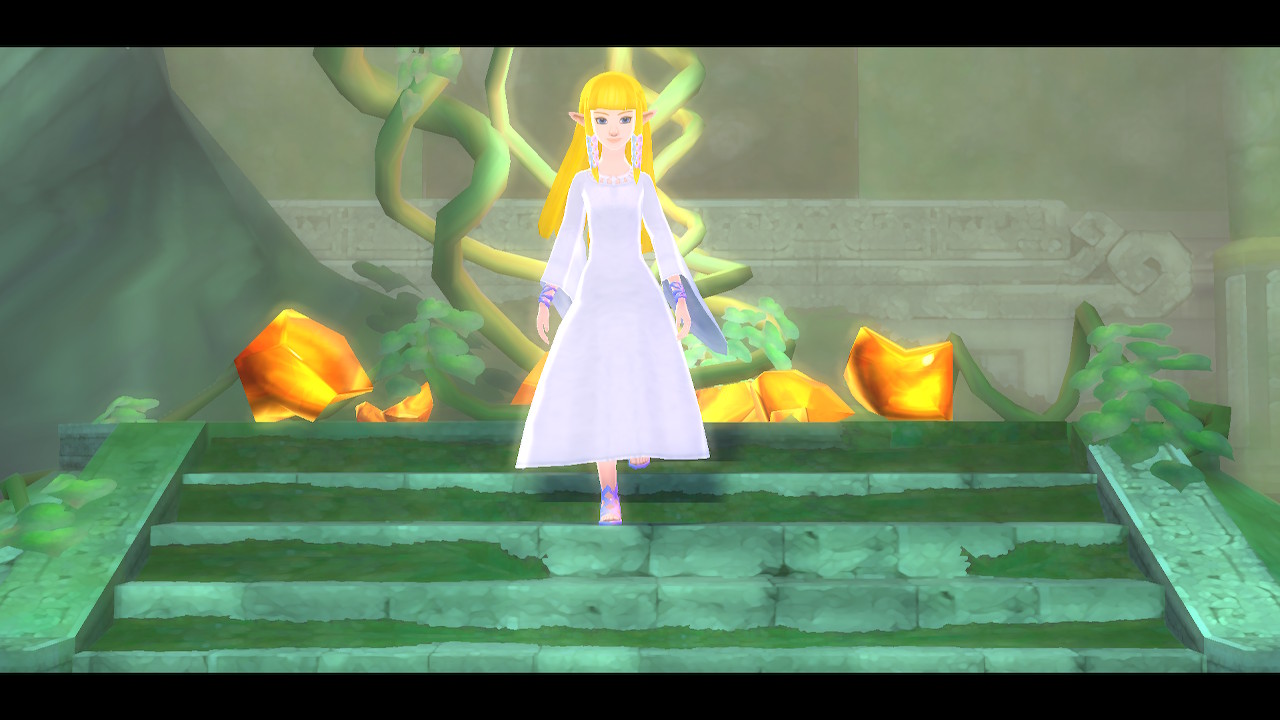
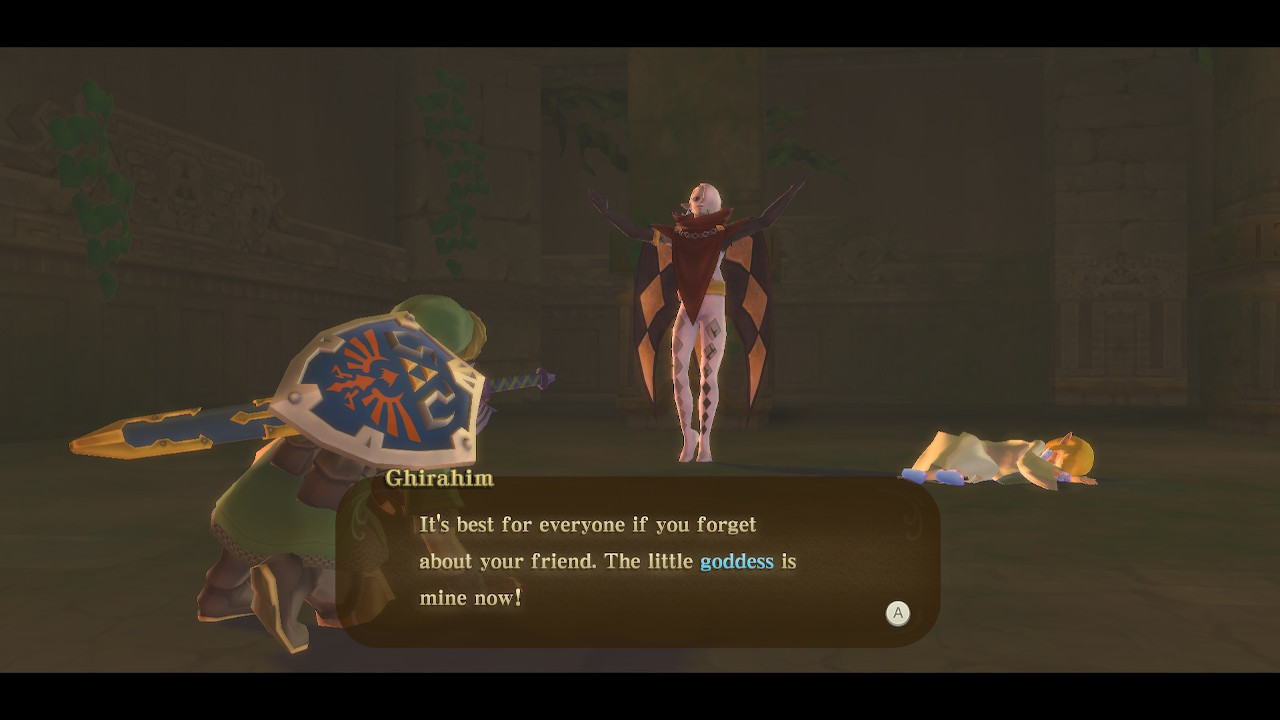
This will begin a very eventful cutscene in which the massive Goddess Statue (connected to Sky Keep) falls down to the Sealed Grounds. You'll end up back in the Sealed Temple, where Zelda has awoken and broken her seal. Ghirahim will of course show up and ruin the party.
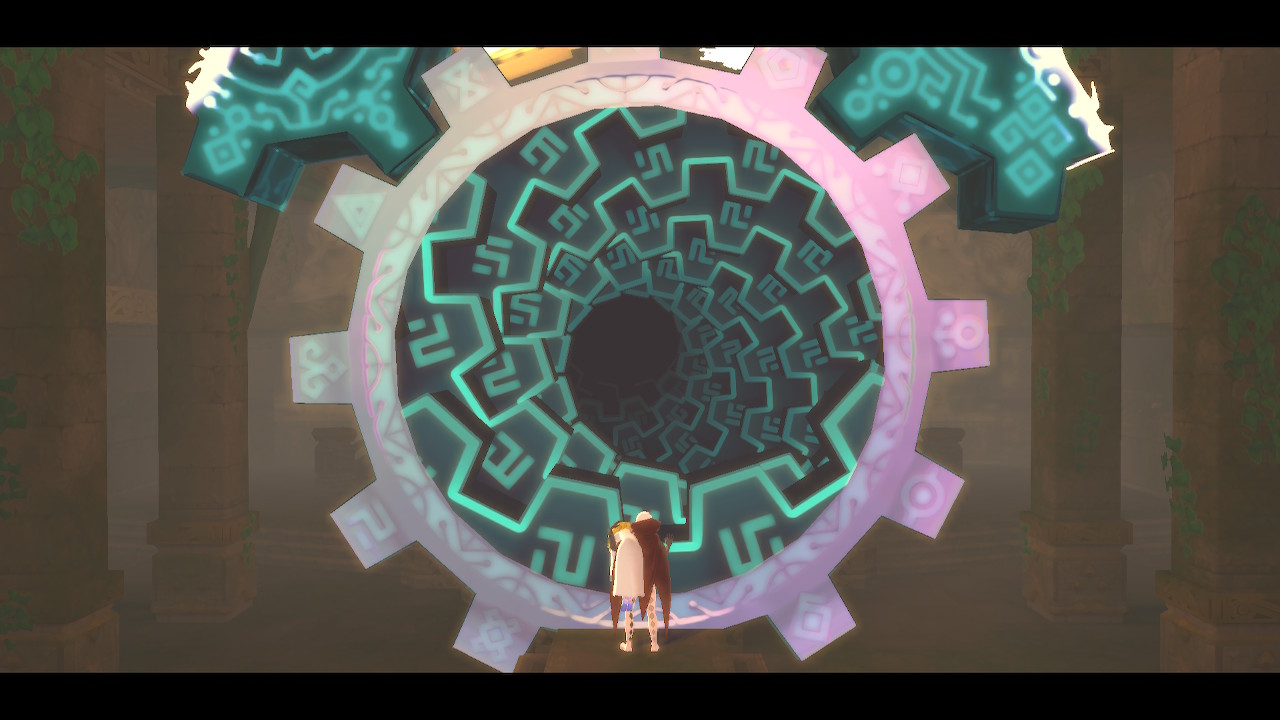
Once you regain control, you'll have an opportunity to make some final preparations. If you are trying to 100% complete the game, now is the time to pick up any remaining collectibles (if you've been following this guide you are all set). Most medals are pointless to carry with you now, so you can replace them with potions or fairies if you want. When you are ready, head through the Gate of Time to face the final boss.
Back to Song of the Hero Continue to Final Boss
