
Chapter 2: Princess Zelda
Hyrule Field
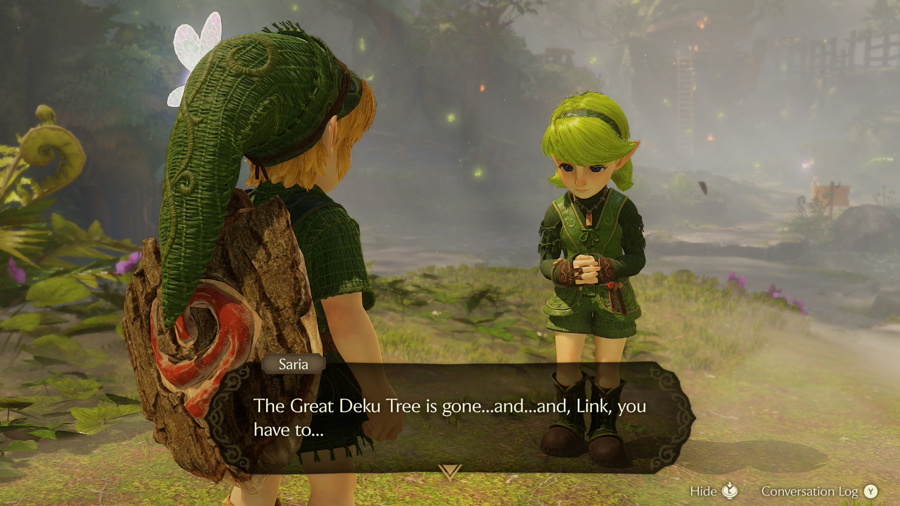
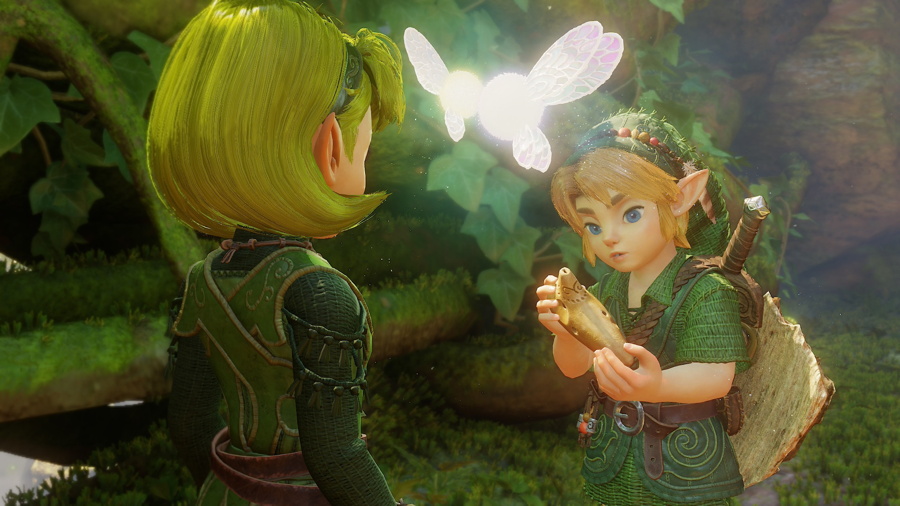
Exit the pathway from the Great Deku Tree to find Mido and Saria chatting. Navi will deliver the bad news and Saria will sad to hear that you're leaving. Head across the forest and speak to the guard who will let you leave via the west exit. As you do, Saria will stop you on the bridge and give you a Fairy Ocarina. You can now play your ocarina at any time by pressing left on the d-pad, although you don't know any songs yet.
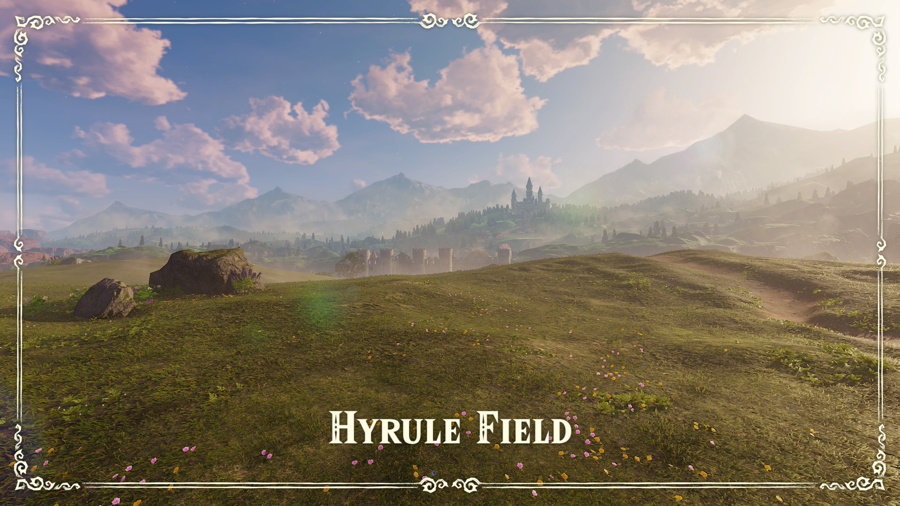
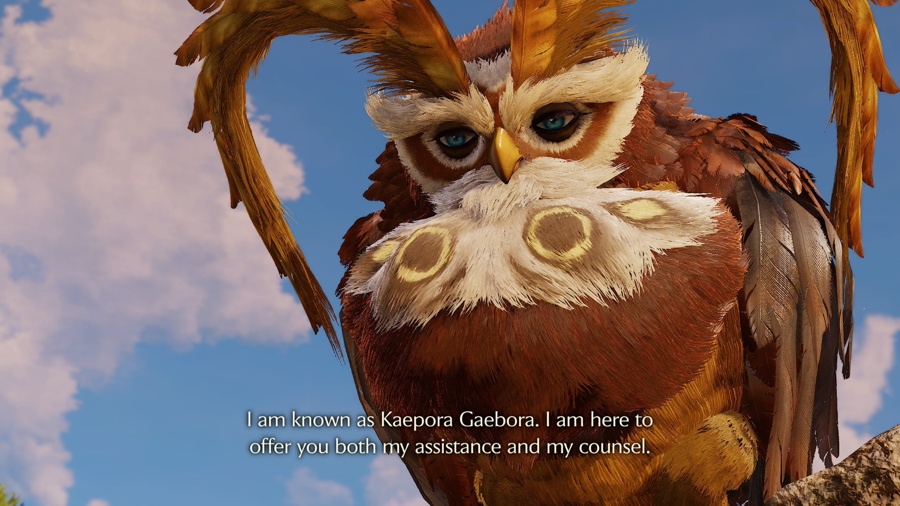
Continue following the path out of the forest and you'll get your first look at Hyrule Field. An owl named Kaepora Gaebora will then swoop in to give you some advice and tell you about a new feature in this version of the game: the Threads of Time. This is a feature in the menu that will track your current objectives and quest status.
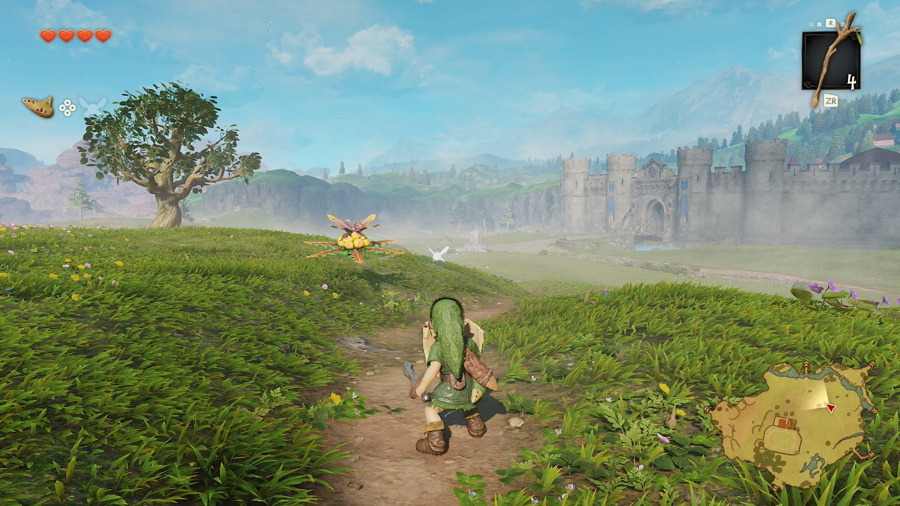
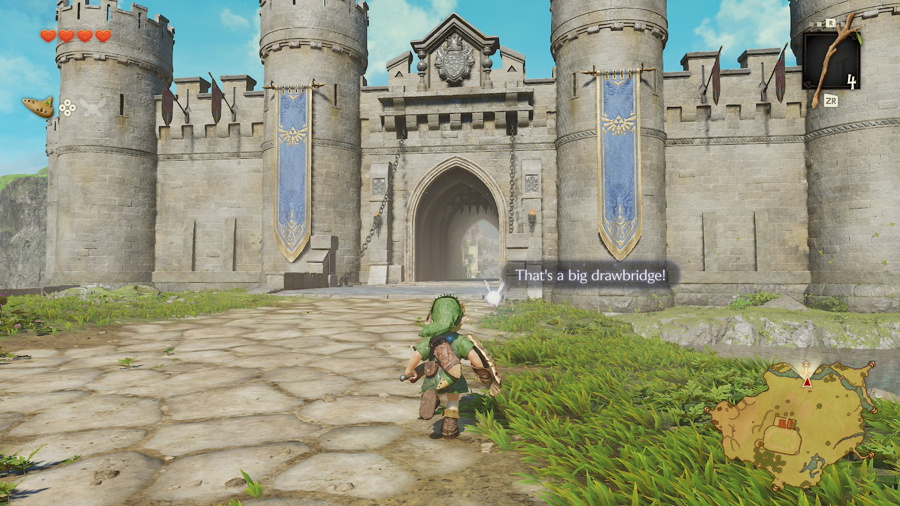
You are now free to explore Hyrule Field and some of the connecting areas if you'd like. But in this guide we'll head straight for Hyrule Castle to find Princess Zelda, our next objective. It's the northern exit in the center of the map, the dirt path ahead of you will take you straight there.
Hyrule Castle Town
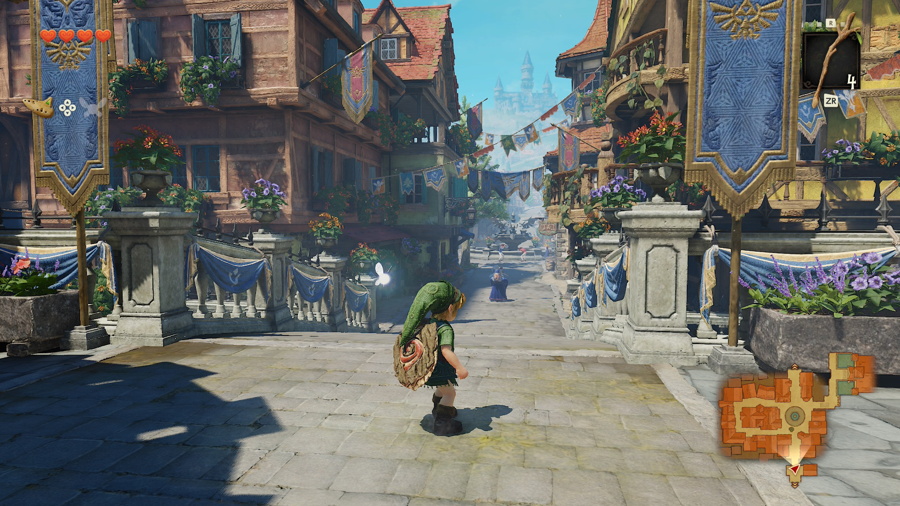
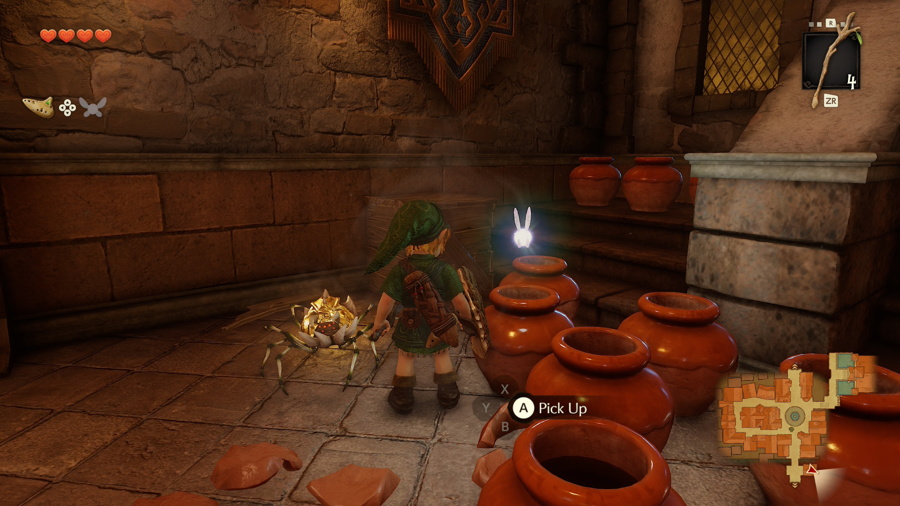
Enter the drawbridge to arrive in Hyrule Castle Town, which is a little more fleshed out than the fixed-background version in the original game. Enter the first door you see to your right to find a room full of pots you can break for rupees. You can break the shaking crate in the back by rolling into it to find Gold Skulltula #5.
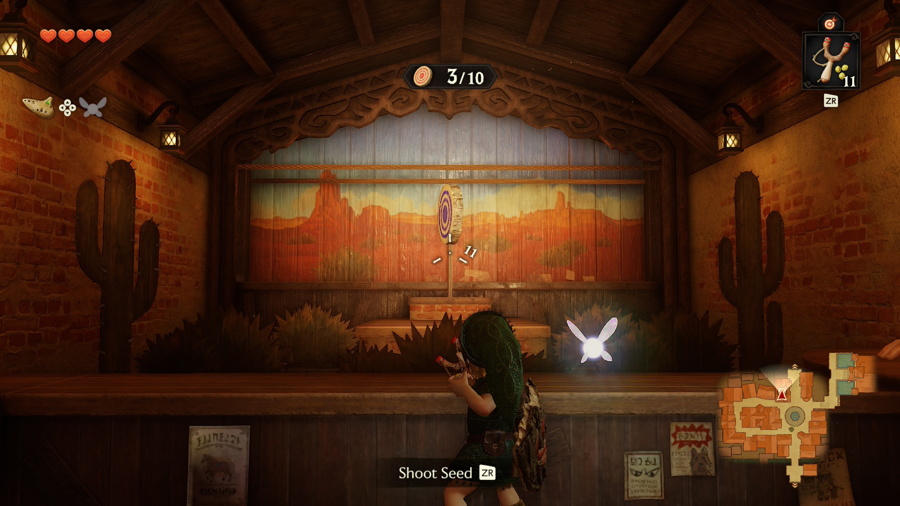
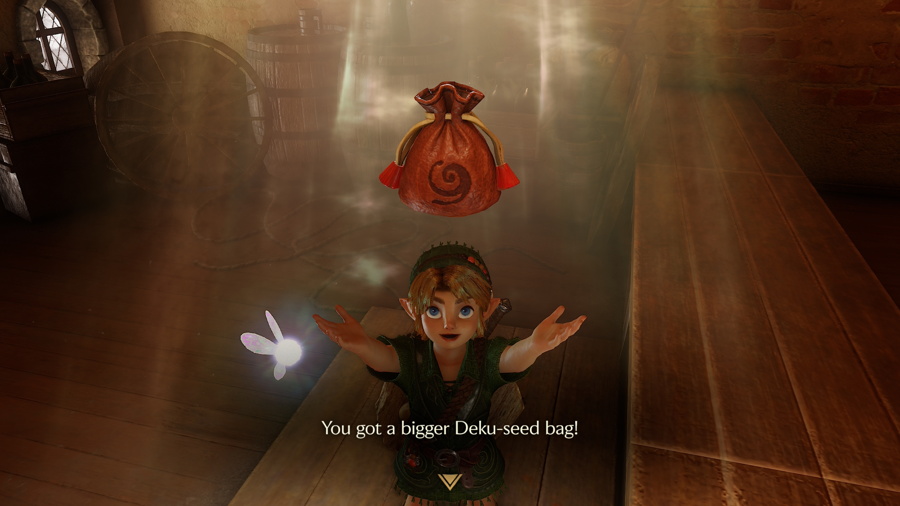
Enter the Shooting Gallery to the north of the fountain to play a slingshot mini-game for 10 rupees. If you hit 10/10 targets you'll get the Bigger Deku-Seed Bag (40 seeds) as a reward.
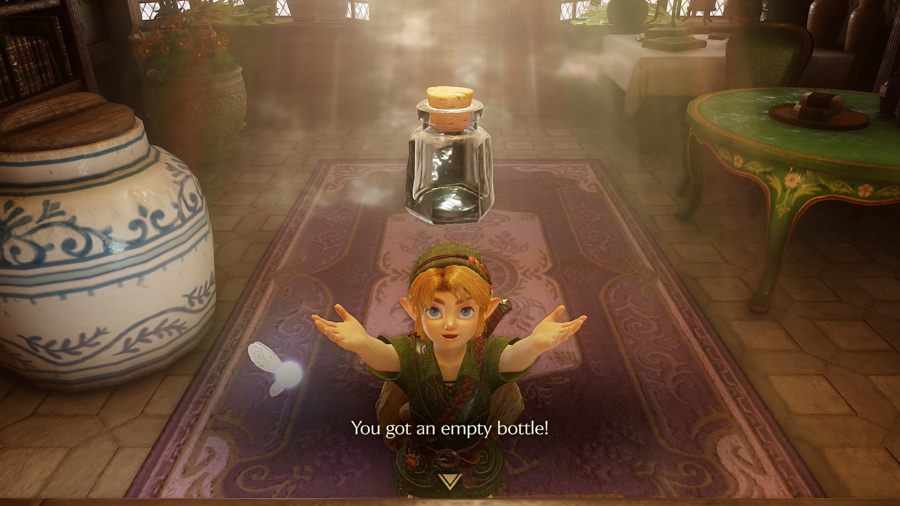
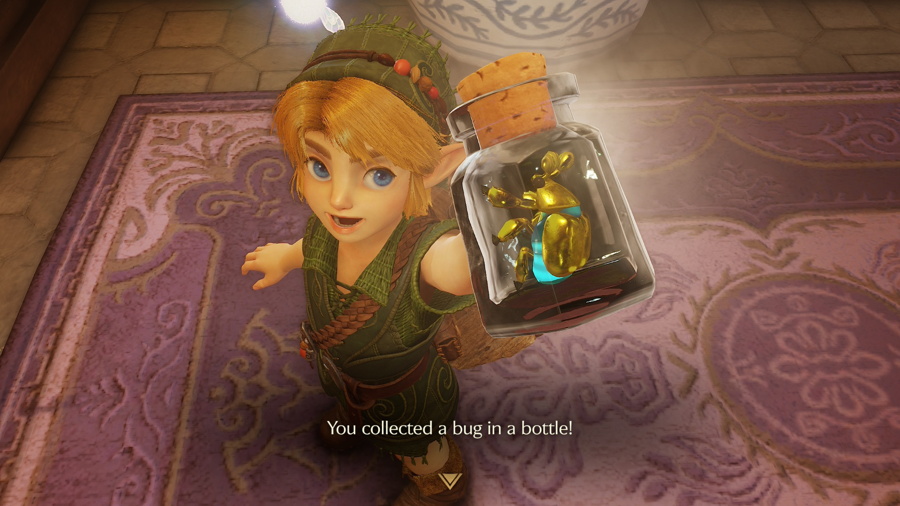
Now enter the potion shop to the east of the fountain and you'll see that the shopkeeper is freaked out over a bug in his shop. He'll give you Bottle #1 to help catch it. Use it to catch the bug in here and he'll fill up your bottle with a red potion. There's not much else to do in town for now, so exit to the north to enter the grounds of Hyrule Castle.
Hyrule Castle
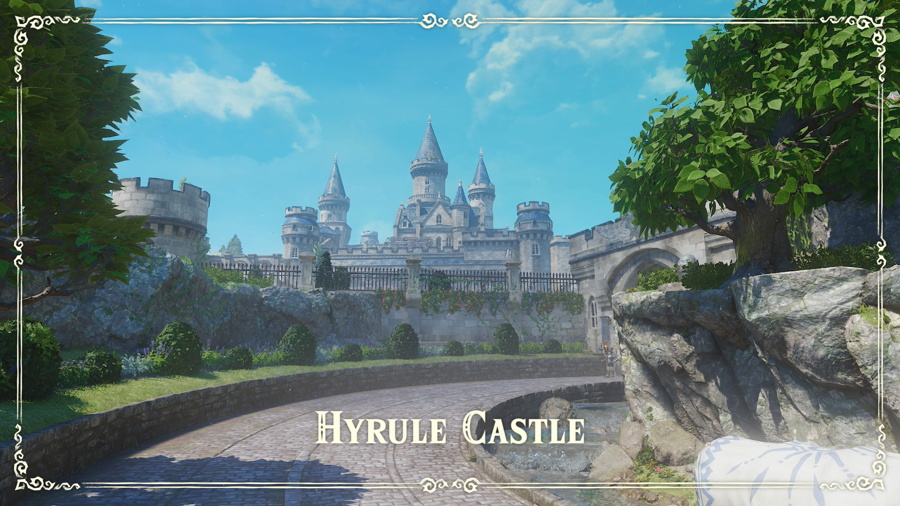
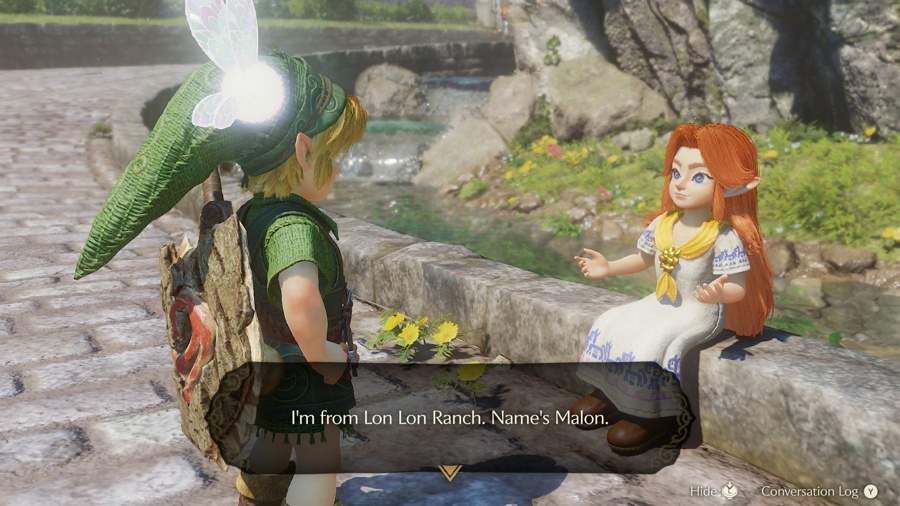
Once you enter this new area Kaepora Gaebora will pay you another visit. After this brief encounter you can speak to Malon near the carriage who needs help finding her father. She'll give you a Weird Egg to help wake him up, since he is prone to falling asleep in strange places.
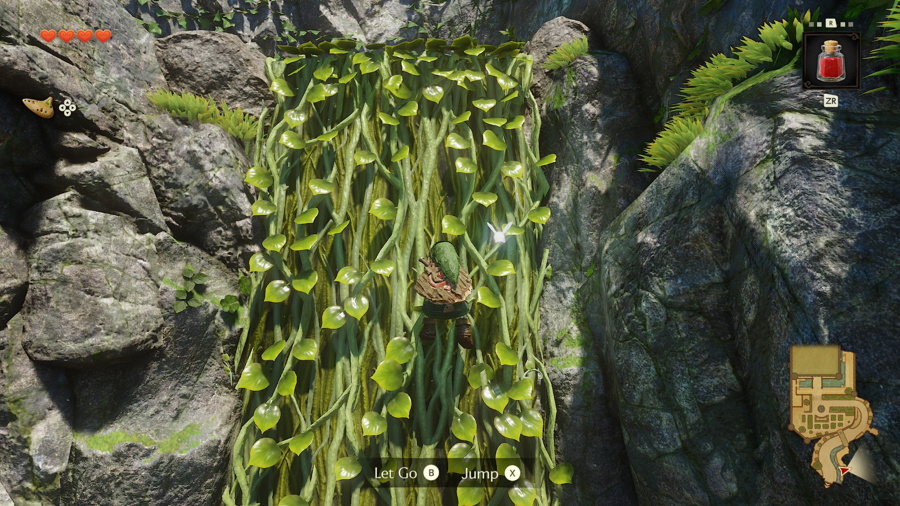
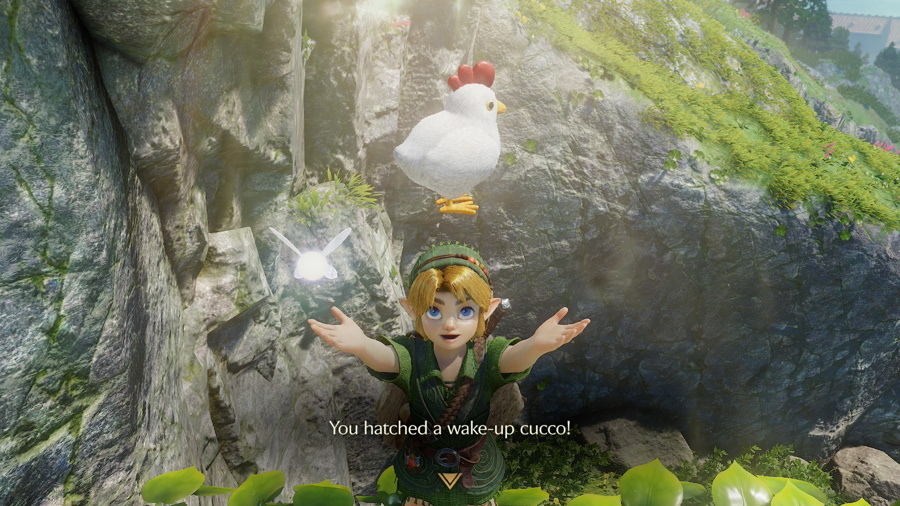
Behind Malon across the stream you'll see some vines leading up the cliff. Follow this path to get on top of the gate that the guard was otherwise blocking you from passing. Use the ladder to climb down and reach the other side of the gate. By the time you do this or shortly after your egg will hatch into a Wake-Up Cucco.
17 18Slowly walk up the road ahead, being careful to stay out of sight of the guards. If you get caught they'll send you back to the other side of the gate. Instead stay in the grass to the left and use the flower maze ahead to avoid the guards in this area. If you notice, there's a lot of butterflies in this area. If you take out a Deku Stick near one it will land on it and turn into a fairy, which you can capture in your bottle if you'd like.
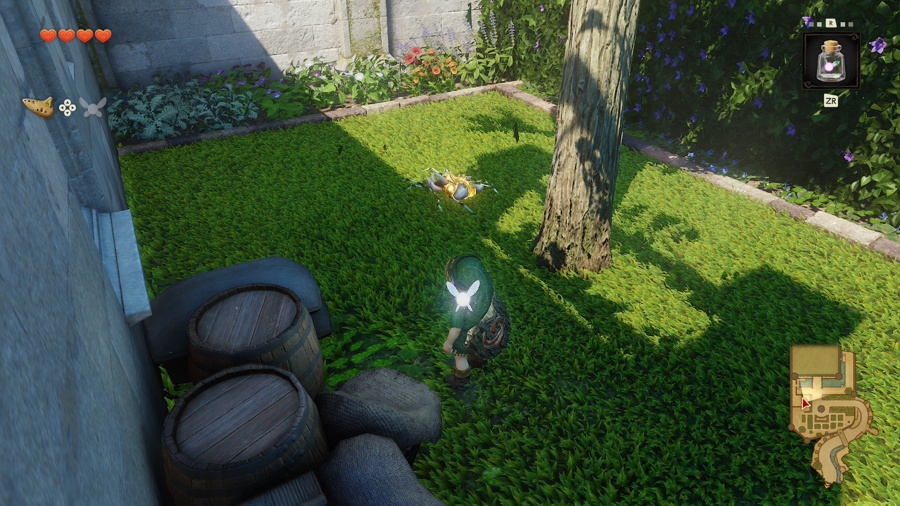
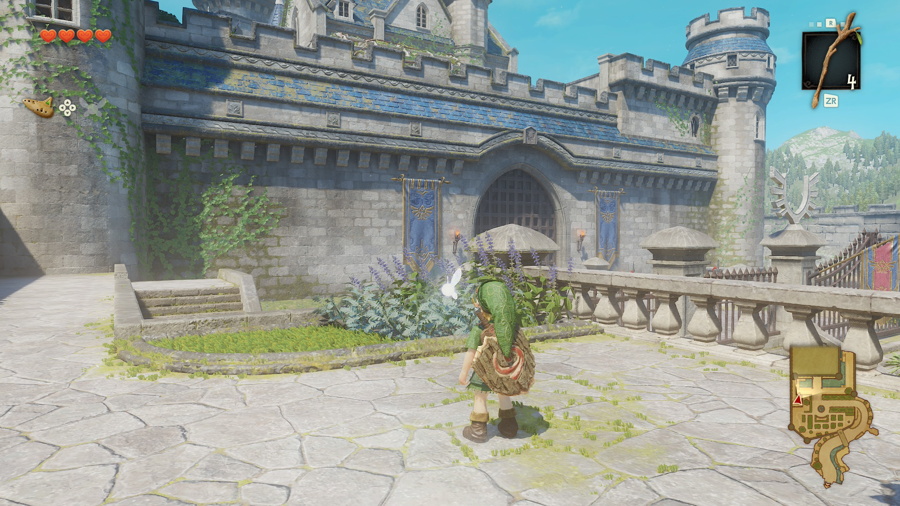
Make your way to the west side of the garden and follow the little path to the right of the wall where you'll see a single tree. Roll into this tree and Gold Skulltula #6 will drop down. To the left of this tree you can climb up the vines to reach a higher area and get to the other side of the next gate.
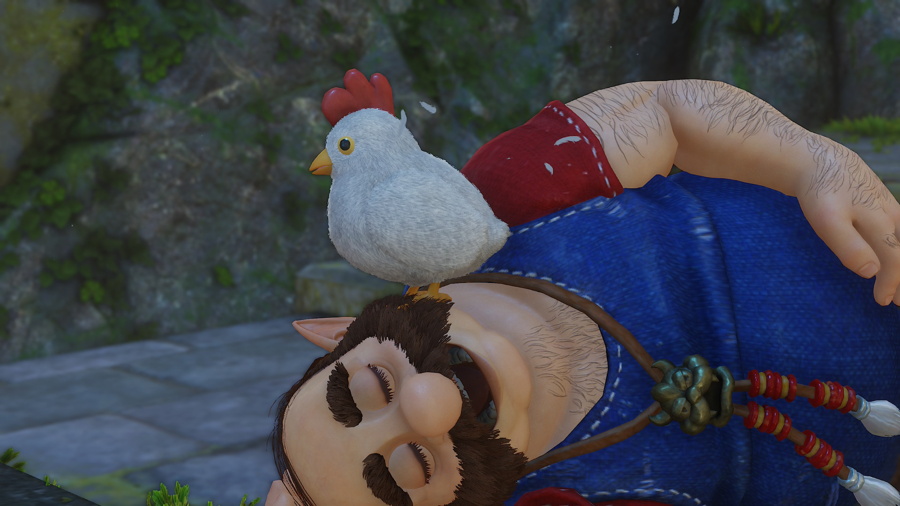
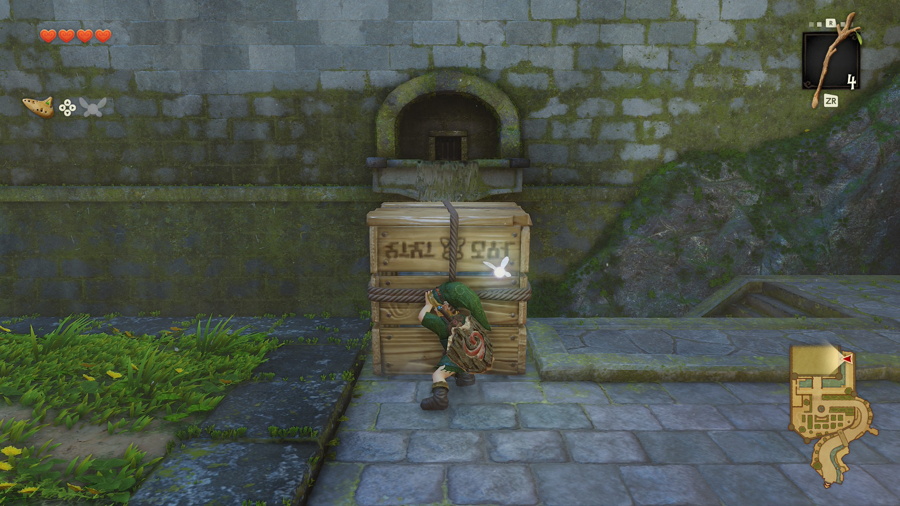
If you try to follow the path on this side of the gate, you'll be caught right away. Instead jump into the water here and swim to the east side of the castle. Here you can use your Cucco on the sleeping man, Talon. He'll run off back to his daughter when he hears she's worried about him. Push the two crates in this area off the ledge to create a platform that allows you to jump to the narrow passageway and enter the castle.
Meeting Princess Zelda
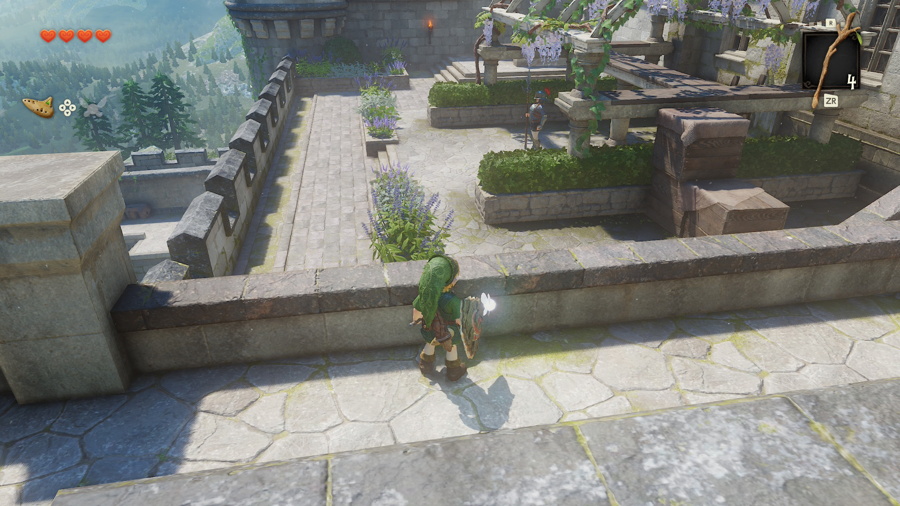
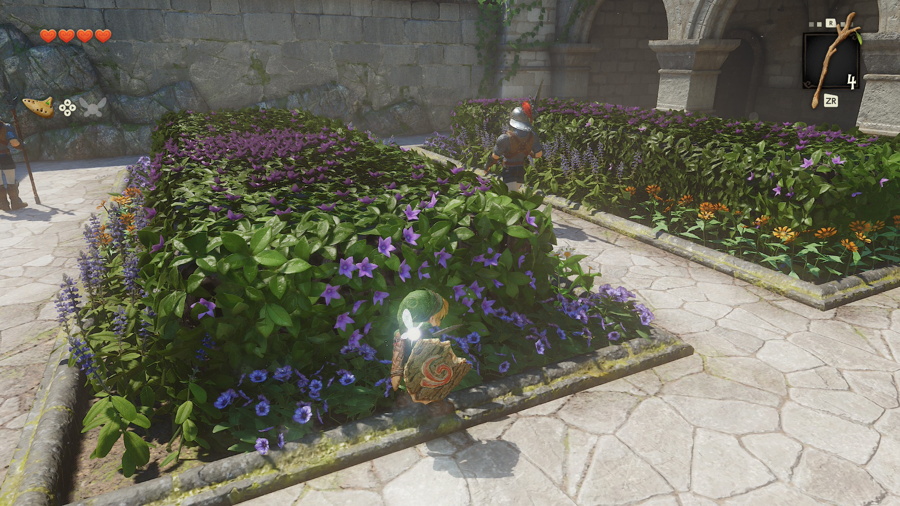
Once inside Hyrule Castle, your goal is to once again sneak past the guards to avoid being thrown out. In the first area, you can climb up onto the platform and go above the guard. In the next area with some hedgebushes you'll see two guards patrolling. You'll have to be a little more patient here, waiting until neither guard is facing towards you to make a run for it.
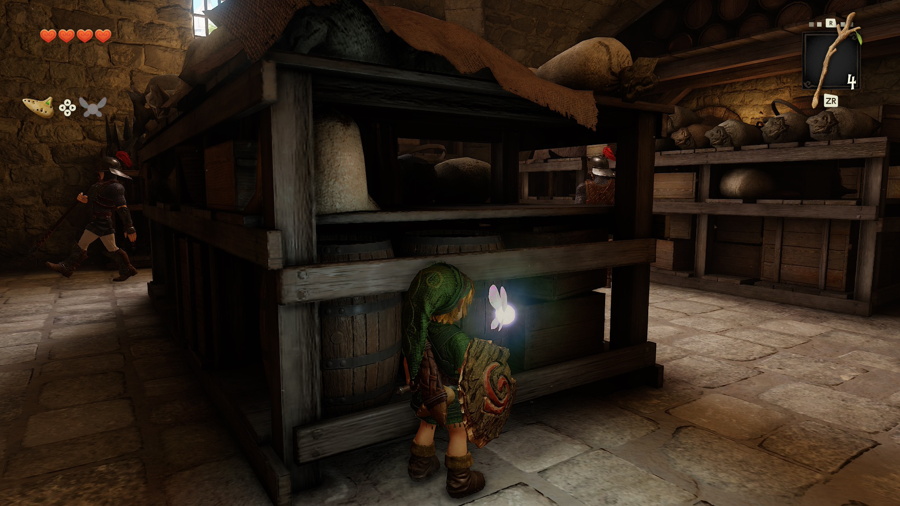
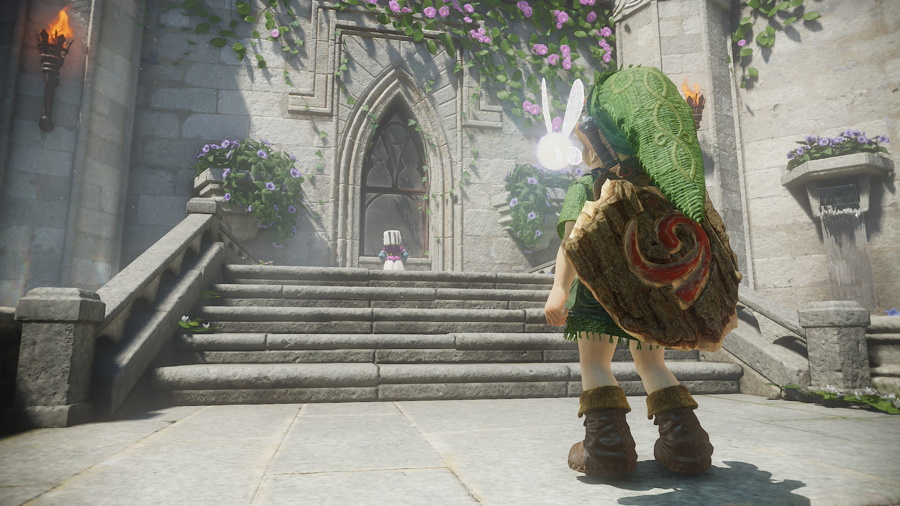
In the third area there are two guards patrolling a storeroom. You'll once again just need to wait until they are looking away and hide behind the shelves until you can run past them. Make an escape for the next hallway. Run ahead to meet Princess Zelda for the first time.
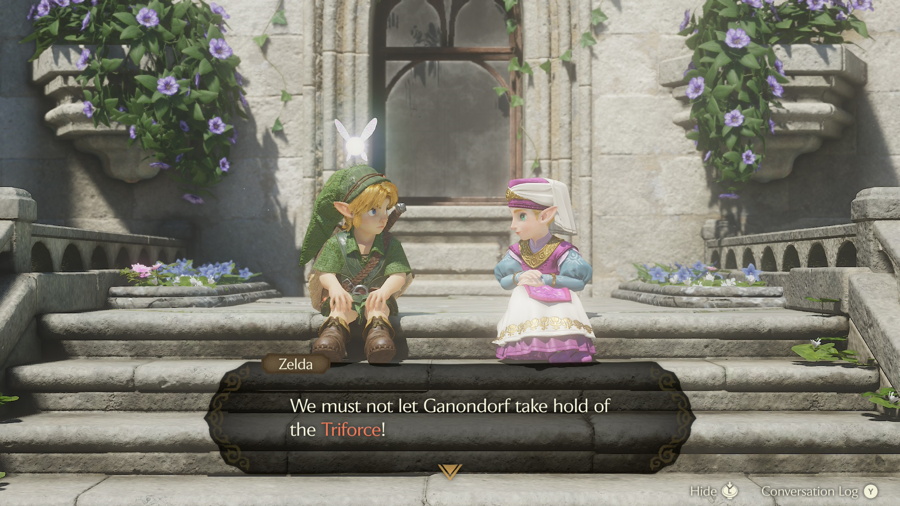
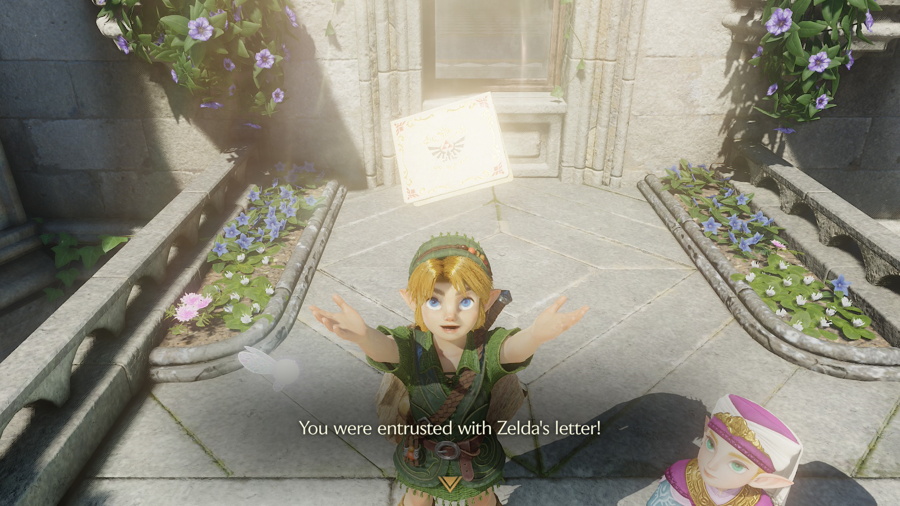
She will introduce herself and surprsingly she knows who you are as well: she's been dreaming of you in fact! She'll go on to explain the Triforce and it's role in legend. She'll also point you towards the next two spiritual stones. She gives you a look through the window at Ganondorf. She'll then give you Zelda's Letter, royal evidence that you're authorized to embark on this journey.
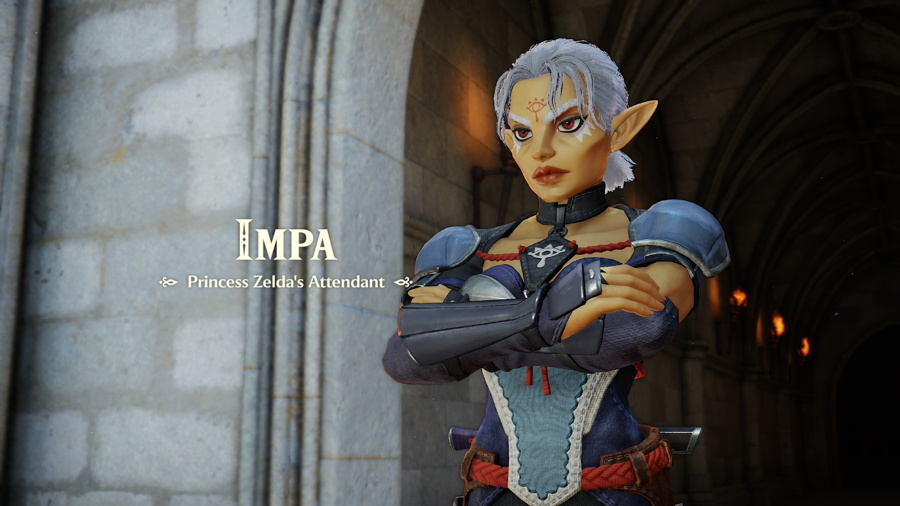
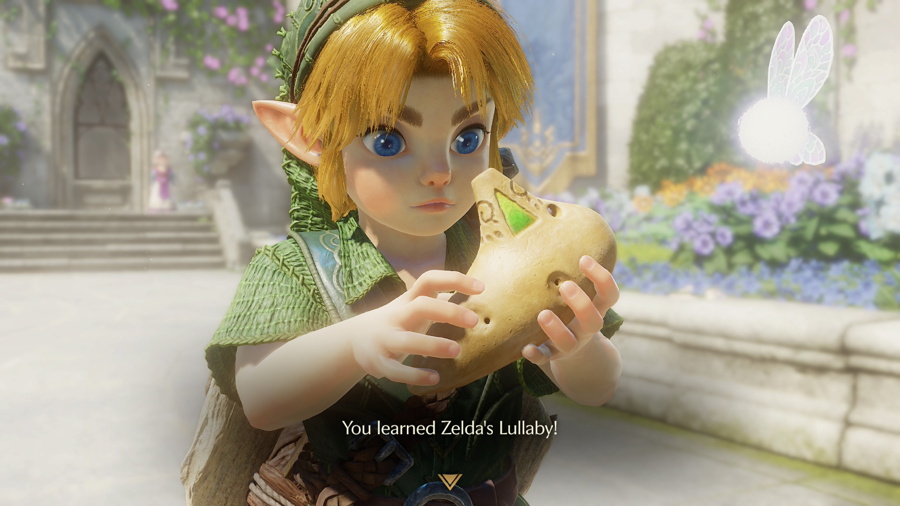
Princess Zelda will also introduce you to her attendant, Impa. Speak to her on your way out of the castle and she will teach you your very first ocarina song: Zelda's Lullaby. Afterward she'll take you back to Hyrule Field to set you off on your jouney to collect the next two sacred stones.
Kokiri Forest
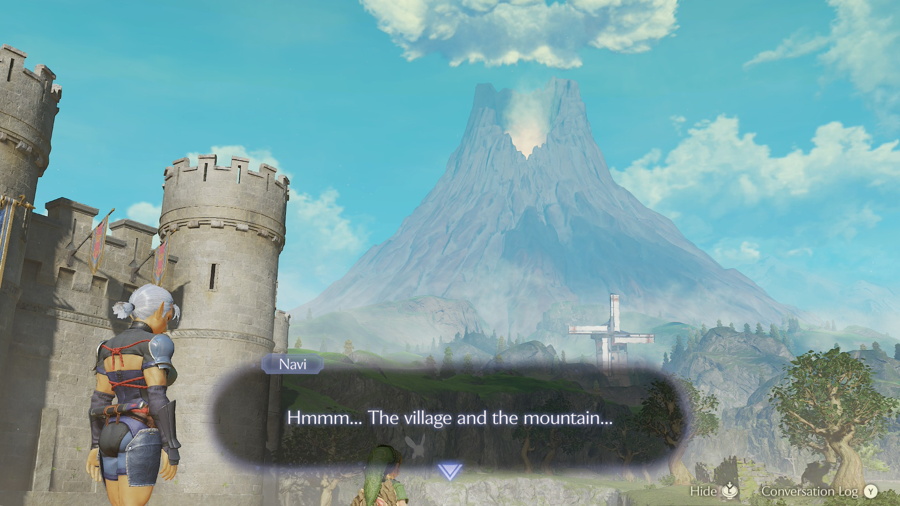
The next main objective in the game will be found by scaling Death Mountain by way of Kakariko Village in the northeast corner of the map. However, there are a lot of optional things we can do and collect throughout Hyrule. Besides getting Saria's Song in the Lost Woods, all of them are optional and you can skip straight to the next chapter after doing that if you'd like.
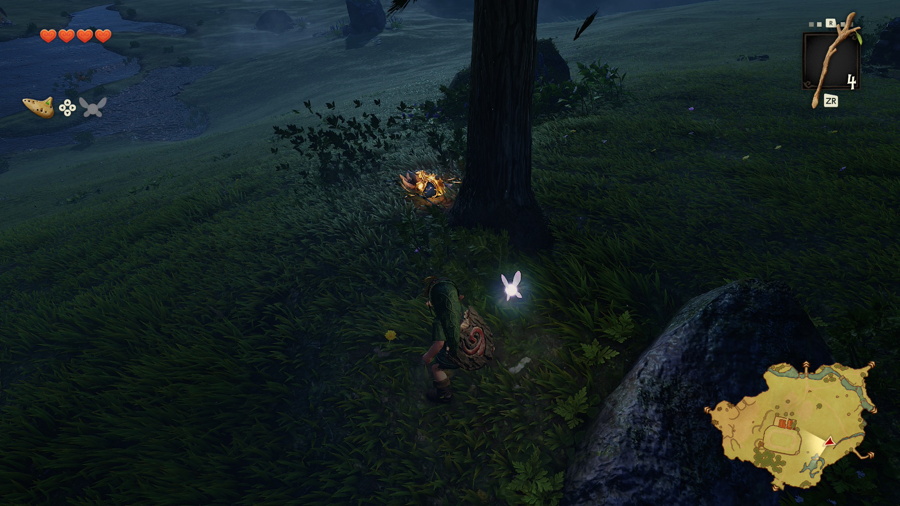
Now that we've met up with Zelda, time will start passing throughout Hyrule with a day/night cycle. You can whack any Gossip Stone with your sword to find out the current time. It will likely be nighttime in Hyrule Field now, and if not you can wait until it is. Follow the path back towards Kokiri Forest and when you get to the stream take a detour to the right and you'll see a single tree with a golden glow near the top (night only). Roll into it and Gold Skulltula #7 will drop down.
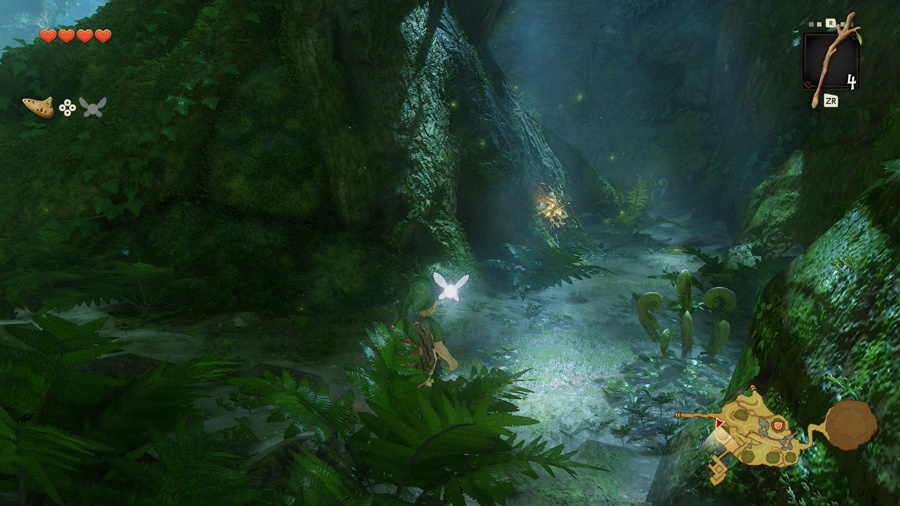
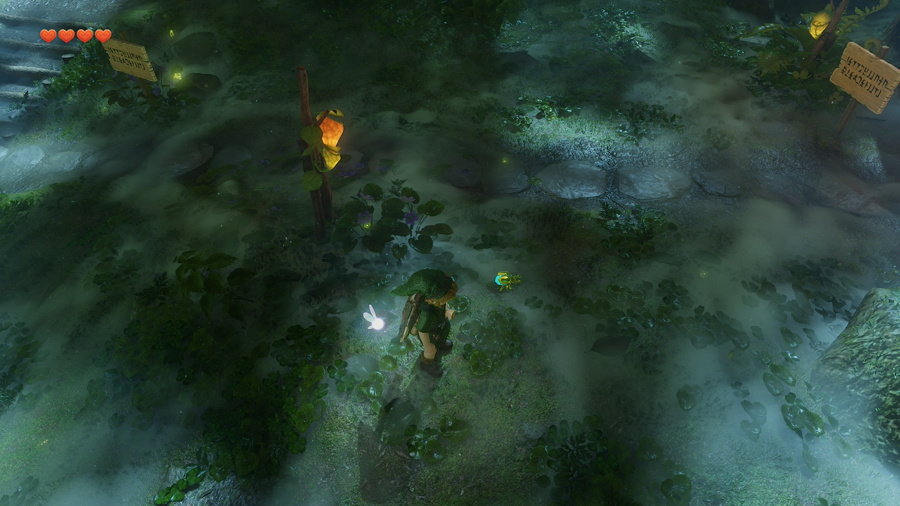
You'll then want to quickly make your way into the forest while it's still night. Once you enter check behind the first building to your right to find Gold Skulltula #8 (night only). If you slash some of the grass nearby you should find a bug that you can capture in your bottle.
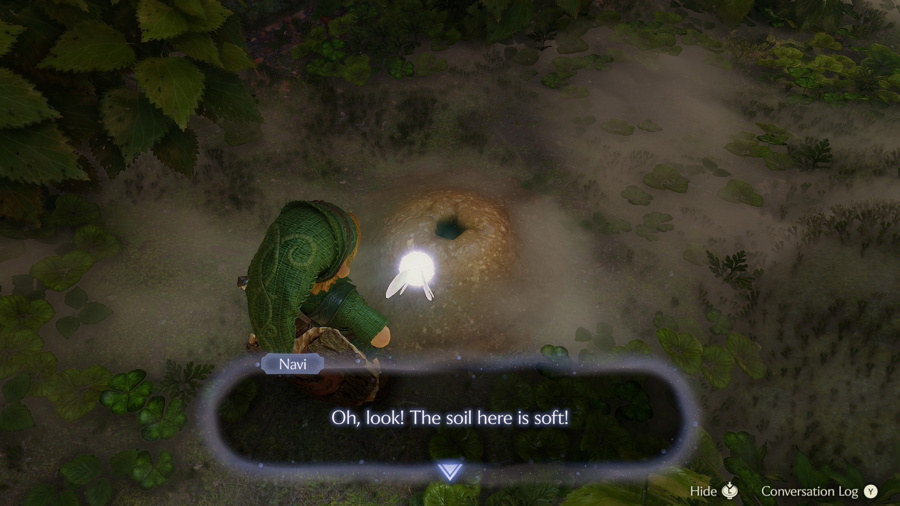
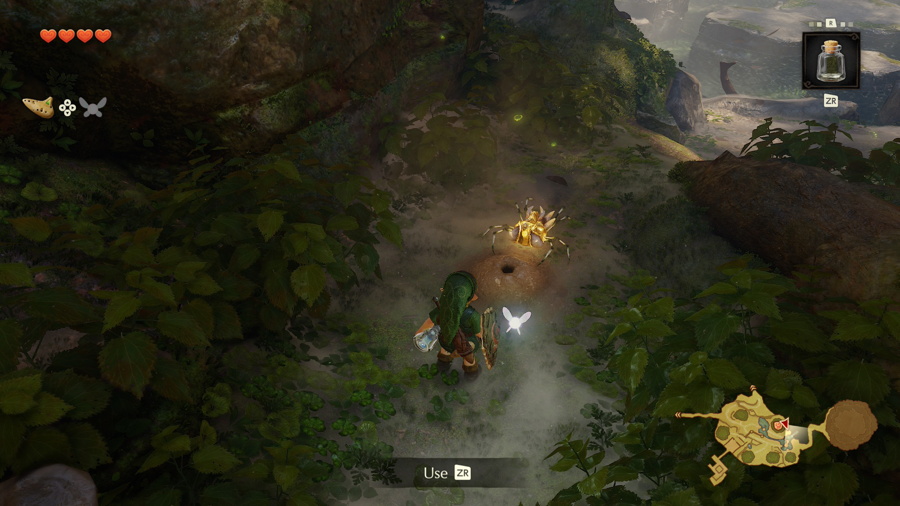
Head to the shop on the other side of town and check around the back to find a patch of soft soil. These are scattered around Hyrule and if you let a bug out to burrow in them a Gold Skulltula will always come crawling out. In this case, it will be Gold Skulltula #9. Afterward you'll want to capture another bug in your bottle by cutting some more grass.
Lost Woods
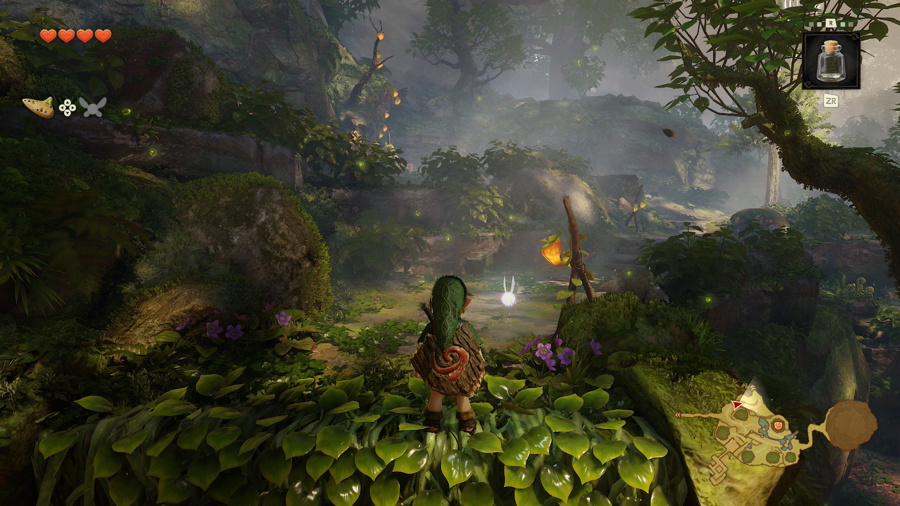
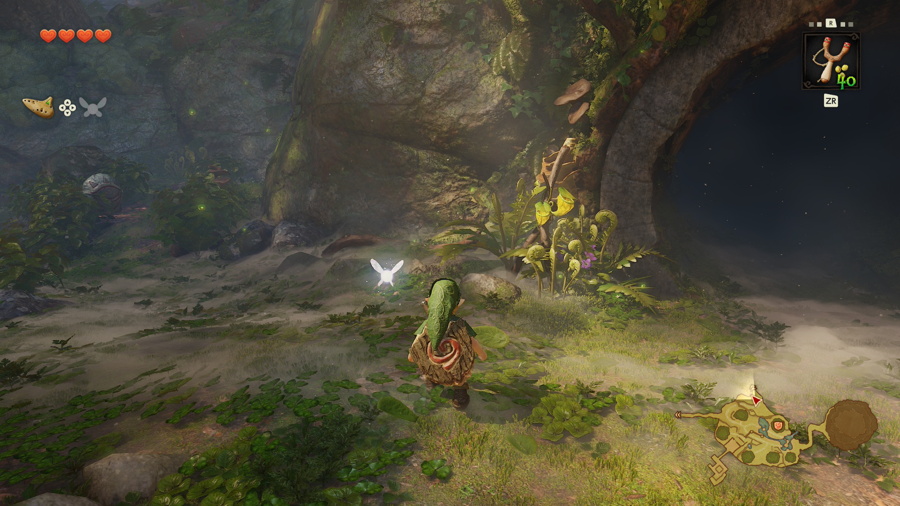
Next we're going to head to a new area via the north exit of the forest: the Lost Woods. You'll find a set of vines by following the western path that will allow you to climb up and reach the entrance.
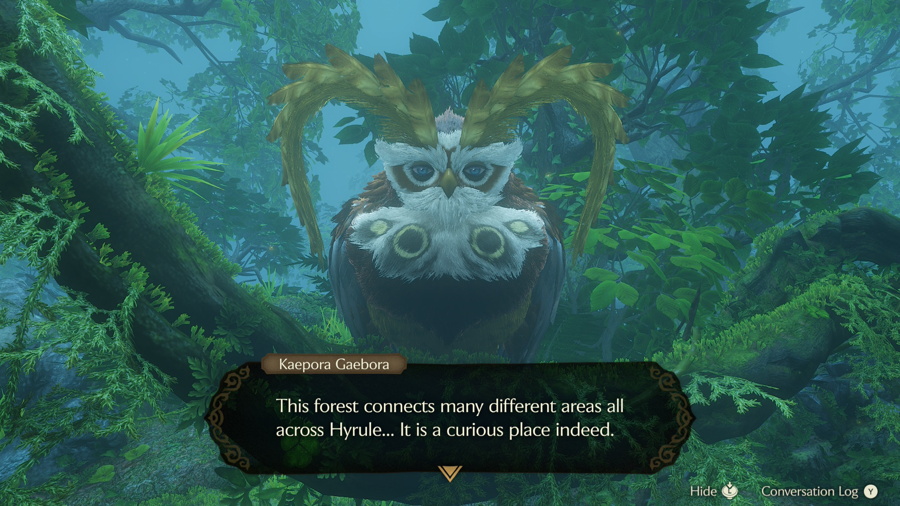
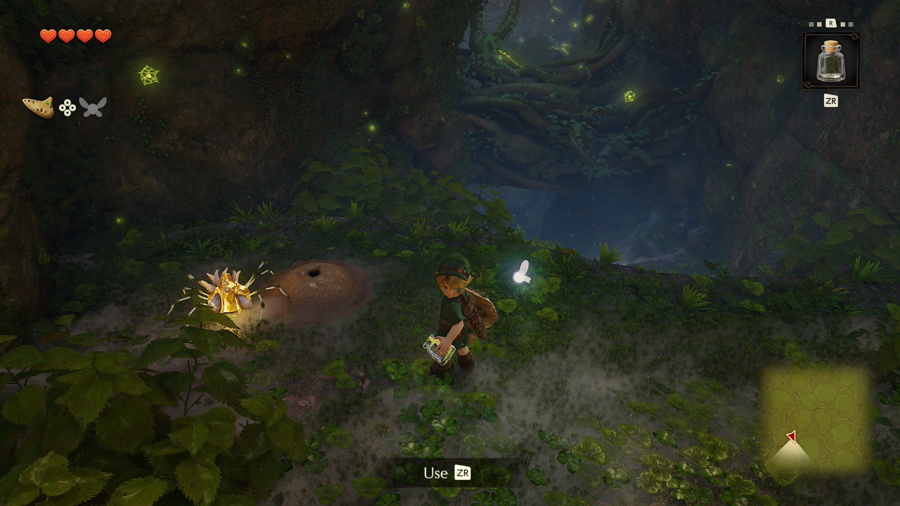
Once you enter, Kaepora Gaebora will explain the maze like quality of these woods. If you make a wrong turn you'll find yourself back in Kokiri Forest. Start by taking a left twice. You'll find another soft soil patch that you can release a bug into revealing Gold Skulltula #10.
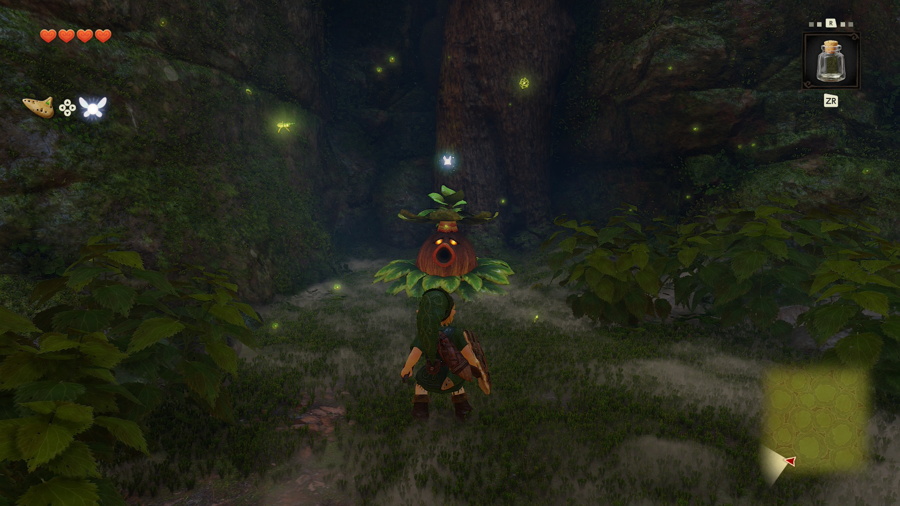
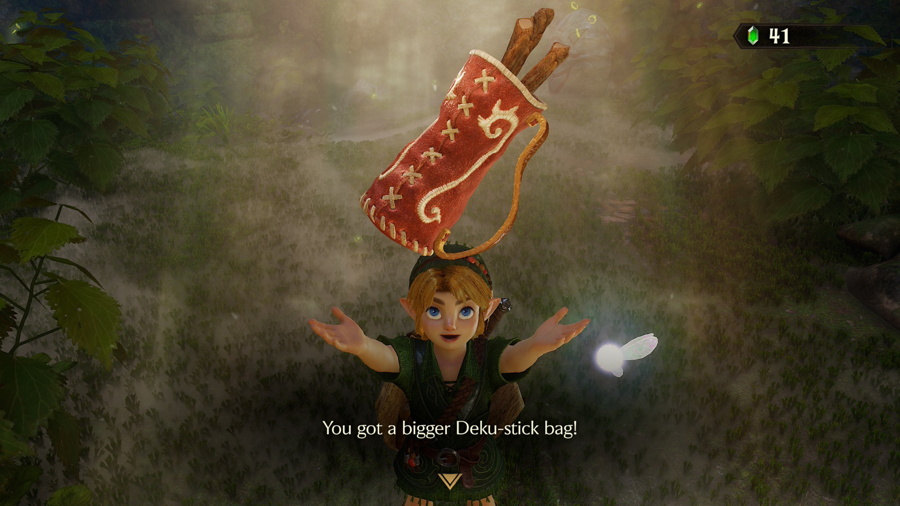
Find another bug to replenish your bottle whenever you can. But for now, drop down into the lower area and follow the path to the end. You'll find a strange looking Deku Scrub here. Reflect the seed he shoots at you and you'll learn he's a Business Scrub. You can purchase the Bigger Deku-Stick Bag from him for 40 rupees.
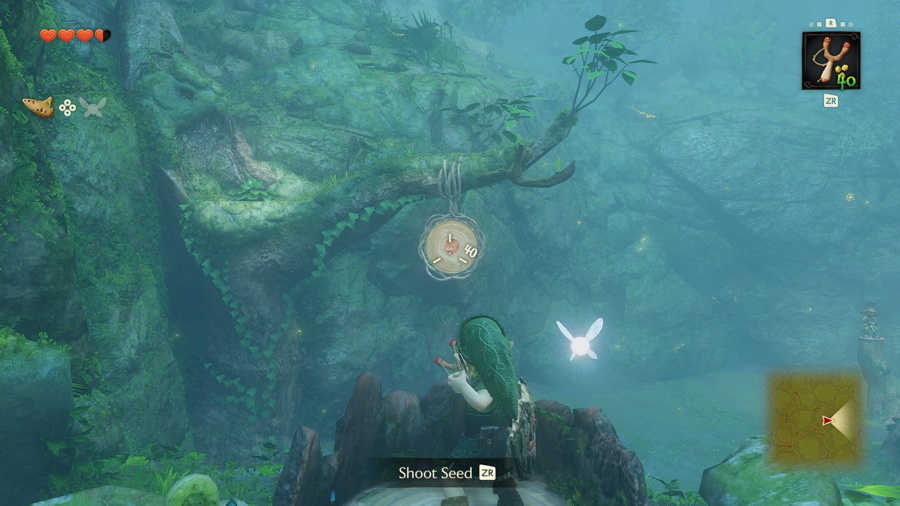
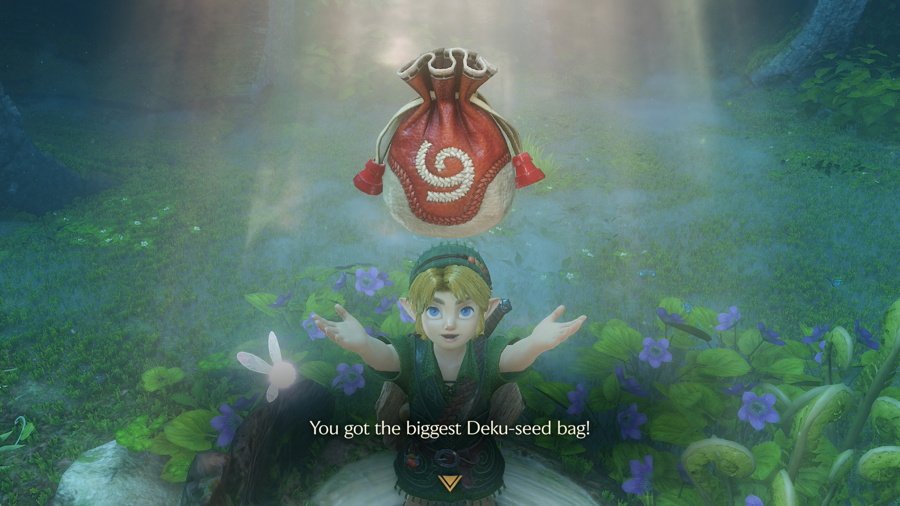
Head back to the first room in the woods and continue straight (east on the map). You'll see a target hanging ahead. Shoot the red bullseye three time in a row with your slingshot and a Deku Scrub will appear to give you the Biggest Deku-Seed Bag. Assuming you completed the Shooting Gallery game earlier this is the final upgrade and holds 50 seeds.
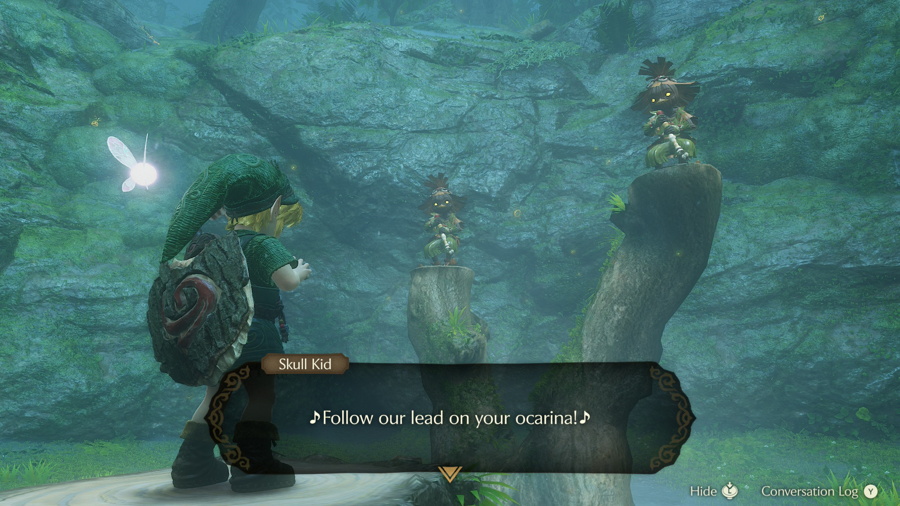
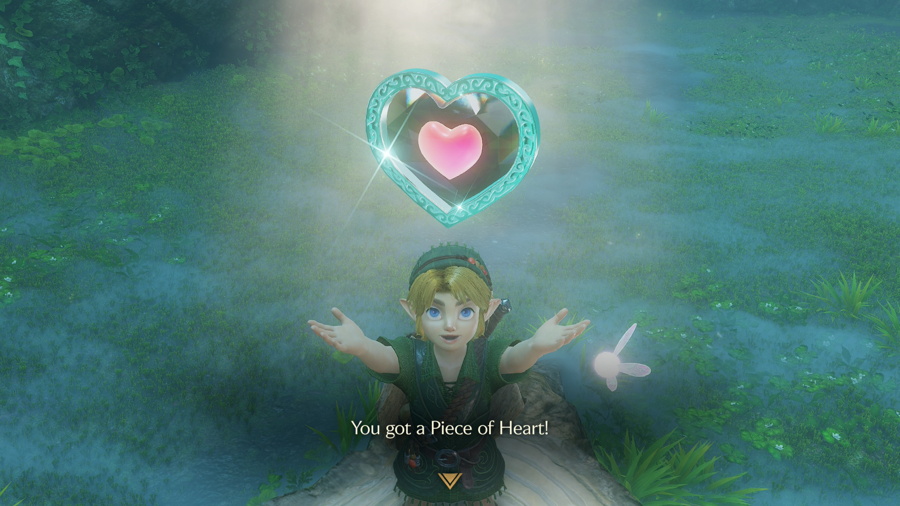
Drop down to the lower area and you'll find two Skull Kids on a stump. Pull out your ocarina and play their simon says game where you'll need to copy the notes that they play. There are three rounds of this that get increasingly harder. After each round you'll get a prize, the final of which is Piece of Heart #1. Otherwise known as heart pieces, these are a collectible that will automatically be combined once you find four to get a full heart container.
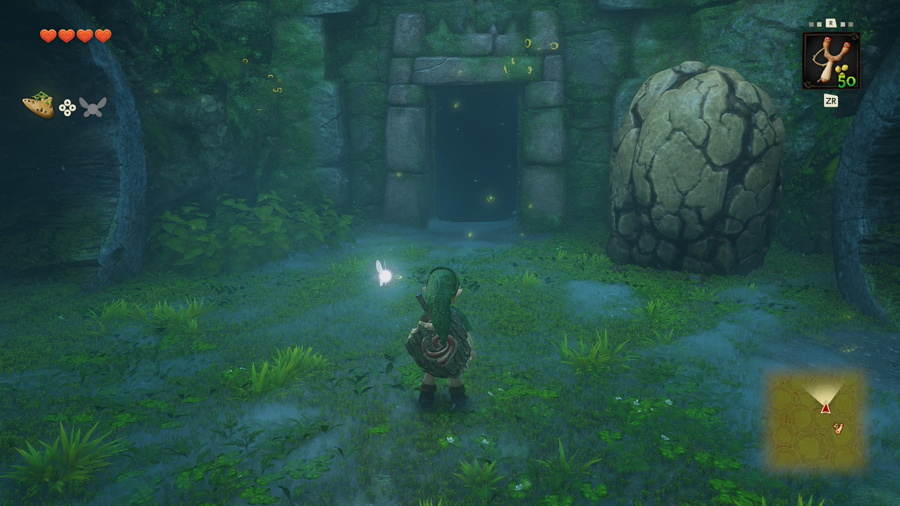
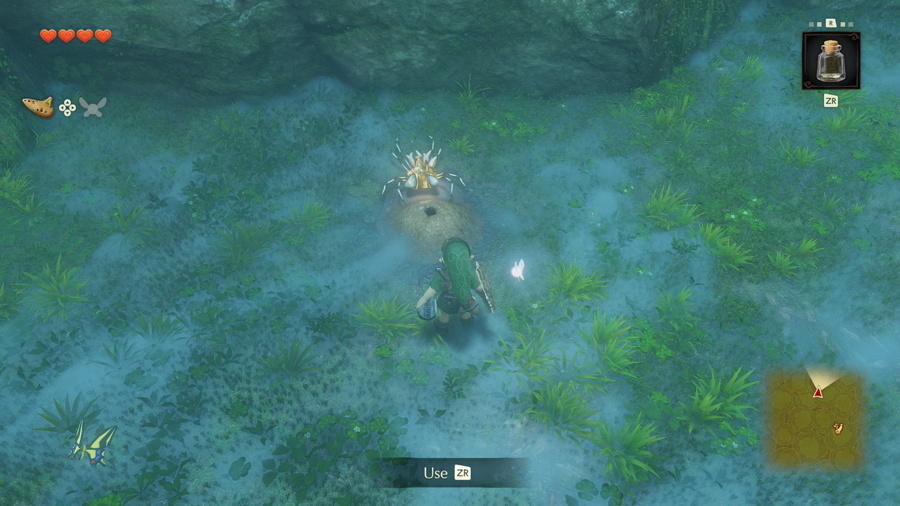
Climb back up to the higher platform and you'll now want to take the north exit deeper into the woods where you'll see a large cracked boulder to the right. From here you'll want to go right, left, left. Here there are two Business Scrubs selling easy to find items. More importantly there is a soft soil patch here you can release a bug into to find Gold Skulltula #11. You should be able to find a bug in the surrounding grass, but if not you can buy one for 30 rupees from one of the Business Scrubs.
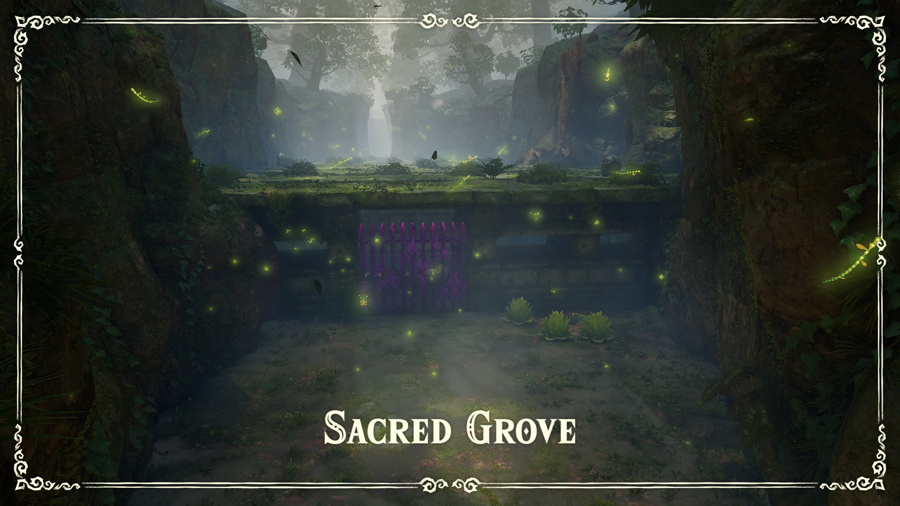
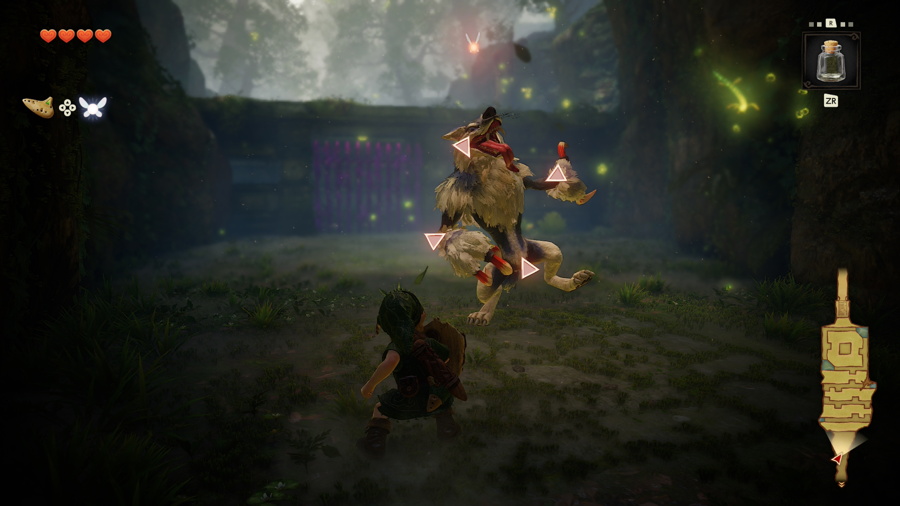
Exit this area and from here you'll want to follow the music you can hear (and see floating music staffs) to reach the Sacred Grove. If you get lost and find yourself back at the entrance the full directions from there are: right, left, right, left, straight, left, and right. Once you get there you'll need to fight a Wolfos. They key to defeating them is to block their attacks with your shield and then you'll have a short opening to attack. Remember that Deku Sticks do twice as much damage as your sword.
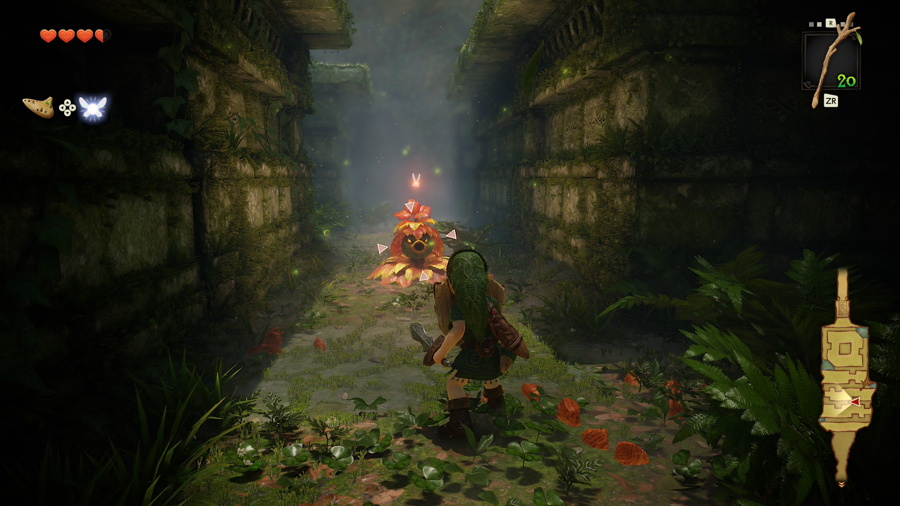
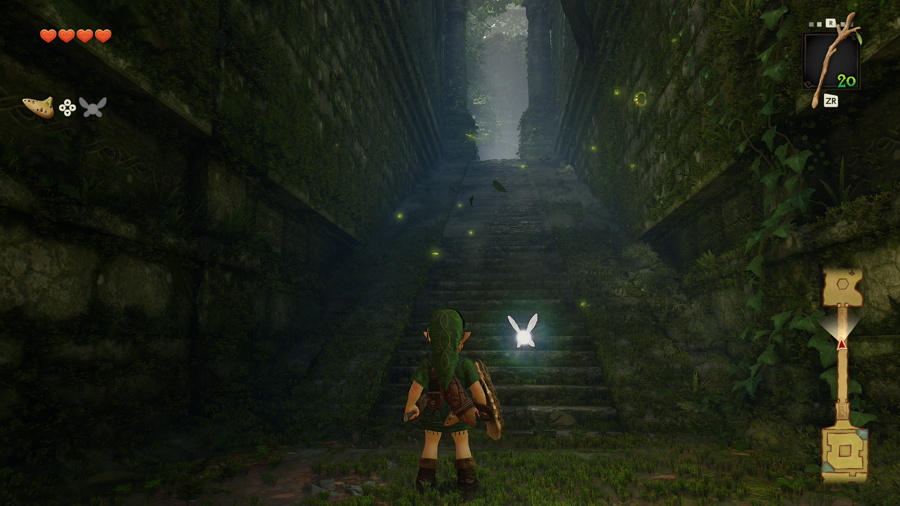
You'll now need to navigate this long maze-like corridor to find the exit at the north. It's full of Mad Scrubs, a more aggressive Deku Scrub that takes two shield reflections before you can run up and slash them. Just use your mini-map to keep heading north. When you get to the end there will be a long staircase. Follow it to find the source of the music: Saria playing her ocarina.
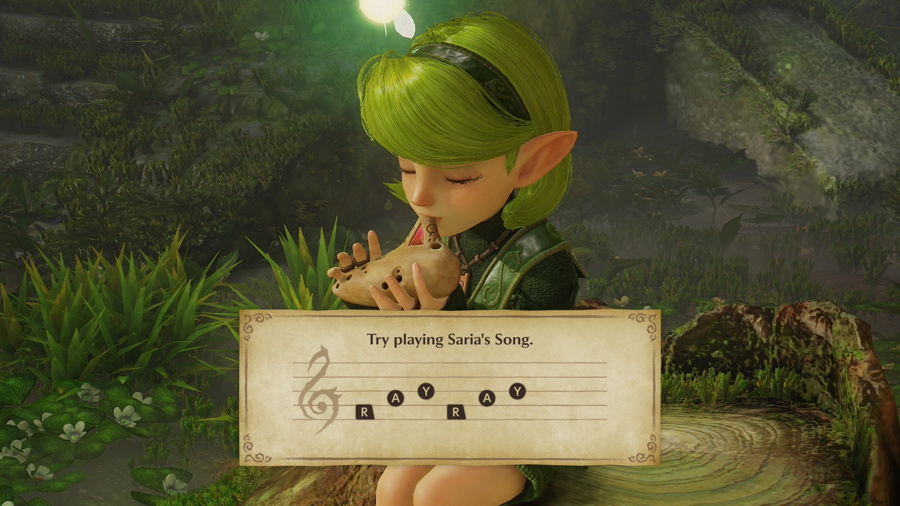
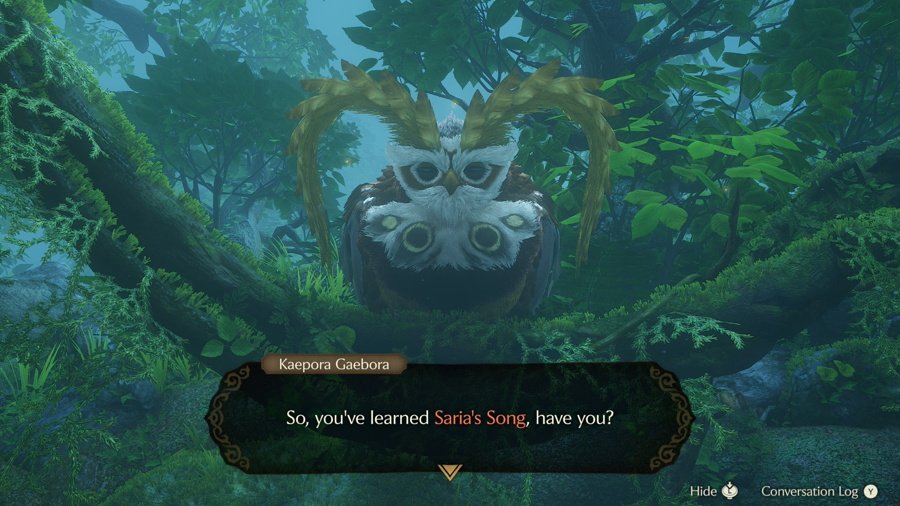
Speak to Saria and she will teach you a song that will help you stay connected: Saria's Song. Playing it will let you speak to her and she will often give you a hint about your next objective. We can make use of it very shortly by returning to the entrance of Lost Woods (take any "wrong" exit to warp there). You'll be stopped by Kaepora Gaebora who also hints at this.
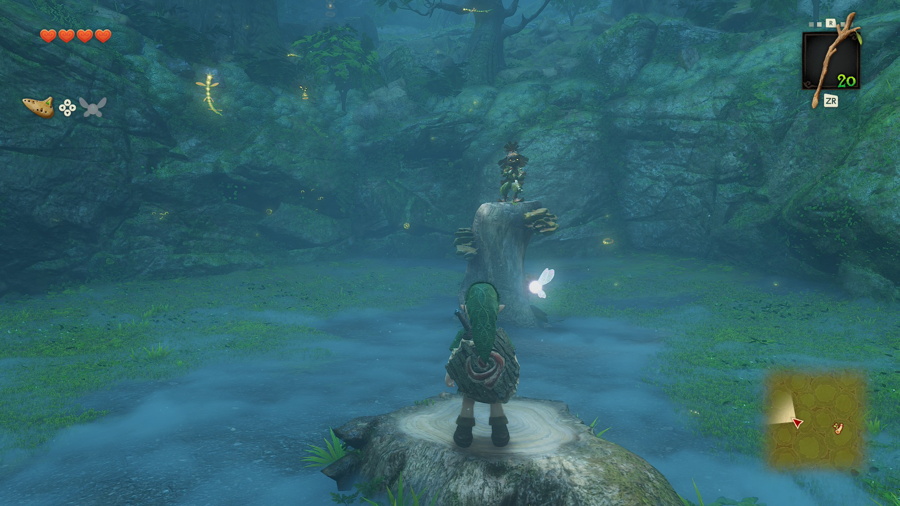
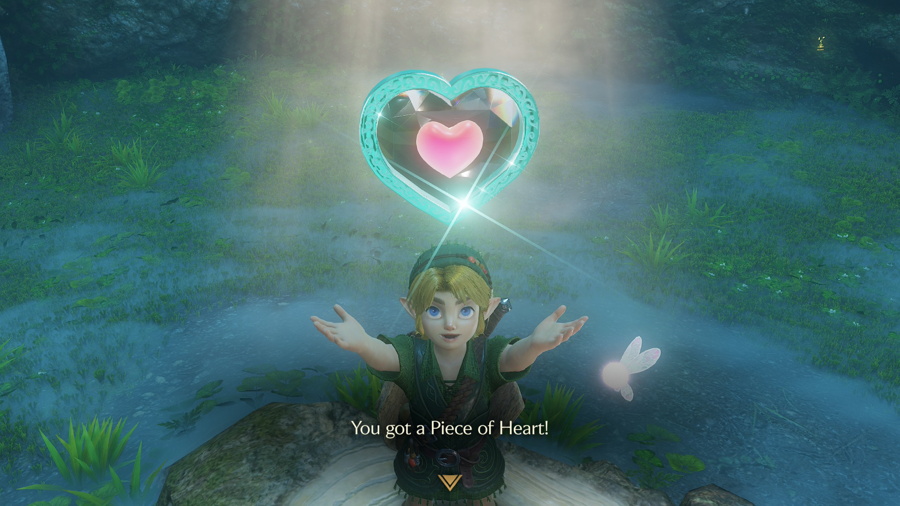
From the Lost Woods entrance, take a left. Stand on the stump in front of the Skull Kid here and play Saria's Song on your ocarina. You can press "ZL" to pull up a song book while you're playing if you ever need a reference. As a reward for playing the song the Skull Kid will give you Piece of Heart #2. We are done in the forest for now, so head back to Hyrule Field.
Lon Lon Ranch
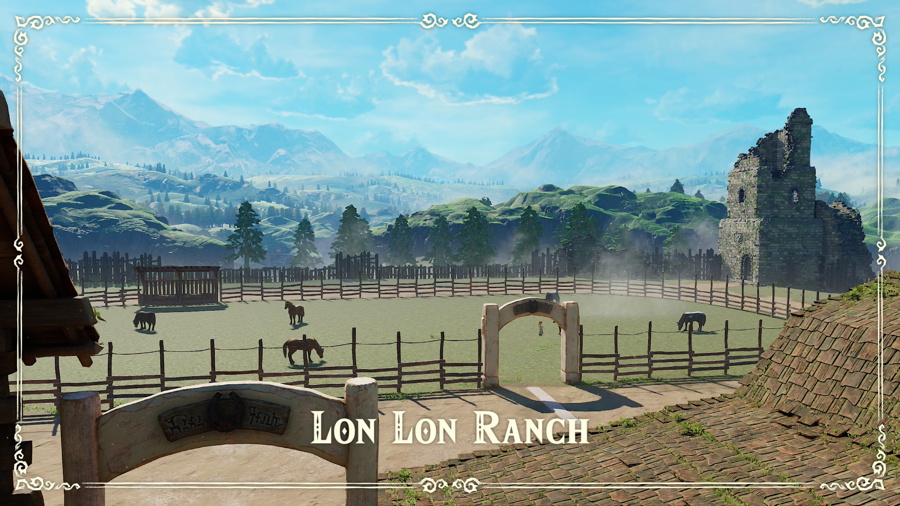
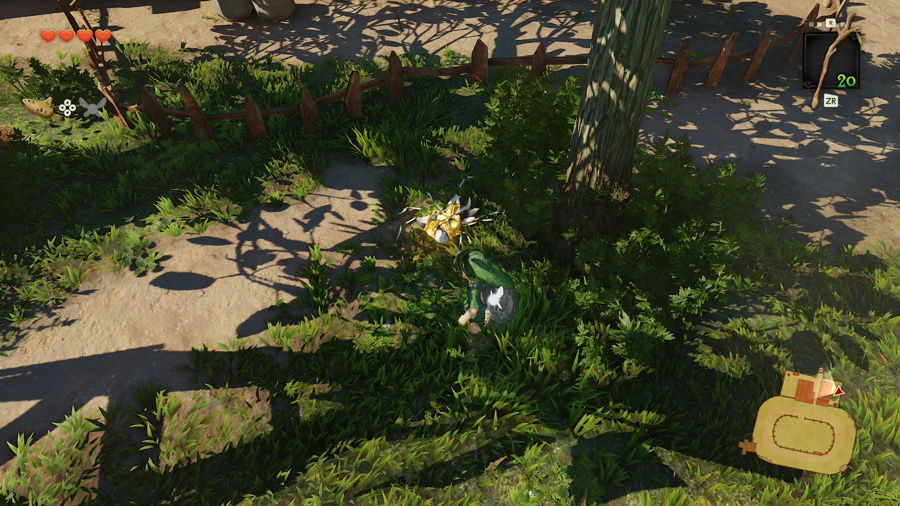
In the center of Hyrule Field you'll find a fenced area known as Lon Lon Ranch. Head left as soon as you enter to get behind the building and you'll see a tree with a golden glow. Roll into it and Gold Skulltula #12 will drop down.
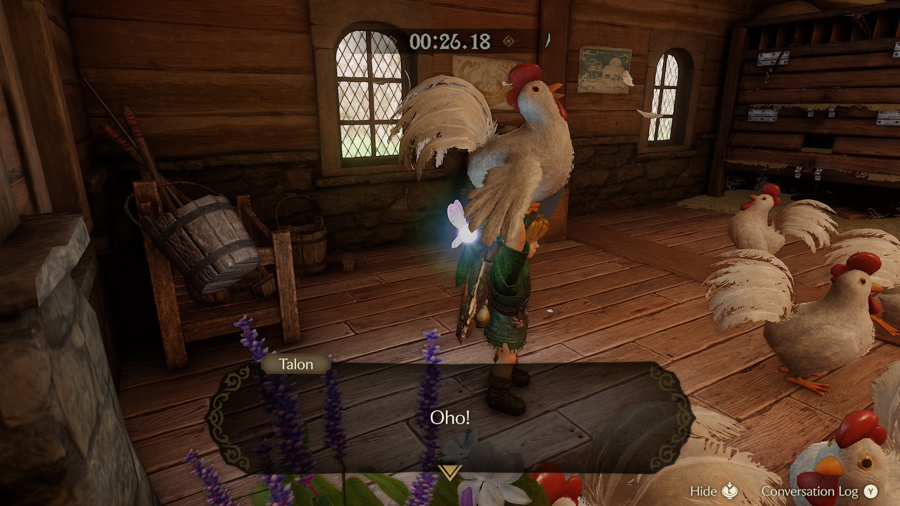
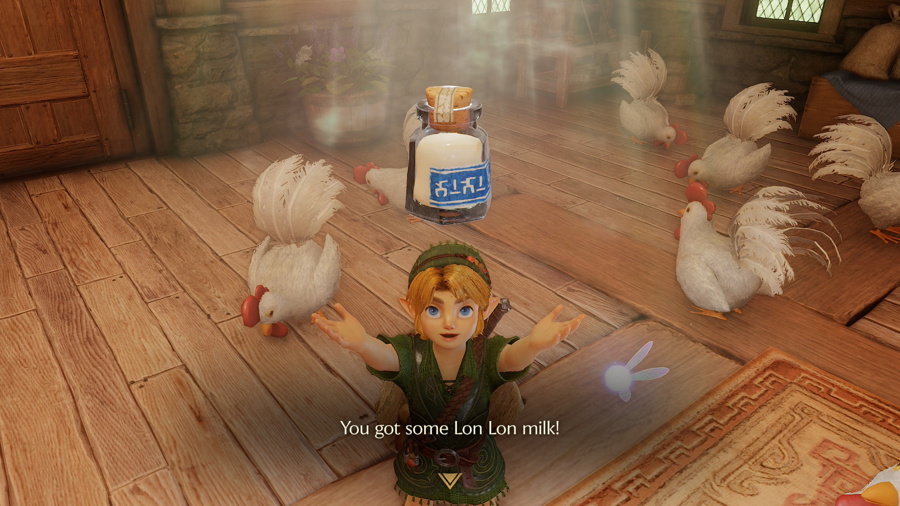
From the entrance of the ranch enter the first door on the left to find Talon, who we met earlier at the castle, sleeeping in the chicken coop. Speak to him to play his Cucco-Findin' game. You'll need to find and pick up three Super Cuccos to win. This is much easier in this version of the game, as the Super Cuccos have a slightly different pose where they are looking upward. Once you win the game you'll get Bottle #2 (containing some Lon Lon milk) as a prize.
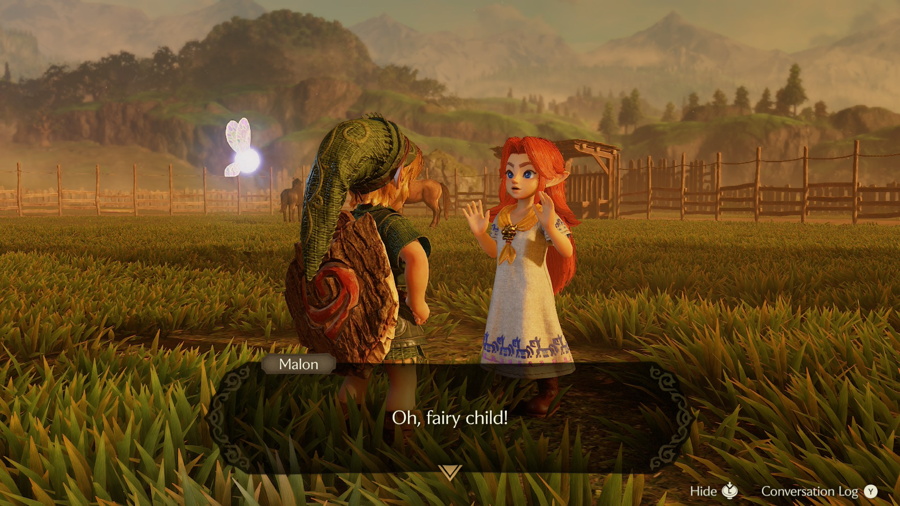
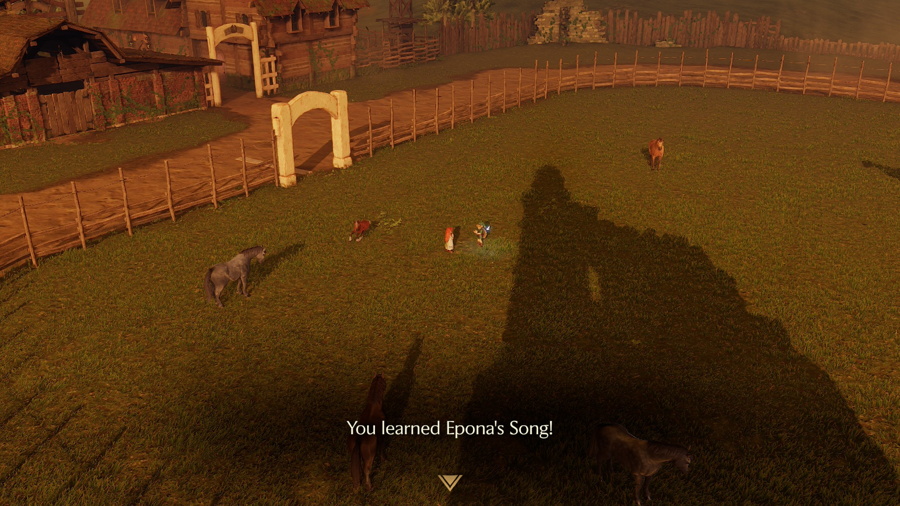
As long as it's still daytime, you can reconnect with Malon in the field in the center of the ranch. She'll introduce you to her young horse named Epona. Afterward take out your ocarina and she'll teach you Epona's Song. This will be very useful later in the game, but for now whenever you see a cow you can play this song to get a full bottle of Lon Lon milk.
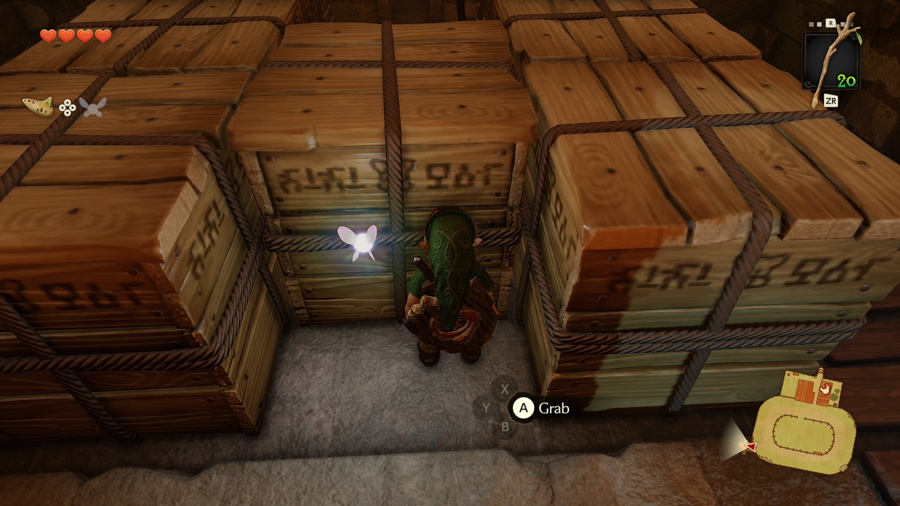
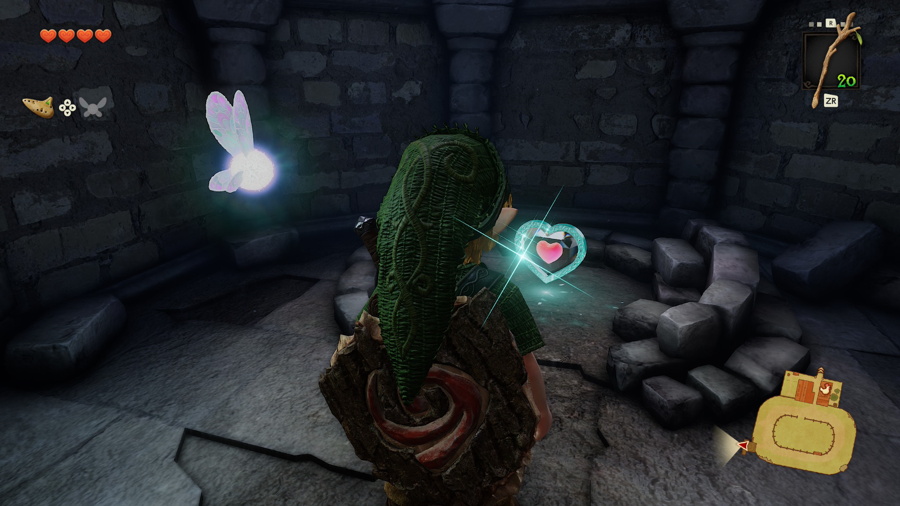
Head towards the stone structure in the southwest corner of the ranch. The goal in this room is to move the crates so you have access to the little hole in the grate. Pull all six crates out to the side and then pull the final one away from the grate. Then you can climb over them and enter the narrow passage to get Heart Piece #3. During nighttime you might notice a Gold Skulltula in this structure, but we won't be able to collect it yet.
Gerudo Valley
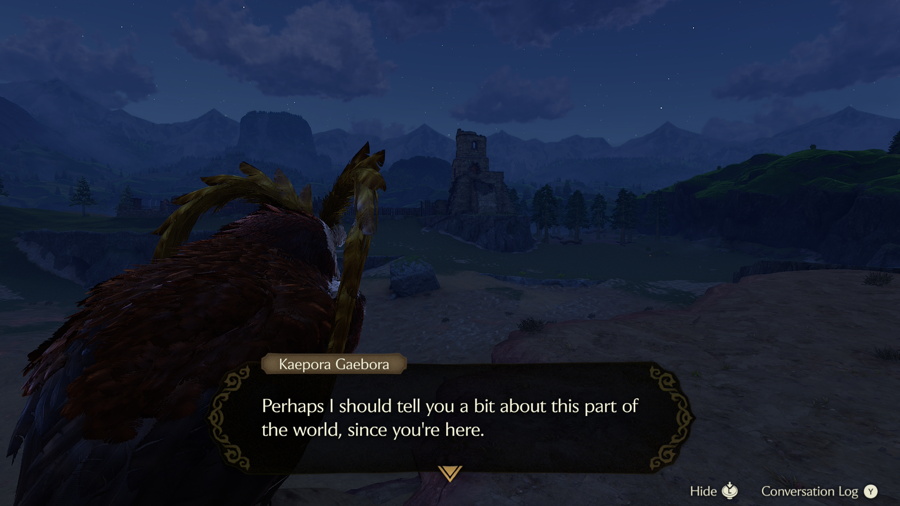
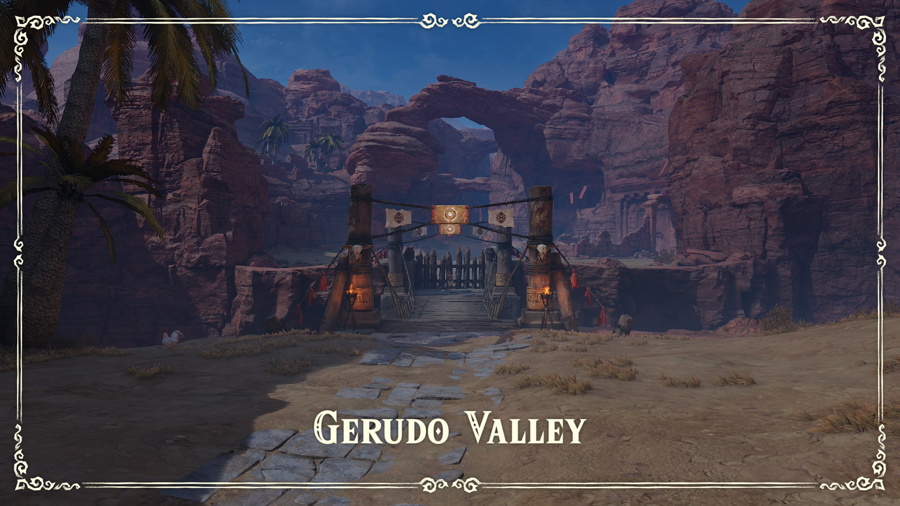
Make sure you have at least one bug in a bottle and then make your way to Gerudo Valley via the western exit of Hyrule Field. When you get close Kaepora Gaebora will give you a warning that the nearby areas aren't really meant to be explored yet. However there are a few things we can collect now, so we'll press on anyhow. Cross the bridge to enter Gerudo Valley proper.
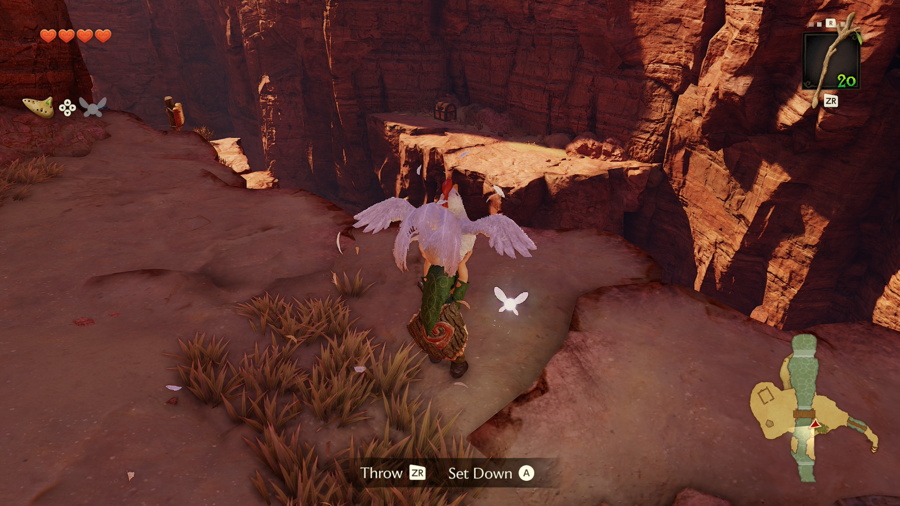
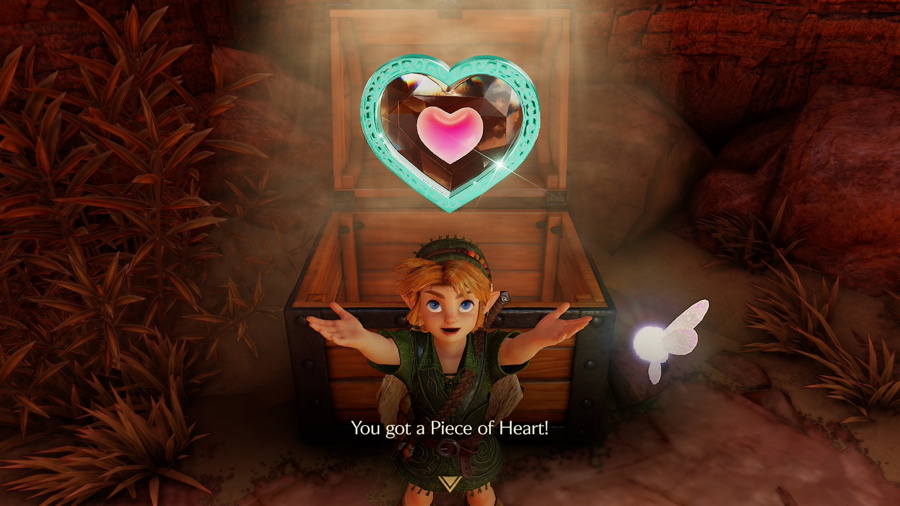
You'll find a Cucco to the left of the next bridge. You can pick it up and then jump off the nearby cliff and use the Cucco to float over to tthe opposite cliff where you can see a treasure chest. Open this chest to find Piece of Heart #4. If you've been following along that means you'll have another full heart container, a total of 5.
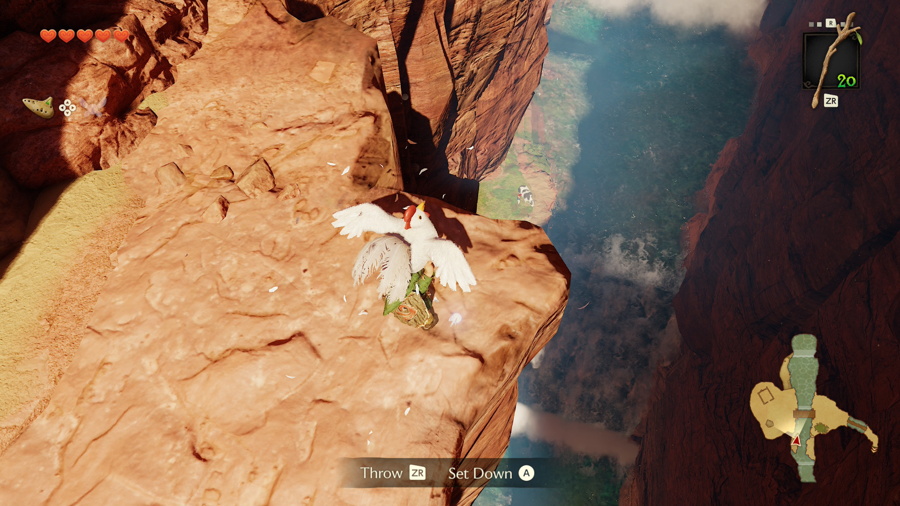
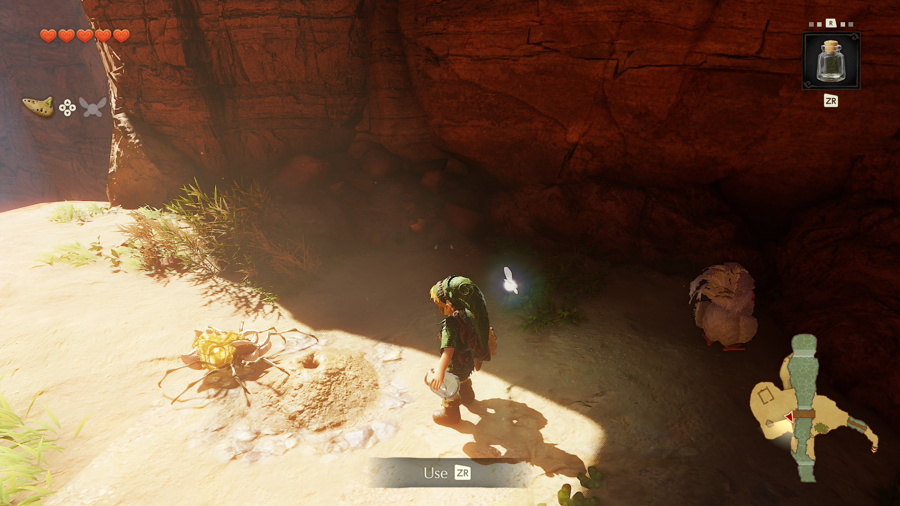
From this same cliff, grab the Cucco again and point yourself north. Way down below you'll see a cow, so jump off and float towards that. On this cliff you'll find another soft soil location you can release a bug into. Gold Skulltula #13 will pop out when you do. You can also play Epona's Song for the cow here (Li'l Miss Moo) to get some more Lon Lon Milk if you'd like.
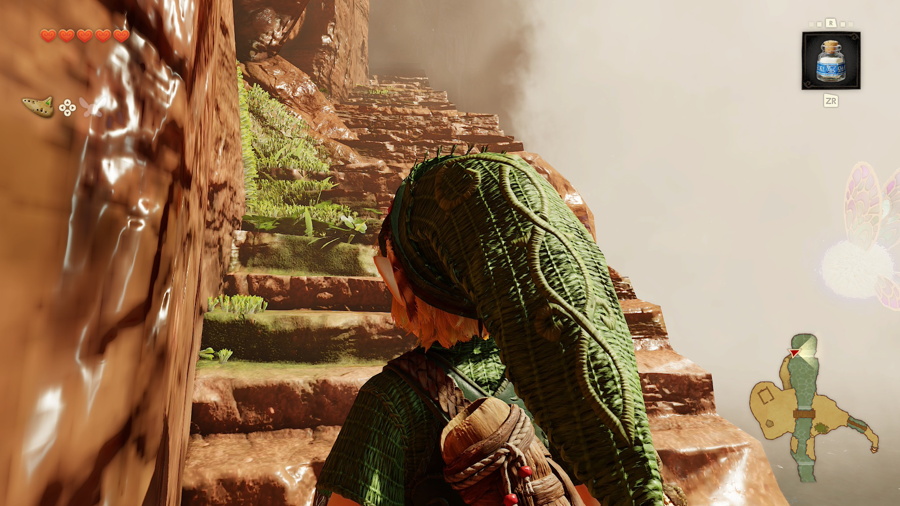
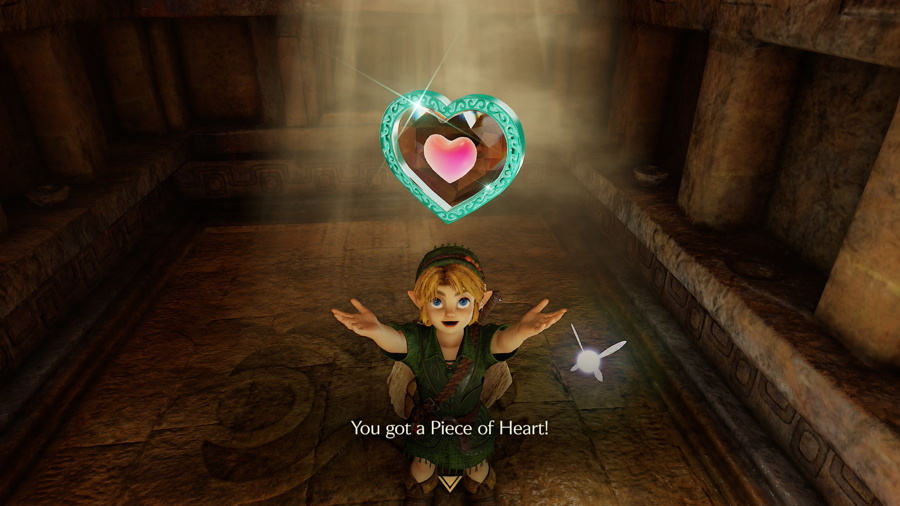
Continue following this cliff to the north and you'll find a narrow passage that goes behind the waterfall. Follow the stairs all the way up and you'll find a small room containing Piece of Heart #5. From here you can jump into the river below and follow it down stream. It will conveniently take us right ot the next area we want to be: Lake Hylia.
Lake Hylia
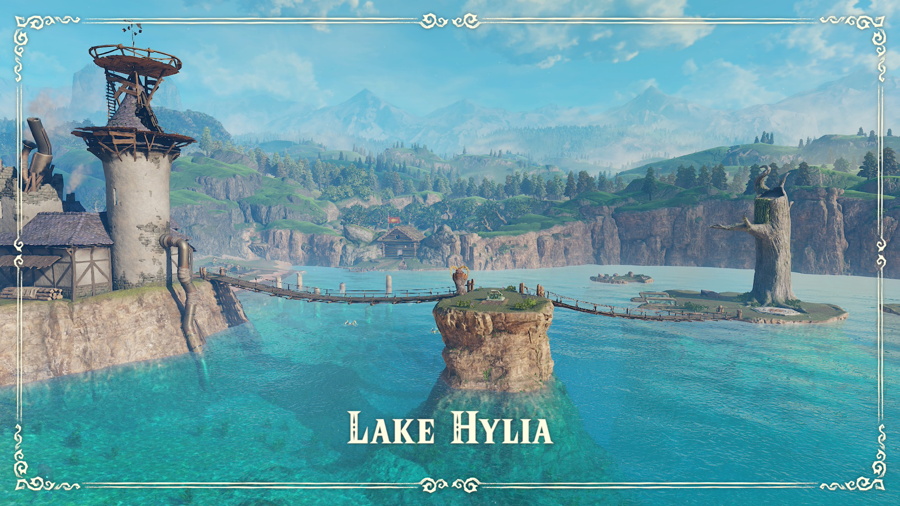
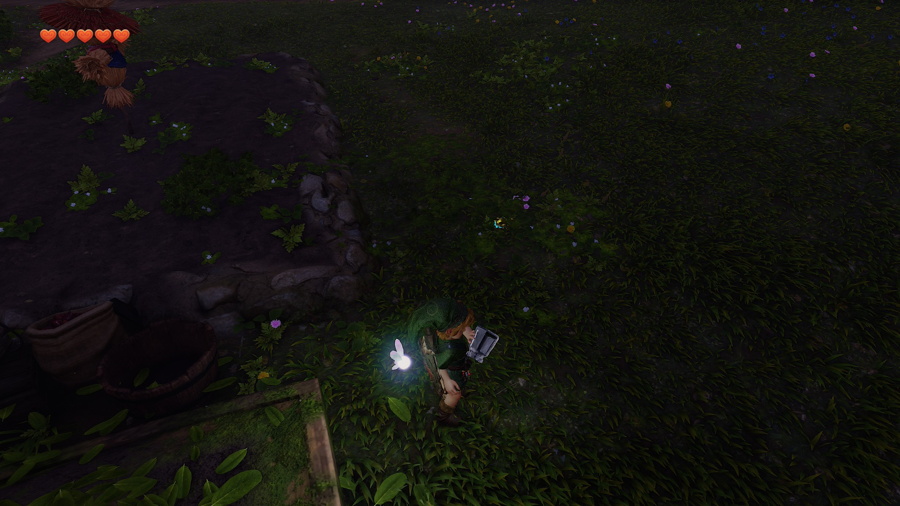
Once you arrive at Lake Hylia, swim for the closest piece of land to the north. Watch out for the Octoroks in the water that will spit rocks at you (you can reflect these with your shield on land to defeat them). Head over to the patch of soil with the scarecrows where you can cut some grass and hopefully find a bug. If not, you'll need to go find one somewhere else and come back.
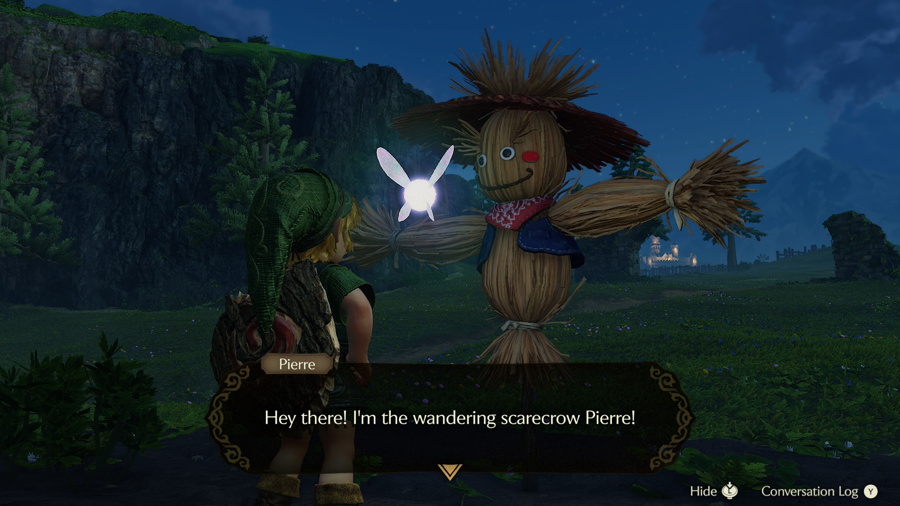
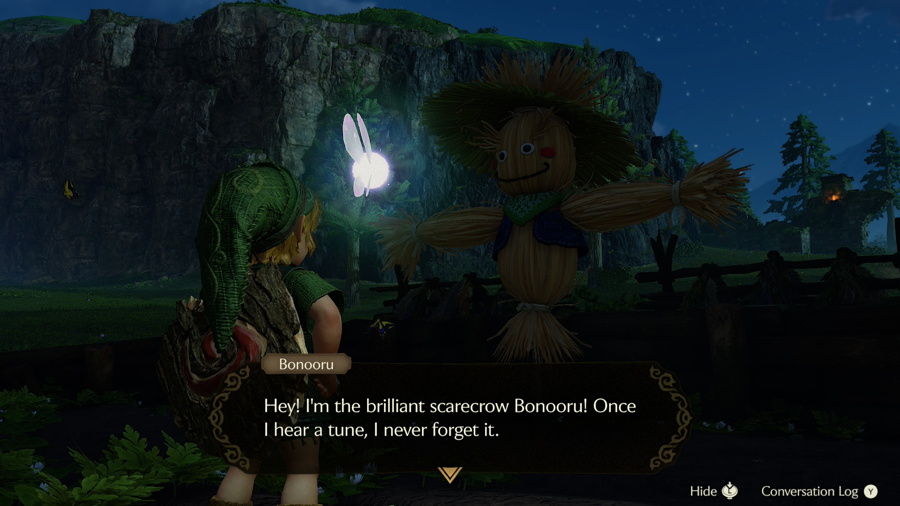
While we're here, speak to the scarecrow on the lower patch of soil named Bonooru. Pull out your ocarina and play any combination of notes that isn't one of the songs already in the game. You can be creative here and play whatever you'd like, songs from Majora's Mask are a popular choice. This will be known as your Scarecrow Song and can be played later in the game to summon scarecrows and solve puzzles. You can also reset it anytime by playing a different song in front of Bonooru (as a child).
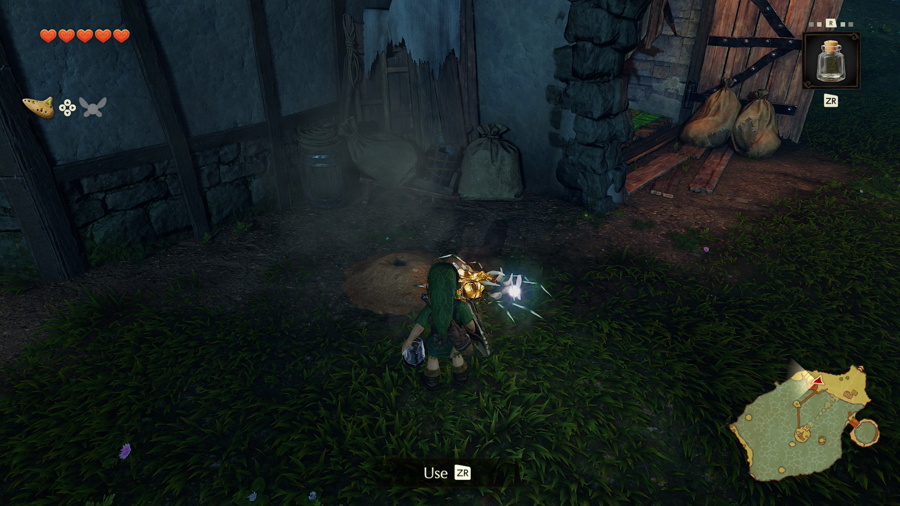
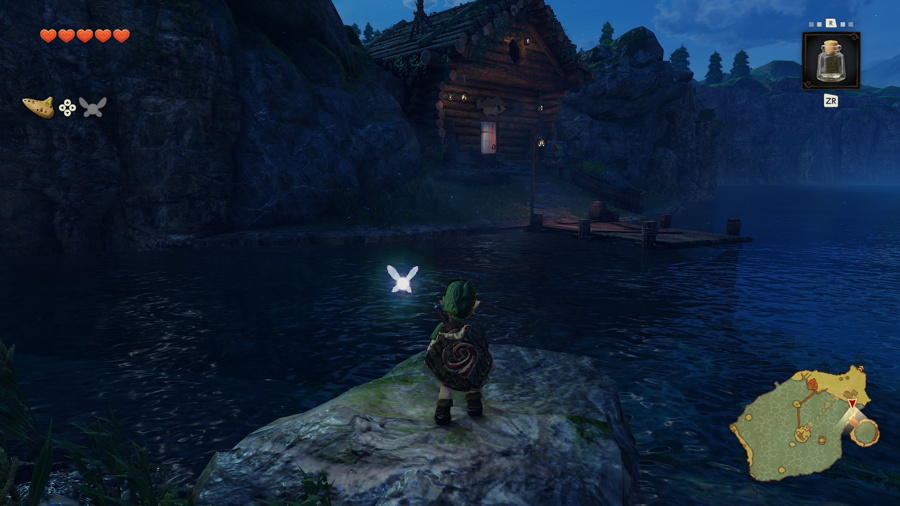
Walk over to the building nearby, which is the Lakeside Laboratory. There's not much to do inside but you'll find a patch of soft soil outside that you can release a bug into to get Gold Skulltula #14. Now head over to the circular area on the east side of the map and enter the Fishing Pond.
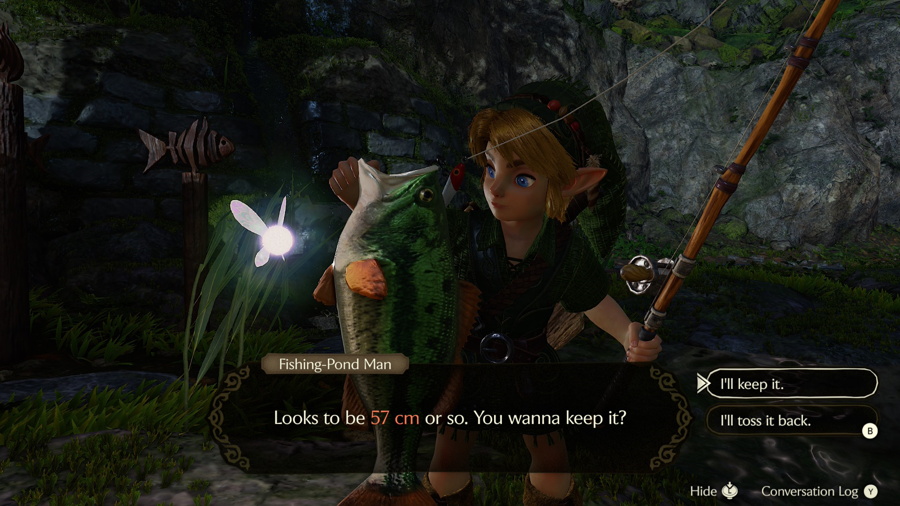
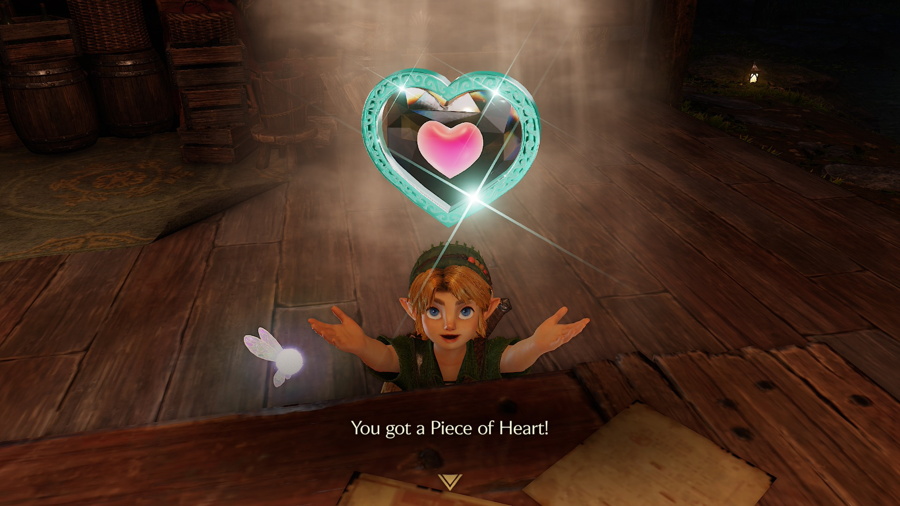
Here you can speak to the man behind the counter and pay 10 rupees for a fishing rod. Let him teach you how to fish to get the hang of it if you haven't done it before. Our main goal is to catch the biggest fish that we can see for the top prize. Near the center of the lake near the log you should see a fish that looks larger than the rest. Catch it and if it was the right fish (larger than 50cm) keep it. Speak to him behind the counter again to get your prize: Piece of Heart #6.
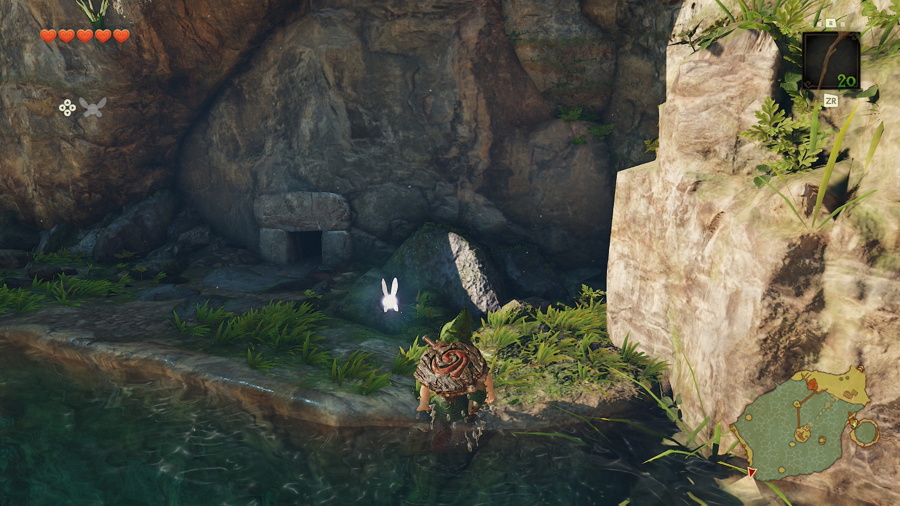
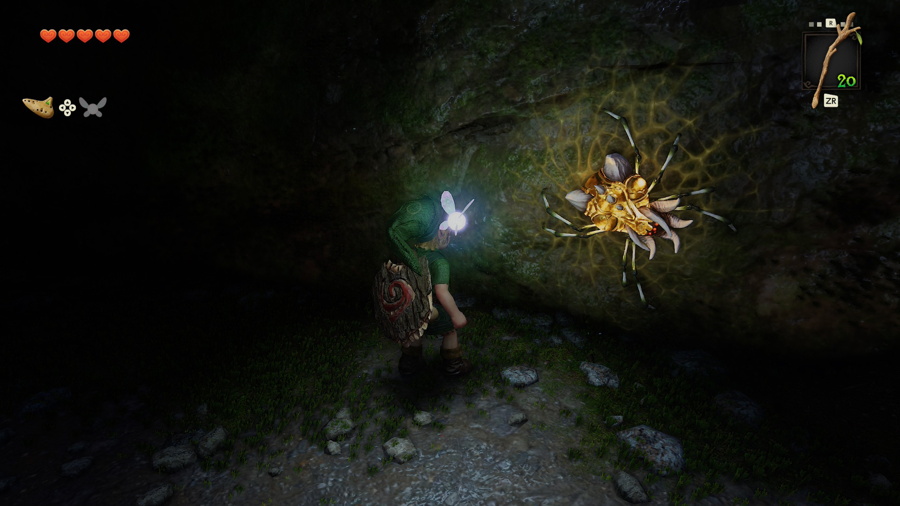
The last thing to do in this area is swim over to the tiny piece of land in the southwest corner of the lake. It's just to the south of the long narrow strip of land. You'll find a narrow passage leading to a small cave. Inside you'll find Gold Skulltula #15. That's the last collectible we can nab for now, so head back to Hyrule Field and we'll continue the main objective in the next chapter of this walkthrough.
Back to Great Deku Tree Continue to Dodongo Cavern
