
Chapter 3: Dodongo Cavern
Kakariko Graveyard
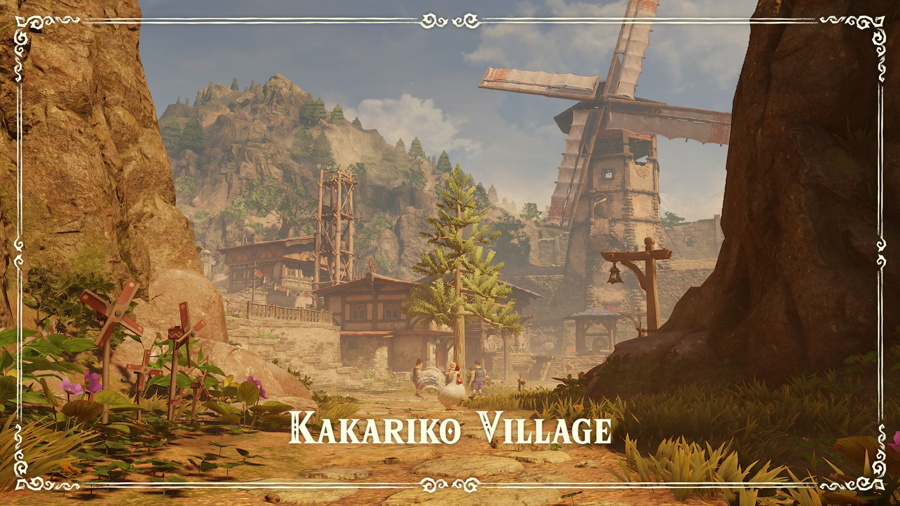
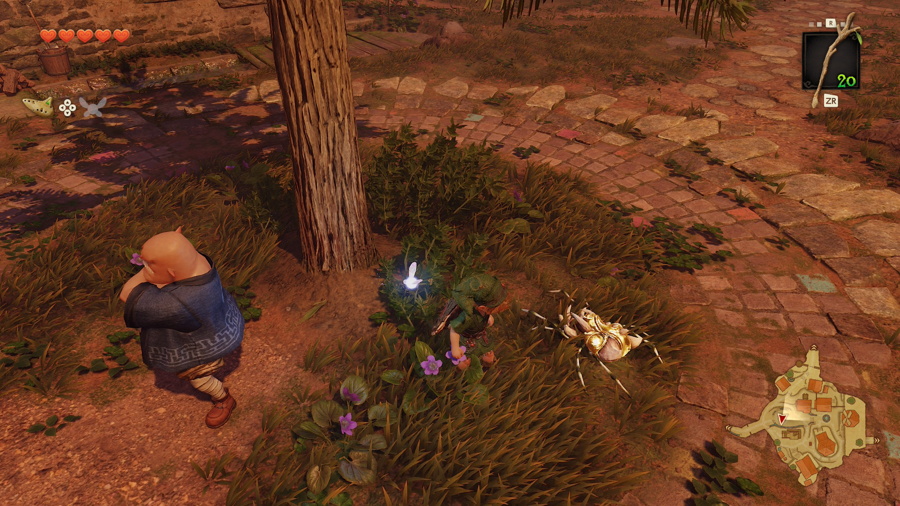
Our next objective starts in Kakariko Village. You can find the entrance to this village in the north of Hyrule Field, just east of the castle. Upon entering town head to the tree in the center of the area near the workers. You'll see a faint golden glow meaning you can roll into the tree to find Gold Skulltula #16.
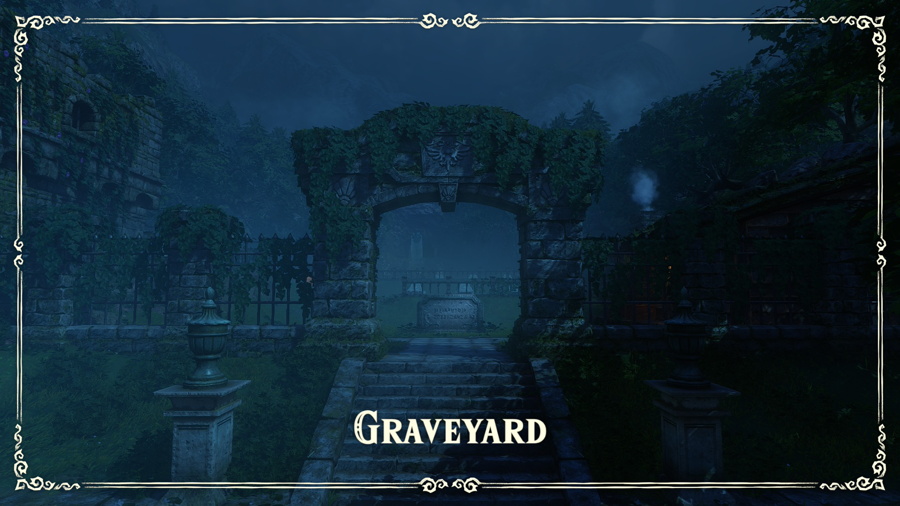
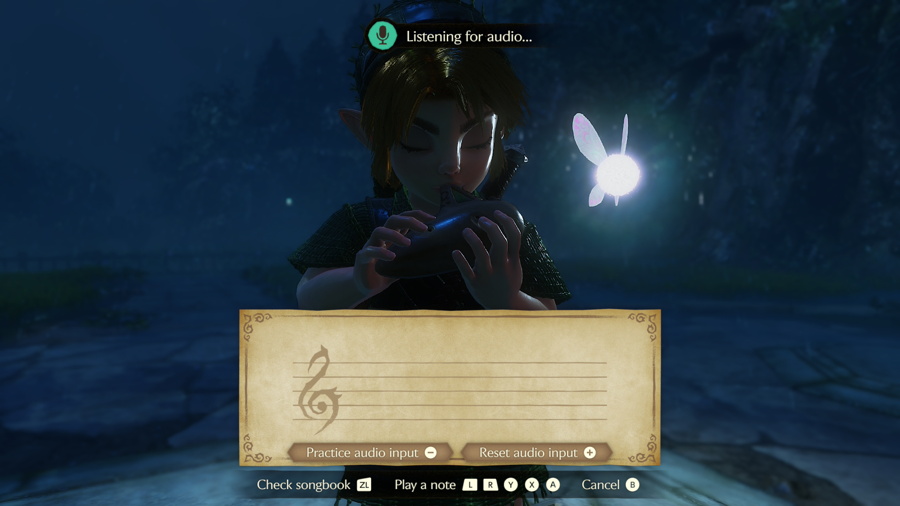
The first place you should check out is the Graveyard on the east side of town. Head to the back of the graveyard (far east side) and you'll find a triforce symbol on the ground. Anytime you see one of these, you should play Zelda's Lullaby on your ocarina. Doing so here will reveal an opening under the grave ahead. Head down and enter through the door.
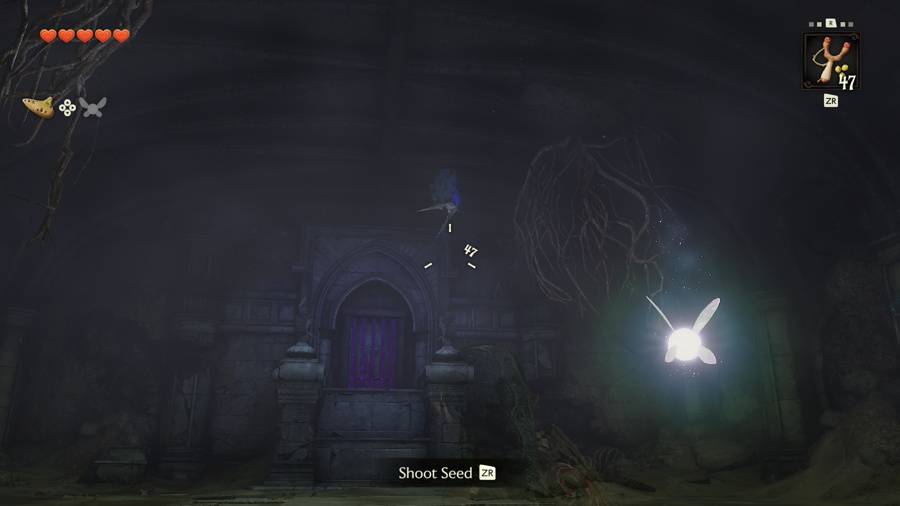
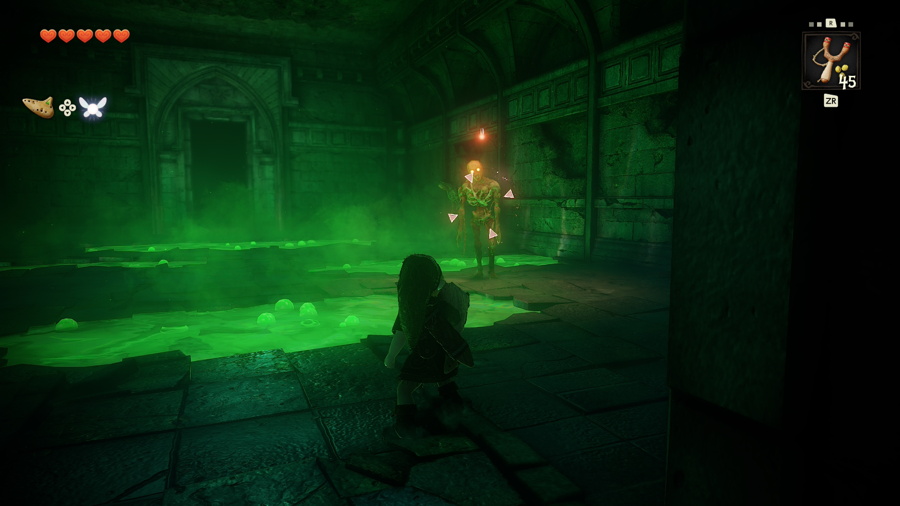
In this room you will encounter a new enemy: the bat-like Keese. There are four of them on the walls in this room that you can take out with your slingshot to unlock the door ahead. The next room features another new enemy: ReDeads. These zombie-like creatures will stun you with their scream and glowing eyes if you get too close, and then latch onto you to suck your life away. It's best to just avoid getting close and run by them for now, though you can eventually kill them with enough sword slashes.
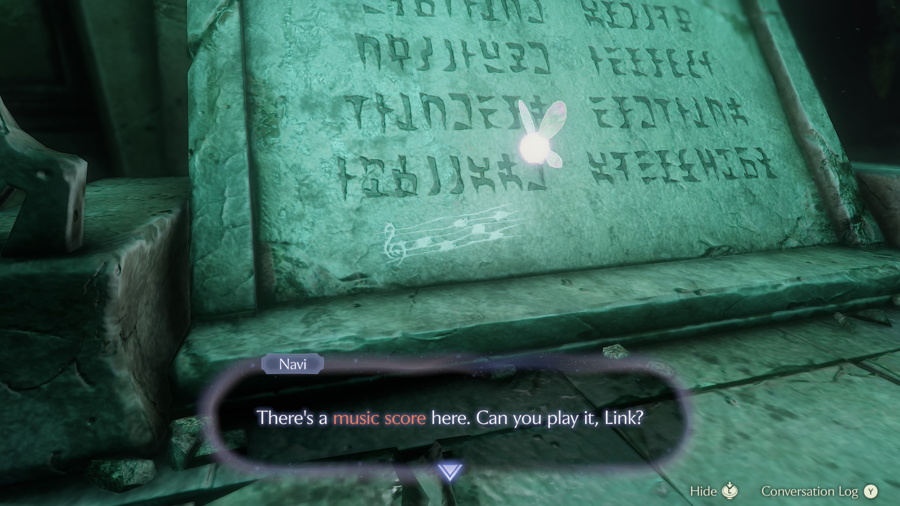
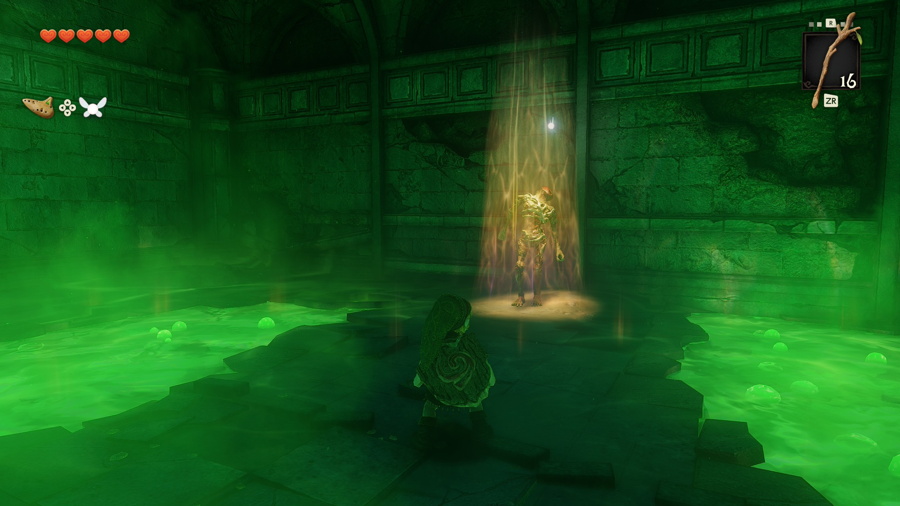
In the final room of this underground area you'll find a tombstone with a song etched into the bottom. Navi will encourage you to play it and in doing so you will learn the Sun's Song. This is a very useful song that will immediately toggle between day and night. As you leave the area you can make use of a secondary effect of the song: freezing ReDeads in their place when it is plaayed in front of them.
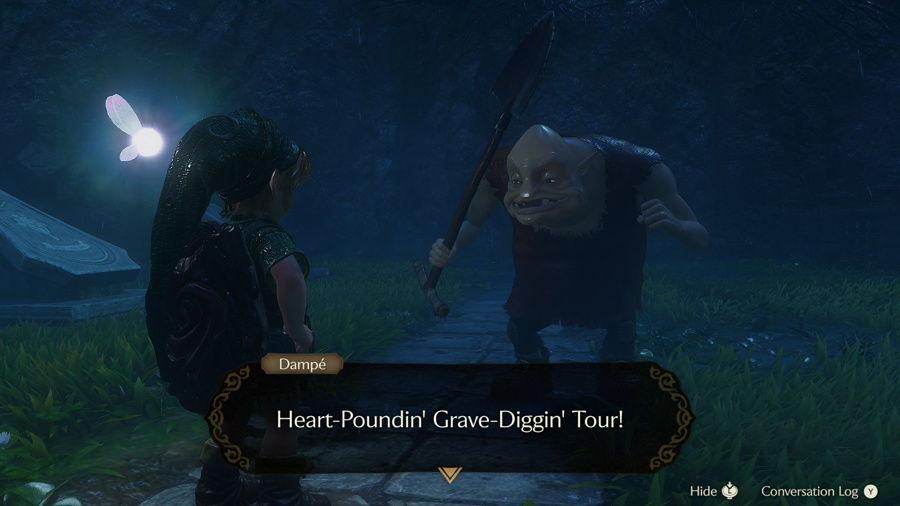
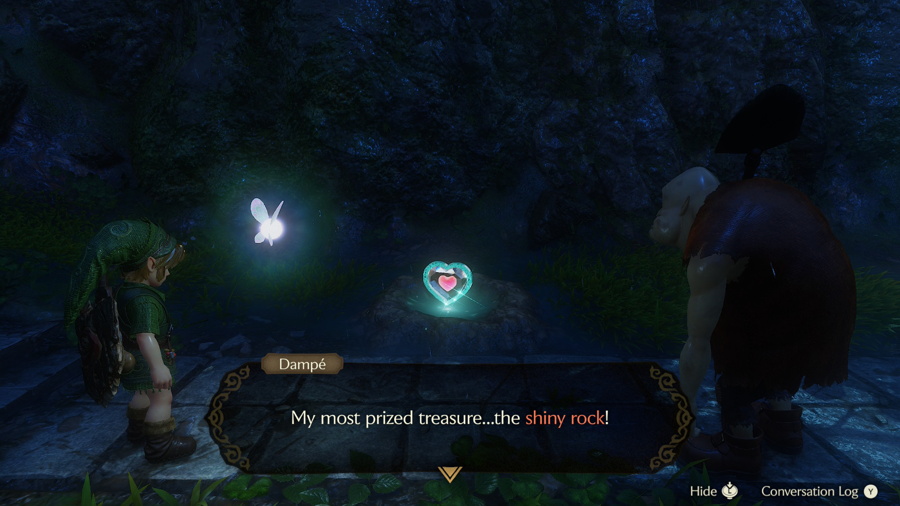
Back on the surface in the Graveyard, play the Sun's Song if necessary to make it nighttime. At night, the gravekeeper Dampé will be roaming around. Speak to him to take part in his "Heart-Poundin' Grave-Diggin' Tour". This is a game where you pick a random patch of dirt for Dampé to dig in for 10 rupees. There is then a chance that he digs up a reward ranging from 1-50 rupees. The final prize and what we are after is Piece of Heart #7. There is no real strategy to this, you just have to keep digging until you get lucky and come back if the night ends or you run out of rupees.
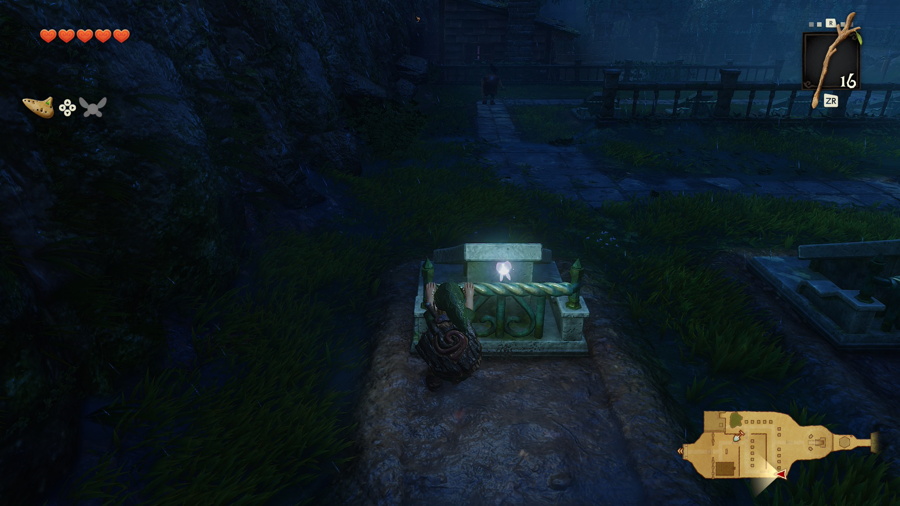
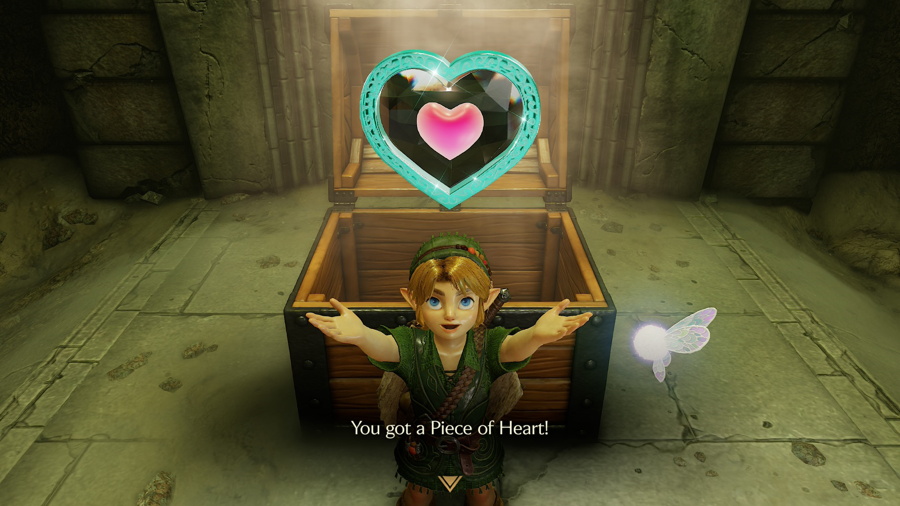
There are a couple of goodies that can be found underneath some of the gravestones that you can pull back to find. Most of them will spawn Poe enemies, so be careful about pulling them randomly. The first one we are after is the grave furthest to the right in the back row (the southernmost on your map) which leads to a chest containing Piece of Heart #8, which should result in another full heart container if you've been following along.
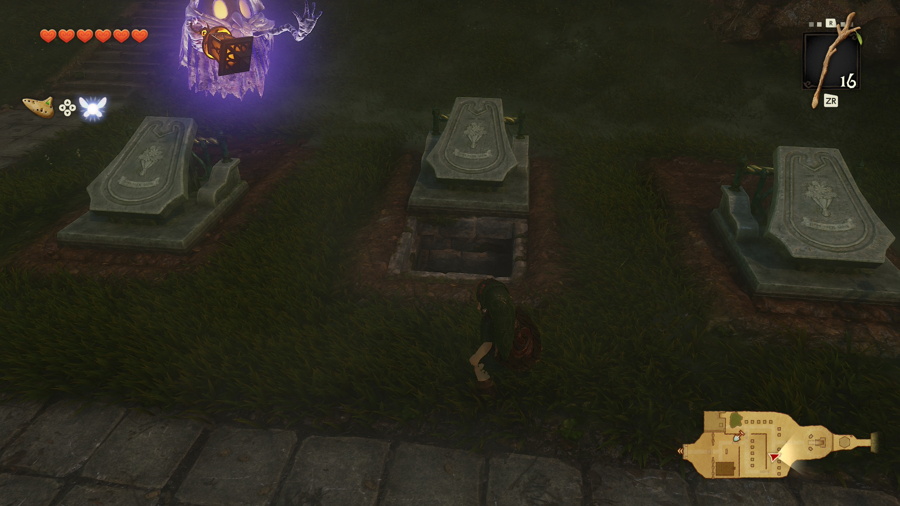
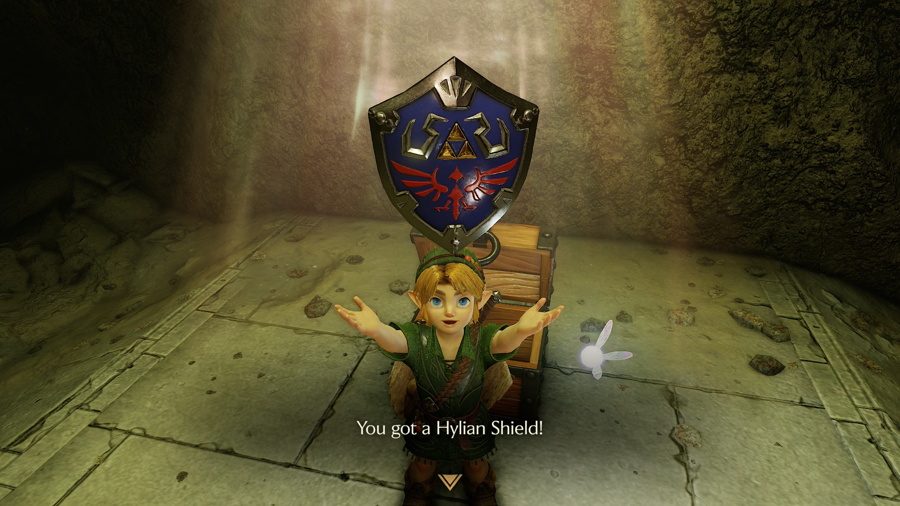
In this same row of graves, move three to the left (the fourth from the right) and pull it back to reveal another hole in the ground. Underground you'll find a ReDead guarding a chest. Use the Sun's Song to take it out and open the chest to get a Hylian Shield. This will be very useful in Death Mountain, as fire can burn up your Deku Shield.
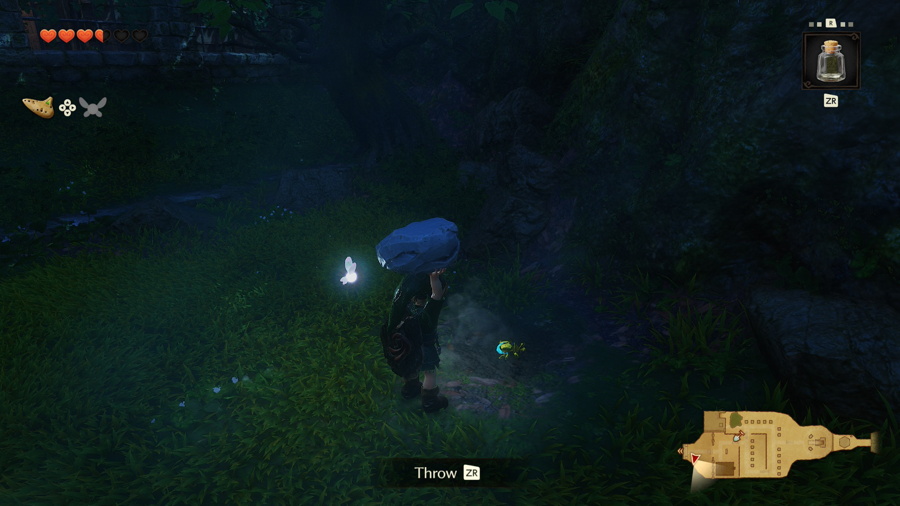
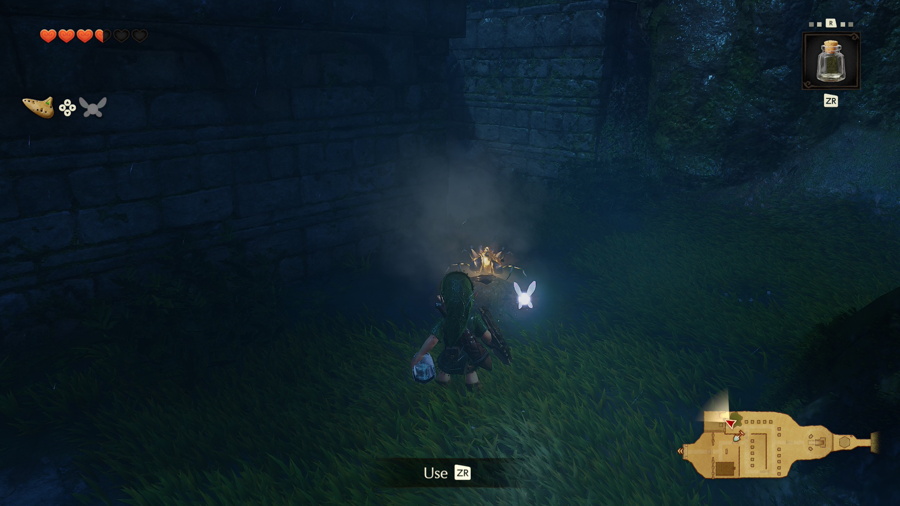
The final thing to do in the Graveyard is find the patch of soft soil to the right of the tree to the north. Release a bug in it to find Gold Skulltula #17. If you don't have a bug, you can find one under the rock just to the right of the Graveyard entrance. Afterward exit back into Kakariko Village.
Kakariko Village
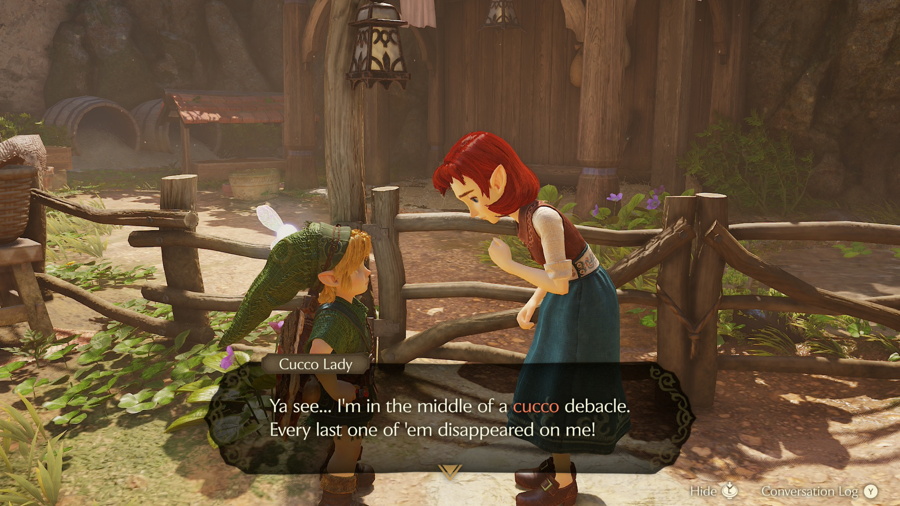
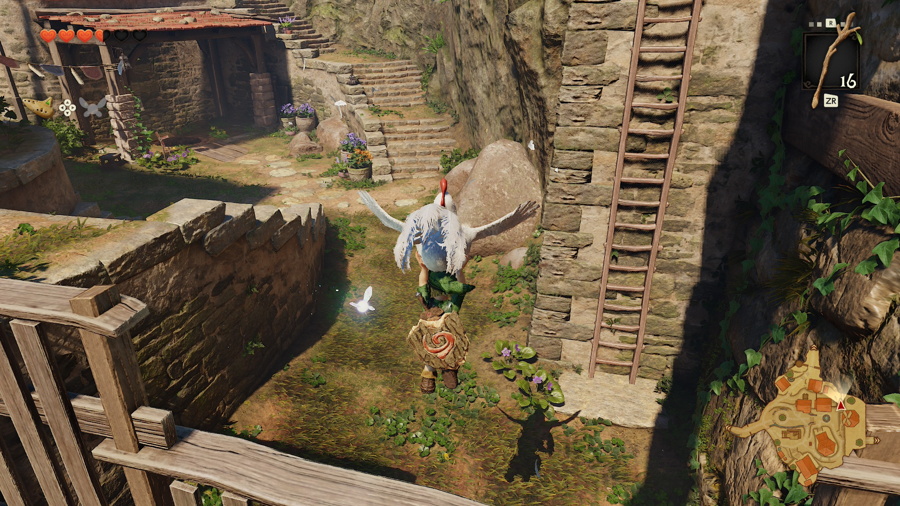
Head to the southwest of the village and speak to the Cucco Lady who is sad about her empty pen. She needs your help finding her lost Cuccos that are spread all throughout town. You'll need to find all seven and toss them back into the pen.
During this Cucco collection, we can also pick up a heart piece, so let's start with that. The first Cucco can be found very close to the pen by the construction materials. Pick it up but don't bring it back yet, instead head towards the windmill and climb up the steps in front of it. Jump off the ledge facing north (actually press the jump button to get extra height) and float over the fence in front of you.
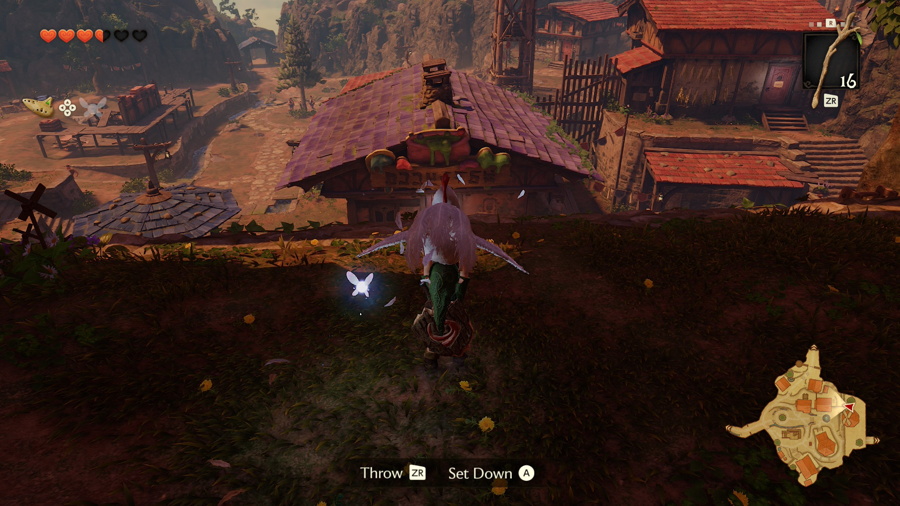
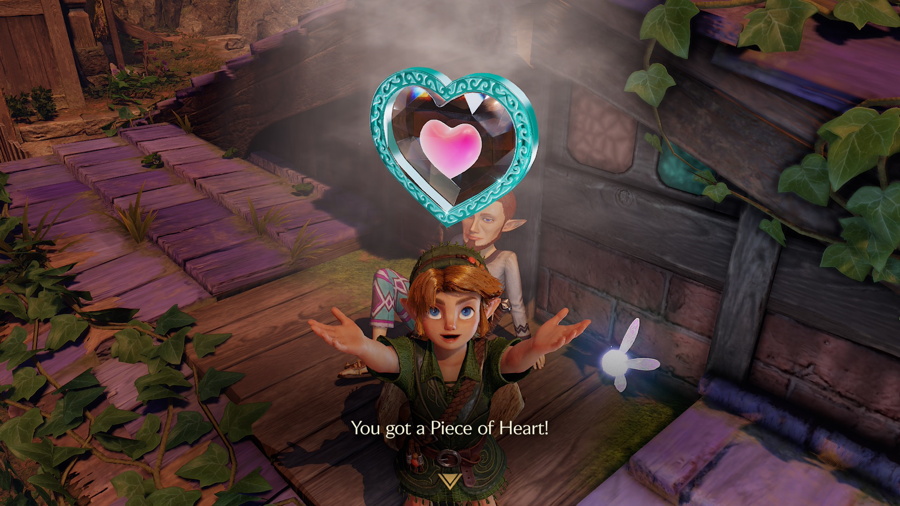
Once in this area you'll want to climb up the steps and throw this Cucco over the fence. Do the same for the other Cucco that you find in this area. Now climb up the nearby ladder and one more ladder will take you to the very top behind the windmill. Grab the Cucco here and turn around to see the potion shop with the blue roof. Jump off and glide over to that building and then drop down to the ledge on the other side. You'll find a man sitting here and you can speak to him to get Piece of Heart #9.
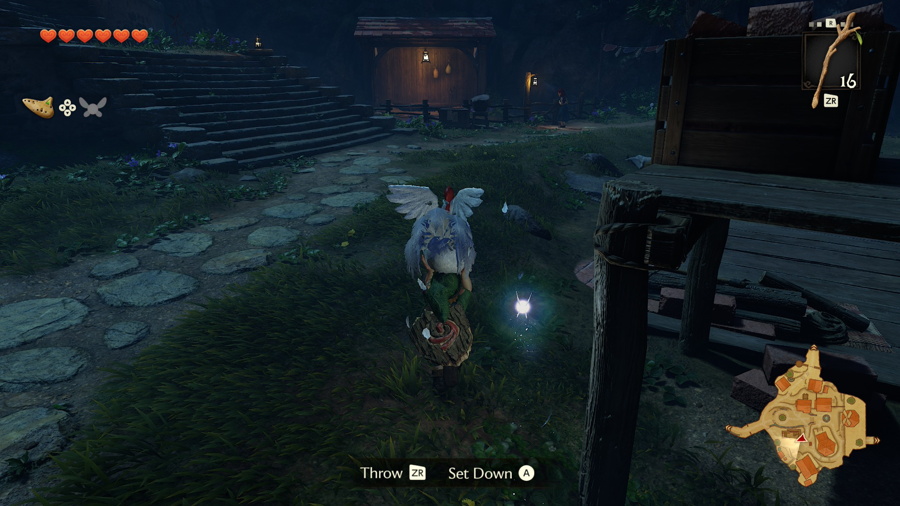
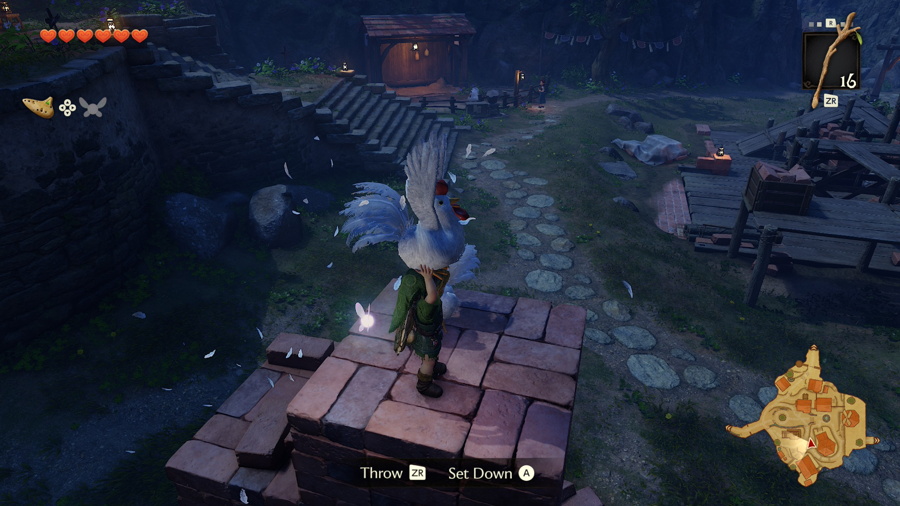
Now take this Cucco from the roof and return it to the pen in the southwest of the village. Return to the other side of the fence where you tossed the two Cuccos earlier and grab one more and return it to the pen. Go grab the final chicken that you tossed over the fence before, but instead of taking it to the pen take it up the stairs to the left of the pen. From here you can jump and float over to the stack of bricks where you can collect another Cucco. Return both of these to the pen.
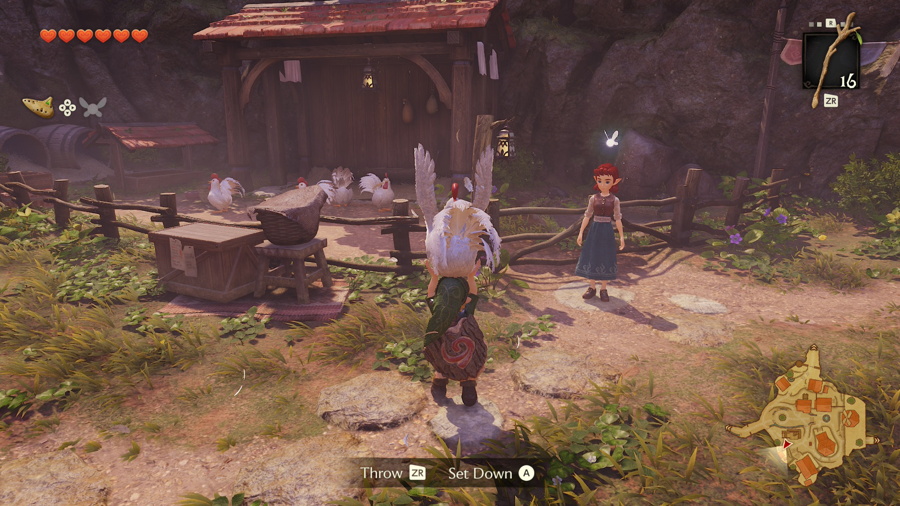
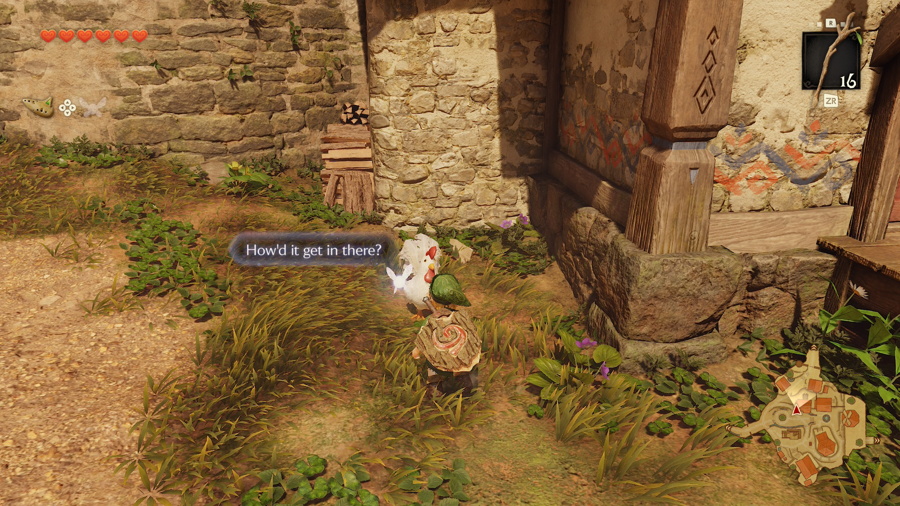
Head back towards the entrance of town to find your next Cucco and return it to the pen. Next to the house near the center of town, before the path that leads up to the left, you'll see a shaking crate. Roll into it to find another Cucco and return it to the pen.
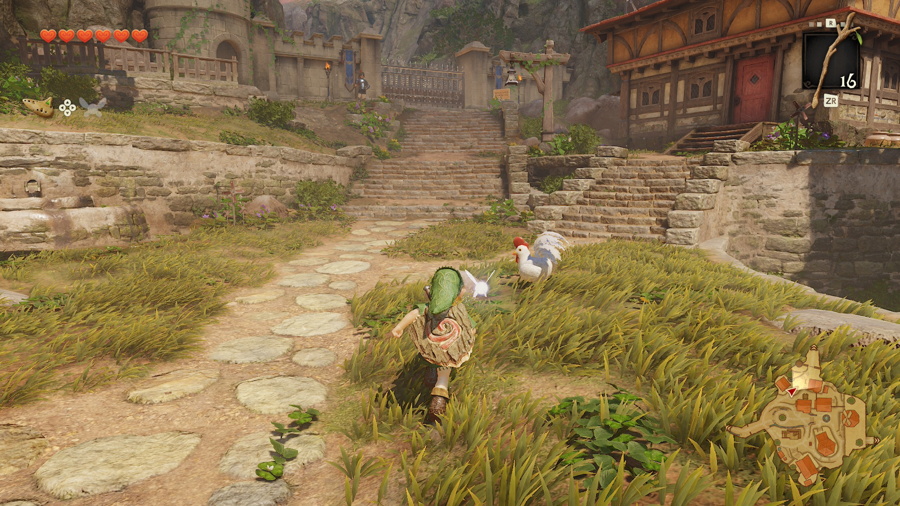
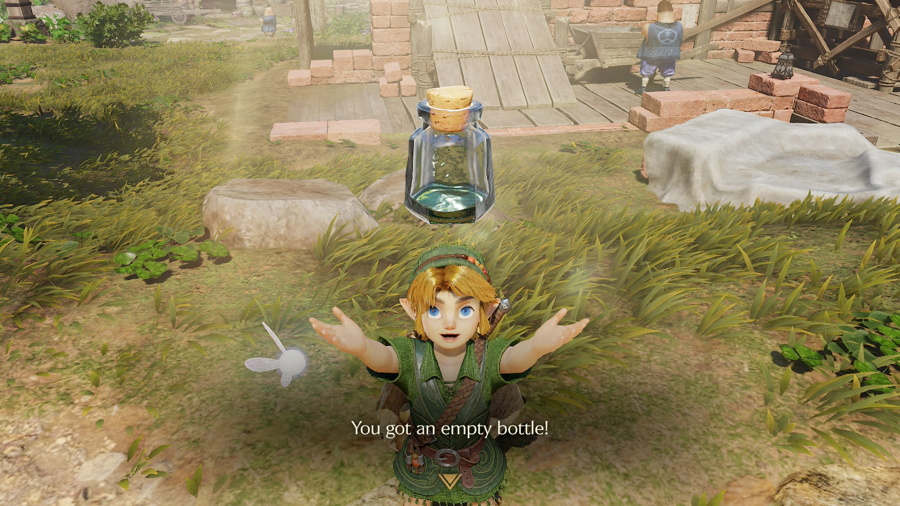
The final Cucco can be found in the northern area of town near the gate. Return it to the pen and speak to the Cucco Lady again to let her know you are finished. As a reward for your hard work she'll give you Bottle #3.
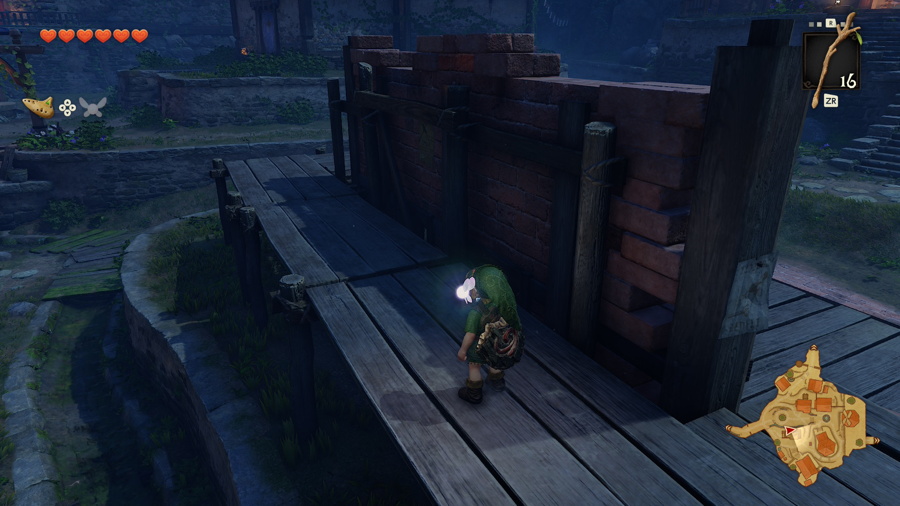
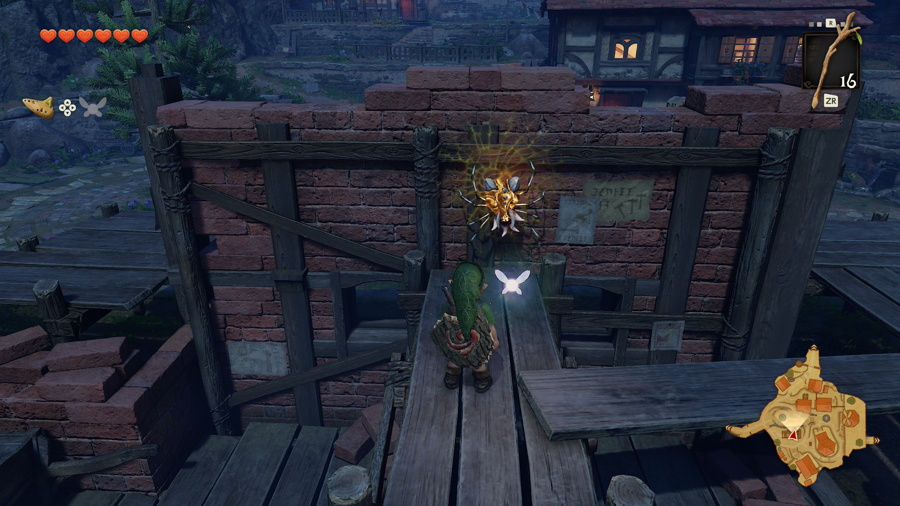
The last collectibles to find in town are all Gold Skulltulas that can only be found at night, so play the Sun's Song if needed to make it so. Starting from the pen, you'll see the first one right away on the construction materials behind you. Run up from the back and walk across the bridge to collect Gold Skulltula #18.
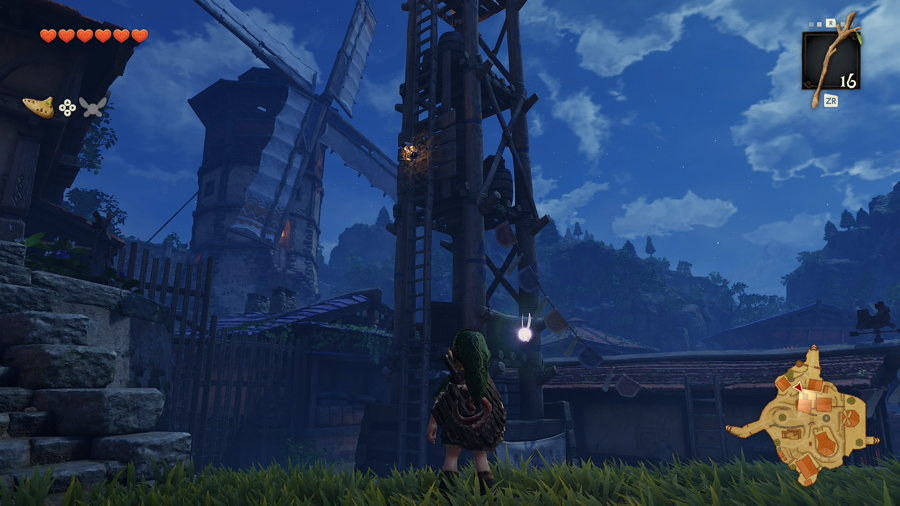
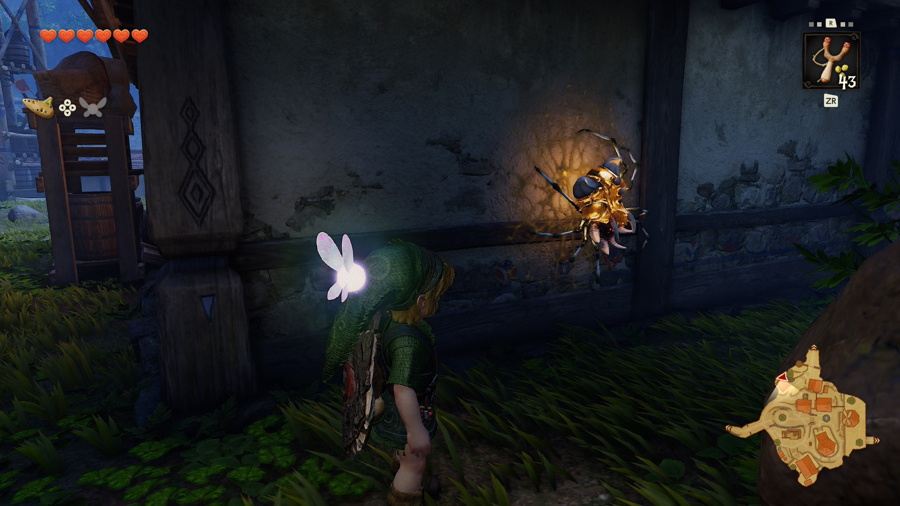
Next head for the large watchtower in the center of town. You'll see Gold Skulltula #19 half way up the ladder, take it out with your slingshot before you climb up to get it. Nearby you'll find a house in the northwest corner of town. Behind it you'll find Gold Skulltula #20 on the wall.
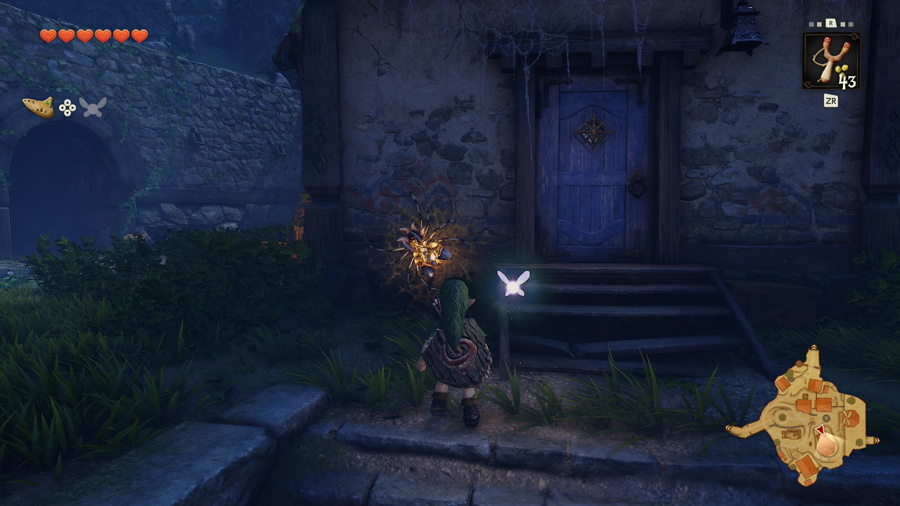
Head towards the well in the center of town and turn back towards the south to find Gold Skulltula #21 on the outside of the building. This building is actually the House of Skulltula, the place where you can turn in the Gold Skulltula tokens you've been collecting.
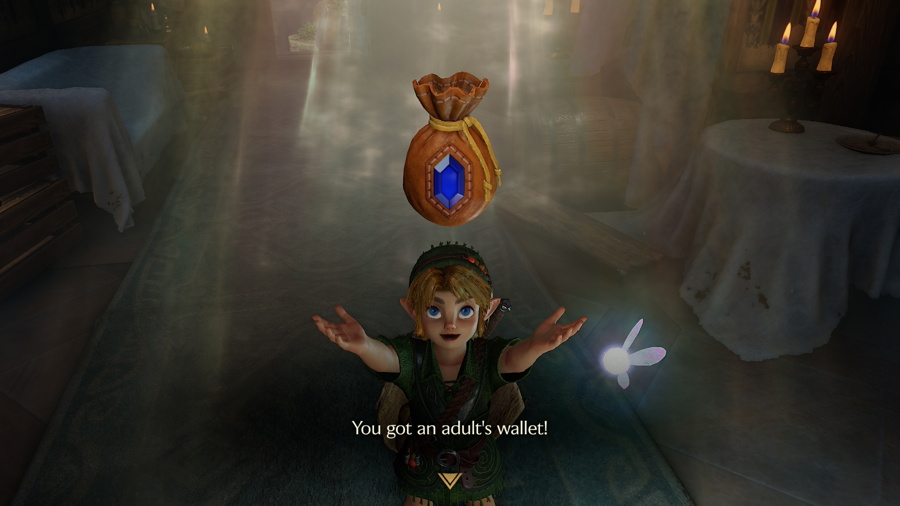
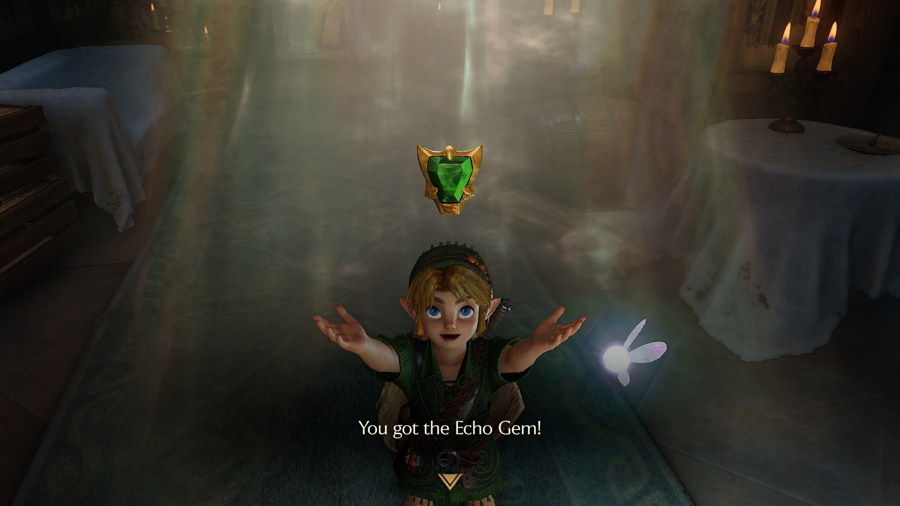
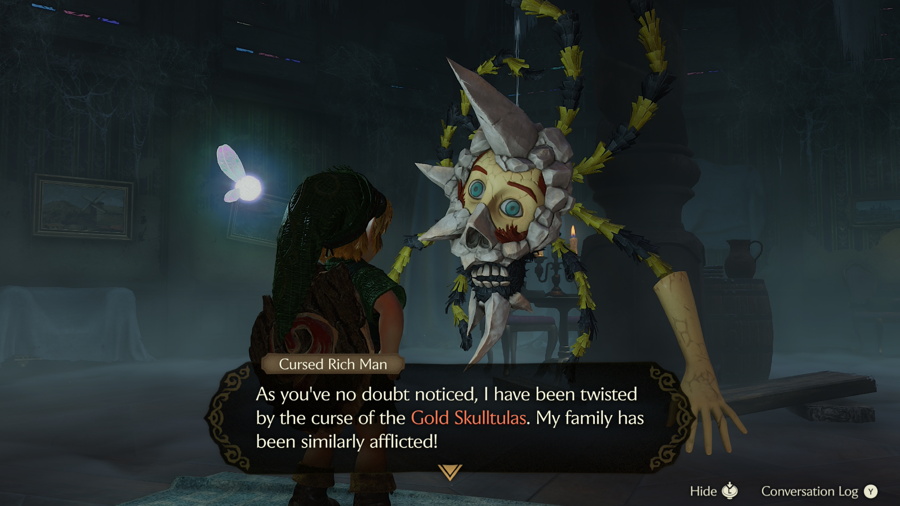
Enter the building and speak to the Cursed Rich Man to learn the story of the Gold Skulltulas and his cursed family. If you've been following along and have over 20 tokens, he'll give you your first two rewards: the Adult's Wallet (holds 500 rupees) and the Echo Gym. This is a new item in this game that would help you find more Gold Skulltulas if you didn't already have this handy guide. You can return here any time you collect 10 more tokens to collect a new prize.
Death Mountain Trail
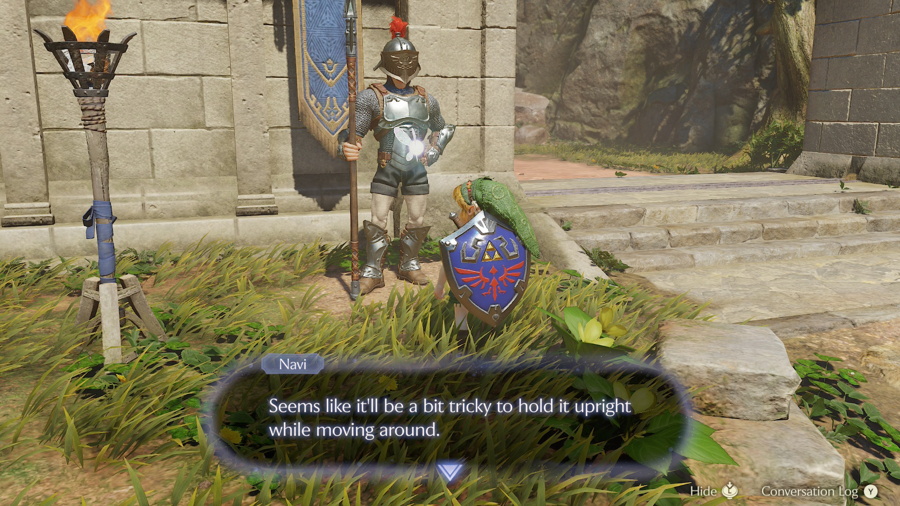
We're now ready to continue the next objective in the game and head up to Death Mountain. Head to the gate on the north end of town and present Zelda's Letter to the guard standing there. After opening the gate for you, he also asks for a favor pertaining to the Happy Mask Shop. We'll get to that later, for now equip the Hylian Shield like he suggests. Since this shield is larger, you can only guard while staying still and the shield stays on your back instead.
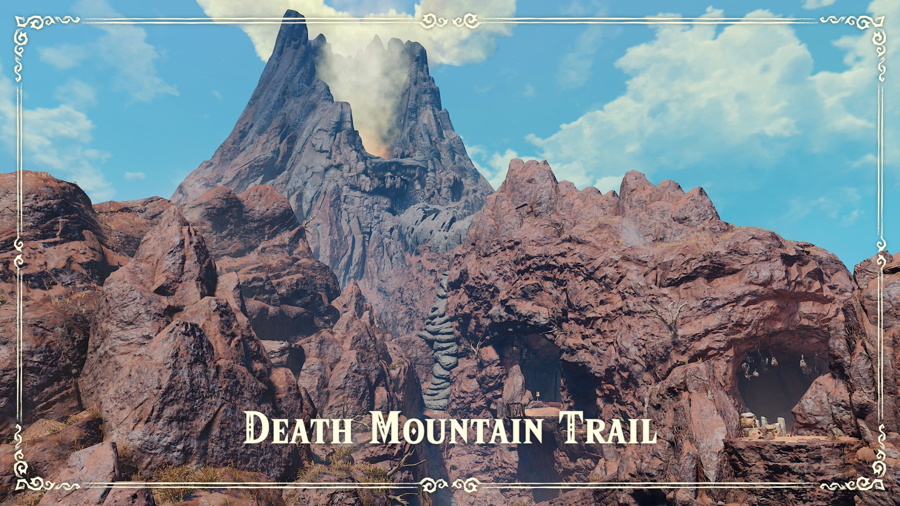
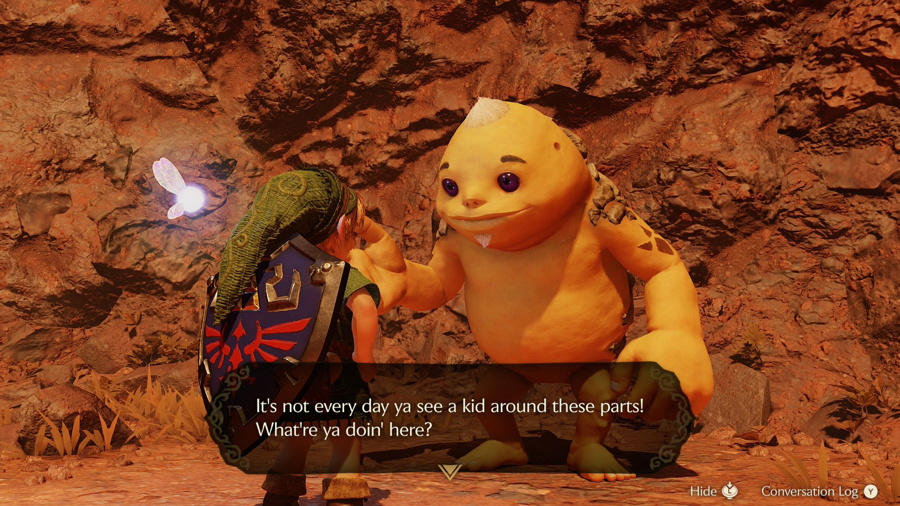
Follow the path to enter Death Mountain Trail. Along the trail you will encounter jumping spider enemies called Tektite. You'll encounter your first Goron along the path, a race of large rock-eating people who inhabit the mountain. He'll point you further up the path towards Goron City, so keep following the trail up the mountain.
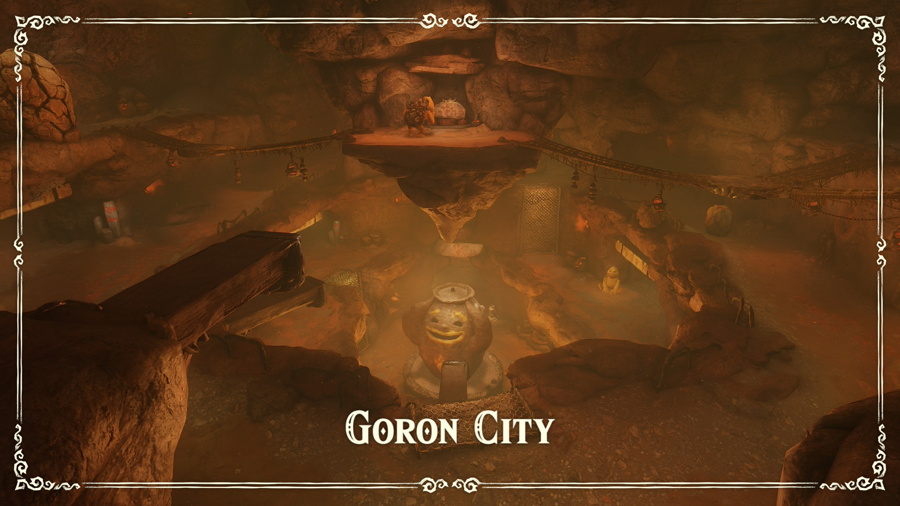
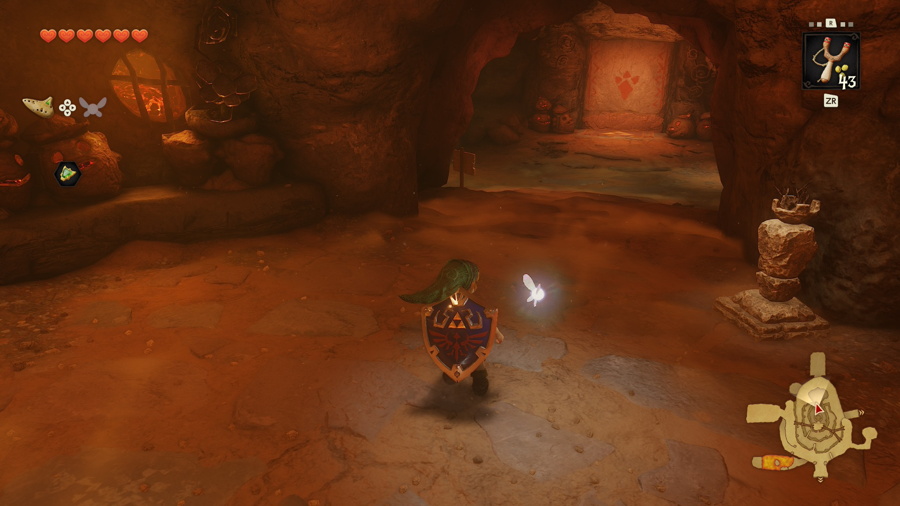
There's some more Goron further up the path that you can speak to, but there's not much you can actually do here without bombs. Continue following the path to the north and enter the cave to reach Goron City. There are a few levels to this place and many Goron you can speak to, but drop down to the very bottom of the area to start.
Goron City
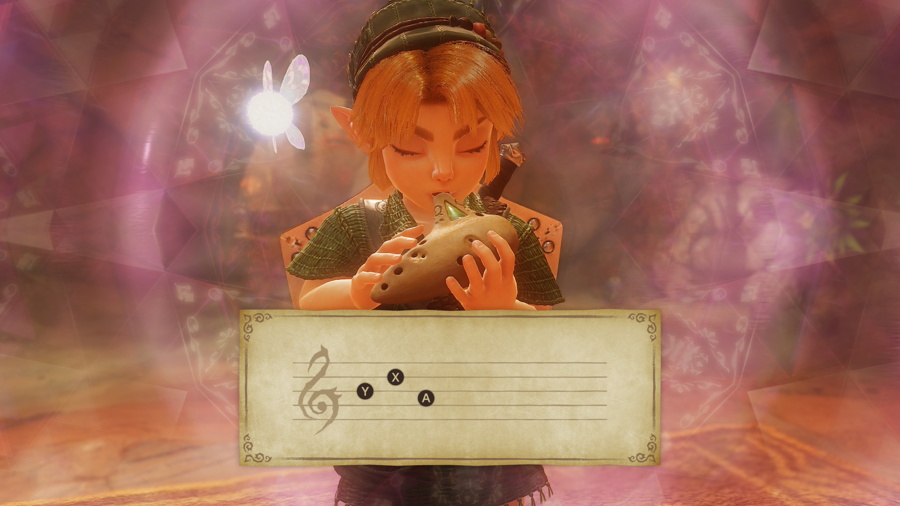
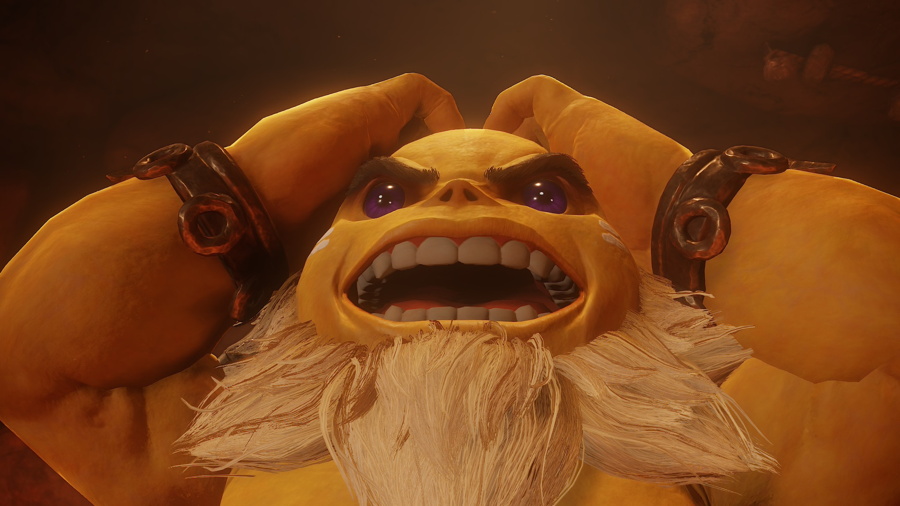
From the bottom of Goron City head to the north and you'll see a closed door with a triforce rug in front of it. This is your queue to play Zelda's Lullaby, which will open the door. Inside you'll find the chambers of the Big Boss of the Gorons: Darunia. He's in quite a sour mood and will attempt to send you away.
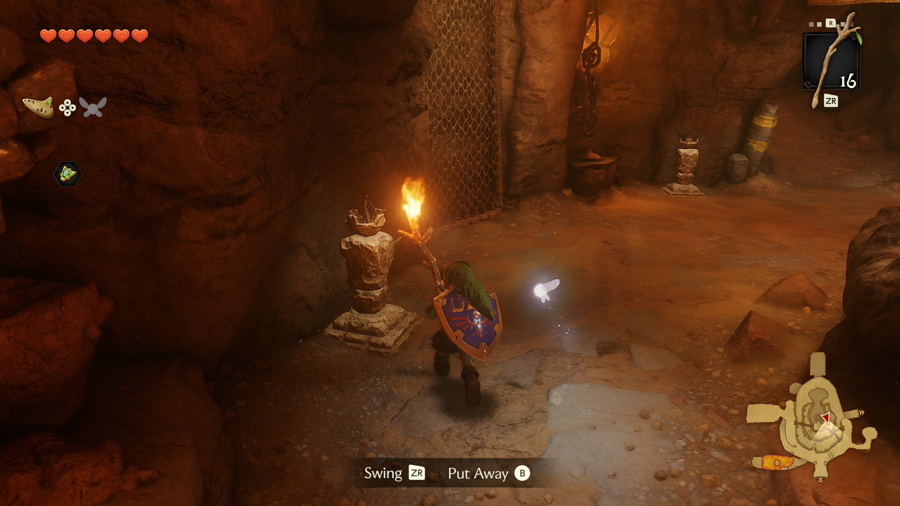
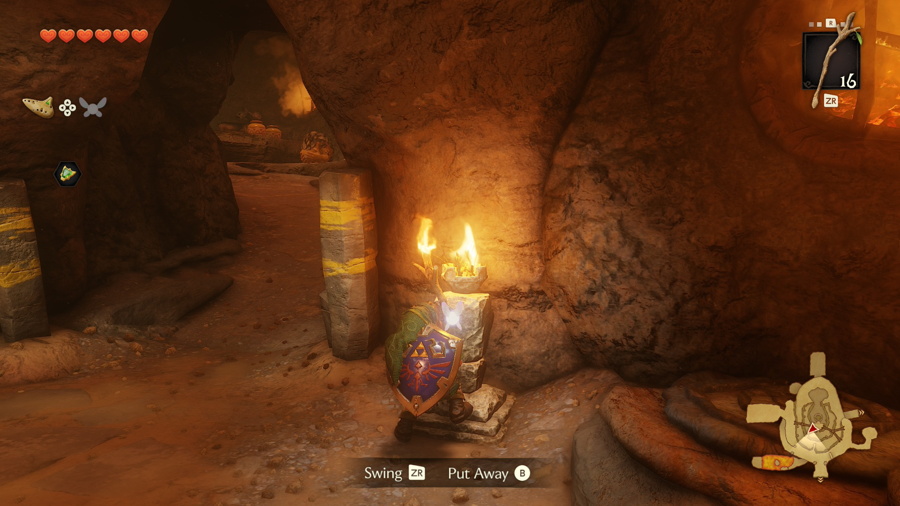
At this point, you'll need Saria's Song. If you followed along in the last chapter you'll have already collected it, otherwise you need to go learn it now. Luckily, there's a shortcut to the Lost Woods in Goron City that you can open up. Pull out a Deku Stick and light it with a torch here. Use it to light all the torches in the main part of this room, which will cause the large pot in the center to spin.
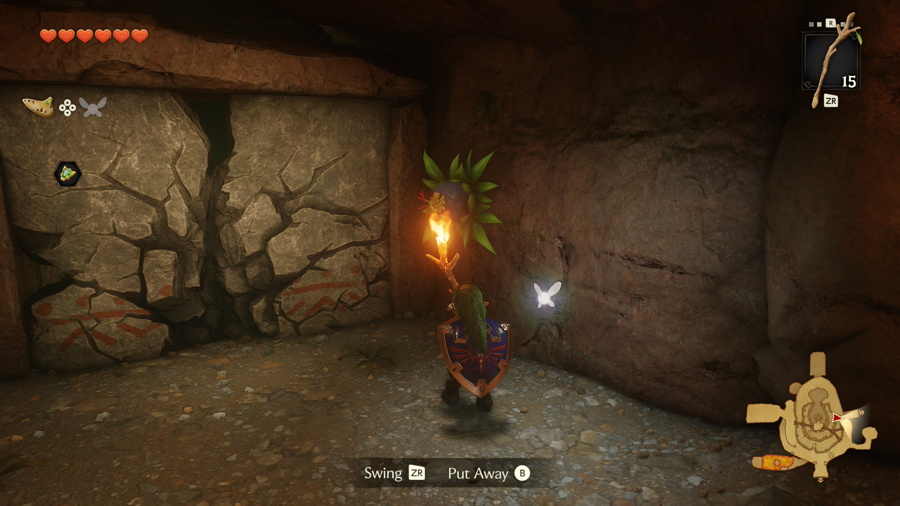
Light another Deku Stick and light the torch through the hallway to the north. Continue with this stick to the next floor and light the two Bomb Flowers next to the cracked boulder blocking a door. This will open the path that leads directly to the Lost Woods. Follow the instructions in the previous chapter to get Saria's Song from there, and then return to Darunia's room in Goron City.
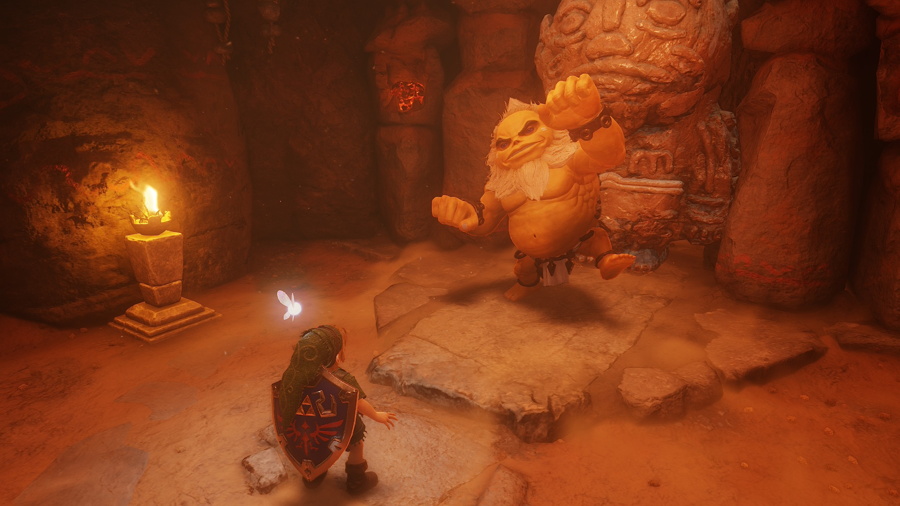
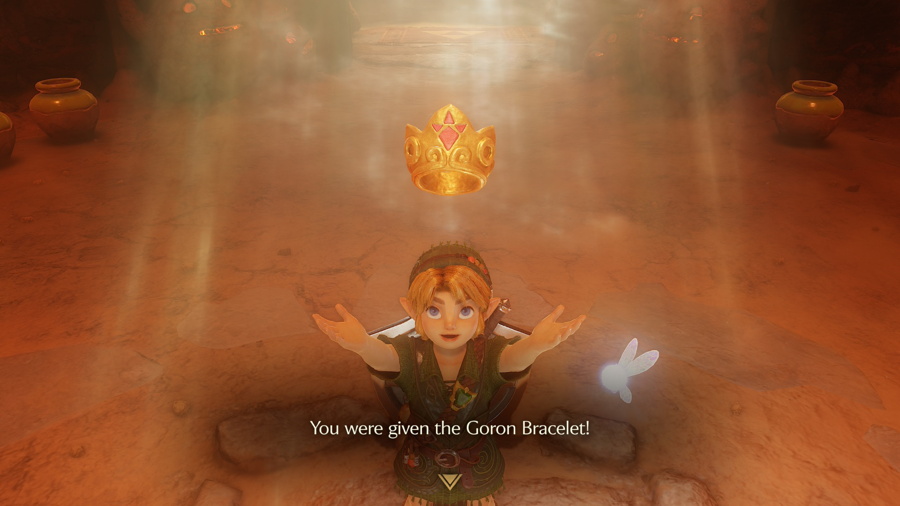
Stand in front of Darunia in his room and play Saria's Song. His mood will change right away and he'll break out into an earth-shaking dance. He'll tell you about the next spiritual stone you're after: the Goron Ruby. In order to hand it over, he'll request you help defeating the monster that's been wreaking havic on their source of food in Dodongo Cavern. In order to help you enter he'll give you the Goron Bracelet, which will allow you to pick up Bomb Flowers.
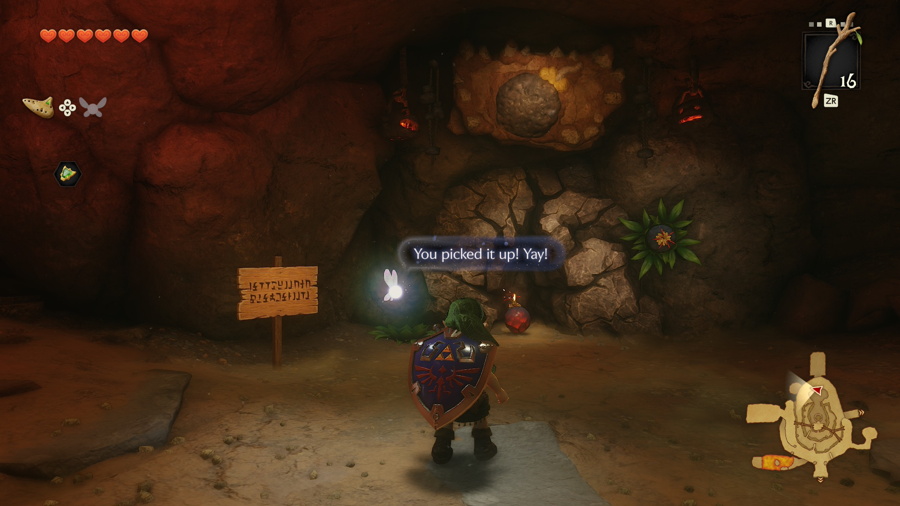
You can try out your new bracelet on the Bomb Flower next to the cracked rock just outside Darunia's room. Use it to blow up the rock to access the shop (not much to actually buy here for now). Climb up to the top floor of Goron City and exit the same way that you entered.
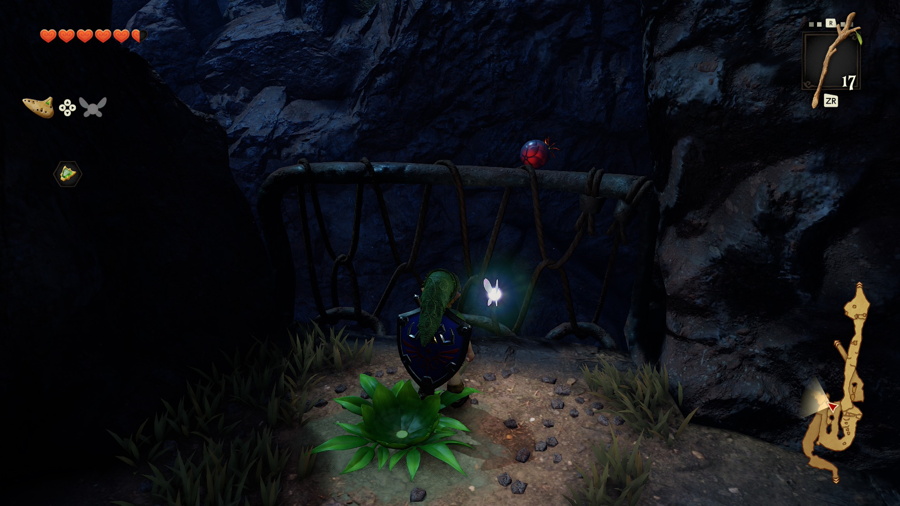
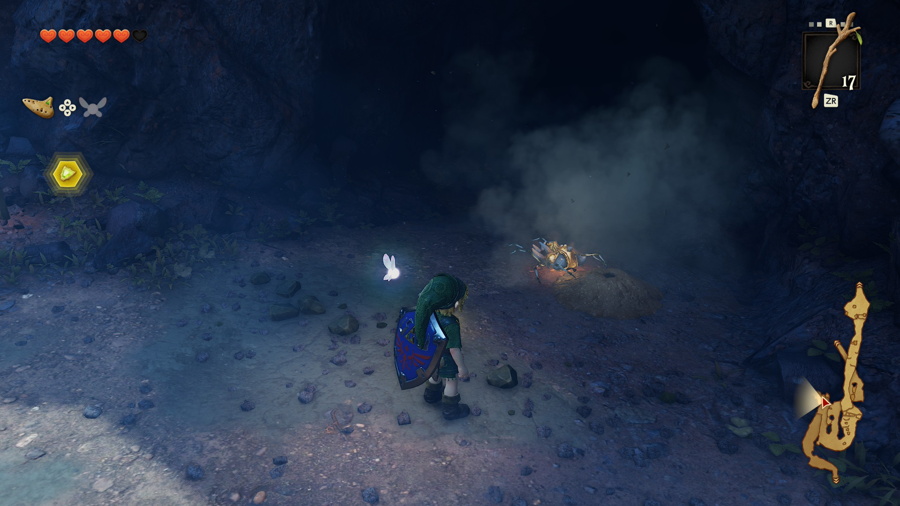
After exiting Goron City head to the right where you'll see a Goron next to a Bomb Flower on a ledge. Pick up this Bomb Flower and throw it over the fence to blow up the rock below. Hop down and you'll see that here was a soft soil patch under the rock. Release a bug into it to find Gold Skulltula #22. You can then enter Dodongo Cavern, the second dungeon in the game.
Dodongo Cavern
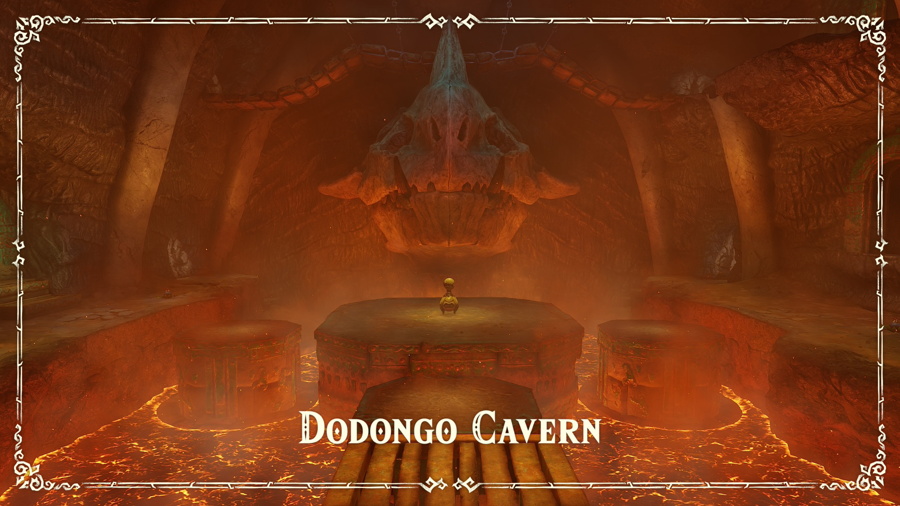
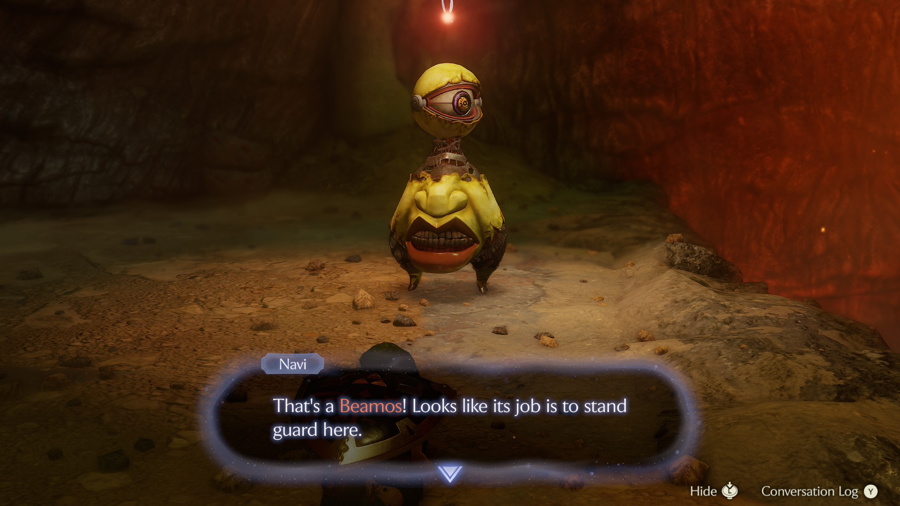
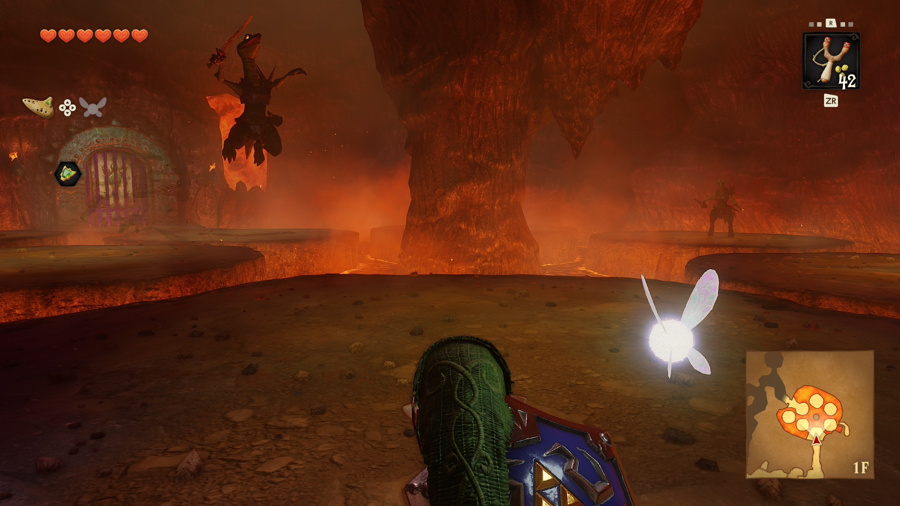
To enter the first real room of Dodongo Cavern, you'll need to demonstrate you know how to use Bomb Flowers by blowing up the cracked rock up ahead. You'll then enter the main room of the dungeon which features a central platform in the lava and pathways on both sides. You'll encounter Beamos for the first time here. These guys can't move but if they spot you with their eye they'll shoot a lazer at you.
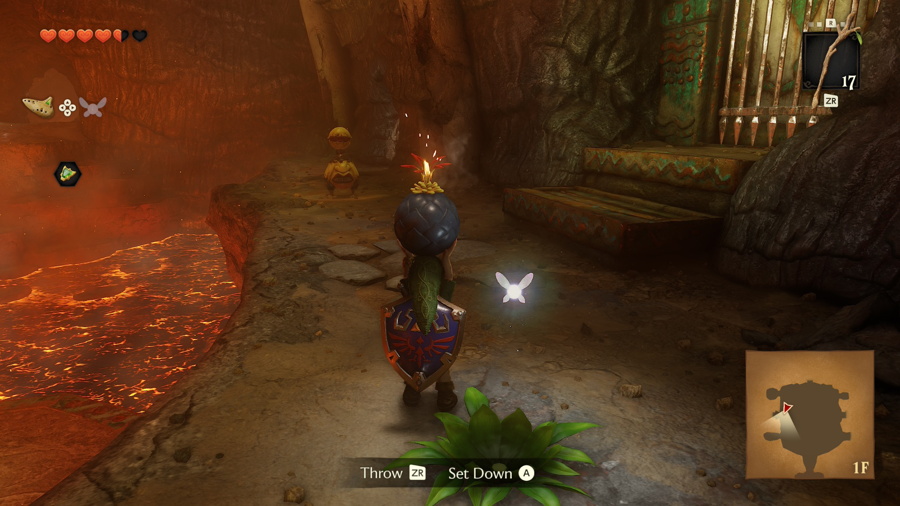
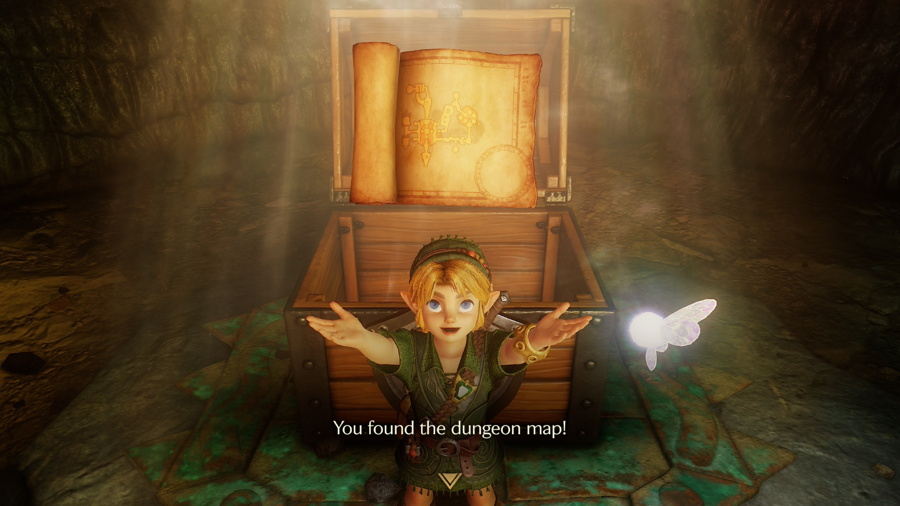
Start by jumping to the middle platform and avoid this Beamos entirely. Then jump to the left (west) side of the room. Pick up the Bomb Flower here and toss it at the head of the Beamos to destroy it. Bombs are the only way to take these guys out. Use the Bomb Flower again on the two cracked walls here to find a Dungeon Map and blue rupee in chests.
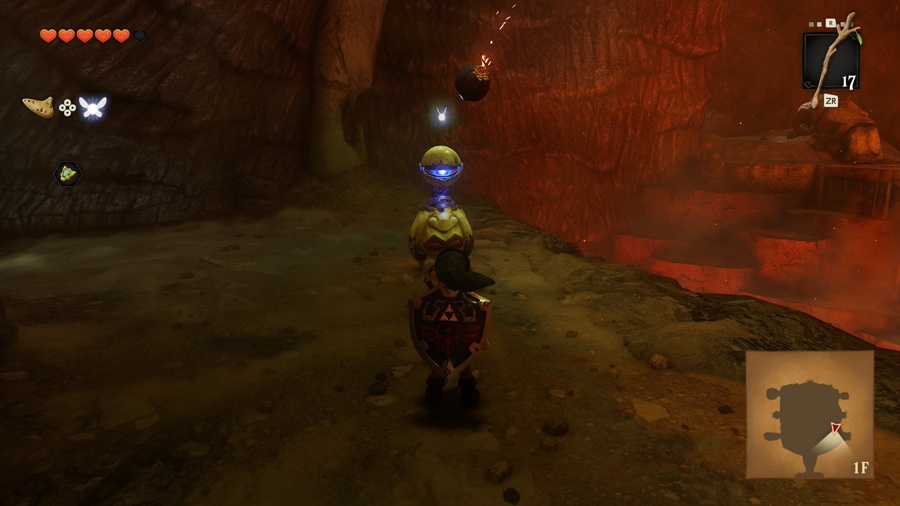
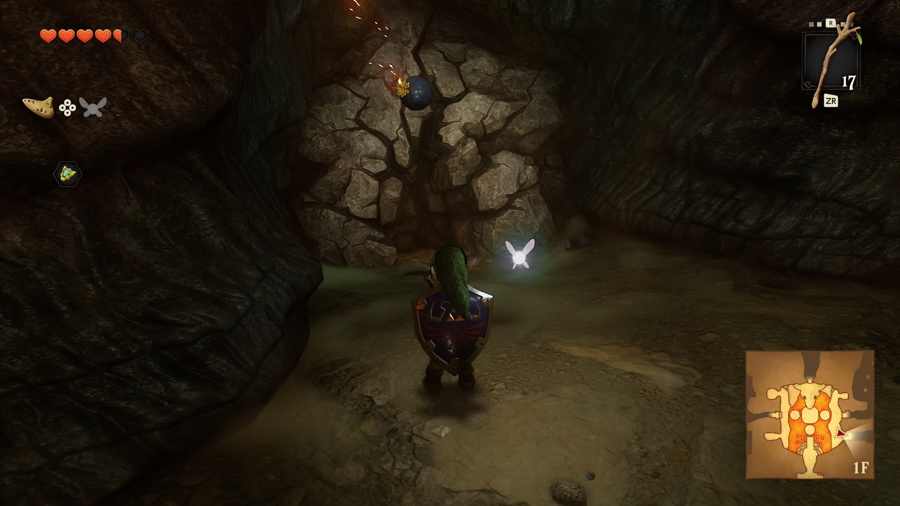
Now head over to the right (east) side of the room and take out the Beamos here as well. The northern cracked wall only has a gossip stone behind it. The southern one is where you'll need to go next to progress. Blow up that wall with a Bomb Flower and proceed through the opening.
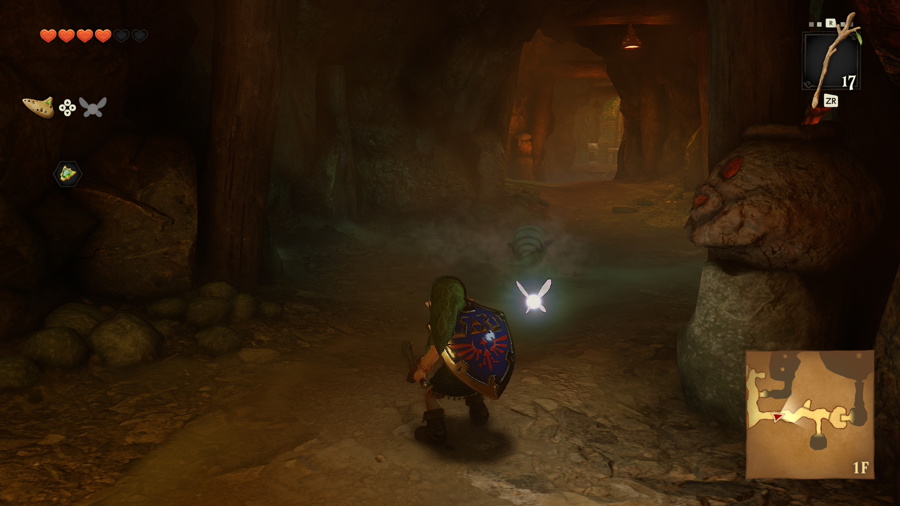
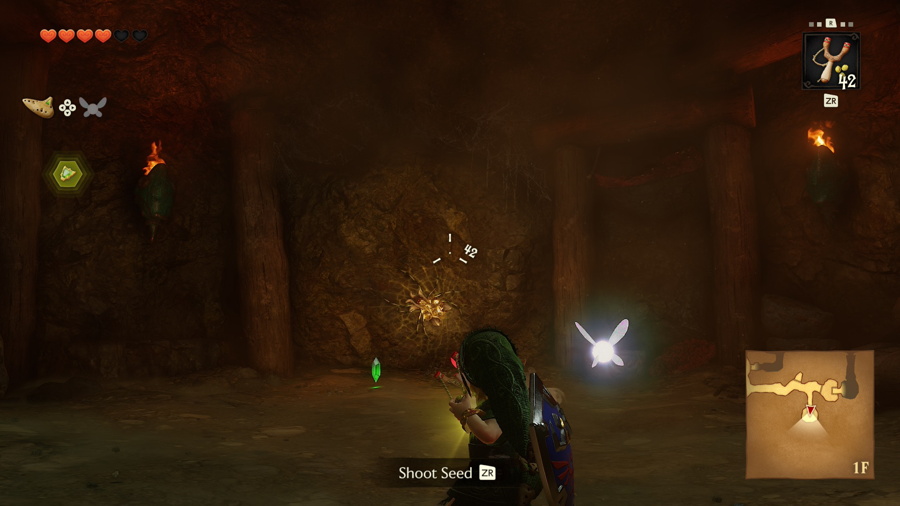
In this hallway you'll find some Baby Dodongo. They can be easily taken out with a sword slash, but they will explode afterward so be careful. When you get to the end of the hall there will be a cracked wall to your right. Lure a Baby Dodongo over to it and use their explosion to open it up (if you are struggling with this you can come back later after you get the dungeon item). Inside this room you'll find Gold Skulltula #23 on the wall.
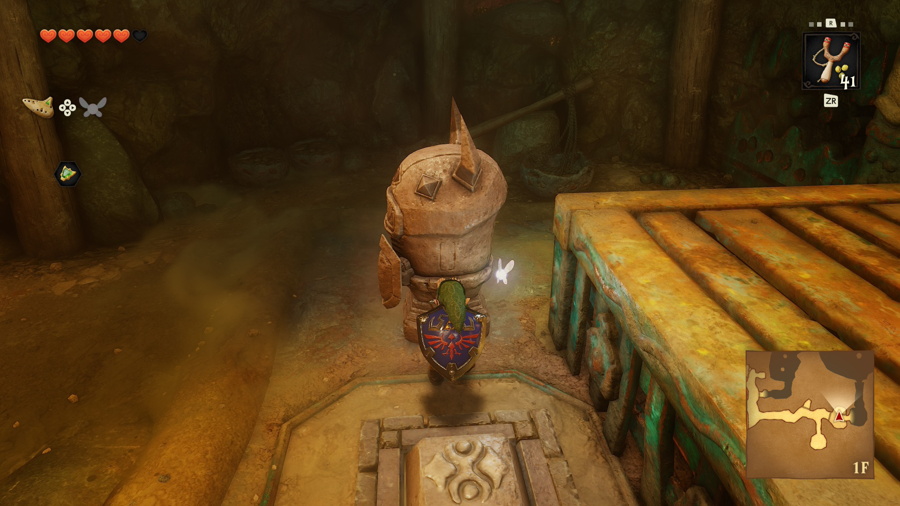
At the end of the room you'll find two Armos statues and a switch on the ground. Pull one of the statues onto the switch to open the door. Take out the Keese with your slingshot in the next hallway and then go through the door.
In the this room the door will lock behind you and you'll be ambushed by two Lizalfos. Stay on this platform and wait for them to come to you one at a time. Just stand still and shield their attacks and then get a swing in afteward. Remember Deku Sticks do more damage. After they are defeated a chest will appear containing 20 rupees. You can grab some recovery hearts from the pots in this room and there's a little alcove to the southeast where you can get a fairy from a pot.
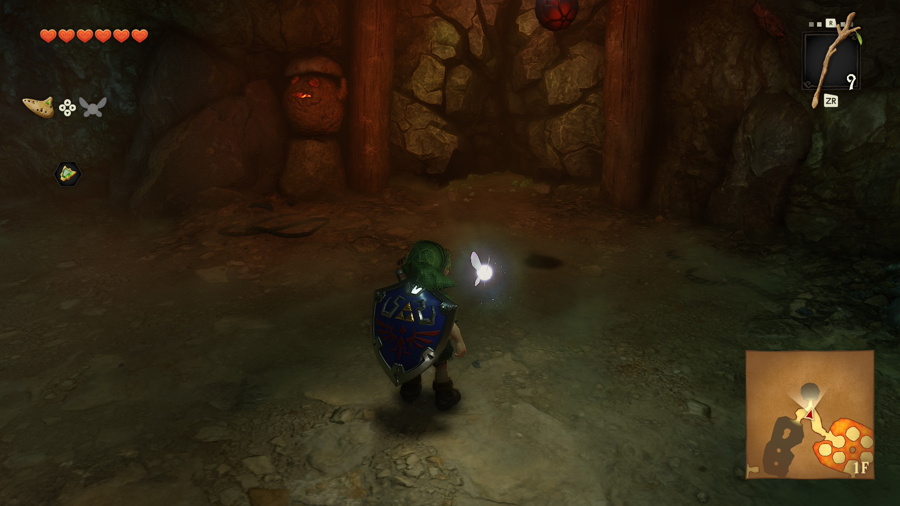
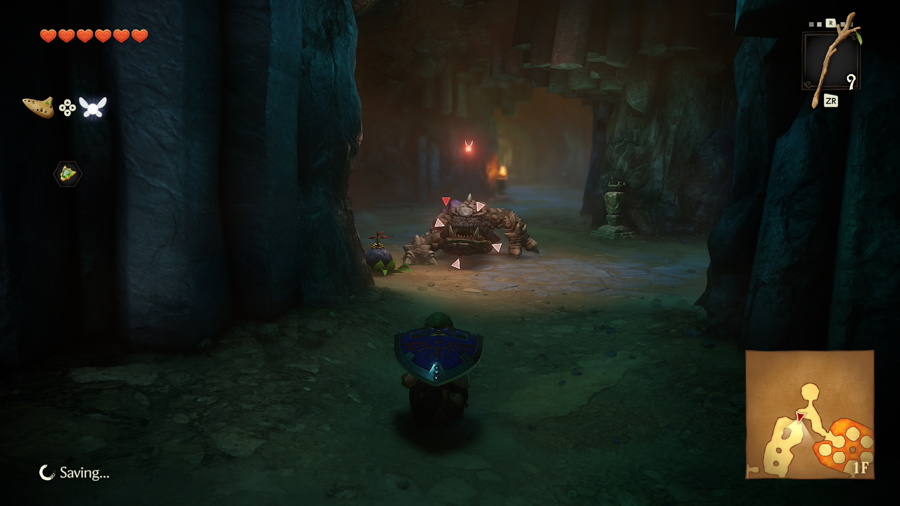
Enter the next hallway and use a Bomb Flower on the cracked wall. There's a business scrub in here who will sell you some Deku Sticks or Deku Seeds if you need. This is because you'll some Deku Sticks in the next part of the room. Enter it to see some full size Dodongos. These guys are immune on their rocky front, so side hop behind them and slash at their tails. They will also explode upon defeat.
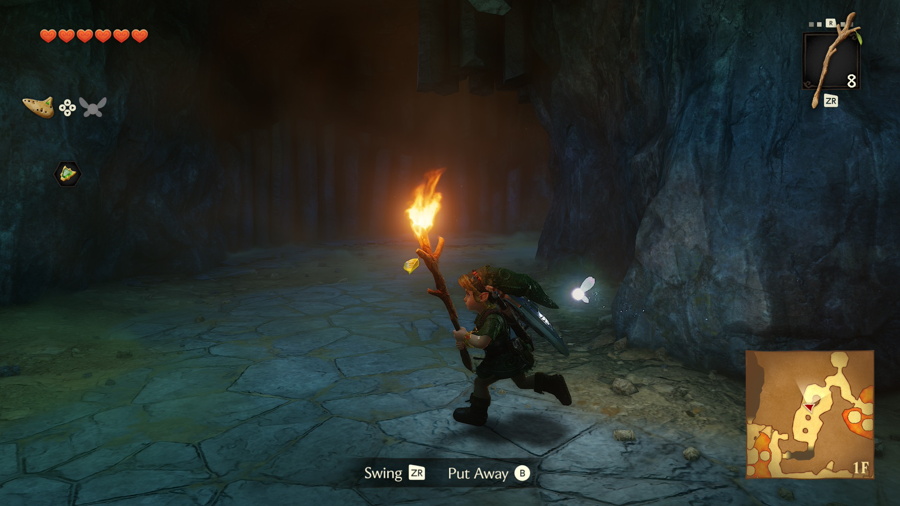
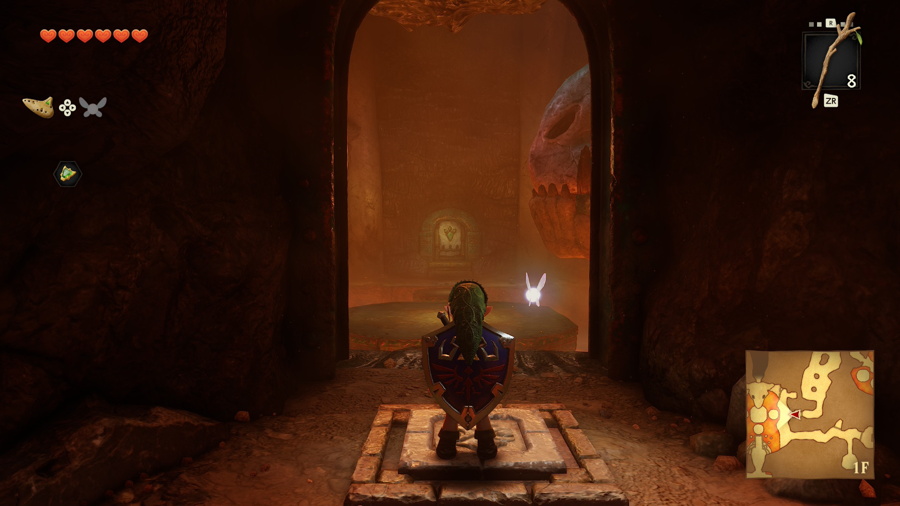
Clear out all the Dodongos in this room before attempting the puzzle. It's a pretty simple one, just use the single lit torch to light all the others to open the door ahead. The next hallway takes you back to the main room, but you'll be in an alcove above with a floor switch. Pressing it unlocks the door on the west side of the room, which is where we want to head next.
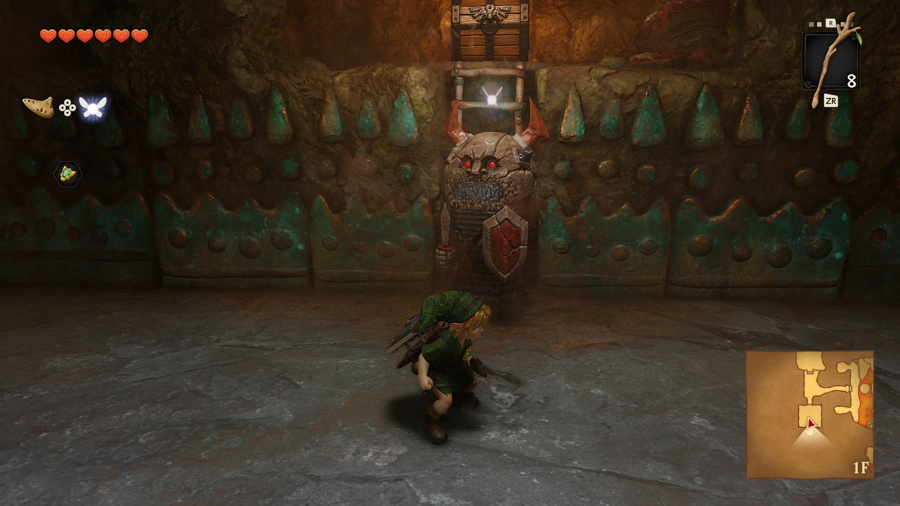
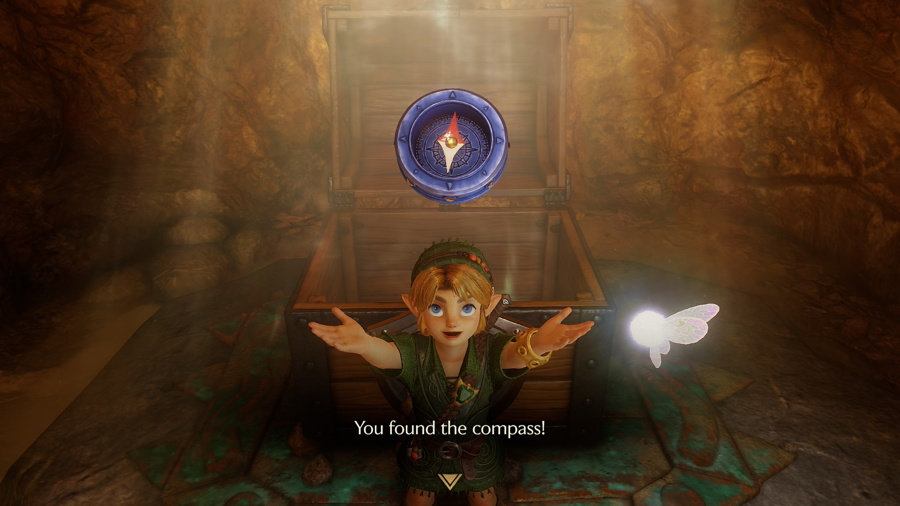
Through the western door you'll find yourself in a room with a large staircase to the right and a cracked wall to the left. Blow up the cracked wall first to find a small room with three Armos statues. When you approach the one in the back you'll find that it will come to life. The only way to kill these Armos is with a bomb. Once you do they will go crazy and flash red until they explode, so just turtle up with your shield. Open the chest that is now accessible in this room to get the Compass.
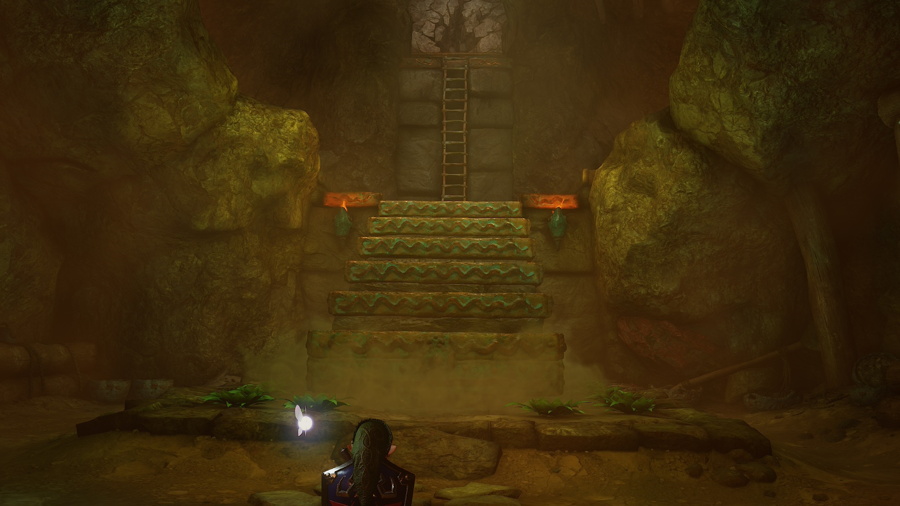
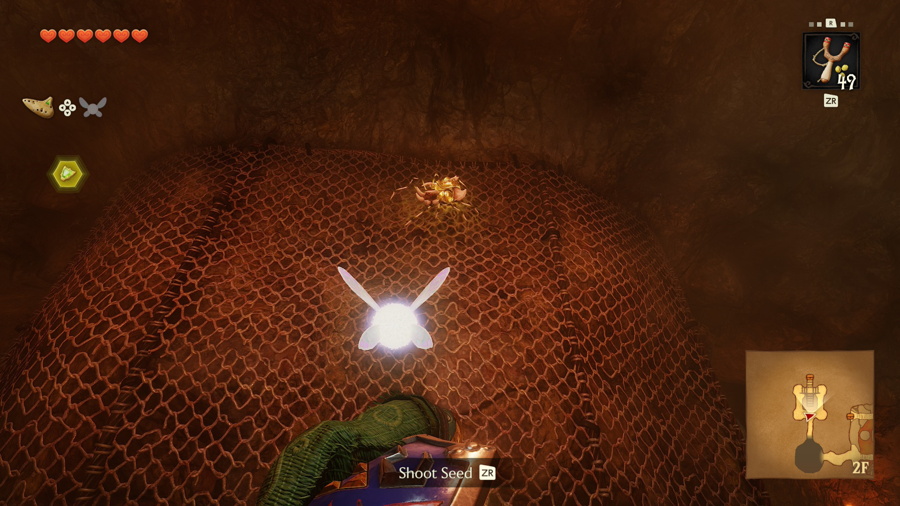
Head back to the large staircase and place a bomb directly in front of it between the two rows of Bomb Flowers. This will cause a chain reaction of explosions that will result in the staircase being lowered so that you can use it. Ignore the ladder for now and take either path to the south part of the room. On the ropes behind you you'll find Gold Skulltula #24. Take it out with your slingshot and climb up to get the token.
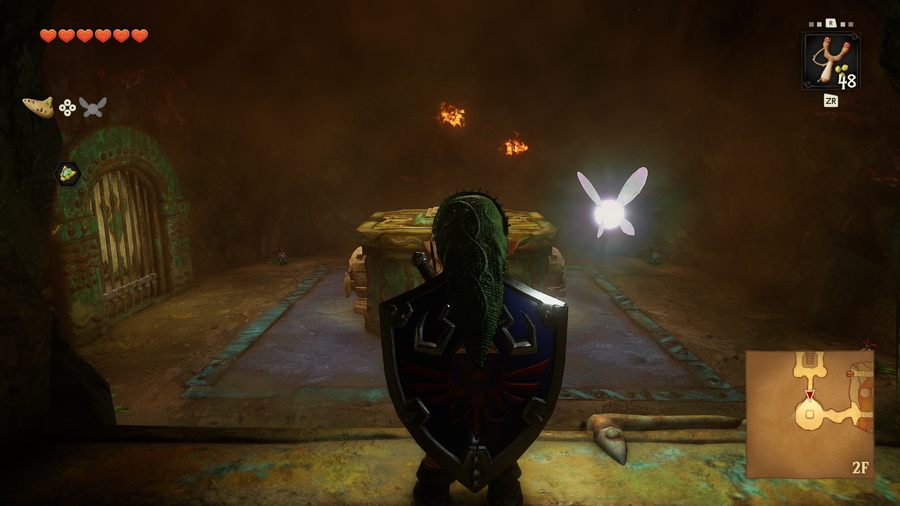
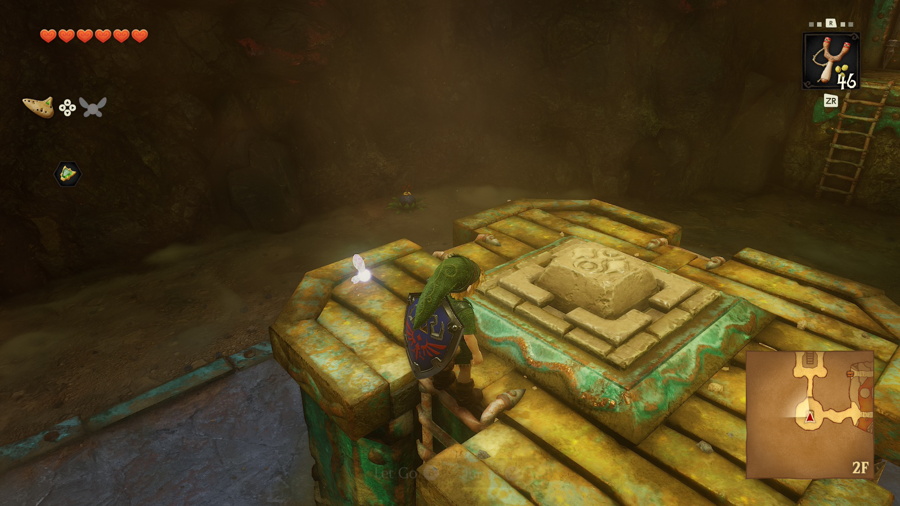
Continue through the next door, which will lock behind you. There are Fire Keese in this room so take them out from a distance with your slingshot. This is another reminder not to use the Deku Shield in this dungeon, as they will burn it up immediately. Drop down and pull the Armos on the south side of the room away from the ladder so you can press the switch and unlock the doors. If you approach any others they will come to life.
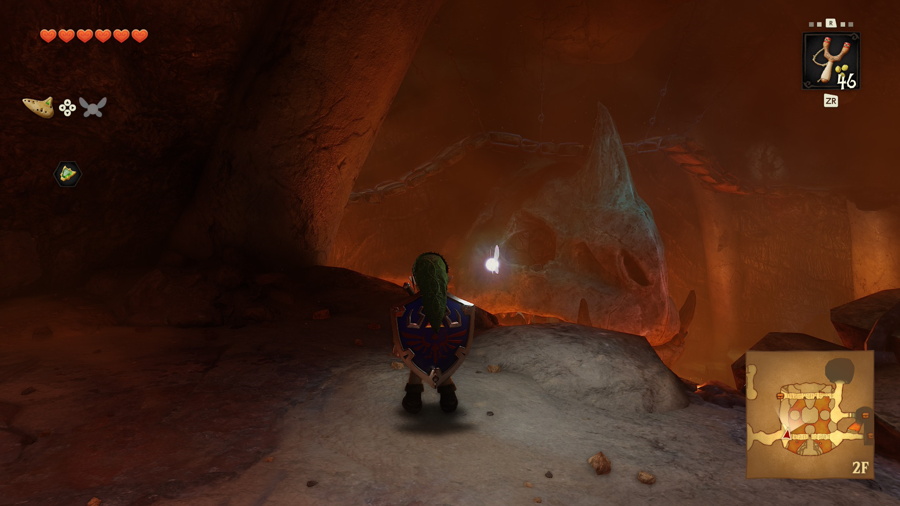
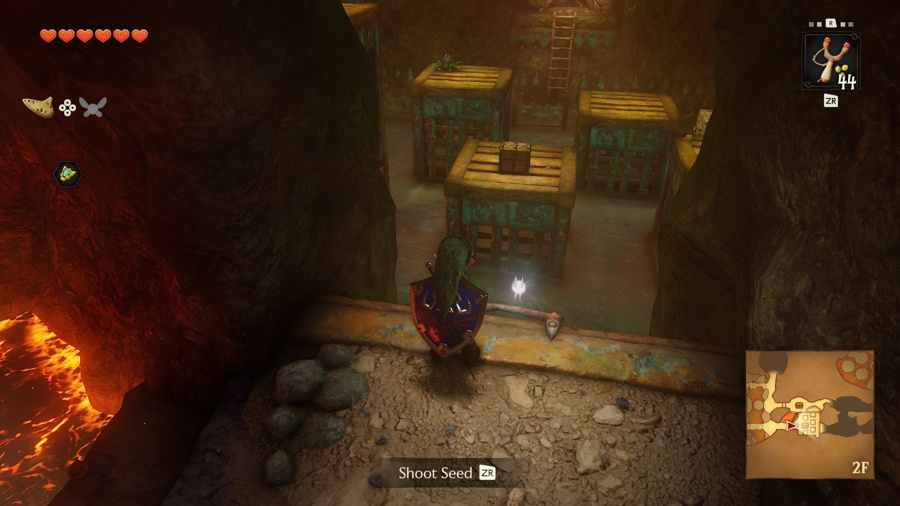
Through the next door you'll find yourself in the upper level of the main room. Take out the Fire Keese ahead so they don't give you trouble and then cross the suspended bridge, being careful to jump across the missing slat. Enter the room across the way to find yourself in a little maze like area with Pathblades (Blade Traps). You can't defeat these, you simple need to avoid them.
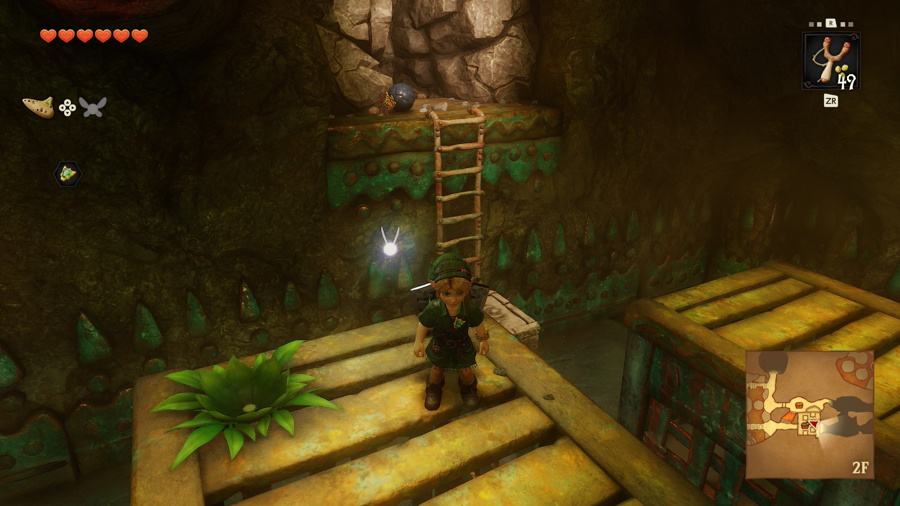
Grab the block in the southeast corner of the room and pull it over to the ladder so that you can climb up and reach it. There's a cracked wall up here, so you'll need to instead use this height to jump on the platform below. Jump over to the chest to get some Deku Seeds. Then grab the Bomb Flower and throw it up to the cracked wall to open it up.
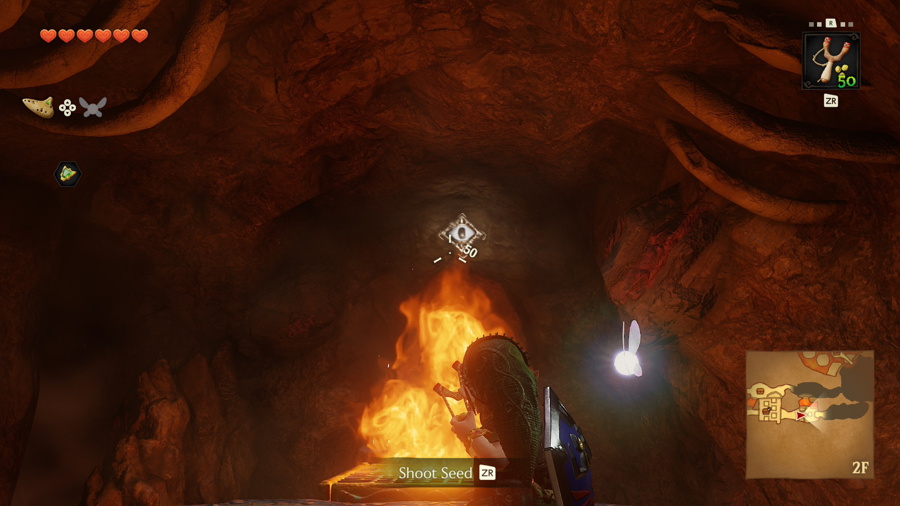
The platform ahead is covered in fire, so shoot the eye on the wall to put it out. You can then hop over to the next hall that's full of Baby Dodongos and lava. Carefully navigate this room and enter the door ahead.
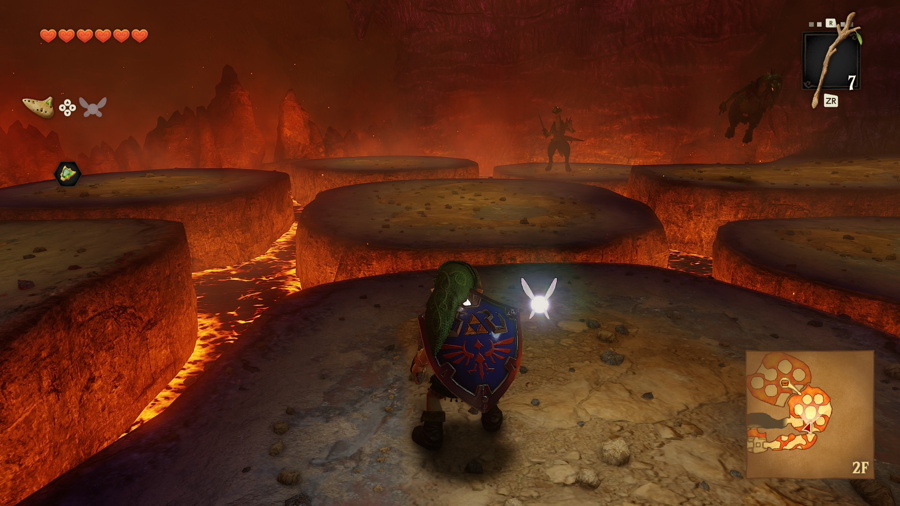
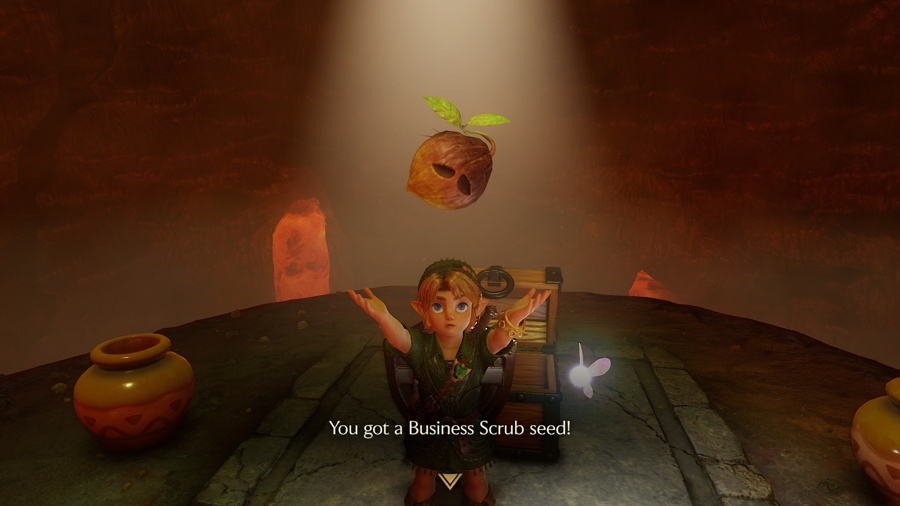
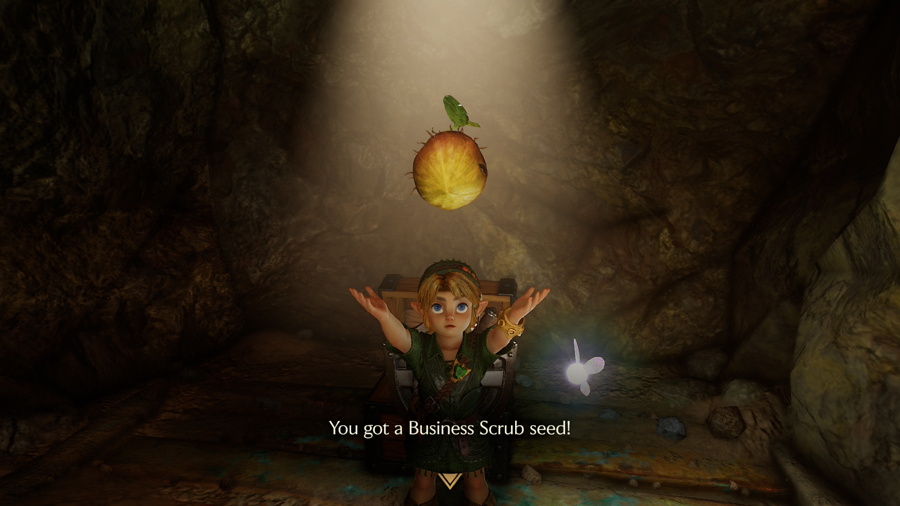
There are another pair of Lizalfos that will ambush you in this room. Take them out the same as you did before by shielding their attacks before countering yourself. Defeating them will cause a chest to spawn on the north side of the room. Open it to get a Business Scrub seed. This is a new item to this version of the game and it can be used to summon Business Scrubs on command if you ever need to buy an item.
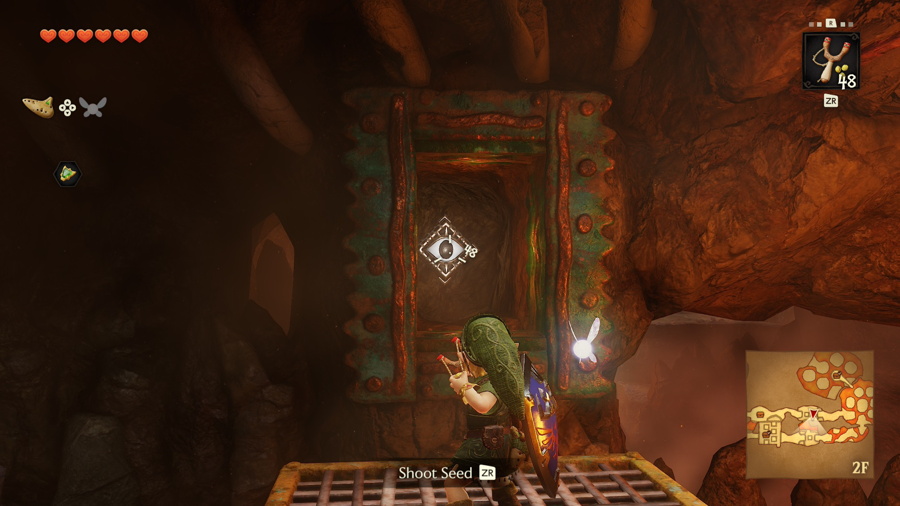
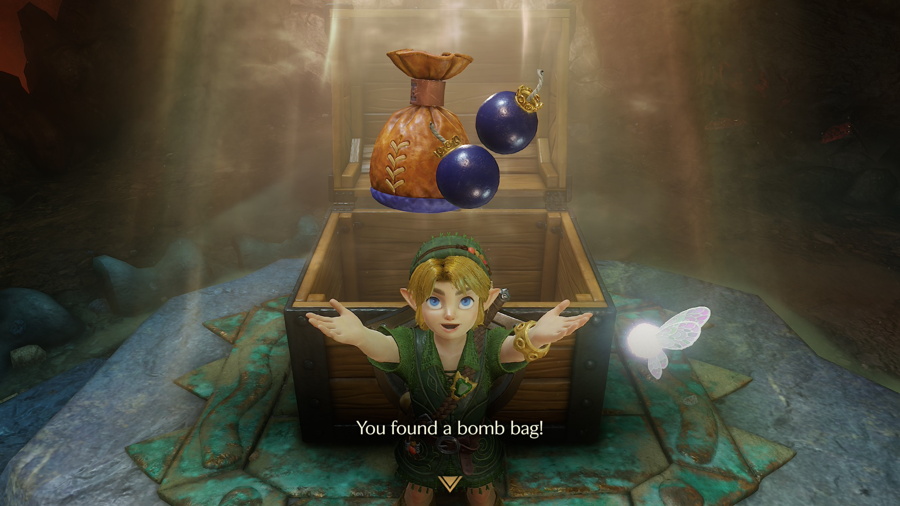
Exit through the door on the west side of this room and you'll see some more platforms covered in flames. Fire a shot at the eye above once again, which puts out the first flame. Then hop over there and turn left to find a second eye. Continue to the chest ahead to find the dungeon item of Dodongo Cavern: the Bomb Bag. This lets you carry 20 of your own bombs so that you don't always need to rely on Bomb Flowers.
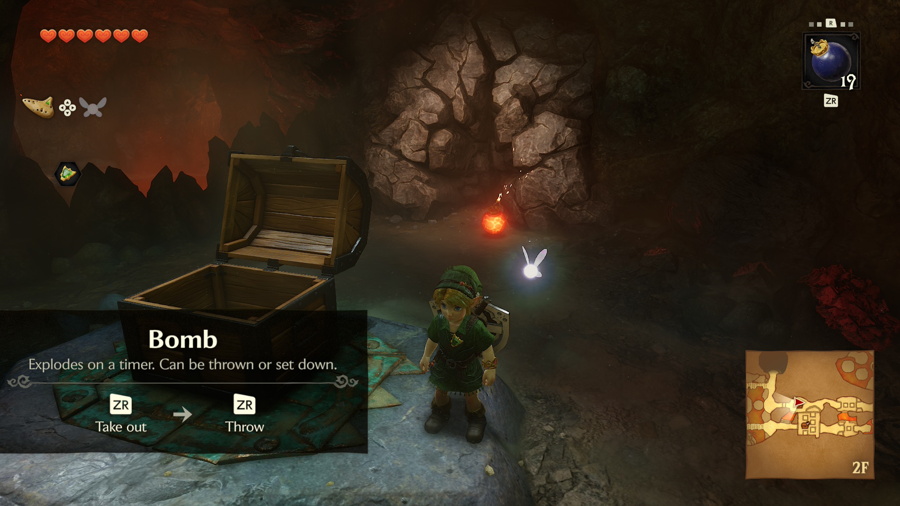
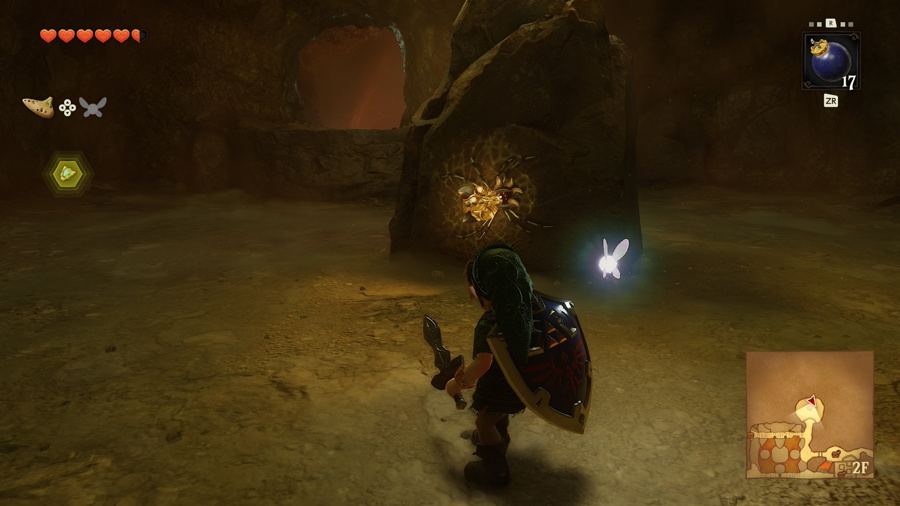
Use a bomb on the cracked wall ahead where you'll find a switch. This will cause the platform below to raise all the way up here on a cycle, effectively creating a shortcut between the first and second floors. Still on the second floor, head to the north and blow up the cracked wall. Take out the Dondongos in this room and look behind the rock to find Gold Skulltula #25.
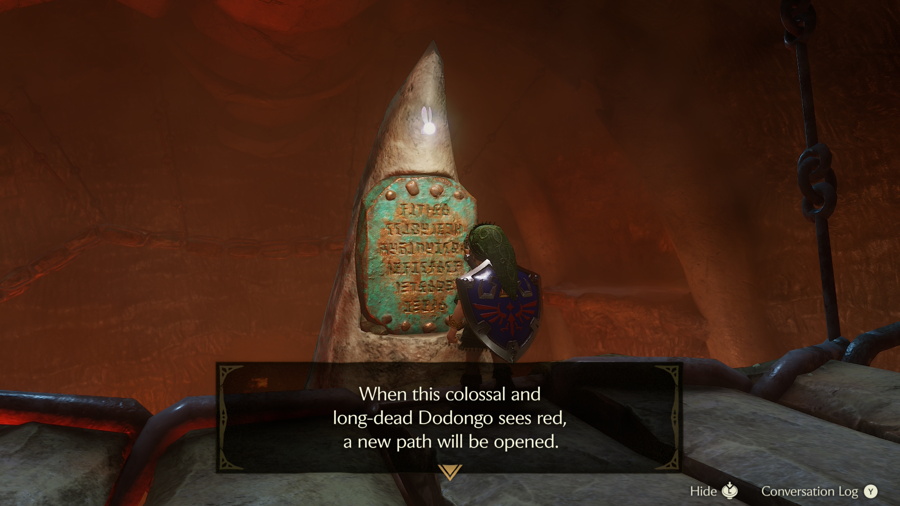
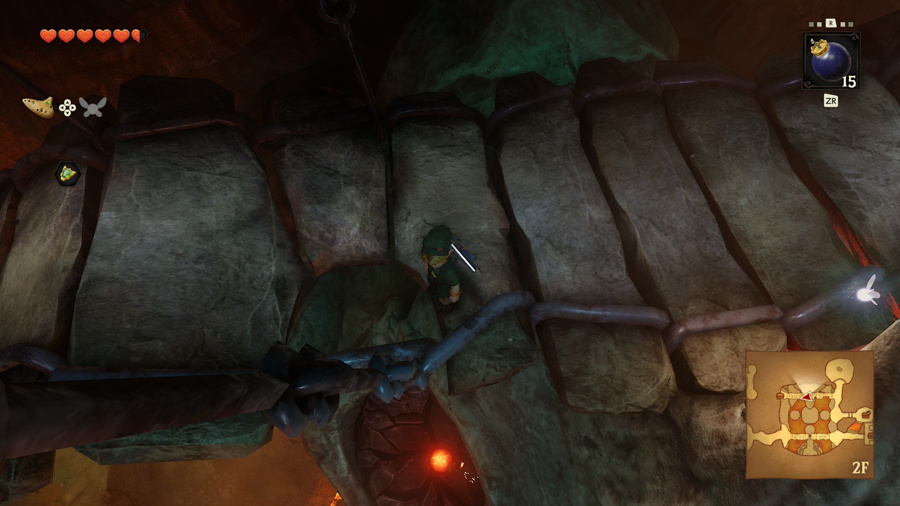
Back in the main room you now have access to the northern suspended bridge. You'll notice two little notches cut out of the bridge that are directly above the giant Dodongo skeleton's eyes. Drop a bomb down each of these notches to cause the skeleton to open its mouth, which reveals a door. Blow up the cracked wall at the end of the bridge. There's a chest behind it that contains a Deku Shield if you don't have one or some rupees if you do.
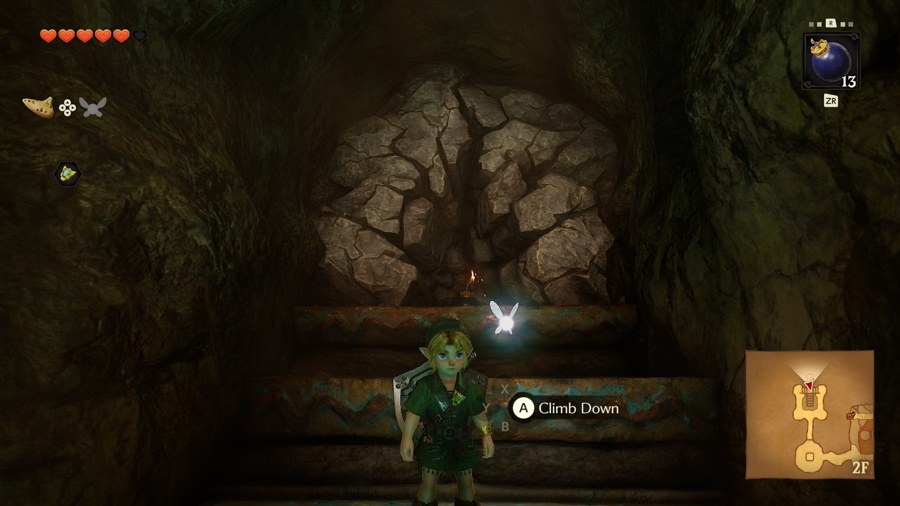
Before entering the door in the skeleton's mouth, you might recall that here was a ladder in the giant staircase room we skipped earlier. You can now head back through the door on the west side on the first floor of the room and head up the staircase and ladder. Blow up the cracked wall to find a chest containg another Business Scrub seed.
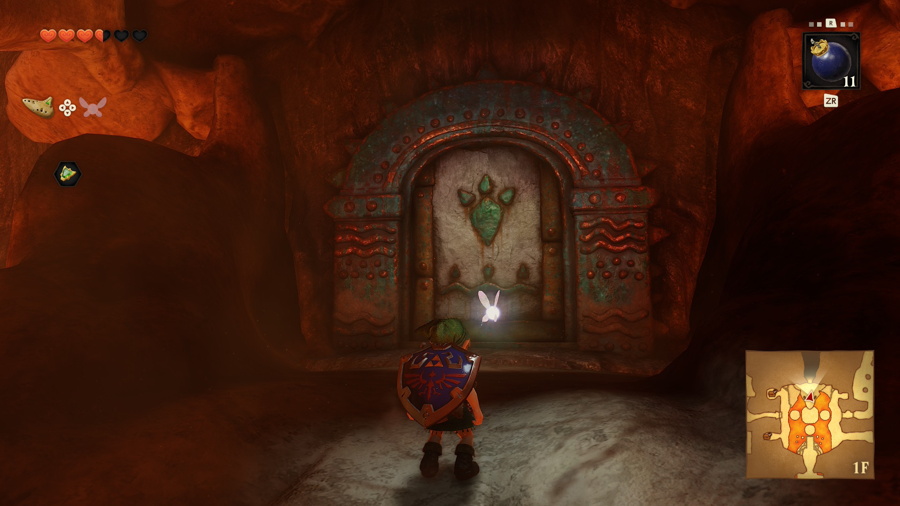
You're now ready to enter through the door in the skeleton's mouth on the north side of the main room. Take out the Fire Keese in this room before they have the chance to give you trouble. Take the path on the north side of the room and then take out more Fire Keese in this room.
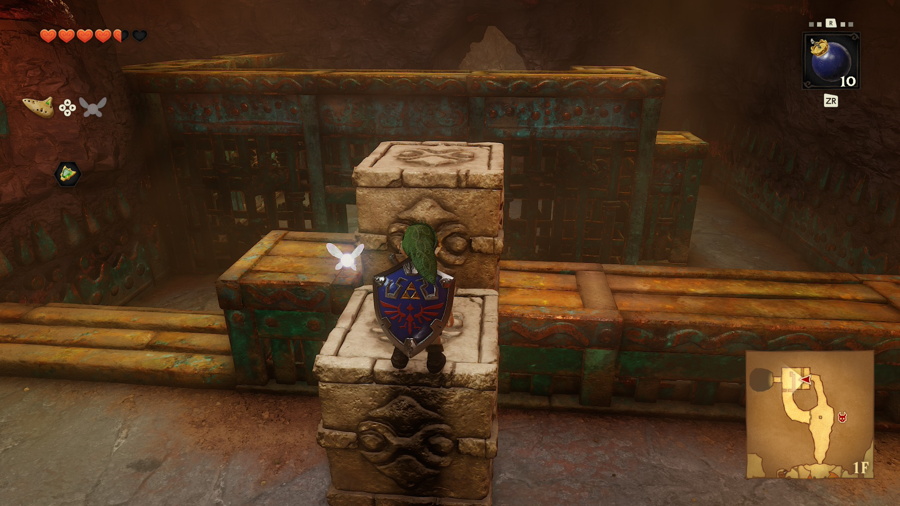
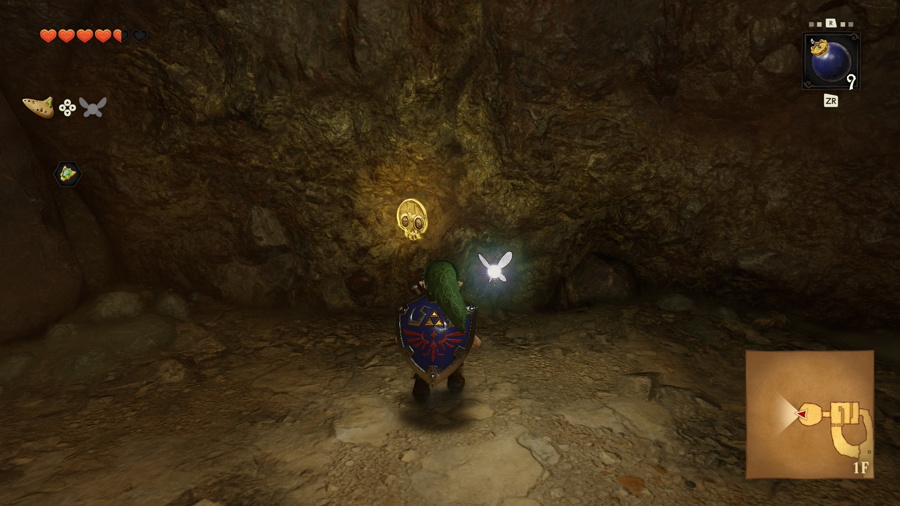
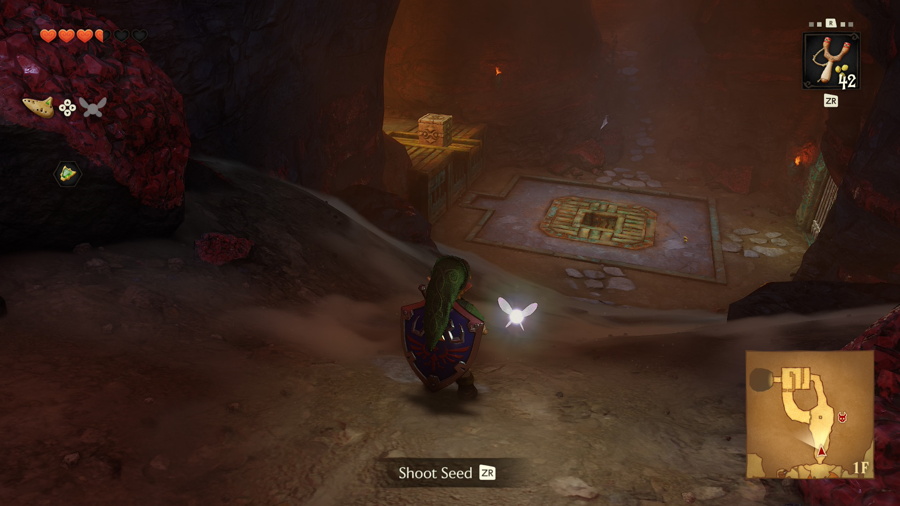
You'll need to solve a puzzle with the moveable blocks in this room. Position the first block to be directly in front of the higher block. This will allow you to climb up and push the higher one down. Then you can push this block through the opening and in front of the cracked wall. Toss a bomb on top of it and enter the smaller room that opens up. In here you'll find three Baby Dondongos and an Armos to take out as well as Gold Skulltula #26.
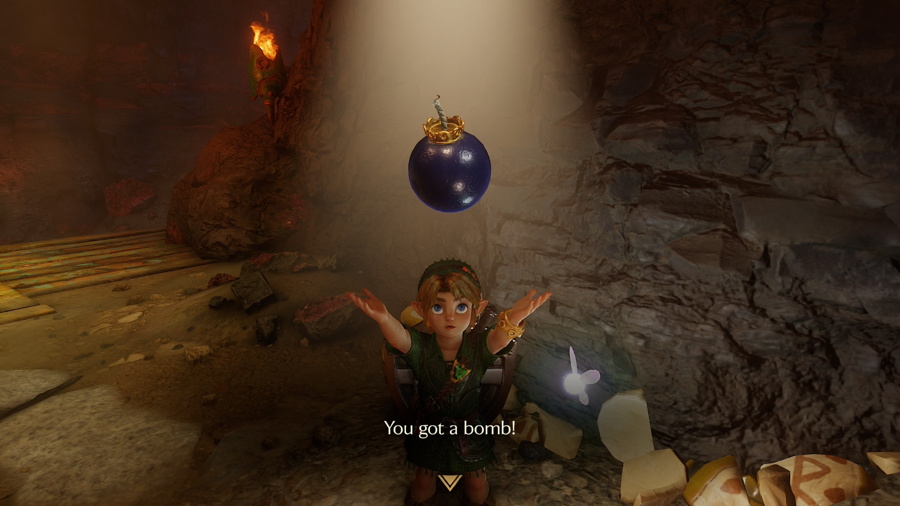
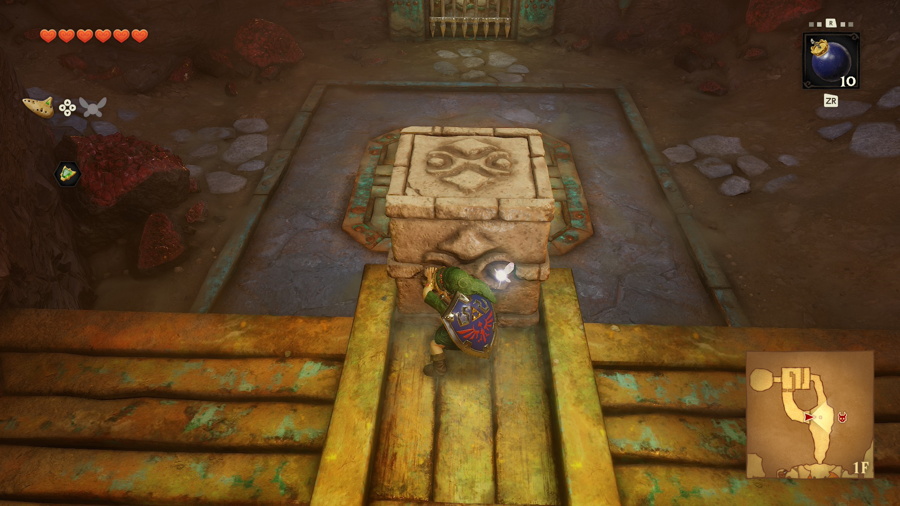
Now hop back down and push the block in front of the higher block, allowing you to climb up and over. Make sure to break the pots here to fill up on bombs and recovery hearts ahead of the upcoming boss fight. Then push the block down and onto the switch in the middle of the room. This opens up the door leading to the boss room.
King Dodongo
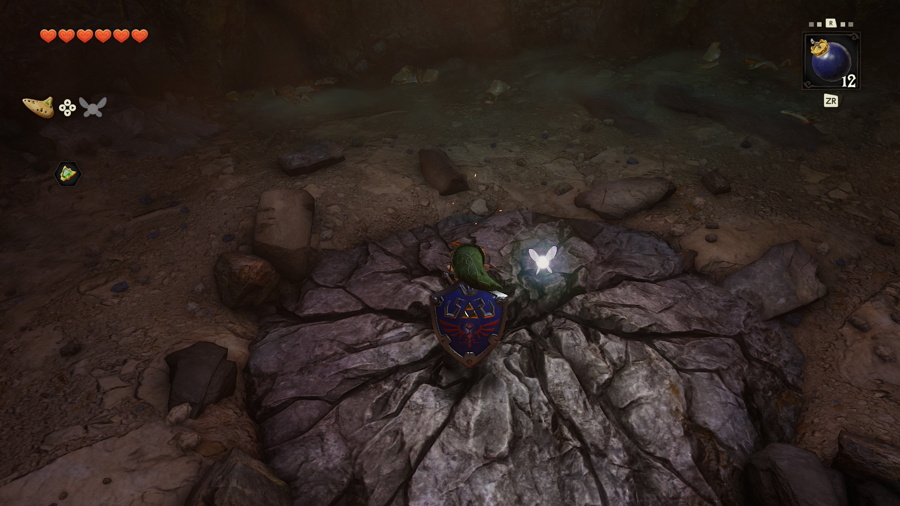
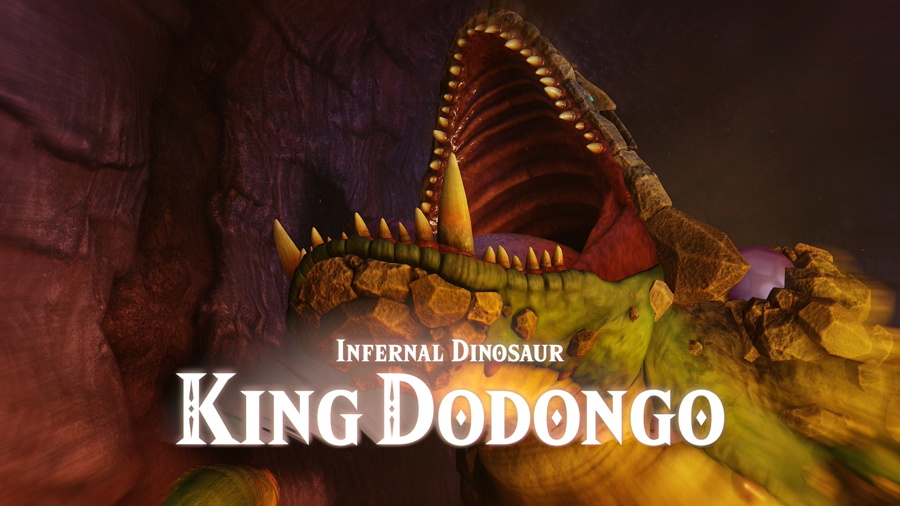
Break the pots in this room and then place a bomb on the cracked floor and hop down the opening. You'll come face to face with the boss of this dungeon: King Dodongo. Normal sword slashes won't do anything to his hard shell, so you'll need to find another opening. When he opens his mouth he will inhale: this is your queue to throw a bomb in his mouth. Once you do he will be stunned and expose his tongue, which is his weak point.
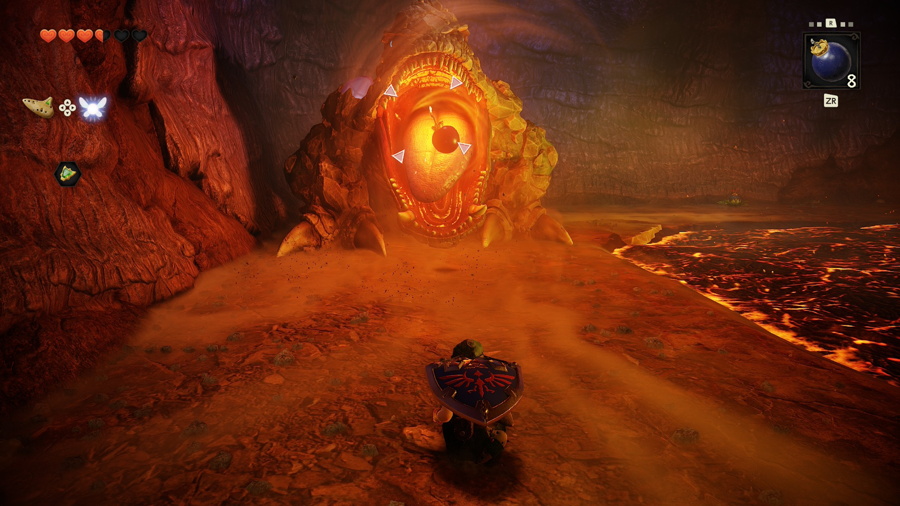
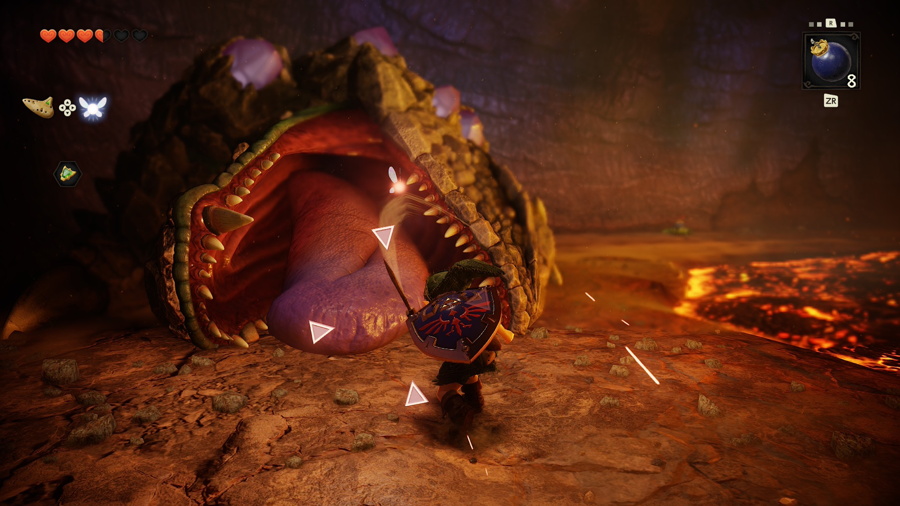
Occasionally King Dodongo will roll up into a ball and roll around the room. To avoid this attack stand on the ledge in the corner close to the lava and turtle up in your shield. The next times he opens his mouth to inhale, he'll summon some Baby Dodongos as well. Take them out and repeat the process of throwing a bomb in his mouth and attacking his tongue. If you run out of bombs you'll need to use the provided Bomb Flowers.
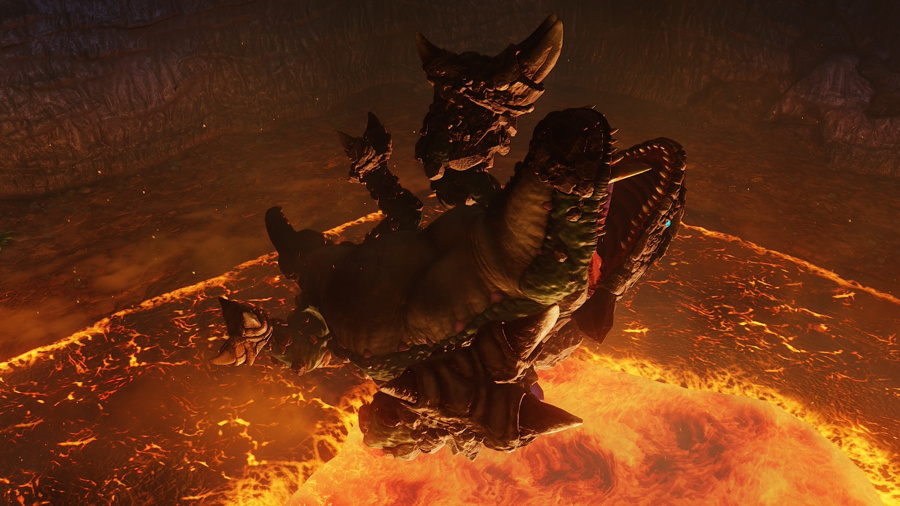
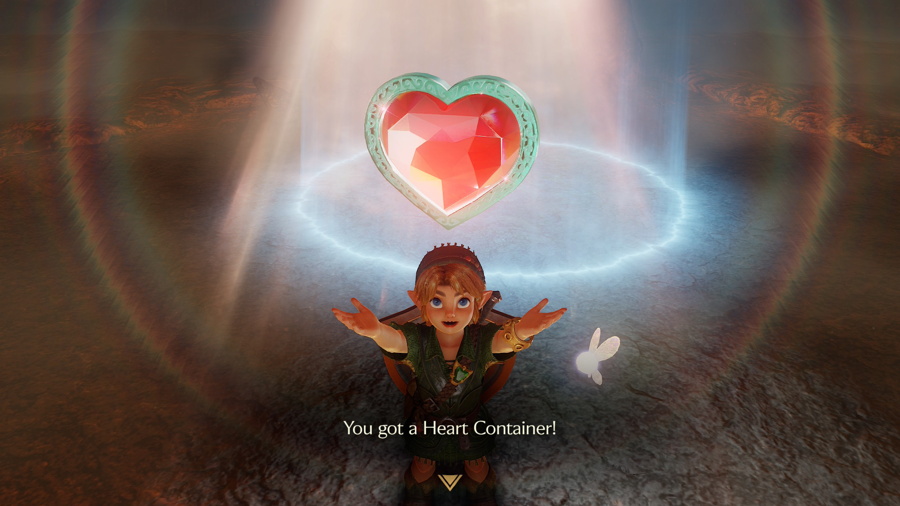
After doing enough damage King Dodongo will roll into a wall and then fall into the large pool of lava. This will petrify him and cool the lava in this room, sealing your victory. Make sure to pick up the Heart Container on the ground before walking into the blue light.
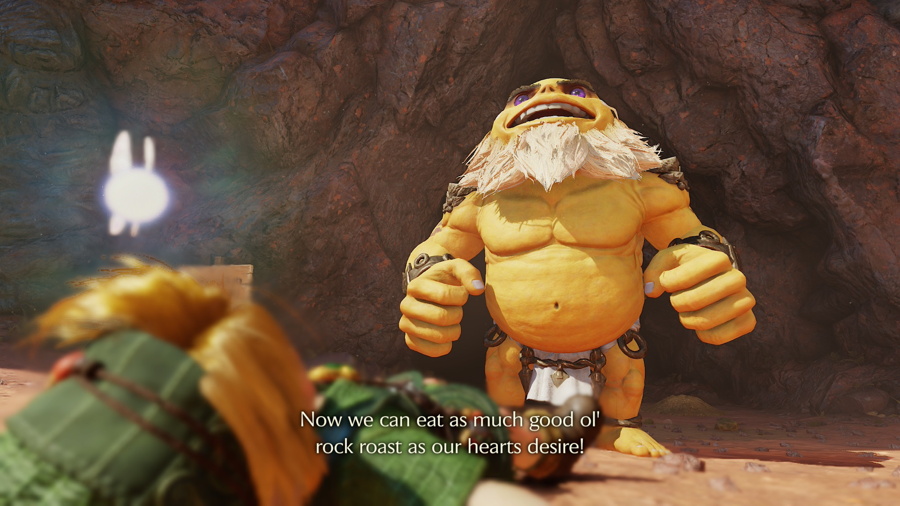
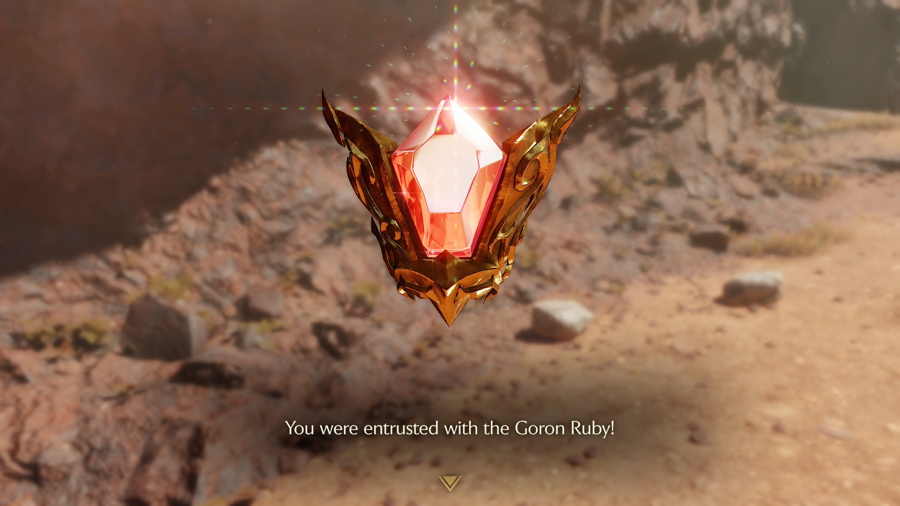
Back outside the cavern Darunia will be very pleased that you've cleared Dodongo Cavern for them. He will be so grateful that he declares you sworn brothers in addition to giving you the Goron Ruby. Afterward he'll summon some more Goron and they will all surround you in an attempt at a giant group hug!
Death Mountain
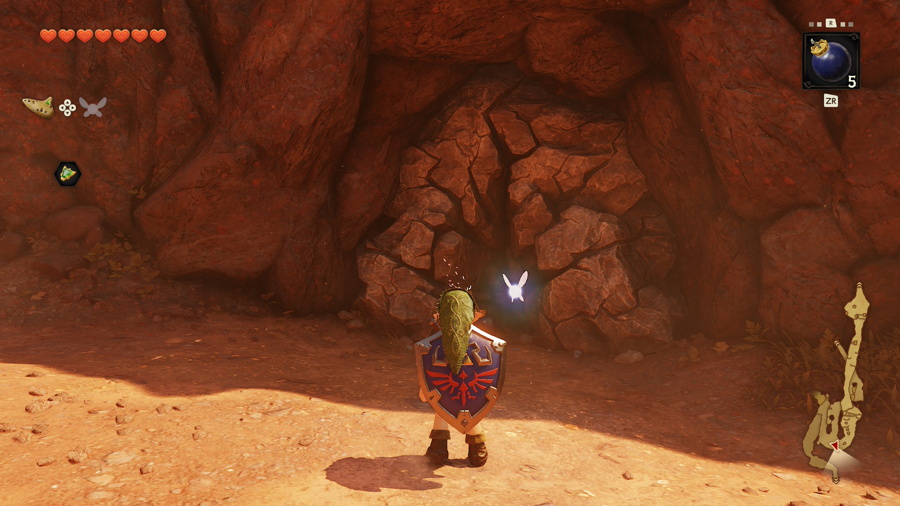
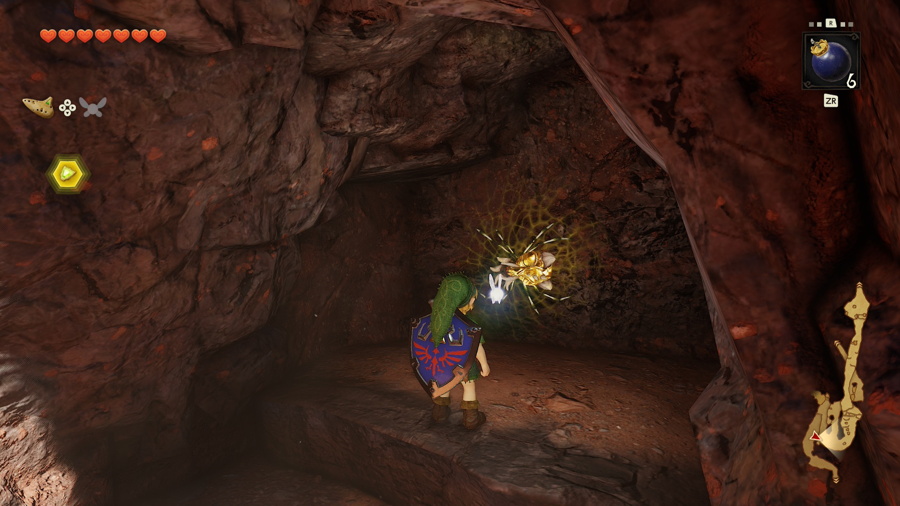
The dungeon is cleared, but there is still quite a bit we can do in this area before moving on. Turn directly around from where you are placed and you'll see a cracked wall. Blow it up to find a chest containing a Business Scrub seed. Head back down the trail towards Kakariko Village and you'll see a cracked wall in the side of the mountain. Blow it up and you'll find Gold Skulltula #27 inside.
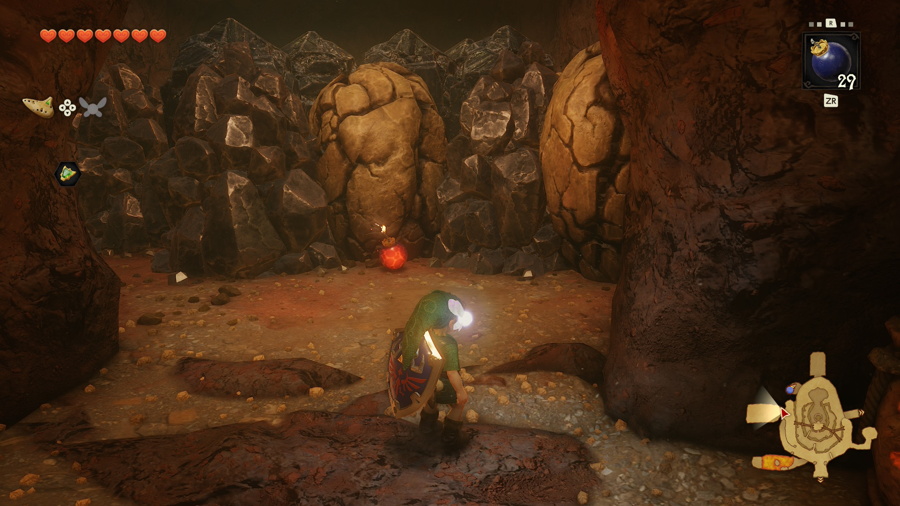
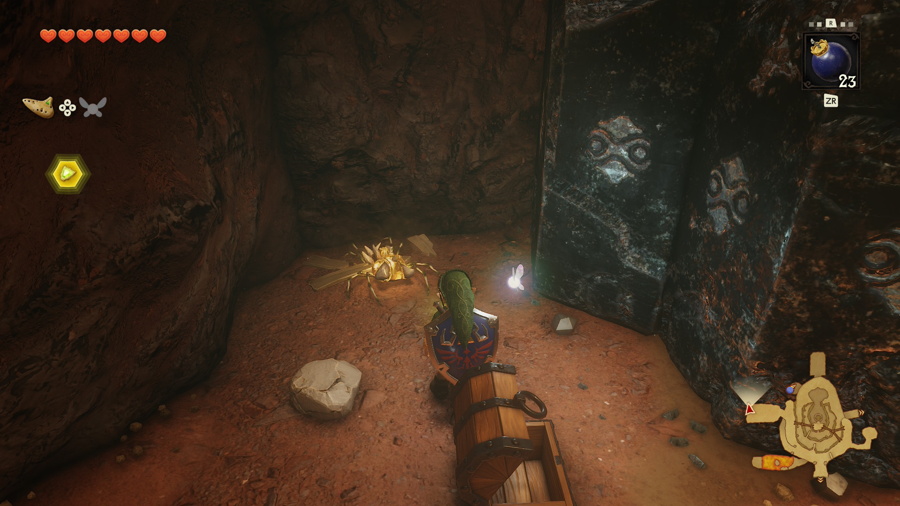
Now head back into Goron City. Head to the west side of the top floor and blow up the rocks here. Head into the little room to find a maze of rocks, some of which are cracked. Blow up the one on the right and keep blowing things up until you reach the back. On the far west side you'll find a couple chests with rupees and more importantly a crate containing Gold Skulltula #28.
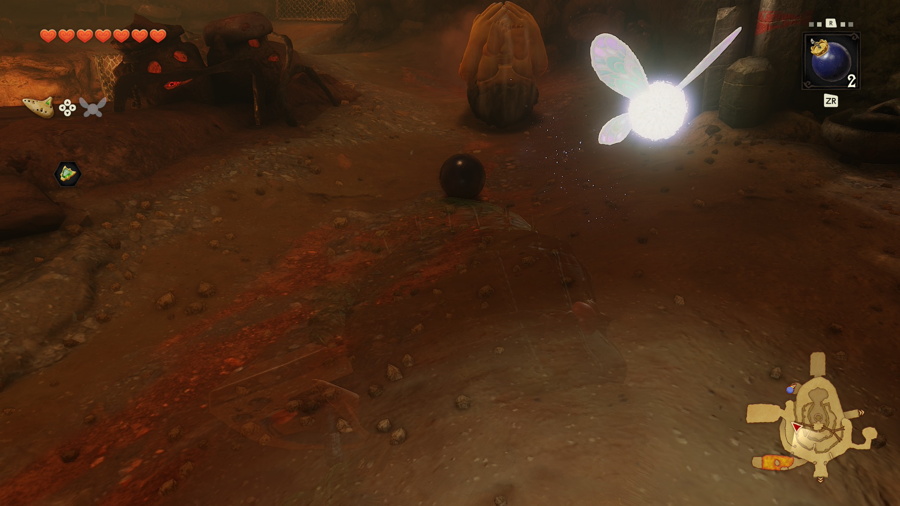
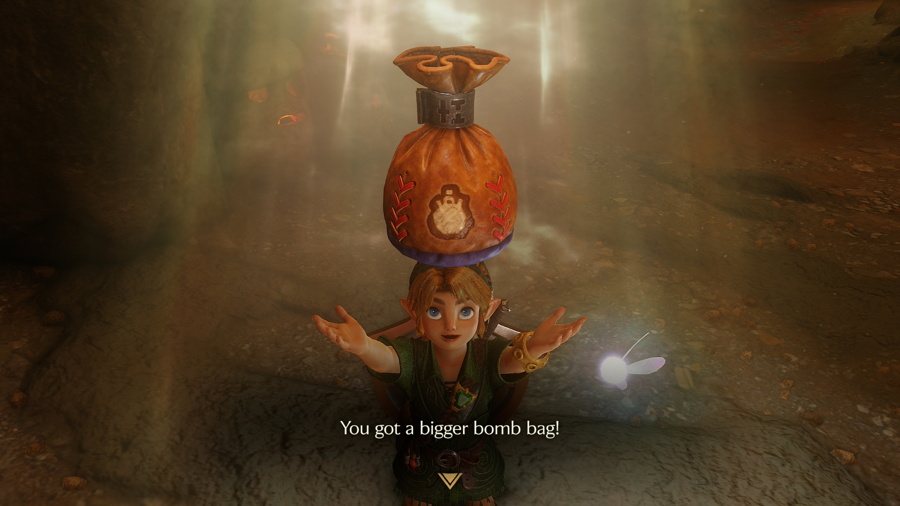
Head down to the floor below and you'll see a Goron rolling in a circle around this floor. If you head to the north side in the small cave you'll see a sign that says this is a perfect stopping spot. When the rolling Goron gets close place a bomb down in the middle of the path and let the Goron roll into it. If you stop him at this spot he'll reward you with the Bigger Bomb Bag (30 bombs).
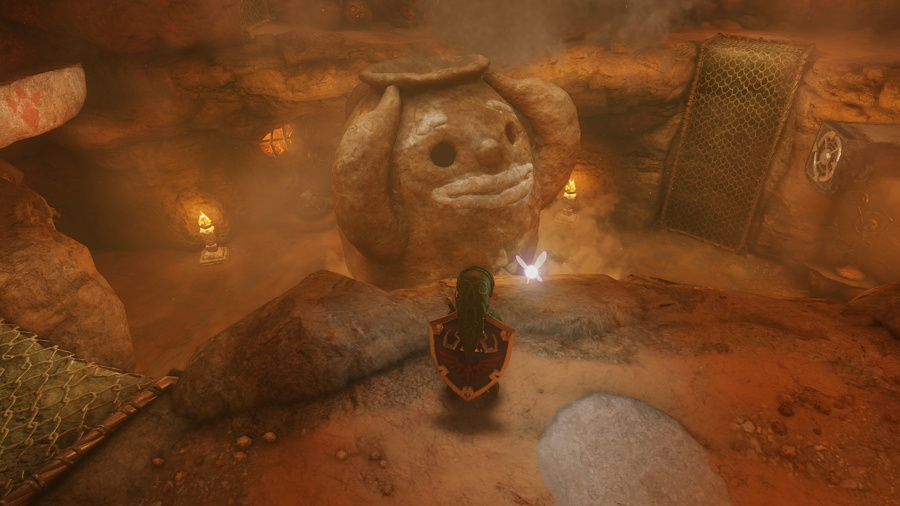
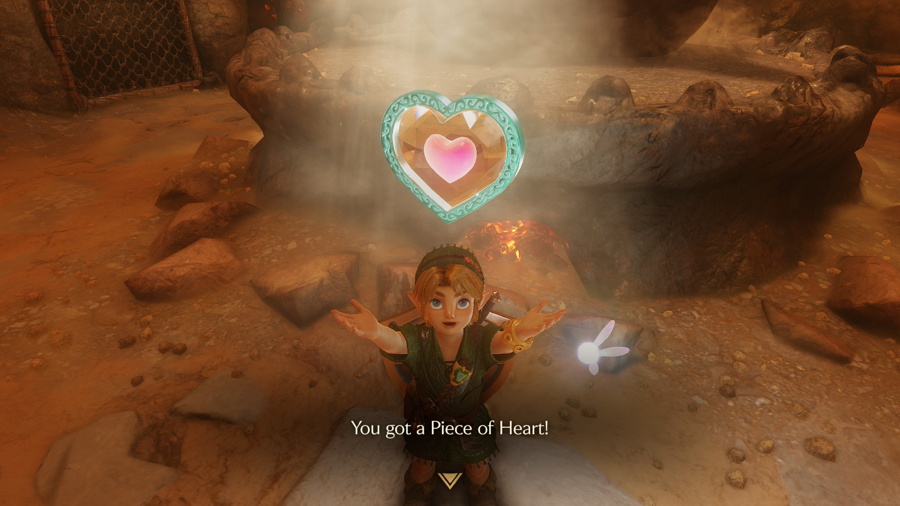
If you were following along earlier, we made the large pot on the bottom floor start spinning after first meeting Darunia. If it's not already spinning, you'll need to light all the torches on the bottom floor with a Deku Stick using the lit torch in Darunia's room. From the floor above it, toss a bomb into the top when the golden smily face is facing you. If you time it right Piece of Heart #10 will pop out.
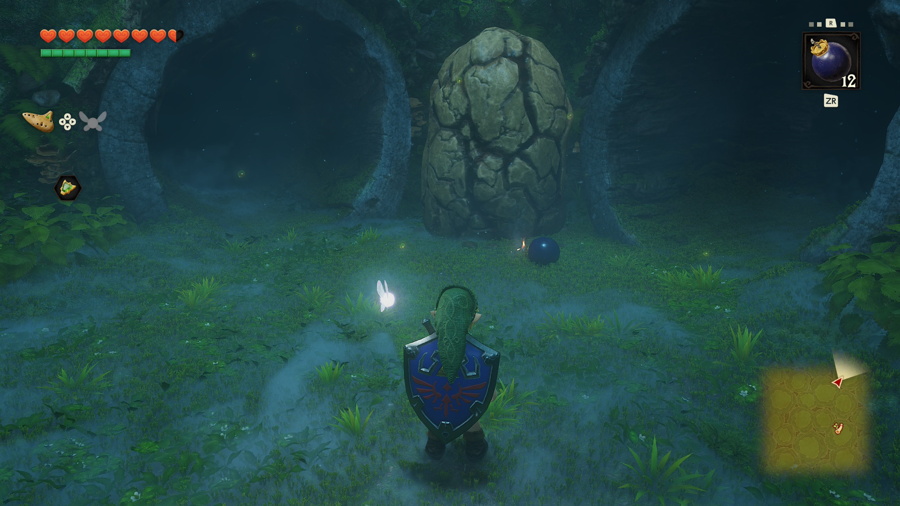
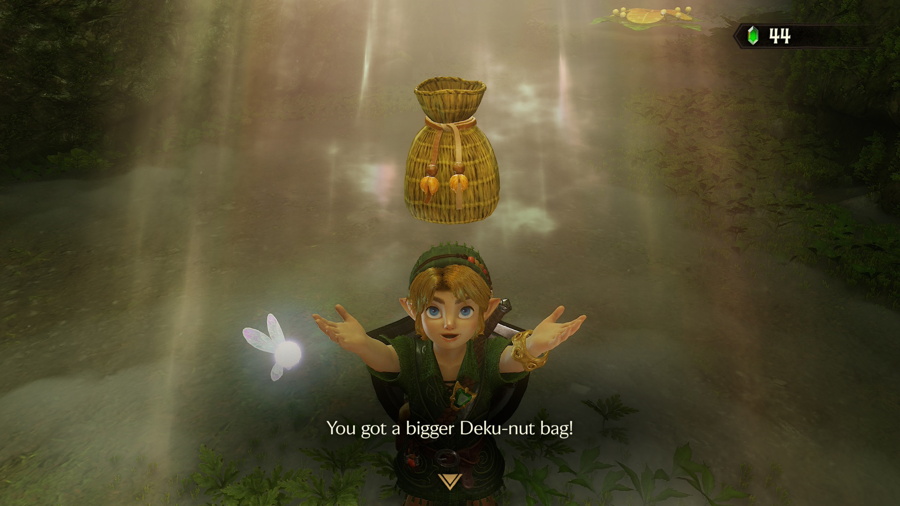
While we are in Goron City, there is an upgrade we can get in the Lost Woods. Take the entrance to the woods from the second floor. From here head left, left, straight, and left to find the northern area just before the Sacred Grove. Here you can bomb the cracked rock to find a grotto. The left Business Scrub in here will sell you the Bigger Deku-Nut Bag (30 nuts). Reverse the above directions to return to Goron City.
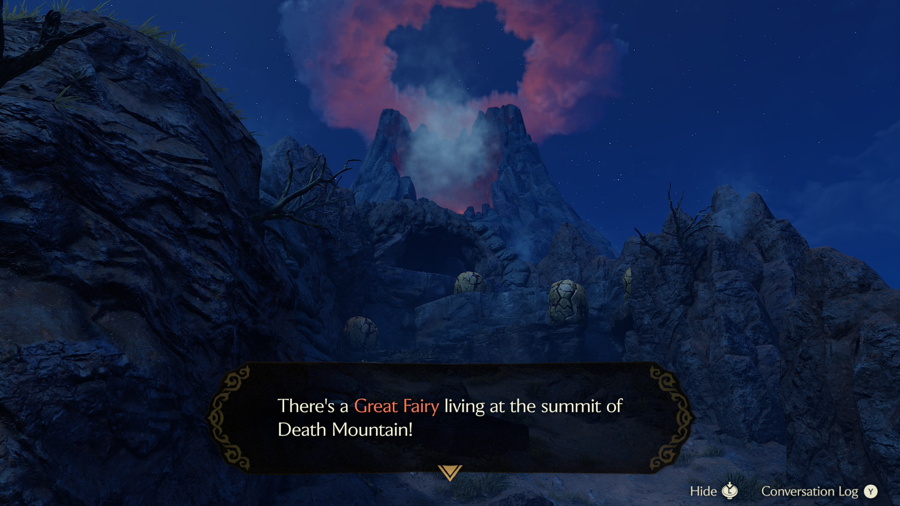
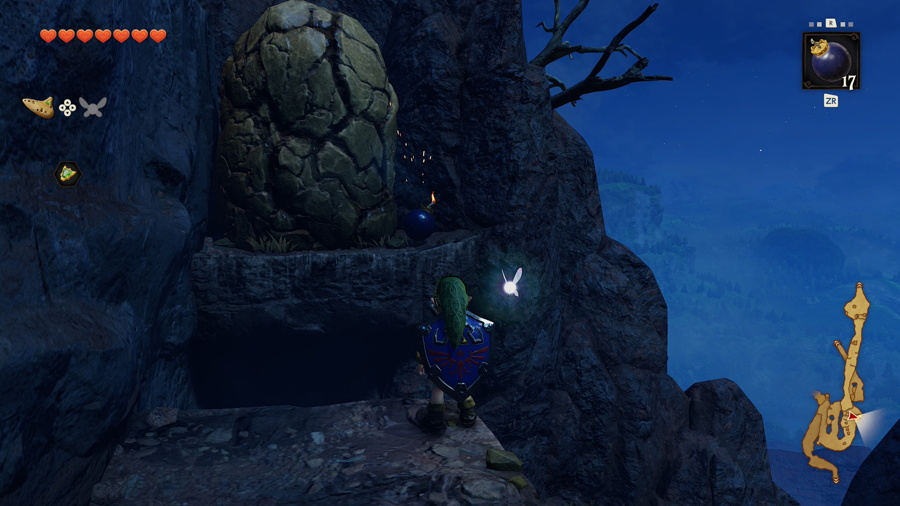
That's all there is to do in Goron City, so it's time to leave and scale to the top of Death Mountain. Start heading south after leaving the city and then turn left and start heading up hill when you get to a fork in the road. You'll get to some stairs built into the mountain but they are blocked by cracked rocks. Blow them up to make your way up.
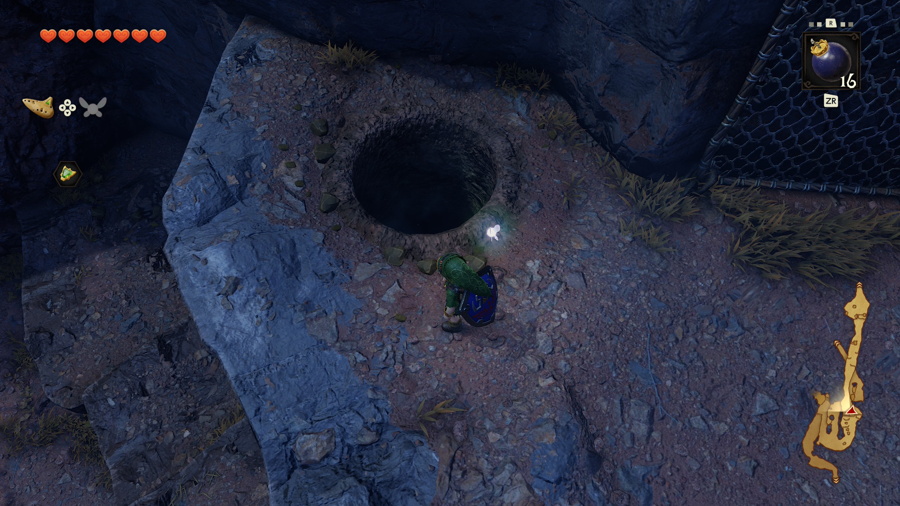
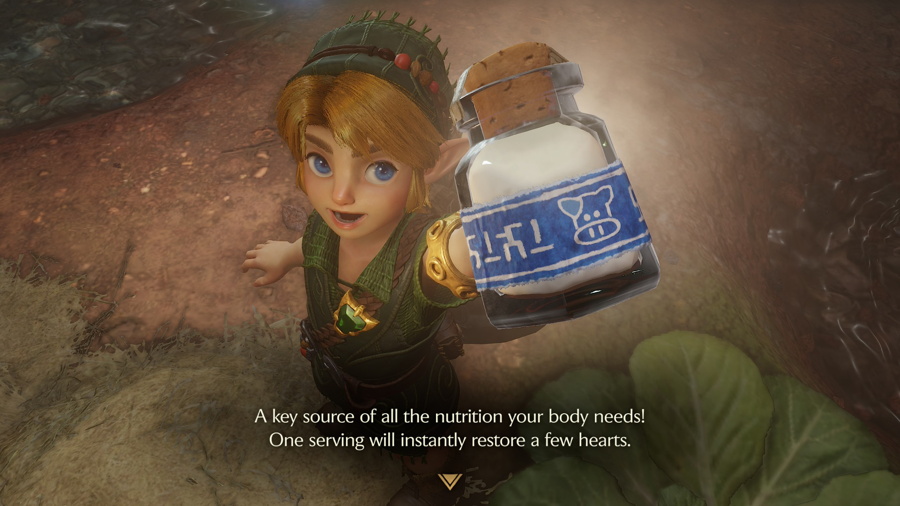
Once you get up this cliff there's another cracked rock on top that you can blow up to reveal a grotto. Inside you can find a cow which you can play Epona's song for to fill up some of your bottles with Lon Lon Milk, which may come in handy shortly. Continue ascending north through the cave and eventually the mountain will begin to erupt.
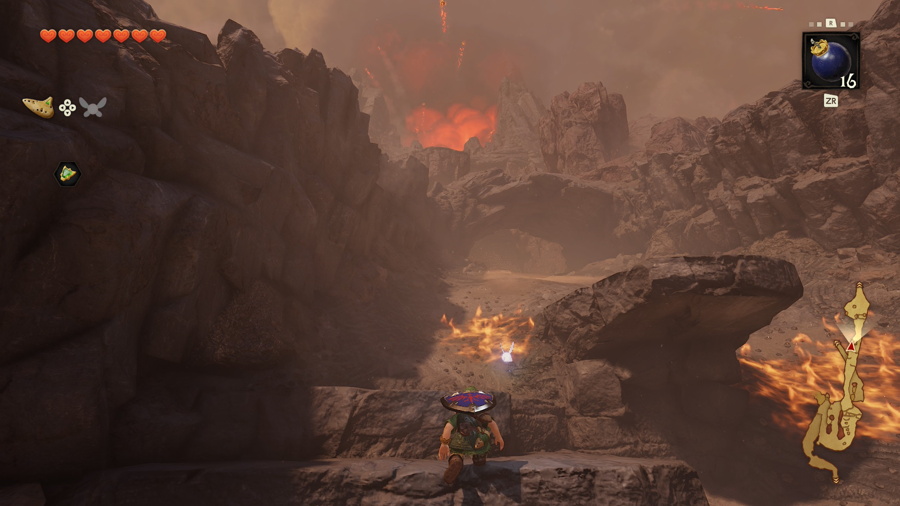
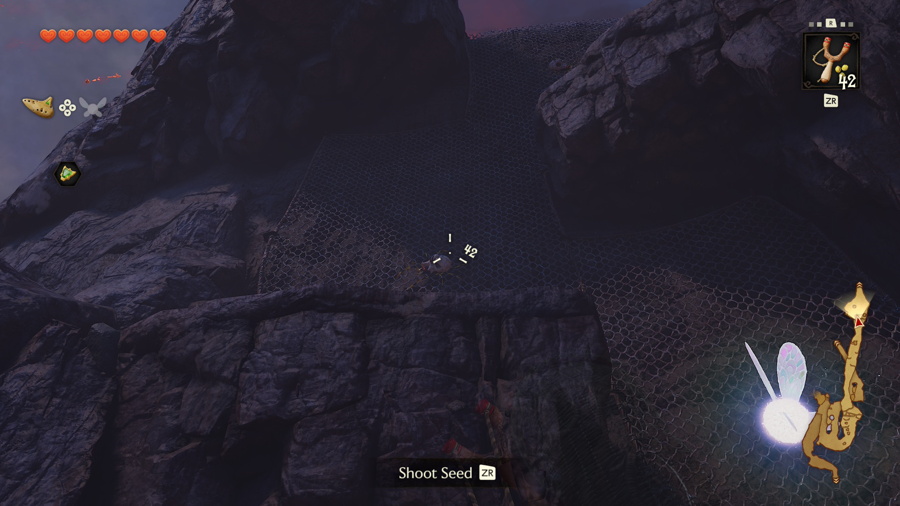
Press on through the debris field and watch for lava raining down from above. You can use your Hylian shield to block some if you're quick enough, but just keep running to the end. At the end of this path you'll find a climbable wall covered with Skullwalltulas. Take them all out with your slingshot before you climb up.
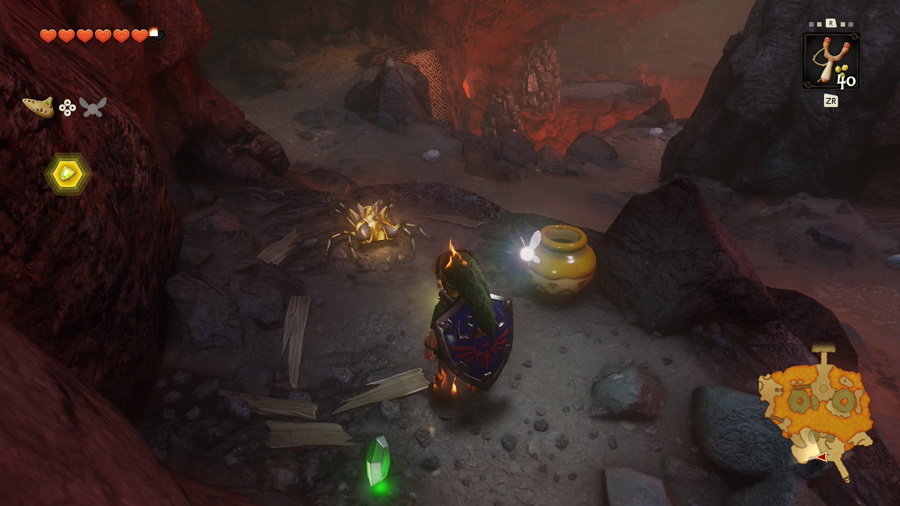
There are a few things we can pick up in Death Mountain Crater straight ahead. You'll have to move quickly and use healing items (like the Lon Lon Milk we just picked up) as the heat will slowly drain your health while you're in here. These are all optional items for now, so you can come back to them later if you'd rather.
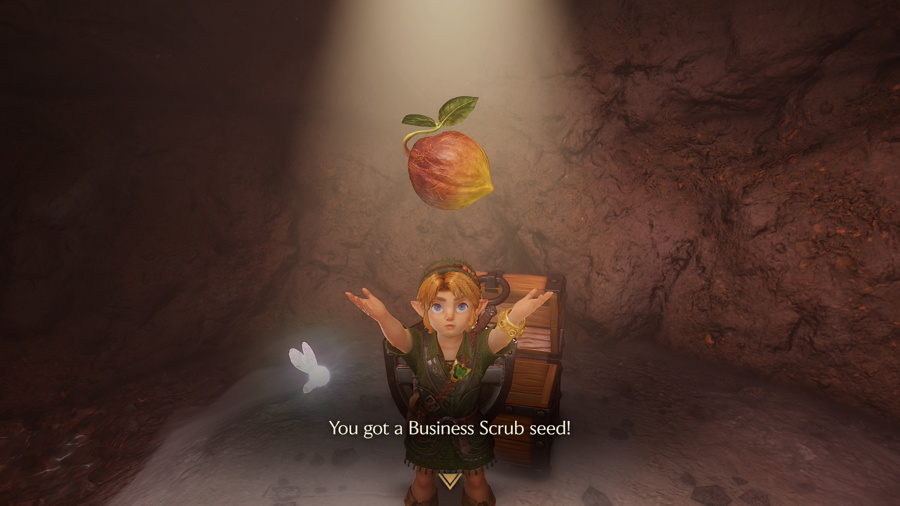
Once inside, head to your left as soon as you can and you'll see a shaking crate. Roll into it to find Gold Skulltula #29. Continue to the northwest and you'll find a cracked rock you can blow up. Quickly enter the grotto beneath and you'll find a chest containing a Business Scrub seed.
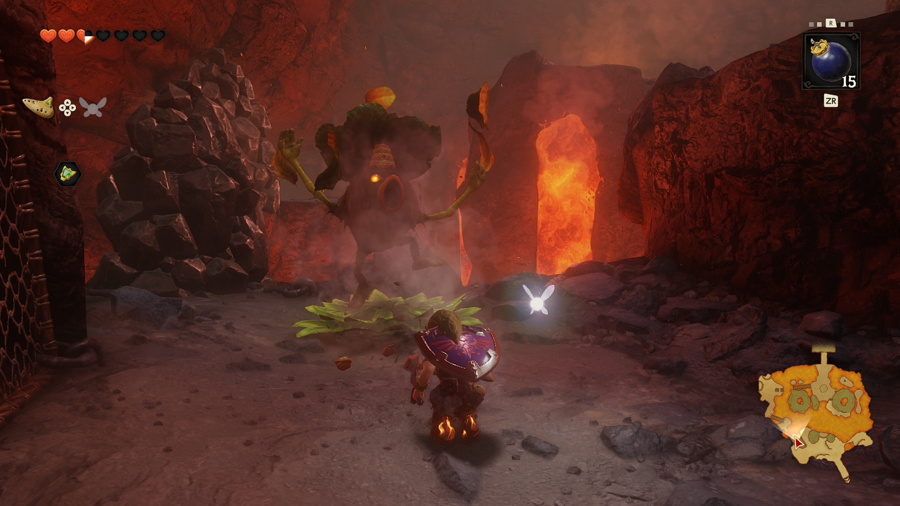
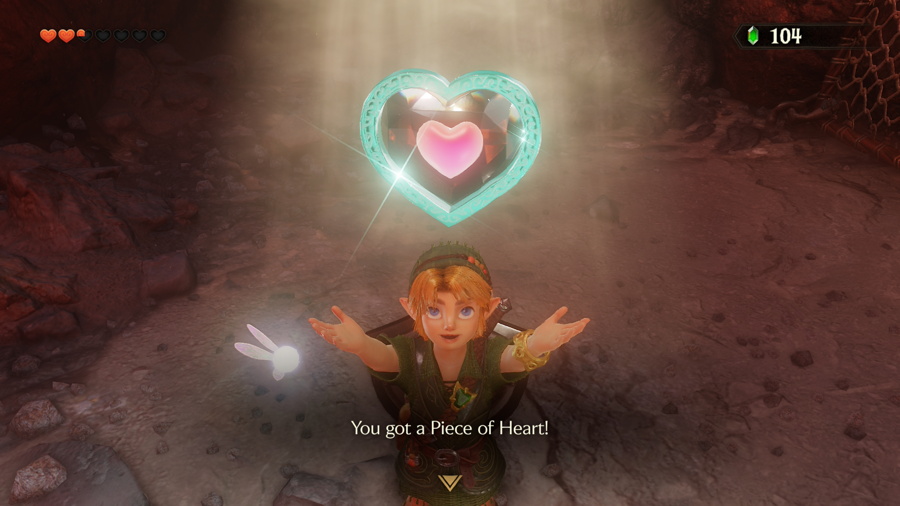
Exit the grotto and continue northwest and you can drop down to find a Business Scrub. You can still reflect his projectile with your Hylian shield. Once you do he'll sell you Piece of Heart #11 for 100 rupees, which will conveniently heal you as well.
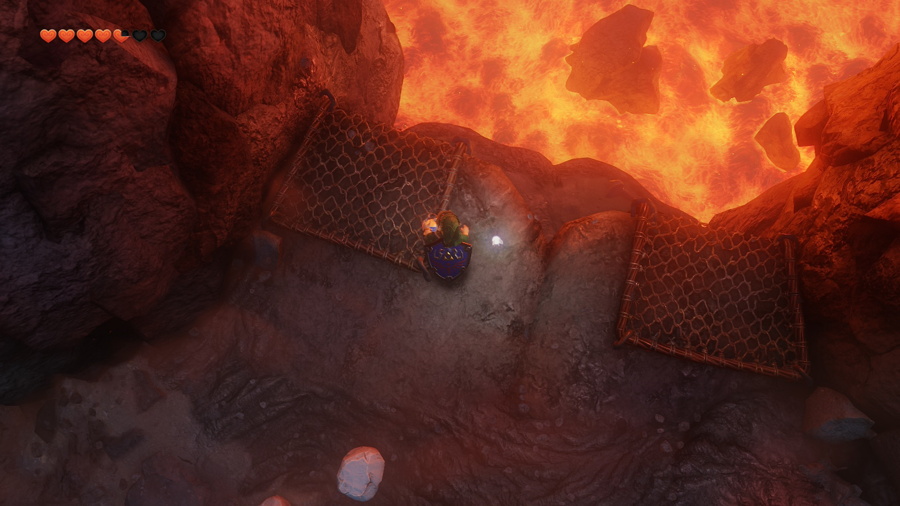
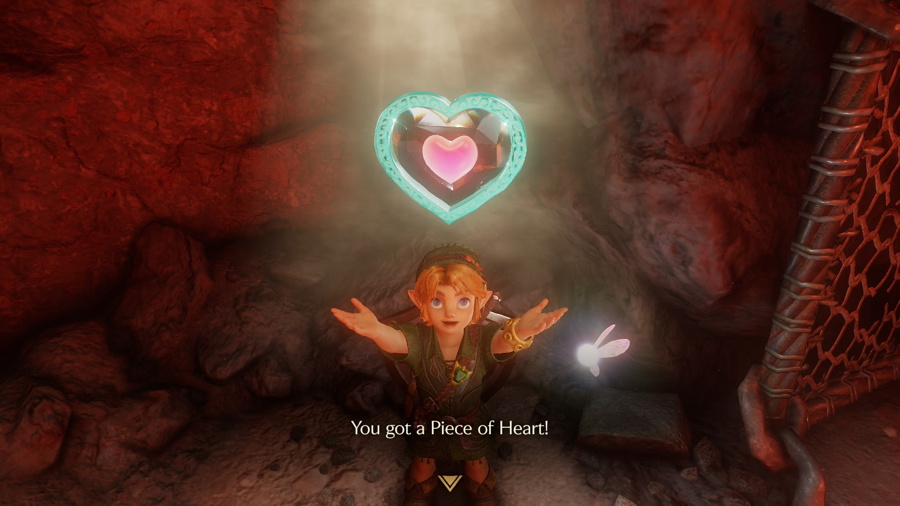
Head back to the east along the edge of the cliff and you can drop down near the climbable walls to find Piece of Heart #12, gaining another full heart container and healing you once again. Make a run for the exit.
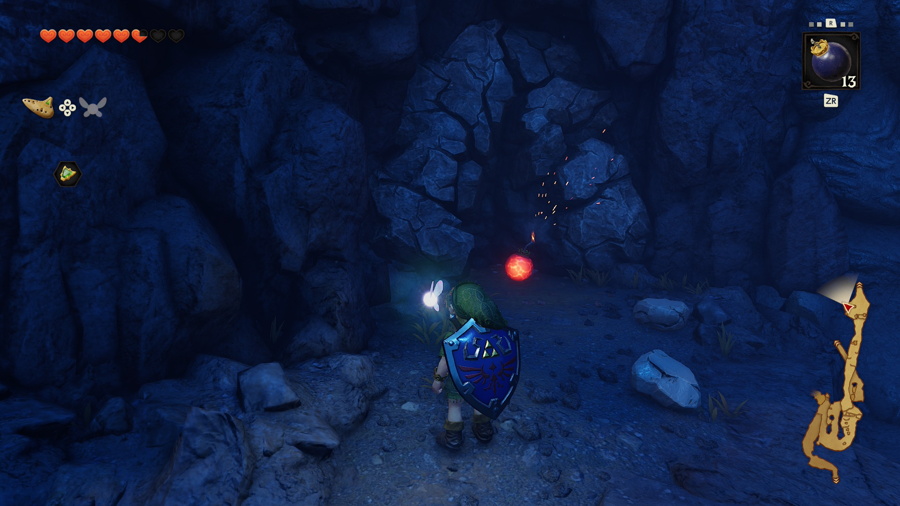
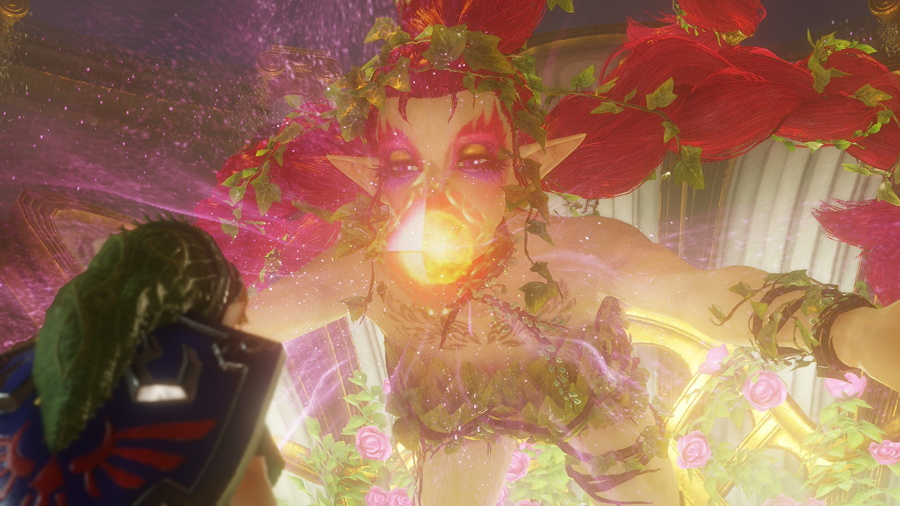
Take a right after the exit and place a bomb in front of the cracked wall in the mountain. This will reveal the entrance to your first Great Fairy Fountain. Enter the fountain and play Zelda's Lullaby on the Triforce. This in conjunction with a 25 rupee offering will summon the Great Fairy. She will teach you the magic spell Din's Fire and also give you a magic meter so you can use it.
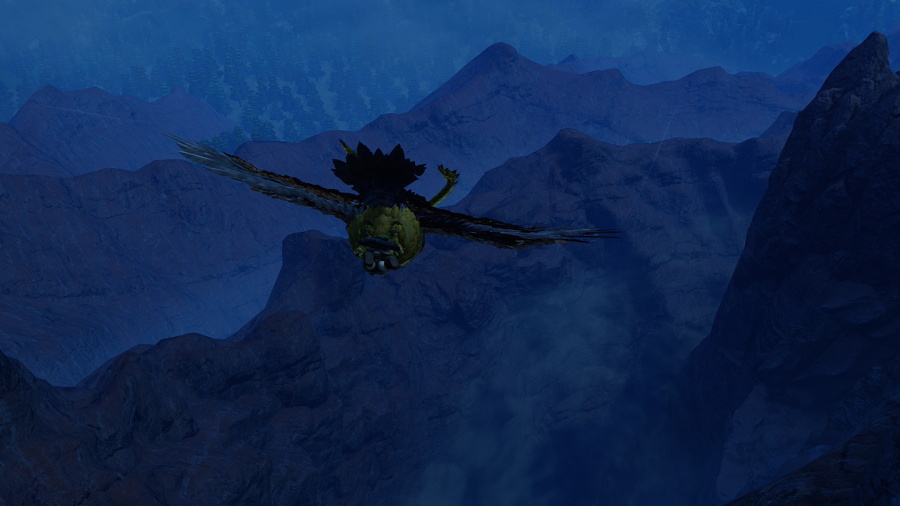
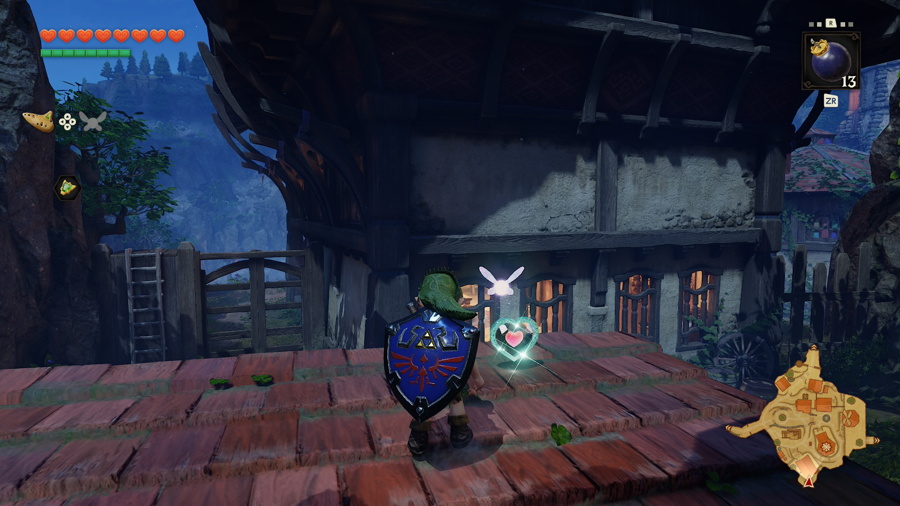
Now that we've collected everything there is to collect on Death Mountain for now, speak to Kaepora Gaebora outside and he'll give you a free ride back to Kakariko Village. He very conveniently drops you off on the roof of Impa's house. From here you can jump off the back onto the red stable roof and find Piece of Heart #13.
Now that we have bombs there are several more things we can do throughout Hyrule before continuing on to the next area, but we'll save those for the next chapter.
Back to Princess Zelda
