
Part 1: Great Deku Tree
Kokiri Forest
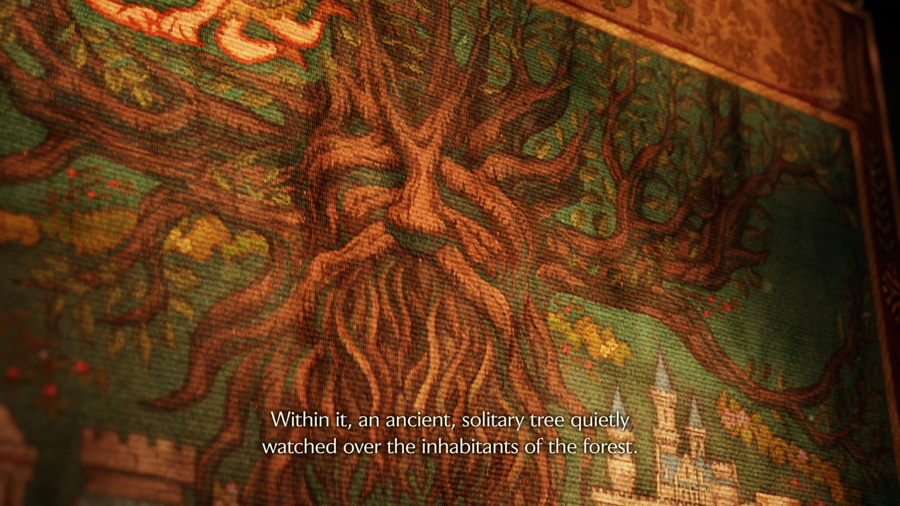
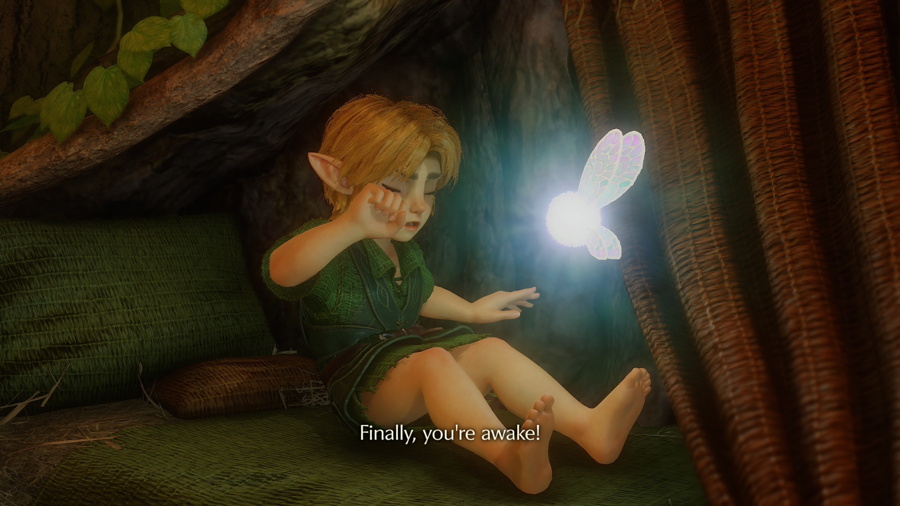
The game opens with the legend of the Kokiri, the fairy children that inhabit Kokiri Forest. Link then awakens from a dream in which he saw Zelda riding away from Hyrule Castle being chased away by Ganondorf. The Great Deku Tree, in poor health, then sends the fairy Navi to find Link, the only boy in the forest without a fairy.
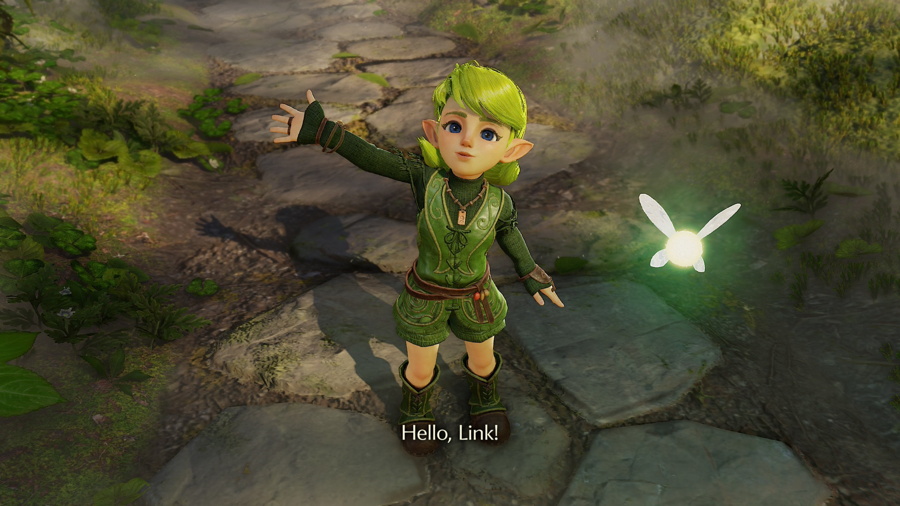
Once in control of Link, exit your house to get a view of Kokiri Forest. Your friend Saria will stop by to say hello, so climb down the ladder and speak with her. She is impressed that you finally have a fairy and encourages you to visit the Great Deku Tree as well. That will be our first objective of the game.
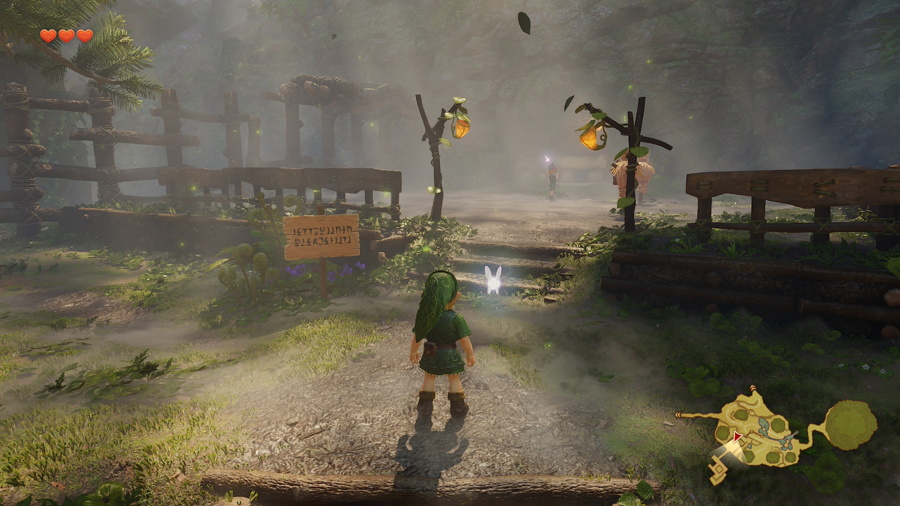
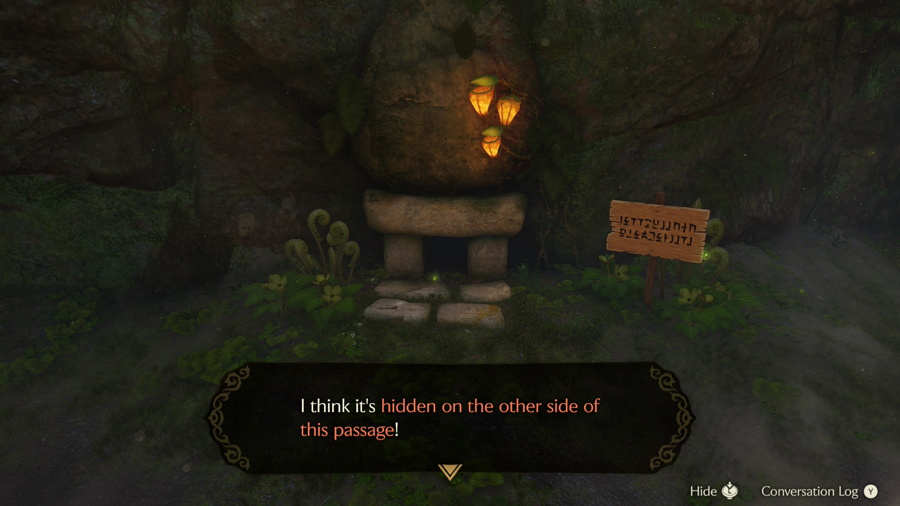
In order to visit the Great Deku Tree, you'll need a sword and a shield. Start by heading left from your house and climb the stairs in the southwest area of the forest. You can read the signs and speak to the boy here for a few tutorials on movement and attack options if you wish. He'll also suggest that the sword is hidden through the narrow passage nearby, so crawl through to find out if this is true.
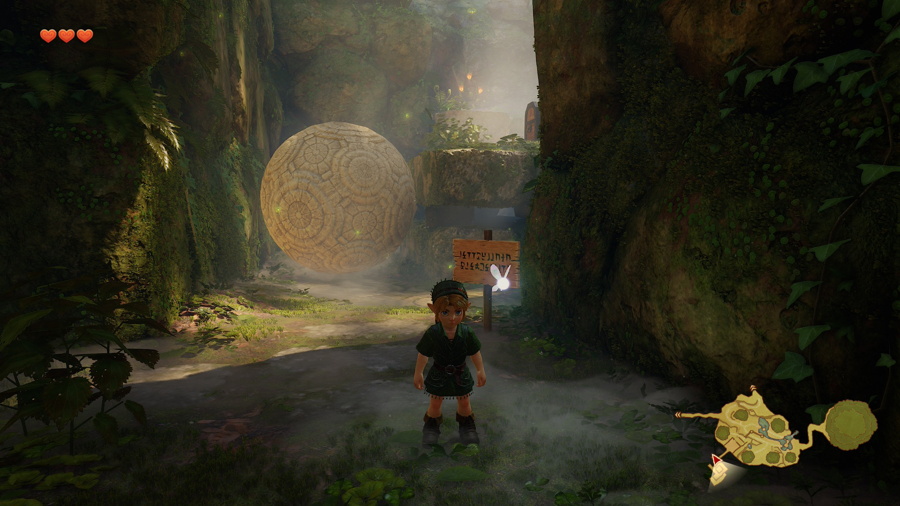
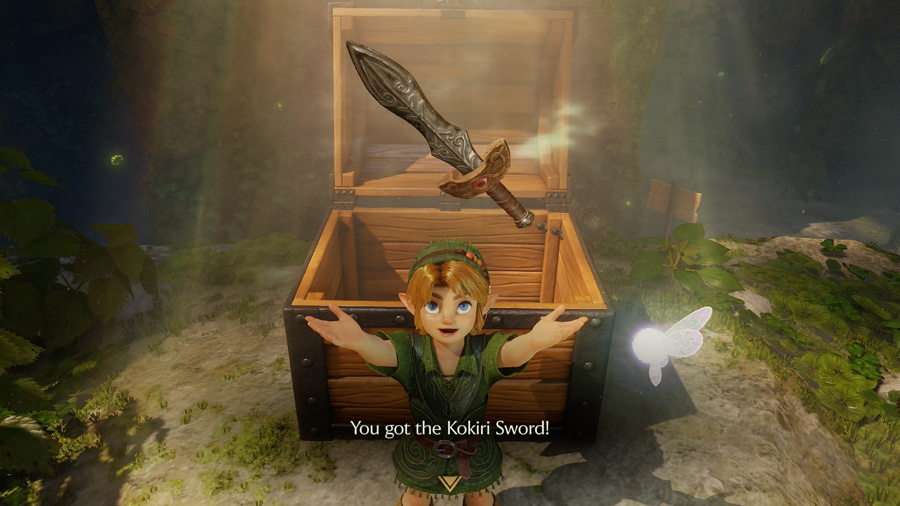
Through the passage you'll find a small maze with a large rolling boulder you'll want to avoid. There are little alcoves in each corner you can dip into for safety, make sure to collect the rupees you find there. In the opposite corner you'll find a ladder you can climb up. Follow the higher path and jump across the gap with "X" to find a chest containing the Kokiri Sword.
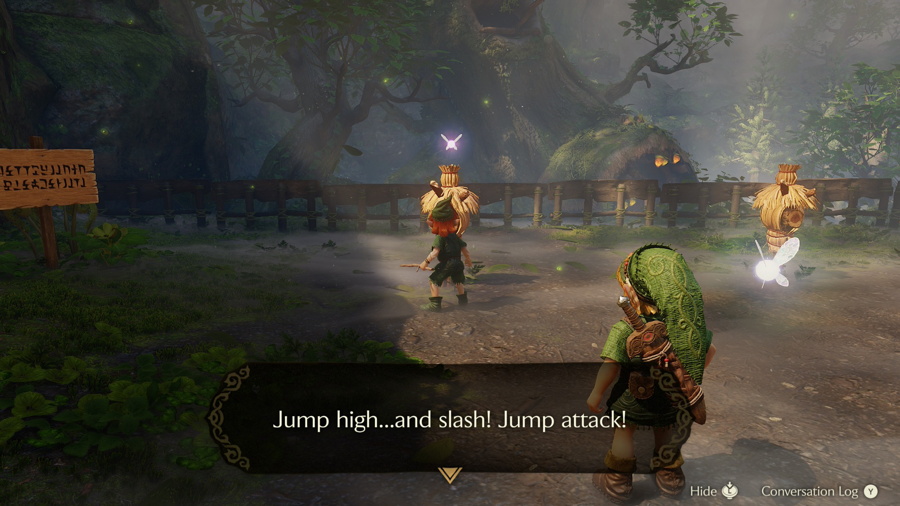
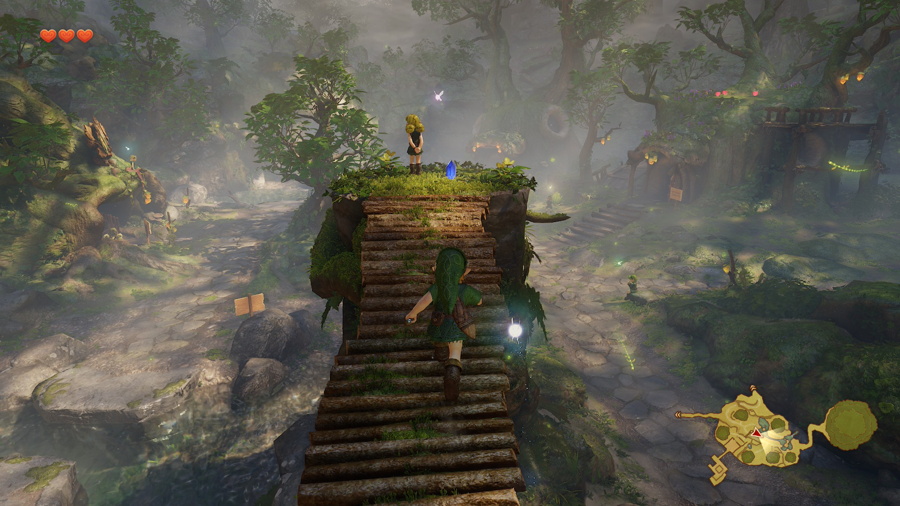
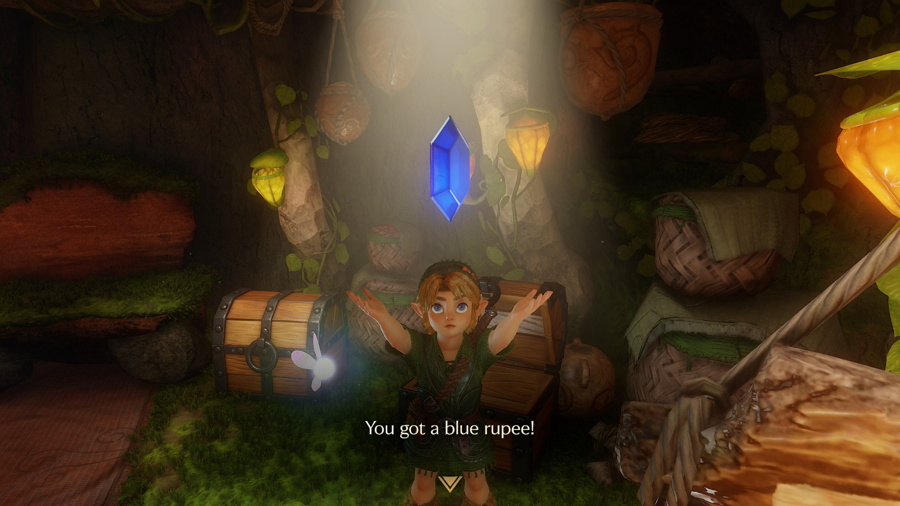
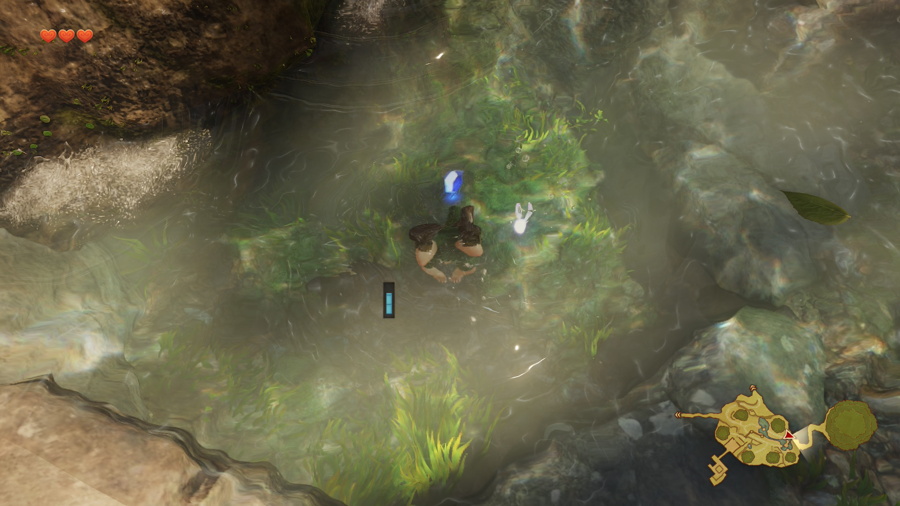
Your sword will automatically equip, so just press "Y" to swing it. Use it to cut the grass surrounding the chest to pick up a few rupees. Head back through the narrow passage and speak to the boy here for some sword training. From here you'll need to explore the rest of the forest and collect at least 40 rupees. Blue rupees can be found in the following locations:
- Next to Fado on the platform in the center of town accessible via the bridge
- On a rock platform in the northern pond
- Speaking to the boy near Link's house after tossing all three nearby bushes
- 3x from chests in the house on the northwest of town
- 2x by diving in the ponds near the shop
- By taking the path to the right of the shop counter
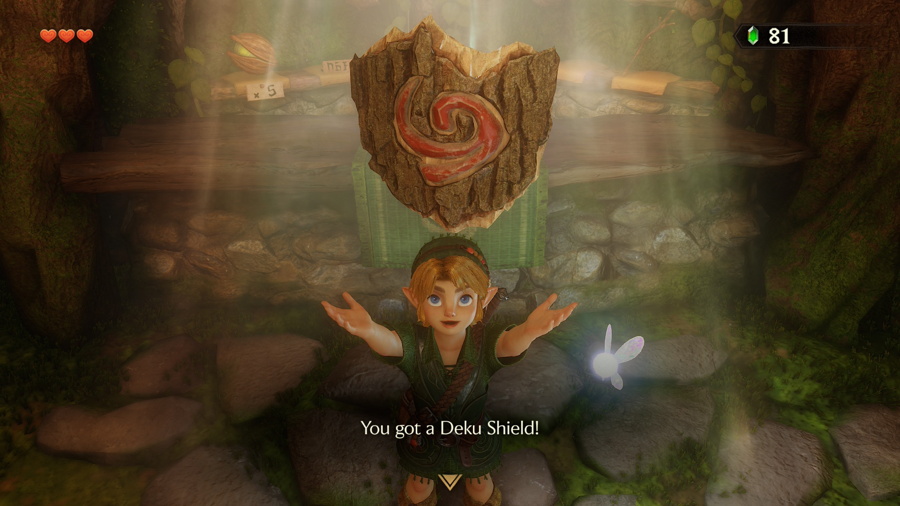
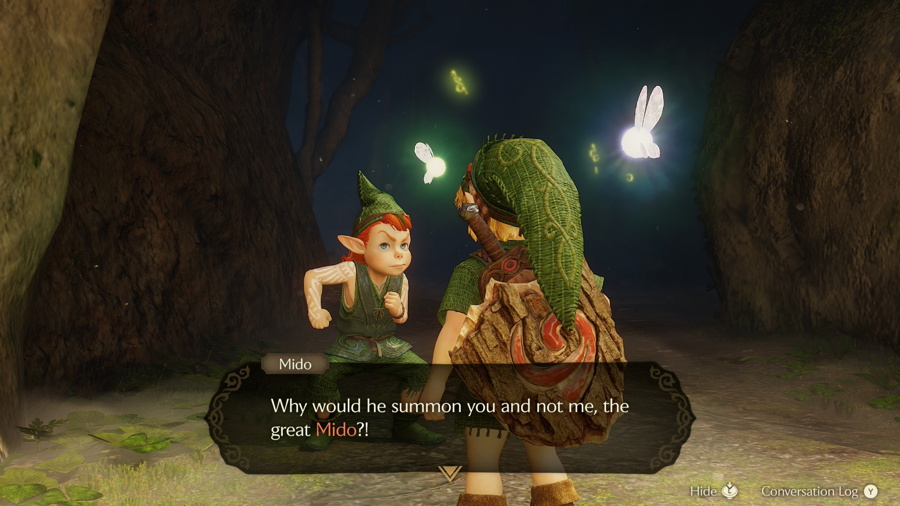
After you've gathered at least 40 rupees, head to the shop in the northeast part of town. Here you can purchase a Deku Shield. With both your sword and shield in hand, you can now head to the Great Deku Tree by taking the path on the east side of town. Speak to Mido and he will eventually let you through if you have a sword and shield.
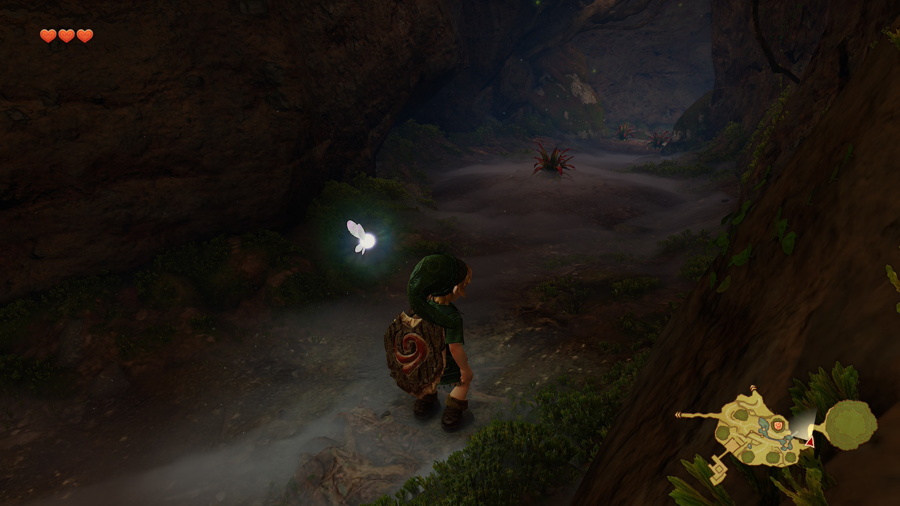
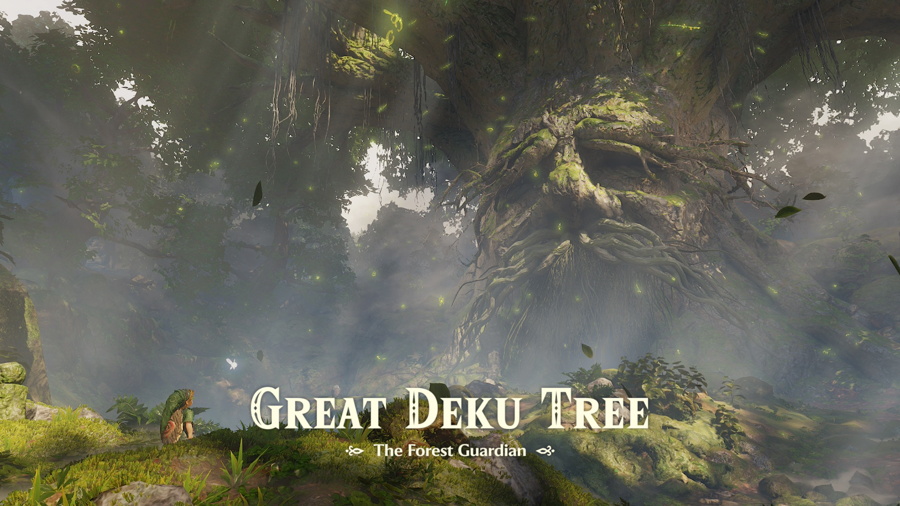
On this path you'll encounter your first enemies in the game: Deku Baba. Slash at the stem and they will drop a Deku stick. Continue on to meet with the Great Deku Tree and learn of the Spirtual Stones and the great beast that has been growing inside of him. Head inside his mouth to enter your first dungeon of the game.
Great Deku Tree
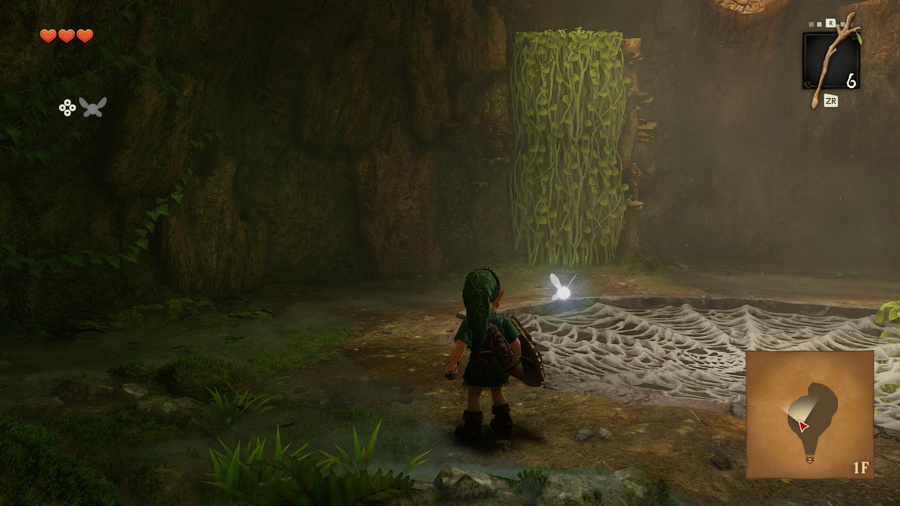
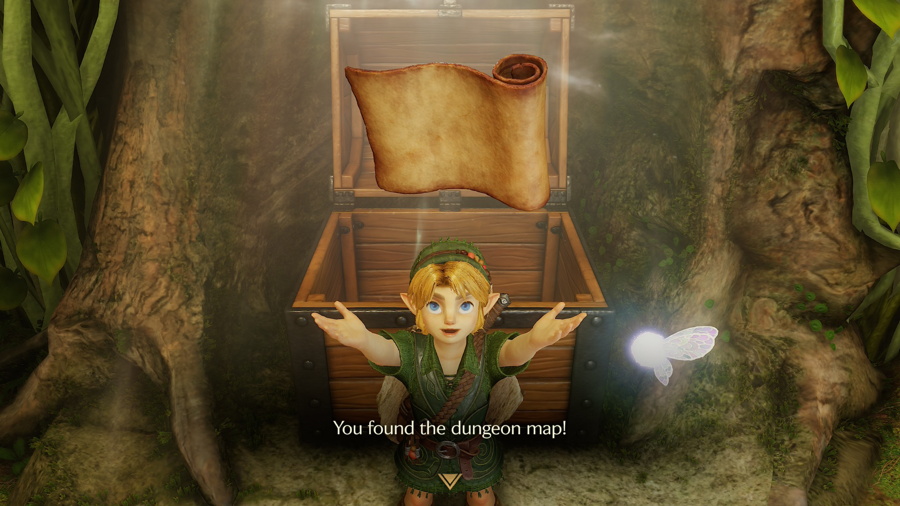
Inside the Great Deku Tree you'll need to navigate multiple floors and several rooms to find the great beast he spoke of. On the first floor you can take out some more Deku baba. Some of them will drop Deku nuts, which can be used to stun enemies. Ignore the web in the middle for now and climb up the nearby vines. Hop over the gaps and continue until you find a chest that contains the Dungeon Map. You can now press "-" to view the map and navigate the dungeon.
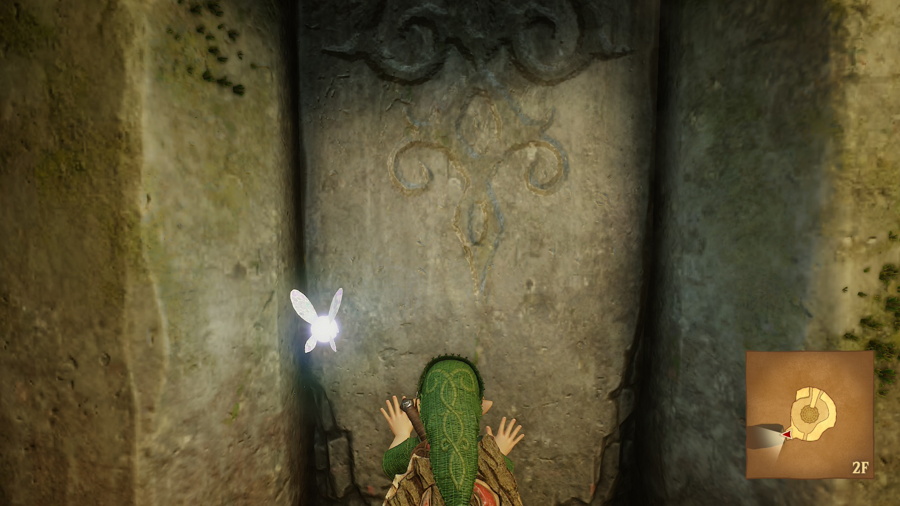
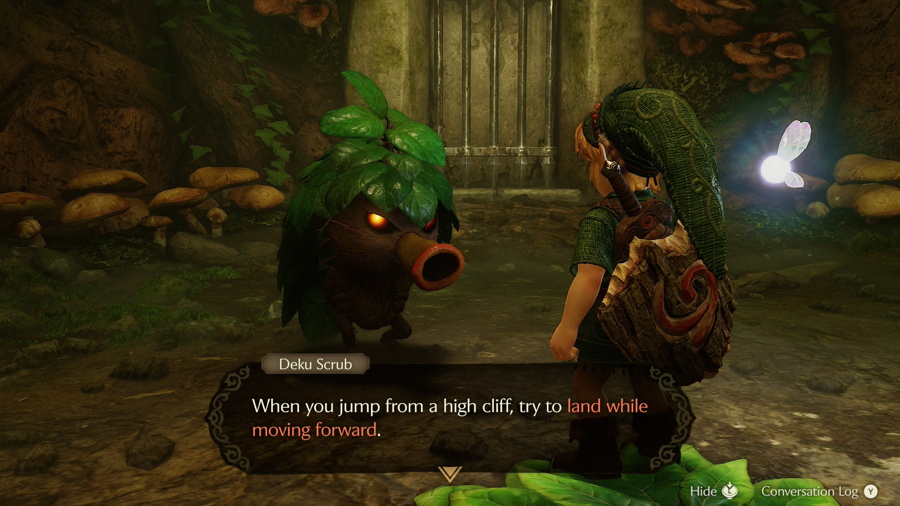
Continue past the next gap and enter the stone door. In this room you'll find a new enemy: the Deku Scrub. Target it and keep your distance while shielding. You can use your shield to relfect the Deku nut it shoots back at it and then slash with your sword as it is running around. After being defeated it will give you a helpful tip and the doors will be unlocked.
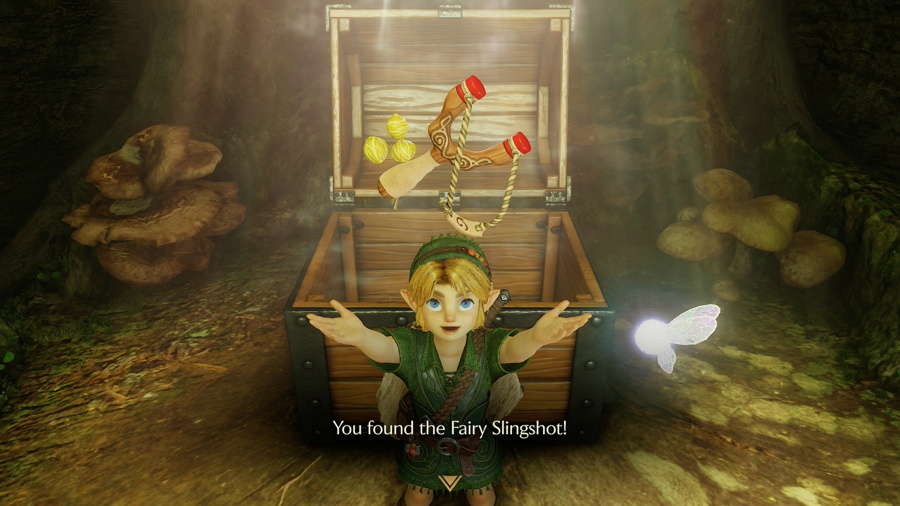
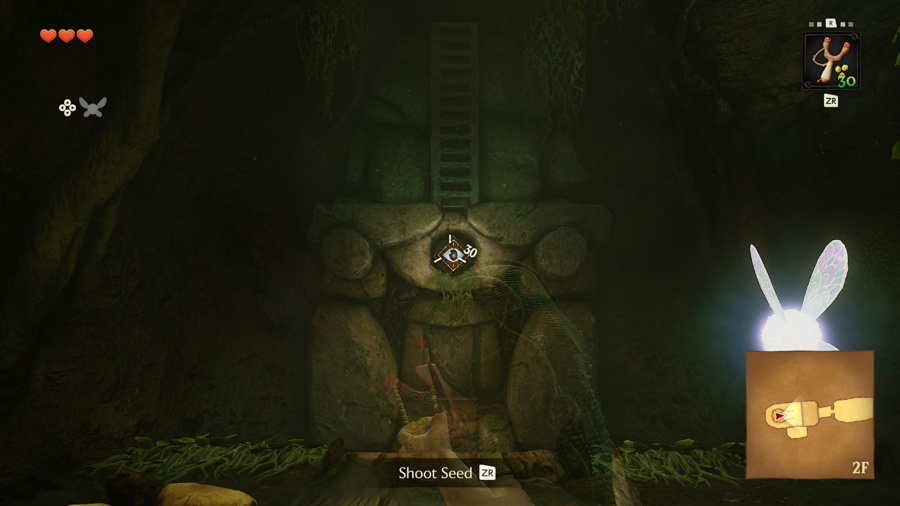
Quickly cross the bridge in the next room before it breaks and use the vines to climb up the other side if you need to. Open the chest here to get the Fairy Slingshot. This is your first dungeon item and as long as you have ammo you can use it to shoot enemies and objects after selecting it with "R". Turn around and press "ZR" to fire it at the eye above the door, dropping down the ladder.
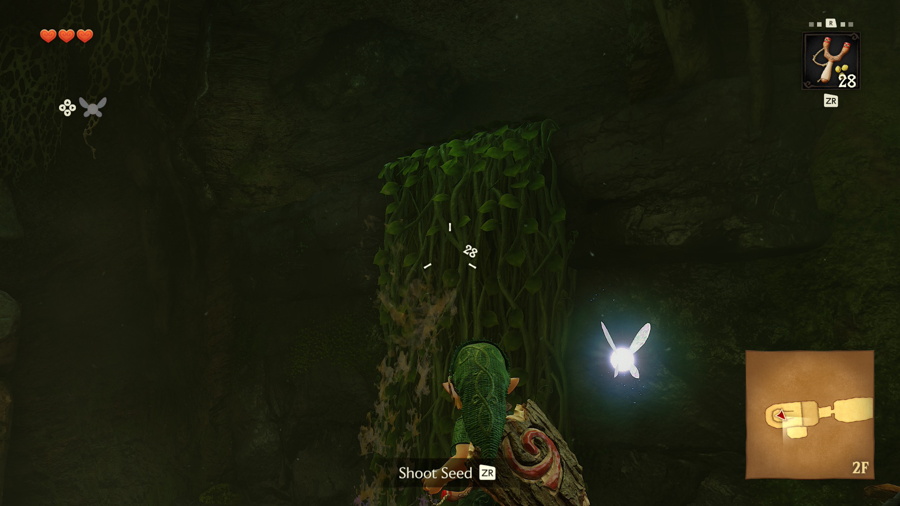
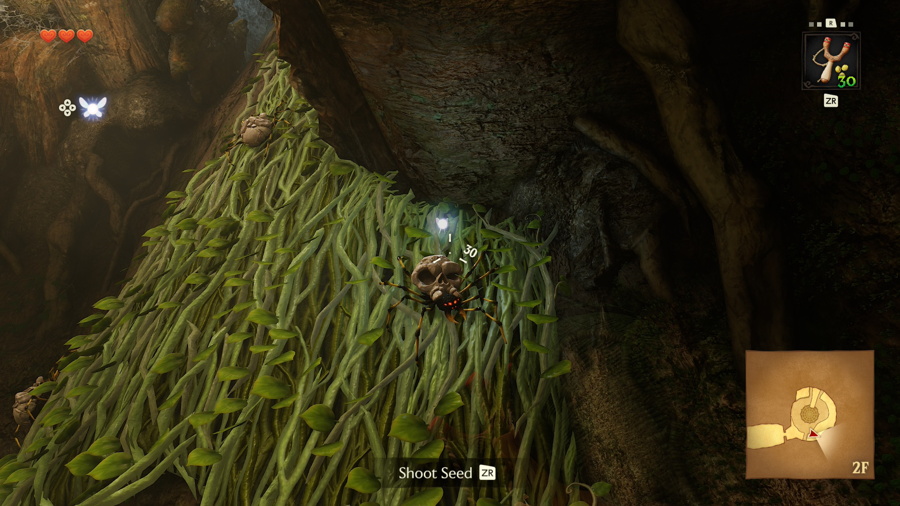
Before leaving the room you can also use your slingshot to take out the spider-like Skullwalltulas enemy on the vines and climb up them to find another chest containing some Deku nuts. Climb up the ladder and head back to the main room. You can now use your slingshot to take out the Skullwalltulas on the vines near the large chest and safely reach the higher platforms in this room.
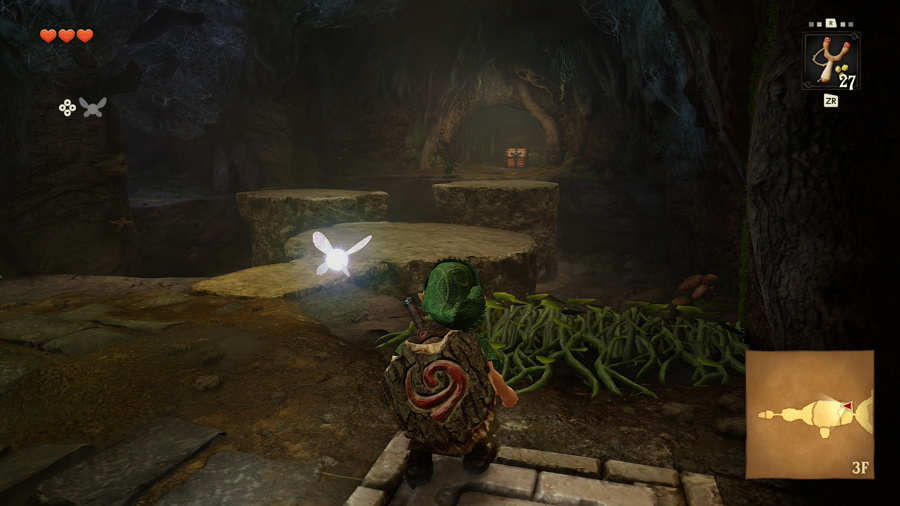
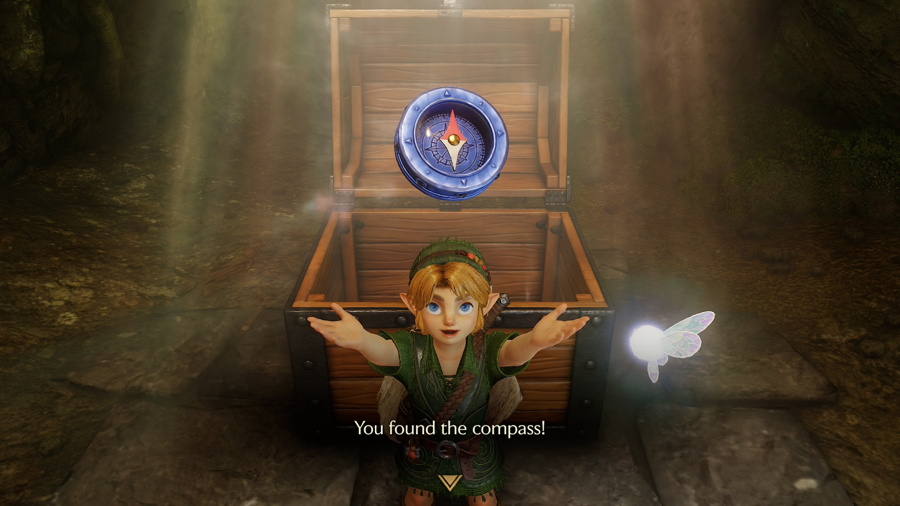
Up here you'll find a larger spider enemy called a Skulltula guarding a door. You'll need to approach it and patiently wait for it to expose its soft belly before you can land a hit. Enter the door and step on the switch to the right to raise some platforms. Quickly jump across and open the chest on the other side to get the Compass. This will show you where any chests are on your map.
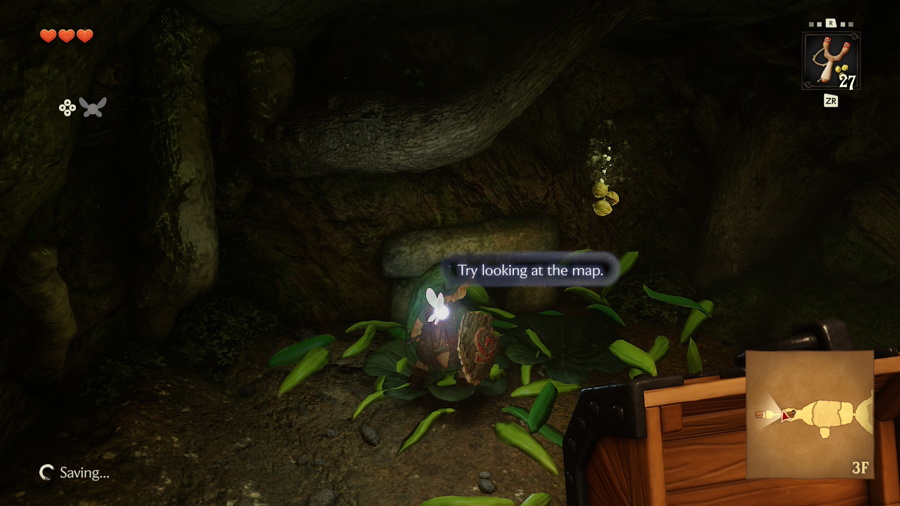
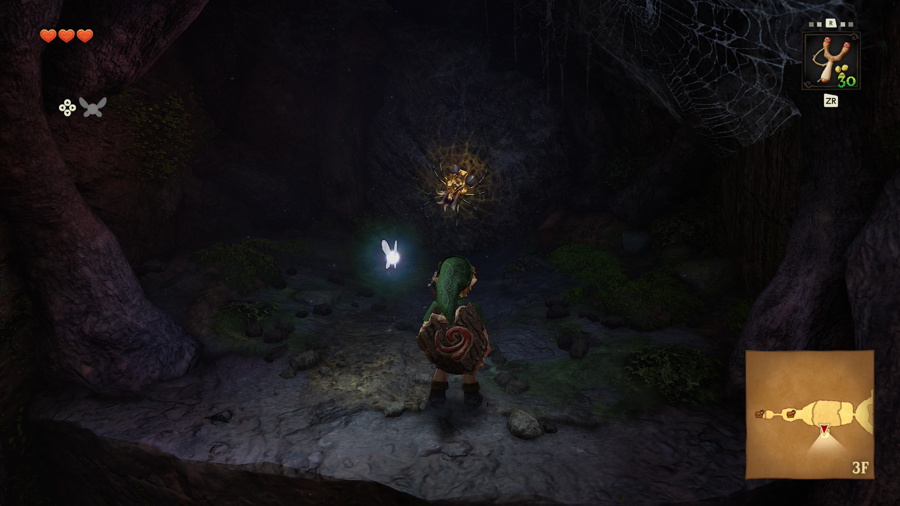
You might notice there is a chest on your map behind it, so slash the grass to reveal a narrow passage. Follow it to find a chest containing some Deku nuts. Back on the lower floor of the room, take out the Skulltula (a well timed jump attack will take it out in one hit). Then use the switch to raise the platforms again and jump to the alcove along the southern wall. Here you'll find Gold Skulltula #1. Take it out and you can collect its token which can later be traded for some rewards.
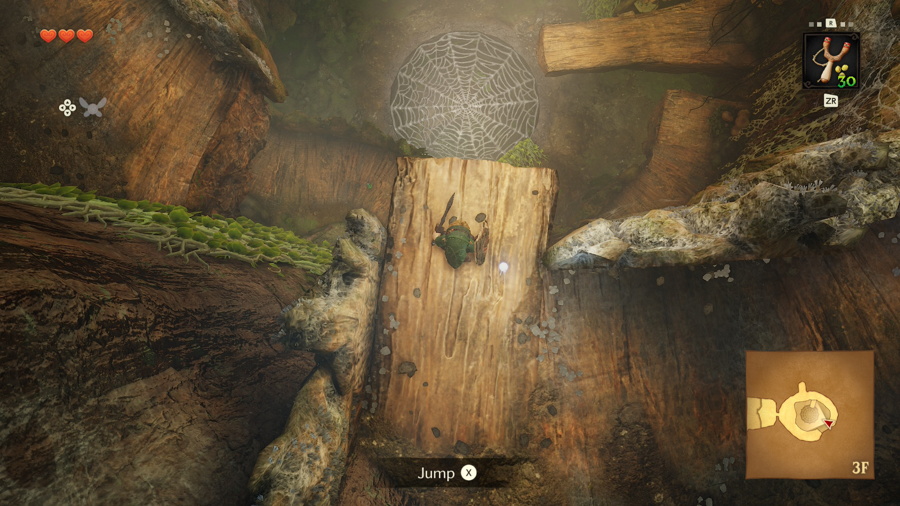
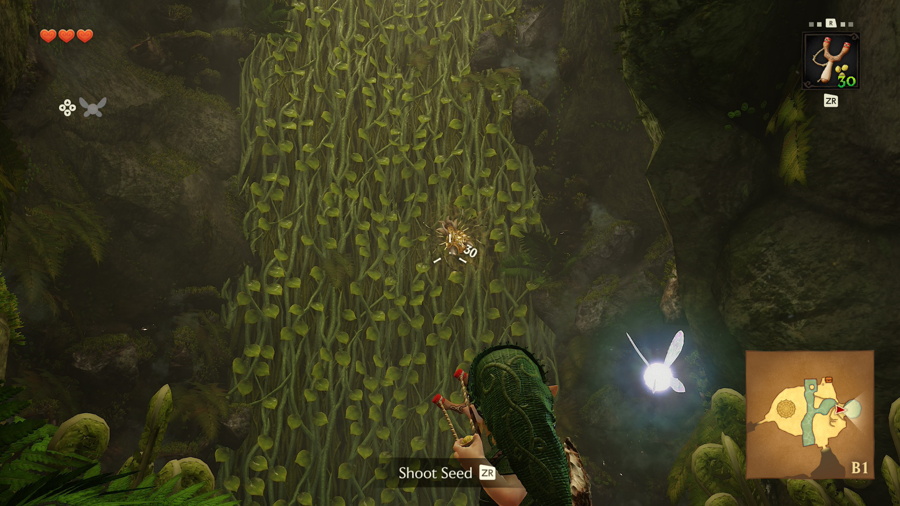
Exit this room and follow the path, taking out another Skulltula along the way. You'll reach what seems like a dead end with a little platform jutting out. From here you'll need to make a leap of faith onto the web below. When you do you'll break through it, landing safely in a pool of water on floor B1. Exit the water and turn around immediately to find Gold Skulltula #2 on the vines.
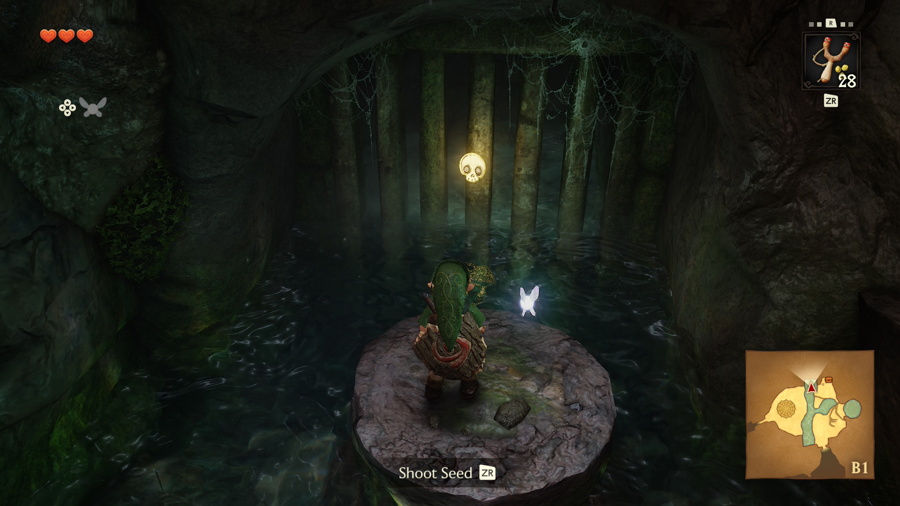
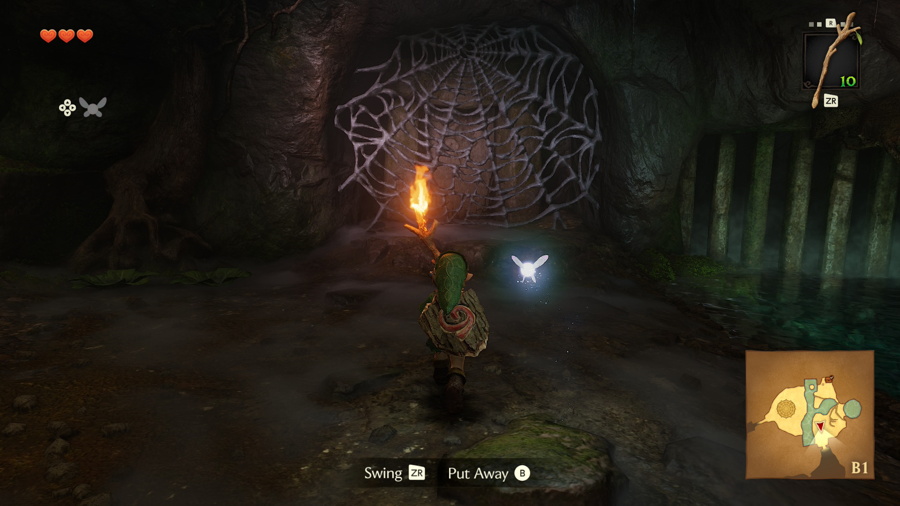
Head into this larger room and you'll find Gold Skulltula #3 on a grate in the water that you take out with your slingshot and then jump from the platform to collect the token. Then step on the switch on the higher platform to light a torch that burns the web, giving you access to a chest containing some Deku sticks. Use the torch to light a Deku stick on fire and take it over to the web on the south side of the room to gain access to the door.
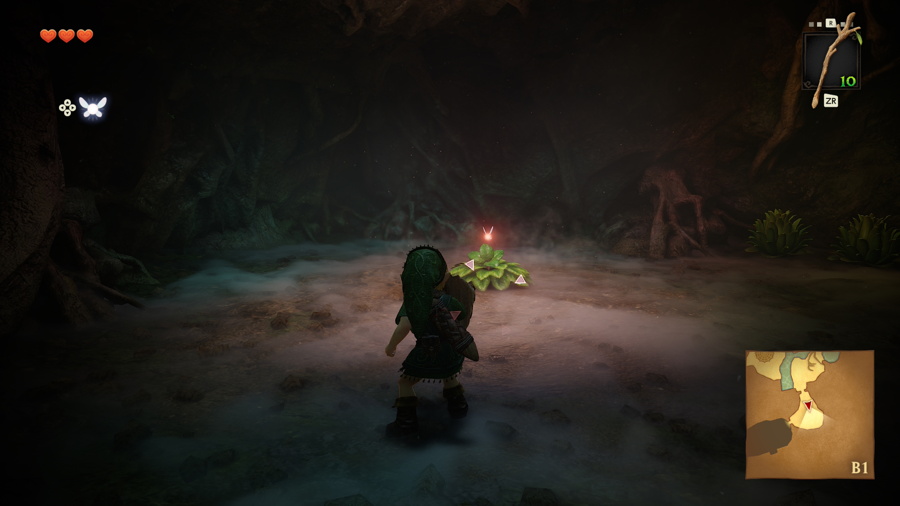
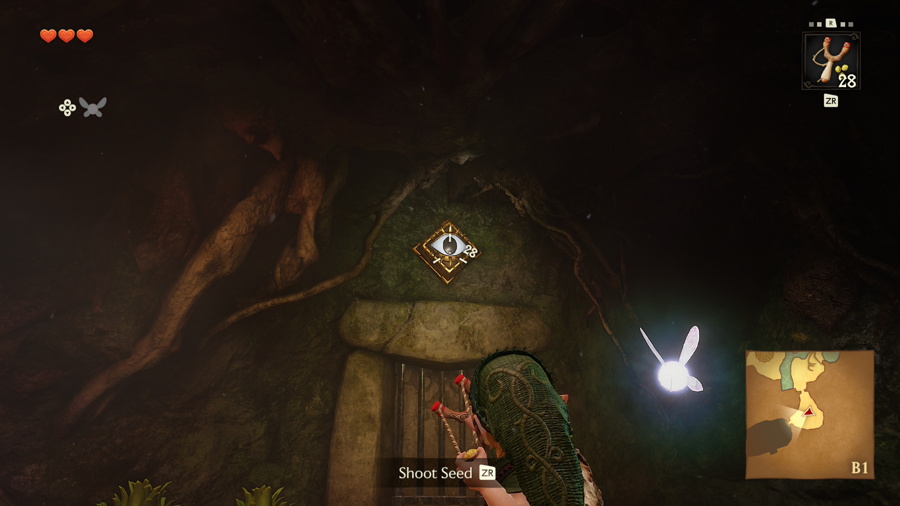
Enter the next room and defeat the Deku scrub. He'll give you the hint of "two...three...one", which you'll need to remember for later in the dungeon. After taking him out use your slingshot to shoot the eye above the door and enter through it.
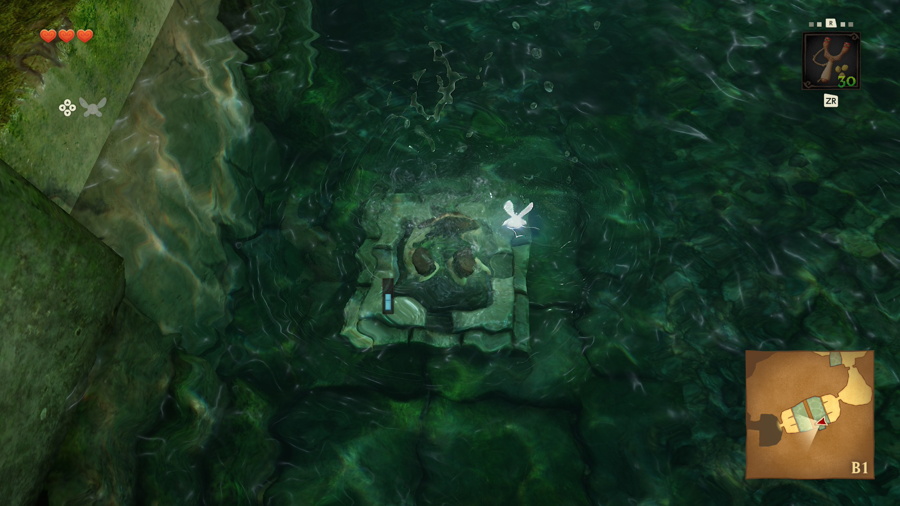
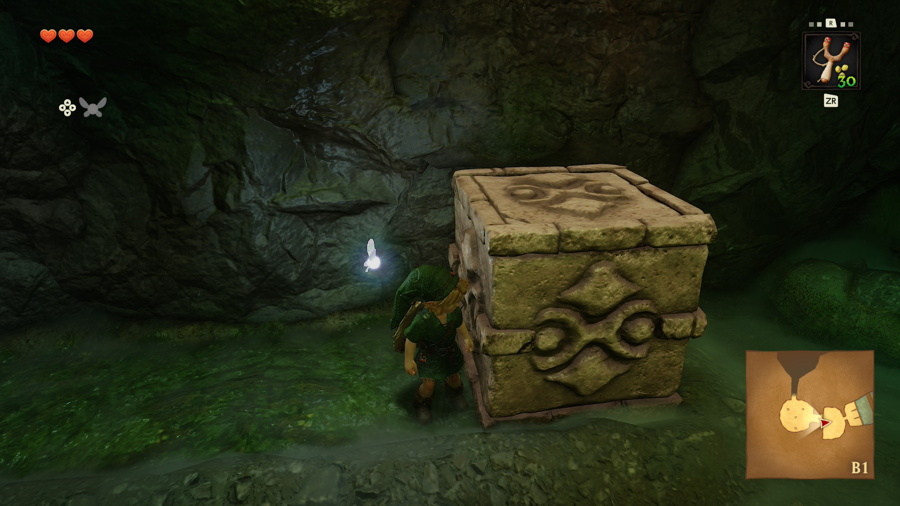
In this room you'll see a large rotating column covered in spikes and a moving platform. Enter the water and dive down to activate the switch. This will lower the water, giving you room to jump on the platform and safely make it across. Defeat the Skulltula in the next room and move the block to reach the higher platform.
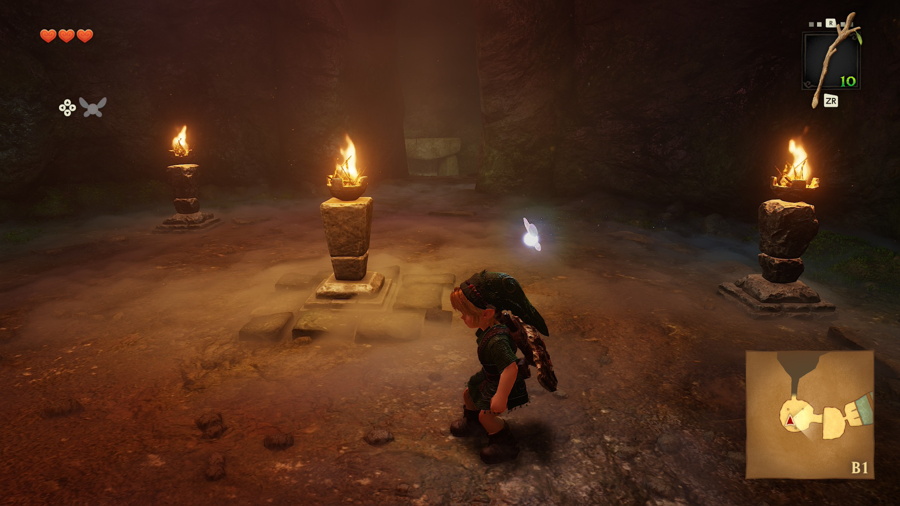
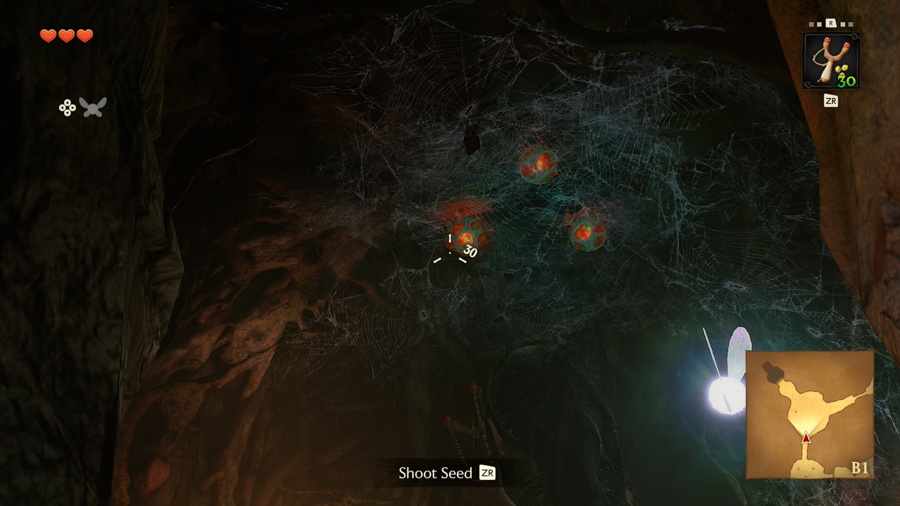
Use a Deku stick and the lit torch to light the other torches in the room to unlock the door ahead. Watch out for the Skulltula that drops down in the next room. After taking it out, use your slingshot and shoot down the eggs on the ceiling. If you don't and walk under them, they'll drop down and hatch into Gohma Larva enemies.
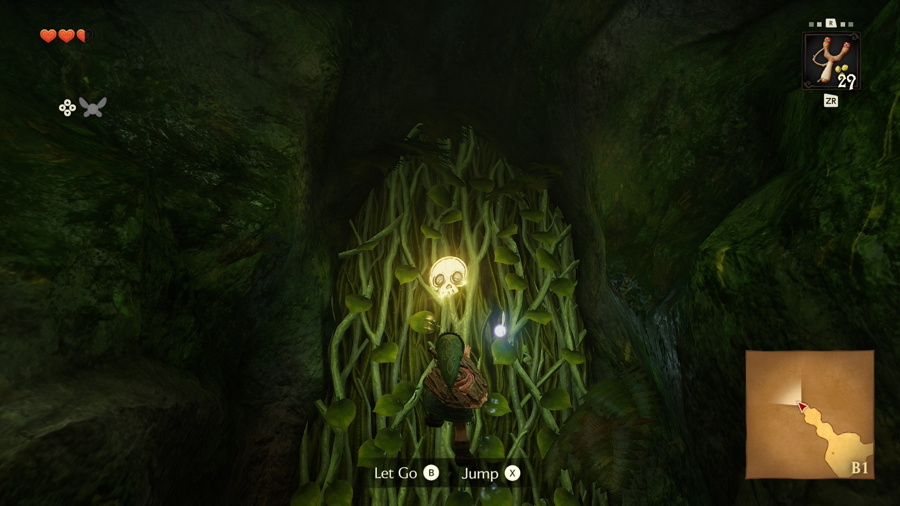
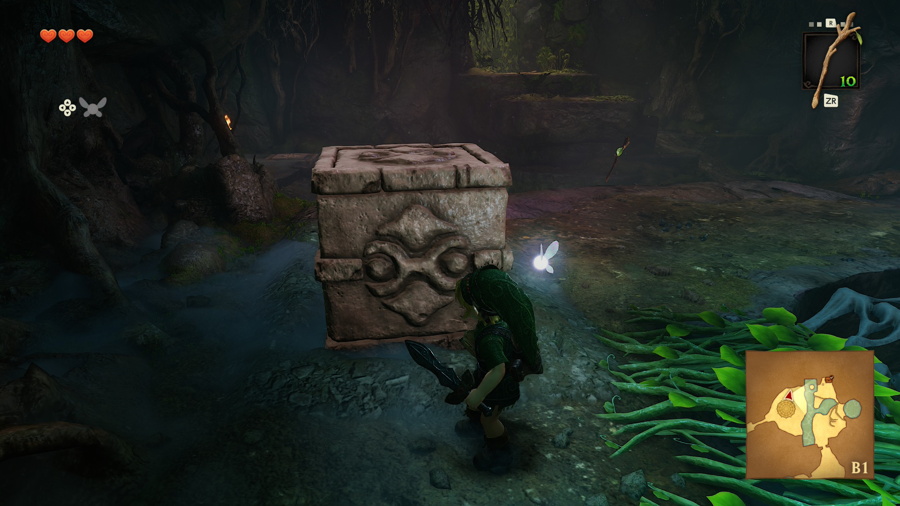
Use a Deku stick and the torch to burn the web on the west side of the room. Take out the Skulltula here and you'll find Gold Skulltua #4 on the vines behind it. Now burn the web on the other side of the room and crawl through the narrow passage. You'll find yourself on the higher platform of a room we were in before. Be careful not to fall down before pushing the block down to the lower level.
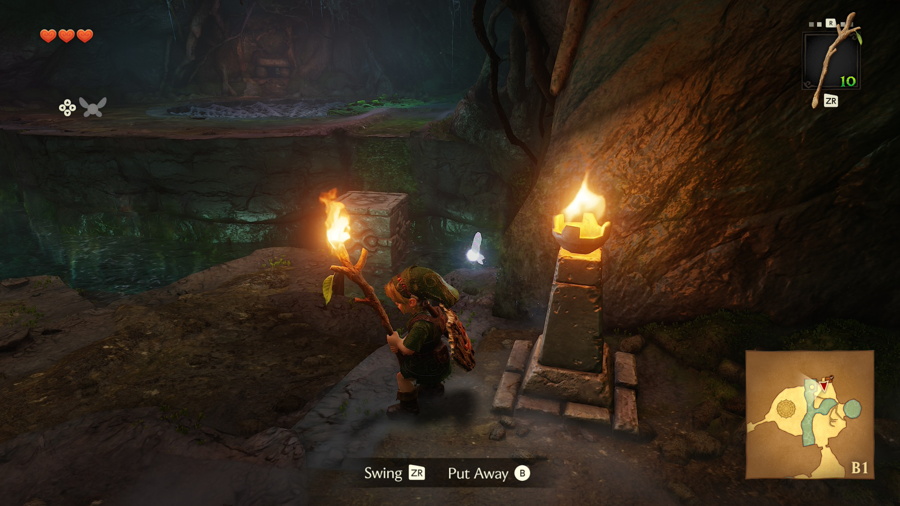
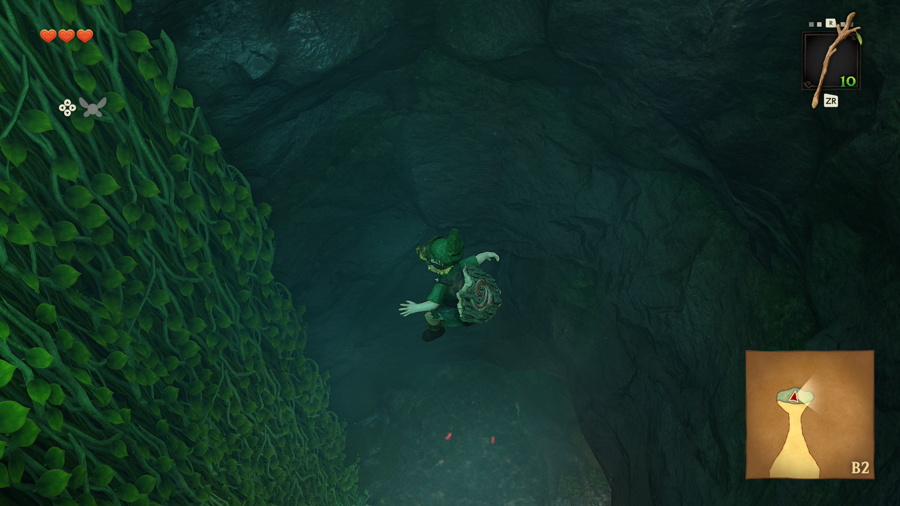
Now that we can move freely between the upper and lower areas, jump down below and use the torch to light a Deku stick. Carefully jump back up to the higher platform and roll on the web with the lit stick to burn it and drop to the lowest floor of the dungeon. You can dive down to get some recovery hearts in the water here if you need them.
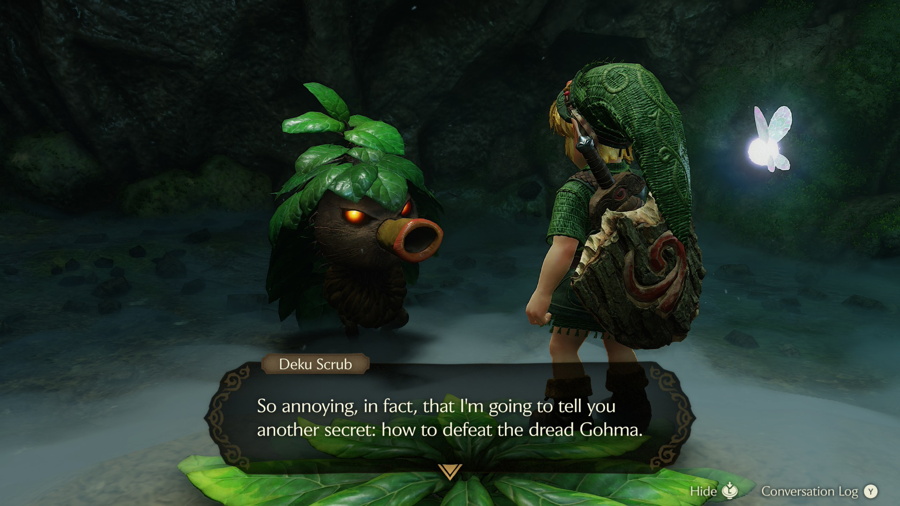
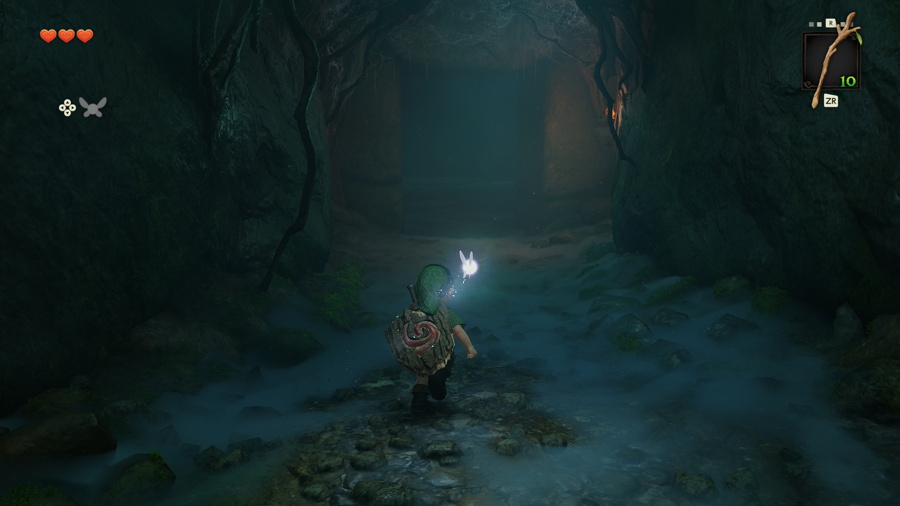
In the main part of this room you'll need to use the hint that the Deku Scrub gave you earlier. You'll need to defeat the three Deku Scrubs here in the correct order: 2-3-1 (middle, right, left). After stunning all three slice at the third one to complete the puzzle and get a useful hint about the dungeon boss we're about to face. Enter the door ahead when you're ready and healed up.
Queen Gohma
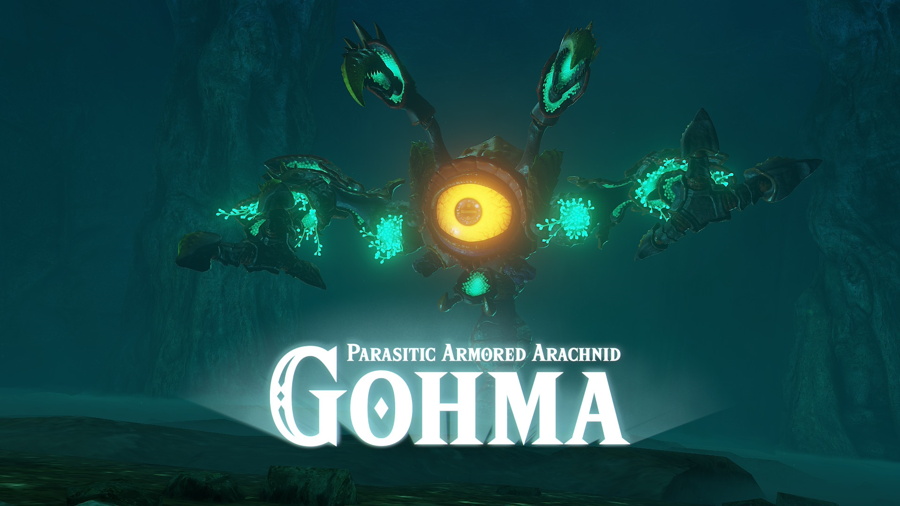
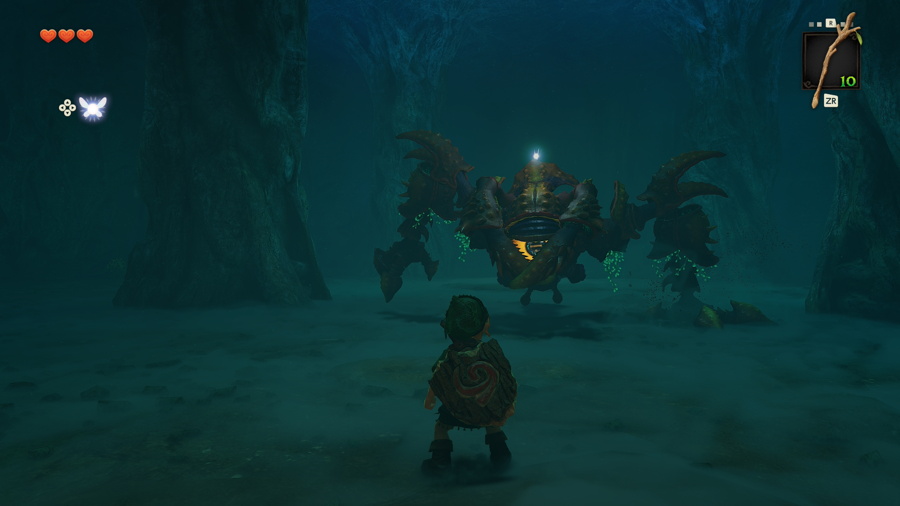
Enter the next room and look up at the ceiling in the main area. Here you'll see the boss of this dungeon and the mother of the Gohma Larva we encountered earlier: (Queen) Gohma. It's a giant spider that will crawl aroudn the ceiling and floor of this room. The key to this fight and Gohma's weakness is her one large eye, which is covered as long as she is on the ground.
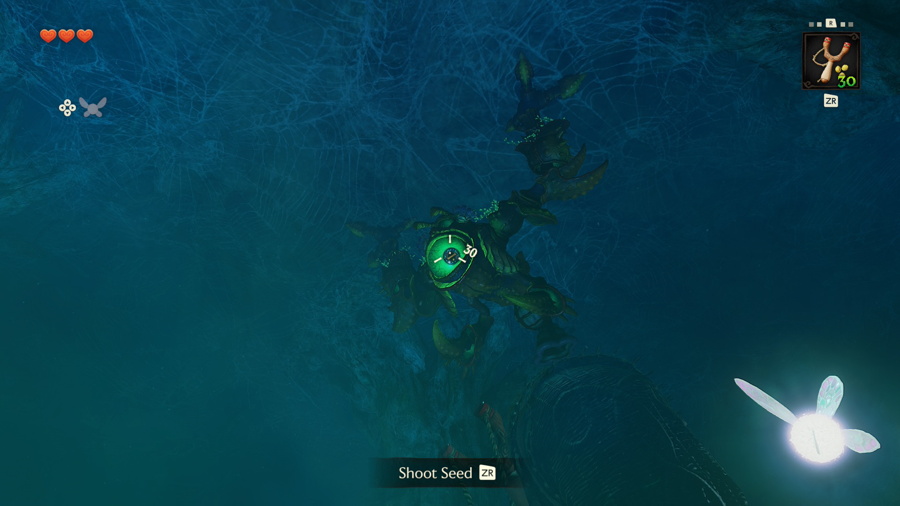
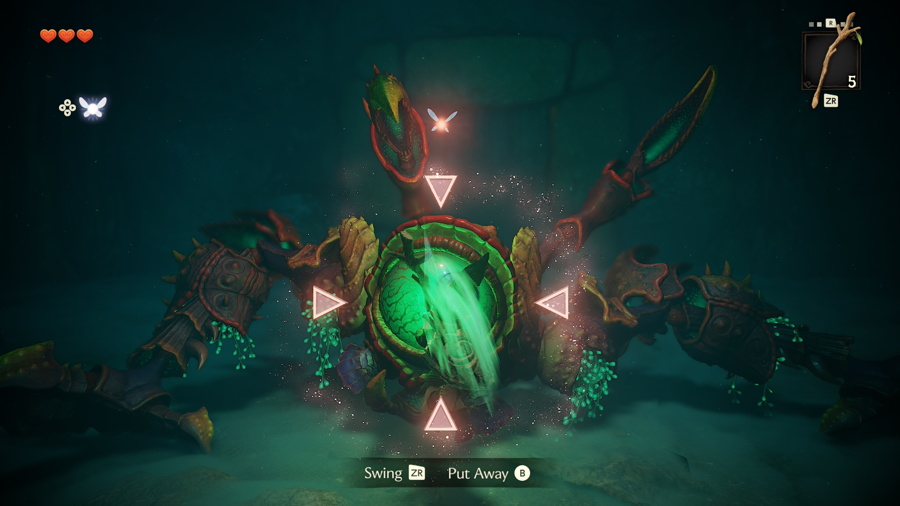
You'll need to patiently wait for Gohma to crawl back onto the ceiling and expose her eye, which turns green, before you can shoot it with your slingshot. Gohma will then fall to the ground and you can get some sword slashes in on the eye. Jump attacks with Deku sticks do even more damage if you can pull them off fast enough. Repeat this process a few times and Gohma will be defeated.
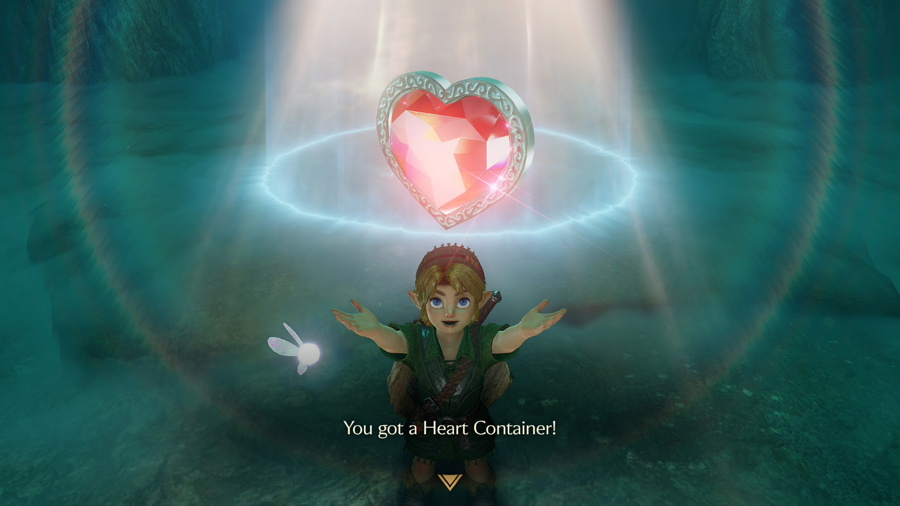
After a dungeon boss is defeated, they'll leave behind a full Heart Container for you to collect. These increase your health by one full heart. Afterward, step into the blue light to return to outside the Greak Deku Tree. Here the Great Deku Tree will school you on the Sacred Realm, the Triforce, and the origins of Hyrule.
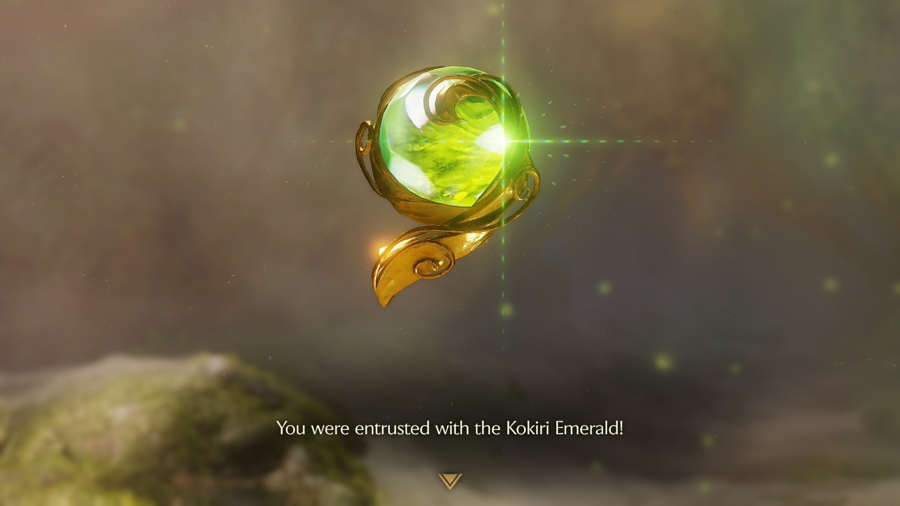
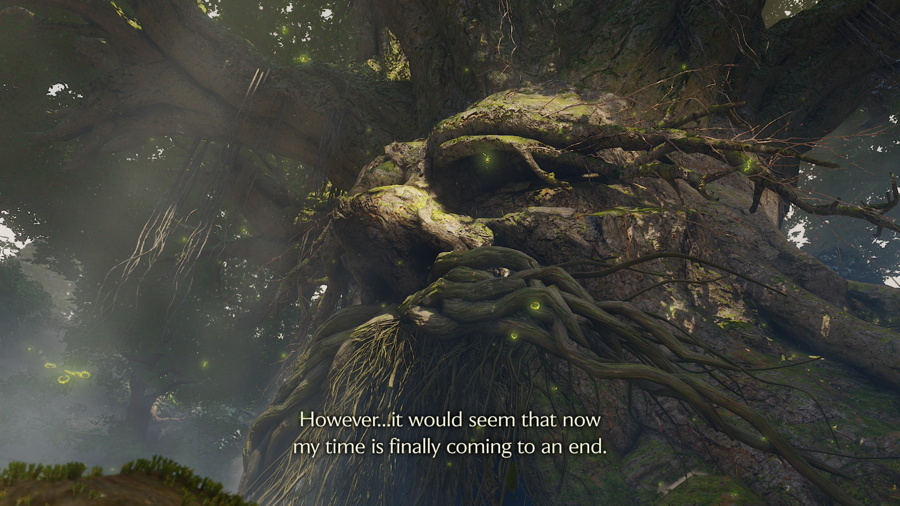
Afterward he'll give you one of the Sacred Stones needed to access the Sacred Realm: the Kokiri Emerald. Very sadly, the evil that was placed in the Great Deku Tree has sapped all his light force away, causing him to pass away. You now owe it to him to complete his wish and collect the rest of the Sacred Stones. We'll get to work on that straight away in the next chapter.
