How to Complete Lanayru Mining Facility
Dungeon Item: Gust Bellows
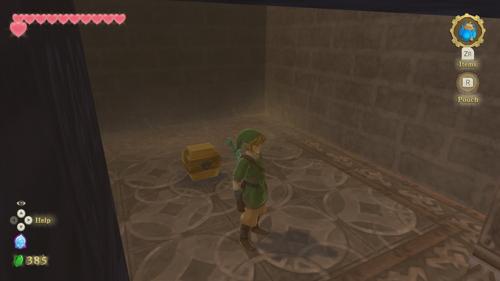
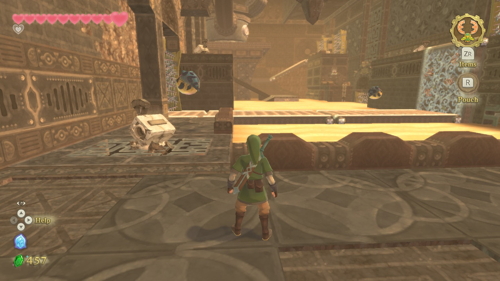
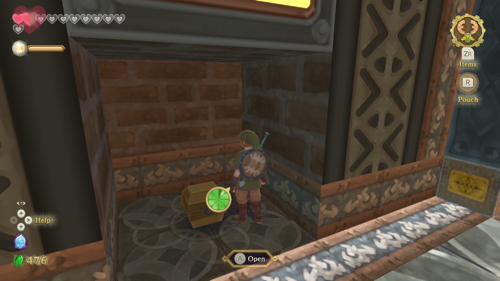
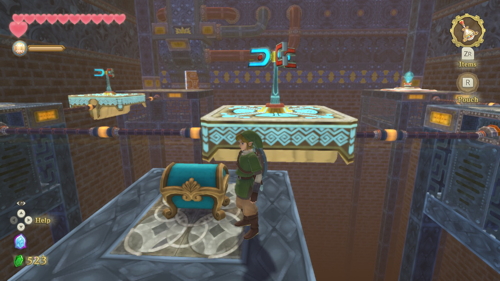
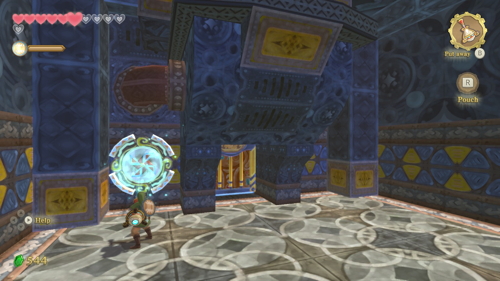
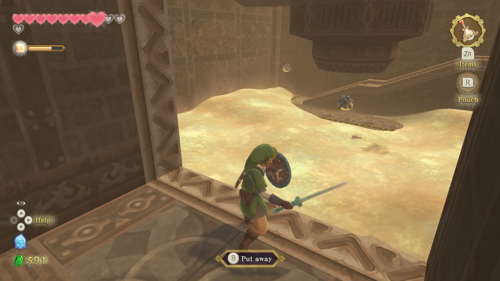
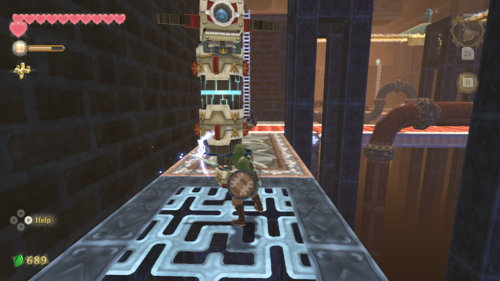
Welcome to the third dungeon of the game, Lanayru Mining Facility. There is a bird statue just to the left of the door as you enter. You'll also notice a new scorpion-like enemy called Aracha. Head to the sandpit on the right side of the room and run across it, stopping on the platform to regain stamina. Pull the lever here to open a little room on the right with a chest containing 20 rupees.
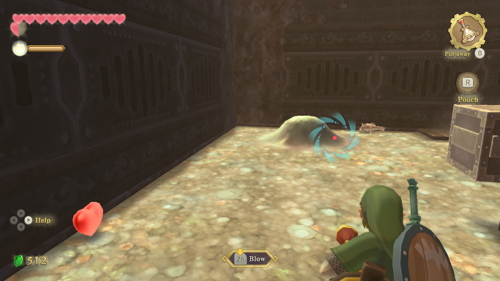
Use your hook beetle to drop the bomb in the basket on the left side of the room. This will create a platform in the sand that you can use to pull the lever on the wall. This will open the door, allowing you to leave the room.
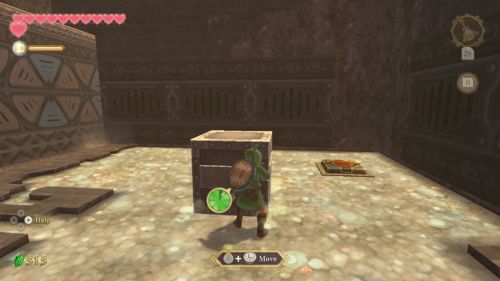
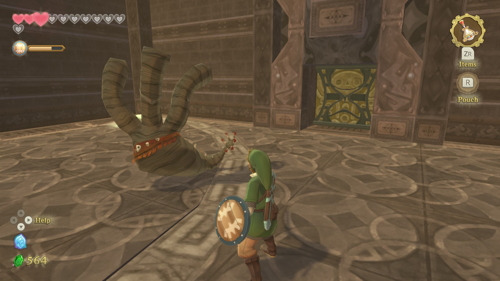
In this next room, defeat the two Staldra on either side of the room by cutting all their heads off at once. Then, head to the northwest corner and push one of the wooden boxes against the side of the tall platform. This will give you enough height to climb to the top, so do so and exit through the door.
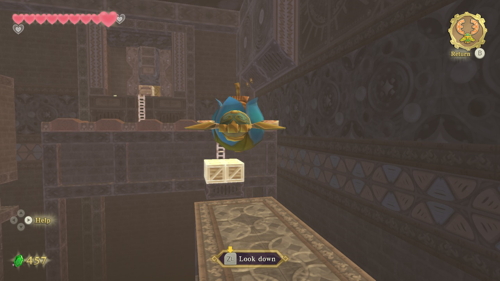
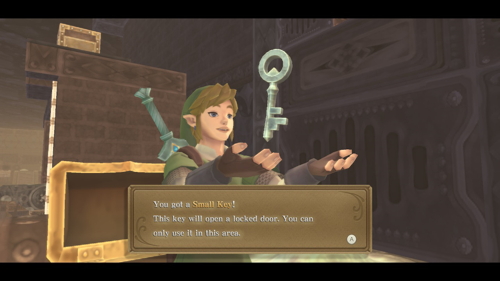
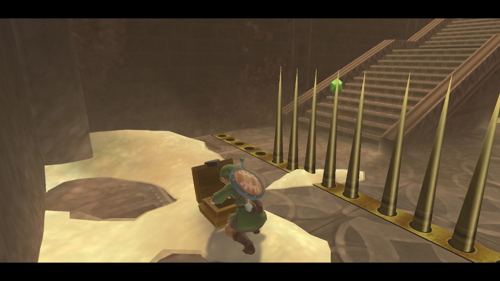
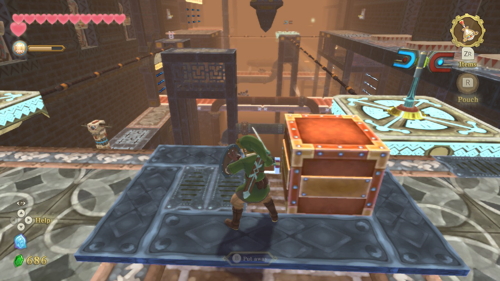
In this next room, you can turn to the right and see some boxes at the bottom of a ladder. Use your hook beetle to drop a bomb on these boxes and then climb up the ladder across the gap. On this platform, you'll find a chest containing a Small Key. With the key in hand, head back to the previous room.
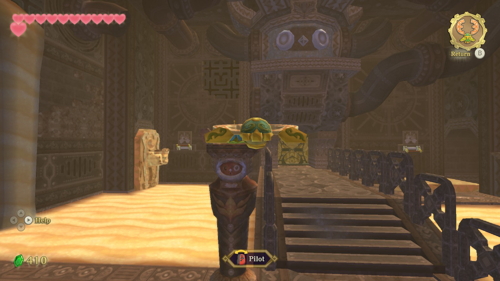
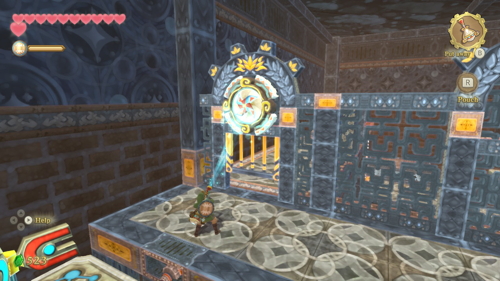
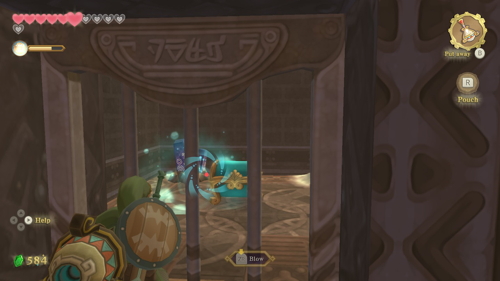
We can now enter the locked door on the east side of this room. Here you'll find a new enemy called a Froak, which look like floating pufferfish. They explode on contact with objects, so hit them away with your sword. Follow the path across the conveyer belt and up the vines.
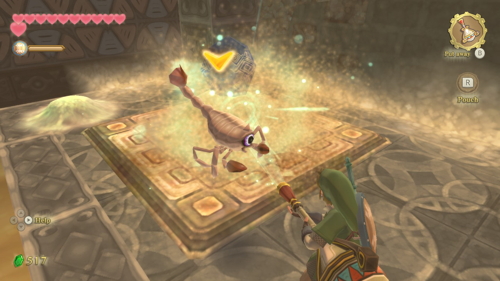
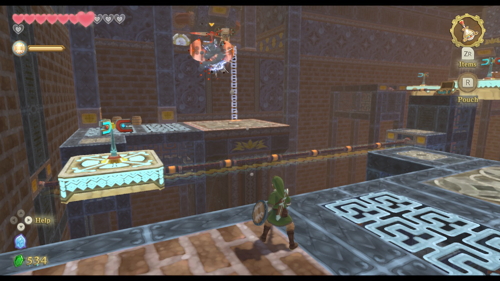
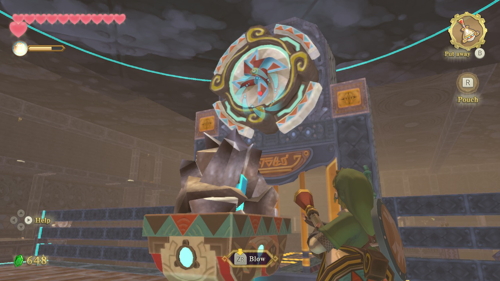
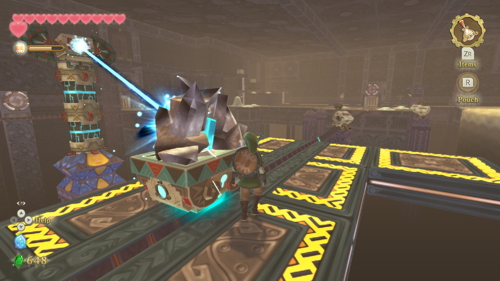
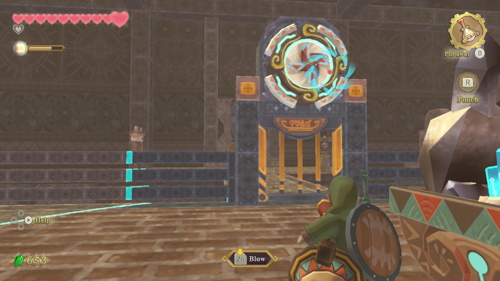
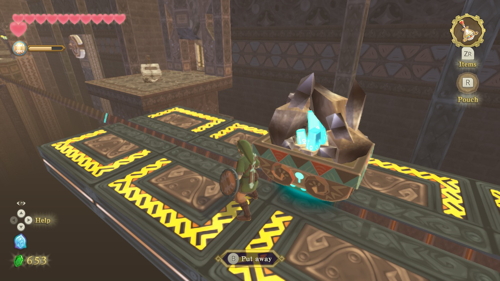
On this platform, use your hook beetle and grab the bomb above the entrance and use it to explode the wooden crates on top of the ladder. Press this switch to lift the gates in front of the Timeshift Stone in the center of the room. Send your beetle out to hit it while still on the switch to activate the time shift for this room.
These newly activated enemies are called Beamos. You can defeat them by slashing their body horizontally and jabbing their eye. You can also reflect their beam with your shield to stun them. Head straight forward at the bottom of the ladder, defeating both Beamos. Head down this ladder here onto the lower platform.
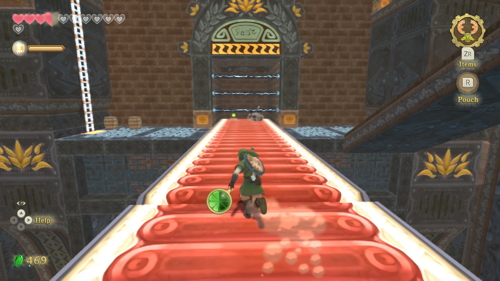
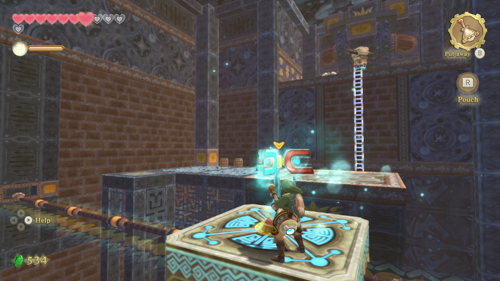
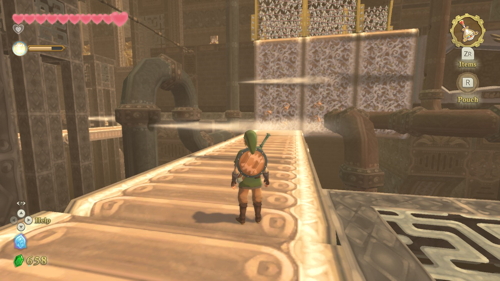
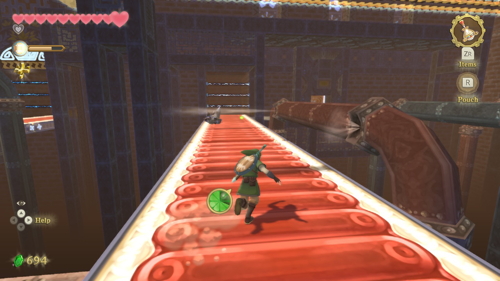
Head up the next ladder and pull the lever to open a door on the other side of the room. Then hop back down. There is a fast-moving conveyer belt that you will need to run across. You'll need to pick up stamina fruit and dodge the obstacles to make it all the way across.
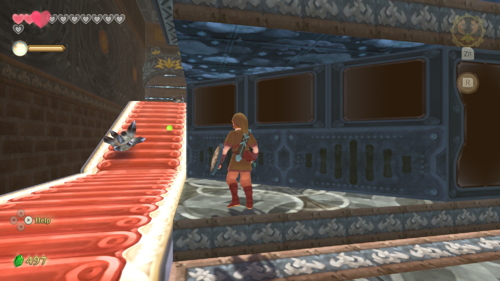
Head to the left after the conveyer belt and climb the ladder. Defeat the Beamos and open the chest for 20 rupees. Cross past the conveyer belt and up the ramps. There is a second conveyer belt up here; tackle it the same way you did before. To the right is a Beamos you should defeat and a lever to pull down. Head back across the conveyer belt and go through the newly unlocked door.
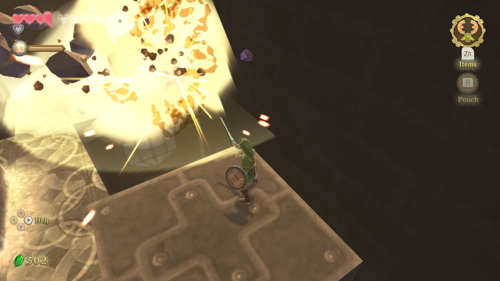
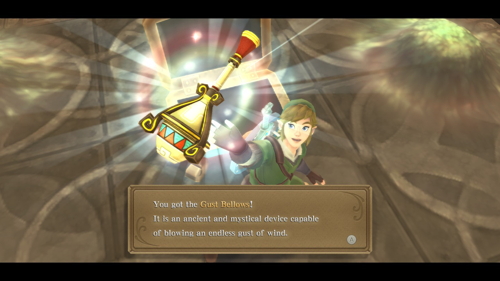
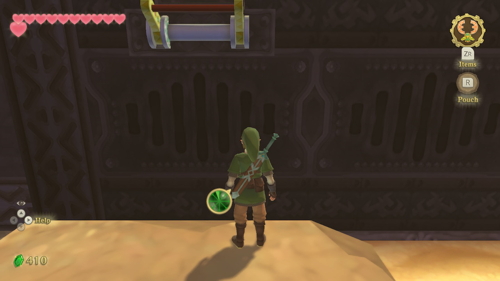
In this room, jump down and climb up the ladder to the right. Hop across the platforms straight ahead and blow up the boulder, either with the Froak or a bomb. Continue along the platforms to the large platform on the other side of the room. Climb up the ladder here and open the chest to get the dungeon item, the Gust Bellows.
You can use the Gust Bellows to move air around, most notably in this dungeon to push around piles of sand. You'll often find rupees or treasures under random piles.
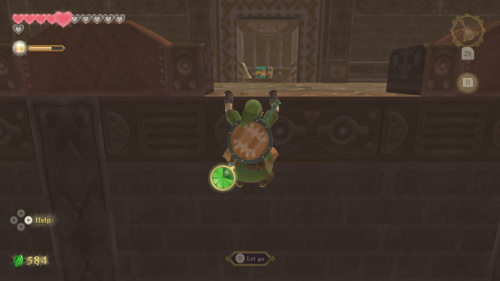
Drop down and open the nearby chest to get a Blue Bird Feather. Afterward, climb back up to the higher platform and hop across the smaller platforms. Blow up the boulder here and then continue to the larger platform on the west side of the room. Push the metal block down here to create a shortcut. Then head up the ladder and through the door, back into a previous room.
Dungeon Map
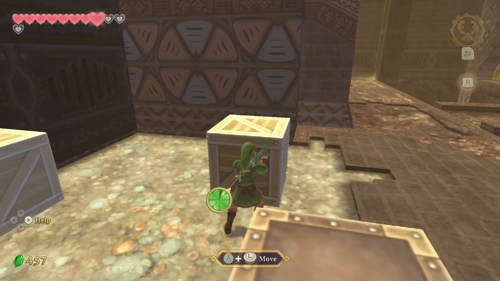
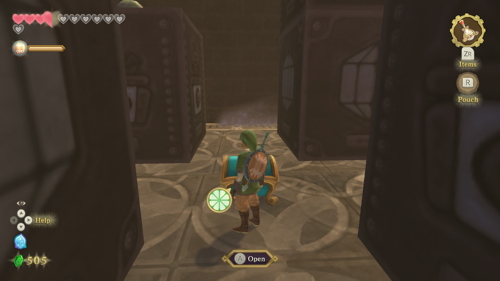
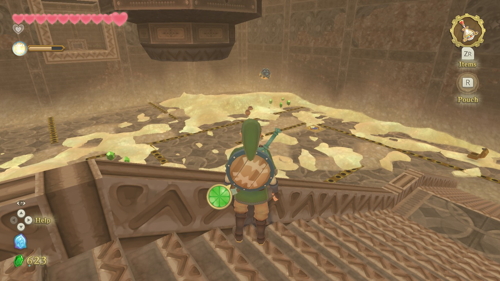
In this next room, push the metal box to the left to create a shortcut. Exit this large room to the south once again. In the northeast corner of this room, clear out all the sand piles with the gust bellows. Push the metal box onto the switch that is revealed to open the door on the other side of the room. Enter this newly unlocked door.

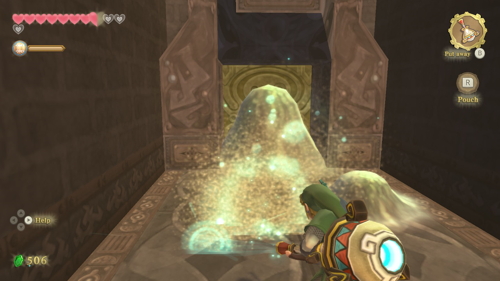
In this next room, run across the sand, stopping on each platform. The goal is to get to the platform in the southeast corner. Here you can uncover a Timeshift Stone from under the sand. Hit it to revitalize this area.
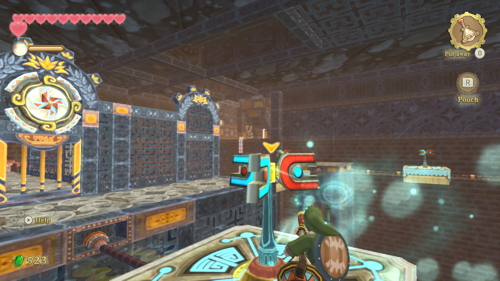
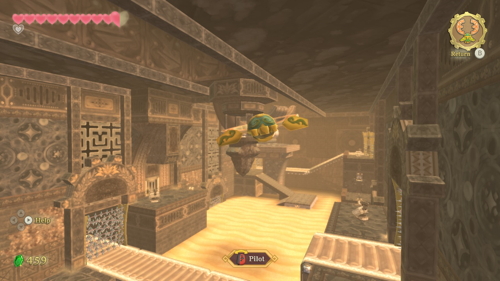
There will now be floating platforms with propellers throughout the area. You can use the gust bellows to move these platforms. Hop onto the one in front of you and take it to the other side. You'll need to bring the next platform closer to you first, then hop on and take it to the platform with a chest. Open it to get a Monster Horn.
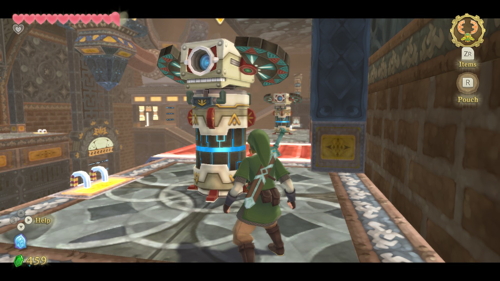
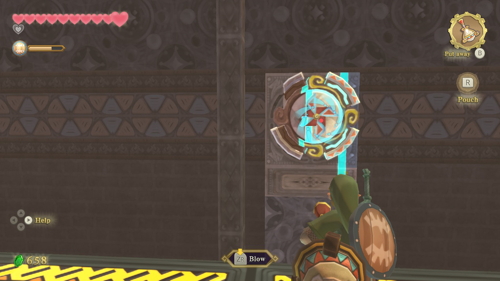
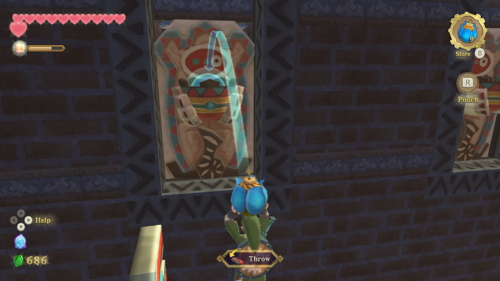
Hop back on the platform and go back to the southern platform with a locked door. Use your gust bellows on the pinwheel just above the door to open it. Defeat the Beamos and continue ahead and drop down. The flying enemy here is called a Sentrobe and can be defeated (yielding lots of rupees) by deflecting its missiles with your shield.
With the enemies cleared, use your gust bellows to take the propeller platform from left to right, allowing you to hop on it. Then blow it again from right to left and hop off the other side. Climb up the ladder and defeat the Beamos up here. Then use your gust bellows on the pinwheel to the left of the door to open it.
In the next room, the door will lock behind you as you enter. Defeat the two Staldra in here by cutting all their heads off at once. Clear the sand from the metal box here and push it to the left so it can be used to climb the higher platform. You can hop across the platforms on the right to find a treasure under the sand.

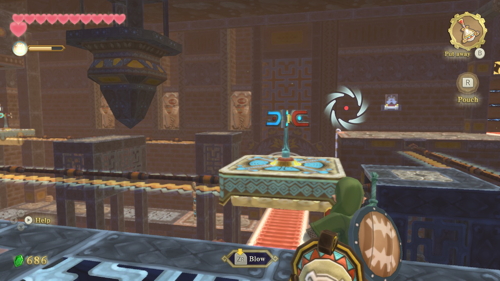
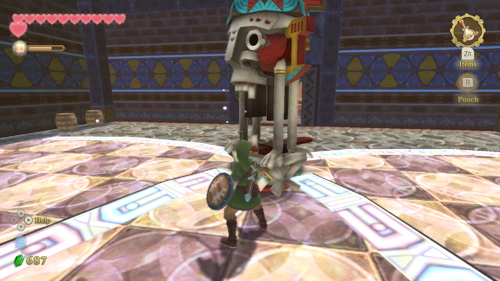
Back on the large platform, blow the sand away in the room with a chest. This reveals a Timeshift Stone, which you can activate with your slingshot. This will awaken the Armos in front of the eastern door in this room. To defeat it, spin the propeller on its head and then slash or thrust the crystals on both sides of its opened mouth. You can also put a bomb in its mouth to defeat it a little quicker.

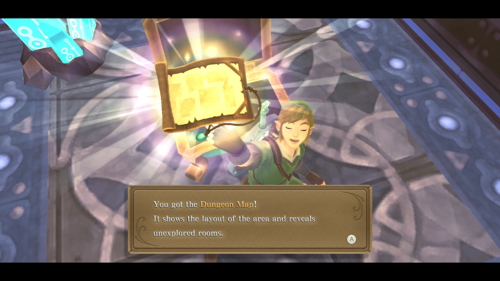
Defeating the Armos will unlock all doors in this room. So head back up to the higher platform and open the chest to find the Dungeon Map. You can now exit this room using the door to the east back into the main room of the dungeon.
Boss Key
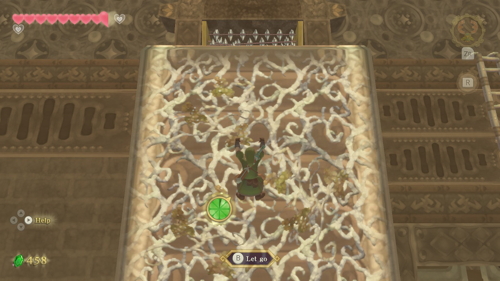
Straight ahead in this room is a switch to open a gate, thus creating a shortcut. Back on the left side, if you open your map, you'll see a path in the quicksand. You can use this to cross the quicksand safely. Hop off at the first platform along the wall and clear the sand to find a small opening. Crawl through it to find a chest with a rare treasure, then exit.
Continue through the quicksand along the safe path until you get to another platform along the wall. There is once again a small opening covered in sand. Enter it to find a small maze, but you can use your map to find the correct path. Hop down into this large room when you get there.
Down here, there is a ton of sand and spikes that emerge from the ground. Just take out the gust bellows and start blowing to find a safe path to navigate. There are several jars under here; the ones in the corner contain a fairy. There is also a chest in the northwest corner containing 20 rupees. Make sure to step on the switch to open the door as well. Head up the staircase and through the door after.
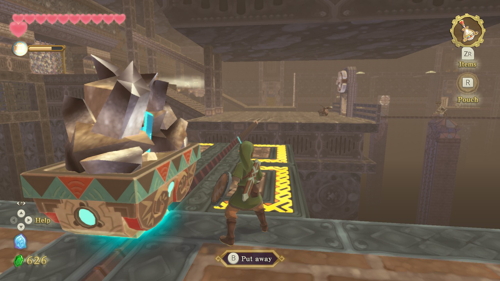
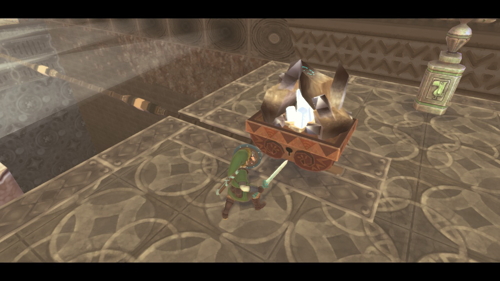
In this room, blow off the sand to find a Timeshift Stone on a minecart. Use a thrust to activate it, and the minecart will start moving. Follow the path it creates to the large platform, where there will be a Sentrobe to defeat. Afterward, use the gust bellows on the pinwheel to open the gate for the minecart.
Continue along the path here, hiding behind the minecart to avoid the Beamos when necessary. There is one you'll need to defeat that is right along the path. When you get to the other side, blow on the pinwheel above the door to create a shortcut.
Head left to a new platform where you can dust off another minecart Timeshift Stone combo. You will pass a Beamos that you can hop onto the platform and defeat. The cart will also activate a pinwheel, which will open the nearby door if you use your gust bellows. When the cart gets to the other side, hit the Timeshift Stone twice to reactivate in the other direction and enter the now unlocked door.

There are gusts of wind in this room that will knock you down if you don't carefully avoid them. Make your way across the conveyer belt and up the vines while avoiding the gusts. Continue to the right and throw some bombs in the two baskets here to make platforms that you can jump across. Across these platforms, you'll find a Timeshift Stone under some sand that you should activate.

Hop back across the platforms and defeat the Beamos here. Pull the nearby lever to summon a propeller platform over to you. Hop on board and take it across. On this side, throw some bombs into the bomb baskets. When these stones fall, it might not look like much, but they actually reveal a hint to a puzzle.
From here, use your gust bellows to move the nearby propeller platform to the right, next to the one we've already used. Then hop across them to get on it, moving it back to the north side of the room. Move the metal box here to allow access to the ladder.

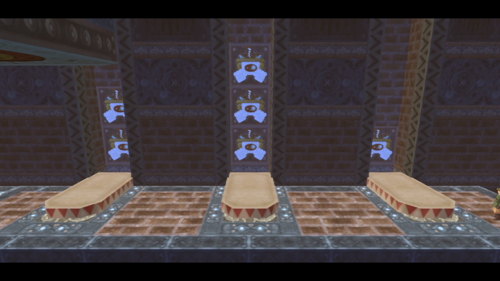
Hop onto the next propeller platform and use it to knock down the three stone bomb baskets on the other side of the room. Knock them all down before hitting the switches behind them. You can look back across the room, getting a hint for the order that the switches must be hit. Looking at the switches, it goes left, right, then middle. Hitting them in the correct order opens the nearby gate, which you should head through.
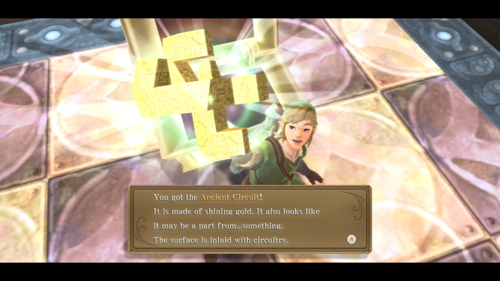
Defeat the two Armos in this room to unlock the gate. Through it, you can open a chest containing the boss key of this dungeon, the Ancient Circuit. This will also open a door in the adjacent room. Head back to the previous room.
Drop down to the lower level and continue forward, defeating the Beamos. You'll need to run up this conveyer belt, avoiding the obstacles and gusts of wind. If you stop running, you can walk in place to avoid the wind. On the other side, you'll reach the door that we just unlocked. Head on through it back to the main room of the dungeon.
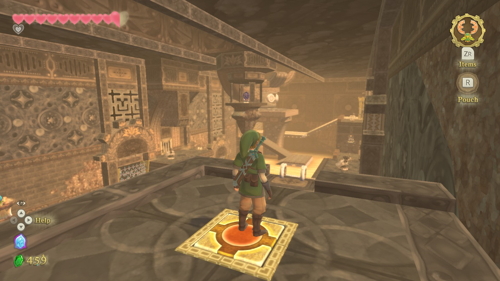
Head left up the ladder here to get on this narrow platform. Run across it, picking up the goodies along the way to find a chest containing 20 rupees. You can also push aside the metal box to create a shortcut. Head back along this platform and drop down below. Use the nearby bird statue to save.
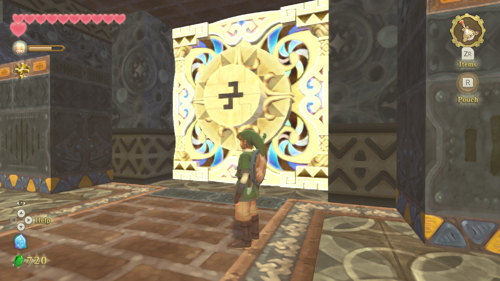
Activate the Timeshift Stone here. The idea is to use the propeller platform to stay alongside the moving minecart. Avoid the gusts of wind here and hop onto the large platform. Here lies the boss door, so approach it and correctly orient the Ancient Circuit.
Dungeon Boss: Moldarach
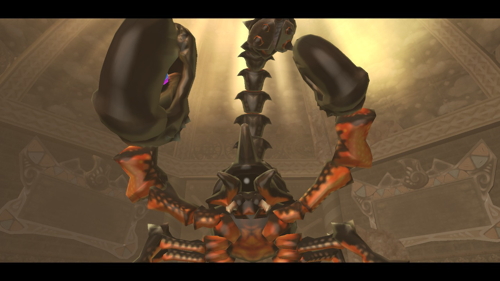
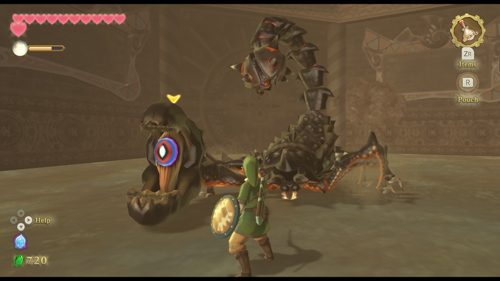
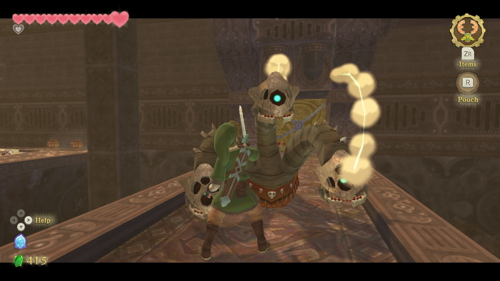
When you enter the arena, the dungeon boss Thousand-Year Arachnid Moldarach will emerge from the sand, and the battle will begin. In this first phase, you'll want to slash at his claws at various angles to hit the eyes in them. He will rotate them, so you'll need to keep changing your angled attacks. If the eyes turn red, he is about to attack, so just back out of the way.
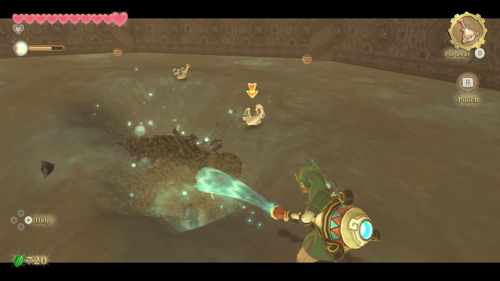

Once his claws have been hit enough, they will fall off, and Moldarach will bury himself beneath the ground. Use your gust bellows here to blow away the sand and reveal his body. He will then pop out of the ground, and you'll need to thrust your sword into his eye. Rinse and repeat this for a while, and Moldarach will be defeated.
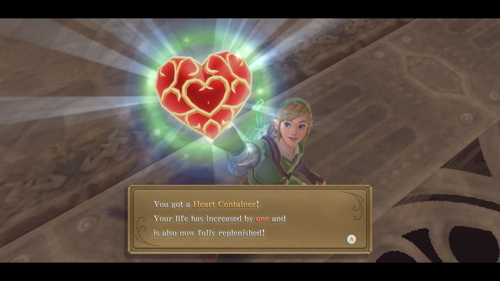
After the battle, the sand will be drained from this room. Collect the Heart Container and exit through the large door. Send your beetle towards the Timeshift Stone above the center of this room to activate it, then take the minecart to the other side. Exit through this door.
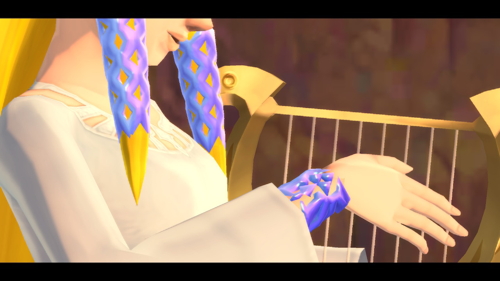

You'll find yourself at the Temple of Time, where a cutscene will begin. You'll soon see Zelda and Impa, but they will quickly be interrupted by Ghirahim. You'll receive the Goddess's Harp during the chaos, and then Zelda and Impa will disappear through a portal, instructing you to speak to the old woman in the Sealed Grounds. That's where we're heading next.
Back to Lanayru Desert Continue to The Imprisoned
